
Alexander Grabovetskiy, woodcarver, School of Woodcarving · Published 2020
How do you sharpen micro carving tools?
Quick answer: Sharpening micro carving tools is the same job Alexander does on all his tools, small or big, with two changes. Outside he skips aggressive sandpaper and goes 220, 400, 3,600, 6,000, then leather. Inside, where no slip stone fits, he wraps sandpaper around a wood chip for the inner bevel.

Sharpening a micro tool is the same job I do on all of my tools, small ones or big ones, on the same machine. Two things change. Outside, I don't use aggressive sandpaper, and inside no slip stone fits, so the inner bevel goes on with plain sandpaper wrapped around a chip of wood.
Somebody in one of my streams asked about the number 11 veiners. One millimeter. Half a millimeter. A sixteenth of an inch, then less than a sixteenth, down to a thirty-second. How would you sharpen something that small?
Wonderful question. I answered it the long way. First a whiteboard, then my machines, and at the end a chip from yesterday's carving.
The short version for a one millimeter veiner
- Reshape a new tool first, because the bevel it comes with is not the best bevel.
- My one millimeter got a bevel of about five and a half millimeters, about 3/16 of an inch.
- A grinder wheel leaves a curve, and on a long bevel the point behind the edge gets weak enough to break.
- Outside, on the Work Sharp, I climb the fine grits only.
- An inner bevel makes that point stronger and lets you carve upside down.
- Sandpaper around a chip does the slip stone's job. The bigger shapes each get their own workshop in the sharpening course.
Four systems on the bench, and still a problem
More than one machine lives on this bench. A Koch system from Germany. A Work Sharp. A Tormek, the older one with the metal body. And a plain grinder carrying nothing but leather wheels. There are others in another corner of the shop, but those four are the ones I reach for.
What makes a number 11 a veiner?
A veiner is a U shape, like the letter U, and what it leaves in the wood is a U cut. They look the same as gouges, with the same groove, but a veiner is not a gouge. They were made for the veins of the acanthus leaf. They actually designed those tools around it.
And the beautiful thing about a veiner is that it's a multi-tool. The bottom curve works like a gouge, and on both sides you have a number 3, so you can roll it as you carve or use the side to blend. I talked about veiners in another live stream from April 2020, where I had a bigger number 11 on the bench, three millimeters wide.
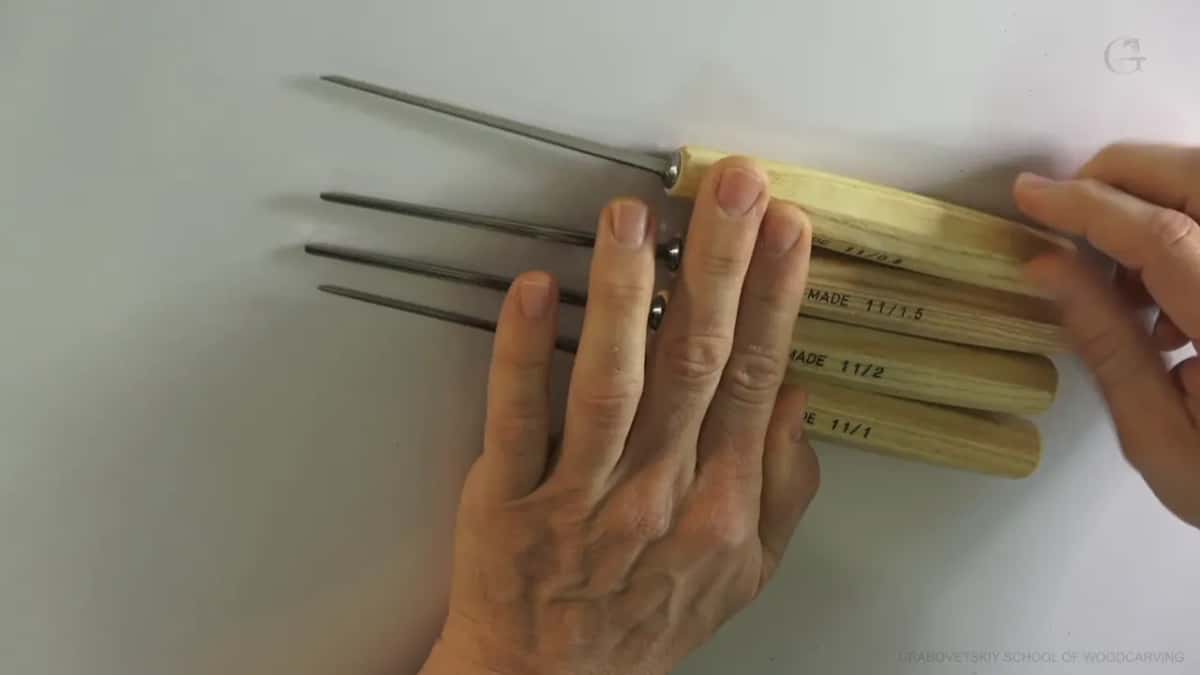
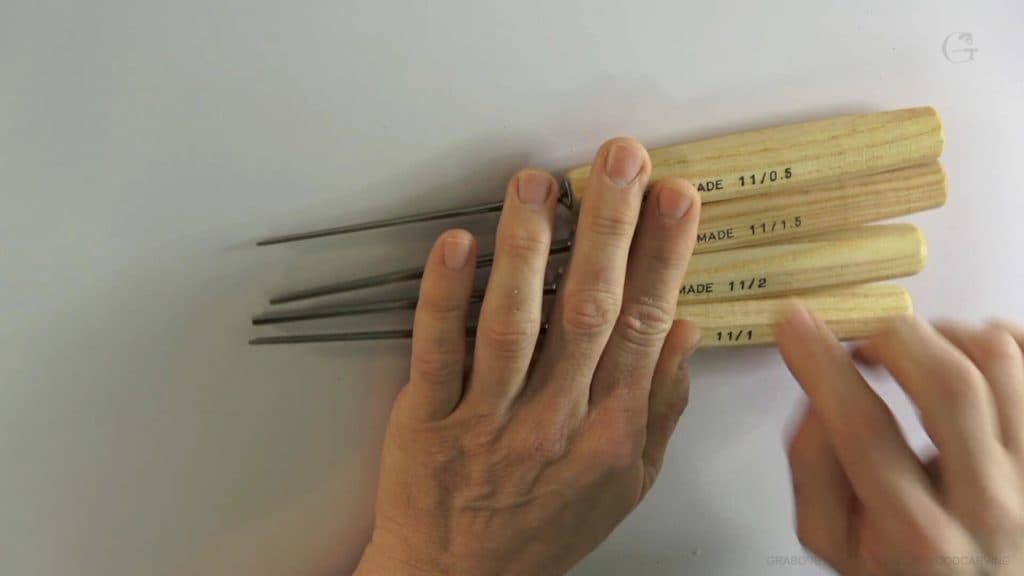
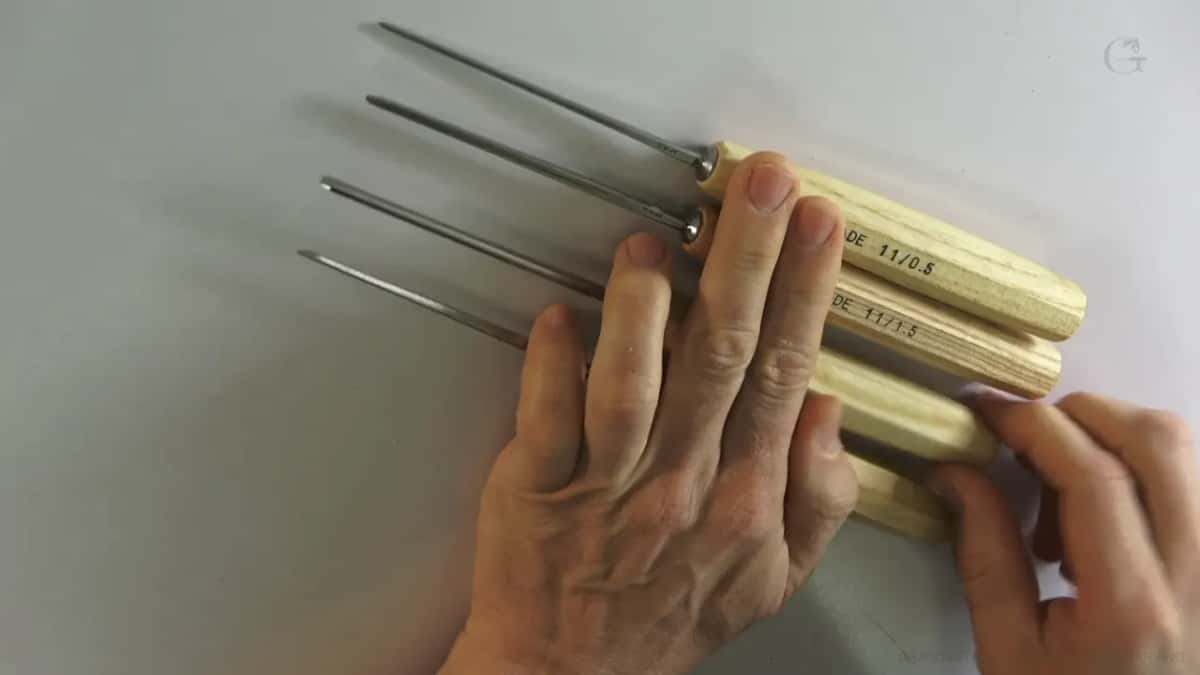
The small ones come at two millimeters, one and a half, one, and half a millimeter. These tools do exist. The one millimeter in my hand is a Two Cherries, and I have another German one at the same size, plus half millimeter tools from a couple of makers.
What is wrong with a brand new micro tool?
Take one out of the box and look at the bevel. Doesn't matter how big that tool is or how small, that bevel is not the best bevel. Although it all depends.
The people who make those tools don't really care about creating the right bevel, because there are different opinions about what degree it should be, how you have to reshape it, and how you're supposed to carve. I shouldn't even call it the wrong bevel. It's wrong for carving.
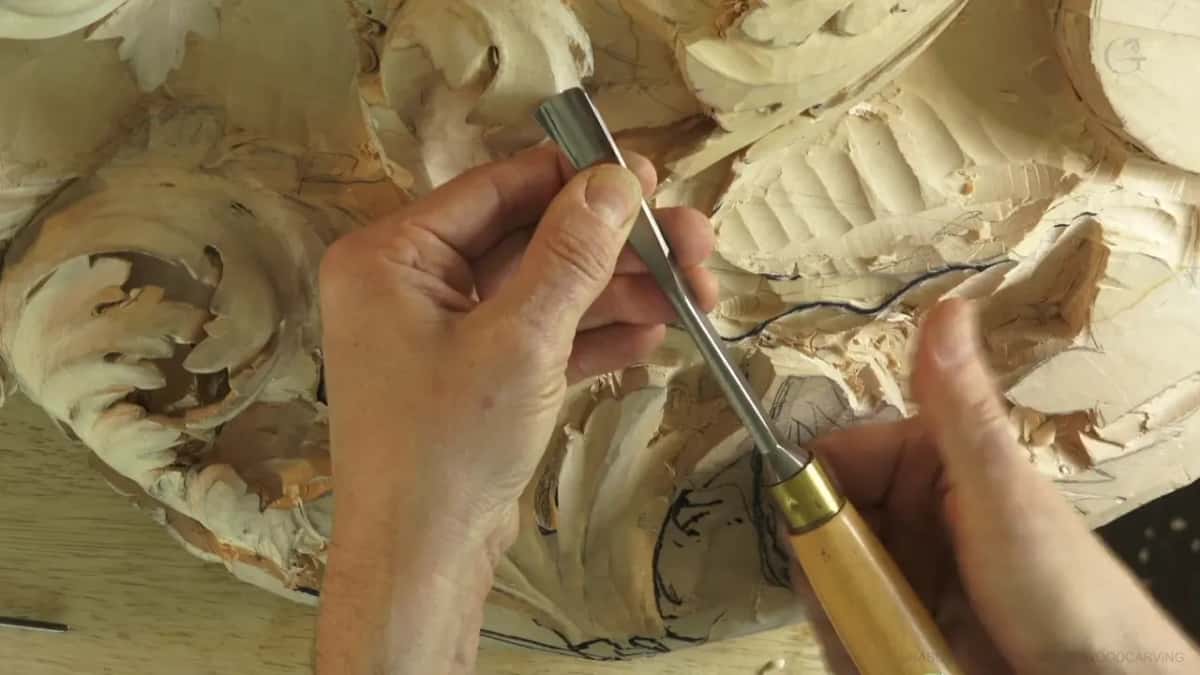
Sharpening has different stages, and the main stage is actually to reshape. You take a tool and completely reshape it. Stage number one, whenever I get brand new tools, is reshaping to a much lower bevel.
When I went looking for an unshaped tool to hold up on camera I had trouble finding one. Almost everything in my shop has already been through this.
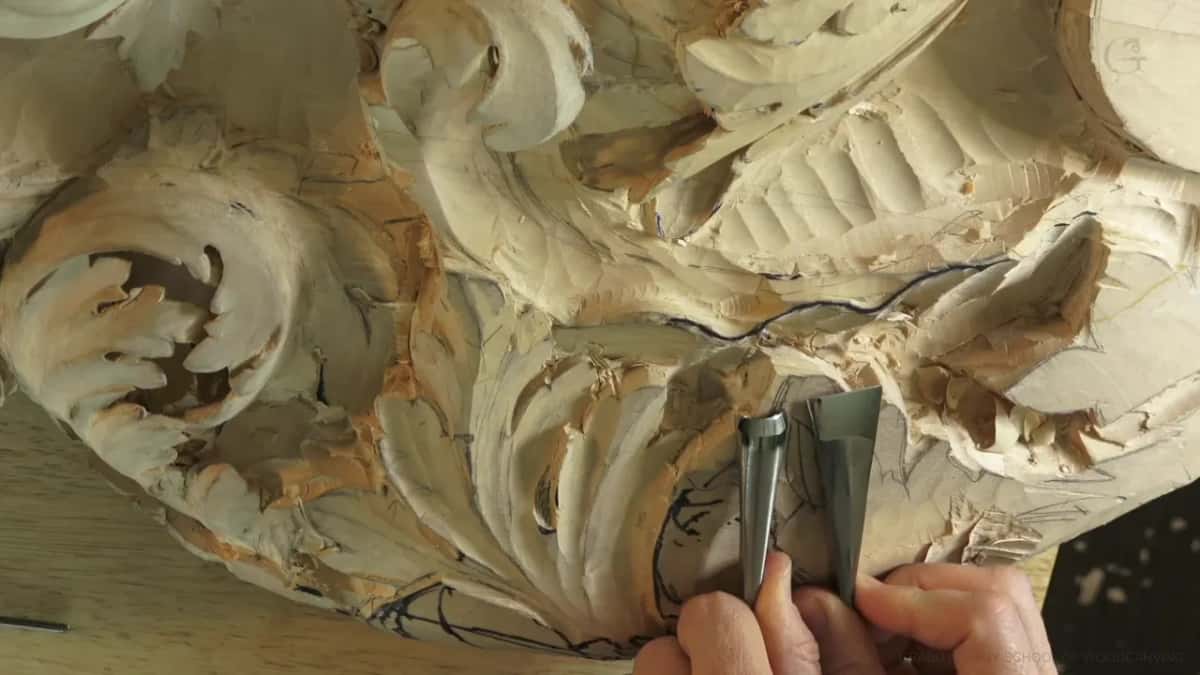
How long should the bevel be?
Mine are long. Really, really long.
Up close, the tool I showed has a bevel of approximately 20 millimeters, about three quarter of an inch. Some tools get ten, some fourteen, and a few go to twenty-five millimeters, near enough a full inch. On a one millimeter veiner it cannot be that long, so there I land at five and a half millimeters or so, about three sixteenths.
Lay the tool on the wood as if you were carving and try to slide your hand under the handle. You should barely fit, knuckles brushing the surface. If the tool grabs the wood at that height, the bevel is right for hand work.
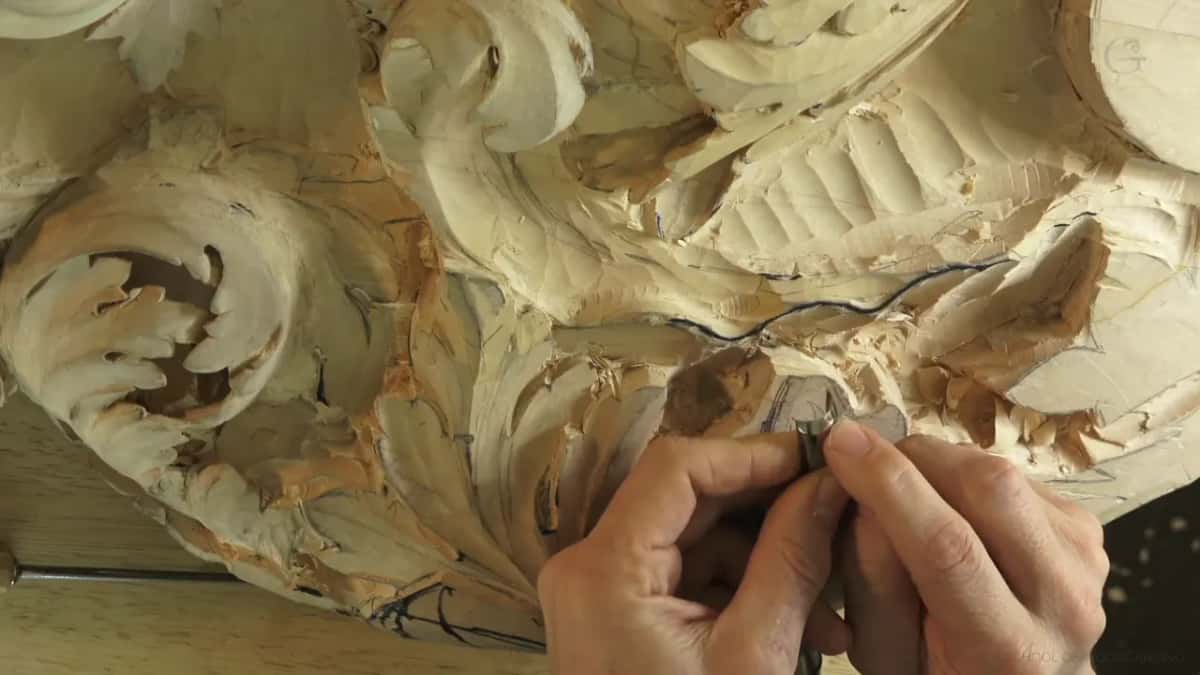
When it does not grab, look at the back of the bevel. A short bevel sits too high and the tool rides on its heel, which is the name for that back corner of the steel.
With a mallet it changes. You have to raise the tool so you're able to hit, so that bevel is supposed to be a little higher. Even with the mallet, I still make my bevels really, really long.
Why does a grinder wheel weaken a long bevel?
Every grinder is a wheel. The tool comes at it from one side, at whatever angle you choose, and the wheel grinds a curve into the bevel. Tormek turns one way, most of the others turn the other way, and none of that changes the outcome. The bevel comes off hollow.
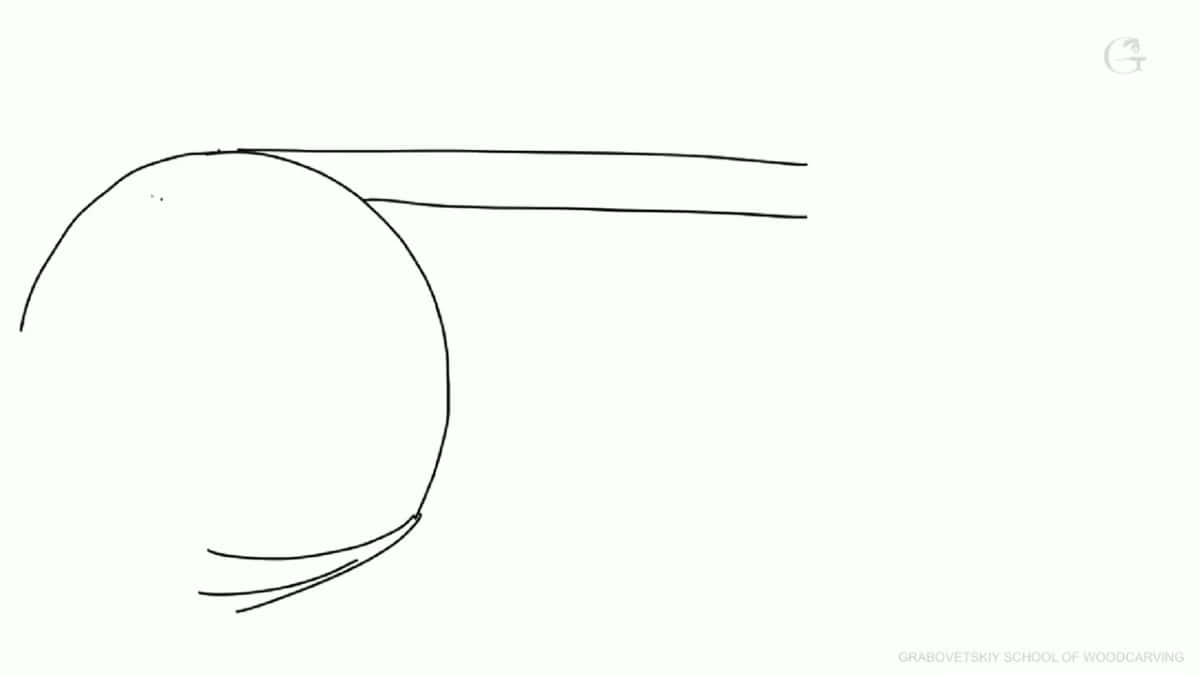
I drew it on the whiteboard, exaggerated on purpose. Other grinders still make that curvature, and it doesn't matter how expensive they are.
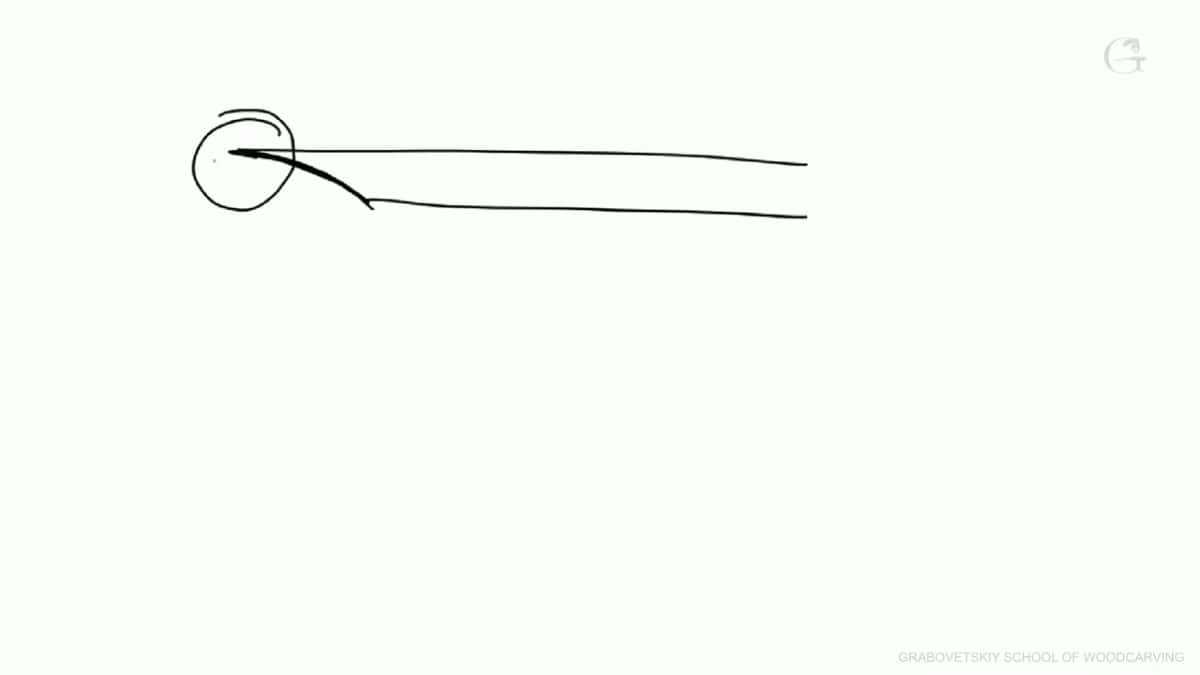
A short steep bevel does not suffer from the hollow at all. A turning tool with a high angle never notices. But run the bevel out to twenty-five millimeters and the hollow eats into the steel right behind the edge, and that spot gets thin. Thin enough to break.
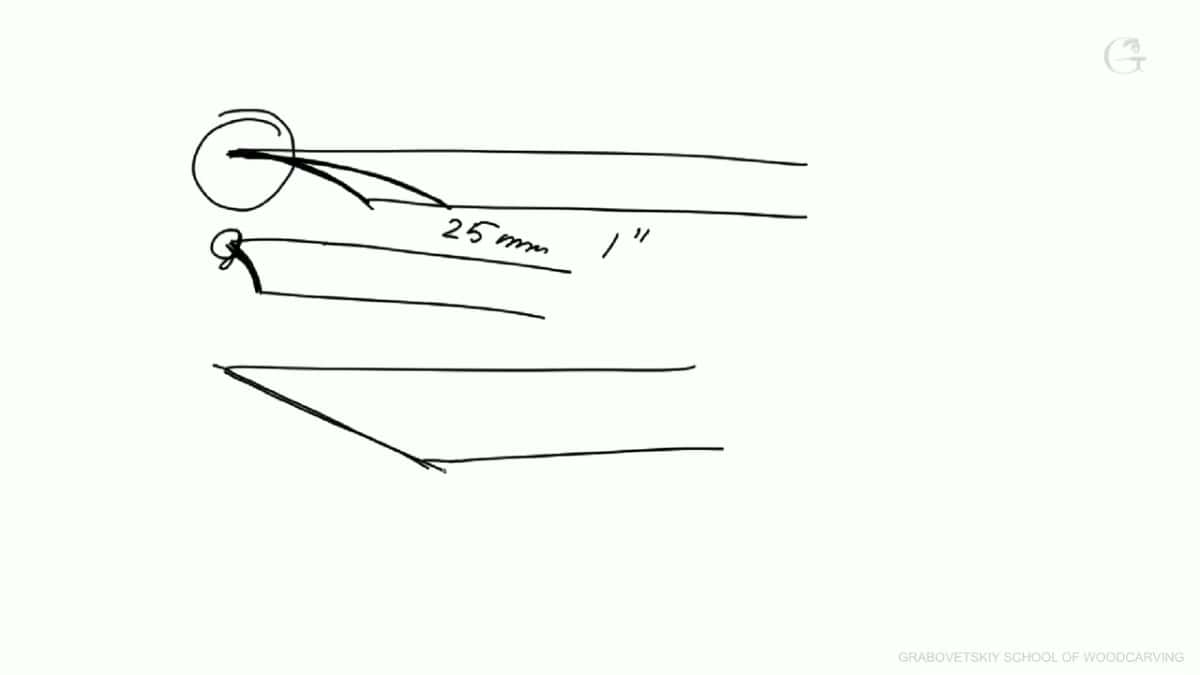
I had half a thousand gouges, chisels and veiners to think about. I did not want to destroy a single one. There's a whole lesson on sharpening a large gouge if your tools are on the big side.
Why not just use stones?
A stone gives me an absolutely flat bevel, and the point is not as weak.
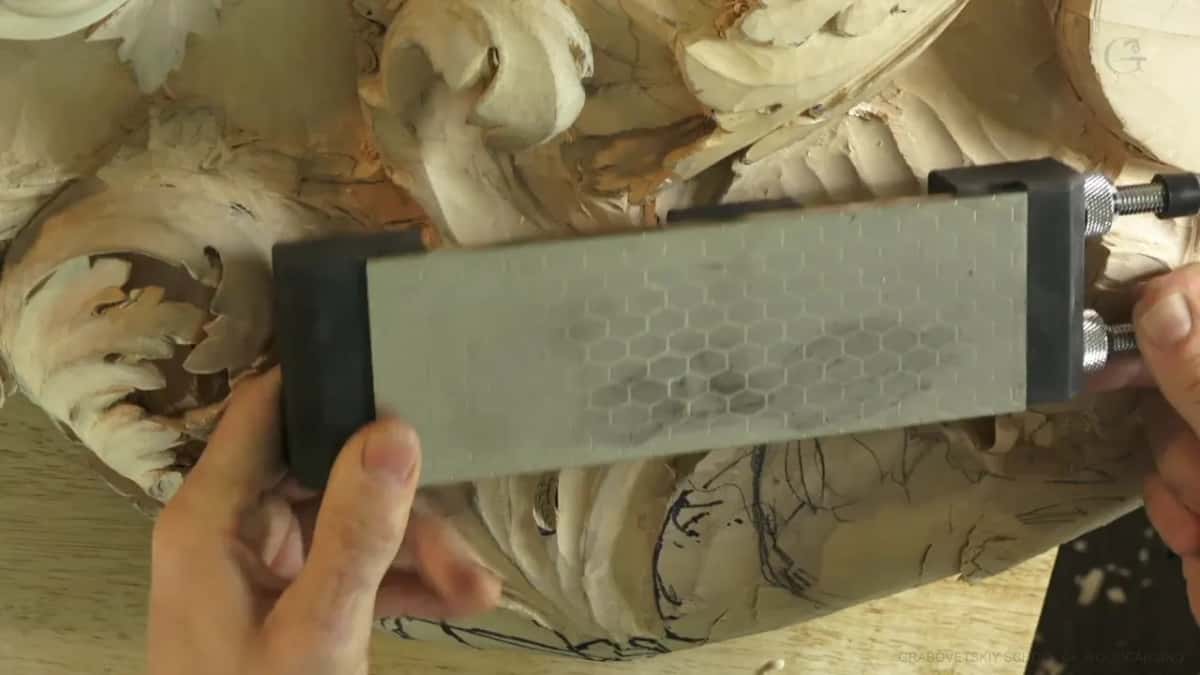
It takes forever to put a twenty-five millimeter bevel on with a stone, and it makes no difference whether the stone is water, oil or diamond. There is a workshop of its own on diamond discs. One of my good water stones is double-sided, and I usually work with four of them. They have to be trued flat again and again. They take up room. And they want water, all the time.
It's moisture in my shop, close to my tools, and I don't think I like that idea.
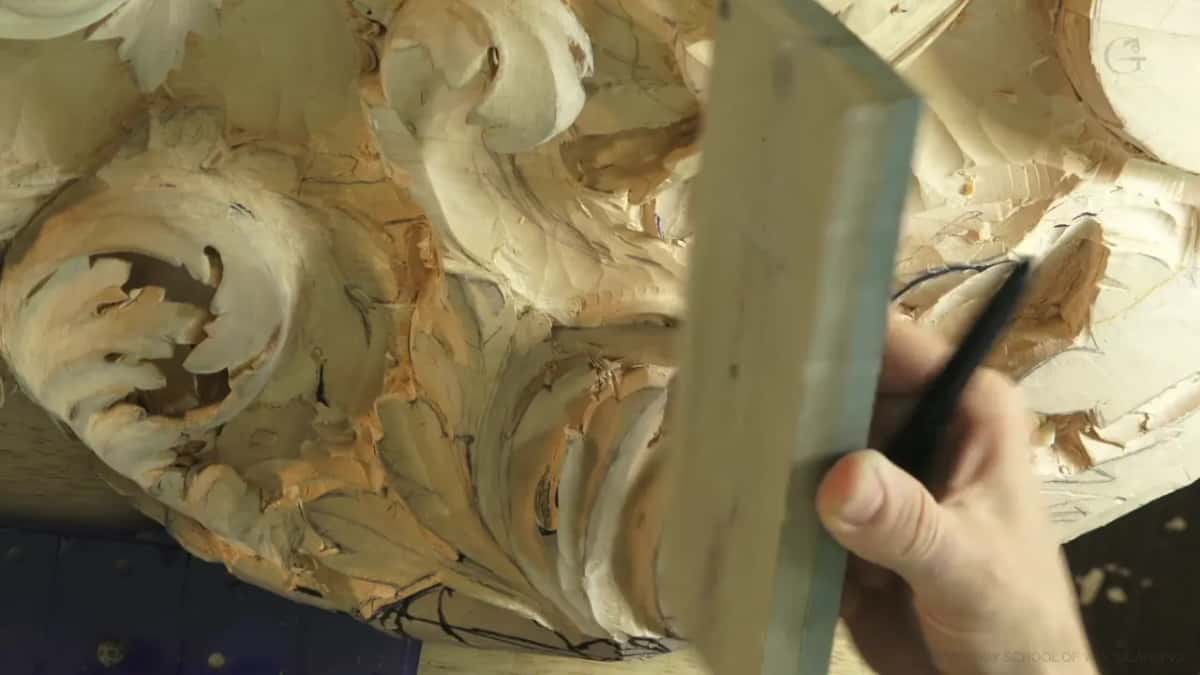
Nothing is wrong with sharpening by hand, by the way. People did it for hundreds and thousands of years. If you don't have any machine, take a stone, start shaping to take out your heel, follow the curvature, and keep going up the grits. It just takes a really long time. I'm in production, and with a tool like that it sometimes takes hours to reshape.
If I don't want to spend money on expensive stuff, I can use just sandpaper on a flat surface, the same as a stone.
What about a Tormek?
I love the jigs. Whoever worked those jigs out is a genius, and I still use them.
The machine itself I love only to a point, and here is the caveat. It has one wheel. One. The truing stone has a rough face and a fine face, so the grinding wheel can be dressed two ways, and that is the whole range you get. Rough, and semi fine. Two grits.
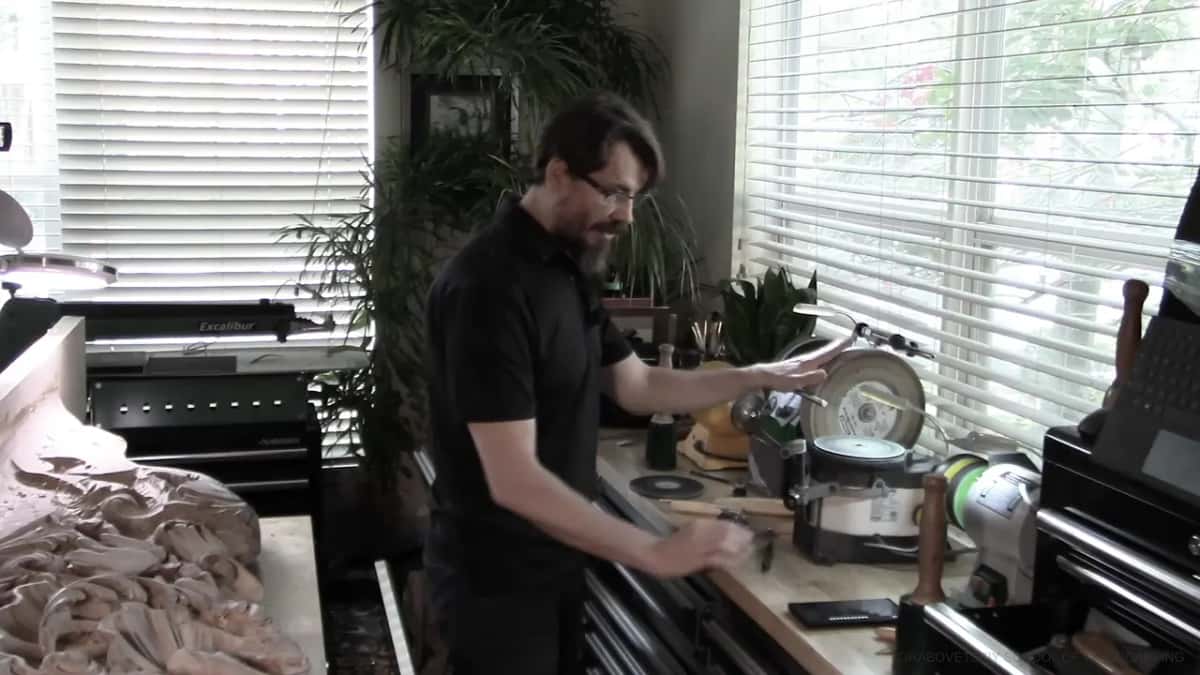
It wants water as well, constantly, because the stone has to be fed. Tormek does sell its bar on its own, though, and you can clamp it close to any machine and keep the same jigs, on a flat surface with no hollow grind.
What ended up on my bench instead
I walked into a store one day and found an inexpensive machine imported from overseas. A Work Sharp.
I had my doubts about it. It's a little flimsy, and it does not even sit flat on my bench. Switch it on and the wheel itself flexes and rides. I walked in and out of that store more than once before I bought the thing.
What sold me was the wheels. They are glass, and you stick sandpaper onto them. On glass wheels I've got 80, 120, 220, 400, 3,600 and 6,000 grit, and I can put on 600, 800, 1,000, up to 12,000 if I need to. A leather wheel strops and a felt wheel buffs. Swapping one takes about ten seconds.
The paper costs almost nothing, it lasts a long time, and when it wears out I tear it off and put another on. And there's no water near my machine or my tools. It's really slow, and it's not burning my metal. I can touch it, and it's a lot safer than any of the grinders.
The bevel comes out flat, because the tool rides just on the wheel. It used to have a bar attachment made by Work Sharp, but they don't make that part anymore. There is a whole lesson here on fitting the Tormek bar.
| Method | What it does to the bevel | Grits | The trouble |
|---|---|---|---|
| Tormek grinding wheel | curves the bevel and weakens the point | two grits | water must feed the stone constantly |
| Stones by hand | absolutely flat bevel, and the point stronger | four stones | slow, need truing, space and water |
| Work Sharp wheels | flat bevel because it rides on glass | any grit | a little flimsy, bar no longer made |
| Paper on chip | does what a slip stone would do | 3,000 shown | at half millimeter, paper alone works |
Which grits does the tiny veiner get?
For the small tools I skip the coarse papers entirely. About 220, then 400, then 3,600, then 6,000, and finally the leather wheel. I use the older bar with Tormek jigs, but the sharpening itself is done on the Work Sharp, and I just change the grit. That is what I do on the outside.
The three millimeter in that April stream started much coarser. I reshaped that new Schaaf number 11 on an 80 grit CBN wheel. Water never goes on a CBN wheel. I know some carvers do it, but that's a big mistake.
You treat this tool the same as a V-tool. The sides are like number 3 gouges, the bottom is like a number 9, and you just follow the tool. My bevel there is usually around 22 degrees, or even lower, and I eyeball it. I don't measure anything.
I go really close, but not too close, about 1/64 of an inch from the edge, because the metal is not always consistent until I change the grit. I did not press at all, and it took literally a few seconds. I just saved a couple of hours at least. Then straight to 800. I could use 180, but I don't need to.
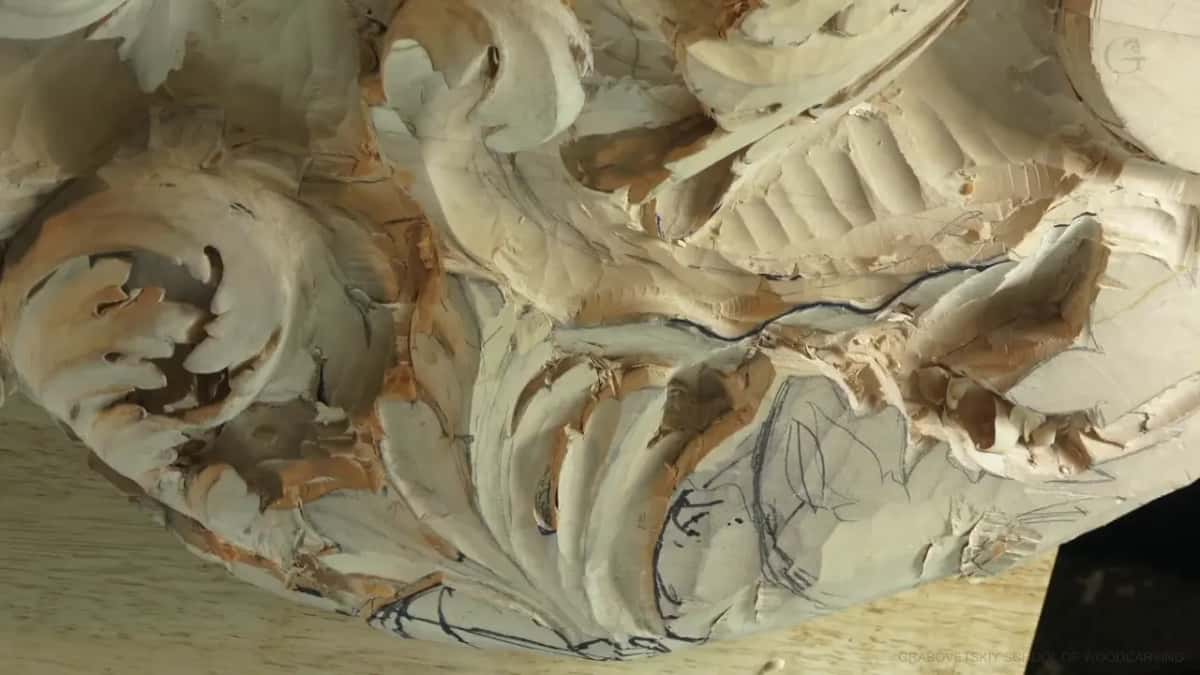
Why do tiny tools need a bevel inside as well?
A few different reasons exist, and in this lesson I gave two of them.
The first one is the point. Even with a long, low bevel, that point is still really, really weak. When you make the inner bevel, you make that point much stronger. You still have a really long bevel, low profile, and you still fit your hand underneath with no problem, but your tool is much stronger.
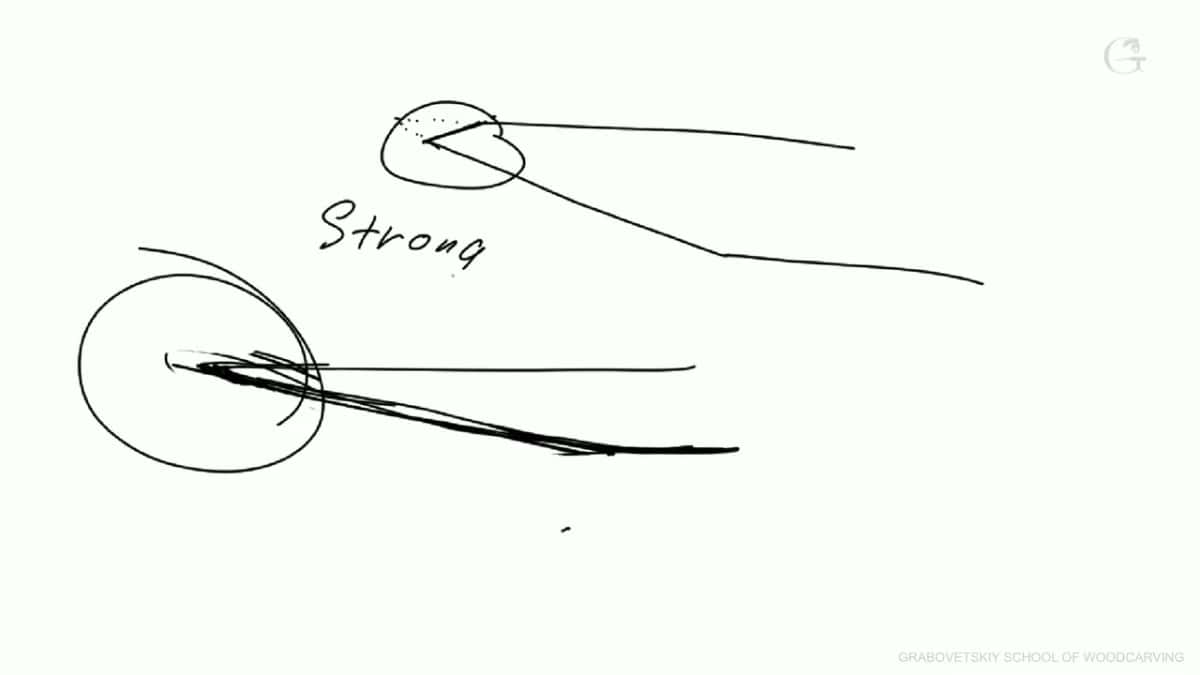
The second reason is how you actually work. You don't use the tool only in one position. You also use it upside down, and you still have to be able to carve.
On some tools I go further and round the heel off as well, so the whole back sweeps smooth right up to the point. After the outside I'm usually working the inside, a micro bevel, which is always a good idea.
What gets inside a tool this small?
On another tool it would be easy. You could use slip stones, and as long as one fits on the inside, you make your inner bevel with it. The three millimeter in that stream got its inner bevel from a soft Arkansas stone first, then a translucent one, with oil or without, until I felt the burr.
Nothing fits a half millimeter veiner. Slip stones are not made that small, and the ones that do exist are not cheap.
So I use paper.

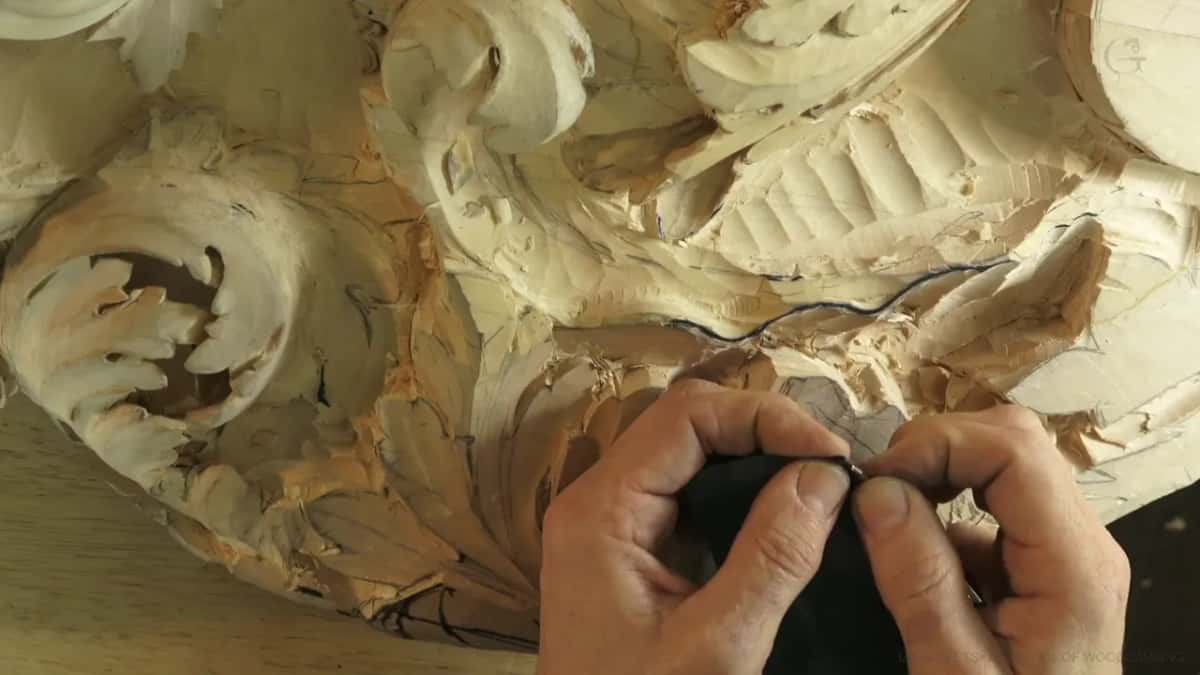
Take a chip off the bench, one of the shavings from yesterday's carving, and wrap the sandpaper around it. You do exactly the same thing you would do with the slip stone. The chip does the work at one millimeter. On the half millimeter you do not even need it, because the folded paper alone goes in.
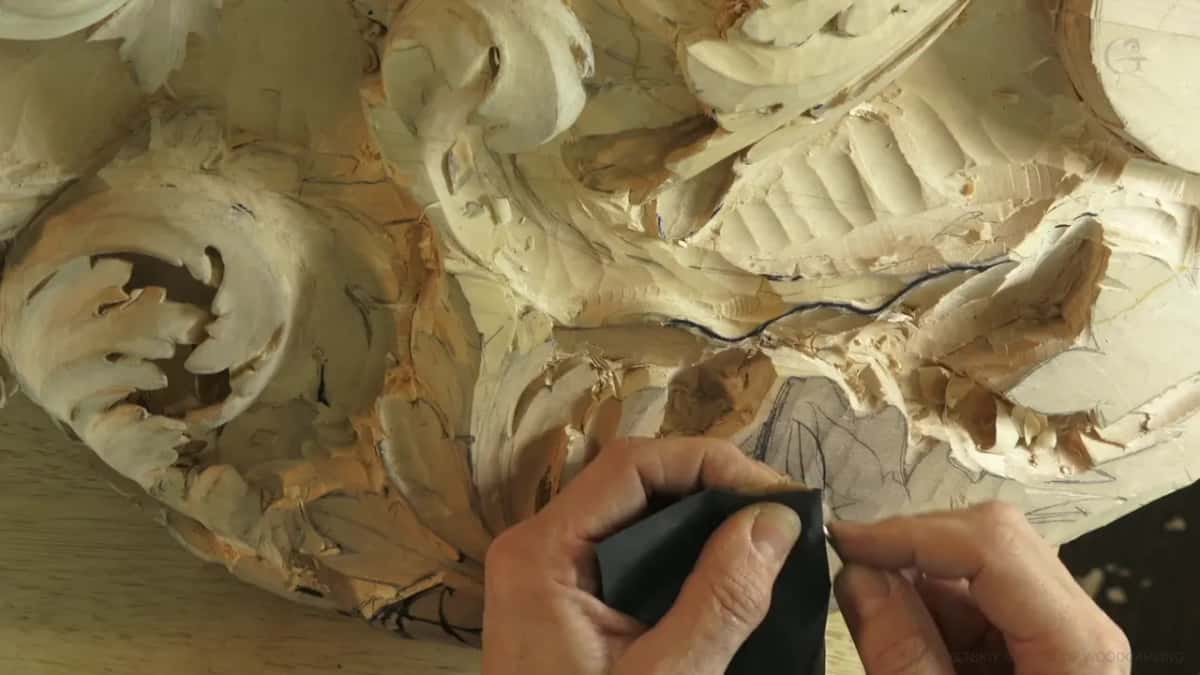
Sandpaper buffs the inside too. This one is a 3,000, and that's how I buff on the inside. But it's beautiful. It just gets the job done.
The paper I like is silicon carbide, an abrasive made for machine shops and for car work. Waterproof, so you can wet it. I keep 3000 on the bench and I have it up to 12000. But you can use just a 220.
How do you finish the edge after the paper?
Next is stropping. I like leather glued on a Work Sharp wheel, with green paste by Koch, but any paste will do. Here I don't use the jig, because the leather is thicker than the sandpaper. It makes the bevel higher, so I do it by hand.
Then I buff on a felt wheel with blue paste, almost no pressure. I'm not afraid of a rounding effect at all, as long as my tool carves really sharply. Two minutes without the talking, and it's an absolutely sharp tool. The long version of all this has its own lesson, stropping, honing and buffing.
Do you need a whole wall of tools?
In the last part of the lesson I showed a gift from Schaaf Tools, a double-sided diamond stone, 1,000 grit on one side and 400 on the other. Really flat and nice.
They sent me a set of seven tools too. I reshaped one on my Work Sharp, about a 20 millimeter bevel with a nice bevel on the inside, and it carves exactly the same as Pfeil tools. For a grapes video on YouTube I did not even reshape them. I took them straight out of the box and carved the whole project. I only buffed them a little bit, and they hold an edge, no problem so far. There's a lesson on Schaaf carving tools too.
If you're just a hobbyist, you can buy pretty much one set and forget about spending. There was a time when I carved with only one knife and one gouge. That's it. And I carved. You really don't have to have a lot of tools, especially just doing a hobby.
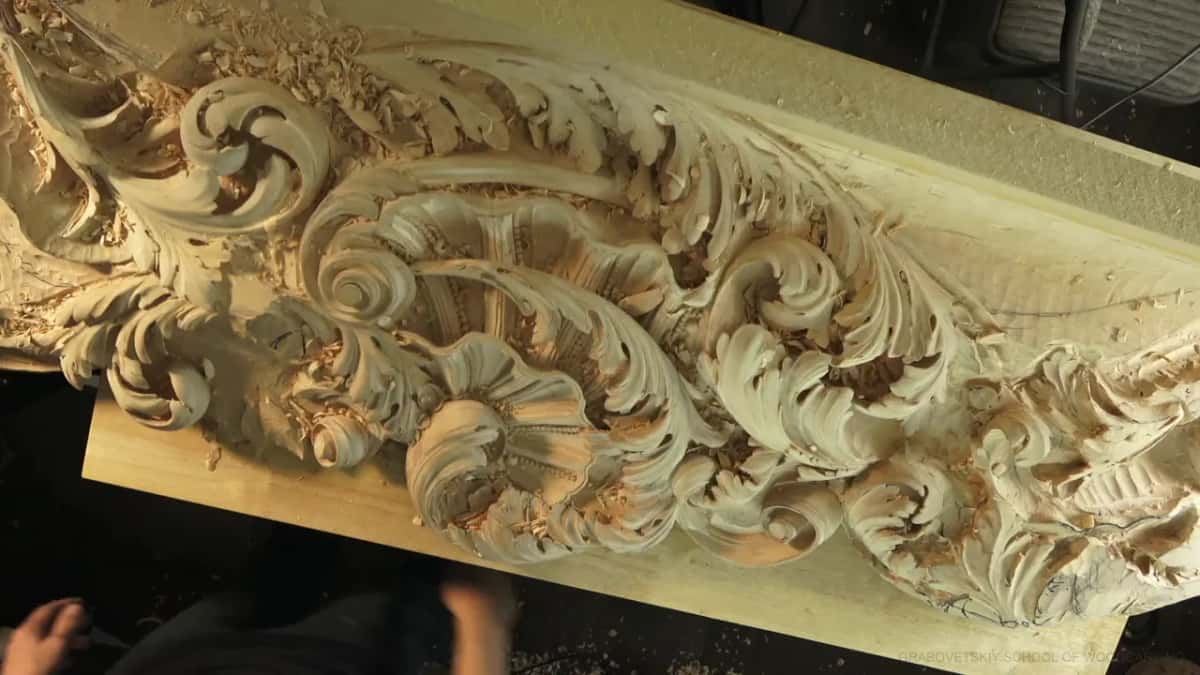
Professional work is a different animal. Once a piece gets deep and complicated, once you have to go underneath and excavate the inside and keep the movement running through it, one tool will not reach. You cannot get into those cavities with a single gouge, so the collection grows because the work demands it.
The straight gouge has its own lesson, and so does the spoon gouge. A back bent and a skew bent gouge each get one too. The jig I like for a fingernail gouge does the same job on a veiner.
The lesson runs four videos, with the whiteboard drawings that make the hollow and the weak point obvious, and the camera close on a one millimeter tool while the paper goes in. All four come with your tuition.
How it's done
- Reshape it first. Take the bevel the tool came with down to a much lower one before anything else.
- Set the bevel length. For a one millimeter tool, about 5.5 mm (3/16 in).
- Check it with your hand. Rest it on the wood as if you were carving. Your hand should barely fit beneath the handle, knuckles brushing, and the tool should grab the wood at that height.
- Use a flat wheel. A Tormek jig on the bar, sandpaper on the glass wheel of the Work Sharp, so the bevel stays flat.
- Climb the fine grits only. On micro tools the coarse papers get skipped completely. Work 220, then 400, then 3,600, and finish at 6,000.
- Strop on leather. Finish the outside of the tool on the leather wheel.
- Wrap paper on a chip. Take a shaving off the bench, wrap a piece of sandpaper around it, and use it just like a slip stone.
- Make the inner bevel. Work the inside until the point is stronger, and buff it with the 3,000. For the 0.5 mm size, use the paper with no chip.
Frequently asked questions
How small do number 11 veiners go?
The smallest Alexander showed is 0.5 mm, about a 32nd of an inch. His number 11s also come at 2, 1.5 and 1 mm, among them a one millimeter from Two Cherries, another German one at the same size, and the smallest from different brands.
Does a new carving tool need reshaping?
Alexander calls reshaping stage number one and does it whenever he gets brand new tools. The factory bevel sits too high, so the tool rides on its heel instead of grabbing the wood. He had trouble finding a single unshaped one to show on camera.
What bevel length suits a micro tool?
About 5.5 millimeters, roughly 3/16 of an inch, on his one millimeter. Bigger tools go longer: about 20 mm on the one he held up, and 10, 14 or 25 mm on others. Under the handle there should be just room for your hand, and the edge should grab the wood.
What to carve next