
Alexander Grabovetskiy, woodcarver, School of Woodcarving · Published 2018
How do you sharpen a skew bent gouge?
Quick answer: Sharpening a bent skew gouge is the same job as any other gouge, because you still work just the radius, the sweep. Alexander sets a Tormek SVD-186 jig on zero for a straight edge, clamps the tool well back, grinds the lowest bevel he can on 80 grit, then 3,200 and 6,000.

Sharpening a skew bent gouge is the same job I do on my other gouges. The skew is no complication, because you're still working pretty much just the radius, the sweep. The tool goes in a Tormek jig set on zero for a straight edge, about an inch and a half (38 mm) back from the edge, and I grind the bevel as low as I can get it.
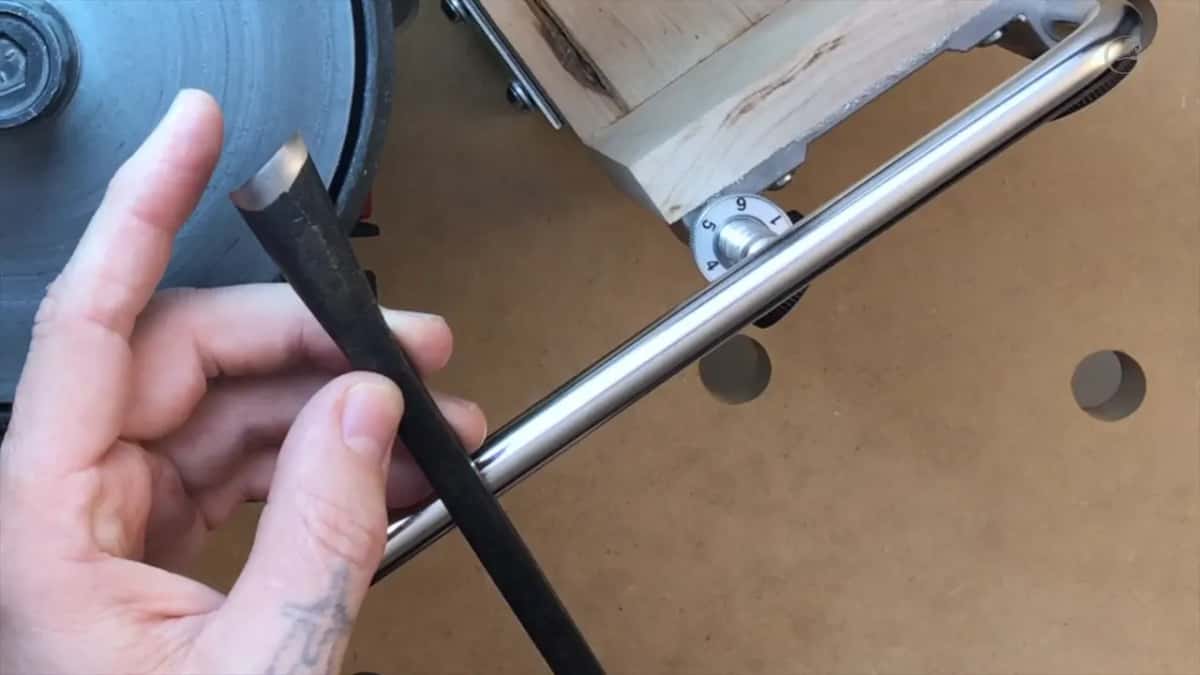
This one is a specialty tool by Henry Taylor. It's a short bent tool, and the bend is not big. It just slightly bends. It's also skewed, so it's a skew gouge, a number 8, and it is 5/8 of an inch (16 mm) wide. The edge is kind of rough. Never been sharpened, never been honed.
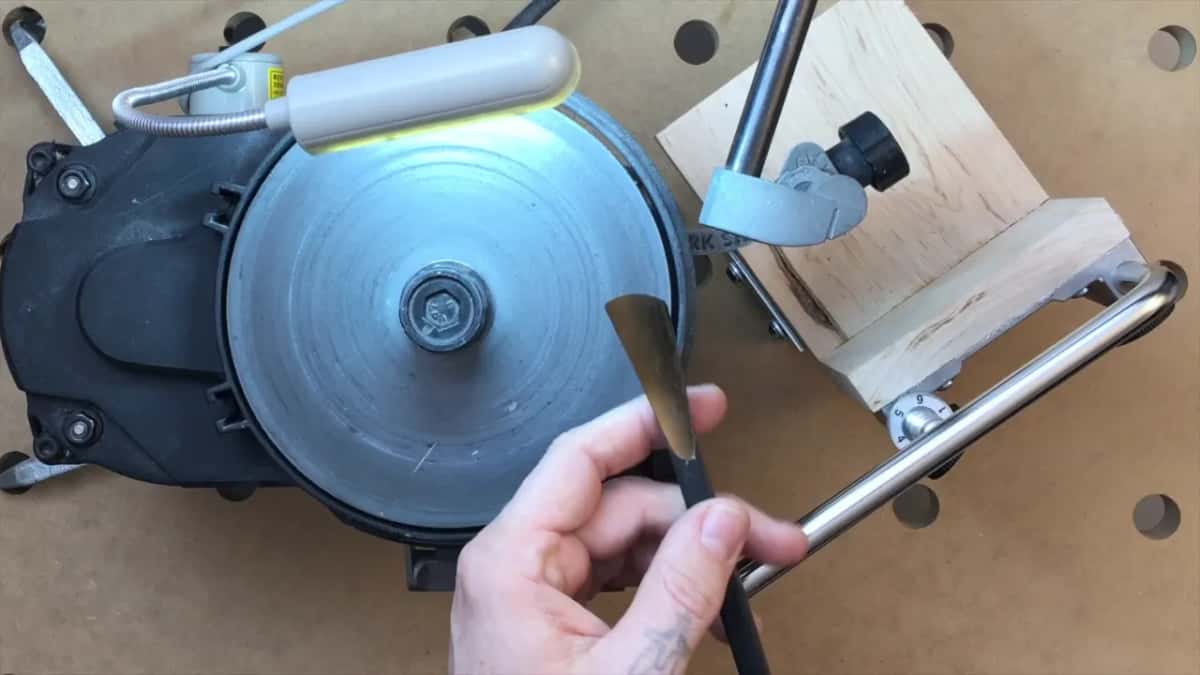
When I was teaching in-person classes, some of you asked me how I would attack a skewed tool, especially a gouge, and one that's bent. This lesson is my answer.
The short version, in the order I did it
- Tormek SVD-186 jig, the arrow lined up on zero.
- I don't measure degrees, and I go lower than the usual advice, under 10 when the tool lets me.
- One minute on 80 grit, then the finer side, the 3,200, last the 6,000.
- Near the center the wheel is less aggressive.
- Inside, a micro bevel of about 1/64 inch (0.4 mm) on two stones.
- Green paste on the felt wheel, or a couple of rubs on end grain, takes the wire edge off.
Why would you want a skew gouge?
Near the end of the lesson I took the question you probably have, why in the world you need a skew gouge. It's more useful than you think. Number one is the corner. You need to make a gouge cut, but sometimes you can't reach in a corner, and with this one you can reach as deep as you wish. Number two, if you like to do tracery, like a Gothic tracery, that tool you just absolutely must have.
I tried it after that. Even when you're just doing a push cut, because it's skewed, there's less stress. It's almost like a slicing cut. A slicing cut you normally have to rotate. With this one, a straight cut still creates the slicing, and when you do slice with it, it's still much better.
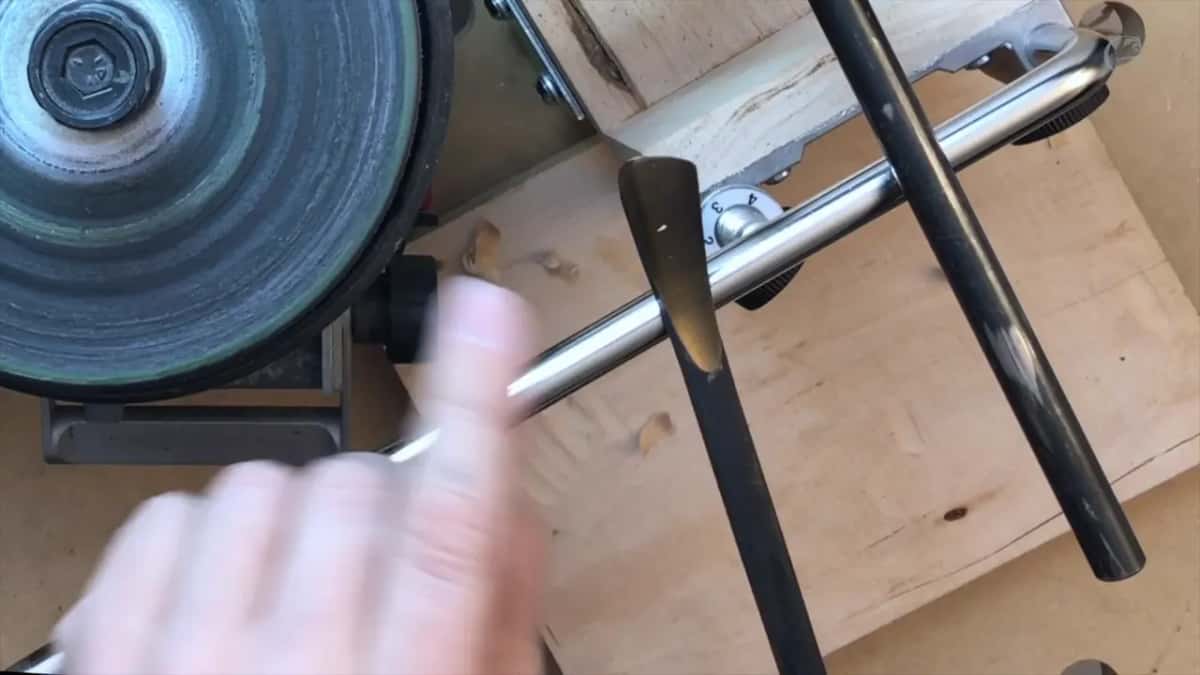
I said the same on the Hashemi flowers, in workshop 43. One of the best tools for the corners inside would be a skewed gouge, and mine was a number seven. If you ask me why I really like that skew gouge, it's the slicing. When you carve and you're moving your tool to the right or to the left, that creates slicing in the fibers. On a skew you don't even have to move it like that. Just push it, and because it's already skewed, it creates that slicing on its own, and especially it helps on the end grain.
Why is a skew gouge good for Gothic work?
In workshop 60 of the Venice Room I explained why those skews are so good for Gothic work. With similar skews, skewed from two different positions, it's really easy to connect two cuts together. Same tool. One is skewed that direction, the other one is skewed the other direction.
In lesson 5 of the Corinthian acanthus leaf I cleaned up with one. I have a right angle and a left angle, multiple skewed gouges, and some are slightly bent, by Henry Taylor. Those come really handy in work like that, where you get to really tiny spots. You'd be surprised. You'll use it much more than you actually thought at the beginning.
Can you make your own skewed gouge?
Finding one is the hard part. Sometimes it's hard to find those skewed gouges on the market. They're just not widely available. Buy just a normal number three or number five and reshape it, resharpen it. Even my number seven skewed gouge is one I made that way. Of course I resharpened it with a really low angle, and I can get really deep and remove a lot of material with it.
One of my students, a professor of design at a university, saw me using those skews, and he made his own from a number seven too. It's easy to do. I've even done some skews on the back bends. Not too many.
Does the skew make it harder to sharpen?
There's nothing complicated about this tool, and there's no complication because it's a skew. You're still actually working pretty much just that radius, or sweep, and it doesn't matter what shape you're making at the edge, skew or not skew. I do just exactly the same as I've done for my other tools.
Look at it on the wheel. A really strange form, a skewed tool, and there's still no problem. Where something did get in my way was the micro bevel inside, and I'll come to that.
Where does the Tormek jig sit for a straight edge?
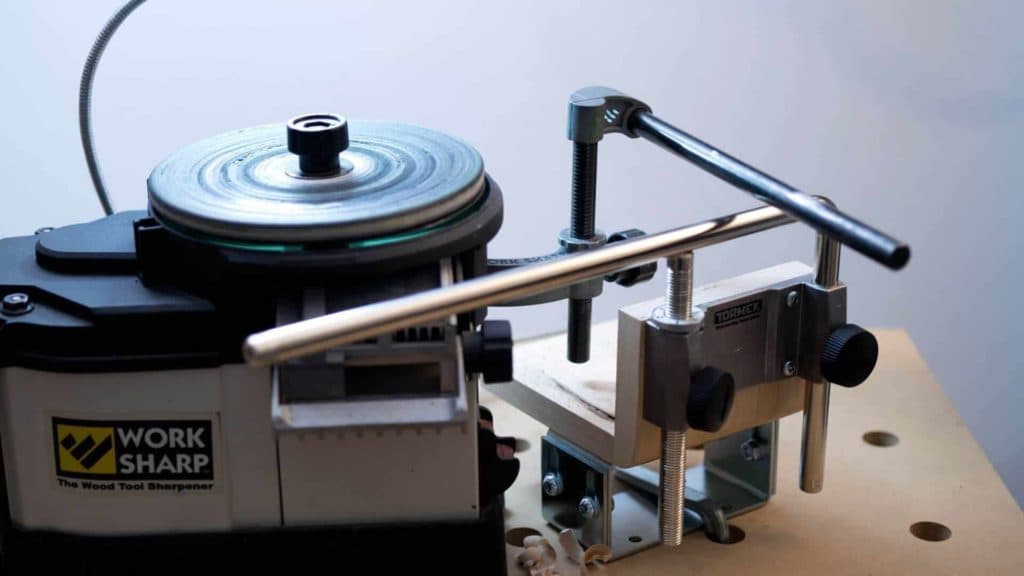
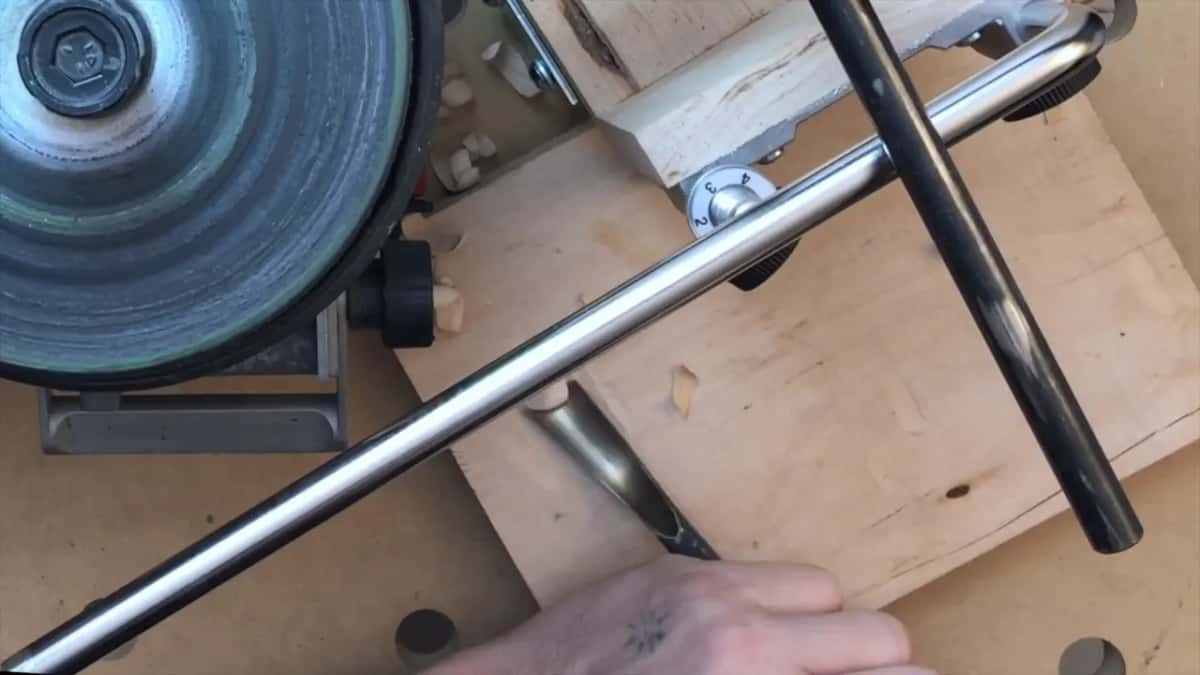
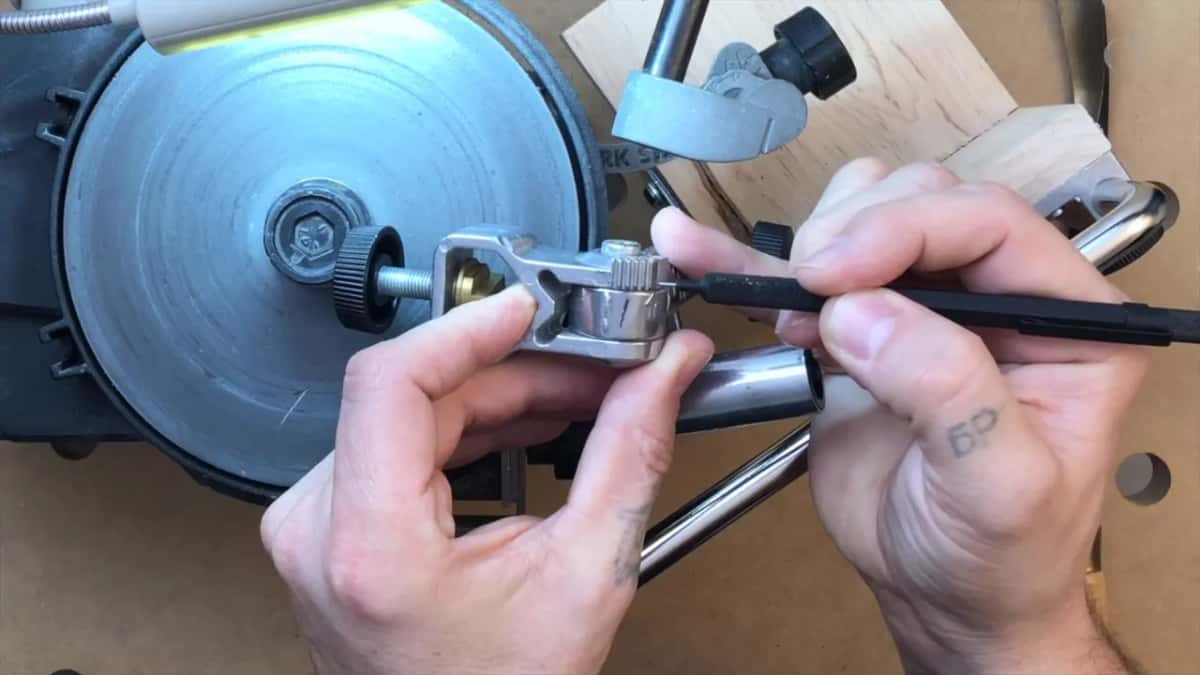
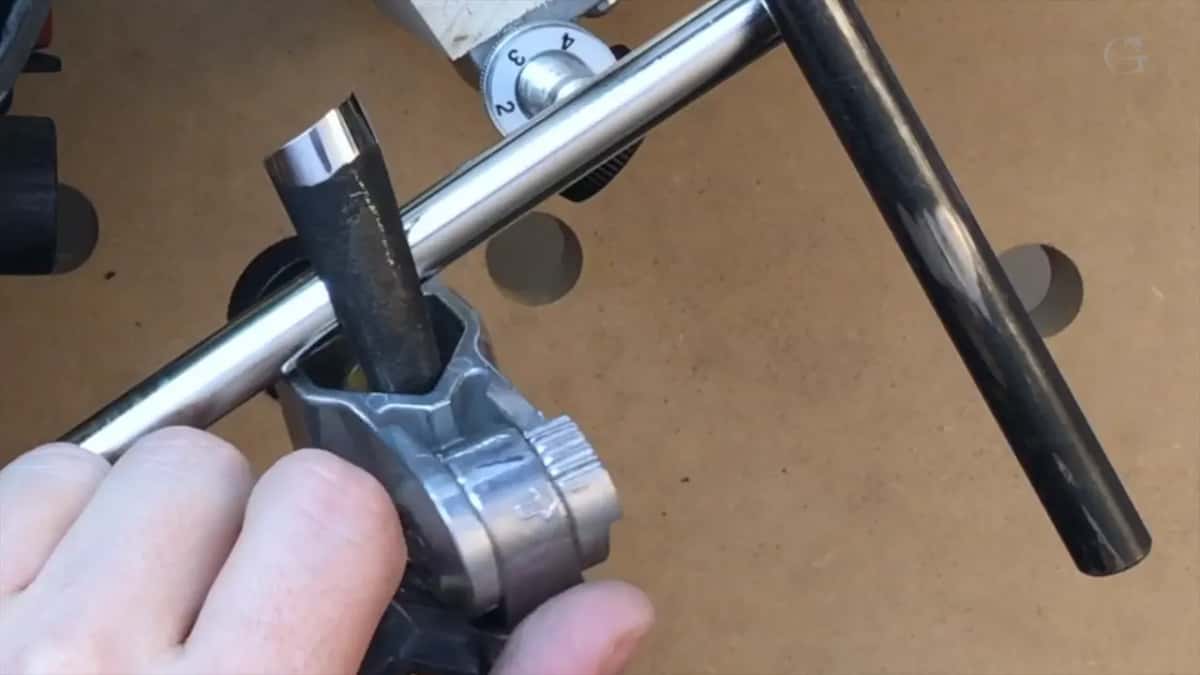
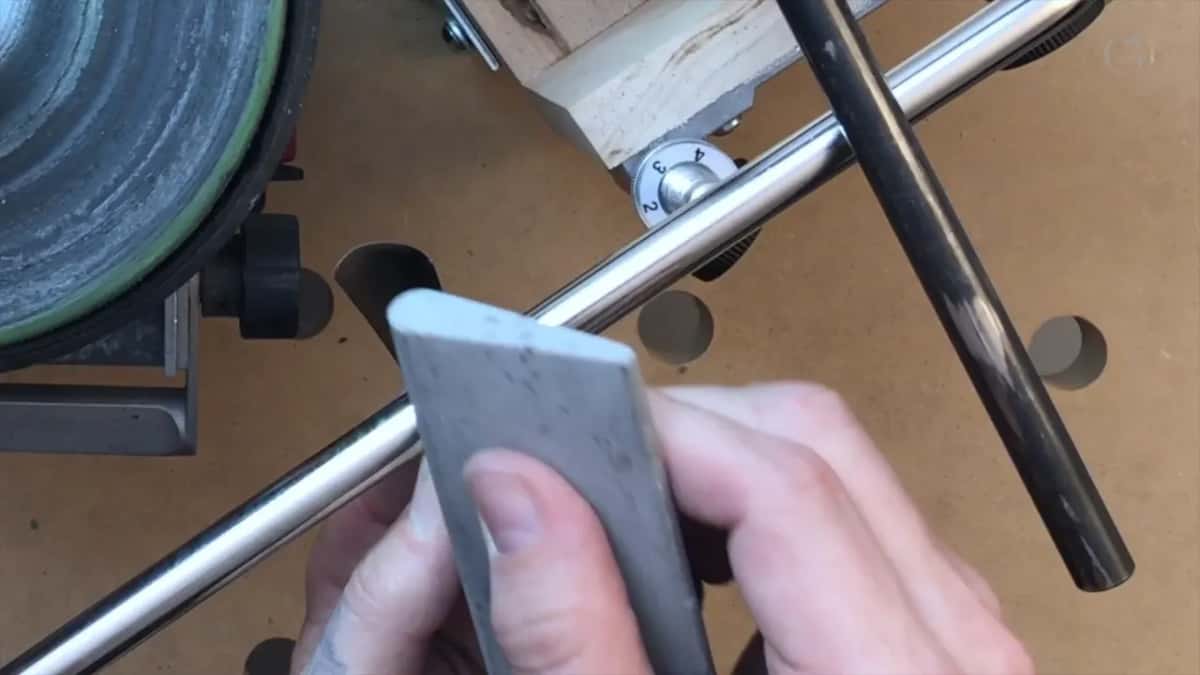
I really like to use still the Tormek jigs, and in this case I use the SVD-186. That is a beautiful jig. The jig itself has a scale of zero to five, and there is an arrow. I line up with the zero, so that's going to give me the true straight edge without making any fingernail movement.
For the fingernail gouge I readjusted that slightly forward, and it created the bevel as a fingernail. Here I want it straight. I place the tool and make it tight. I don't clamp it right up at the end. On this one I keep about an inch and a half (38 mm) from the edge.
What angle do you grind it at?
I get this question from some of you, what exactly are the degrees I'm using. First of all, I don't measure the degrees, because on some of the tools it's impossible even to measure. I know there are suggestions to go from 10 degrees all the way to 30 degrees, and if you set 22 degrees, you'll be safe. But I go even lower. It could be less than 10 degrees, or less than 5 if I can do that.
The reason is just that it digs in the wood much better. On this one I could probably measure the bevel, but I'm not going to.
Can you find the angle without measuring?
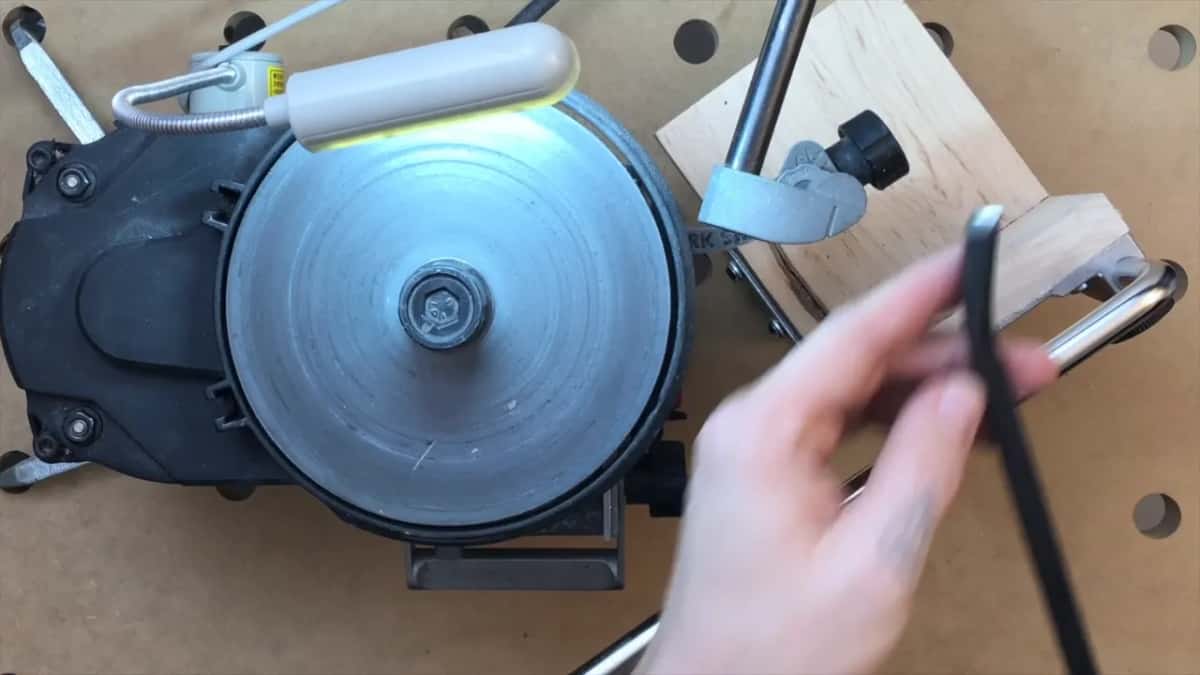
I check just my heel, this backside. I take a marker and kind of mark it, and then I try to get the lowest I can, and I just eyeball it and see what happens.
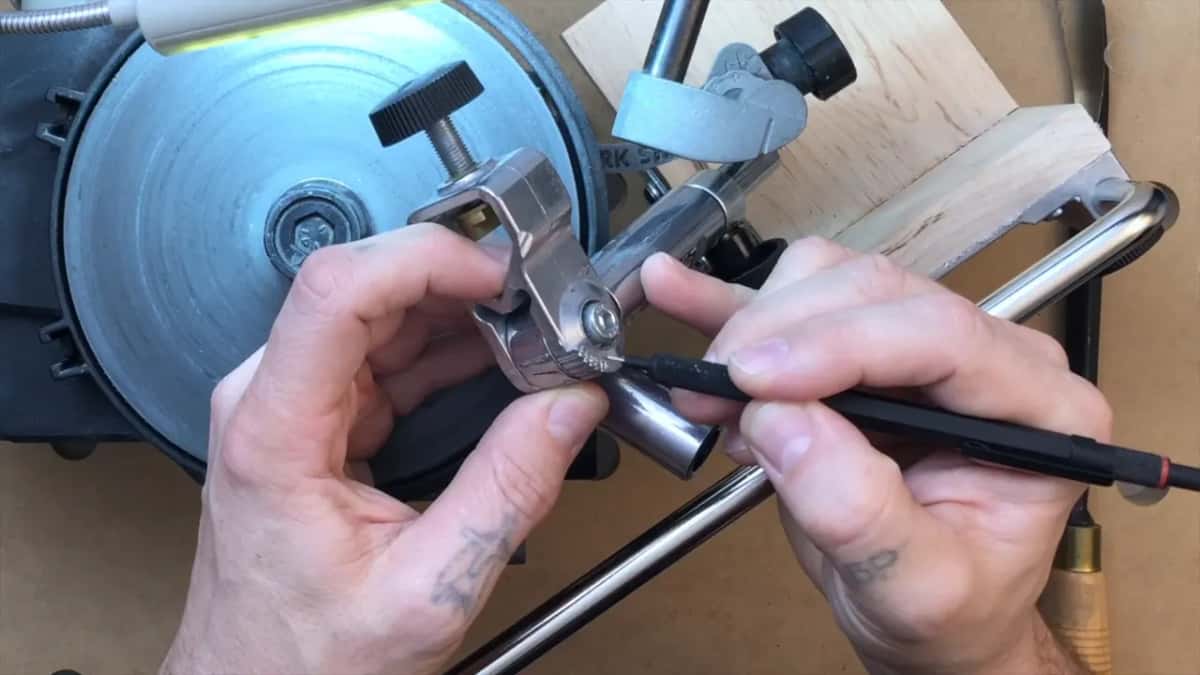
I checked, and it looked perfect. If I need to adjust, that's really good too. This tool bar adjusts a lot better than the original one made by Work Sharp, and you can micro adjust it if you need to. It looked like I was already there, but I made it even lower slightly. Not much.
Those bars have a story of their own. In late 2017 we found out Work Sharp doesn't make those bars anymore, and in the L-bracket lesson I show what I did instead. I bought the Tormek jig for a grinder and attached my bar to a dovetailed piece I kept from setting up my dovetail jig. Now I can clamp it to my table, raise it and lower it, and use it on the Work Sharp, on the Koch machine or on another grinder.
Why does it matter where the tool sits on the wheel?
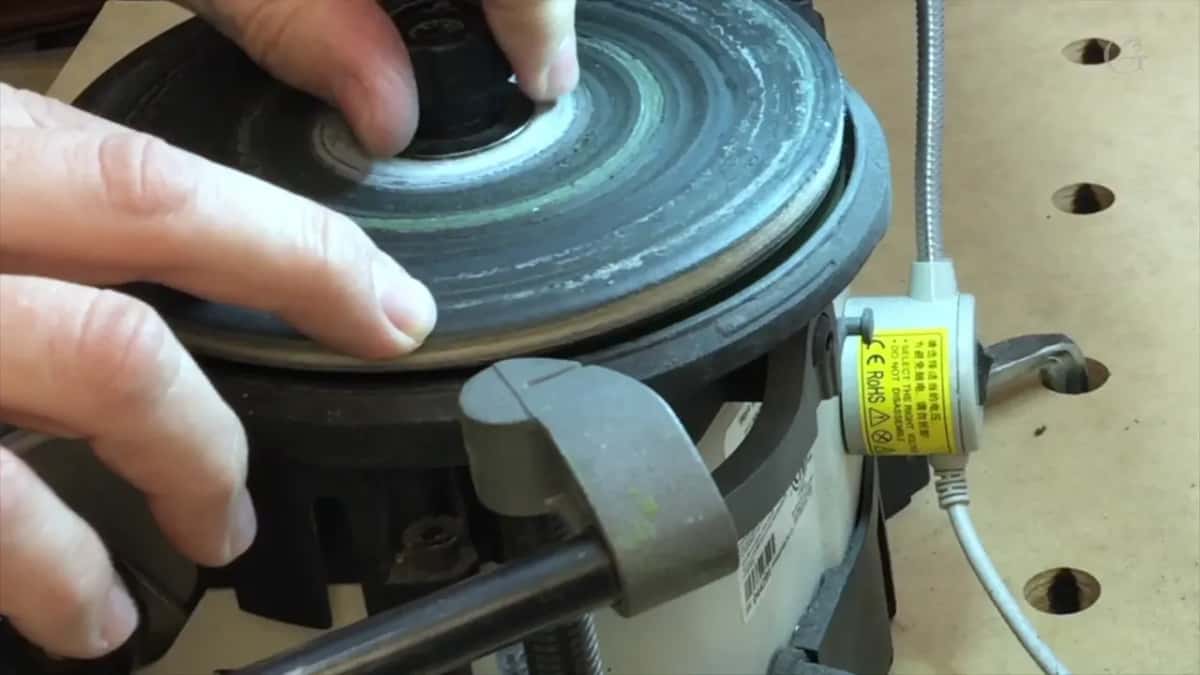
Please, you should understand the rotation. The closer to the center you hold your tool, the less aggressive it's going to be, and more to the outside of the wheel, it's much more aggressive. So on this tool I checked if I could be closer to the outside. It looked really good.
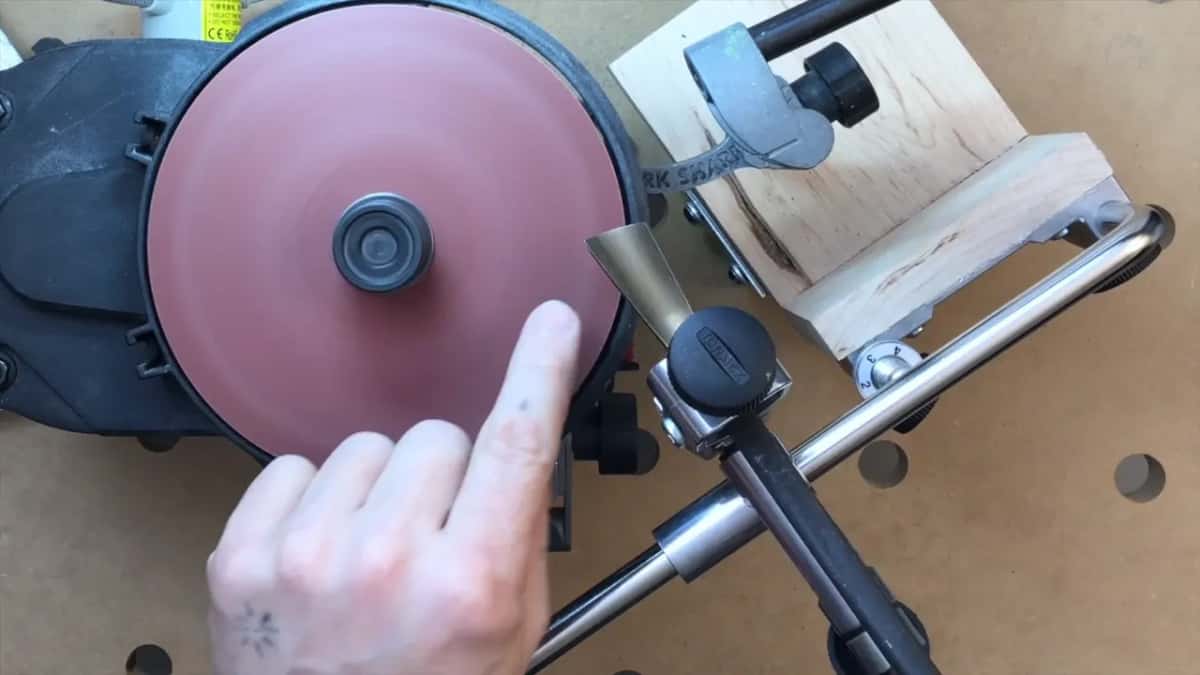
Out there I have to be really careful not to hit the edge.
Why not use a regular grinder?
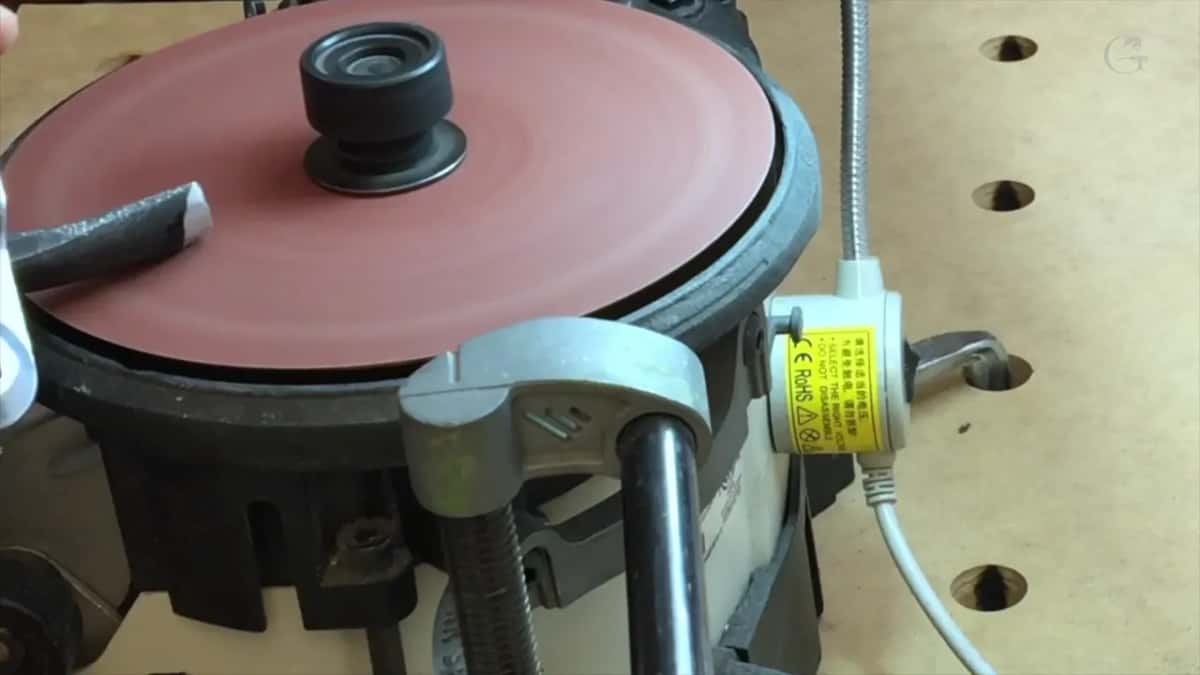
On another grinder, yeah, it would be also quick, but the problem with just the regular grinders is the wheel. It doesn't have a flat surface. It creates the concave, and I don't like that concave.
At my in-person sharpening class on the Maine coast I told the students why. Every grinder is wheel-based, and the bevel on your gouge or your chisel comes out hollow, and that part becomes even weaker. On wood turning tools, where the bevel is really small and short, it's even better. Number two, the grinder overheats the tool, even if sometimes you don't see it becoming blue, and you'll break it really quickly.
How fast does the outside bevel come up?
Step number one, as always, is a coarse grit. Brand-new paper went on, and that's 80 grit, because I want to take as much material as possible at once. By the way, the light on this machine is attachable and detachable. It can go to another machine and still work as a light. I kind of like that thing.
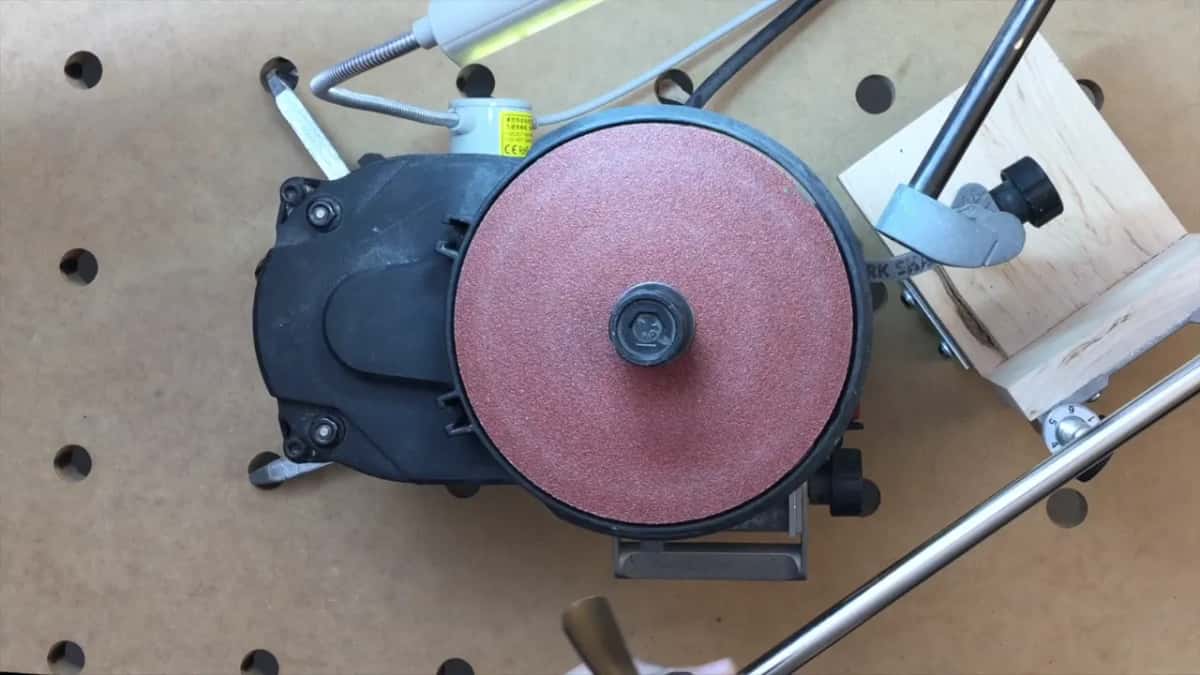
It took me less than a minute just to grind that. Next I flipped my wheel and cleaned it. That side is a much finer grit, and by the time I've used it a lot, it's already like 300, I would say. One side needed a little more, so I took it carefully, and I barely put any pressure on it. In maybe a minute, it took out all of those marks.
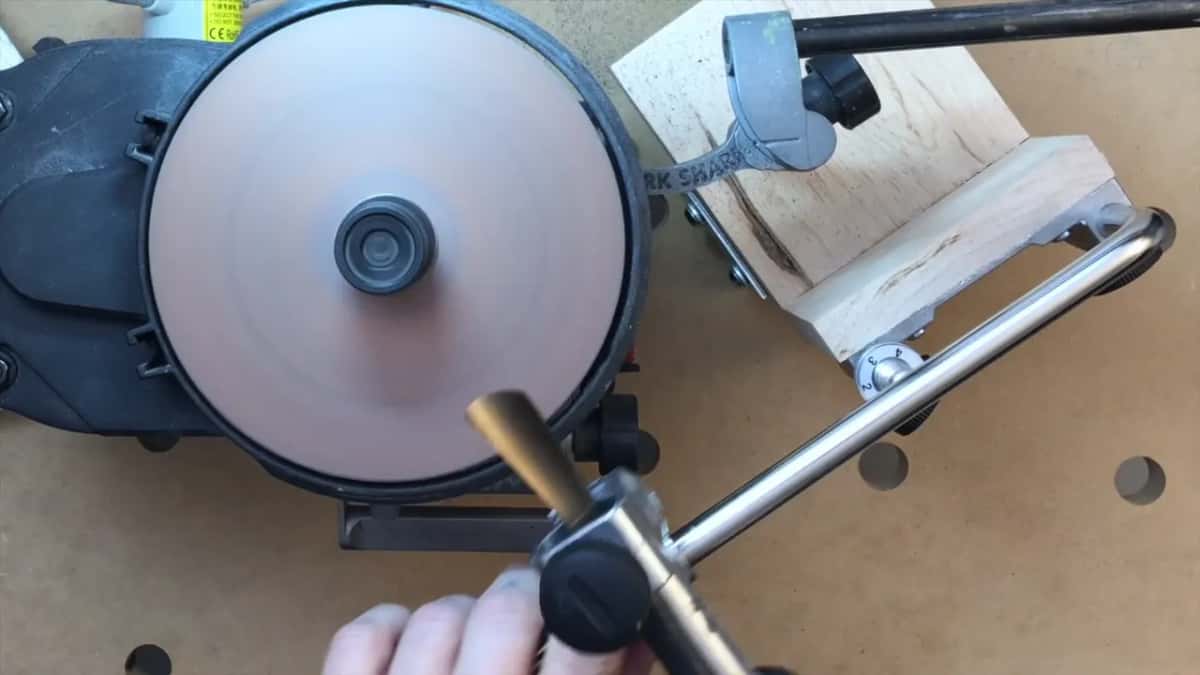
Then a finer grit again. This one is a 3,200, and you can't do that with any stone if you're doing it by hand. It's like a mirror already. I can feel the actual burr, or wire edge, on the other side, and I'm not going to take it out for now.
Then 6,000 grit. Like I mentioned in other lessons, you really don't have to do that. I like it, and I will. Each one took just about one minute, so three minutes total of working time, and then another minute on the 6,000. And that's absolutely mirror. No marks. I can see myself right there.
| Stage | Abrasive | Time | Signal |
|---|---|---|---|
| Grind the bevel | brand new paper, 80 grit, very coarse | one minute | he checks, and it looks good |
| Clean the marks | same wheel flipped, worn to about 300 | maybe less | all the coarse marks are out |
| Bring the shine | next a finer wheel, this one 3,200 | one more | mirror bright, burr on the back |
| Finish at 6,000 | 6,000 grit, a step you can skip | another minute | he can see himself in it |
| Take the burr | felt wheel, green paste, or end grain | couple rubs | the wire edge comes right off |
| Bevel the inside | soft Arkansas, then a translucent stone, oil | minute or so | until he feels the burr outside |
Is sharpening by hand any worse?
I love to do sharpening by hand, and that's absolutely fine if you do have enough time to resharpen all the tools and reshape all the tools. By hand I can get really good results. It just takes so long. Right now I'm just talking to you, and I used this machine only a couple of minutes.
If you're doing that for a living, every minute you save, you can carve, and the more productive you'll be. At the Maine class I called the problem with the hand approach time versus profit. That's also why I started my business. I didn't want to work for a wage.
And it's also fun. It's still by hand. You still have to make the movements, you still have to rotate the tool. I just love the results.
What takes the wire edge off?
After the 6,000 I don't need this jig anymore, so I take it out. I place my felt wheel on the top of the machine and apply green paste, and I just take out my wire edge. Pastes have a lesson of their own, stropping, honing and buffing.
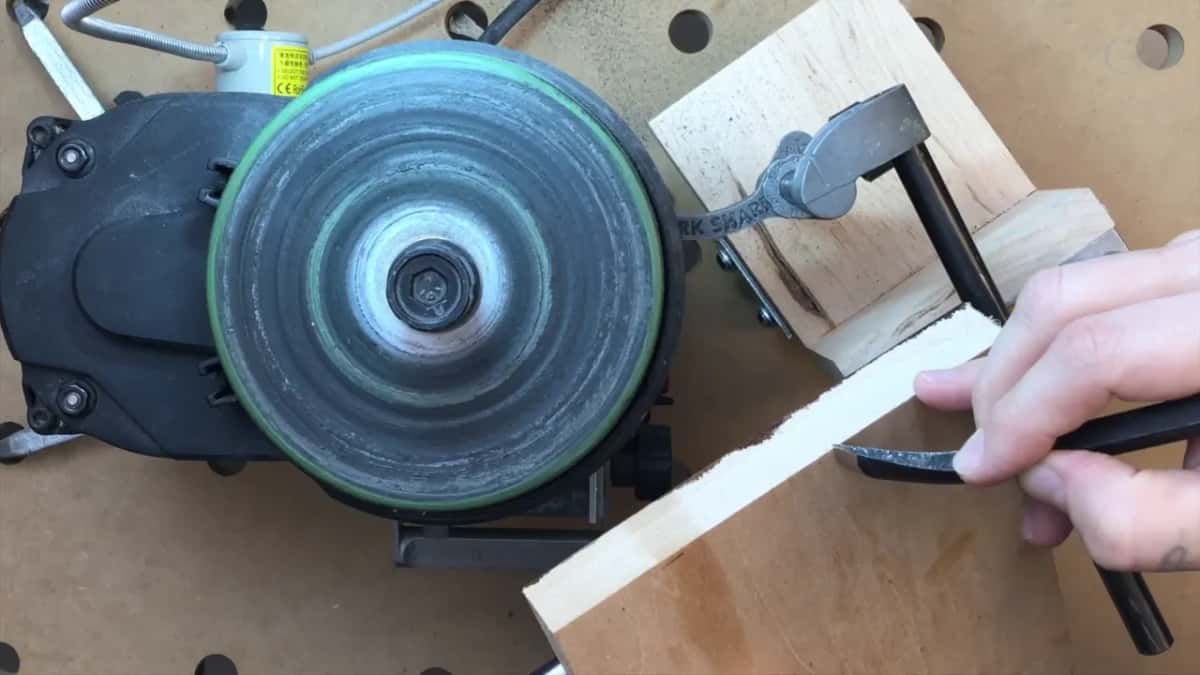
There's another method if you have a piece of wood, any piece of wood, like a lime wood. You could use the end grain and just rub it a couple of times, and that's going to remove the wire edge. In the back bent lesson I showed it on a piece of soft wood, basswood or lime wood. You look at the grain direction, use the edge of your tool right on the end grain, make a couple of passes, and that removes all the burr.
Why does the inside bevel stay so small on this tool?
We have to work on the inside bevel now, and that is actually really important, that you have that inside bevel. I use a couple of stones, first a soft Arkansas and then a translucent stone, and I could use another translucent stone I have that looks just like it. It's actually a really excellent stone also.
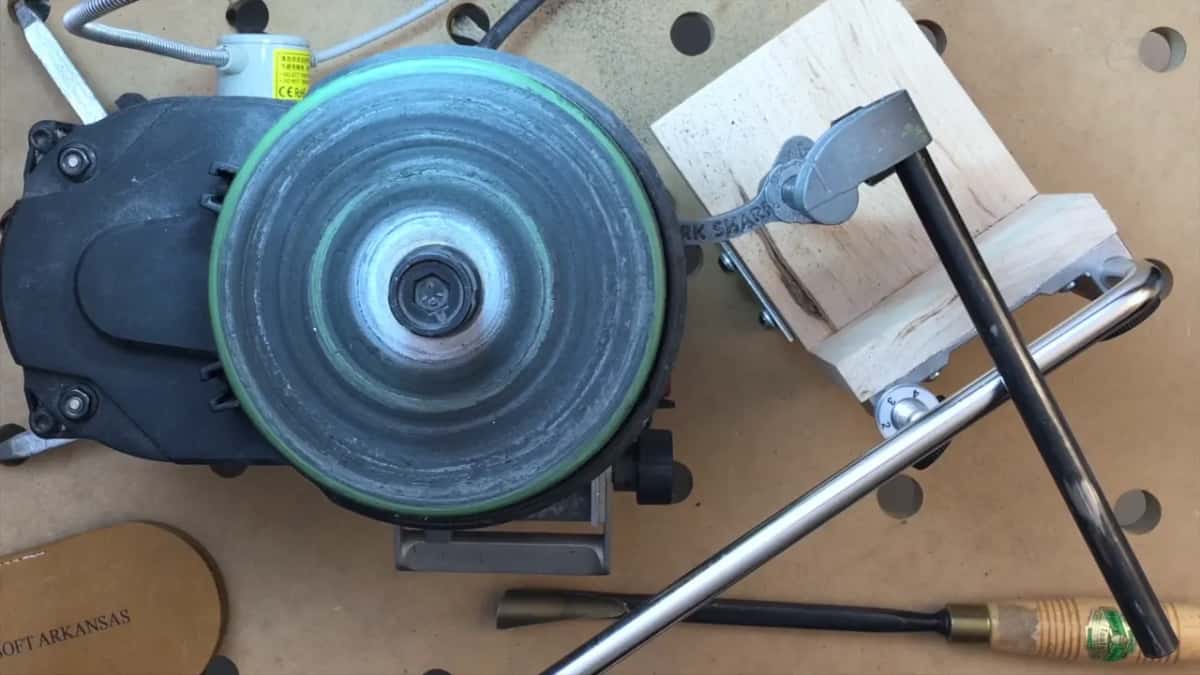
I'm always trying to move away from myself. I know some carvers don't see a big difference, they can move back and forth, and it works for them, I guess, and I don't have a problem with that. But I like to move away from myself. On the straight gouge I said the same. Some people move both ways on the inside bevel, but I found myself it doesn't help too much, so I do only one direction, just out.
Just a micro bevel. I'm doing about maybe 1/64 of an inch (0.4 mm) right now, just because I can't do lower than that. This part is in my way. But if I could, I would.
A minute or so on the soft one, then the translucent. I already had some oil on it, so I didn't need to reapply. What I used is just WD-40. Any lumber yard or any hardware store has it, or you can buy any machine oil, and that's still going to work. There's even special oils for the stones. It's still oil. With the large gouge I put WD-40 on the slip stone, and I said it works miracles.
Just a few strokes, until I can feel the burr on the other side. Then the felt wheel again. That second wheel sits right on the top of the first one, and that way I can actually work on the edge with no problem and polish it from inside. Then the end grain again to take the wire edge out, just rubbing, and I still had a little bit, so I buffed it.
The last step is the blue paste. Again, it's not really a necessary step, but it's a much finer paste than the green. A few strokes, and this side.
Last, I checked it in the wood. Oh, yes. It's just like a butter. You can hear that.
The whole lesson is three videos, and it sits in the sharpening course with the fingernail, back bent, straight and large gouges. Your tuition opens every one of them.
How it's done
- Set the jig on zero. Line the arrow on the Tormek SVD-186 up with zero, so the grind stays straight with no fingernail shape.
- Clamp it well back. Place the tool and make it tight, not right up at the end.
- Mark the heel. He colors the heel with a marker, sets the bar low and eyeballs it, with no degrees measured.
- Grind on 80 grit. Brand-new coarse paper, under a minute. Toward the outside of the wheel it grinds harder.
- Flip to the finer side. The worn face, about 300 now, clears the marks with barely any pressure.
- Polish at 3,200, then 6,000. Each takes about a minute, until the bevel is a mirror. The 6,000 is optional.
- Bevel the inside. Soft Arkansas, then the translucent stone with WD-40, moving away from himself, for just a micro bevel.
- Take off the wire edge. Felt wheel and green paste, or rubbing it on end grain, then a few strokes of the finer blue paste.
Frequently asked questions
Why use a skew gouge instead of a straight one?
Alexander gives two reasons in this lesson. A skewed gouge reaches into a corner as deep as you wish, where you sometimes can't reach with a gouge cut. And for Gothic tracery, he says, you absolutely must have one. Even a plain push cut with it is almost like a slicing cut.
What jig does Alexander use for a skew gouge?
A Tormek SVD-186. On its side is a scale of zero to five with an arrow, and on zero it gives a true straight edge, with no fingernail movement. He clamps the tool well behind the edge.
What bevel angle should a skew gouge have?
Alexander doesn't measure degrees. The suggestions run from 10 to 30 degrees, and 22 is safe, but he grinds lower, under 10 and even under 5 when he can, because a low bevel digs in the wood much better.
What to carve next