
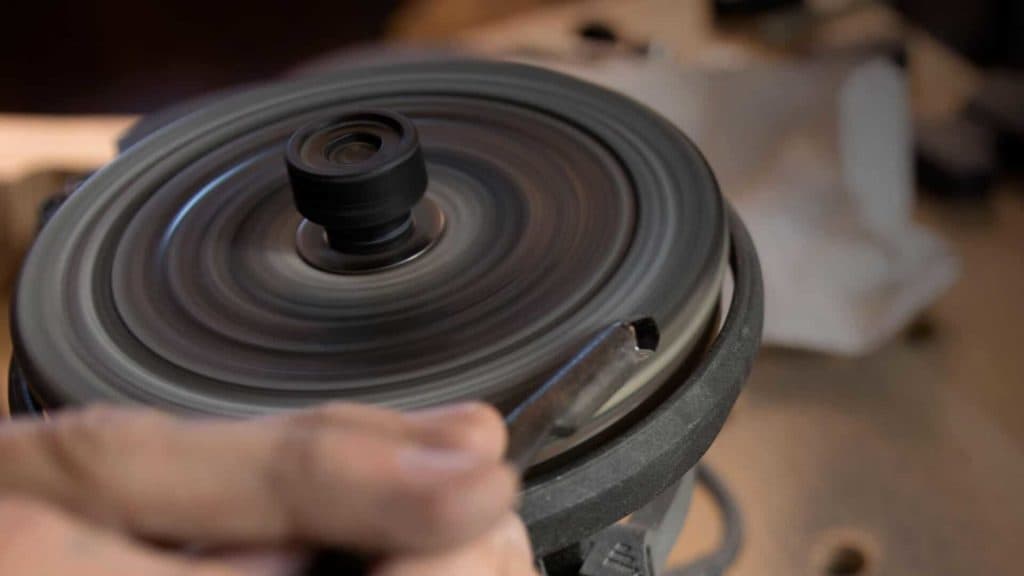
Alexander Grabovetskiy, woodcarver, School of Woodcarving · Published 2017
How do you sharpen a fingernail gouge?
Quick answer: Sharpening a fingernail gouge is a regrind on a jig set forward of zero, so the grind comes out round, in a fingernail shape, while I keep the bevel all around it. I set the Tormek SVD-186 to mark three, then four and five, kept the bevel low, then went through 220, 3,600 and 6,000 grit, leather and felt.

A fingernail gouge is a gouge whose edge is rounded, like the end of your fingernail, where an ordinary gouge has a straight edge. It's usually used in wood turning. You don't see it much in wood carving. But I find it really useful, especially when you carve flowers. To sharpen one, I clamp it in a jig, set the jig forward of zero, and let my Work Sharp 3000 grind the round shape while I keep the bevel all around it.
Look at the end of your own fingernail. Is it round? Does the middle reach out further than the sides? That round end is the shape we grind into the steel here, mark by mark on the jig and grit by grit on the wheel, the way I did it on camera.
Somebody gave me a couple of these as a gift. This one was brand new, and I reground it, like I do on all of my new tools. The bevel was not right for me. And the fingernail did not look big enough for me, so I decided to reshape the whole tool and go for an extreme fingernail, because I plan to use it on foliage and flowers.
The whole regrind at a glance
- This jig has a scale marked zero to five.
- Zero keeps a straight gouge straight; set it forward and it grinds a fingernail.
- I went to mark three, then four, then five, and five was already extreme.
- I kept the bevel long and low, 15 degrees and down.
- Six steps: 80, 220, 3,600 and 6,000 grit, then leather, then felt.
- The last two steps I did by hand.
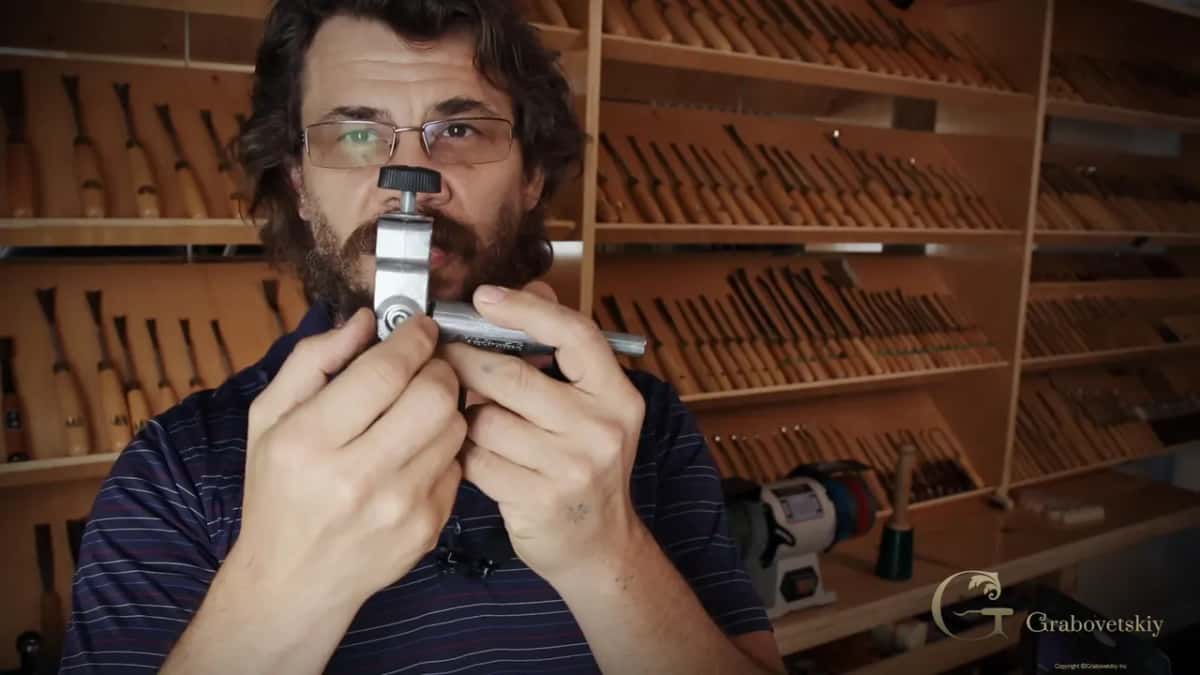
What is a fingernail gouge?
Put an ordinary gouge next to one and you see the difference right away. One has a straight edge. The other has a rounded edge, like a fingernail. I showed exactly this in the Roman acanthus lesson, where I have two of the same small gouge, both an eighth of an inch (3 mm) number eight. One of them has a fingernail. That's what I did to it when I sharpened it.
The reason is the edge. It slices, so I can rotate the tool, and it carves much cleaner. You don't have to have that, and a normal straight gouge will still do the work. Still, I kind of like that idea.
Which jig grinds the fingernail shape?
I use the SVD-186 jig from Tormek, the one I showed you in the spoon gouge lesson. Mine is the older model. Back then they already had a newer, more advanced one, but even the old one works really fine.
The jig rides on a bar on my Work Sharp. That bar is made by Work Sharp, but it takes the Tormek jigs, and I can use all of mine. I really like the Tormek jigs. They are genius, those jigs. My L-bracket lesson shows the mount I made for a Tormek bar after we found out, late in 2017, that Work Sharp no longer made theirs.
I have had a Tormek machine for many years, and it's one of the best machines for wet grinding. But for me it has limits. Its wheel makes a hollow grind, and that weakens the edge. With a really, really high angle that's not a problem. I want my angle down low, and with a low angle the hollow becomes a big problem. I prefer a flat bevel, so I need a really flat surface, and the Work Sharp gives me that. On it I have almost unlimited sandpaper choices, while the Tormek stone gives you two grits.
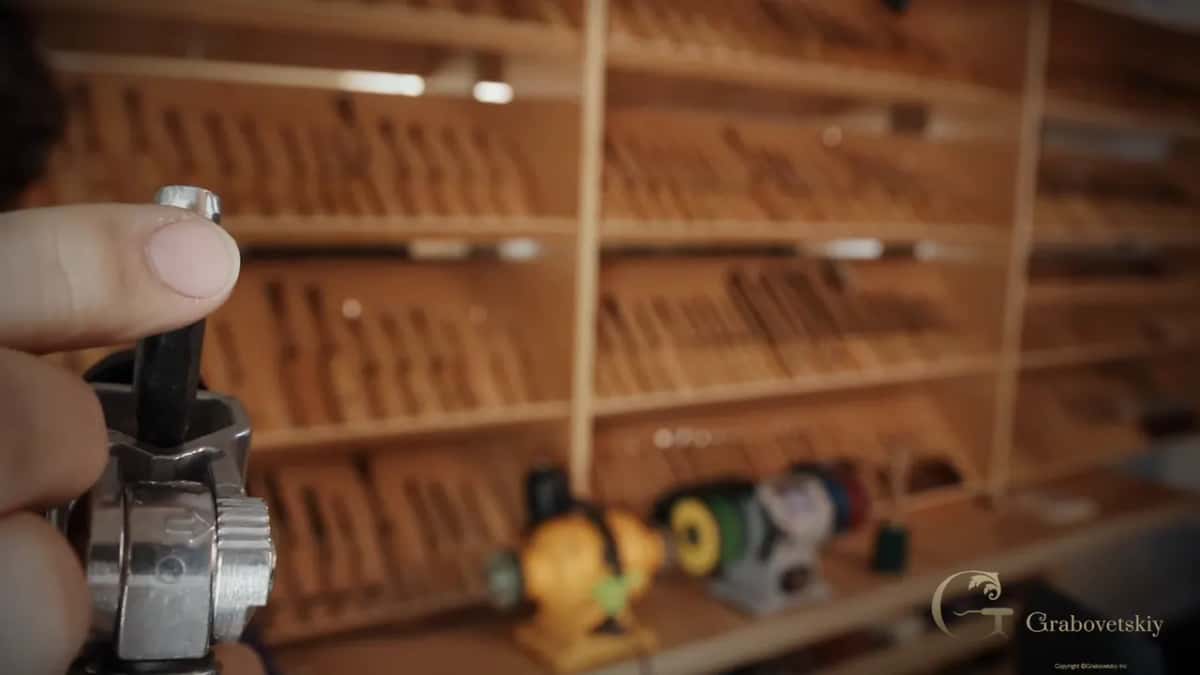
There is a scale on its side, zero to five, with an arrow. At zero it's just for straight gouges. It keeps a really straight edge, and you just maintain your bevel. For the skew bent gouge I lined it up with zero to get a true straight edge with no fingernail at all. But set it slightly forward and you get a different shape. It grinds the bevel as a fingernail. And you can go extreme.
On a livestream in April 2020 I showed the jig I use for a fingernail gouge. I like it better for some pieces, because it's really adjustable.
Place the tool inside and make it tight. It's really important that it sits right in the middle of the jig, because that way the grind is going to be consistent.
How far up the scale did I go?
I started at mark three. It sat at zero, and I wanted to take it halfway first and see what happens. On 80 grit it took out the backside of it, which is just what I needed, and you could see it make a fingernail shape.
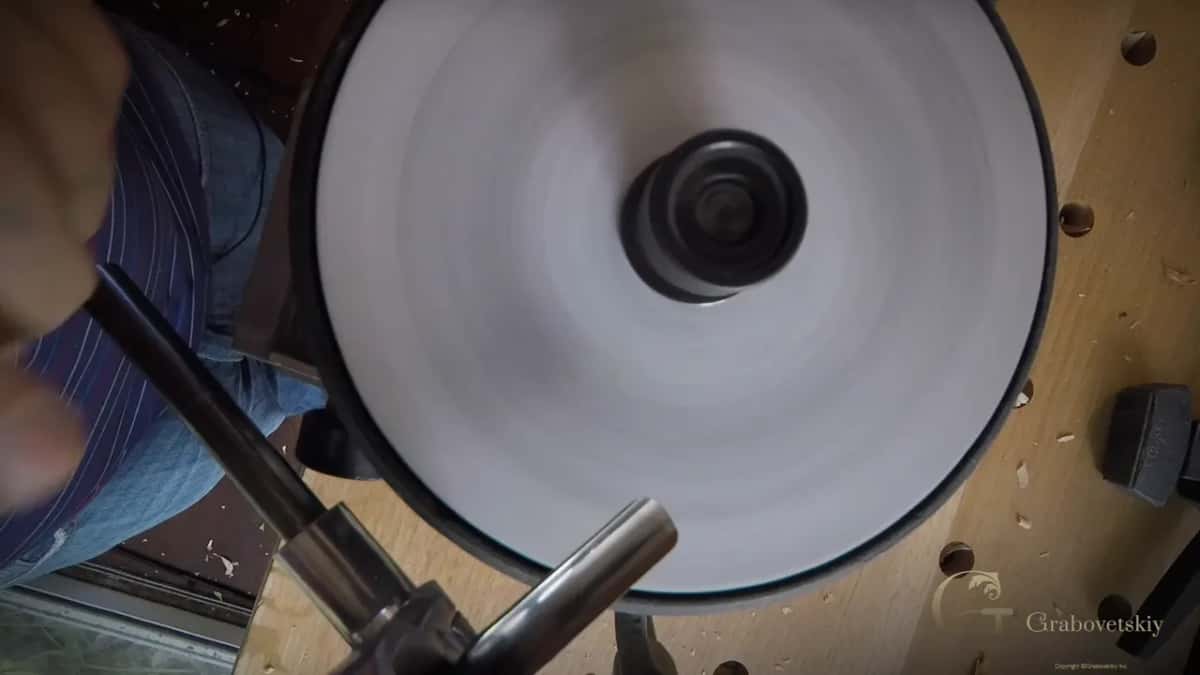
I kind of liked it. I wanted more, so I moved it to four. By then I could already see a burr on one side, and it was a really good shape. I still wanted it a little more extreme, so I went to five, the last mark. There I wasn't sure I had enough to get my bevel right. It looked like I barely did. It came out not bad at all, but not as consistent as I would like to see.
And if you ask me what kind of metal this Korean tool is made of, I have no idea. But it took the shape really well.
| Setting on the jig | What the grinding did to this gouge | My verdict | Roughly where it is on video |
|---|---|---|---|
| Mark zero, straight. | Keeps straight gouges straight, no fingernail shape. | Ordinary bevel. | I explain it at two minutes. |
| Mark three, halfway. | Took out the backside; a fingernail showed. | What I needed. | Between minute six and minute eight. |
| Mark four, deeper. | A burr showed on one side already. | Really good. | Just before the ten minute mark. |
| Mark five, extreme. | Barely enough left to get the bevel. | Less consistent. | Ten to twelve minutes, about. |
What bevel angle should a fingernail gouge have?
As low as you can. If you ask me for a degree, I say 15 and down. I want a long bevel, or you can call it a low-angle bevel, and on this gouge I ended up really, really low.
One small thing happened first. When I checked the bevel, it was extremely high, because I had been sharpening a spoon gouge with the same jig. So I set it back down. And to work the wheel on the side I prefer, I had to lower it a little more.
Wood matters too. The spoon gouge lesson has it this way. If it's hardwood, you have to do a shorter bevel, and if it's softer wood, you can do a longer one. Even for hardwood, I stay on the longer bevel, and sometimes I use the same gouge on both.
Which side of the wheel do I work on?
I work where the wheel turns away from my tool. To take metal off more aggressively, it's not a big deal to work the other side, where it turns toward the tool. This side is the one I prefer.
Later I went back to 80 grit and reshaped it a little. I was barely pressing at all, because I didn't want to overdo it, which is actually easy. I kept an eye on what happens with my tool, and you can hear it, too. It's almost just jumping.
How do you keep the paper clean and see the shape?
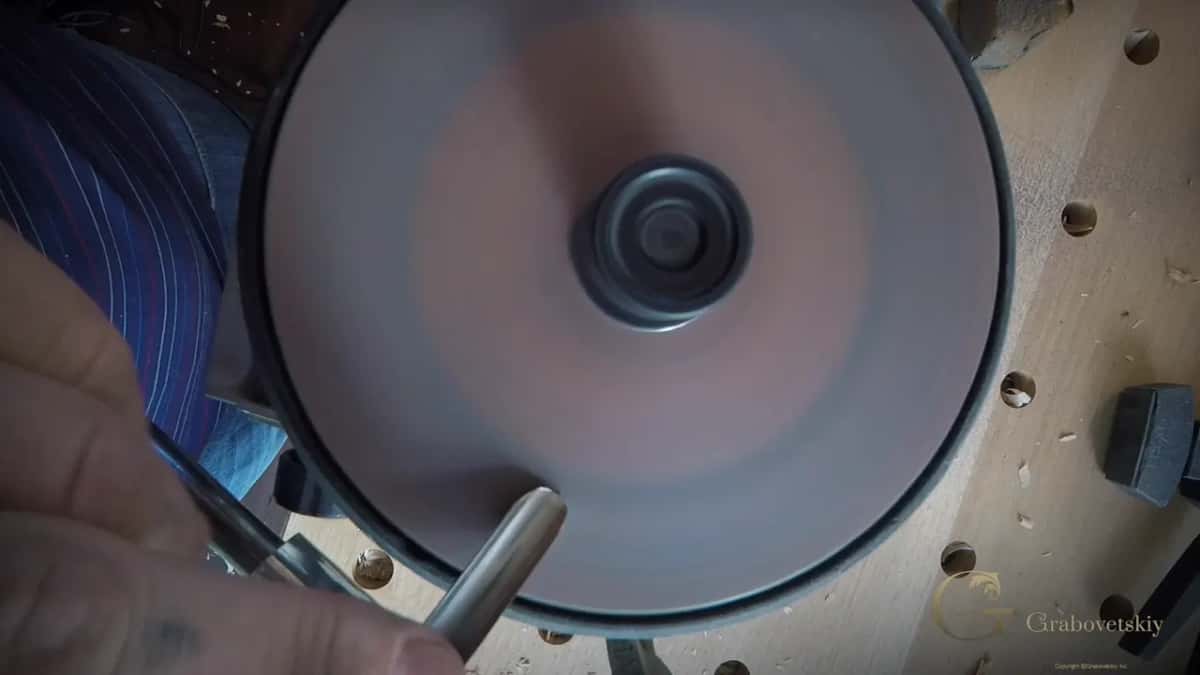
Before I work on the flipped wheel, I clean the paper, because it looks like it needs it. I use an abrasive cleaner. It's just a piece of rubber, pretty much, and it works really well. I clean it again before the next grit, so it's ready for the next use.
Then the burr. I take it off with just a piece of wood, so I can really see the shape of my gouge. With the burr gone, it was not too bad at all, and I still wanted to reshape it a little bit.
What are the six steps for sharpening a fingernail gouge?
Six of them. Step one is 80 grit, and 220 is step two. Then 3,600, then 6,000. The leather strop is step five, and the felt buffing wheel is the last.
From 80 to the next grit, I just flip the wheel. On 220 it formed a really nice fingernail, and it does look like a fingernail. There was still some burr. But it was nice and consistent, especially on the fingernail part, and I really liked the result. Beautiful.
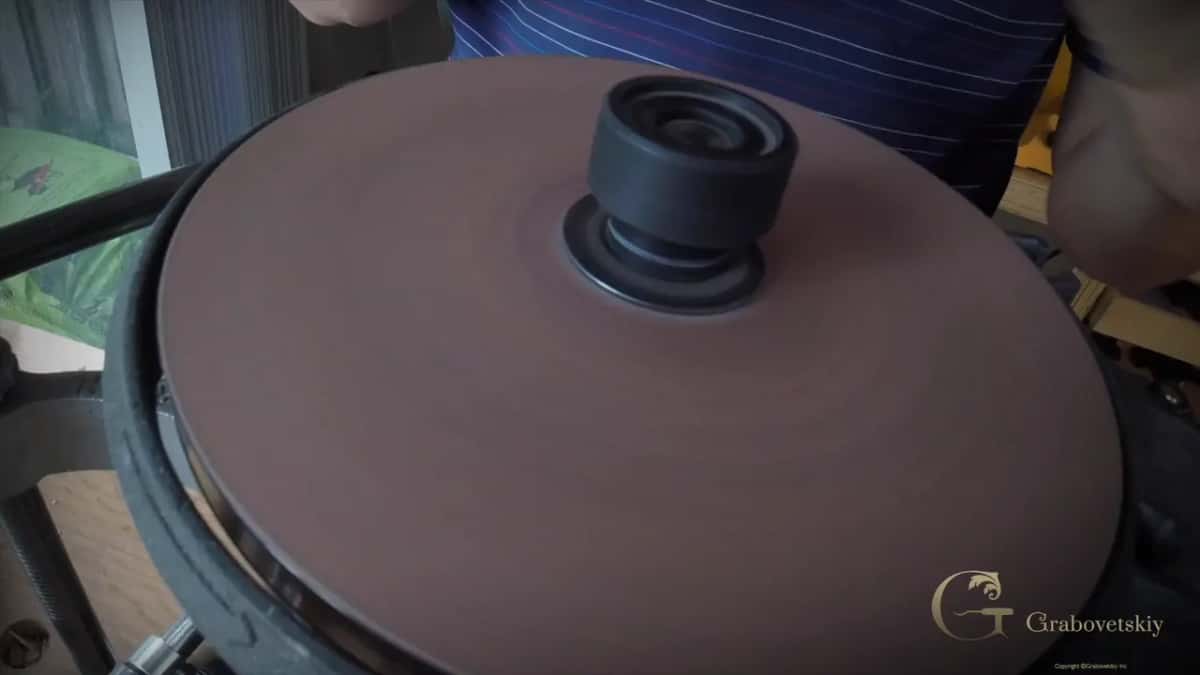
The 3,600 is not that critical. I kind of like to see a polished bevel, though, and on 3,600 it was already a mirror polish. That's a true fingernail. After that I cleaned the paper and went to 6,000. I double-checked it was the 6,000, and it was. You can go higher on this machine if you wish, to 8,000 grit or even more, as I say in the L-bracket lesson.
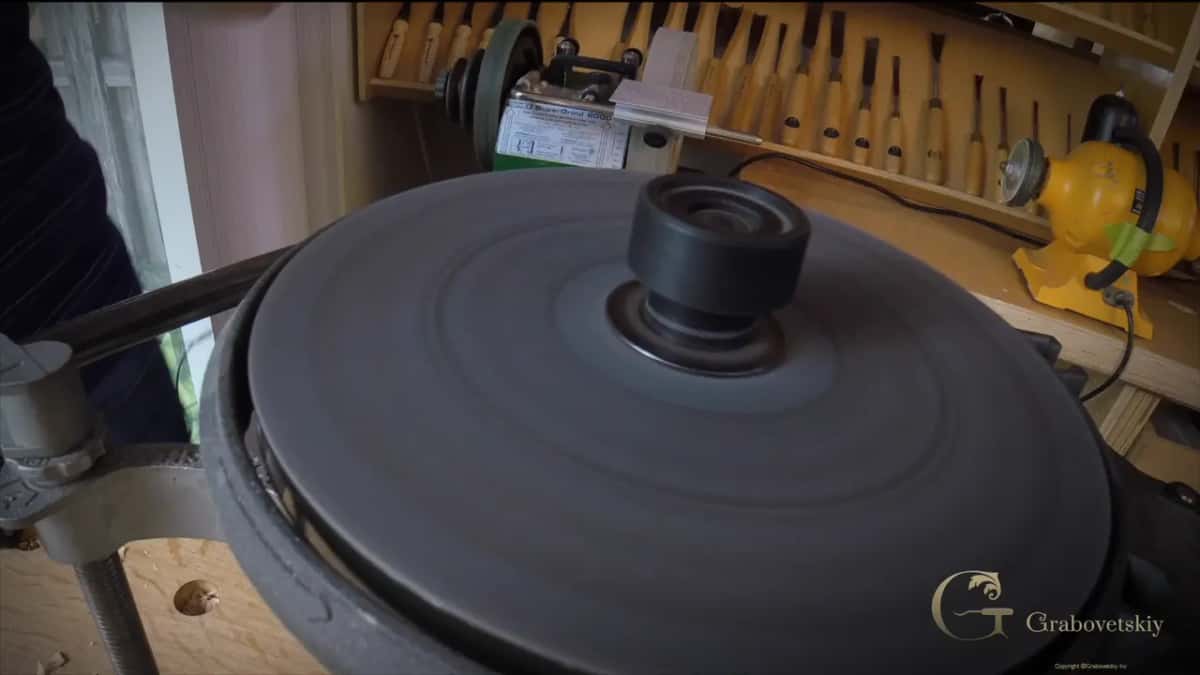
What I like about this system is that I don't need any water or any oil to cool the tool or lubricate it. Just the straight sandpaper. It doesn't overheat anything and doesn't make a lot of scratches, and the steel stays absolutely cool.
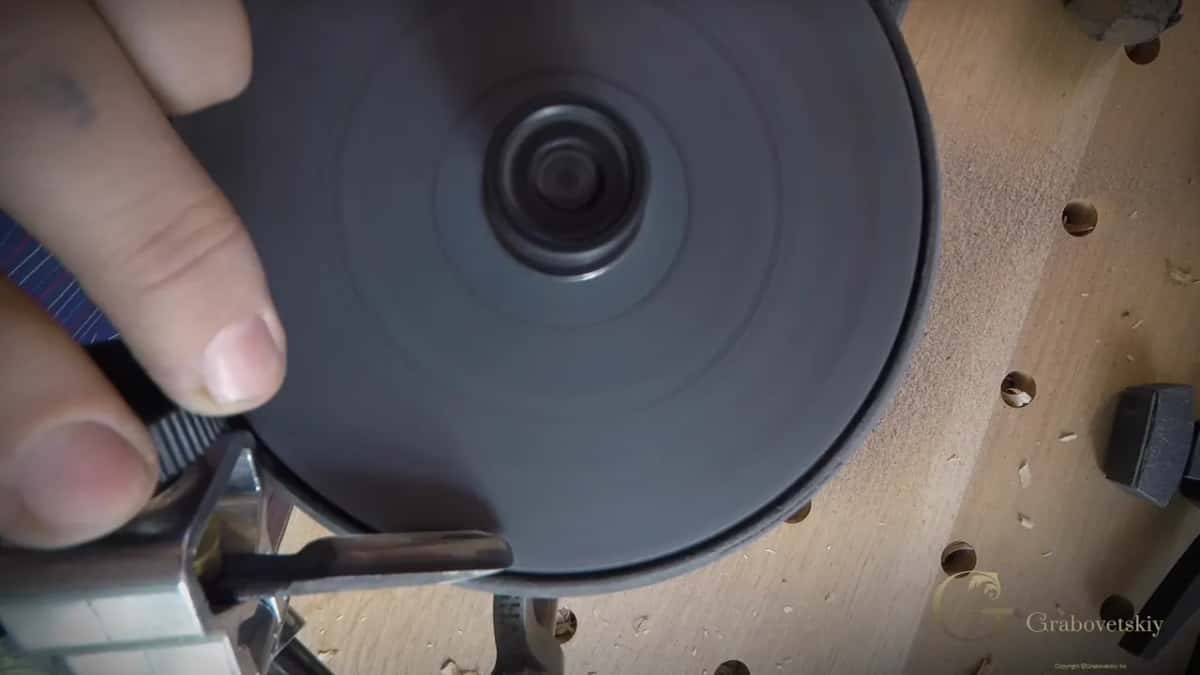
After 6,000 I checked it. Absolutely mirror polish. Really consistent and straight, with no double bevel and no roundness, a beautifully done straight bevel.
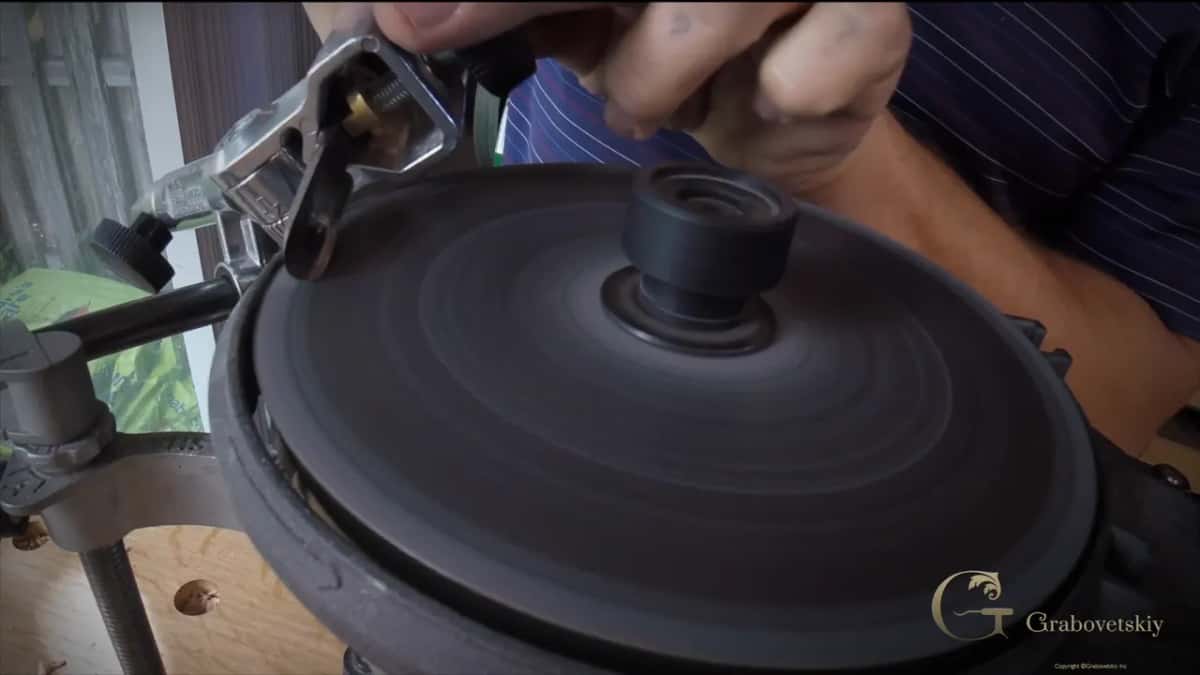
Why does the gouge come out of the jig for stropping?
The sweep is so big that, the way this wheel turns, it could dig into the inside of it. So I took the tool off the jig and stropped it by hand.
I used two pastes, green and blue. The green went on the leather wheel first, for the strop. I found my bevel and just stropped it with barely any pressure. Just barely. Next I put my felt buffing wheel right on top of the leather wheel and put blue paste on it.
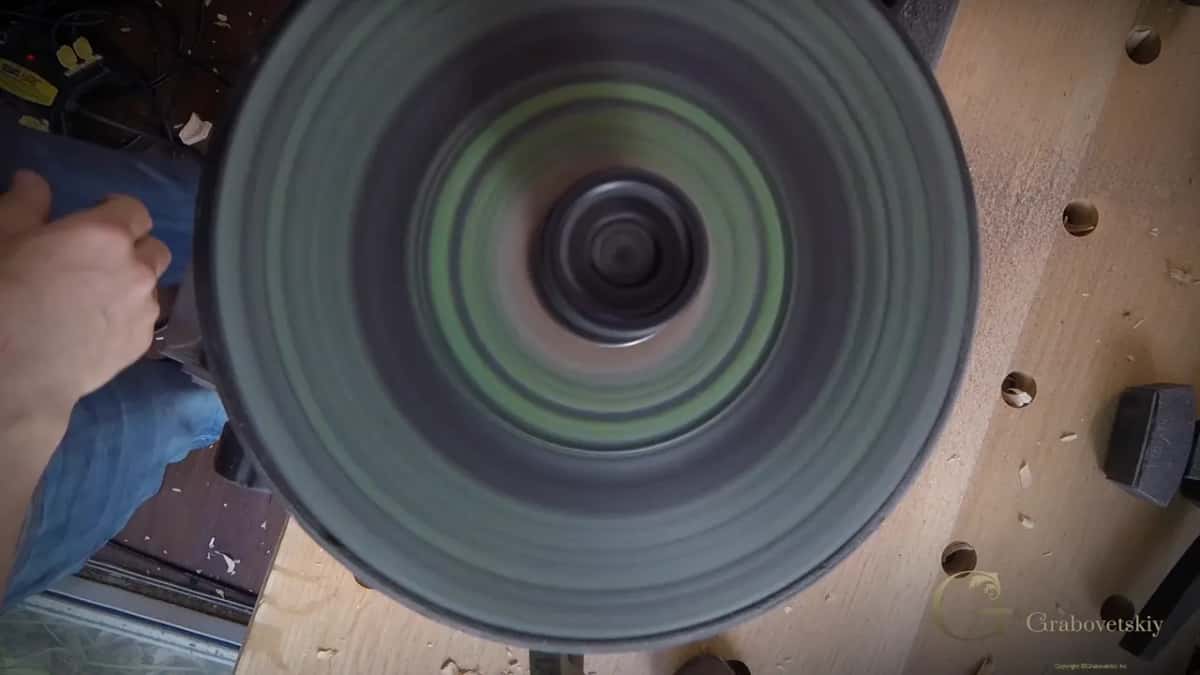
In the stropping lessons I talk about that order. Green is the aggressive one, and blue is a really, really super fine paste. Blue usually goes on the soft felt, and I don't press hard there, because the green already took out most of what needs to come out.
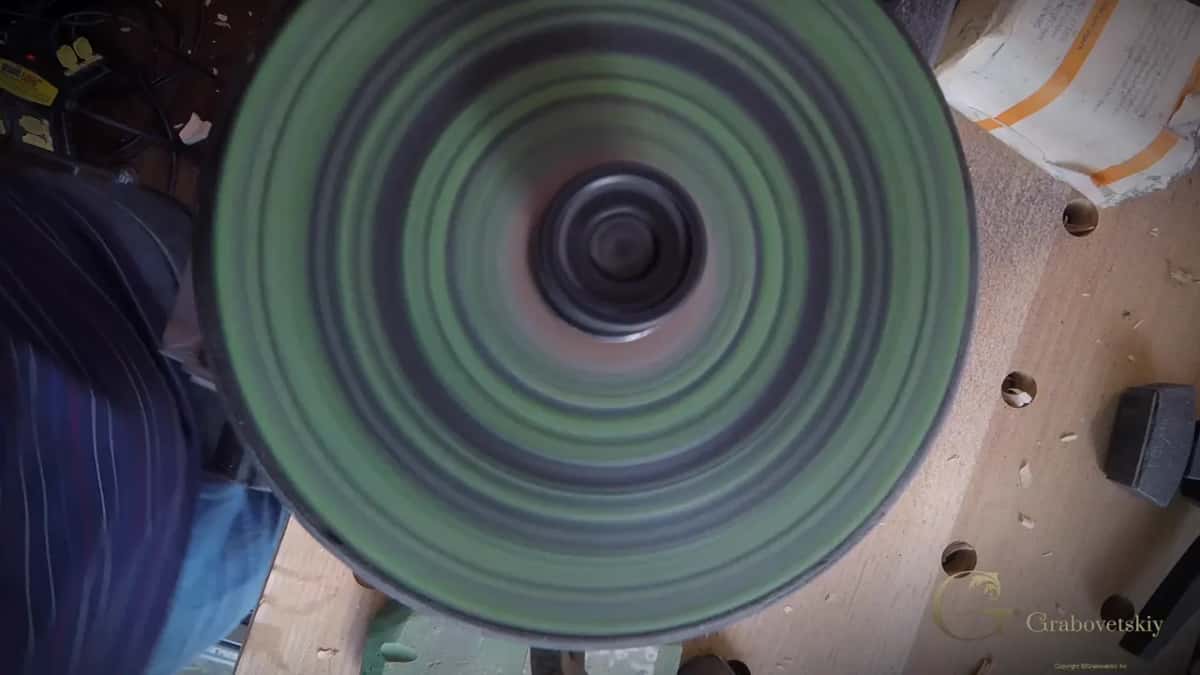
With the felt, I buffed the outside first, then the inside, then touched up the outside again. If I feel some burr inside or outside, I repeat it, multiple times, until it's gone. The mirror was so clean I could see myself in it.
One more thing showed up on the felt. The buffing wheel made a small micro bevel on the inside by itself. That's plenty, as I see it, and I don't need more than that.
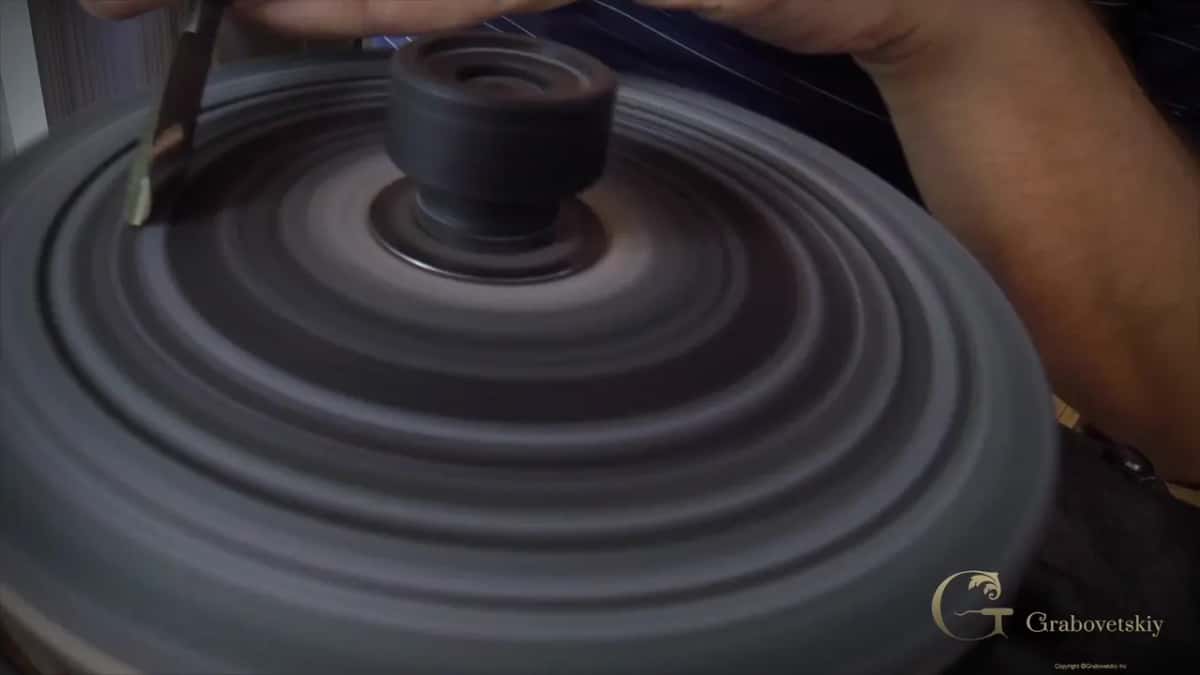
Why not sharpen it by hand?
For me this system is really quick, much quicker than sharpening by hand, and the jig makes it so easy. I like to do it by hand too. My plane irons I do only by hand, because I really like the process. But I have lots of carving tools, and I need to keep them sharp, and by hand it would just take much longer. I do carving for a living, and for me, the quicker I can do it with the best results, the better.
Where does a fingernail gouge help when you carve?
Next to the middle of a flower. Sometimes you have to get inside a leaf without digging into the side of the middle part of the flower. This tool is really good for that. It gets inside without damaging the sides of that middle part.
For the flowers on the furniture panel I used a 1/16 of an inch (1.5 mm) number eight that is kind of fingernailed. I took off some more there, but really carefully. You can't force it. If you force it, you make a mistake. What I'm after there is a really good flipping motion.
On the Corinthian acanthus leaf I picked up one of my small Dockyard gouges. They don't have numbers. Some look like a number nine to me and some like a number eight, but they're still gouges. That one has a slight fingernail, and it helped me bring out the middle lines of the acanthus.
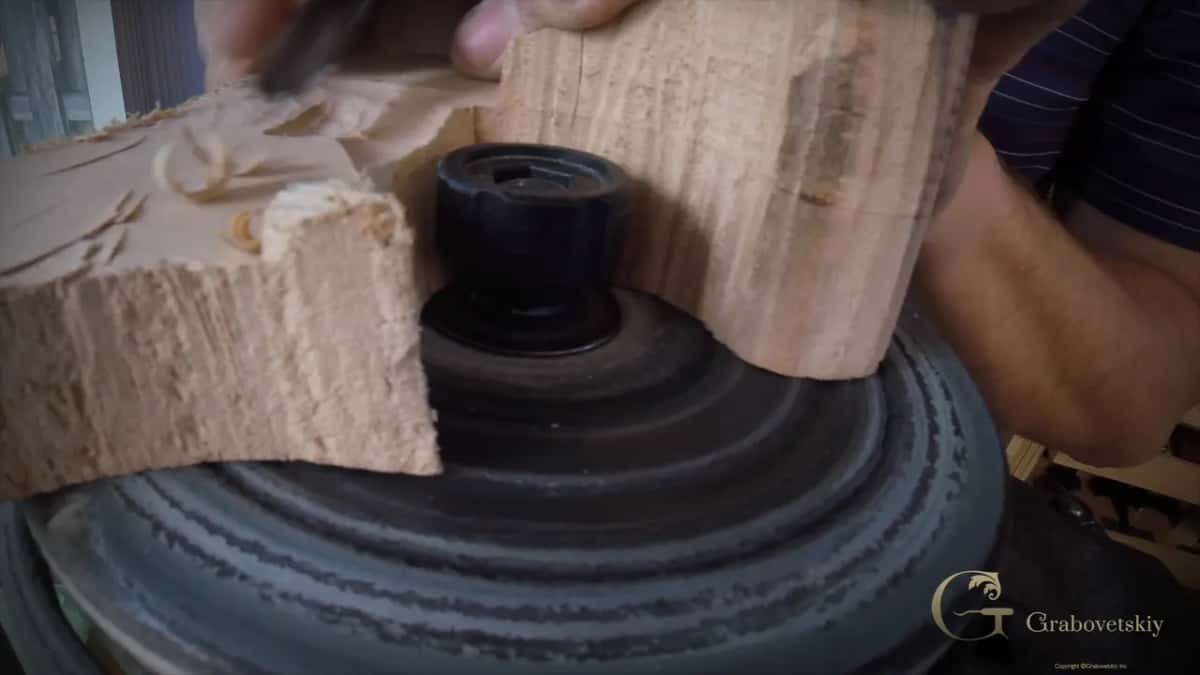
The gouge from this lesson got its test at the end, on a rough block. Absolute mirror finish, and it carves really well. Oh, yes.
Where to go next in this course
Other shapes have their own lessons here. There is the straight gouge, the V-tool with a V-tool problem lesson, the back bent gouge, the large gouge and the micro tools. All of them sit in the carving tool sharpening course.
Did you see how moving the jig off zero turns a straight edge into a fingernail? And how the soft felt made the inside bevel by itself? Every grit and every mark of it is on camera, start to finish. Come and watch the whole lesson.
How it's done
- Center the gouge in the jig. Place it, make it tight, and check it sits right in the middle, so the grind is consistent.
- Set a long, low bevel. Bring the angle down to 15 degrees or lower, for a really long bevel.
- Move the scale off zero. Zero is for straight gouges. I started at mark three, halfway, to see what happens.
- Shape on 80 grit. Work where the wheel turns away from the tool, with barely any pressure. Overdoing it is easy.
- Go higher on the scale if you want more. Check the shape between passes. On my gouge mark five was the extreme, and a little less consistent.
- Clean the paper and take off the burr. A rubber abrasive cleaner for the paper. A piece of wood for the burr, so the shape shows.
- Climb the grits. 220, then 3,600, then 6,000. No water and no oil on this machine.
- Strop and buff by hand. Free of the jig. Leather with green paste, then felt with blue, outside and inside, until the burr is gone.
Frequently asked questions
What is a fingernail gouge used for?
The edge is round, like the end of a fingernail, and not straight like on an ordinary gouge. Turners use it more than carvers. On flowers it lets me get inside a leaf without digging into the middle part of the flower next to it.
Which jig setting gives the fingernail shape?
The Tormek SVD-186 has marks for 0 through 5, and zero gives a straight edge for straight gouges. Move it forward and it grinds a fingernail. For this lesson I went to three first. Four and five came after, and five is the extreme end.
How low should the bevel be on a fingernail gouge?
As low as you can go. Asked for a degree, I say 15 and down, and on this gouge I went really, really low. For hardwood a shorter bevel is what you have to do, but I stay on the longer one even there.
What to carve next