
Alexander Grabovetskiy, woodcarver, School of Woodcarving · Published 2021
What bevel should a wood carving gouge have?
Quick answer: A good carving gouge bevel is low and long. Alexander's rule from his Maine class is about 10 mm (3/8 in) between edge and heel, with a small micro bevel ground inside to keep the point strong. Five mm is a little too high, and heavy mallet work calls for slightly higher.
The bevel a wood carving gouge should have is a low, long one, with a small micro bevel on the inside. A really good rule is about three-eighths of an inch, about 10 millimeters, between the edge and the heel. Five millimeters, three-sixteenths of an inch, is a little too high. Heavy mallet work wants it slightly higher, and if you push by hand, the lower bevel always wins.
When you buy sharp tools, they don't last. There's no such thing as if. There's only when. I told the class at the Maine Coast workshop that sharpening is a basic thing everybody is supposed to know, really important, and nowadays even more important than design, because design you can find online, print, and glue on.
Do you have to raise your hand high to make a brand-new gouge carve? Does your elbow come up with it, and then your shoulder? Then the bevel has to come down.
Five things I told the class about the bevel
- About 10 millimeters (3/8 in) between edge and heel is a safe rule, and some of my tools go up to 20 (3/4 in).
- Low bevels keep your hand, elbow and shoulder down.
- Every tool I own gets a small bevel inside, spoon gouges too, so the thin point stays strong.
- Grinder wheels leave a hollow and can overheat the weak spot.
- Held by a Tormek jig on a flat disc, the whole tool takes me about two minutes.
What does a high bevel do to your arm?
It lifts it. Say you carve basswood, a softer wood, with a brand-new tool. The maker set its bevel, and when you place it on the wood, you have to raise your hand really high to carve. That raises your hand, and your elbow and shoulder come up with it, and after carving a long time, you get pain.
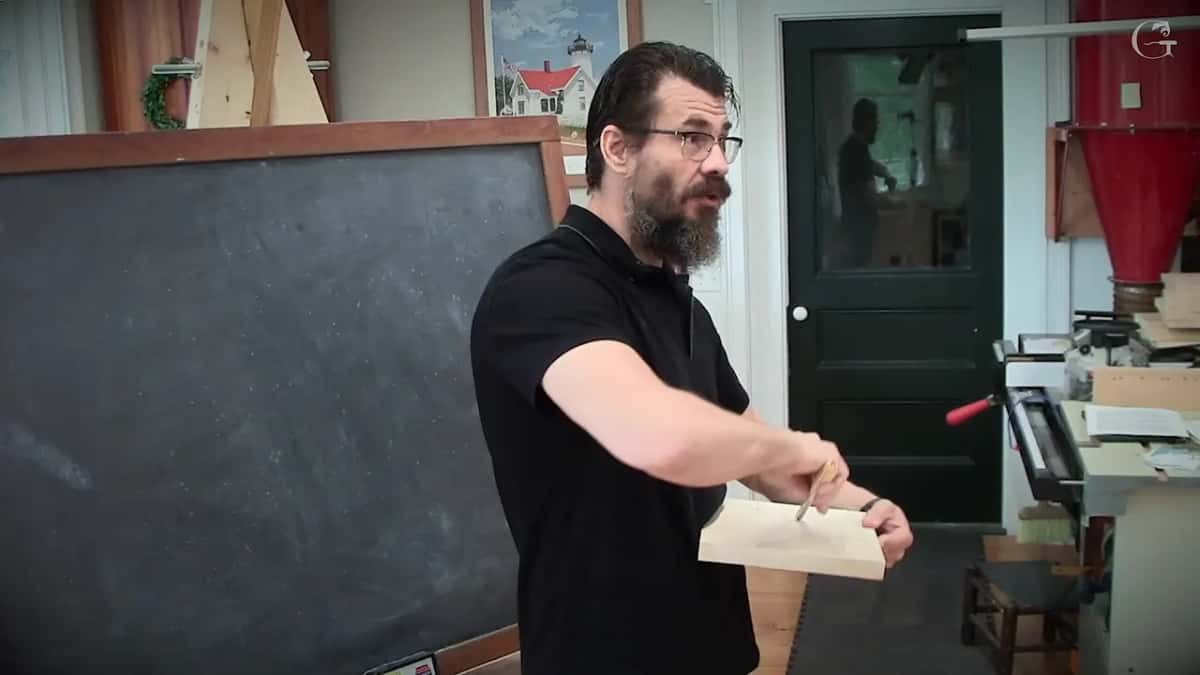
With softer woods, make sure your bevel is low enough that your knuckles almost touch the wood. That solves two problems. One, you won't get pain or get tired in the shoulder and elbow, so you can carve all day long. The other one is resistance.
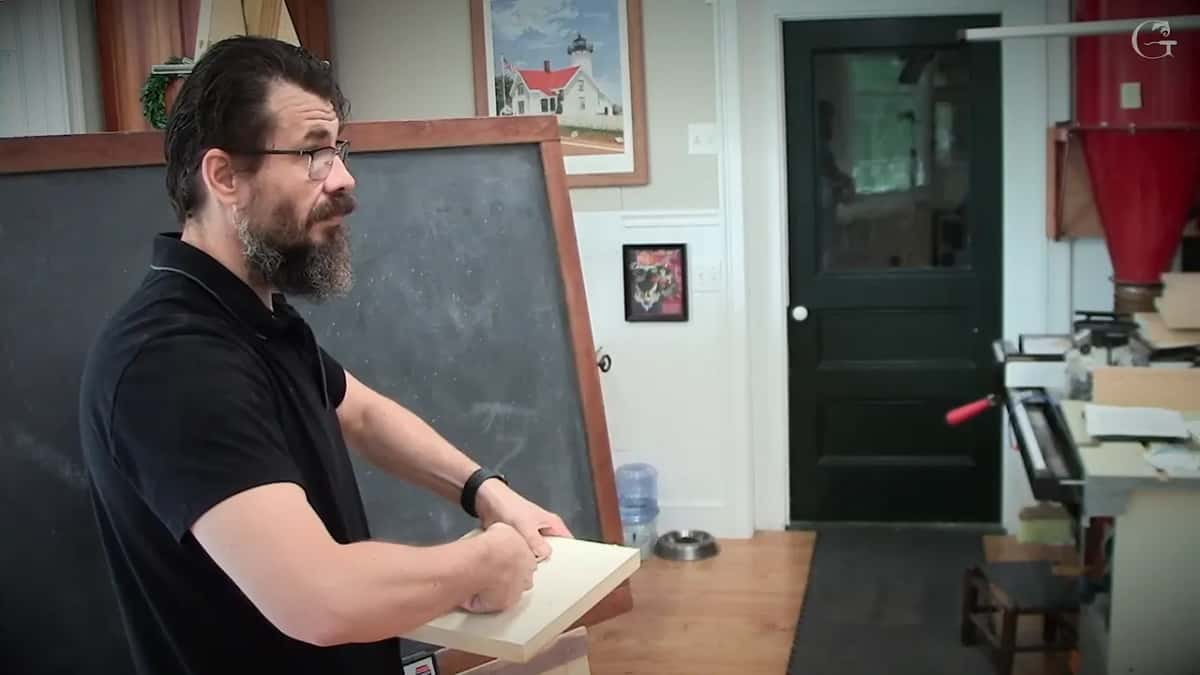
I call it a low bevel. Some people call it a long bevel, and pretty much it is both, low and long.
Why does a low bevel meet less resistance?
A bevel is a wedge. Every tool is supposed to have one, chisel or gouge. Think about the wood, and what happens when you carve it with a long bevel versus a high bevel. The high bevel causes resistance, lots of resistance, and if you sharpen by hand, that rolling effect resists even more.
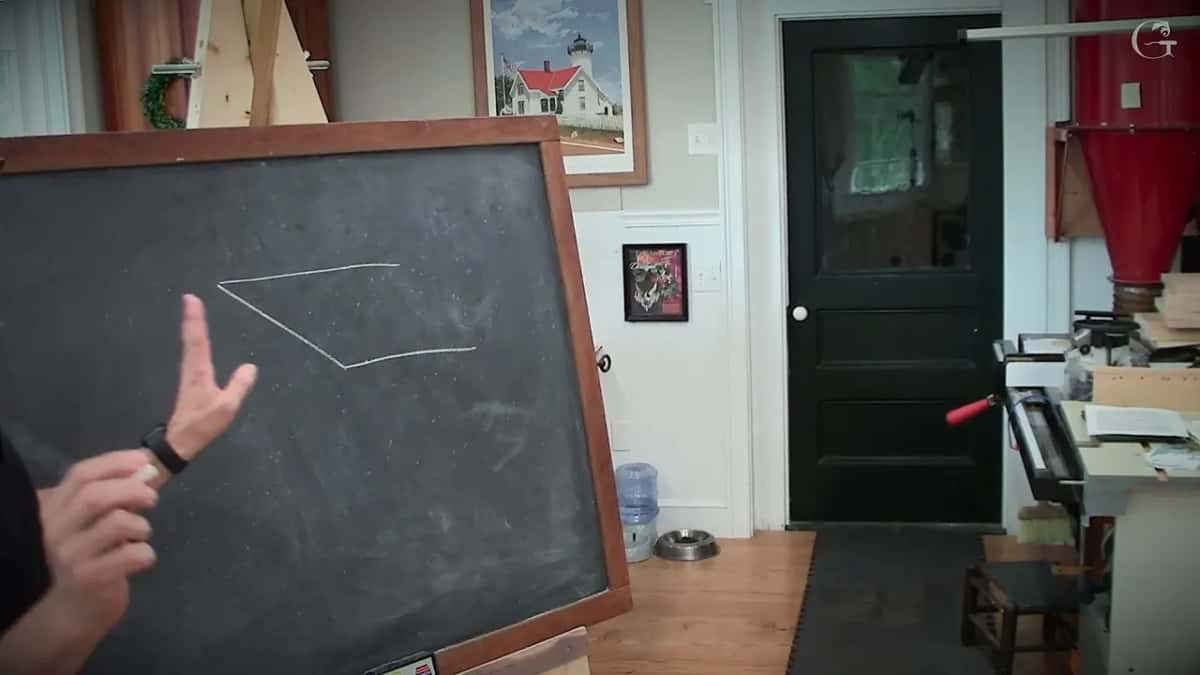
That's why almost all my tools have a long bevel.
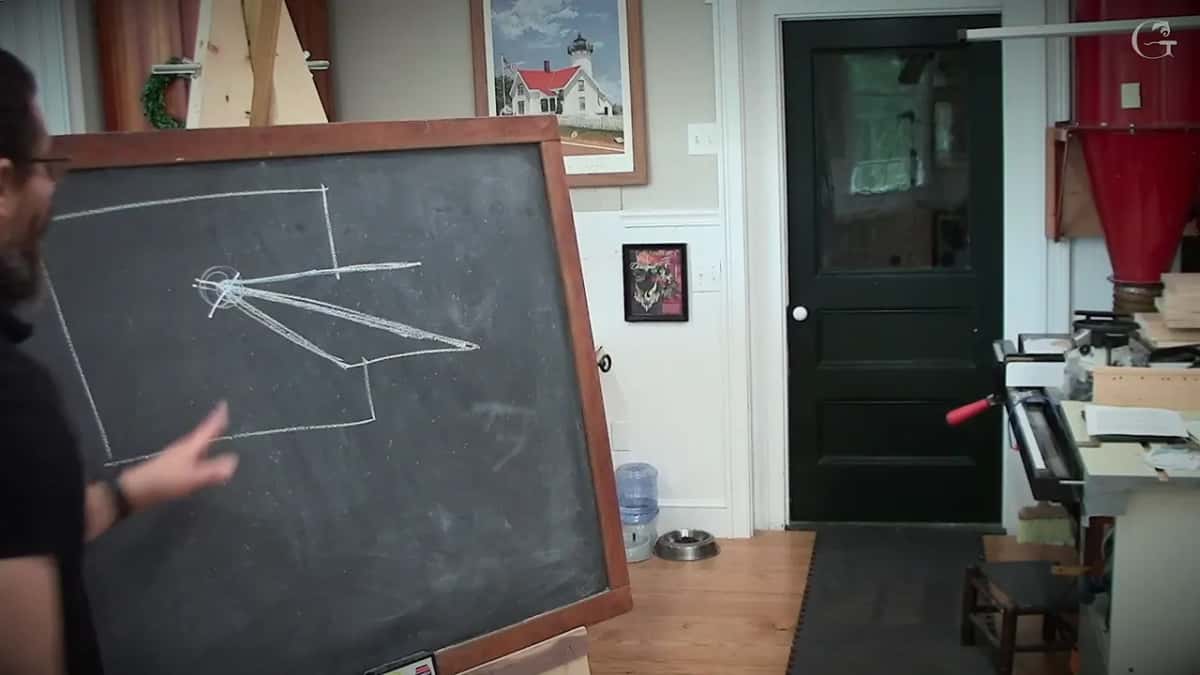
In the class I also showed my skew, with its big bevel. Resistance is the reason. Look how fast I can work with it, because there's no resistance whatsoever, with nothing fighting inside the fibers.
What length should the bevel be?
Usually 3/8 inch, 10 millimeters, though I don't estimate the bevel. I just eyeball it by the position of my hand. Ask me what degree I sharpen at, and it all depends also on the thickness of the tool, because every manufacturer is different. Usually, when you hit the heel as you start grinding, it's good.
A student asked where I measure from. From the edge. I got a Sharpie to show it, and it's a good idea to have at least 10 millimeters back to the heel, so you're on a good side. A few tools of mine go really extreme, even up to 20 millimeters, about three-quarters of an inch.
Does the wood change the bevel?
Yes and no. Someone in the class said it depends on the wood, and they were right, in part. Take oak, a hardwood. With a low bevel you can break the edge, because at that point the steel becomes really weak.
Not necessarily, though. I establish the main bevel first, then a secondary micro bevel on the inside. The bevel stays low enough, but the point becomes really strong, and you can still use it on a hardwood.
The mallet is the reason you sometimes need a higher bevel. Plan to use a mallet a lot, and you have to consider how thick its head is when you hit, because the tool must sit raised enough that the mallet isn't touching the surface. Then it's slightly higher. Push mostly by hand, and the lower bevel always wins.
Why put a small bevel inside every tool?
A student asked if I put one on always, or only for very hard wood. Always. Some of my tools have such an extremely low bevel that the point would be weak, so every one of them gets a micro bevel.
It solves two problems. First, the point is no longer weak. And sometimes we use tools upside down, and without that micro bevel you really can't, because it digs in and you can't escape. That's why I always have it, even on a spoon gouge, and I explained to the class what a spoon gouge is.
Can you sharpen a good bevel by hand?
Let me tell you a story. As an apprentice to a master wood carver, I came to him one day and asked why he gave me that bad piece of wood. There's no such thing as bad wood, he said. It's dull tools.
He taught me to sharpen all by hand, the only way masters did it for centuries. You take a stone, or sandpaper if you don't have a stone, because it's still abrasive and gets the same results. You establish the bevel and follow the tool.
My first problem with hand sharpening is that I never saw a perfect tool after it. Look at the bevel and you can almost always see it arching, and even if the tool is super sharp, you'll have a lot of resistance. You can carve with it, no doubt, and I'm okay with that. Maybe some perfect guys get almost to perfection if they concentrate more and spend longer. I was not able to.
And there's time. I'm carving for a living, so I have to ask myself whether I make money on sharpening or feed my family with what I do with my gouges. Time versus profit. To solve that, there's only a machine.
Why not use a bench grinder?
Every grinder is wheel based, and a wheel leaves your gouge or chisel with a hollow bevel. That part near the edge gets even weaker. On wood turning tools, where the bevel is really small and short, it creates no problem and is actually even better for them.
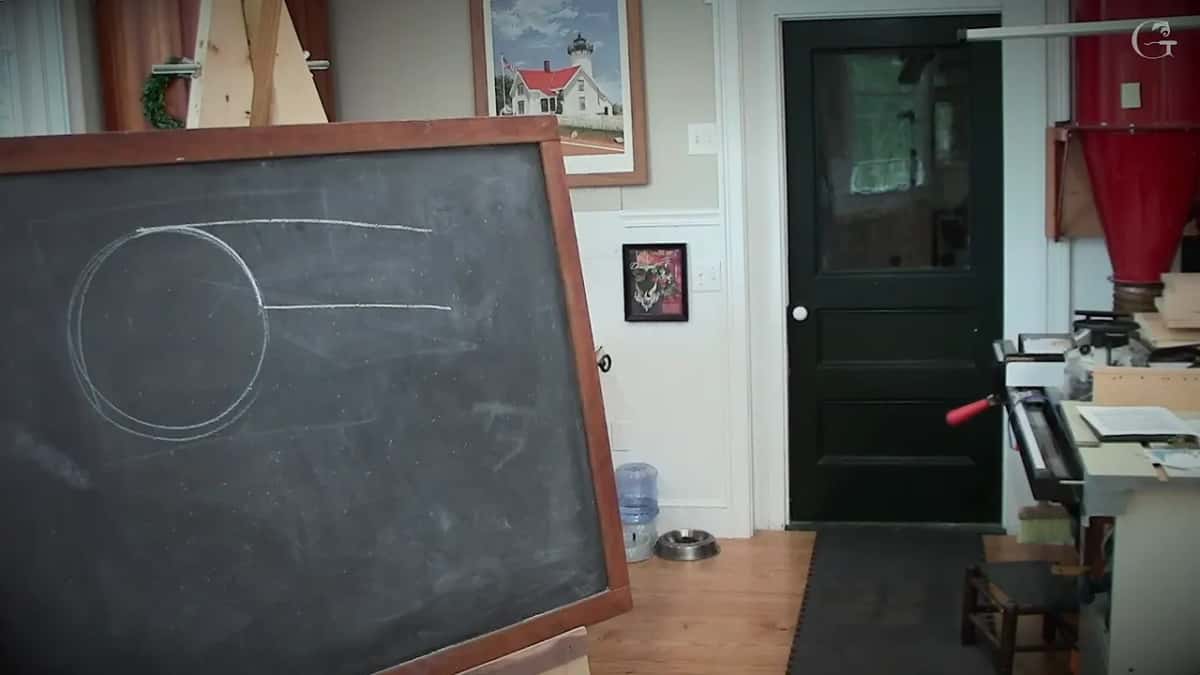
Heat is problem number two. A grinder overheats the tool, and sometimes you don't even see it because it's not turning blue, but it happens on the weak spot and the point breaks really quickly. Then you pretty much killed it, and you have to regrind.
Did the Tormek fix it?
Half of it. When Tormek showed up in the United States with its water cooling, I bought all the jigs and attachments, even one for an axe that I never used. It's slow enough, so it solved the overheating.
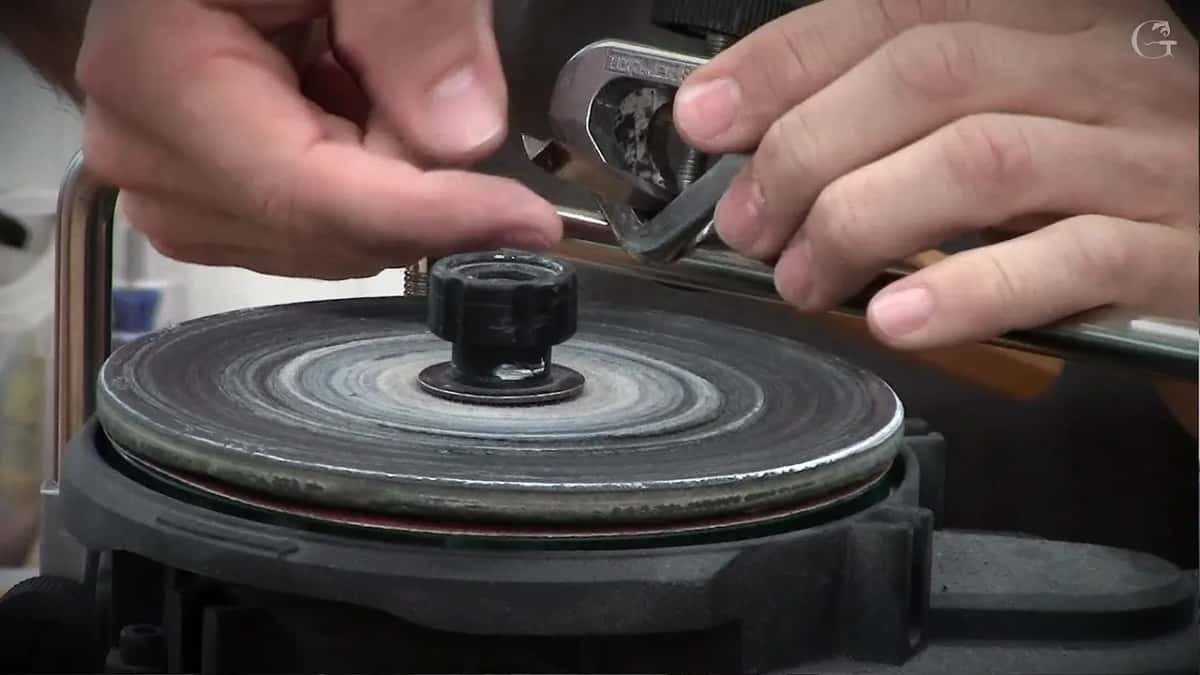
It did not solve the hollow. Yes, it's a bigger wheel, but it still weakens that point. On a short bevel that's fine, but a few of my bevels go up to five-eighths of an inch, like 18 millimeters, and on 18 millimeters it makes a big difference.
And it made a third problem, the grits. Coarse or coarser, two grits, and it's still coarse even if they call it fine. To take a tool to perfection without tool marks, you need more grits than that.
Why a flat disc instead of a wheel?
All I needed was a flat surface for a flat bevel, the same as on a stone, done on steroids. Fast. A few years ago I walked into Woodcraft, a woodworking store, and saw this machine, cheap, like $200, and Chinese-made. It was wobbly when I turned it on, and I asked myself if there was a place in my shop for cheap tools. I walked back and forth a few times before I bought it.
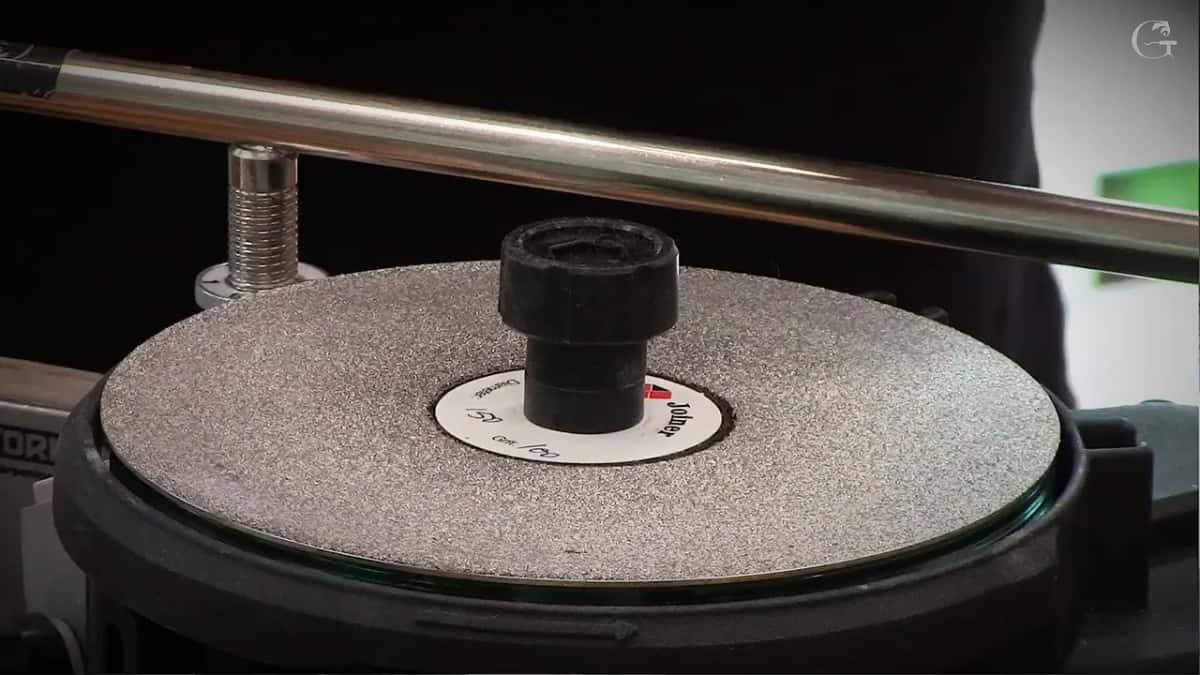
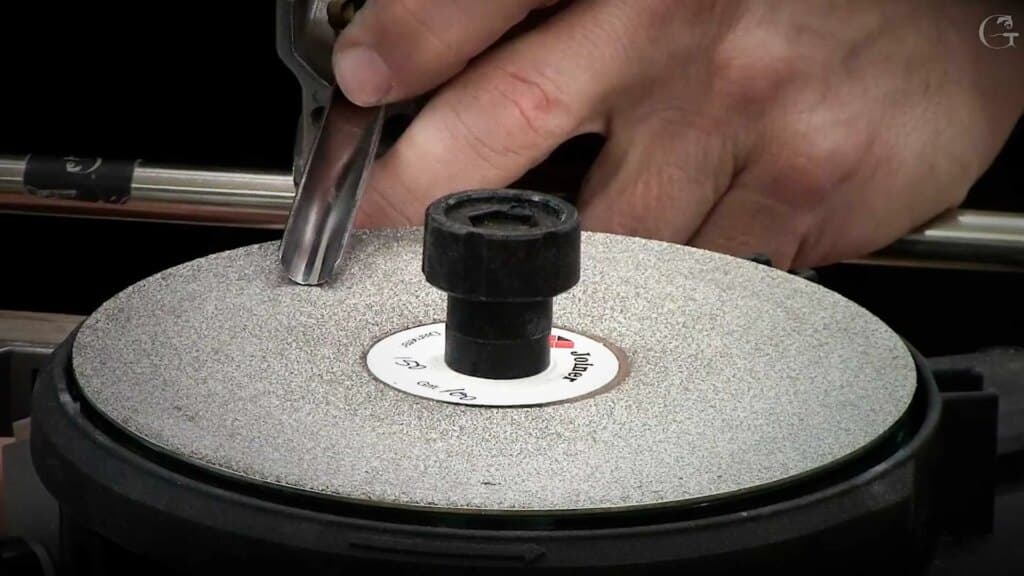
A flat wheel won't make a hollow, because it's flat like a stone, and it's slow enough that it never overheats my tool. Touch it and you won't hurt yourself. Try to touch a grinder. The biggest advantage is that the grit changes in one second, so I can take a tool from 80 grit to 6,000 in a matter of minutes.
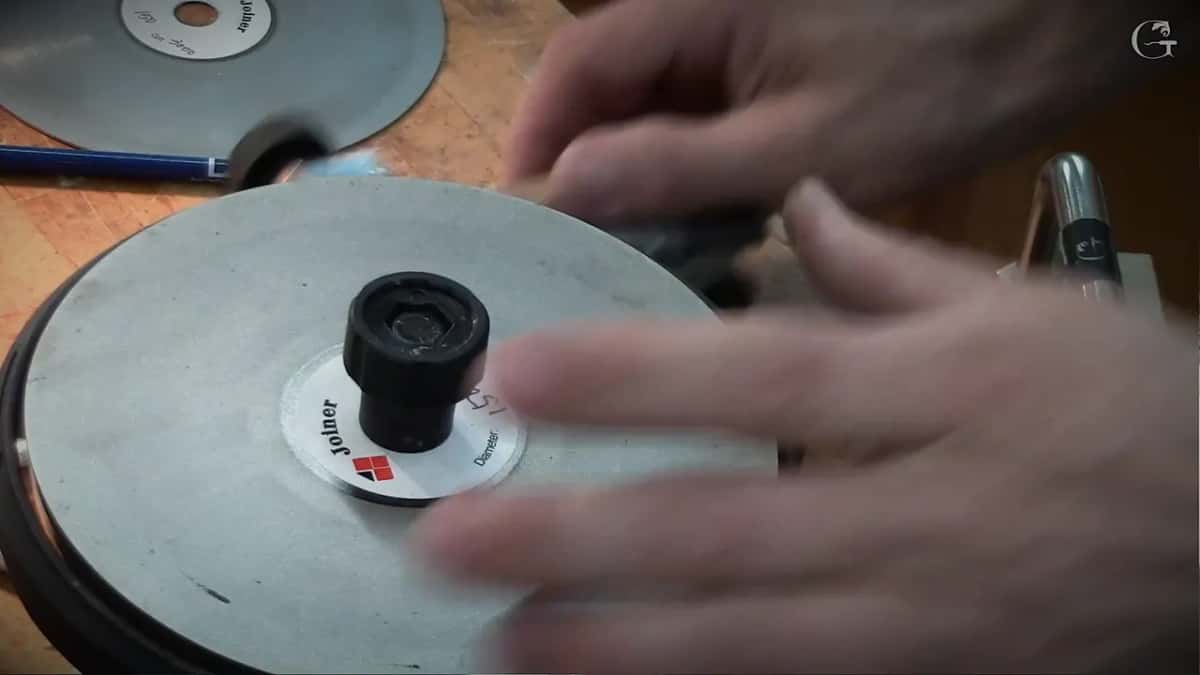
I run sandpaper wheels on it, and also diamond and CBN wheels. A CBN wheel is like $300 and it isn't worth it, though I do have them. Diamond does the job. The cheap Chinese ones were like $12 each, and I really don't have to replace them. Sandpaper lasts a really long time too, and it's cheap. My 6,000 sandpaper went five years without a change.
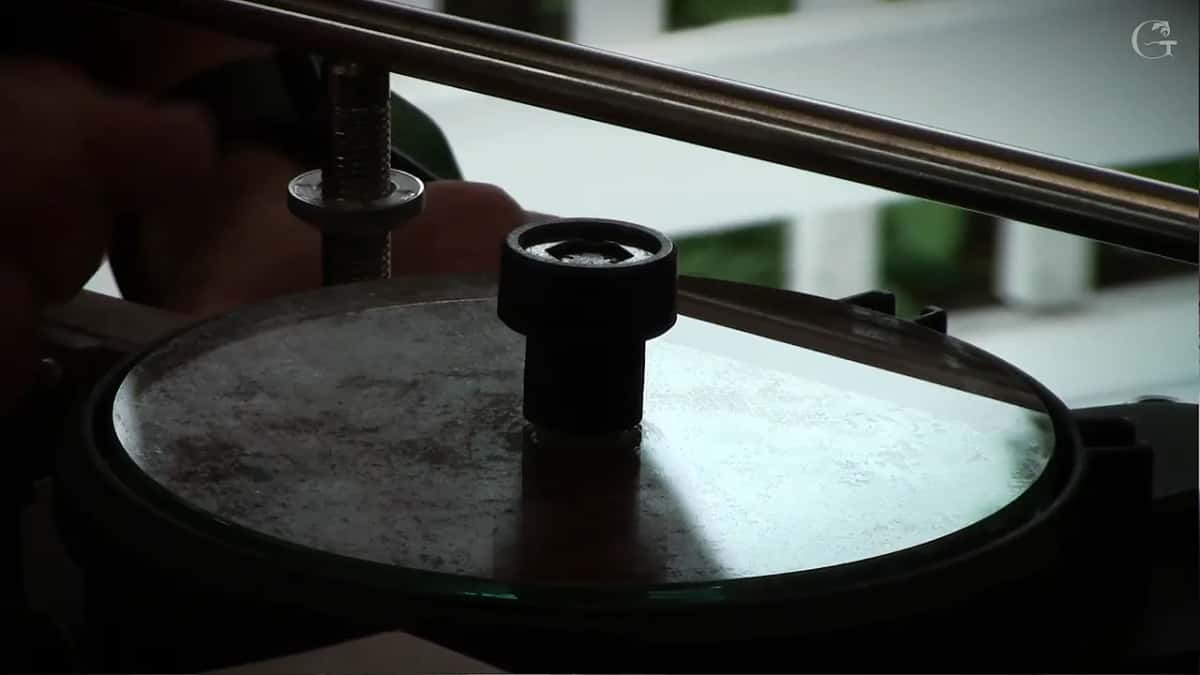
The machine is a Work Sharp, and with the Tormek bar it becomes a universal sharpening station. MDF wheels sawn out of 10 millimeter (three-eighths inch) stock work too, with six inch (150 mm) sandpaper from Home Depot on them.
| How I sharpened | What happened to my bevel and to the steel | What was left |
|---|---|---|
| Stone or sandpaper, by hand | It works, but my bevels came out arching | Time versus profit |
| Bench grinder, wheel based | A hollow bevel, and the weak spot overheats | Two problems |
| Tormek, slow and water cooled | No more overheating, but still a hollow on long bevels | Only two grits |
| Flat disc with a Tormek jig | Flat like a stone, cool, and the same bevel on every grit | About two minutes |
How is the bevel held on a spinning disc?
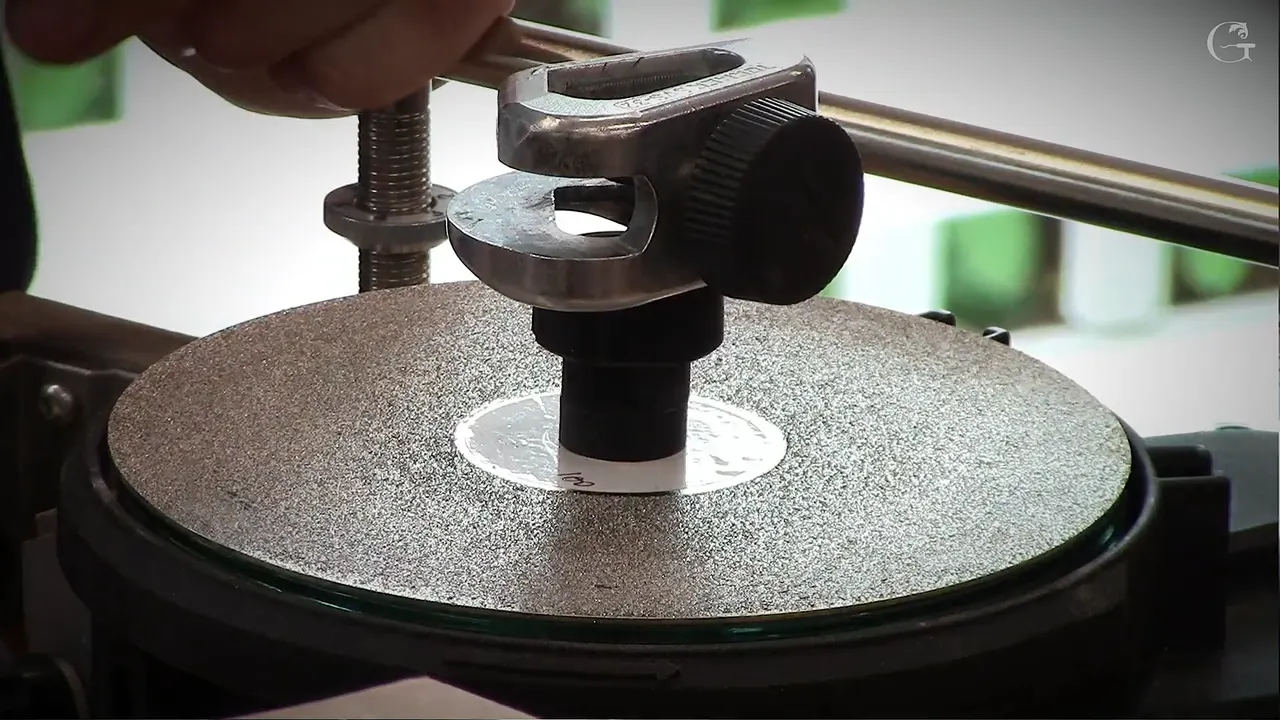
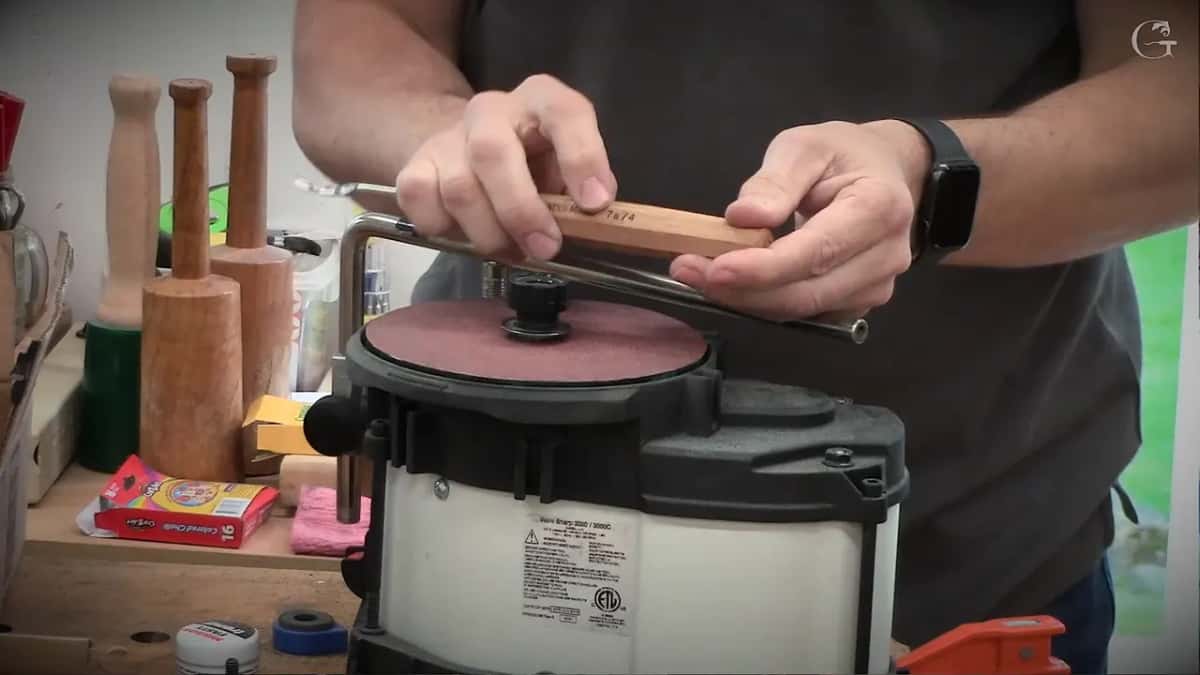
With a jig. By hand it's almost impossible to get the right bevel, because that thing jumps. So I went to my Tormek. Those Tormek people are genius people. Work Sharp used to sell a bar so their jigs would fit this machine. With the Tormek jigs on a flat surface, I can do what a hand and a stone do, only much better.
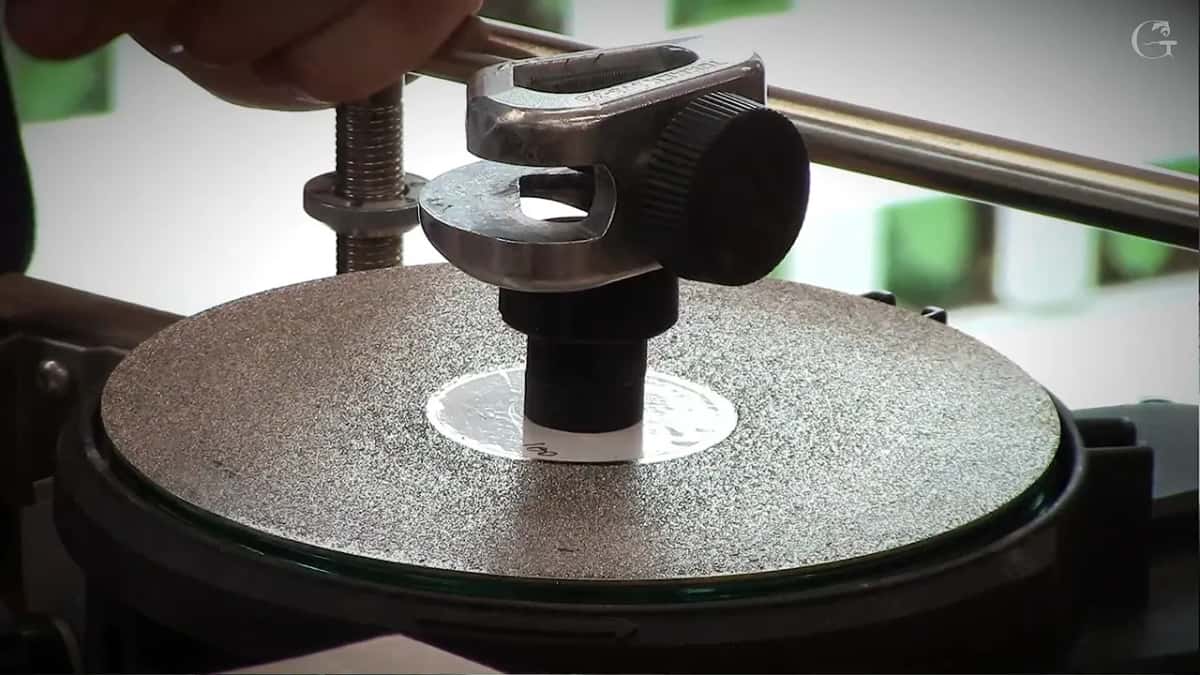
The newer machines stopped coming with that bar, so I put Tormek's grinder attachment on a piece of dovetail. It moves up and down, right and left. The Tormek bar for the Work Sharp lesson shows that setup.
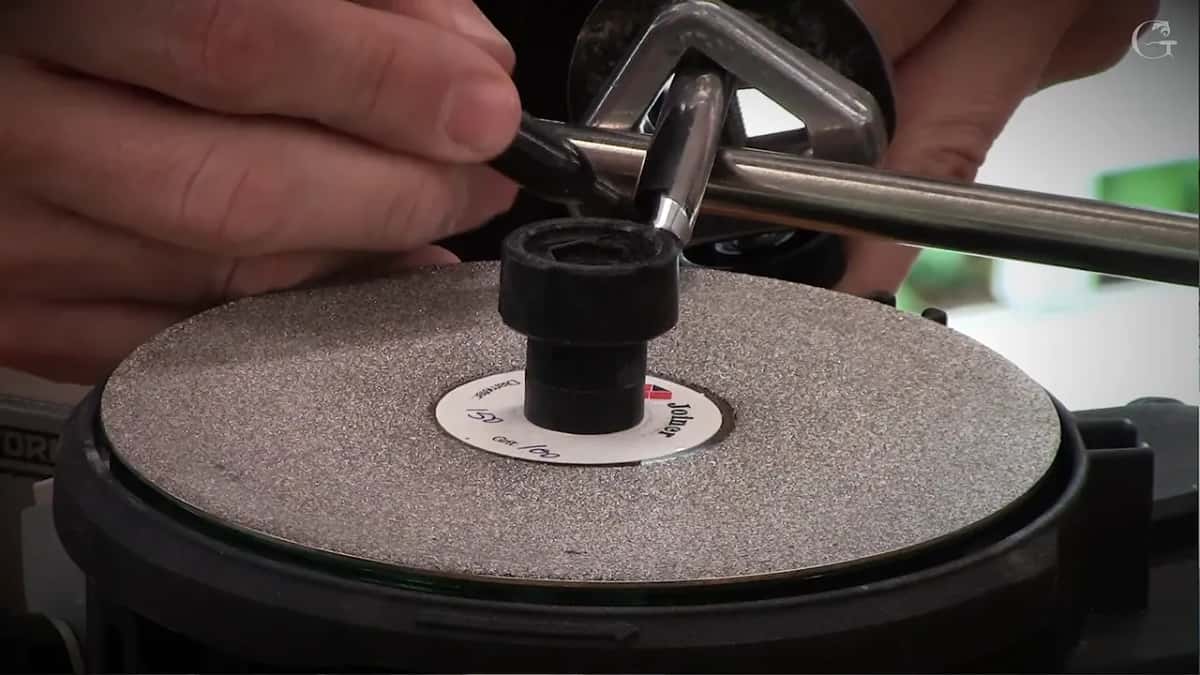
The jig I love is the SVS32 by Tormek. Its newer model is the SVS38, and when I compared the two, the biggest difference was just the number. There's a notch on the handle side. Place the tool inside and center the screw right in the middle of the flute.
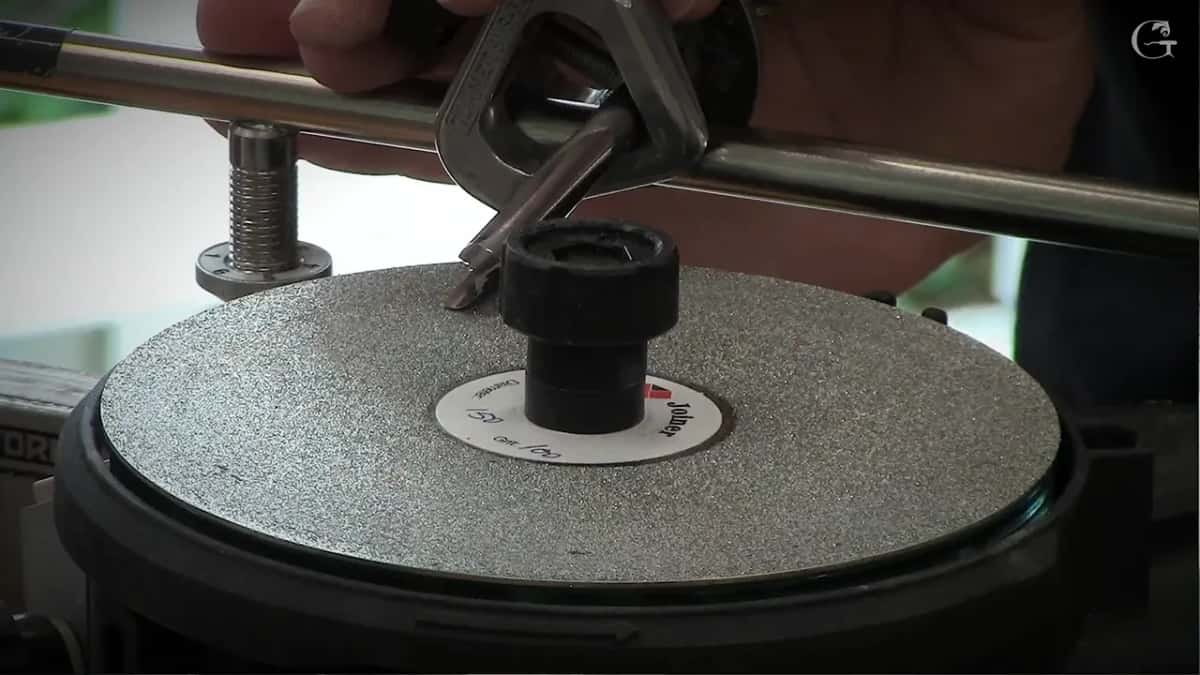
That jig has one limit. On a U shape like a number 11 veiner, the knob hits the bar at the end, so the sweep it can take has a limit. Another jig does exactly the same job with absolutely no limit, and it costs a little more.
Which grits come in what order?
The makers always supply a higher bevel, just in case you work with a mallet or have a thicker hand, and nobody should blame them. Two Cherries is the only maker I found with a little lower bevel, and the later batches I saw were higher too. So I check the bevel. A sharp new tool I use until it's dull, without honing it, usually a couple days, three days. Then I reshape it.
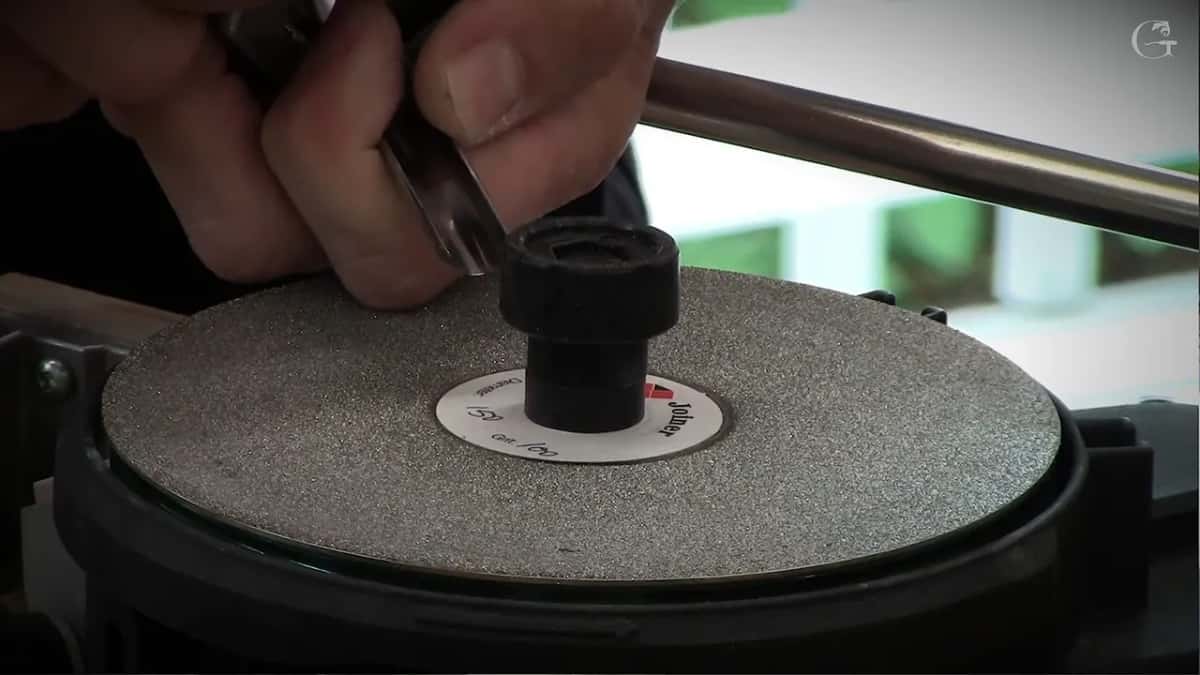
I start sometimes with 80 grit, or even rougher. In Maine I had brought 60, but I used 100. I eyeball the bevel and follow the curvature of the tool, the sweep. Near the center the disc is less aggressive, and out at the edge it's much more aggressive. Then I check the back, and if I'm hitting my heel, the bevel will be okay.
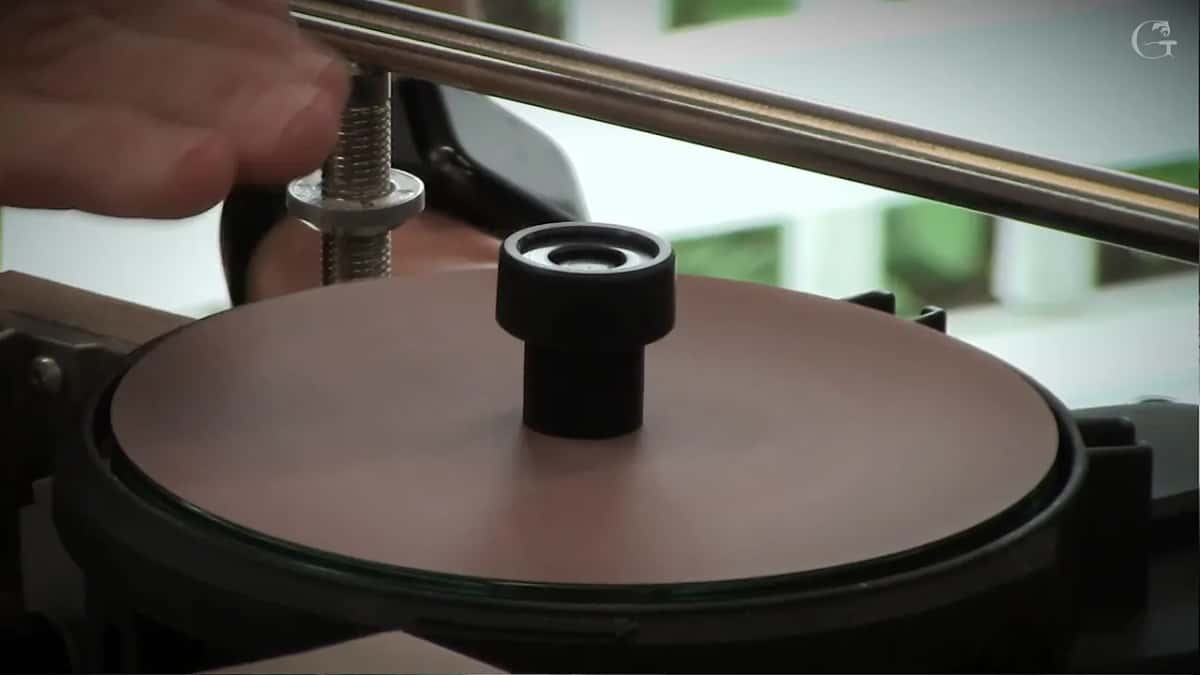
The next grit is 180. I could jump to 220 right away, because I really don't want to see any tool marks, and changing the grit takes literally a couple of seconds while the bevel stays the same. I'm still not going all the way to the edge. At 320 there's no pressure, and every pass gets closer and closer, until I'm almost right on the edge.
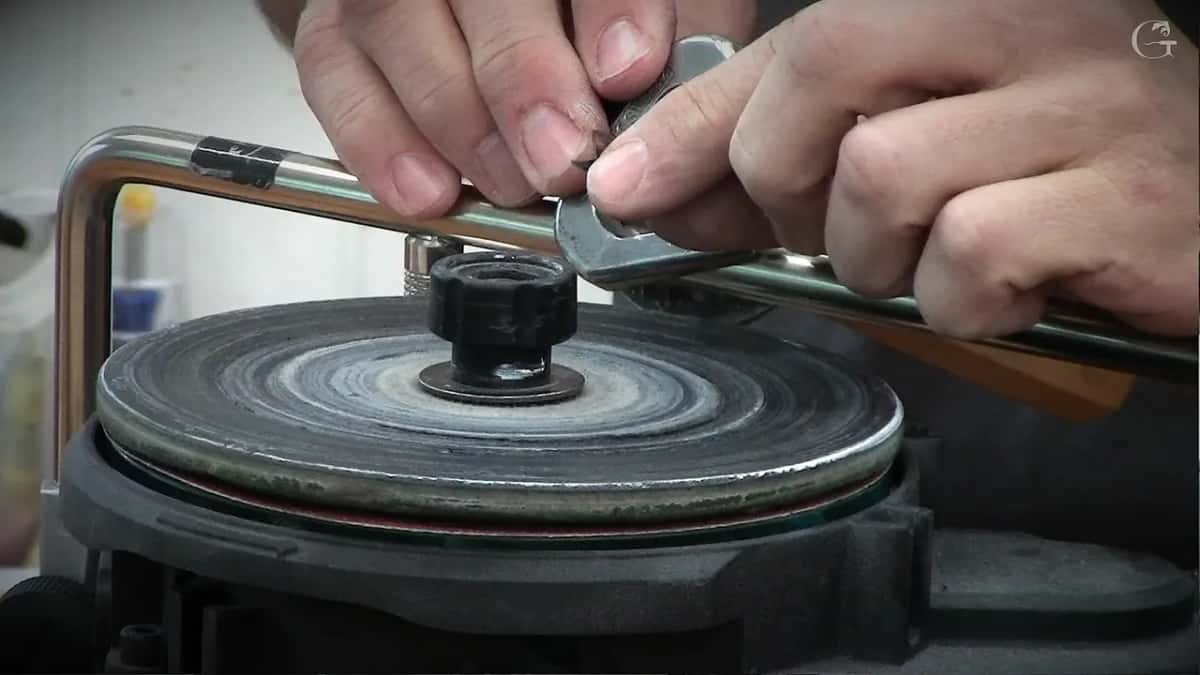
After 600 the bevel was still the same, a perfect bevel without any wobbling. 1,000 came next, dry, with no water or oil. I could take it to the extreme, 6,000, but I jumped right to the leather wheel and then the felt. Neither needs the jig.
What goes on the leather and the felt?
Leather is for stropping and felt is for honing, and I like two pastes. Koch is a German brand I like. The green paste goes on the leather, and I catch my bevel and strop it a little, not much. For the felt wheel I love a blue Koch paste that's called paste but is hard, and it's finer. They claim it even cools down the tool while you hone.
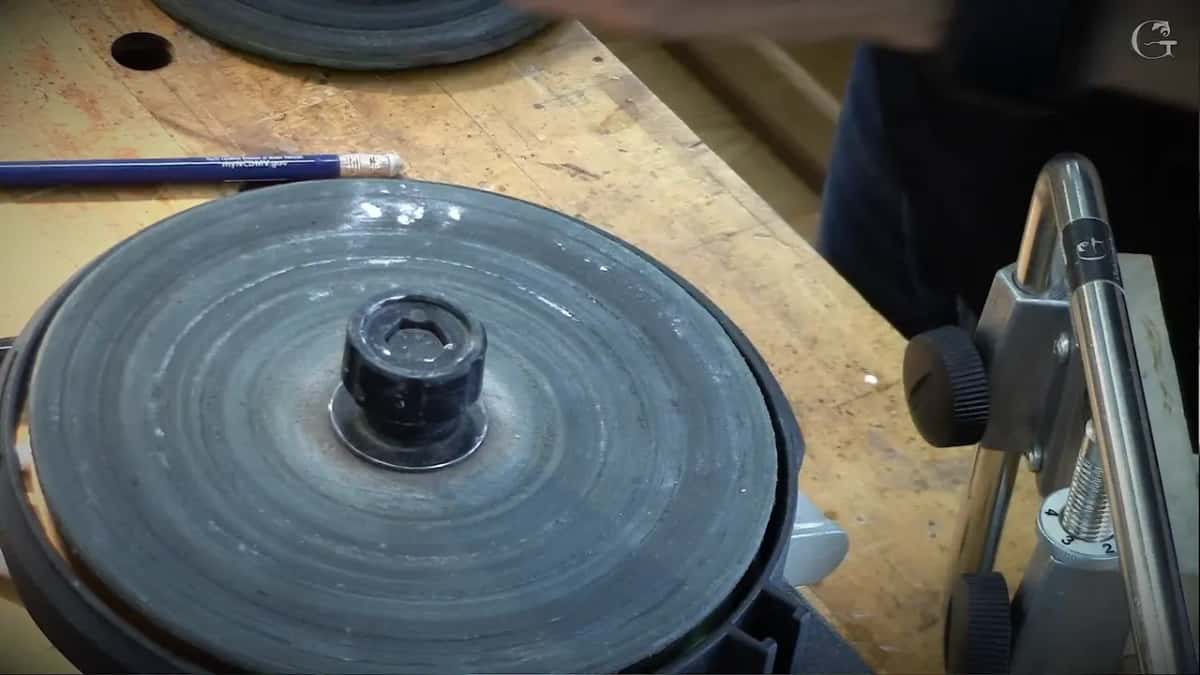
Flexcut does red, yellow and green, and some other brands make one that's almost purple. They all work, but some work much better. The paste on the felt turned black, which is metal coming out. I like the one I use because paste makes a mess, and some of it just flies all over, but that one doesn't.
Next comes the ceramic stone for the micro bevel inside. It doesn't have to be big. My ceramic is like 4,000 or so, and I start on the left side and go slowly over to the right, usually outward.
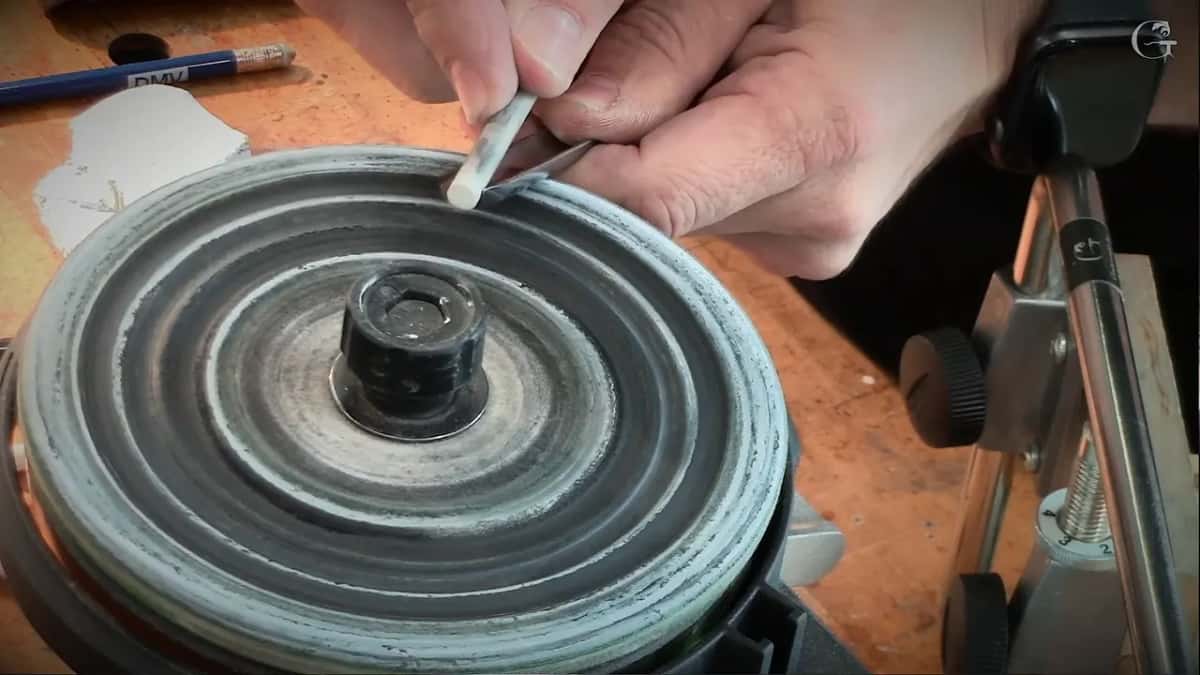
That leaves a wire edge, a burr. Some people take a piece of wood and break it off. I don't like breaking stuff. I think the wire edge is better when it falls out on its own than when you force it, so I take it on the felt wheel.
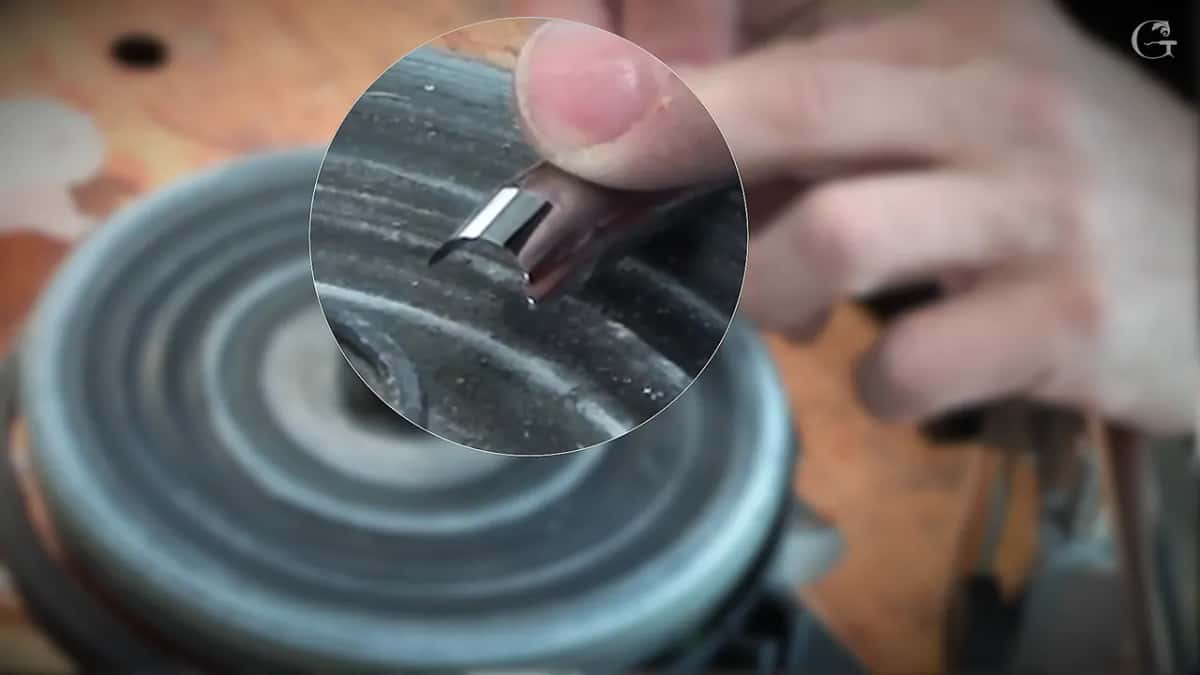
Then, for the extreme, I strop on a piece of leather with my secret weapon, mirror paste by Trend, which is literally made to polish mirrors. You don't even have to use leather, because MDF works. Leather scraps you can get for free, by the way. Leather shops throw their scraps away, so you go there and ask, and they usually give them to you. More on this in stropping, honing and buffing.
Which way should the disc turn?
I usually like outward rotation, though on some tools it's okay to rotate toward yourself. Outward is better. On the leather wheel and the felt wheel you definitely can't go toward yourself, because you'll dig in.
And there's what we call a saw tooth effect, the second reason. You don't see it with the human eye. Rotate toward yourself and those tiny abrasive stones jump on top of the bevel and damage it.
Is the V-tool any harder?
For some people it's the hardest tool. Treat it like three tools in one, two chisels on the sides and a gouge at the bottom, because the bottom is always rounded. Both ways will work. One way is to work the gouge first and get that side longer, then change the angle and bring each chisel side to the gouge.
Machine tools are not consistent, and on this one the walls got thinner closer to the edge. So you slightly wiggle it and check. Tiny movements, without pressing too hard. I hold the blade with my left hand and work with two hands, and once you follow the edge, it's a perfect tool. The V-tool lesson has four videos on it, and the V-tool problem video looks at the notch.
What about spoon gouges, back bents and huge tools?
Same jigs. All you do is control the height. A spoon gouge, a short bend, you raise, and a back bent you lower, which is nothing more than changing the position of the bar. Mine was a number 7 at 4 millimeters (about 5/32 in), and on Pfeil tools a mark A means a spoon gouge or short bend. Back bends are really hard to do by hand on a stone.
For huge tools, three inches wide, almost like a shovel, you use a bigger jig, and three inches and one-eighth (about 80 mm) fits perfectly. Pull on that jig and the bevel changes, so I hold it with my thumb and put my second finger right on the blade to feel the pressure. The large gouge lesson has its own videos.
Does a wavy bevel mean you did it wrong?
Not for me. Sometimes you'll see waviness on the back side after you sharpen, and for some people that's a big problem. I know the metal and I know the pressure, and sometimes I press harder to get to the edge and sometimes less.
It's important for me to get as close to the edge as possible and be consistent there. I'm in the business of carving wood, and if my edge is a little wavy sometimes, I'm okay with that as long as it's super sharp. I can do surgery with my tools. Some guys with really straight tools can't even dig into wood, because it's rubbing. But the tool looks good.
All ten parts of this class sit in the Carving Tool Sharpening course, next to lessons on micro tools, the fingernail gouge, the straight gouge, the skew bent gouge and diamond discs. Is there a gouge on your bench that fights the wood? Do you push it with your shoulder? Start with its bevel. Your tuition opens every lesson in the course.
How it's done
- Wait for dull. Use a brand-new tool until it goes dull, usually a couple of days, three days, without honing it first.
- Clamp it in the jig. Handle side to the notch, and the screw centered in the middle of the flute.
- Set the height by eye. Lower the bar until the grind meets the heel, roughly 10 mm, or 3/8 of an inch, back from the edge.
- Reshape on a coarse disc. Use 80 grit or rougher, or 100 as in the Maine class, and follow the sweep of the tool.
- Climb the grits dry. 180 or 220, then 320, 600 and 1,000, with no pressure, a little closer to the edge each time.
- Strop and hone. Green Koch paste on leather, just a little, then blue Koch on the felt wheel. No jig for these.
- Add the micro bevel. A ceramic stone of about 4,000 inside the flute, left to right, kept small. The felt wheel takes the wire edge off.
- Finish with mirror paste. Strop on a piece of leather with mirror paste last, for the extreme finish.
Frequently asked questions
Where do you measure a gouge bevel from?
Start at the edge and measure back to the heel. Alexander grabbed a Sharpie in the Maine class to show it and said at least 10 millimeters, about 3/8 inch, keeps you on the good side. He reads no degrees at all and judges the angle by eye, from where his hand sits.
Should a gouge bevel be higher for mallet work?
Slightly higher, if you use a mallet a lot. The mallet head has thickness, so the handle must sit high enough that the mallet won't strike the surface of the board. For work done mostly by pushing with the hand, he says to go lower.
Do all carving tools need a micro bevel?
Alexander puts one on every tool he owns, spoon gouges too. Some of his main bevels are so low that the point would be weak without it, and the small inside bevel also lets a tool work upside down without digging in where you can't get out.
What to carve next