

Alexander Grabovetskiy, woodcarver, School of Woodcarving · Published 2019
Are Schaaf carving tools good enough for a beginner to start on?
Quick answer: Schaaf carving tools are good enough to start on, in my test, as long as you're ready to sharpen. I took the twelve gouges as they came, only buffed each one, and carved a small grape panel with eleven of them. They needed buffing three or four times, about what my Pfeil tools need.
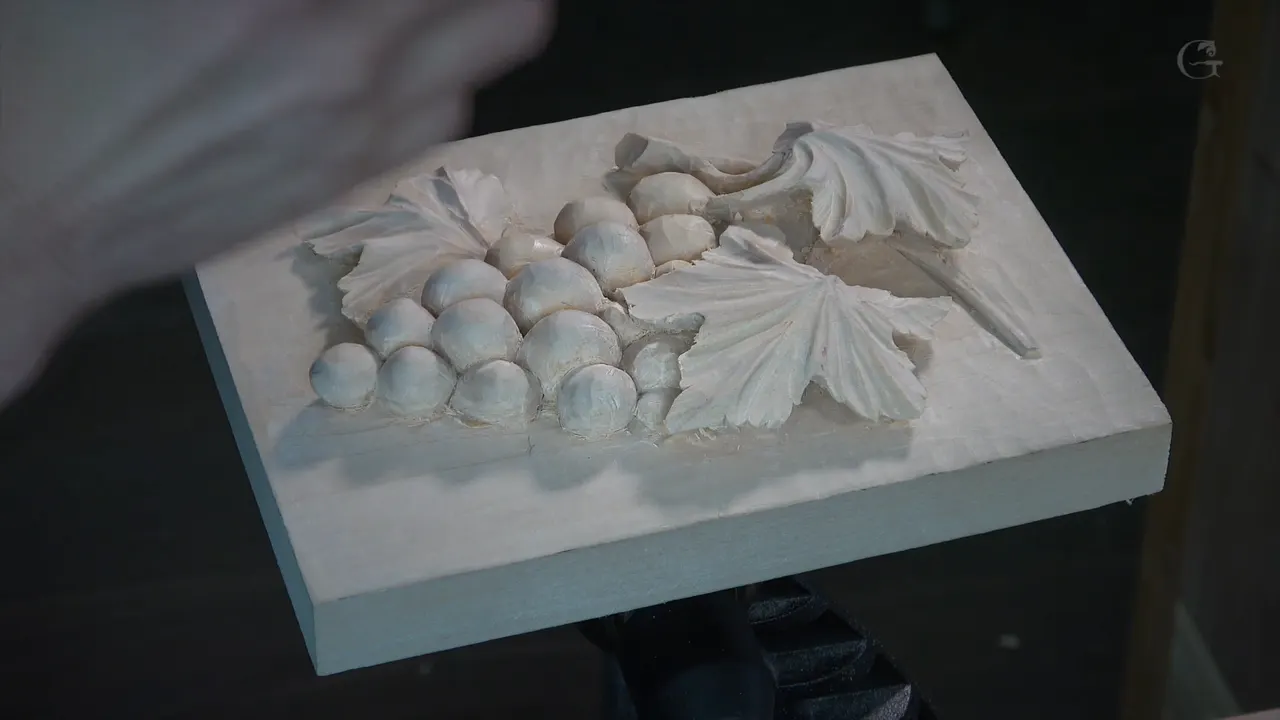
Schaaf wood carving tools are a set of 12 gouges you can find on Amazon for about the price of one and a half gouges, and in my test they carved just fine. I did not reshape or resharpen a single one. I only buffed them. Then I carved a small grape panel, and of the 12 tools I used 11. If I were just a hobbyist, or even a professional furniture maker, I would definitely buy them.
Do you want to carve something real with your own hands? Would you rather keep your money in your pocket until you know you love it? Then this test was made for you, because I pretended to be exactly that person.
Tools are expensive. People ask me how many tools they need, and which ones. So in this course about tools I took a cheap set and carved with it on camera, the way a beginner with no sharpening skills would. I'll tell you plainly what held up, what looked rough, and which two tools I would add.
Schaaf wood carving tools in six short lines
Amazon says the 12 gouges are hardened to Rockwell C60, right in the middle for carving tools.
I gave them a felt wheel and paste, nothing more.
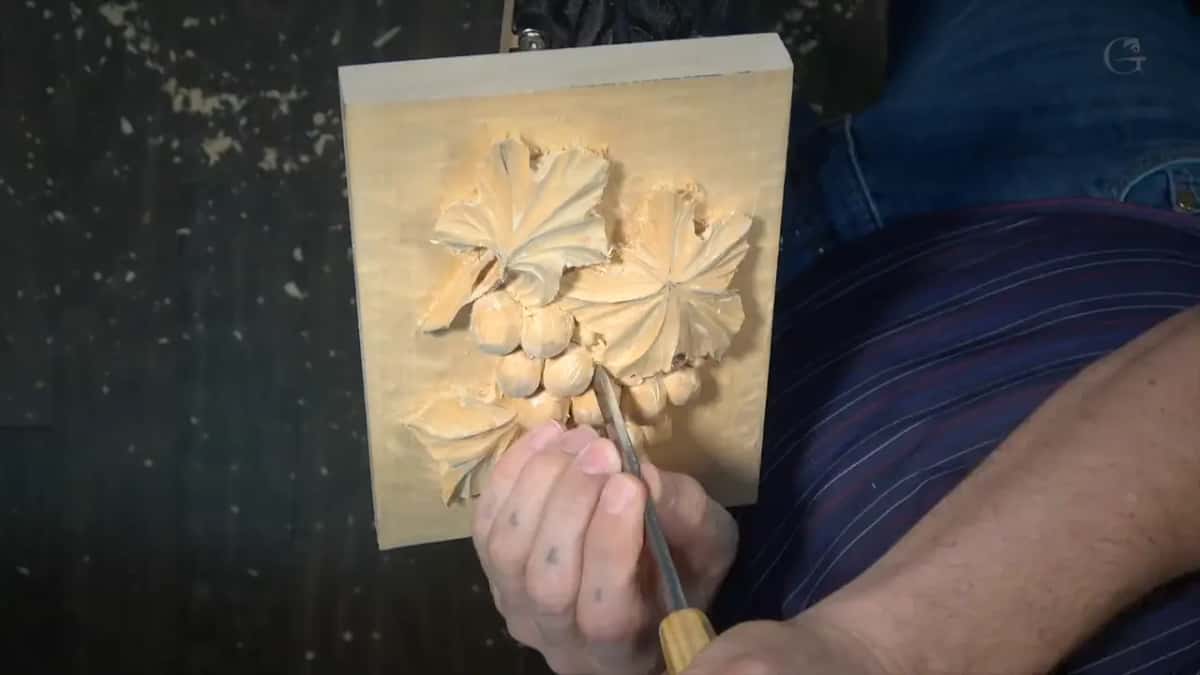
Eleven of the twelve did the whole grape carving, in full 3D.
Each tool went back on the wheel several times during the carving, about as often as my Pfeil or Ashley Iles tools need, and the edge held.
Small ones look rough where the steel goes into the handle.
I'd add a number 11 of about 1 mm (0.04 in) and a 35 or 45 degree V tool.
Why did I test a cheap set from Amazon?
Search Amazon for carving tools and one of the results is going to show you Schaaf. On a stream in April 2020 I said it comes up pretty much as result number one, because of the price, of course. The set is sold as twelve tools in one box.
I carve professionally every day, and I use different brands. I use Ashley Iles a lot. I also use Pfeil, Henry Taylor and Auriou, and I've even got some Flexcut tools, which I mostly don't use.
And I teach in different schools throughout the USA. Sometimes, when I list the tools a class will need, I list Pfeil, because it's the brand most used in the USA and you can buy it almost anywhere in the world. Really good tools. But a beginner set of 12 from them costs far more than this box, and Schaaf is much, much more economical.
So I asked a plain question. Say I'm just starting out as a hobbyist and don't have much money for tools. Could I still get semi-professional results with this box? And what about a furniture maker who wants to dress up his pieces with some carving, which doesn't need a lot of tools, but doesn't want expensive ones?
Does a new set of carving tools need sharpening?
Yes. The Amazon page for this set says that if you're not planning to sharpen them, don't buy them. And that's true of any brand. I really appreciate the honesty, because a beginner who doesn't know how to sharpen is going to get frustrated.
Take Pfeil. Most of the time, when you buy those tools, they're ready to go, and you just carve. But how long can you carve with a factory edge? One day, two days, maybe longer. There still comes a point when you have to resharpen, whatever brand you bought.
In my own shop every tool, high end or not, gets the same treatment. I reshape it, resharpen it and strop or buff it again, and only then do I use it. On that stream I explained the reason. A brand new tool doesn't have a proper bevel, because the bevel sits too high, so with your knuckles touching the work the edge should already grab the wood, and instead it rides up on the heel. With new tools, my stage one is reshaping to a much lower bevel, and the sharpening course shows how.
For this test I skipped all of that. I played a beginner who bought the tools and never learned to sharpen, so I took each one and buffed it, and that was all.

How did I buff the gouges straight from the box?
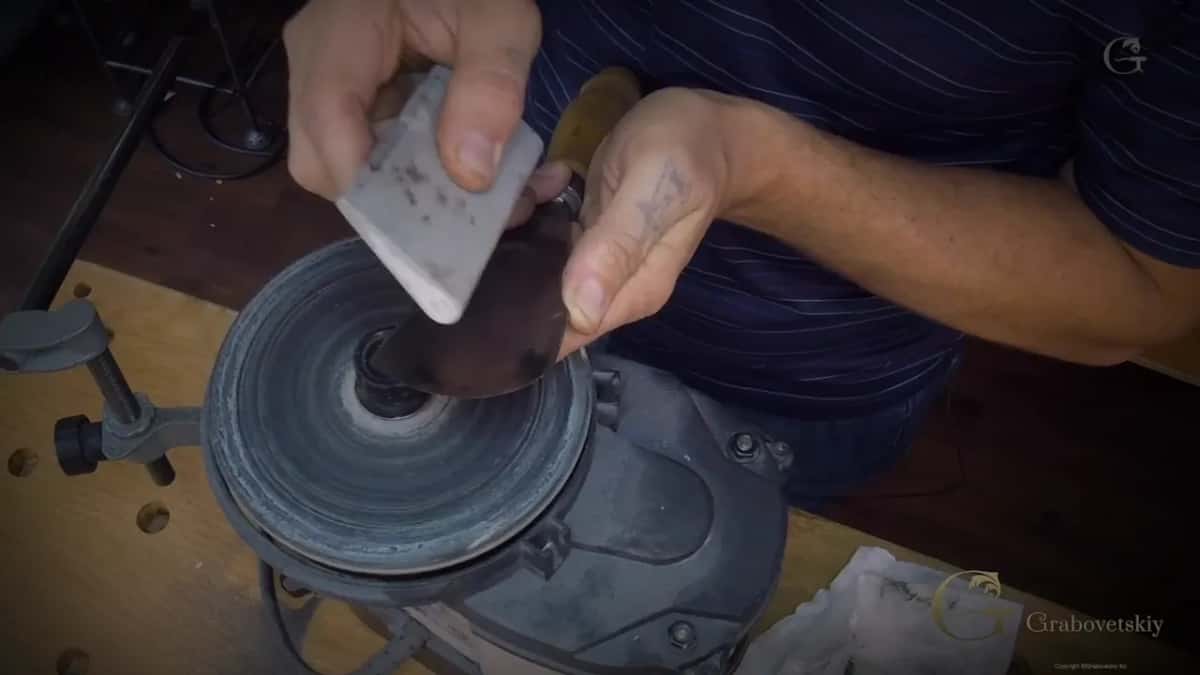
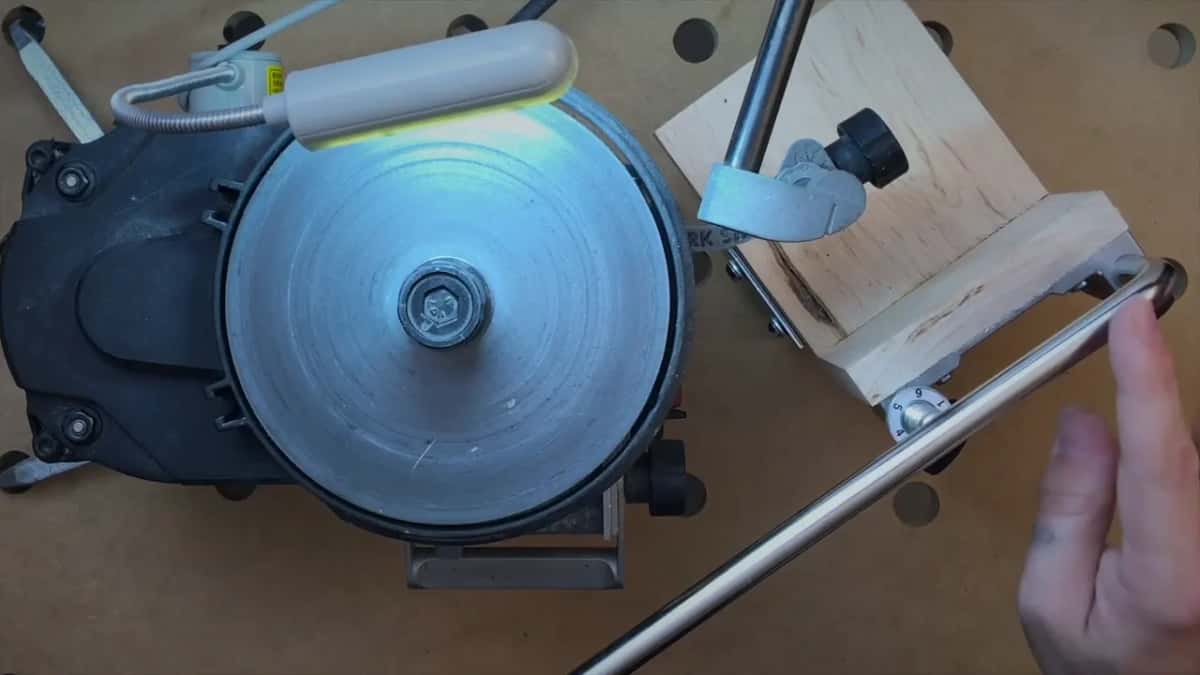
My preferred way is stropping on a Work Sharp machine, a Work Sharp 3000 to be exact, the older model. For this set I used just the felt wheel with some paste on it. The kind of paste doesn't matter much. I said on camera I'd probably use green, which you can buy in most countries.
Buffing is the more accurate word for it. The felt wheel strops and buffs, which is not really sharpening. There's a whole stropping lesson in the sharpening course if that word is new to you.
Straight out of the box you can see machine marks on these tools. They've never been really sharpened. Before I carved anything I could see the edge needed buffing, so I couldn't just use them as they came.
My goal was not to review how they were built, or to compare them with Pfeil or Henry Taylor. I wanted to know one thing. Could I carve with these, pretty much right out of the box?
Is Rockwell C60 hard enough for a carving gouge?
Amazon lists the set as hardened to Rockwell C60. Most carving tools range between RC58 and RC62, so RC60 sits right in the middle.
And it does hold an edge. During this carving I had to buff each tool again, probably three, four times, which is approximately the same as I'd do on Pfeil tools or even Ashley Iles. What the metal itself is made from, I don't know. But to me it looks good.
What looks rough on a Schaaf gouge?
It looks a little different, of course, and on the metal you can see a lot more rough stripes, like machine marks. I'm not sure that's the proper word for them, but it's true.
Some guys on YouTube complained that the place where the handle and the metal connect looks a little too rough. I found that also. On the bigger tools you don't see it. The smaller ones are another story, because the inset of the metal part is not that accurate.
| Checked point | What I saw on the panel test | How much it mattered |
|---|---|---|
| Hardness claim | Rockwell C60 on Amazon, in the middle | it does hold edge |
| Edge holding | buffed again three or four times each | about like Pfeil tools |
| Steel finish | rougher stripes on the metal, machine marks | different look, of course |
| Handle joint | inset not that accurate on smaller tools | not a big deal |
| Loose handle | one gouge had a little loose handle | I can replace it |
| Missing tools | one millimeter veiner and a narrower V | that's only my opinion |
I know that's a big deal for some people. For me it's not, as long as I can look down the tool, see it's straight, and see it sit really nicely in the handle. That's nothing to tear my hair out over. A beautiful finish all around is nice to have, sure. But some of my gouges cost twice as much as this whole set, and that's just one gouge.
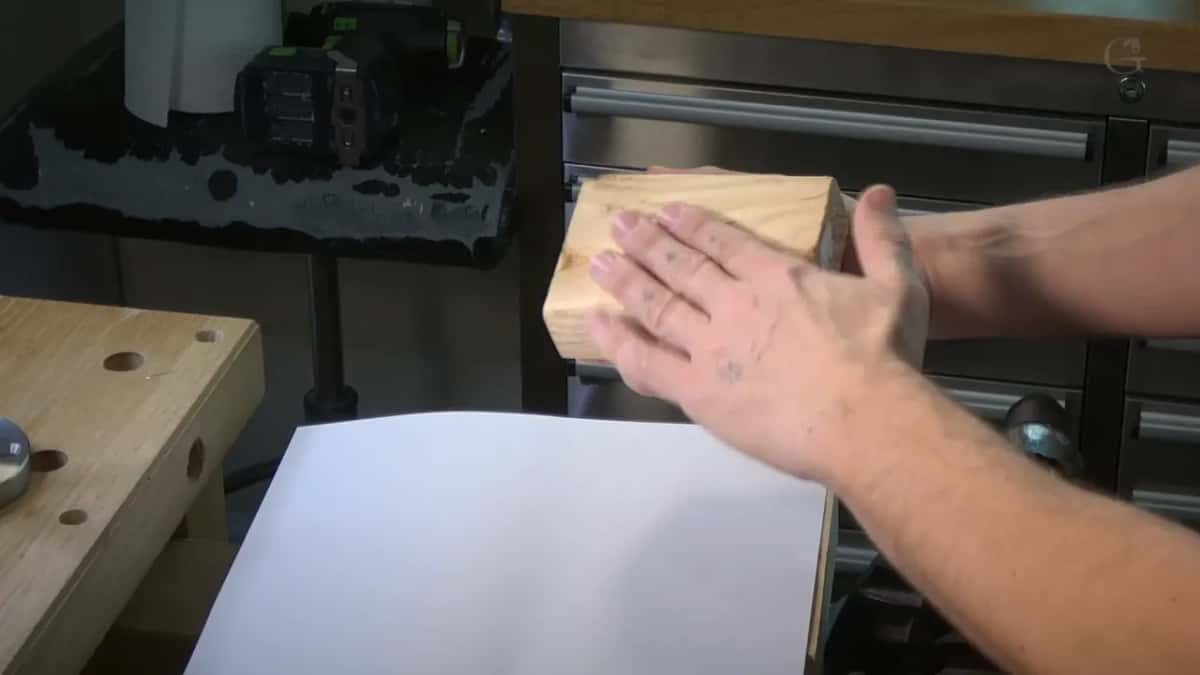
One gouge had a handle that was a little loose. Not a deal breaker for me. I can always replace a handle if I wish, and Amazon also says that if a tool is not good, like my loose one, they can replace it with a new tool.
The handle has the same eight sided shape as the Swiss made handle on a Pfeil. On another stream I showed a Schaaf beside a Pfeil, and sometimes you can't even tell those two tools apart. Most carvers prefer that shape right now, because a tool laid on the workbench stays right there instead of rolling off.
You can judge as much as you want how they're finished and what the hole inside looks like. But a tool is a tool.
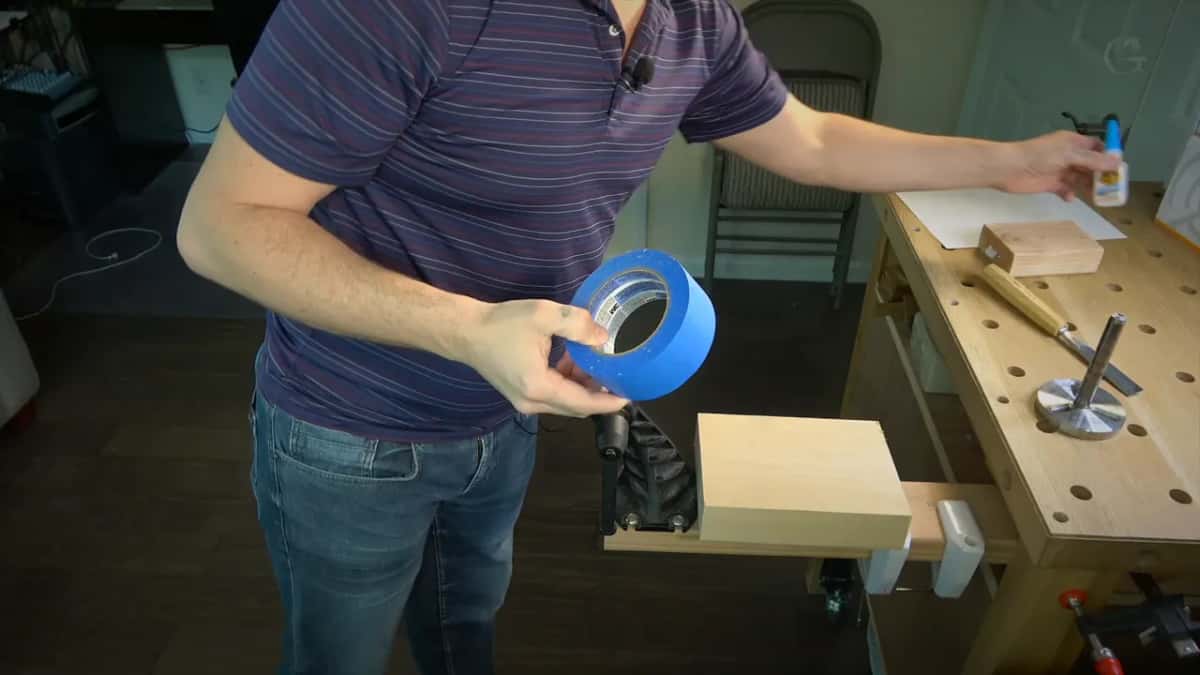
How do you hold a carving in the vise without screws in it?
People in my school asked me how to avoid the screws. A Veritas vise comes with a plate, and you have to screw that plate either into the piece you're going to carve or into a separate block. With a block, you can use the sandwich method.
You take a piece of paper and glue both sides of it, one side to the project and the other to the block. Mine was just a piece of two by four, the cheapest block of wood I could find, and it's really stable. I use paper and glue that way all the time. Even on big projects. Not long before this video I did lion head onlays for one of my clients, huge ones on 48 inch boards (about 1.2 m), and they were held by a piece of paper.
This time I tried a different method, with regular blue tape and super glue. I had Gorilla. That's just a brand, and I'm pretty sure any brand will do, and it's not expensive.
On a small carving it works fine. This one was going to be deeper and bigger, and I said on camera I wasn't sure how stable it would stay under really heavy work.

I put a couple of pieces of blue tape on the back of the blank and the same on the block. Let the tape wrap around the edges, because later on that makes it easier to remove. Any painter's masking tape will do if you can't get blue tape in your country, and that is easy to remove later too. A little bit of glue went on, and I glued it tape to tape.

Wait 10 or 20 seconds. Then the plate gets screwed to the block. Veritas has a carver's vise and plates in different sizes, two inch and three inch (about 51 and 76 mm), sold separately, so you can have several and leave one on each project. Mine here was the two inch plate. For smaller carvings it's excellent. I used screws of about an inch and one eighth (29 mm), and I think that's plenty strong for this project.
Into the vise it went. I trimmed the tape a little so it wasn't in my way, but I still left it wrapped around, so it comes off a lot easier later.

What blank did I carve the grapes in?
Basswood, or limewood if you wish. Just one of the blocks I found in my shop, an offcut from an existing project, already sawn. It's about six inches wide and about eight inches long (152 by 203 mm), or eight and 3/32 inches to be exact. Less than two inches thick. An inch and 7/8 (48 mm), because it's eight quarter material just planed down.
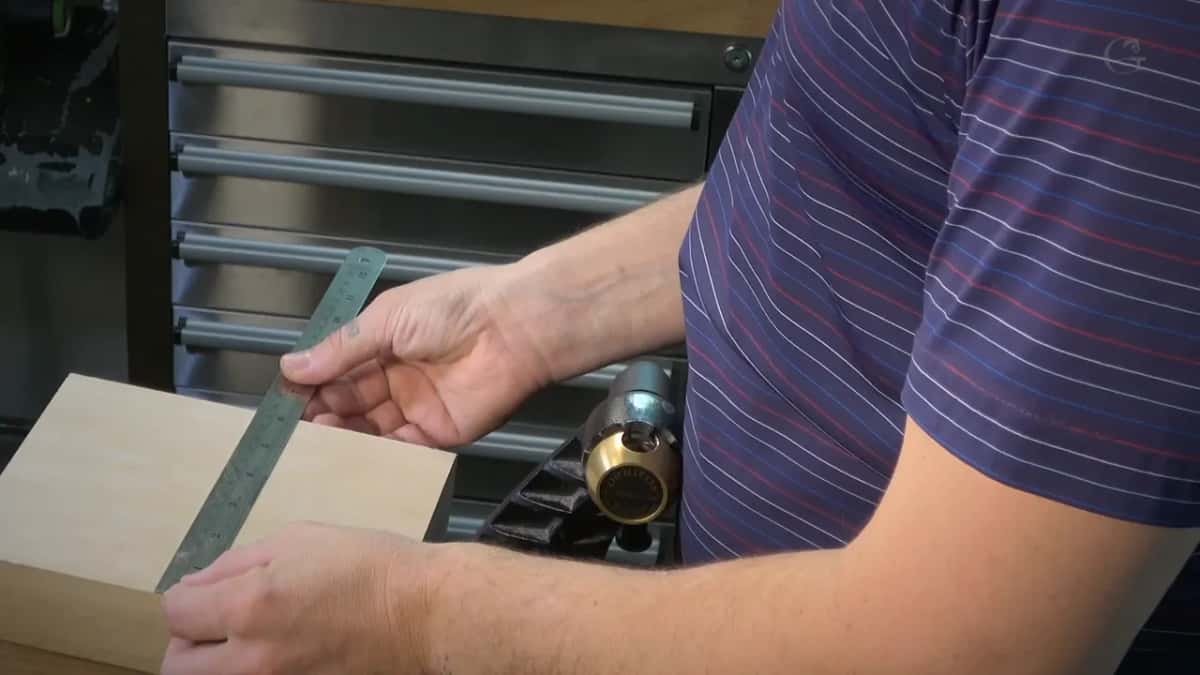
It had a planer snipe right there. That doesn't bug me. But if it does bug you, you can always take a block plane and plane it a little, and I did, just to make it look nice.


What did I carve with 11 of the 12 gouges?
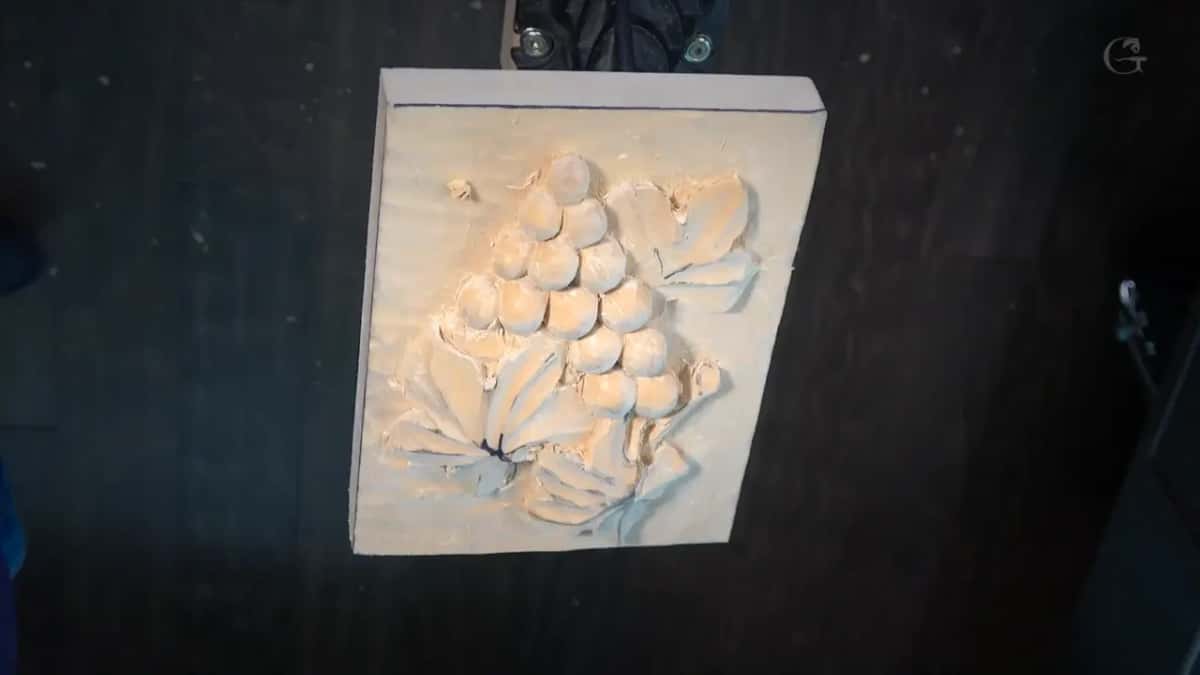
Grapes. I wanted something simple, but not too simple. I could have made those grapes as an onlay, sawn out on the scroll saw, put onto a piece of wood and carved. This time I wanted a small piece of art that you can frame later and hang as wall art.
I drew right on the wood with a marker, because it's more visible. Usually I draw with pencils. The whole design took me one minute.

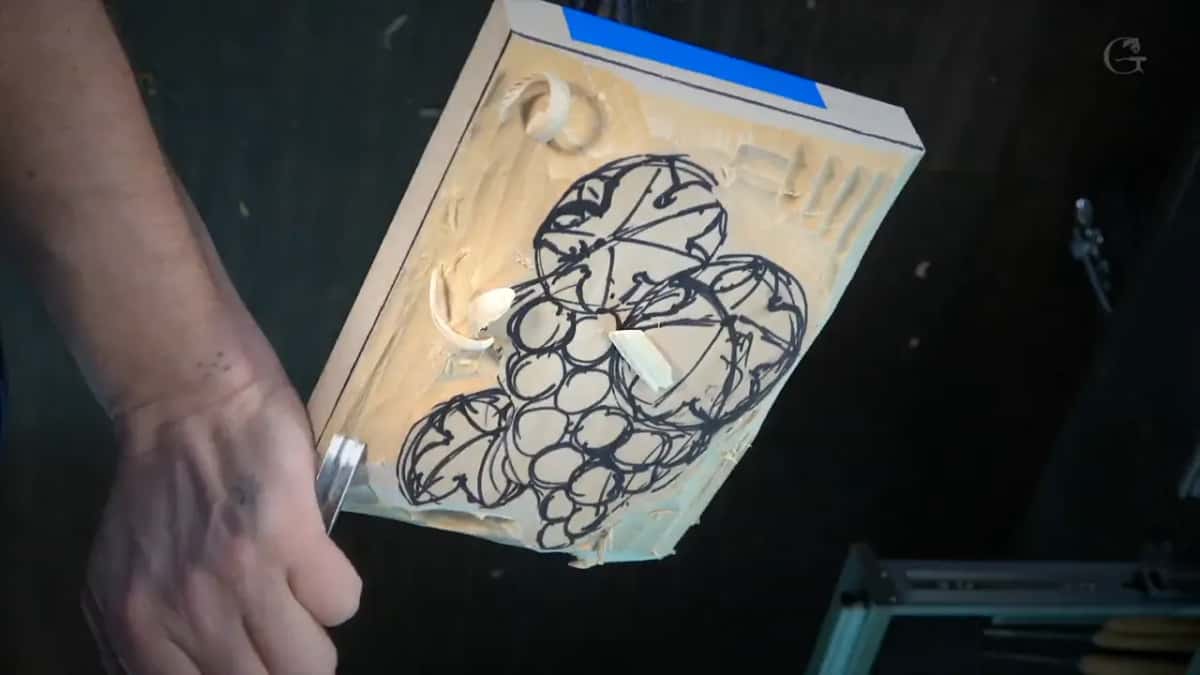
I used only Schaaf tools for the carving and nothing else, although I wanted to, because normally I use a lot more tools and a lot more sizes. Of the twelve, I used eleven.
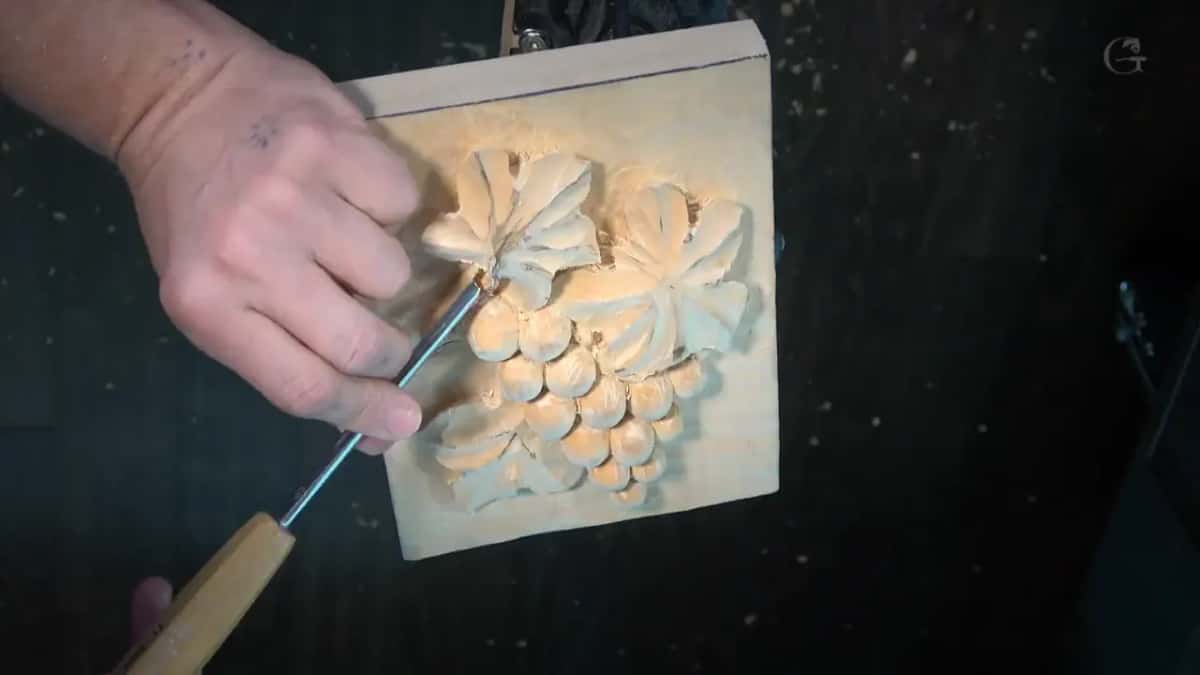
It's a really small carving, but you can see it's in full 3D. With a little more time I could take it to the extreme and make it even more beautiful. The design was simple, though, and I think it's not complicated at all. Anybody can do it. If grapes are your thing, there's a vase with grape leaves course too.
Which two tools would I add to the set?
For professional wood carving this set is definitely not enough. I could add a couple more tools, and in my opinion that would help a lot.
First, a smaller number 11, maybe one millimeter (about 0.04 in), to get underneath for undercutting and to clean really tiny spots.
Second, the V tool. This set's V tool is 60 degrees, and I'd change it to maybe 45, or even 35 degrees, which would be more useful. That's only my opinion, though, because I use a 35 degree V tool a lot for undercutting.

Would I buy Schaaf tools to start carving?
Overall, they're really good. I would buy them. I'd say they're absolutely fine, and I see absolutely no problem with those tools.
Later, in a lesson on micro tools, I talked about this set again. I said they work the same, and that the metal part is all you need to worry about. Then I answered a question. Why should you spend a lot of money if you don't carve professionally, when you can spend just a little and still do the work? You really don't need a lot of tools for a hobby.
But at a professional level you can't get that kind of work with one tool, and for really complicated stuff, where you go underneath and excavate inside, you have to collect more tools. This course has a lesson on back bent tools as well.
Later I got two smaller Schaaf sets, one of seven tools and one of four. In the Venice Room course I said those four are almost enough to start carving. The seven look like Pfeil. I reshaped one of them the usual way, a number 3 of 20 millimeters, three quarters of an inch, and said there was absolutely no difference between it and really high end, expensive tools. It still carved beautifully.
In the same breath I said please, don't ask me about the quality of those tools. You can't compare really high end tools with these, and it all depends on what you mean by quality.
Let me tell you a story. In Japan there is a really expensive steak, and they cook it for you, and you pay about $1,000 just to eat one dinner. Or you go to a much cheaper restaurant in the USA, pay $12 for a steak, and you're still happy. They know why they charge so much for that steak. For the average person the purpose is the same. You eat, and you feel full. It's exactly the same with these tools, because I can get a job done with much cheaper tools and it still looks beautiful and nice.
Would you like to watch the whole carving, start to finish? That lesson is part of my school, and so is the sharpening course.
How it's done
- Buff each tool first. Fresh from the box, my set needed buffing before it would carve. Put paste on a felt wheel, then buff every gouge on it, and any kind of paste will do.
- Tape the back of the blank. Put a couple of pieces of blue tape across it and let the tape wrap over the sides.
- Tape the block the same way. Do exactly the same on the block. My block was a piece of two by four, and any painter's masking tape works if you can't find blue.
- Glue tape to tape. Put on just a little super glue and press the taped faces together. Give it about 10 or 20 seconds before the screws go in.
- Screw on the vise plate. Screw the plate onto the block. My plate was a two inch Veritas, with screws of about an inch and one eighth (29 mm), and for a small project like this one that is plenty strong.
- Set it in the vise. Put it in the vise. Trim the tape a little if it gets in your way, but leave it wrapped around so it comes off easier later.
Frequently asked questions
Do Schaaf gouges come sharp enough to carve?
Not quite, in my set. The steel showed machine marks and had never been really sharpened, so each edge wanted buffing before the first chip. Some paste on the felt wheel of my Work Sharp was all they got, and after that eleven of them carved the grape panel.
How often do the gouges need buffing while you carve?
About three, four times each over the whole grape panel, in my case. That is approximately what I'd do on Pfeil, or even on Ashley Iles. Amazon lists the set at Rockwell C60, halfway along the RC58 to RC62 band most carving tools fall in.
What would you add to a 12 piece gouge set?
A smaller number 11, maybe one millimeter, for getting underneath when you undercut and for cleaning tiny spots. I'd trade the V tool too. Mine came at 60 degrees, and a 45, maybe even a 35, would be more useful to me, because I use a 35 degree V a lot for undercutting.
What to carve next