
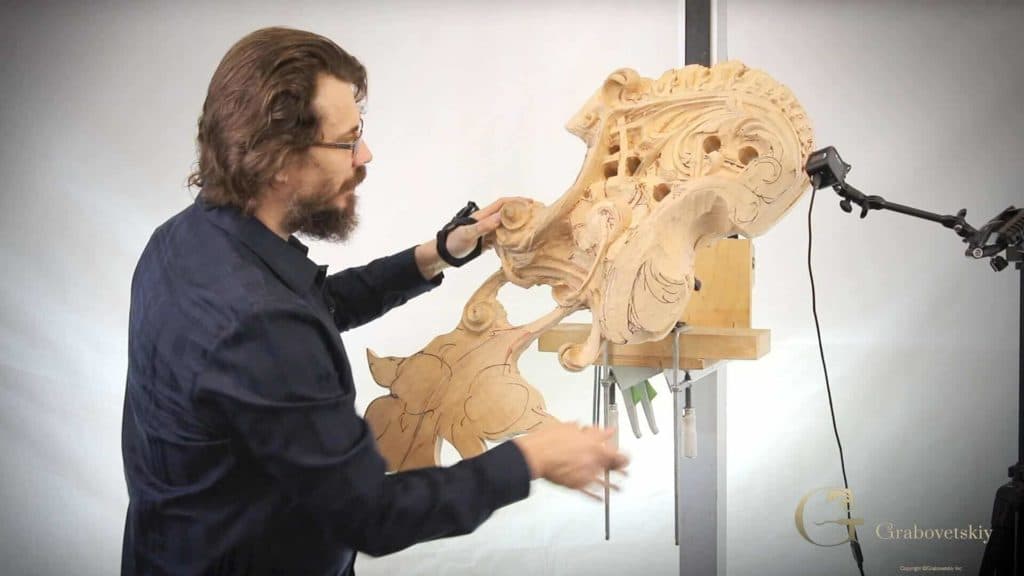
Alexander Grabovetskiy, woodcarver, School of Woodcarving · Published 2017
How do you hold a carving at the right height?
Quick answer: Holding a carving at the right height is what my lift is for. It came from my cabinet work, and I can raise it to any level to reach details I otherwise can't. A Veritas vise sits on top, so the work rotates, and I can sit down to carve if I have to.
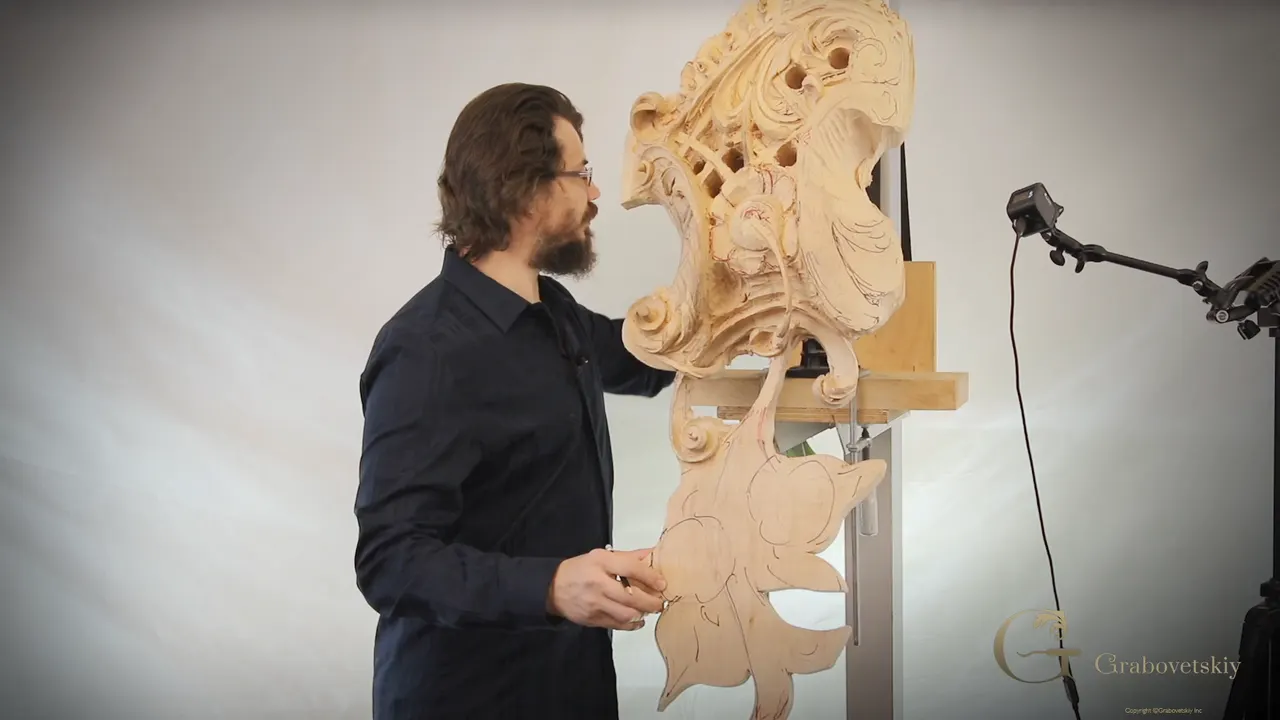
A lift for wood carving is, in my shop, a wood cabinet lift I used a lot for cabinet building, and I use it for my carving too, because it raises the work to any level I want. With it I can work on details that otherwise I can't reach. You don't have to have one. I found it's an excellent tool, though, and I use it all the time.
Do you carve for hours at a time? Does some part of the piece end up too high or too low for your hands? Then think about the height of the work, because that is what this lesson is about.
The video itself is short. That's why this page also carries what I said about holding work in my other courses, the Venice Room, the Hashemi flowers, the Lily box and the Roman acanthus among them, and each one is linked where it comes in.
My holding setup in five lines
A lift raises the work to any level.
On top of it rides a carver's vise by Veritas, so the piece turns.
When I stand at my bench, its top just touches my elbow.
A plate of two or three inches (about 51 or 76 mm) gets screwed to the block.
Flat on a bench I can carve two sides of a piece, and up in the vise I can attack all three.
What is a lift for wood carving?
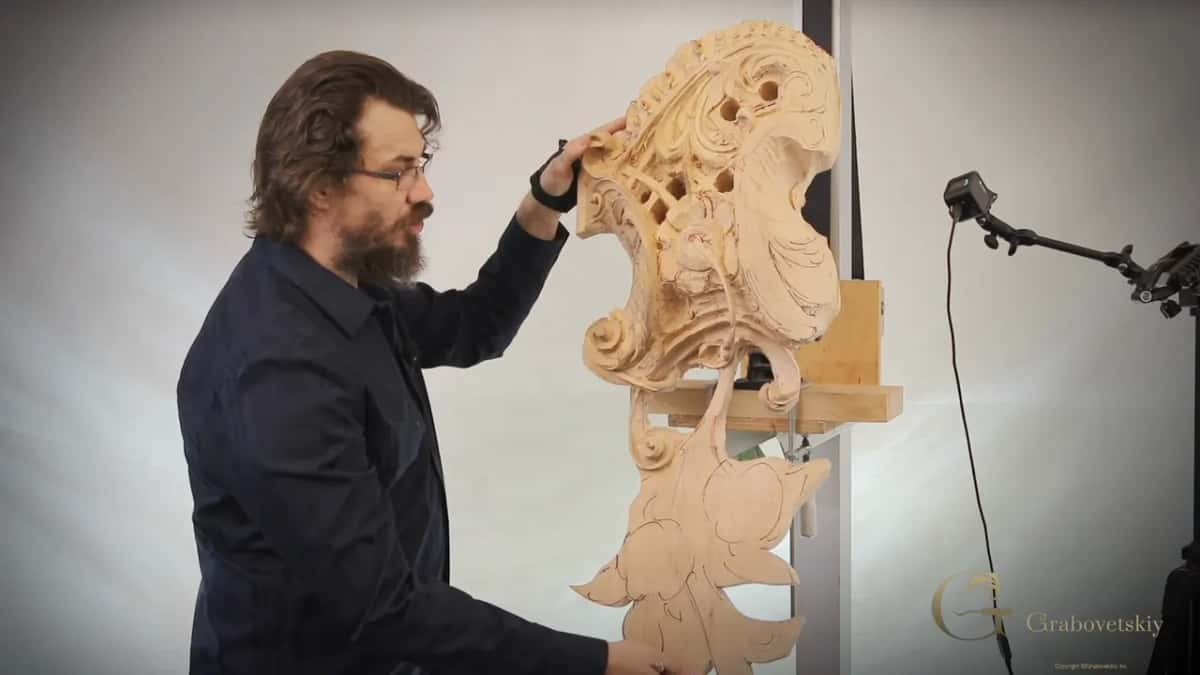
Mine is the lift I used a lot for cabinet building and so on. My carving uses it too. While I say that in the video, a maker's picture of a GILLIFT cabinet lifter shows on the screen beside me.

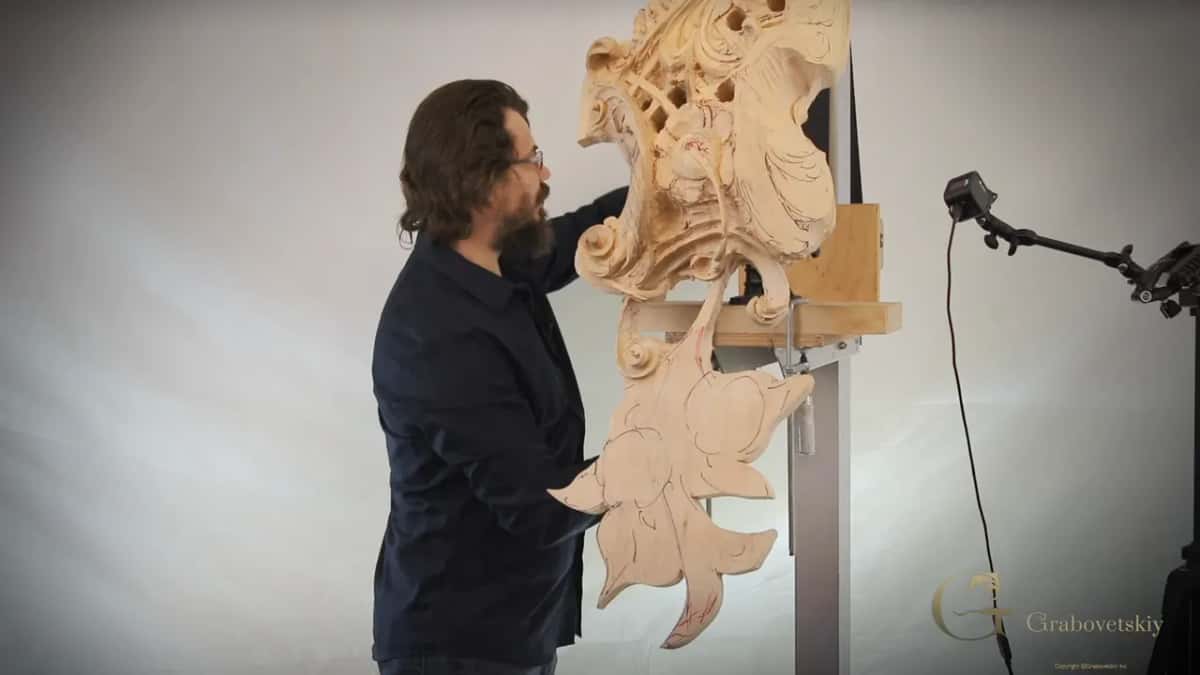
You can see some of the pictures online, of big pieces I carved. Up on the lift in this lesson stands a tall carved piece full of scrolls and pierced holes, and fixed below it is a flat leaf shape, cut out and still marked in pencil. This lift is actually really good.
I can raise it to any level. So it's actually a really good piece of equipment, as I said in the video.
How high should the work sit when you carve?
At the bench I go by the elbow. In workshop 49 of the Venice Room I put it this way. Your carving bench, in the wood carving world, is supposed to be by the elbow if you want to save your back.
For me that is just about right there. Really good height. Your back is not really hurt, and you can work easily on a flat piece like that big relief, which goes all the way up to the ceiling.

The Lily box course came at it from the other side. A regular woodworking bench is kind of low for wood carving, so if you're working all day long, your back will get tired really quickly. It's not fun, believe me. You'll have back pain.
My own bench sits so that when I'm standing, my elbow just touches it. That is approximately the height I keep. And when a bench is too low, I gave two ways in that lesson. Place blocks of wood right under the legs and raise the bench itself, or make a small bench and set it right on top of the big one, a small riser.
The tool can drag your arm up too. My bevel lesson says that when you have to raise your tool too high, you raise your elbow and your shoulder, and if you do that all day long, many hours a day, you get some pain. My lift moves the work instead of the bench, and it goes to any level.
Can you sit down to carve at a lift?
Yes. Probably the best thing about my lift is that I can actually sit down when I'm carving, if I have to.
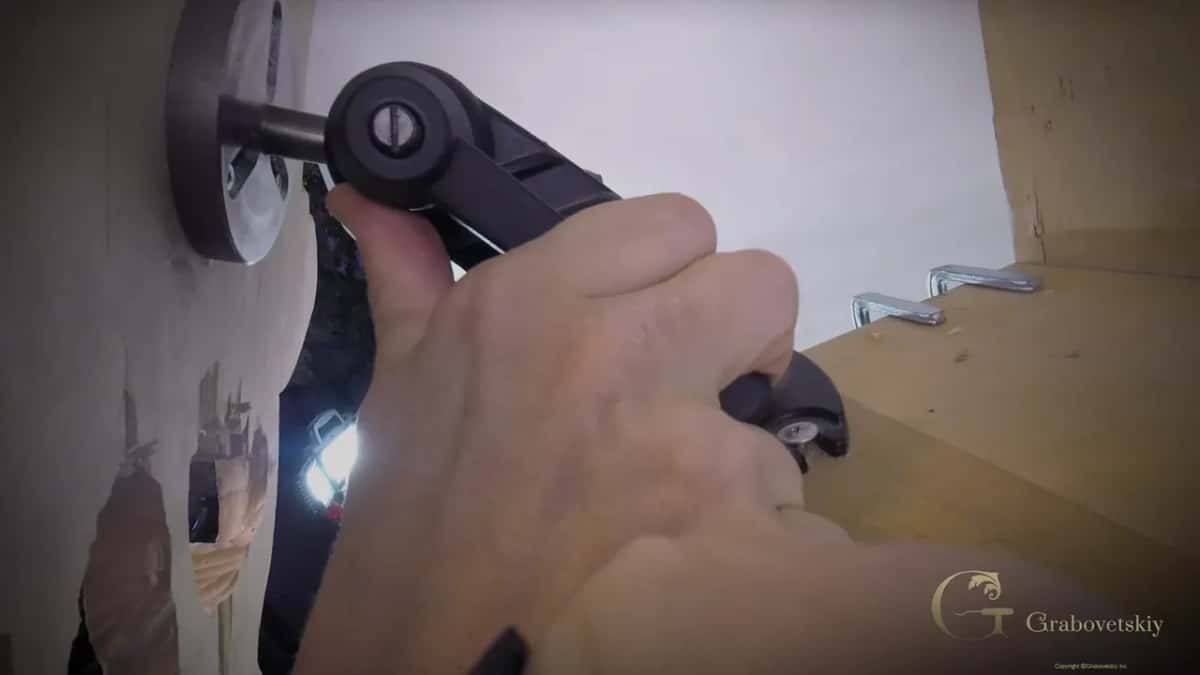
I said a lot more about sitting and standing in a live stream on back pain. I've done a lot of work both ways, and I was getting a lot more pain in my lower back when I worked sitting.
Why does a carver's vise ride on top of the lift?
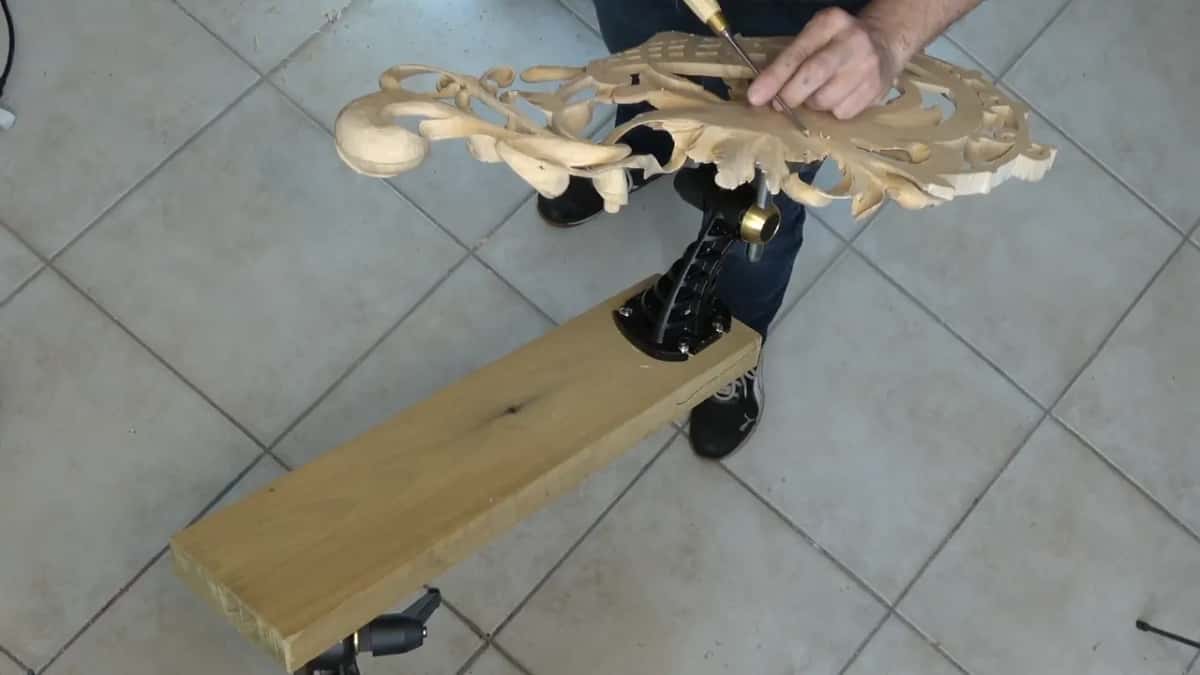
The lift only takes the work up and down. It still carries my Veritas vise, and with that I can adjust, I can rotate, I can do a lot of stuff.
What that buys you, I explained in the Roman acanthus course. With a carver's vise you are able to rotate the piece, and also move it toward yourself and away from yourself, so you can approach from different angles.
Some carving you can still do on a regular bench or even a dining table. But believe me, when you're just clamping, you're still creating some limitation. Yes, you can unclamp, rotate and clamp it again, and on a small piece it's not a problem. If you have a big piece to work on, after a while it becomes big trouble, because you don't want to do that all the time.
Can two vises bring the work up to eye level without a lift?
Yes, and I use two. My Hashemi flowers course shows a setup I like. One Veritas carver's vise is mounted on the side of my workbench and a second one on a board, and I use different boards, a longer one and a shorter one.

That way I can attack the piece from different positions, rotating any direction, from any height. If it's too low, I can make it higher and bring it up closer to my eye level. It doesn't have to be by Veritas. Any carver's vise, if you have a couple of them, will do miracles.
You may know the carver's post. You mount it right in the middle of the shop, and its adjustable shelf clamps higher or lower, up to eye level or as low as you wish. But that post is always at the front of you, and I kind of don't like having a post in front of my face. For that, I really like just the bench, with the vise mounted on its side.
What holds the carving to the vise?
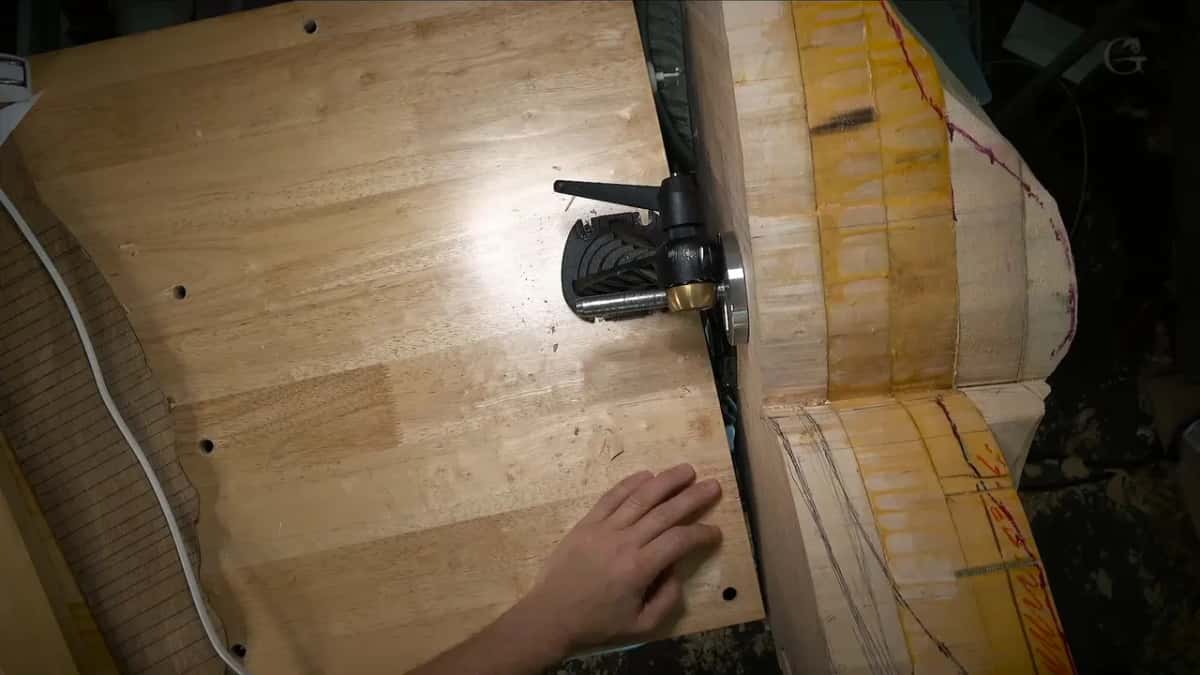
A plate on the back of the block. On Venice Room 76 I mounted a Veritas plate on the backside of the block of wood, and that's why I like the brand. You can buy separate plates, three inch and two inch, and I've got spares mounted on different pieces.

With multiple plates I can work on multiple projects at the same time. For the grape leaf vase I had a big corbel from an ongoing job on my table, and that quick vase too.
Its plate was a two inch carver's plate, with screws of about an inch and a quarter (about 32 mm). Please don't use any drywall screws. They're too brittle, and you could break one inside. That part gets cut out as waste when the carving is done, so I could even use longer screws.
For the first Hashemi flowers lesson I fastened the vise to the backside of the piece, approximately in the middle, on a solid spot I left there for it. The piece is about seven eighths of an inch (about 22 mm) thick in the middle, and I used screws about one inch (25 mm) long.
The corbel in workshop 85 of the Venice Room took the three inch plate and long screws, about two and a half inches (about 64 mm), since I had a really big chunk of wood. Most of it will be gone. At the front it will be much lighter.
Some people in my school asked how to avoid the screws. Take a piece of paper and glue both sides of it, one side to the piece and the other to a block of wood. I explained that sandwich method in my Schaaf tools lesson, and tried a version of it there with tape.
What gets you to every side of the piece?
On that corbel I said I know it's a little flimsy, and it's really hard sometimes to watch how I'm carving. Still, the plate and the vise were the only way, as of now, I could attack all three sides. If I placed it just on the bench, I would be able to carve only two sides, and I wouldn't see what's going on at the backside.

With the Hashemi setup I flipped my piece upside down, and because I had lots of free space around me, I could attack from any corner.
A big piece on the larger plate turns the same way. In workshop 49 I showed one, a project from the school, and I can rotate it any direction and work upright or upside down. One small thing from the Venice Room 76 setup helps here. I mounted my plate closer to one side of the block, so I could change how I clamp my second vise and nothing was in my way.
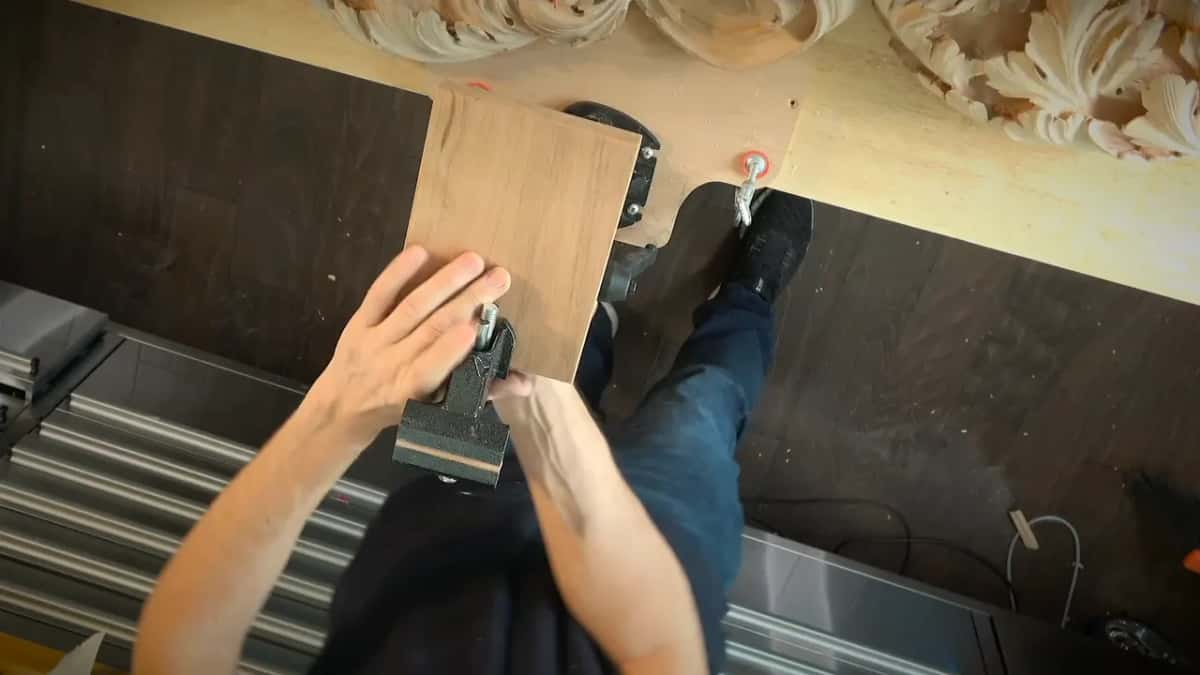
Is a carver's vise steady enough for big work?
Steady enough for me. During the Hashemi flowers I put it like this. It is stable, or should I say, stable enough.
In Venice Room 81 I said it wobbles a little and is hard to watch on TV, but for me it's a lot more convenient to work around. If you're not used to a wobbly workstation, it's kind of hard. For me, the result matters a lot more.
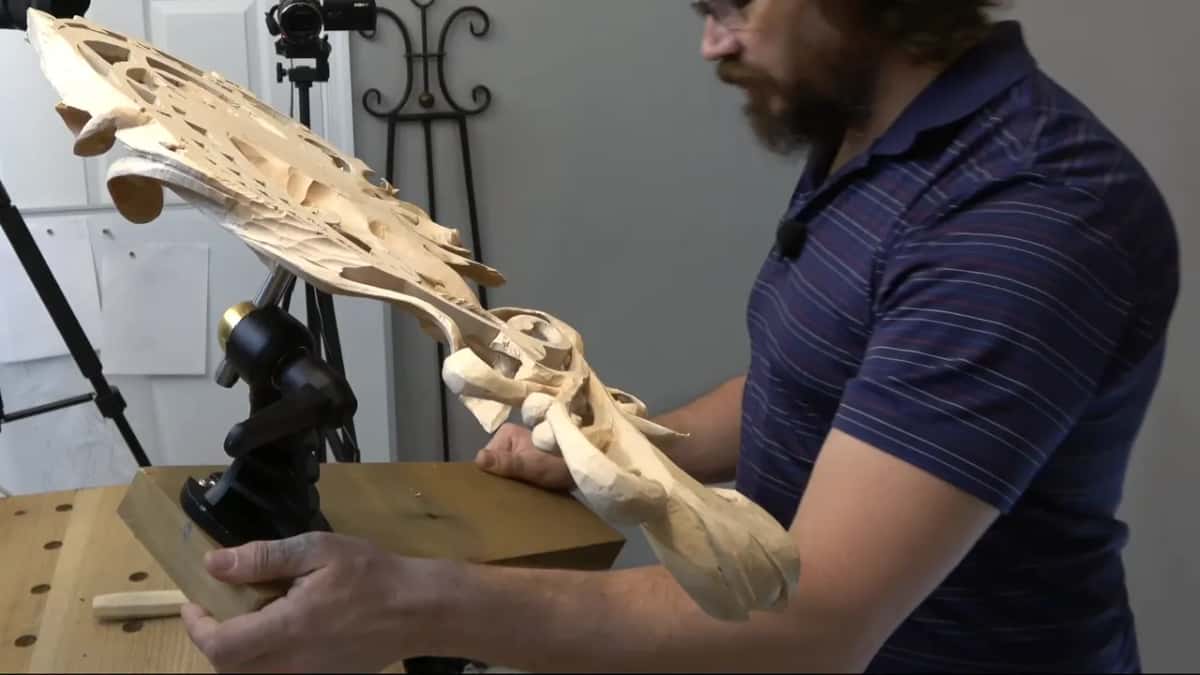
If you don't like that shaking, please use a stable workbench and fasten the piece really nicely. That's what I said in the Roman acanthus course, right before I told people I've done huge pieces on those carver vices, like the lion head.
When someone asked about the Veritas during workshop 49, I said there's a lot of flexing. The lion heads were four feet pieces (about 1.2 m), and I was still carving them with that holding device. Yes, there is some movement, but you can hold really big pieces, and I use the same vise for the furniture panel.
A lighter rig works too. The Lily box I carved on a piece of MDF with a Veritas plate on its backside, and that gave me a really good, flexible, movable workbench. It's not as stable and not as solid, but I can always rotate and work around my piece. I know some of you like a more stable setup, like a solid bench. Nothing wrong with that.
Which way of holding a carving gives you what?
Each setup below is one I talked about on camera, with what it gave me and what it asks of you.
| Setup | Gives | Asks |
|---|---|---|
| Clamped on table | Fine for small pieces and kitchen tables | Unclamp to rotate it |
| Carver's vise alone | Rotates, moves toward you, away, any angle | Some wobble, some flexing |
| Two vises, boards | Raise it, lower it, to eye level | Lots of free space |
| Carving post, shelf | Adjustable shelf brings work to eye level | Always right in front |
| Cabinet lift underneath | Any level, details I otherwise can't reach | You don't need one |
Why glue leather on anything that grips the carving?
Leather. I glued really thick pieces of leather inside the jaws of the small clamp vise in my Venice Room setup. I used Gorilla Glue, but the clear one, which doesn't foam.
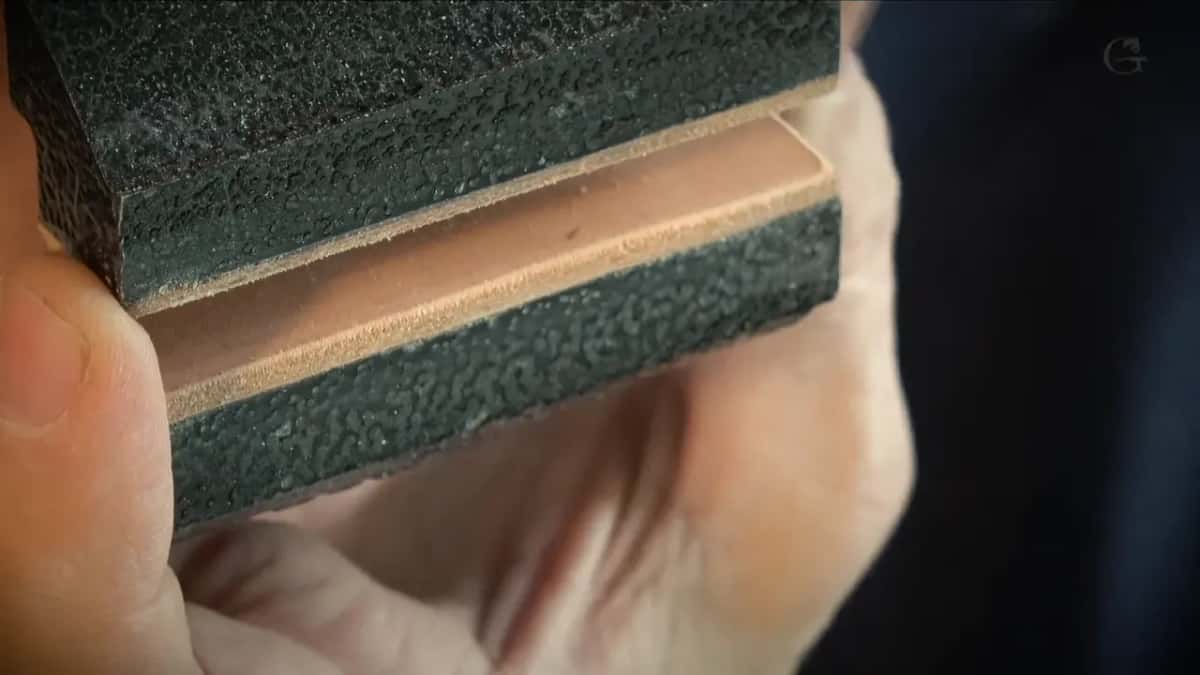
With the leather right there I can hold even a somewhat finished design piece, not just the handle, and it helps me a lot not to damage it. It's still solid, and I can apply a little more pressure if I need to.
My bench pegs got the same treatment. They're solid brass, by Veritas, and solid brass will damage a piece you attach directly. I just took a piece of leather, cut some pieces out and glued them to the brass. Any leather will work. Mine was single shoulder leather.
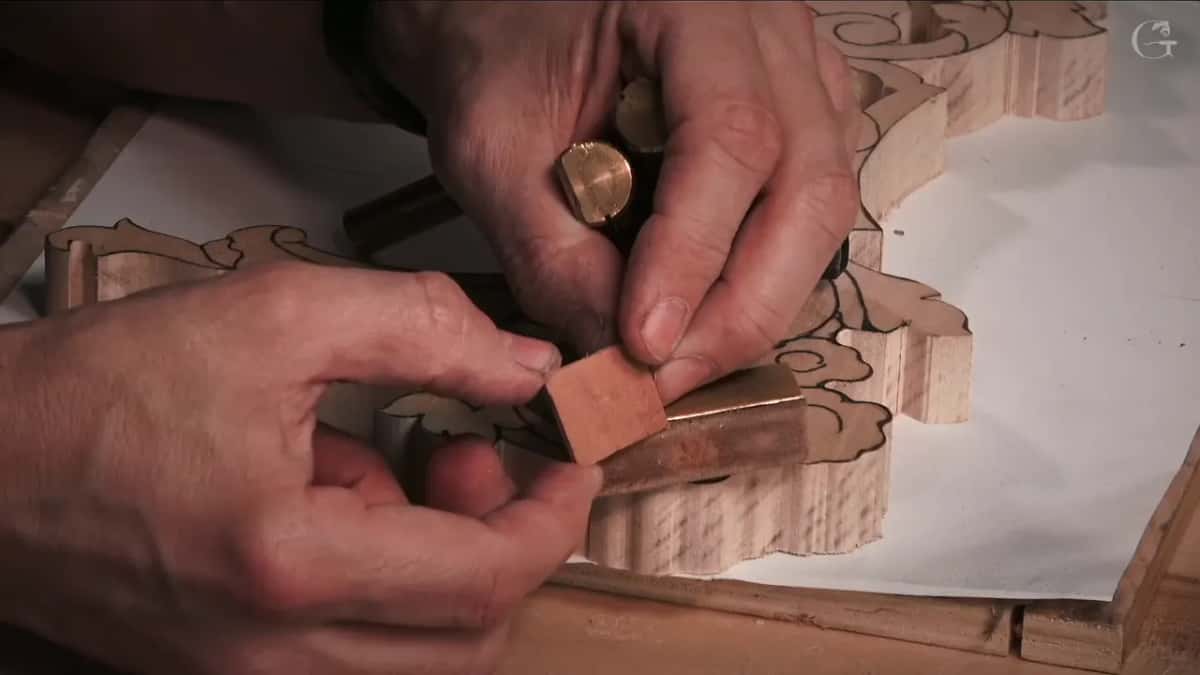
The Venetian flowers rosette got the same, on its bronze dogs. I didn't want just the rubber they provided, or plain brass, because it would mar, it would damage the edge of my pieces. Normal leather went on pretty much all of my accessories, whatever touches the wood. Even with leather it's still possible to damage the edge, so I don't use a lot of pressure there.
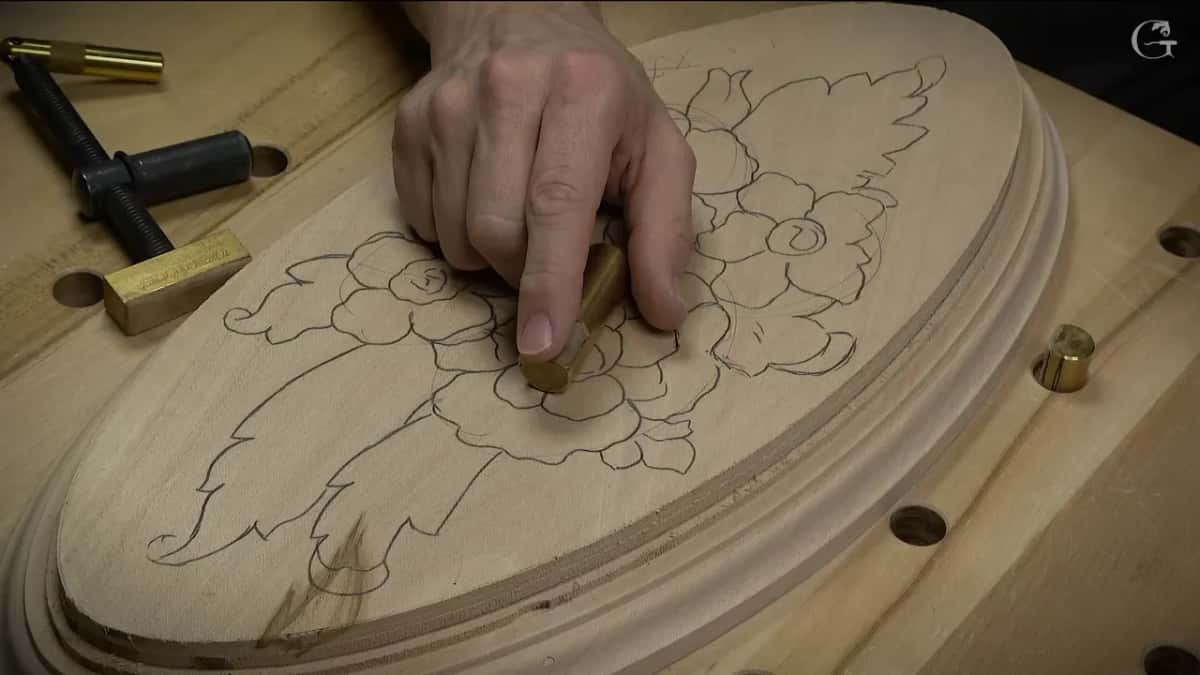
Those dogs go in 19 mm holes, three quarters of an inch. A bench with 20 mm holes, like Festool uses, won't take them.
What if all you have is a kitchen table?
Then use it. In my first cuts course for beginners I said that if you don't have a workshop, you can just use your kitchen table. I've done lots of projects on the kitchen table. All you need is a surface, and some kind of clamps to hold the piece down.
That was knife work, where you don't use your mallet or really heavy movements.
A non-slip pad can help on a board. During the Lily box olives I mentioned kitchen liner, or the same pad people put under a router, and Rockler sells some too. Place it right on the board and it prevents slippage. I didn't bother with one that day, but it's a good idea.
Where does this lesson sit in the tools course?
This is one short lesson in All about tools for wood carving. How I lay the tools out on the bench has its own lesson, and most of the pieces I talked about here are carved in the courses linked above, and you can watch them in full once you have access.
My lift even wears a yellow caution label in the video, 300 lbs. max load (136 kg).
How it's done
- Check the bench height. Stand at your bench. For carving, its top should come up to about your elbow.
- Raise a low bench. Put blocks of wood under its legs, or set a small riser bench on top of it.
- Screw a plate to the block. A two or three inch carver's plate goes on the back of the block. Never use drywall screws for it, they're too brittle.
- Set it in the carver's vise. Put the plate in the vise and rotate the piece to the side you need.
- Line whatever grips the piece. Jaws and pegs that touch the wood get glued leather on their faces.
- Bring the detail up. When a detail sits out of reach, raise the work, with a lift or a second vise, closer to your eye level.
Frequently asked questions
Do you need a lift to carve wood?
No, you don't have to have one. I found mine an excellent tool, though, because I can raise a piece to any level and reach details that otherwise I couldn't. It mounts my Veritas vise too, so the piece rotates.
How high should a carving bench be?
About elbow height. Standing at mine, my elbow just touches the top, and in the Venice Room I said to keep a carving bench at elbow height if you want to save your back. A regular woodworking bench is kind of low for carving.
What screws hold a vise plate on a carving block?
Never drywall screws, which are too brittle, and you could break one inside. On a two inch plate I've used screws of about an inch and a quarter, and one inch screws into a piece seven eighths thick. A really big chunk on a three inch plate got about two and a half inch screws.
What to carve next