
Alexander Grabovetskiy, woodcarver, School of Woodcarving · Published 2021
How should you arrange carving tools on a workbench?
Quick answer: Arranging carving tools on a workbench is about three habits. Point every edge toward you, so you read the sweep and the size, leave space between them for your hand, and keep only a few out. Everything else waits in storage until the carving calls for it.
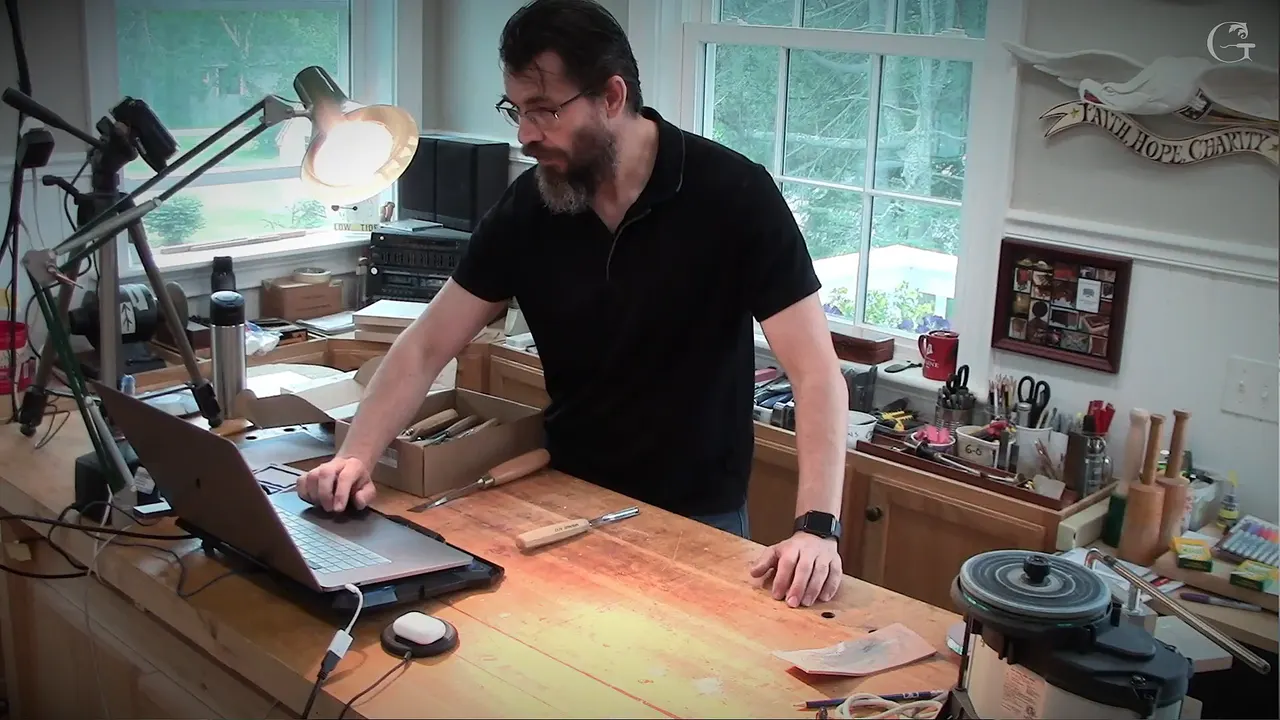
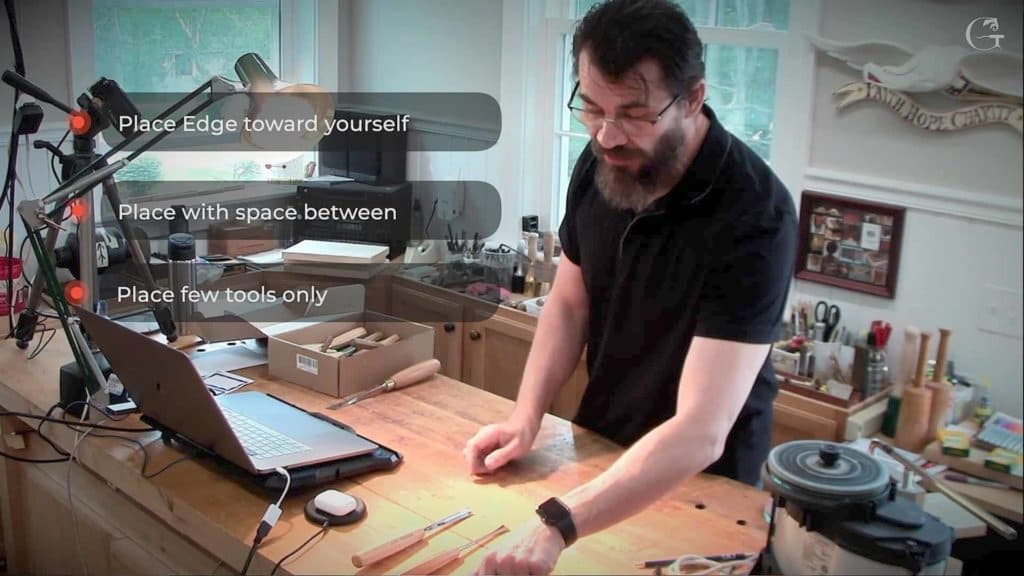
Carving tool layout on my bench comes down to three habits. The edge of every tool points toward me, and there's space between the tools for my hand. And only a few are out. I have like half a thousand tools, and if I placed them all on the bench, I'd get lost.
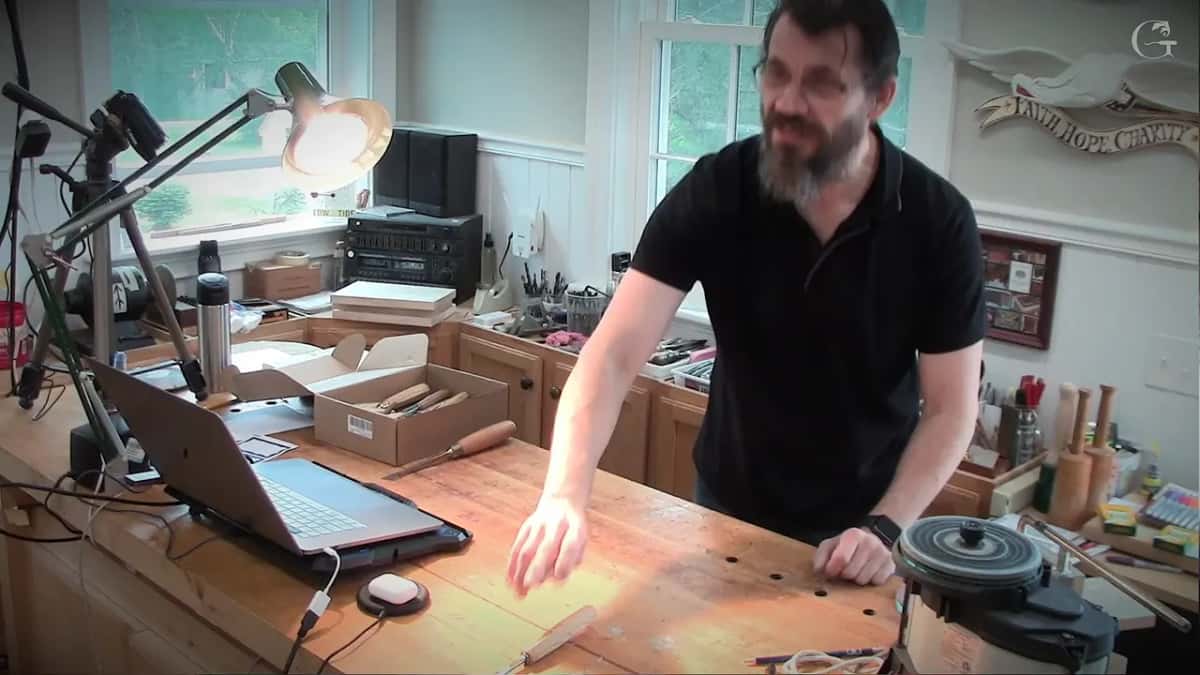
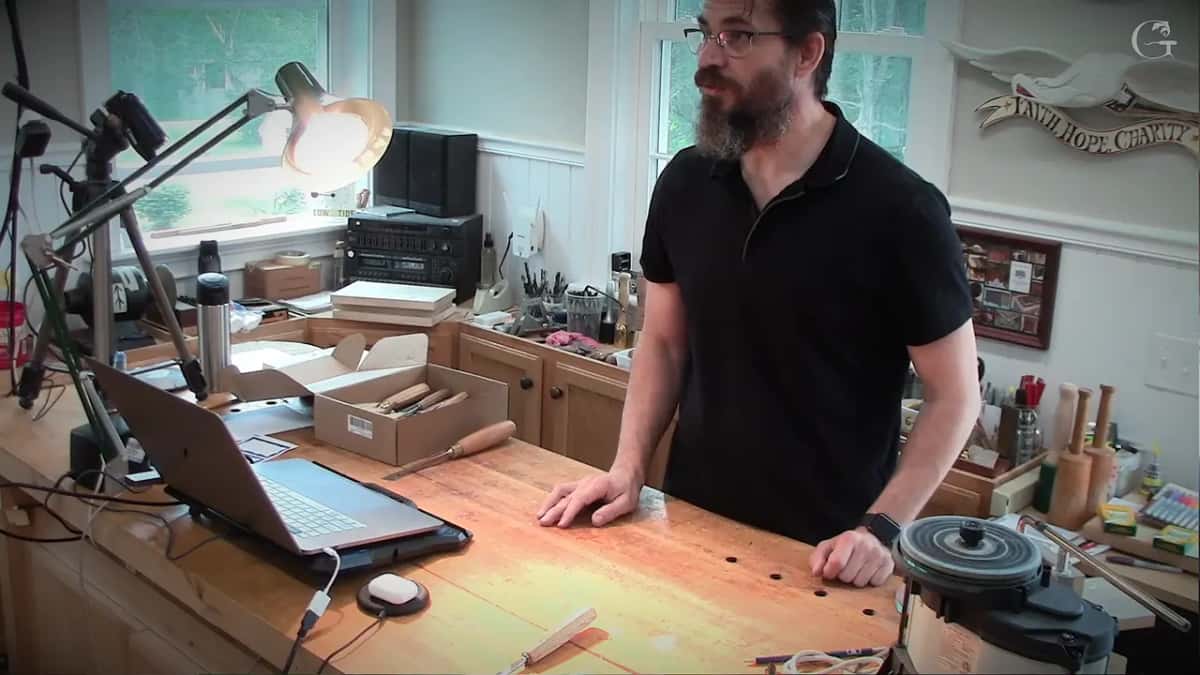
Do you put a gouge down when you finish with it? And later, do you reach for it again? Then where it lies matters. In one of my April 2020 livestreams I said that from a picture of a carving bench I can tell if the carver is a professional or just calling himself one, just by the position of the tools. There is such a thing as the right and the wrong way to position them.
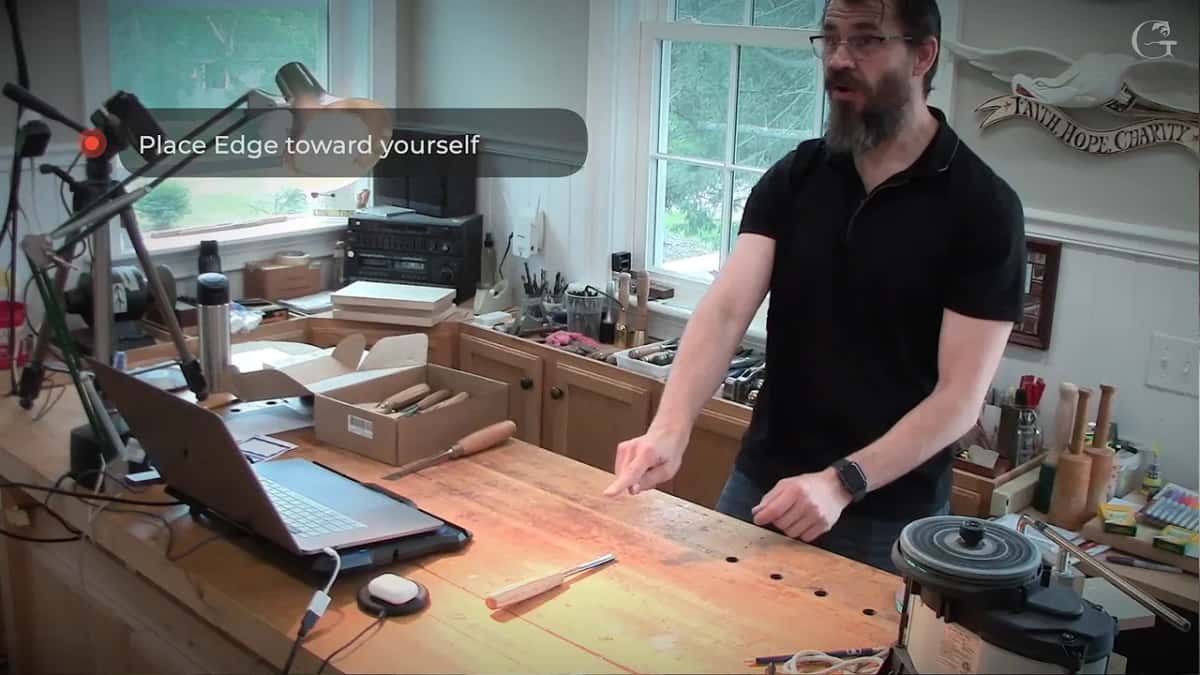
This lesson is short, under three minutes. So I'll give you the rest from my other classes too, each with the place I said it, including the days my own bench got messy.
Five habits for the tools on my bench
- Every edge points at me, so I can read each one.
- An inch apart, roughly.
- Two or three are out at once, five at the most.
- I take one, carve, and return it.
- All the rest wait in drawers, and I know where each one lives.
- When the bench gets messy, I stop and reorganize.
Which way should carving tools point on a workbench?
Toward you, with the blade. In this lesson I saw one of my students place the tool the other way, and I asked why. "Because I will cut myself." But you don't see the sweep. When the tool lies toward you, you always can read it, because not all of the manufacturers mark it. Lay a bunch of them upside down that way and you get really confused about which tool is lying in front of you. With a couple of tools this hardly matters.
That's why professional carvers usually lay them the way I do, blade toward themselves. Not everyone who calls himself professional does that. But the most professional people, we usually put tools toward ourselves.
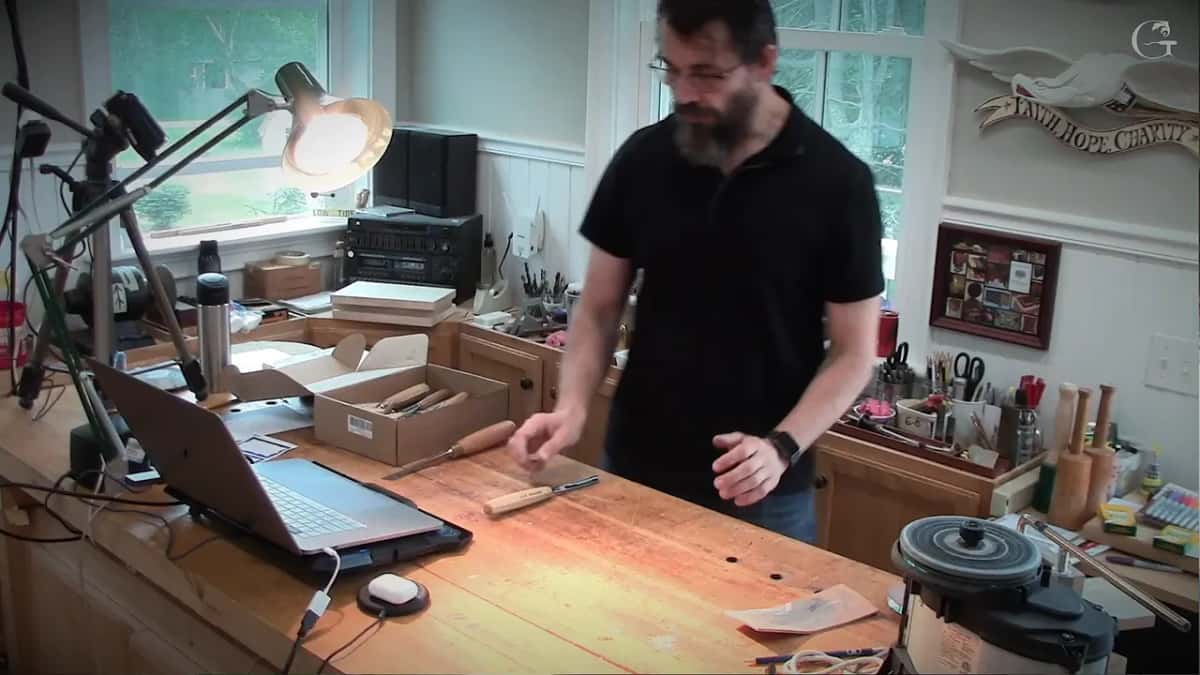
In the Hashemi flowers course I said it while carving. You've probably noticed I'm always placing my tools toward myself with the blade. For me, it's much easier to grab it like this and use it. Because I'm looking right at the tool, I know exactly what sweep it is and what size. The other way, you don't see too much.
A lot of people lay tools away from themselves, with the handle toward them and the work on the other side. I know some professional people do it. But it's not convenient. You really don't see the profile. It looks like it's supposed to be easier to grab, too, and it's not.
In that same livestream I pulled out a piece to show one more habit. Some people, working on a piece, lay their tools so the handles and the cutting parts hide them. I saw some professional people doing it also. It's not really convenient, though, because you don't even know which tool is lying right there on the bench. I don't think that's the right way either.
Why not read the number on the tool?
A number helps only when the maker marks it, and not all of them do. With five or 10 tools, I guess it's okay. But say you have hundreds of tools, and you're pulling them out of whatever storage system you use. You really can't read the profile. The Swiss Made tools, they made it obvious, they mark it. But on an Ashley Iles, I said in that April 2020 stream, there's absolutely no marking. You have to just see what tool it is.
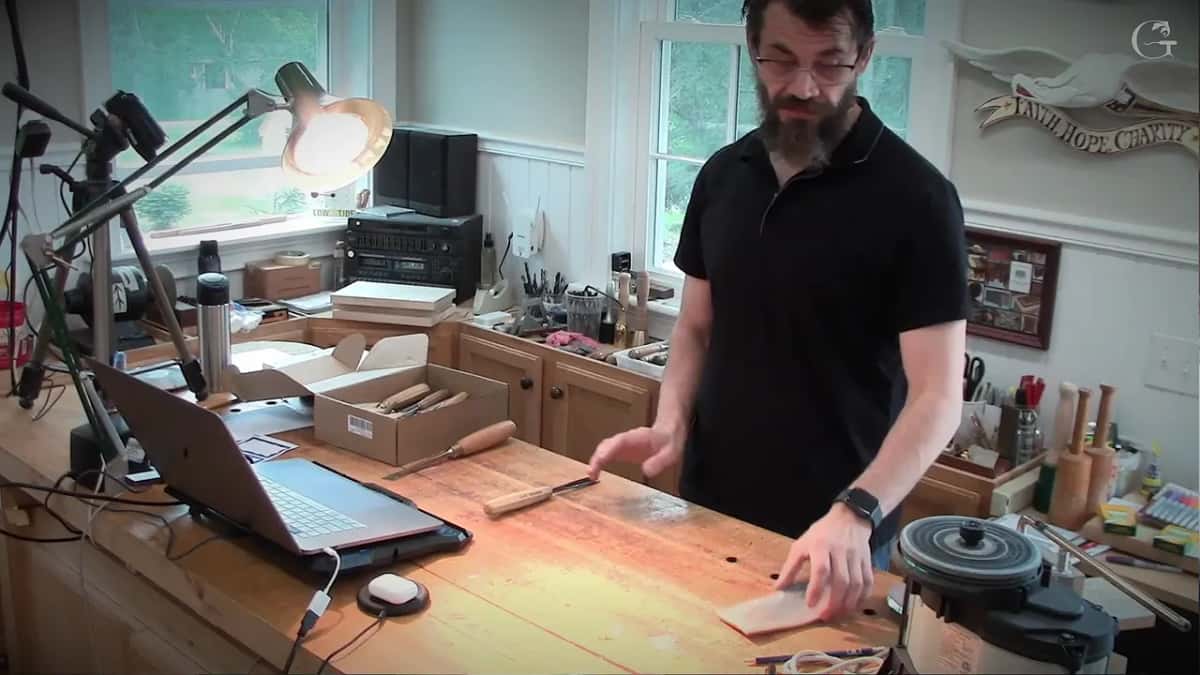
Pull out a gouge by Ashley Iles and lay it with the handle toward you, and you really have no idea what tool that is. You don't know the sweep, because you're looking at it from above and you can't see the sweep itself. Ashley Iles against the Swiss tools has its own lesson in this course, the one about which I reach for.
Is it safe to lay the blade toward you?
It's actually safer that way. Reach for a gouge laid this way and your hand closes on the handle, steel already pointing off away from your body. From there you lift, you carve, you set it back down. Take it, place it back. Safer and more convenient.

I showed it closer in the livestream. I take it by the handle and it becomes available in my hand, really easy, already ready for carving. Some people have a concern about it. Is it dangerous to place your tools like that? Can you cut yourself? Yes, I said, if your piece is too close and you grab like that, you could.
Laying the blade toward you is one thing. Carving toward yourself is another. In Acanthus over Moldings I said, while doing exactly that, don't point the sharp edge toward yourself, it would be a big mistake. On a crazy complicated project you sometimes have to. Then the tools must be sharp, so you don't press too hard, and you lock your hands, the way a dentist does. And still, if you can avoid it, that would be smart.
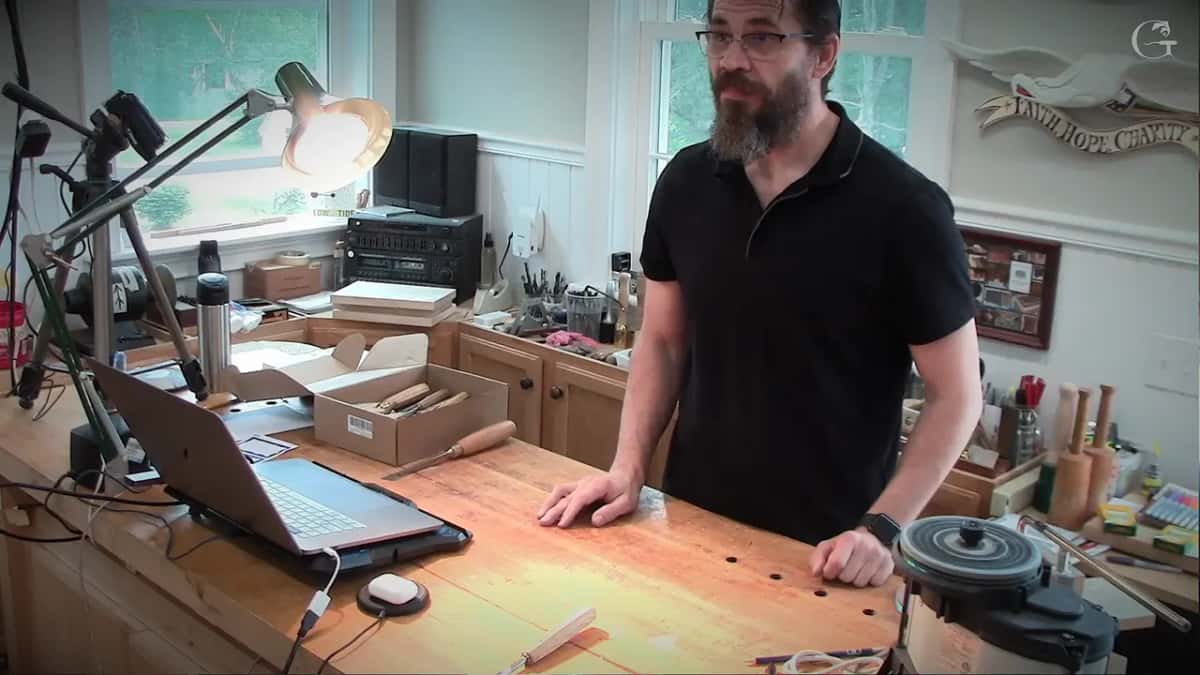
How much space should there be between carving tools?
Spacing is really important, because you grab the tool, and you have to have a space for the hand. You grab it, you carve, you place it back. I gave a number for it on that stream. When I pull tools out and place them on the workbench, facing toward myself, I leave about an inch or so between them, about 2.5 cm.
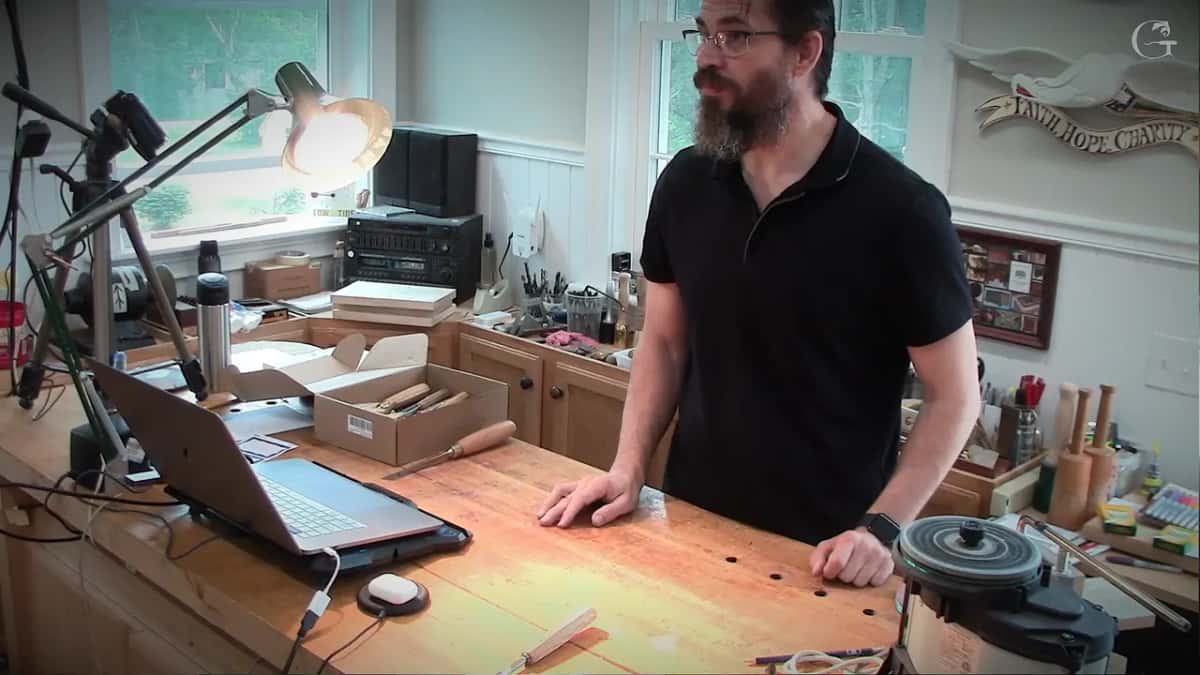
With three tools out, I can just maintain the space, and I can grab and work and so on.
How many tools should be on the bench at once?
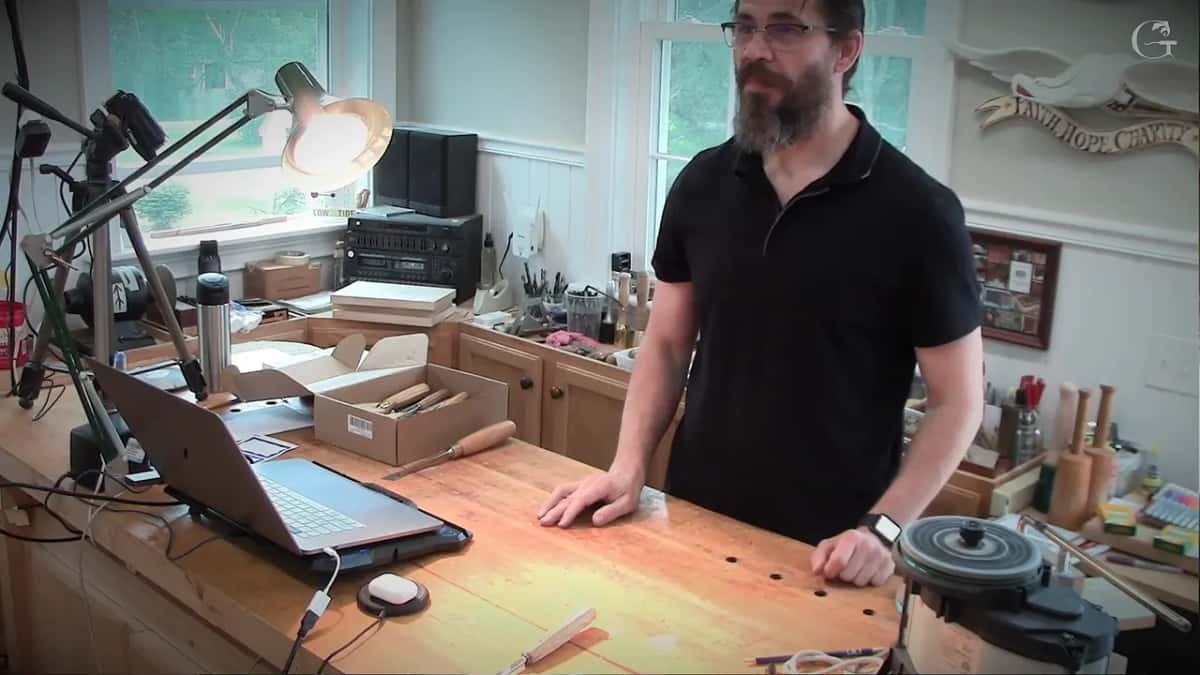
Very few, and I say that owning half a thousand of them. Don't put too many tools in front of you. Just imagine if I placed them all on a bench. I'd get lost. Usually I keep two, three, five the most, on the bench or close to me. So they live in the storage unit. Whenever the carving needs a particular sweep, I walk over, take that tool, come back, use it, and put it away again. Three out is genuinely no problem at all. The rest of them I can put somewhere aside, and it's safer also, with less chance to cut yourself.
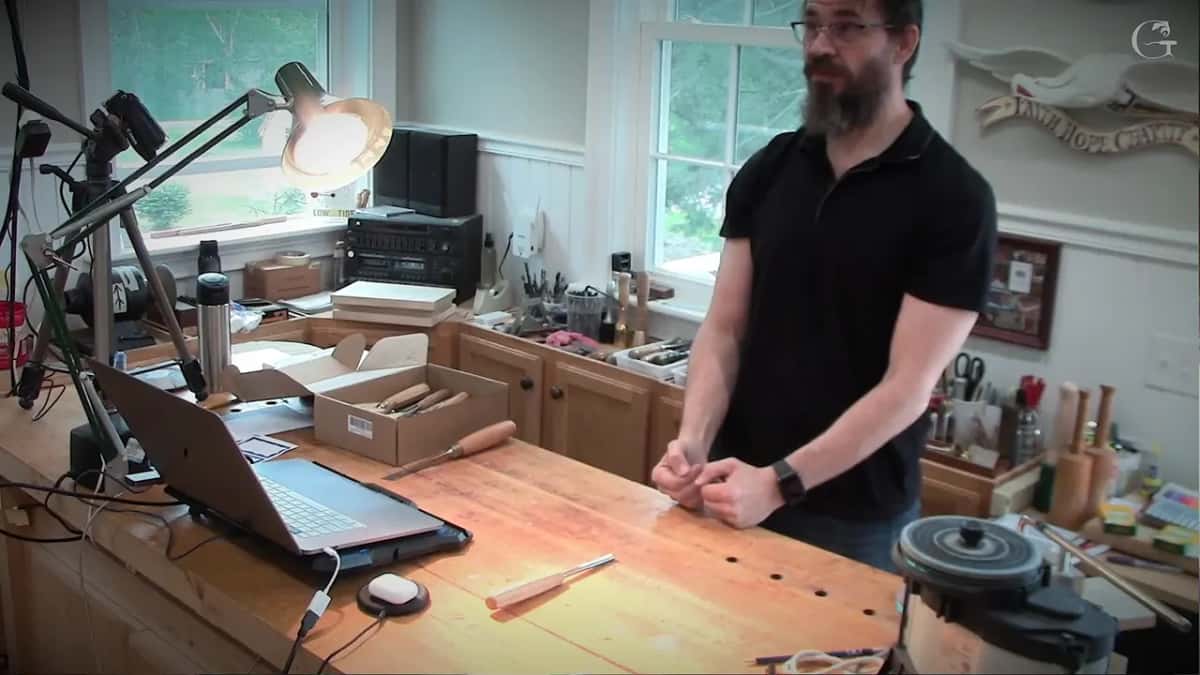
In Acanthus over Moldings, workshop 7, I stopped before a curl I wanted to carve with a half inch number 9, about 13 mm. I need to clean up my bench, I said, I just got a lot of tools out. Like I said, you can easily get lost. Maybe keep only about three. In Venice Room workshop 76 I said I'll try to keep no more than a couple on my bench. I don't know if I'll be able to, but at least I'll try.
What happens when the tools pile up?
Same workshop, I needed a number 7. But I've got too many tools, I said, which is not okay. I need to place them back where they belong, otherwise it becomes too messy. And when it becomes too messy, I'm losing production. I'm not sure about you, but I do. I spend time looking for tools, and they're right in front of me, but I really can't see them, because of all the mess. When my tools are in place, I'm always much quicker to find them.
Workshop 83 was the same. I've got too many on my workbench now, I said, so it's time to clean up, because I'm losing track of them. I try not to keep a lot, but sometimes it happens. In my Grinling Gibbons class in Maine I went to grab a number 16, if I can find it, since things got a little messy lately. Still, it's all right.
Working on the furniture panel, right after an outline, I said let me get my tools back to my drawer, so it's not creating any problems later on. Pull a lot of tools and keep them on the bench, and it just creates a lot of mess. So it's better to take the tool, use the tool, and put it back.
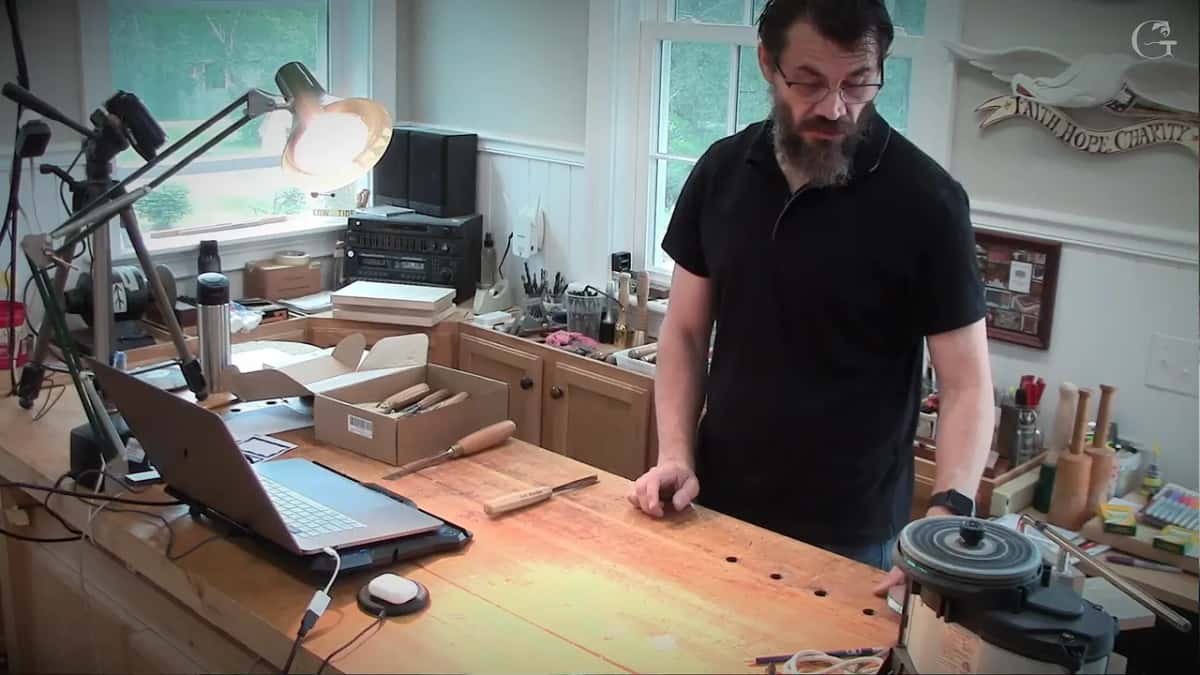
I named one reason in that April 2020 livestream. If you see a carver whose tools look like that, number one, he's probably tired and it's time for a break. That happens with professional people also. It's a good practice to take a break every 20 minutes, because your brain's tired and you place your tools really messy. And if you are professional and the tools get messy like that, you walk away and reorganize.
In another stream that month I owned up. Stuff keeps piling up on my workbenches, and that's a constant problem. I put things down, and then a few days later I have to walk over and clean up everything. I'm still working on my organization skills, although I'm really organized. All my tools are organized.
Where do the rest of the carving tools live?
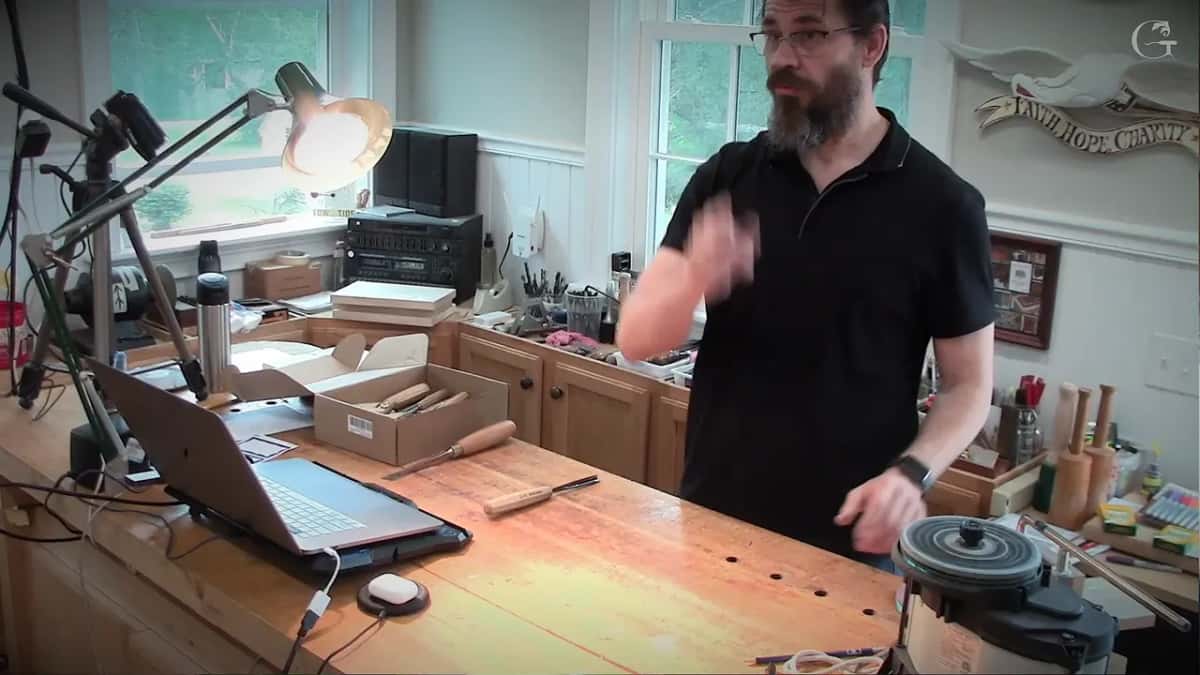
My system has changed over the classes. In Hashemi flowers, workshop 21, my tools were on shelves, and I knew all the numbers and the position. I know exactly what I'm grabbing, I said, and I'm placing it back. And in the first Venice Room workshop I explained my tool organization as of that day, just the drawers, and I know exactly the place for every tool. That is probably the most convenient way to organize.
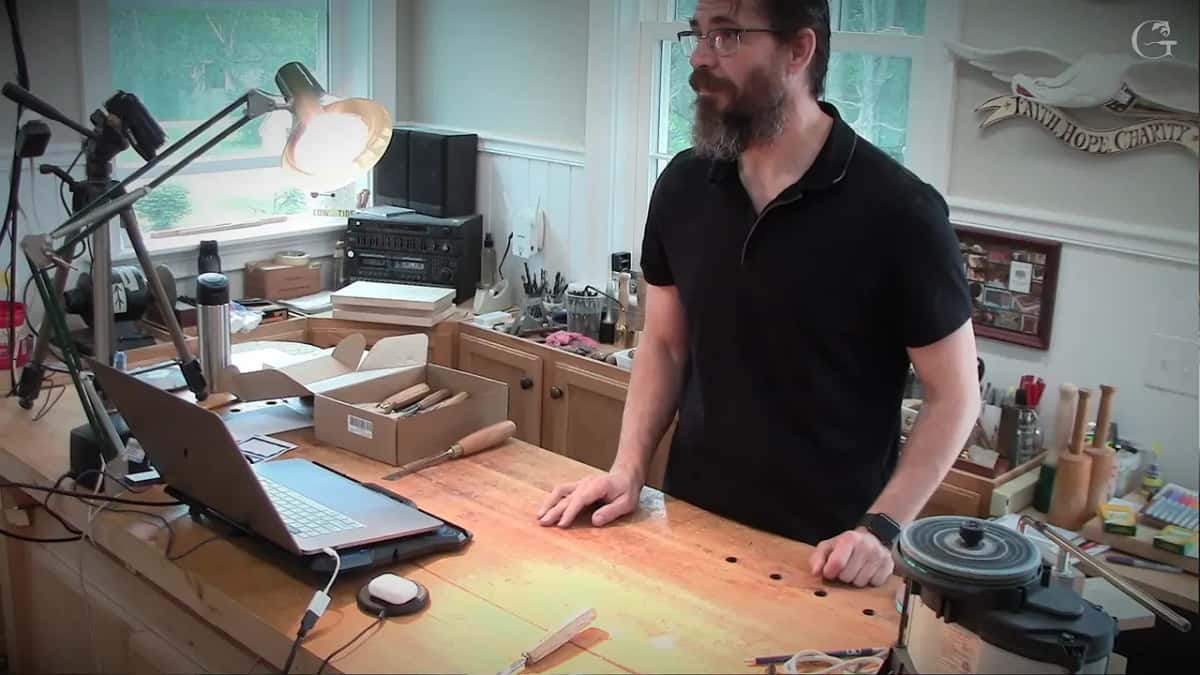
In workshop 49 I said it plainly. I organize them in drawers I can open and reach on both sides. On the back side of me is another bench with all my sharpening systems, about eight feet long, about 2.4 m, and all drawers too. The bench I carved on that day was a tool chest with drawers, on wheels, and it worked really good.
In Floral and Molding, workshop 11 I put back my back bent tool and the others I used. I really don't like to keep my tools on the workbench. When I get too many out, I get lost. Sometimes you're looking for the tool. In every drawer I have the tool, and I know where to go. I said it the same way in the Venice Room. Because I know the position of my tools in my drawers, I become a lot more productive.
The blades of my router plane have their own place too. I took one out in Floral and Molding, workshop 2 and said I have a special storage for those blades, and I keep the body of the plane separately from the knives. During that first Venice Room class I showed a beautiful leather tool roll I'd just been sent. Rolls I don't use a lot, I said, but sometimes I do, when I take tools to teach in person.
How each tool position looks from where you stand
| Position | Seeing | Grabbing |
|---|---|---|
| Edge toward you | I see sweep and size at once | Ready for carving |
| Handle toward you | No profile shows, so you can't read the sweep | Looks easier but isn't |
| Hidden behind handles | You don't even know what tool lies there | Not really convenient |
| Crowded bench | Right in front of me, and still I can't see them | I lose production |
Even the drawers go wrong sometimes
Workshop 62 of the Venice Room had a number 6 in the drawer with the number 11s, and I said I have no idea why. A number 17 somehow got inside the wrong drawer in workshop 69. And in workshop 92 I couldn't find my 2 mm, about 5/64 inch, which was really strange, because I keep all of my tools at the same location. Found it. It was just in the wrong drawer.
What if you only have a few tools?
Less, to be honest. Maybe it's not a problem if you have a couple of tools. When you have a bunch of tools, it becomes a problem. And a short kit should not stop you. In the flower rosette course I carved the petals with just a knife to encourage you. If you don't own many tools yet, you still can carve some stuff. And you don't have to go rob a bank. With the basic chip carving knife you can still get really good results.
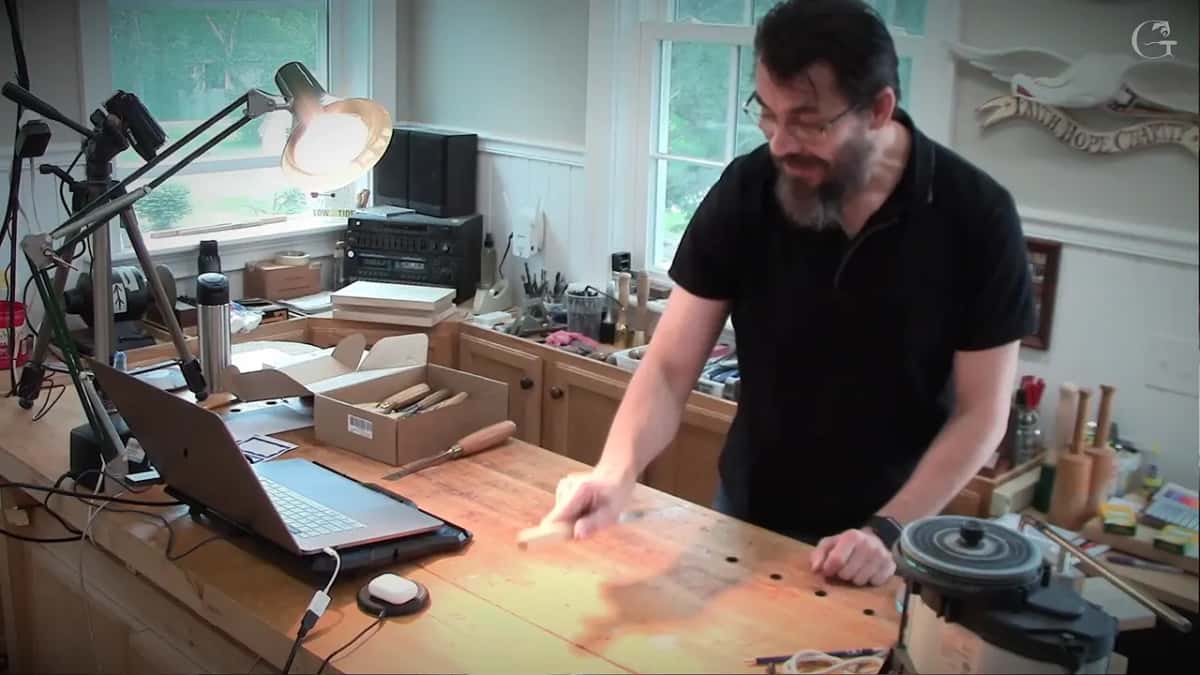
In that Hashemi class I mounted the piece on the side, not on a post in front of my face, and I really like just the bench for that. I can still lay my tools on it. Some of them. Holding the work at the right height is its own lesson, the lift for wood carving.
Where to watch it done
Every class above is in the school, the rosette and the Venice Room included. The tools themselves are in All about tools for wood carving, and the first ones to buy have their own lesson. When you're ready, see Tuition and Access here, then lay two or three tools on your bench, blades toward you.
How it's done
- Pull only what the carving needs. Take a few from storage, never more than five. In one acanthus class I put the number at about three.
- Turn each blade toward your body. Lay every gouge so its cutting end faces you and its profile shows.
- Leave roughly an inch between them. That leaves room for your hand to get in and take one.
- Grab by the handle and carve. Take the handle, and the edge already faces away from you. Carve, then set it back down.
- Send each finished gouge home. When its job is done, the tool goes back to its drawer or rack. Take tool, use tool, and put it back.
- Stop and reorganize when they pile up. A messy bench usually means you're tired, so take a break before you put the tools back in order.
Frequently asked questions
Which way should carving tools face on a bench?
Blade end toward your body. Looking right at the steel, you know which sweep and size it is, and when you take hold of the handle the blade already points away. Some professional carvers lay theirs the other way, but I don't find that convenient.
How many carving tools should be out at once?
Usually a couple, and five is my limit. Three give me no trouble at all, since I can keep the space between them, grab, carve and return each one. With my whole collection in drawers, laying out everything would get me lost really quickly.
How much space do you leave between gouges?
Roughly an inch, about 2.5 cm. I gave that number in a livestream in April 2020, while showing how I pull tools out and lay them facing me. The gap is there for your hand, so you can grab, carve, and set the gouge back down.
What to carve next