
Alexander Grabovetskiy, woodcarver, School of Woodcarving · Published 2026
How do you smooth the facets left by carving tools?
Quick answer: Smoothing the facets a carving tool leaves is scraping those ridges down with a spring steel card, or with a really cheap carving tool used as a scraper. Personally I like to keep them, because they look more natural. For gold leaf I get rid of some of them, and I wouldn't do too much.
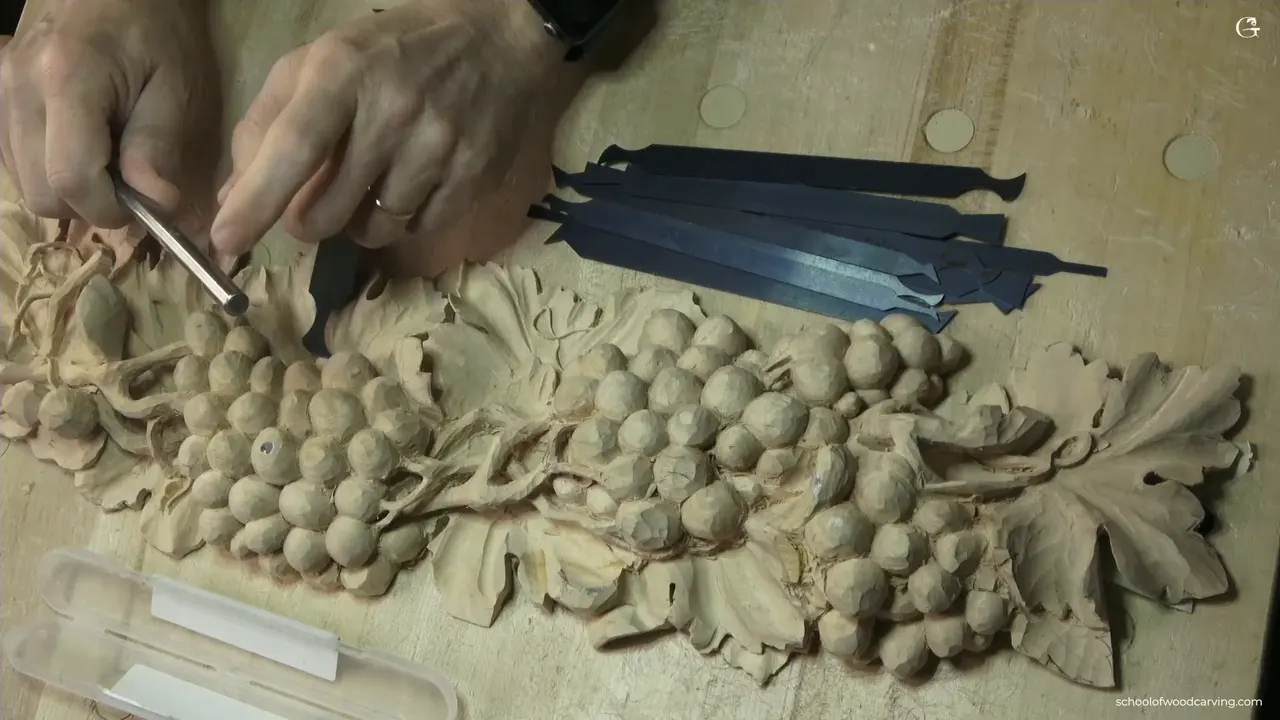
Scraping the facets off a carving is light work with a shaped card of spring steel, or with a carving tool you bought really cheap. Look at a carved piece from above and you can see a lot of ridges. Not everyone is really happy about them.
Have you run your thumb over a carved grape and felt each flat the gouge left there? Did you wonder if they should go? I made a quick video about this for my tools course, with a set of scraper cards I found on Amazon. This page is built on it. I pulled in what I said about scrapers in my other courses too, and each one is linked so you can watch it.

What I scrape with, and when I stop
- I like the facets myself, because they create the veins and look hand done.
- Gold leaf is different, and some facets come off for it.
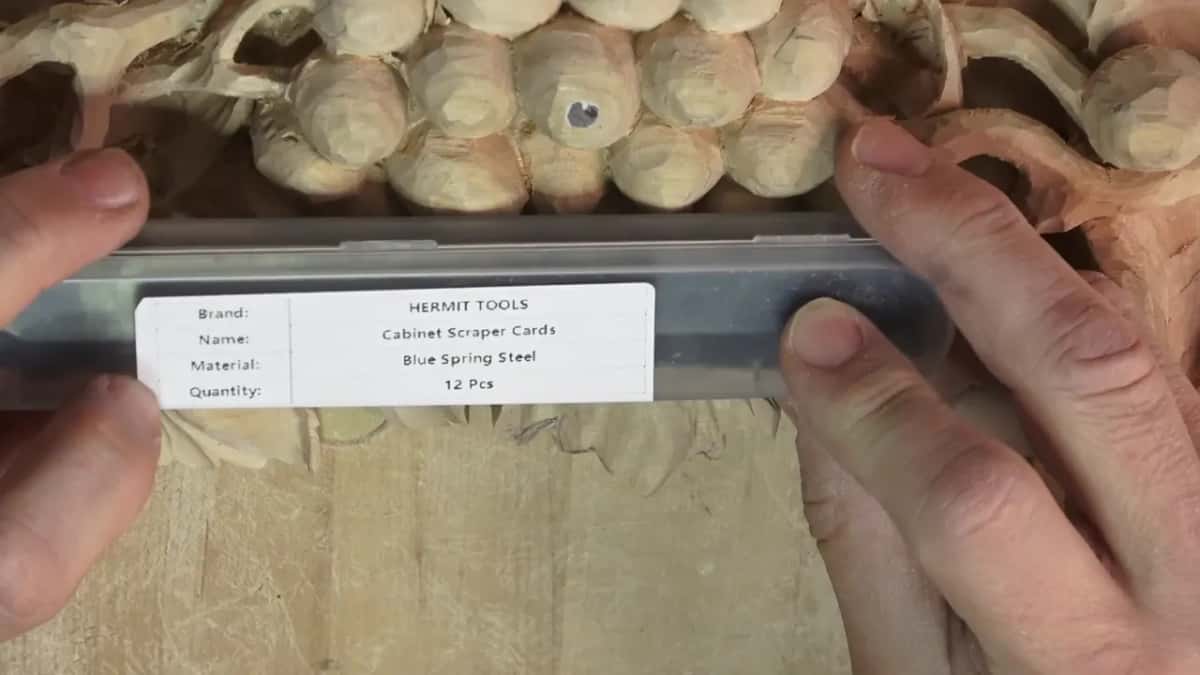
- Twelve spring steel cards came in the Hermit Tools box.
- A burnisher of good steel puts the hook on, and a screwdriver works too.
- Cheap chisels and blades make good scrapers.
- A scraper is better for the fibers than sandpaper, though sanding is okay too.
Do you have to take the facets off at all?
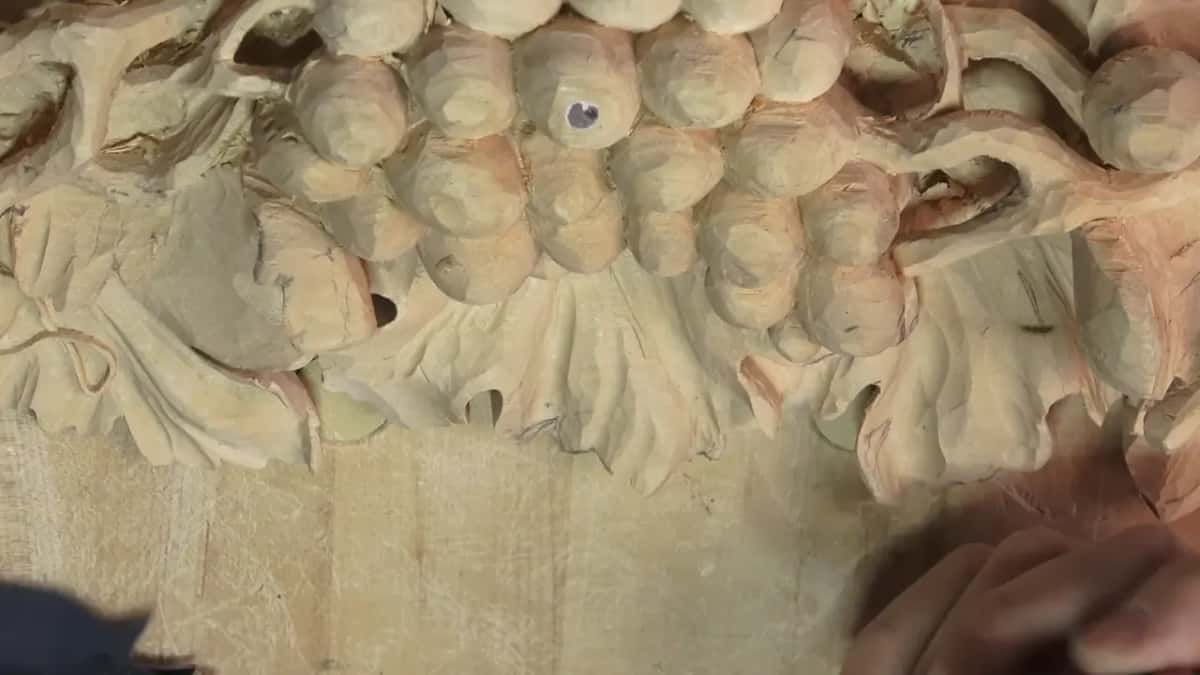
Personally, I kind of like them. They create the veins, they look more natural, and the piece looks like it's hand done. I like to keep my own work a little rougher, with the facets left on, and I said so in this video.
But we are all different. Some of you really like it smooth, and I've had both kinds of clients and customers. Some of them liked their carving really shiny and smooth, while others wanted to see those tool marks. I kind of like both.
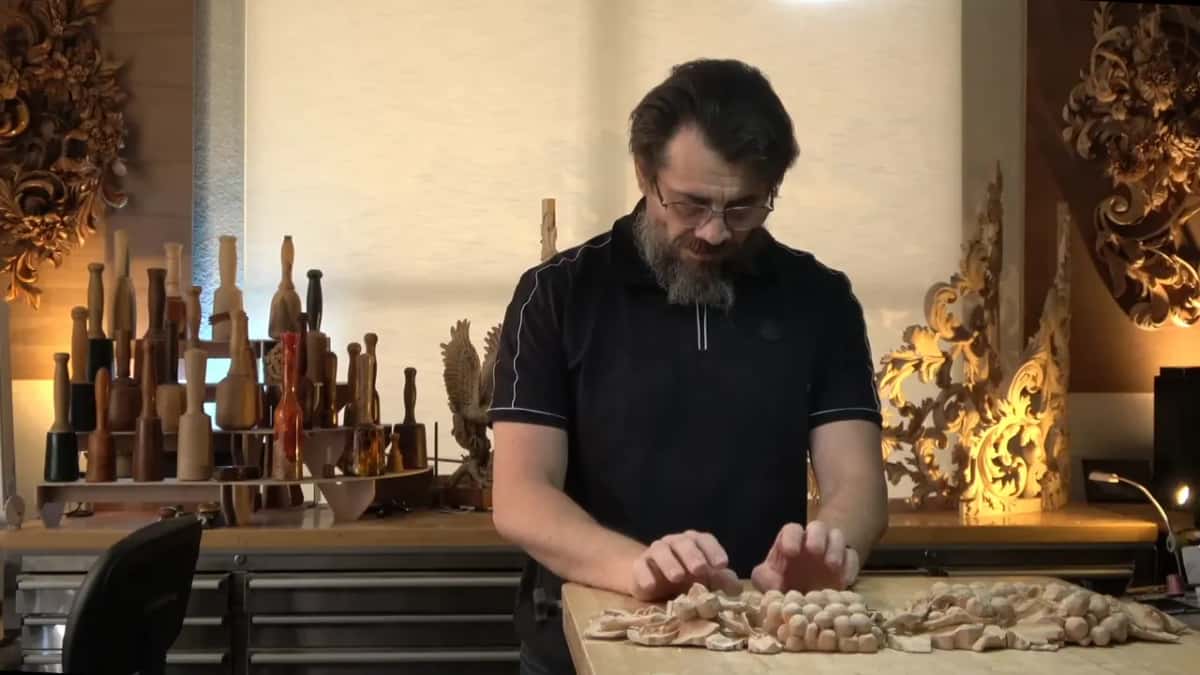
I put it another way on the Modern Acanthus course. Facets are like brush marks to me, and they make the piece look like a piece of diamond, because each one has a different angle and the light hits it from a different point.
My customers came up in that course too. Let's say the customer is Italian. They love to sand it to death, I said, so it looks like marble, without even one tool mark. My customers from England or Germany don't want sandpaper near it. They want to see all the marks.
So before I sign a contract, I tell people that in my opinion it looks better without the sandpaper. You can hear me say it in lesson 7 of that course. The last Grape Onlay video says the same. Those marks, I said there, are just the nature of wood carving, and I like them. A grape would look nice sanded a little, but you can leave all the tool marks on the leaves.
When does a carving need a smooth surface?
Gold leaf is the case here. I was working on a project that had to be smooth, because it was going to be gold leafed. I doubt you'll gold leaf a bunch of grapes, but anyway.
For the gold leaf, it's a good idea to get rid of some of the facets. I wouldn't do too much. It depends, of course, on the style of gold leafing. Water gilding needs that surface really ready, and there's lots of stuff involved.
Two more of my videos show gold leaf work. In the Grape Onlay final lesson you can see panels behind me, made for a pipe organ, and all of it gets gold leafed. There are multiple ways you can do the gold leafing, I said there. For that process the surface has to be smooth.
My sandpaper question and answer shows a pipe organ job too, a shade for a pipe organ in New York City. I gave my opinion there. It all depends on the finish that goes on, and on the application. I love an out of the chisel finish, but with gold leaf I'm still doing some sanding.
Paint is another story. The Acanthus over Moldings piece was going to be painted white, so I could have just used sandpaper there. There was no reason to spend so much time on cleaning. I don't use sandpaper a lot, though.
What are the scraper cards from this lesson?
Hermit Tools makes them. They're sold as cabinet scraper cards, and they're spring steel, which is what I like. I didn't know how many were in the box until I read it on camera. Twelve pieces, it says.

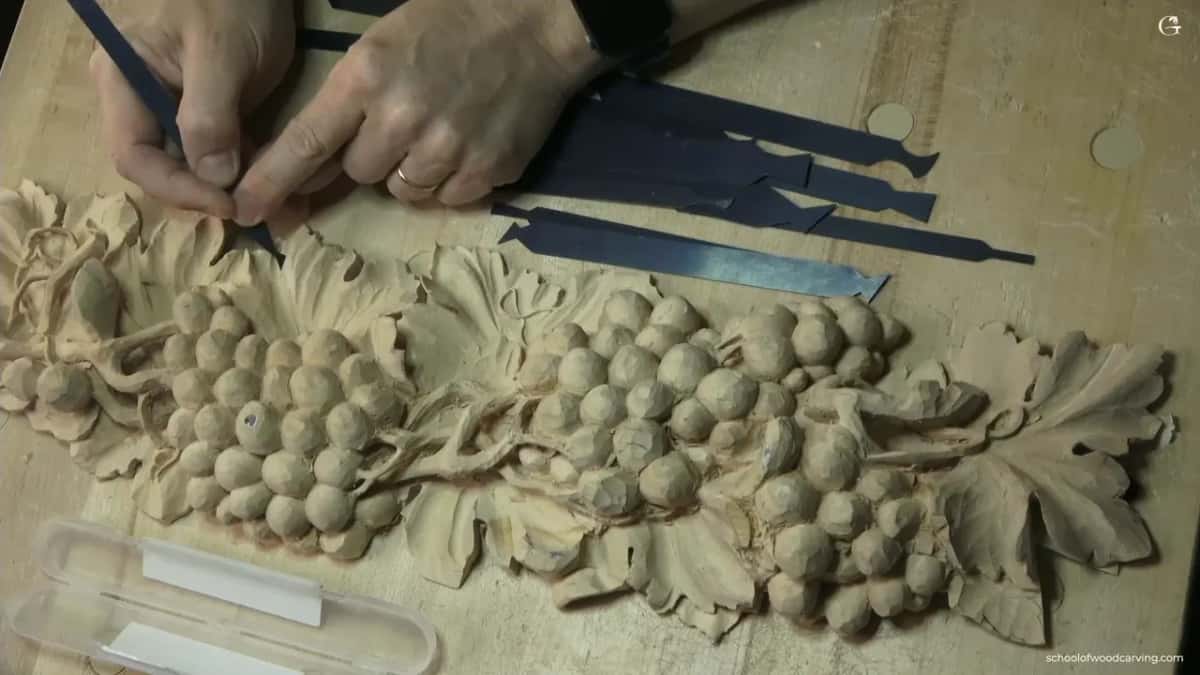
I think they work better for wood carving, for what we do, than a plain cabinet scraper. It has all different shapes. Each card has two sides with different profiles, and even the tiny ones get inside some of the small areas.
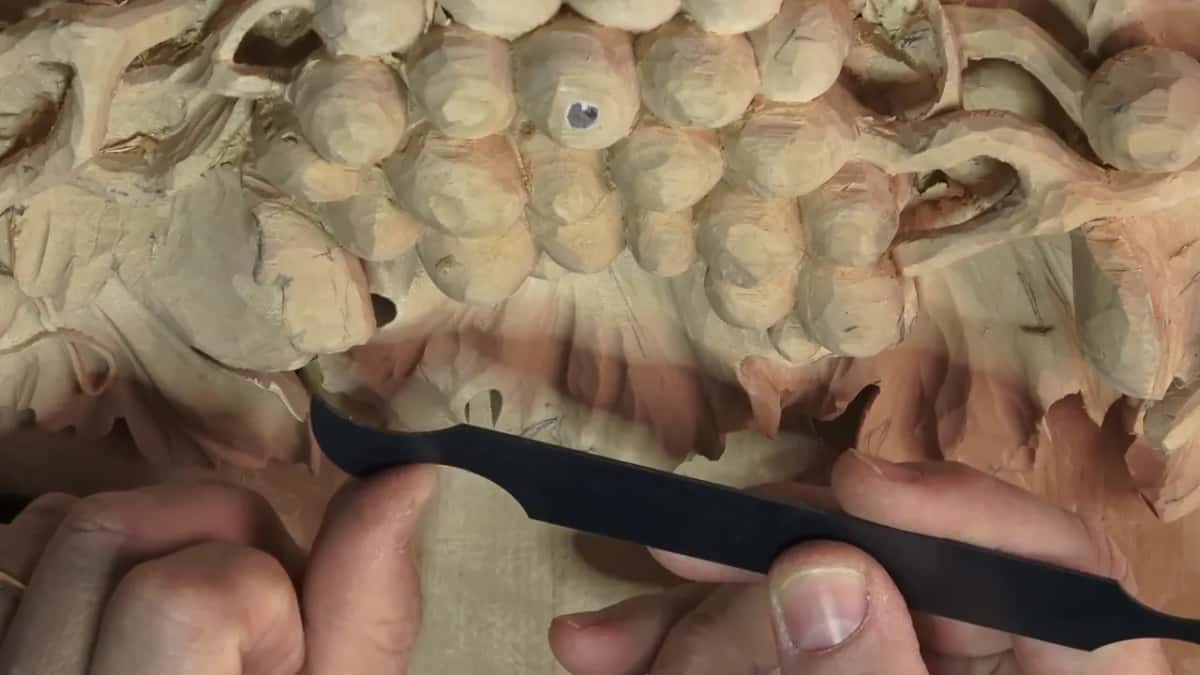
The bigger ones work like any scraper, outside a shape or inside it, the same as you would use one on a cabinet making project. Even with the grapes, if you wanted them smoother, they still work.

Out of the box they're actually not that bad at all. They do the job. With the small ones, in small areas, you still get really good results.
One thing to say plainly. I'm not selling these, and I'm not getting any money from them. I just like what I found. I'm pretty sure they're made in China, and I don't know if you can get them in every country.

I picked the same cards up again in the Grape Onlay final. They have multiple shapes, and they're really nice. But lime wood or basswood is kind of soft, I said there, so it's not too good for scraping. You're still able to scrape it.

How do you put a hook on a scraper card?
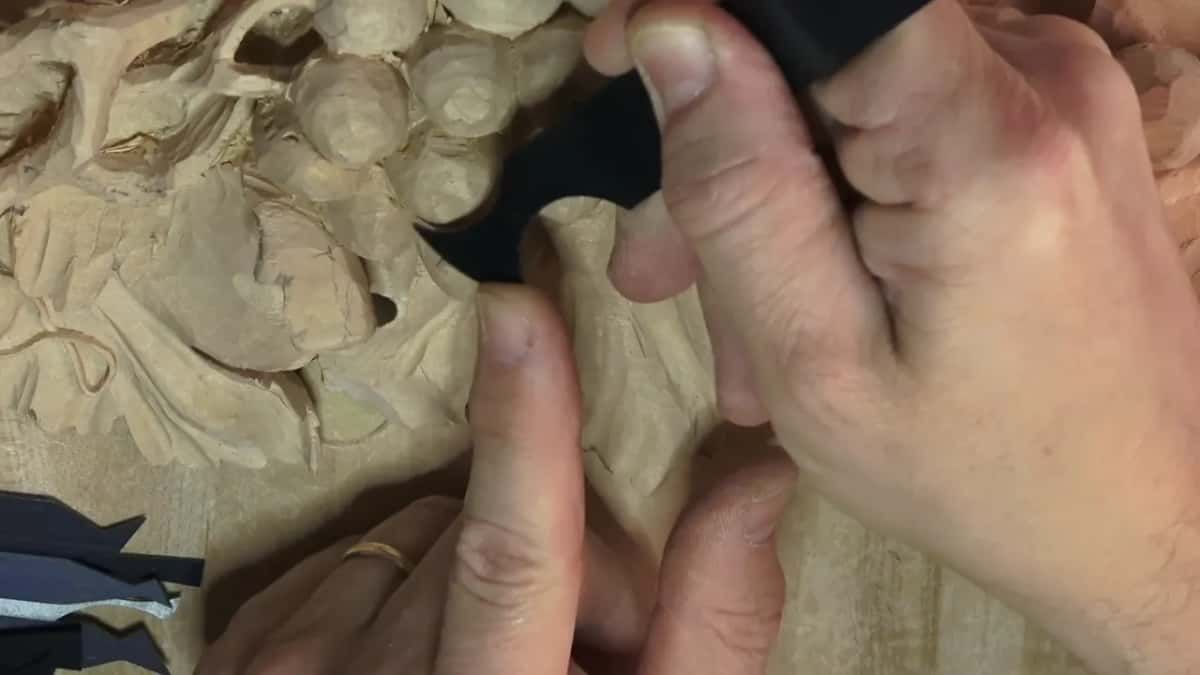
You still have to create the hook yourself, and that hook goes outward. To make it you need some kind of burnisher. A burnisher doesn't have to be expensive, but it has to have good steel. Sometimes I use a screwdriver.

On camera I held the card in my hand while I did it. That's not a good idea. Put it in a vise and push until you can feel a burr form.
A burr is a different story on a carving tool. In the Venice Room stropping lesson I felt a small burr on the edge I was checking, and I said a burr on wood carving tools is not the best idea. Wood turning tools, sometimes yes. On scrapers it's actually a really good idea.
The same trick works on a blade. A utility knife blade takes the hook the same way a normal scraper does, and then you blend everything. I scraped with one in workshop 26 of the furniture panel.
Can a cheap carving tool be your scraper?
We used to make our own scrapers, and I showed you a couple of times what I used before. Sometimes I really like to buy really cheap carving tools, spring steel, and use them that way.
On the Lily Box I took a number one, a really cheap chisel, and scraped the high spots a little. It brought out a light outline after the color. Later in that same lesson I said it again. I'm using the cheap ones for scraping, I said, and I really don't want to use the really good ones.
Scraping does dull a tool. I answered a question about it in workshop 21 of the furniture panel, and said not as much as you think if you've got really good tools. Buff it, I said, or get a really cheap set of imported tools to scrape with.
Earlier in that Lily Box course I wasn't worried about my knife. It's just wood, I said. The knife gets dull anyway, just from carving, and I can always buff it or resharpen it.

For the panel background I took one of my chip carving tools. My router plane had left jump marks there, from the vibration, and my preferred way to take them out is a scraper. Small scrapers are really good, if you have them. But that number nine Swiss-made chip carving knife is really thick, and I like it. I scraped those marks out in workshop 19, and with those small knives you can scrape inside the background areas too.
What about a razor blade or a utility blade?
A blade works. What I call a scraper in workshop 30 is actually just a utility knife blade, and that's a good scraper, by the way. The side of it works, or the whole blade, I said in workshop 26.

On the Plate with Butterflies I said a razor blade will work, and small scrapers made for that would help too. But make sure you see the direction of the grain, and scrape with it. And if you don't have a professional scraper, I said a lesson later, you can always use just a blade.
A Venice Room section got a card scraper too. I used a small one so I'd know it was really straight and nice. In another part I said you don't have to use a small one, and that a normal cabinet scraper, the big one, gets it absolutely flat and nice.

Here are the jobs I scraped in these courses, with the tool I picked up for each one.
| Job | Tool | Lesson |
|---|---|---|
| Router plane jump marks | A number nine Swiss-made chip carving knife, really thick | Furniture panel, workshop 19 |
| Facets on the grapes | Hermit Tools cards of spring steel, twelve per box | This lesson, grape panel |
| Pencil marks and roughness | A razor or utility blade, scraped with the grain | Butterfly plate, lesson 9 |
| High spots after color | A number one chisel, really cheap, scraped a little | Lily Box, lesson 13 |
| Glue residue and paper | A blade from a utility knife, a good scraper | Furniture panel, workshop 30 |
Is a scraper better than sandpaper on a carving?
Back on the beginner cutting board, I said it's better to use a scraper than sandpaper, because of the fibers. You're not pressing the fibers in.
The Modern Acanthus course goes further. With sandpaper you're pushing those fibers in, and after the first coat of stain or shellac the grain pops out. In a really complicated area that raised grain is almost impossible to take care of. A clean carved surface isn't smooshed, so the finish puffs it only slightly.

Scraping is the old way, and probably my preferred way, I said in the next cutting board workshop. If you don't feel comfortable with scraping at the beginning, though, it's absolutely okay on that type of carving to give it a little sand. Don't over-sand it, because you're going to lose the detail.
In workshop 18 I said the quickest way on that board would be a scraper. I went around the edges with a Dutch reed, then gave it a slight sanding with 400-grit paper, without over-sanding.
People email me asking whether they should sand. My answer in the sandpaper question and answer was yes, it is absolutely okay to sand. Still, back in workshop 19 I said I'm not against the sanding, but if you look back on the history, most of the furniture makers used scrapers to make it even.
How much should you scrape off?
With gold leaf coming, I still said I wouldn't take too many facets off. I said it plainly in workshop 19. Please don't overdo it, because even with the scraper you're not taking too much material, but you're still taking some.
Two workshops later I warned you again. Be careful when you're scraping. You can actually damage your work with scraping, so don't get too excited about it, because you can catch the fibers and destroy it.
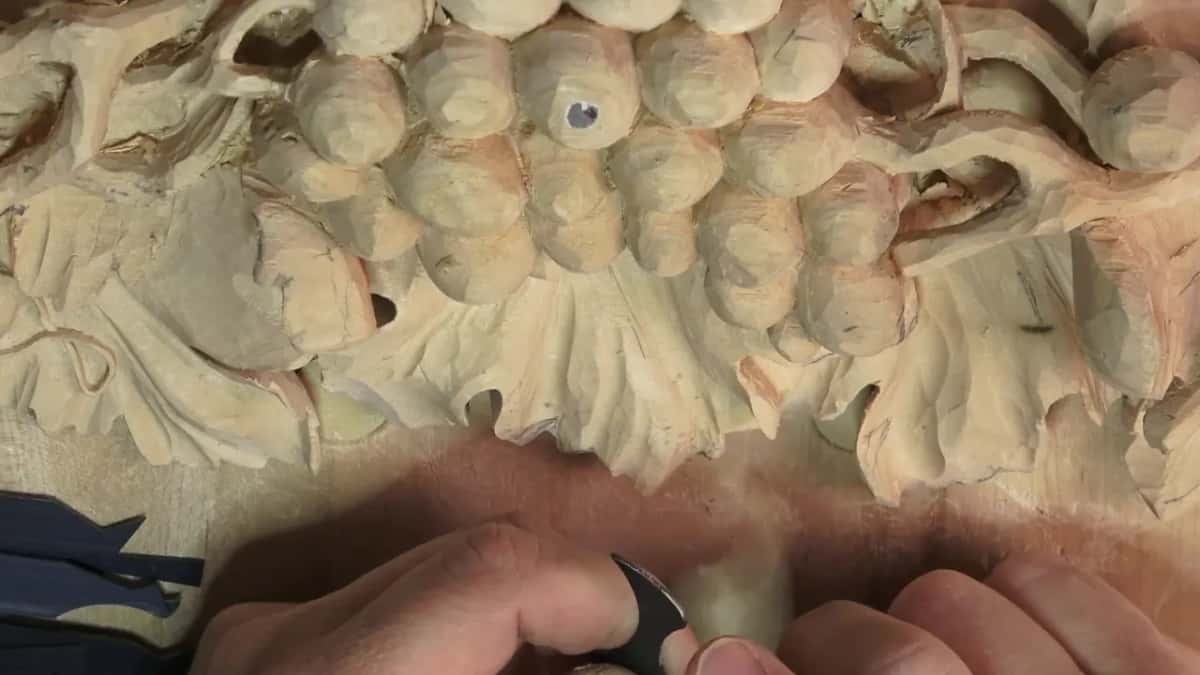
I stopped early on the vase with grape leaves too. A small scraper could have taken some high spots down a little more, but I really don't want to overdo it.
Sanding the tops of the onlay grapes, I held back. I really like some rough spots. Otherwise it doesn't really show that you did it by hand, with the chisels.
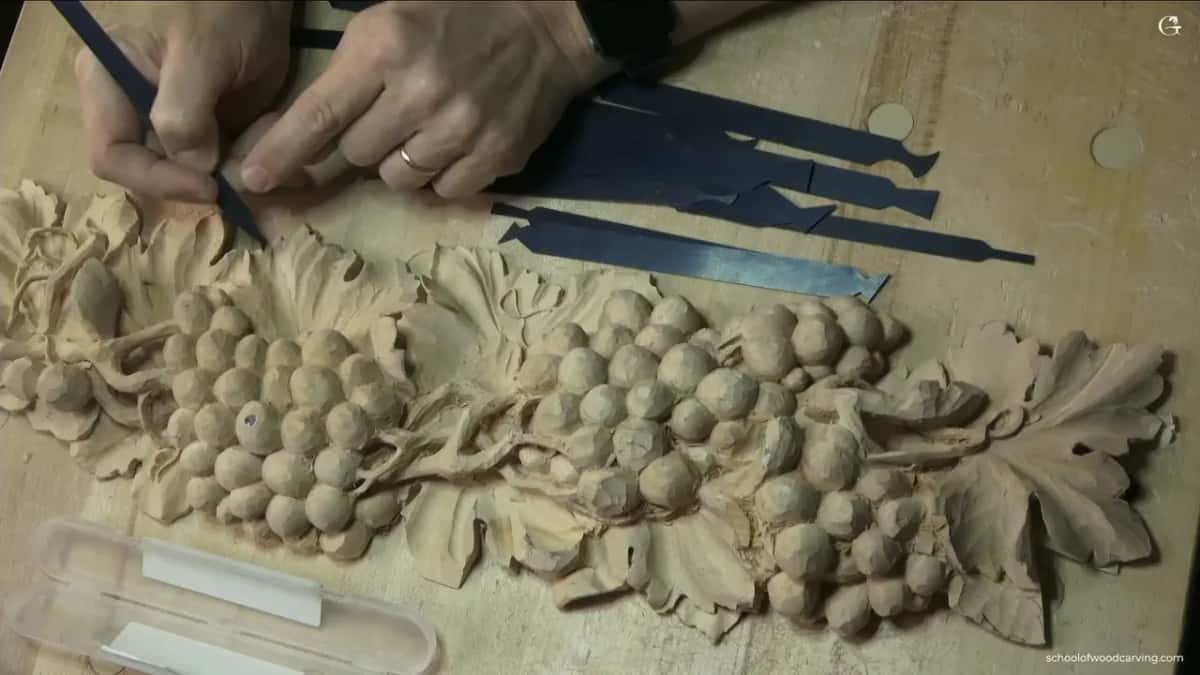
There's another way to take facets off, without a scraper. In Grape Onlay lesson 12 I turned the tool upside down and rode right on top of each facet in a circular motion, barely removing any material, until zero facets were left. It takes a long time. For me it's tedious and kind of annoying work.
After scraping, I said in that same sandpaper video, you could burnish it with the same species of wood. That job has its own burnishing lesson.
What else does a scraper clean up on a carving?
Pencil and marker lines. The Lily Box marker didn't really worry me, because I can always use a knife as a scraper and shave it a little.
Glue residue goes the same way. In workshop 30 I scraped off whatever was left, and with the same scraper I could blend the overall movement. And for the cutting board edges, I said a scraper is actually the better choice once it's dry, and it will make them stand out.
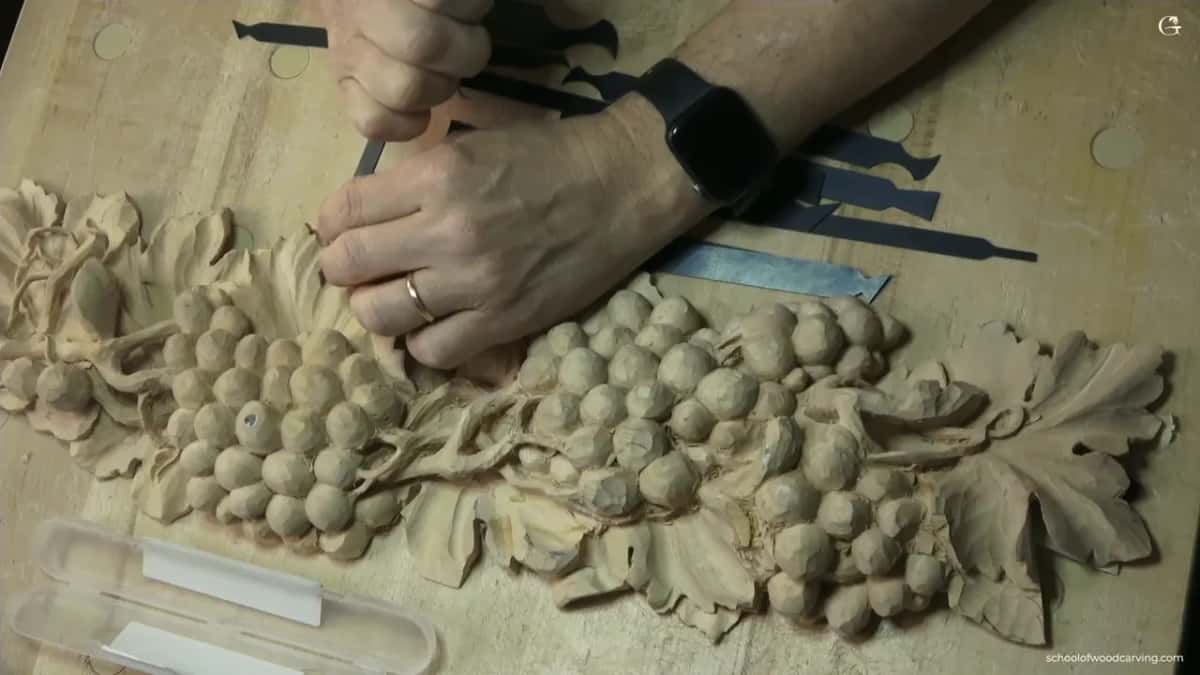
Most of what I said here, you can watch me do at the bench in the lessons linked above. If you want to carve along with me, start with one course and take it one lesson at a time.
How it's done
- Decide on the finish first. Take some facets off before gold leaf. With water gilding you really need to get that surface ready, and there is lots of stuff involved.
- Pick a profile that fits. The tiny cards get inside the small areas. The bigger ones work on the outside of a shape, or inside it.
- Clamp the card in a vise. Put it in the vise instead of holding it in your hand.
- Raise a burr on the edge. Push a burnisher of good steel, or a screwdriver, until you can feel it creating a burr. The hook should go outward.
- Scrape with the grain. See which way the grain goes, and scrape with it.
- Stop early. Don't overdo it. Even a scraper takes some material, and you can catch the fibers and damage your work.
Frequently asked questions
Do you have to remove tool marks from a carving?
Facets make veins, and the piece looks hand done, so I like them. Clients split on it, some wanting a shiny, smooth carving and some wanting the tool marks, and I like both. Under gold leaf, taking some facets off is a good idea.
Can you scrape basswood and limewood?
Lime wood and basswood are kind of soft, so they're not too good for scraping. You're still able to scrape them, as I said while finishing the grape onlay. In my sandpaper Q and A I scraped American basswood with a carving knife, and the result was really good.
What do you use to put a hook on a scraper?
You need some kind of burnisher. It doesn't have to be expensive, but it has to have good steel, and sometimes I use just a screwdriver. Put the card in a vise and push until you feel a burr, because doing it by hand, like I did on camera, is not good.
What to carve next