
Alexander Grabovetskiy, woodcarver, School of Woodcarving · Published 2023
What is a back bent carving gouge used for?
Quick answer: A back bent carving gouge is a gouge bent backward, so seen side on, its edge rides raised. I use it to reach the area past a high spot without the edge digging in, and to work right under a form when an undercut has to go really deep.
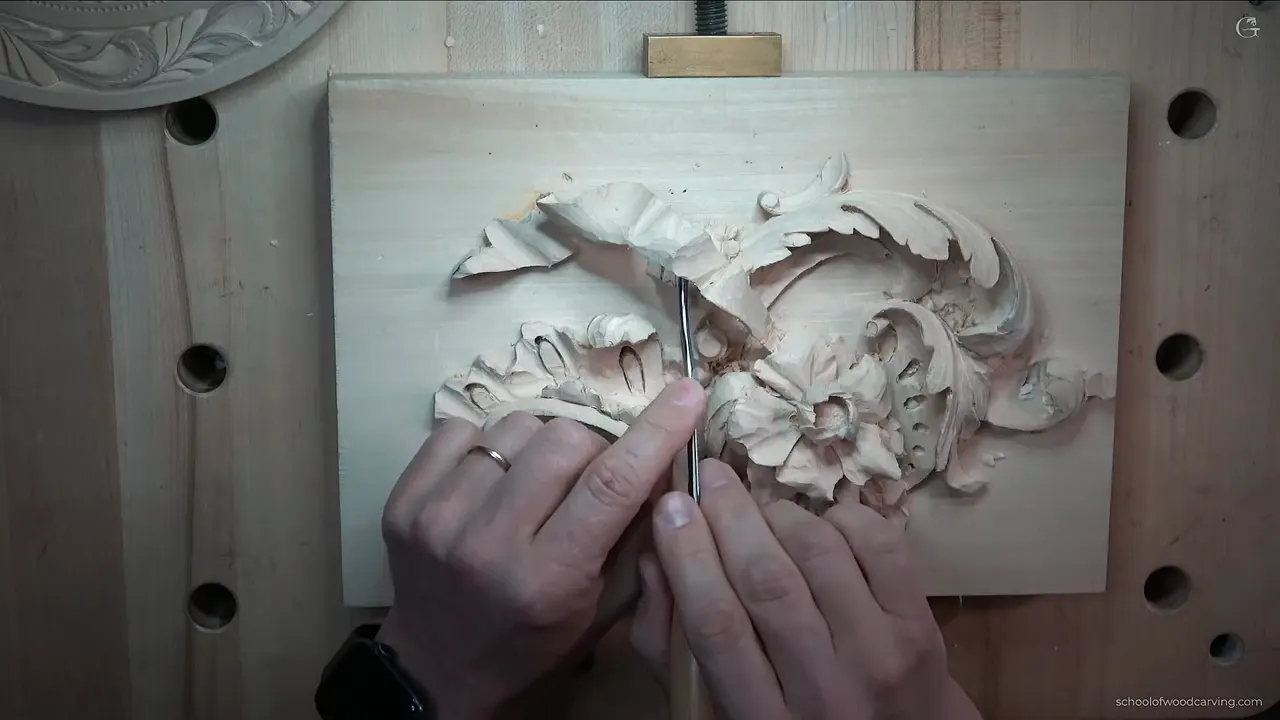
A back bent gouge is a carving gouge vented backward, so when you look at it from the side, its edge sits raised. It is useful for a lot of different stuff. In this short lesson I showed two of the ways. It lets me carve an area that sits behind a high spot, where a straight tool would dig in, and I can work my way right underneath a form to get a really deep undercut.
Somebody asked me to show how certain tools are used in different situations, like a back bent. Perfect question, I said. Back bent is one of the best tools, actually.
Is there a raised leaf in front of the spot you still have to carve? Would you like to get behind it, or right under it, without the edge digging in? Then you need to know this tool. The lesson itself runs under four minutes, so most of this page comes from my other courses, where the same tool goes to work on leaves, flowers and molding.
Back bents in six short lines
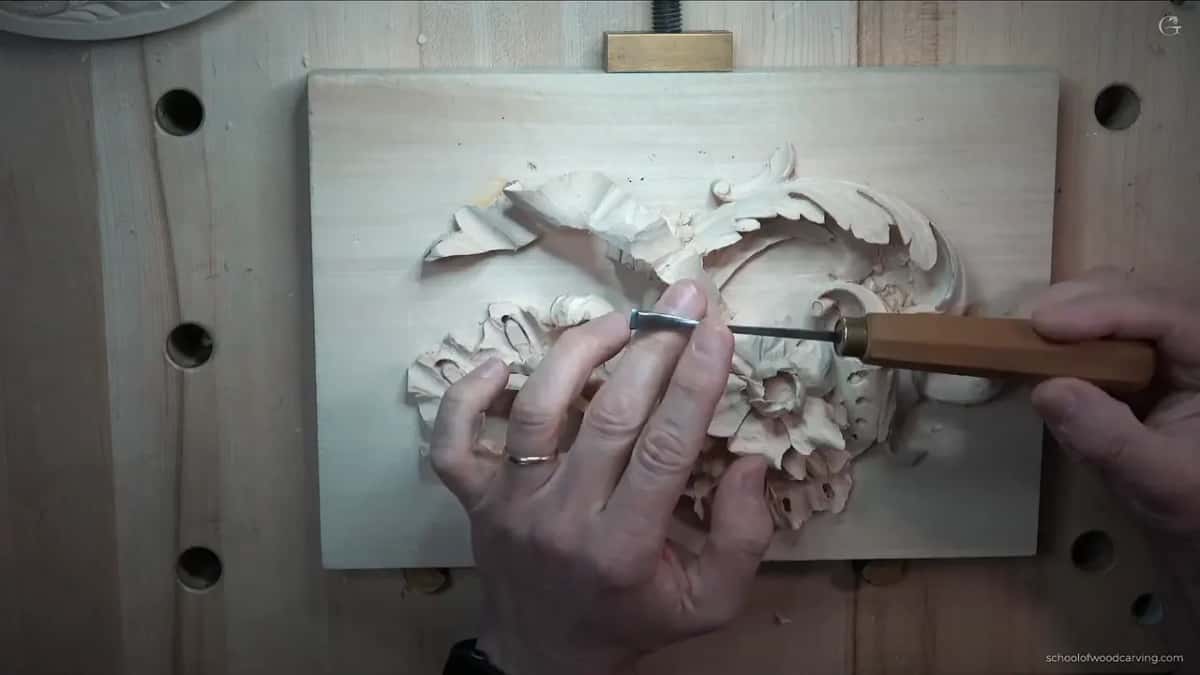
- A bent tool, but bent backward, so the main bevel sits on the opposite side to a front bent.
- It reaches past a high spot without digging in.
- It goes under a form for deep undercuts, and when something on a single piece is in the way, no other tool can do that.
- I own a lot of them, and they're my favorites.
- In some spots a straight tool or a small spoon does the same job, but the back bent makes life a lot easier.
- In my opinion they belong on a serious carver's bench, though a beginner can wait.
What does a back bent gouge look like?
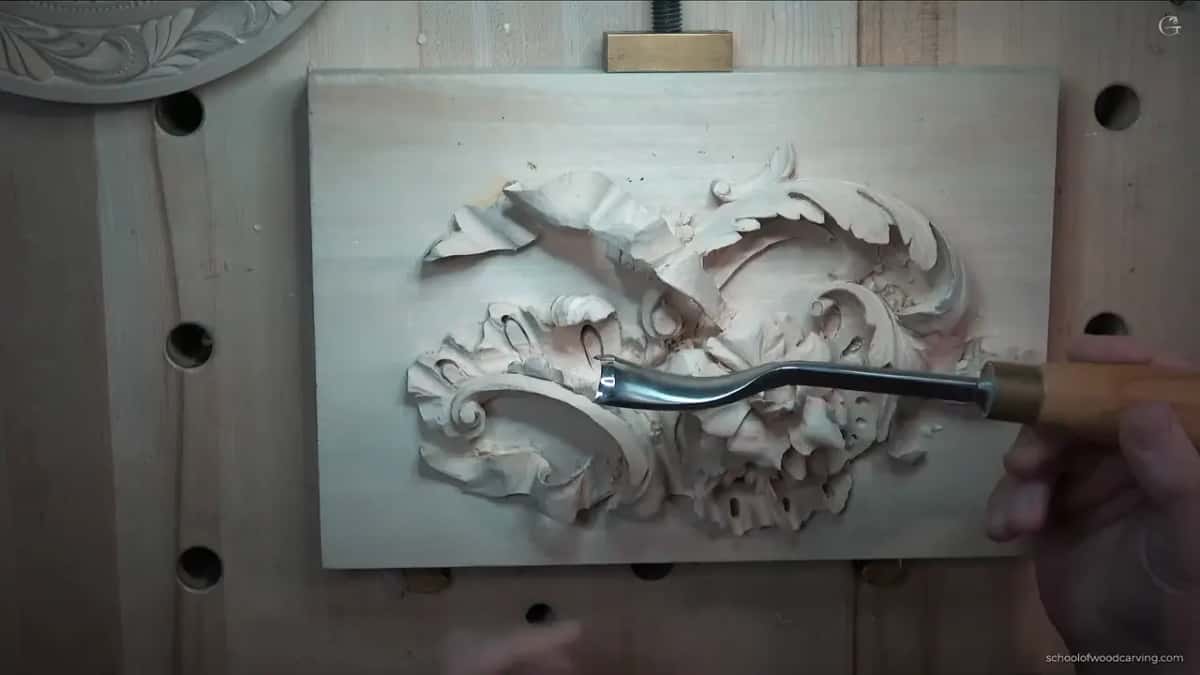
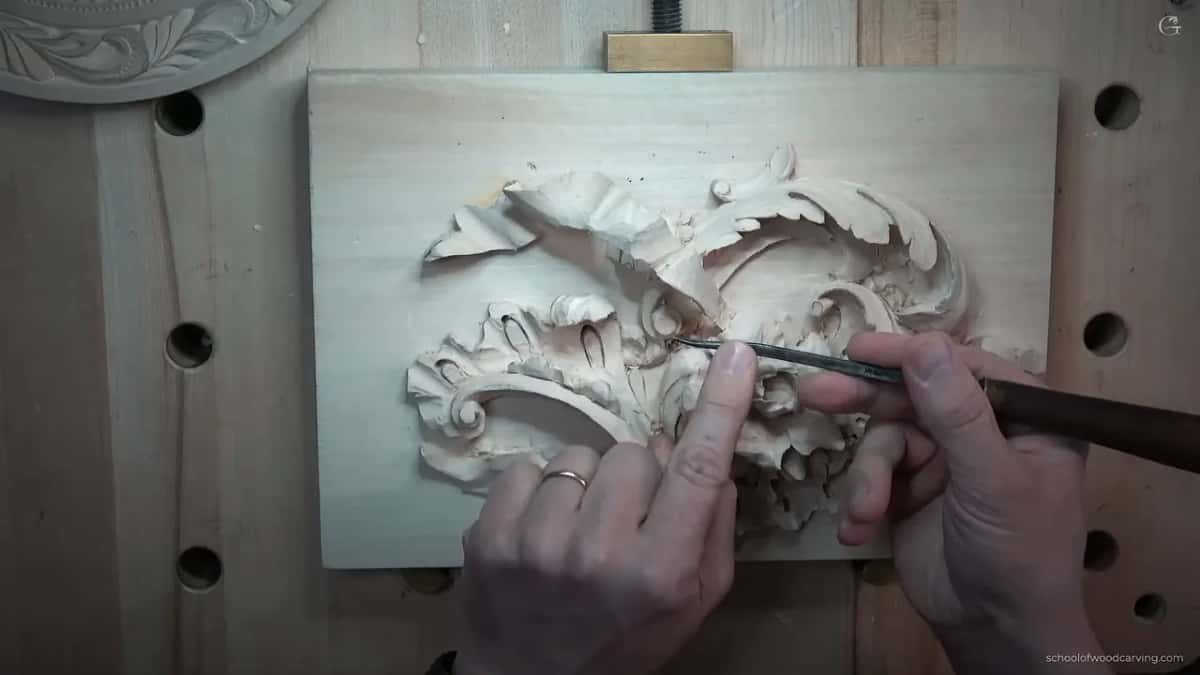
Hold one next to a front bent and you see it. In workshop 52 of the Venice Room I showed the two for anybody who doesn't know the difference. You can see the main bevel on one side of the front bent. The back bent also bends, but backward. Its bevel goes the opposite direction.
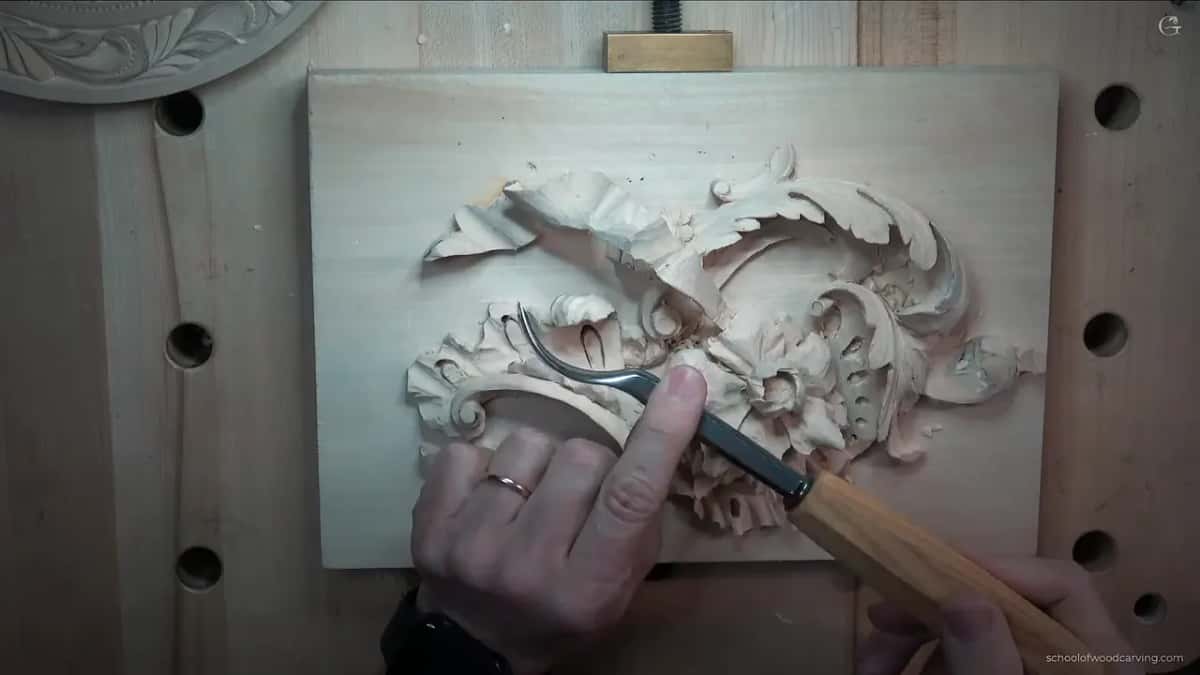
Here, in this lesson, I showed it to you from the side, and you could see it's raised above, so I can safely attack this part.
The one in my hand in that workshop was a back bent six millimeters wide with a number 3 sweep. A sweep is the curvature of a tool. Six millimeters is a quarter inch, how wide it is, and the 3 is equal to the same sweep on a straight tool. That's how it's determined.
How does a back bent reach behind a high spot?
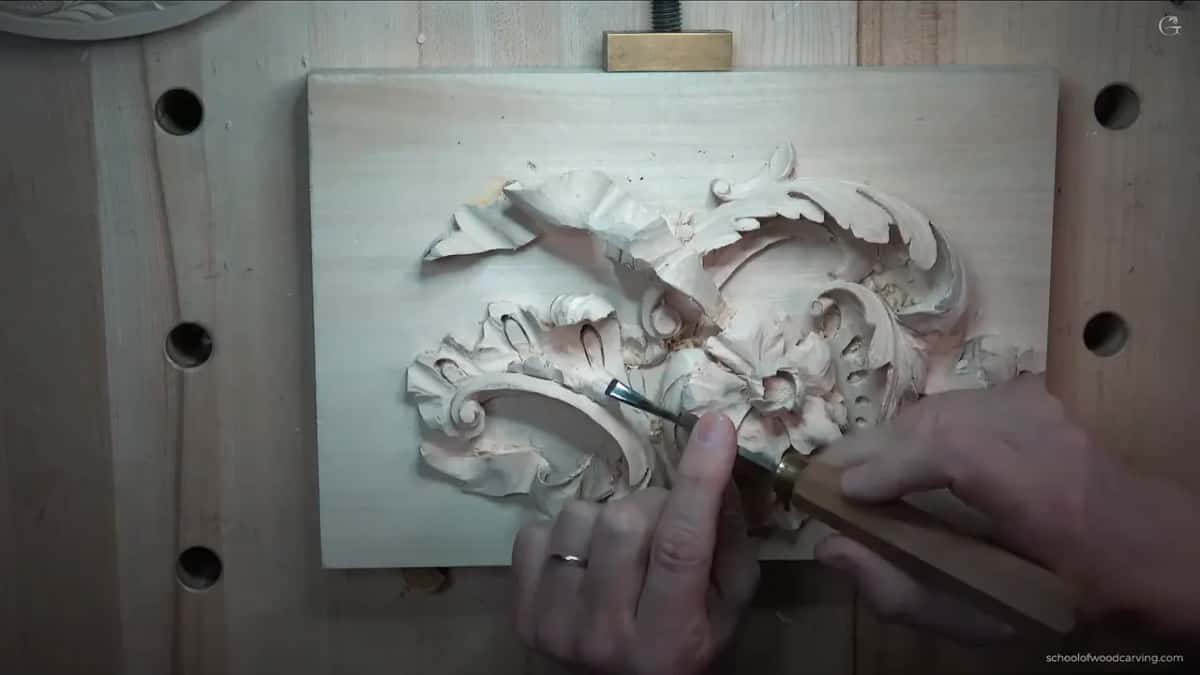
Say I've got a high spot right here, and I still have to reach and carve the area behind it. If I attack that with the right angle using a straight tool, it's going to dig in. It won't let me carve that nicely. The back bent has its edge raised, and I can safely attack that part, which is one of the reasons I love the tool.
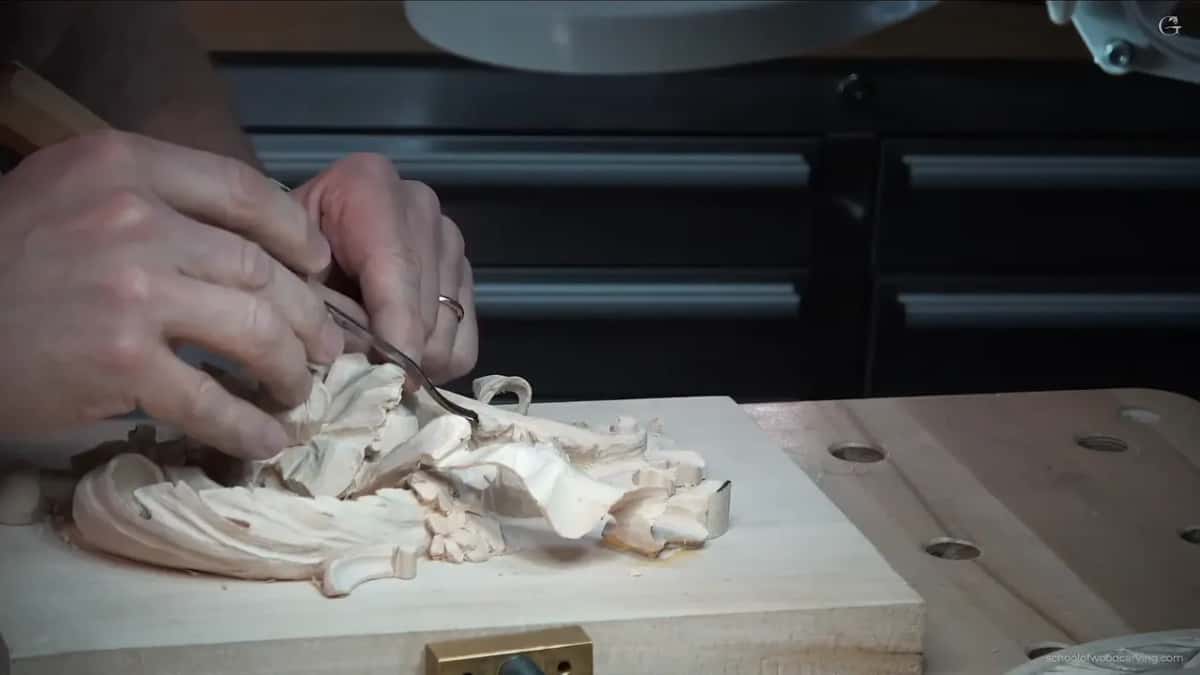
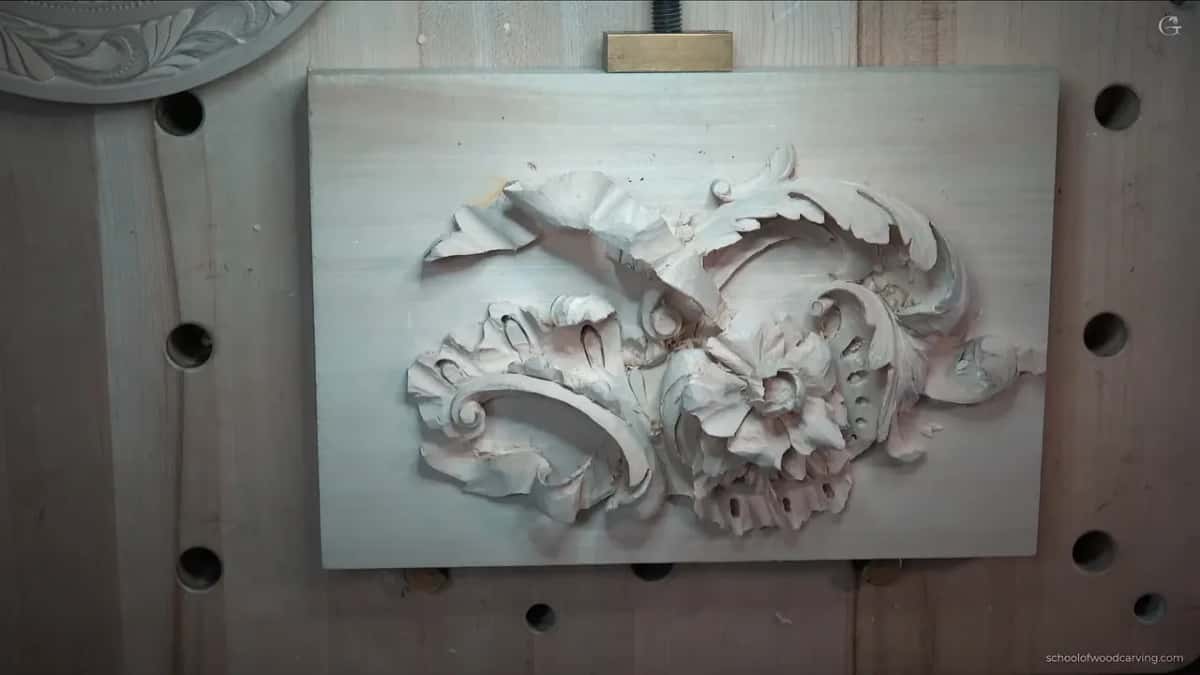
In workshop 52, one piece was in my way, and so was another. I still had to attack that area somehow, and with a straight tool it was almost impossible. Using it there meant digging too deep. You either need a bent or a short bent tool there, carving between those two.
Or, in my case, a flat number one. That's a number 1 sweep, pretty much, 10 mm (3/8 in) wide, but it's a back bent, with the bevel on the opposite side. Before I make any of the concaves and convexes, I like to use it for what I call my canvas, a clean surface so I can develop the details later without complicating too much. It works just like a number one chisel, and I can quickly do whatever shape I want.
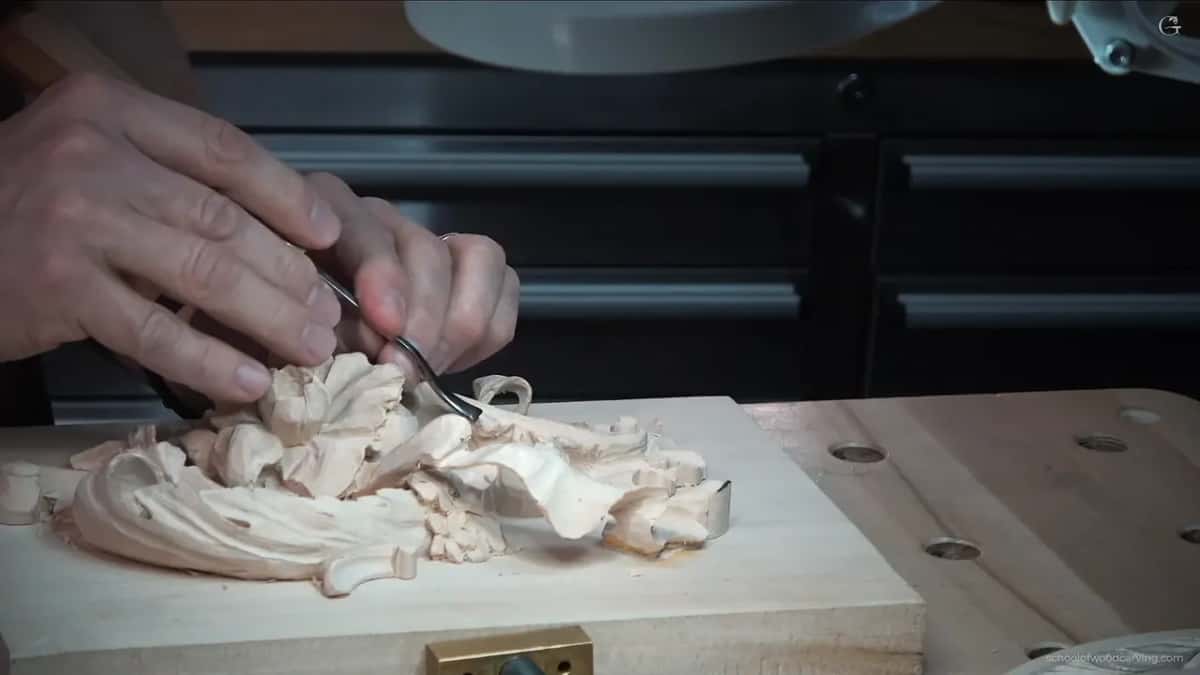
Not every spot needs it. In one area there, I said a back bent would be really beautiful, but in that case I could use just a normal short bent tool.
Why reach for a back bent when you undercut?
The second way is undercutting. It's such a nice tool when you're just working your way right underneath. Say the piece is a single piece, by the way, nothing glued down, everything carved out of one block. To get really deep undercuts you need some kind of tool for that. In some spots I could use just a straight tool. But sometimes there's stuff right on the way, and you really need to get underneath, and no other tool can do that.
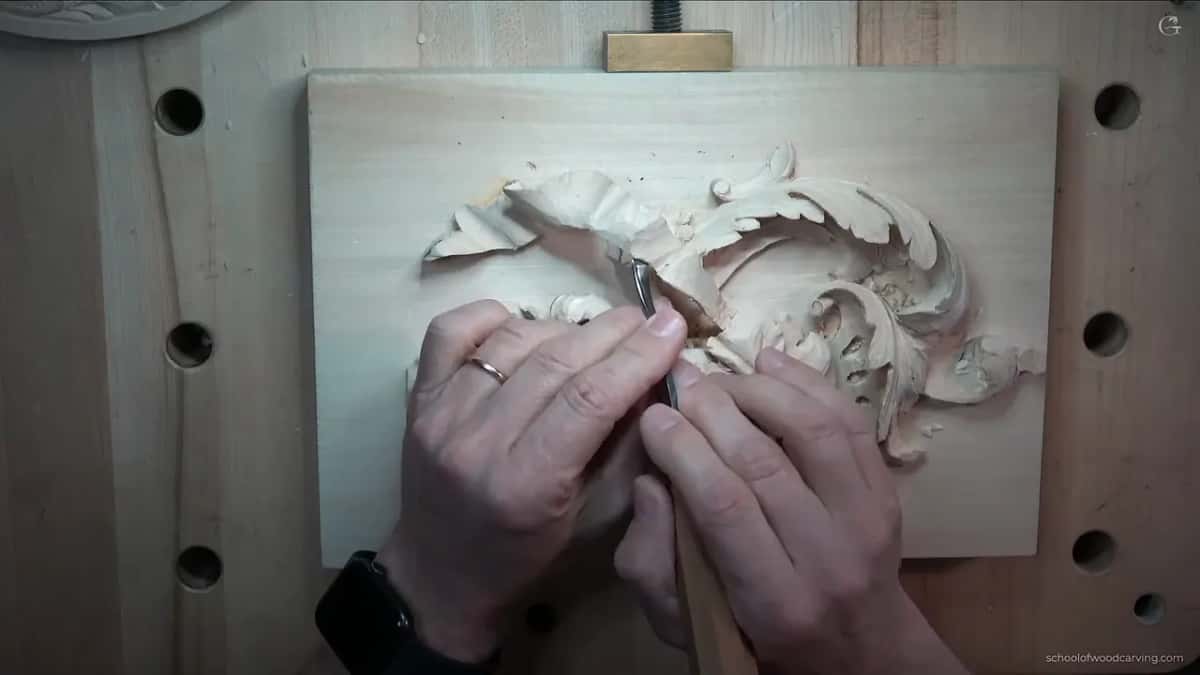
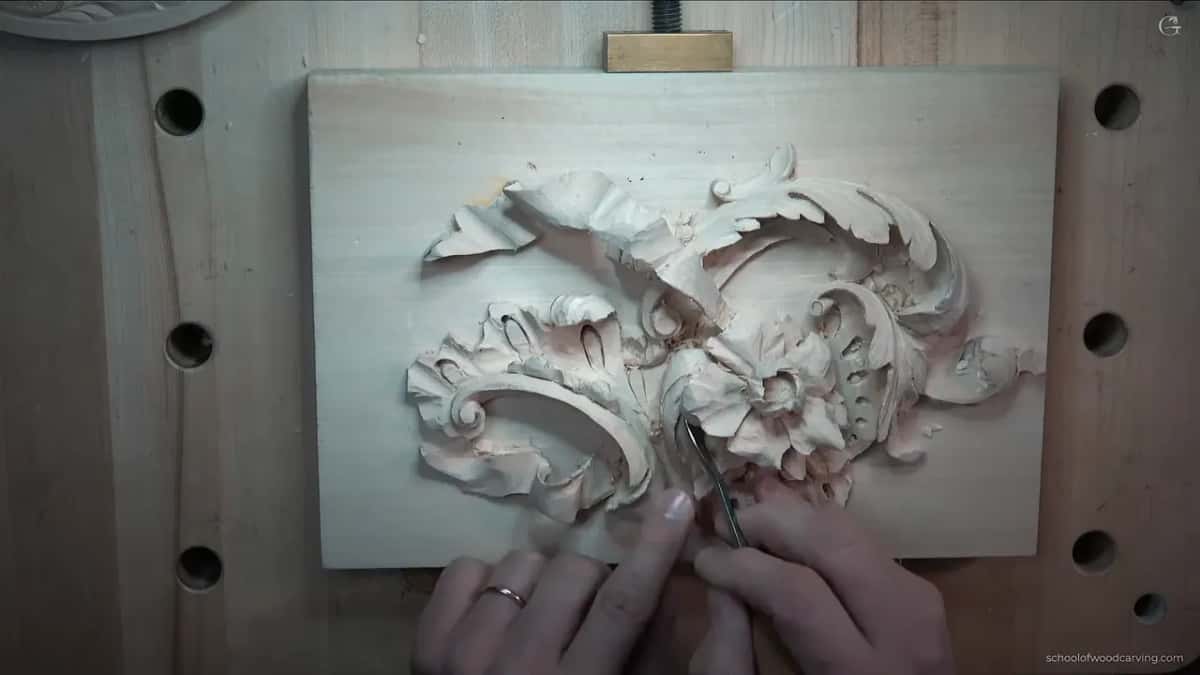
Lesson 9 of the Greek acanthus leaf shows it as another way to undercut, one I like too. I took a back bent number 25, 13 mm (about 1/2 in). I use that one a lot for the extreme undercutting. Little by little I could remove even deeper and make an even more beautiful shadow, and nothing was in the way. At one spot I said I could maybe make it go right through. That would look even more 3D. Then a small V tool of 3 mm (1/8 in) at 45 degrees took out what was left after the back bent.
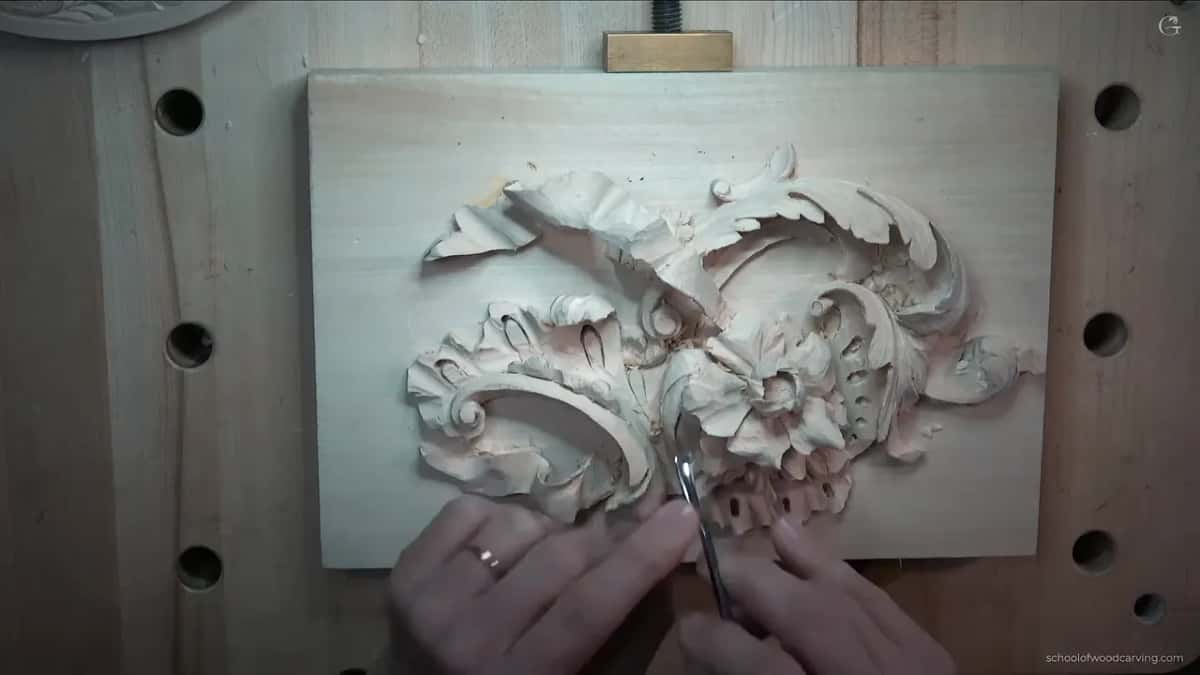
One lesson later, on that same acanthus leaf, one part had to be undercut in the opposite direction, really close to an edge. Probably the only way I could do it was a small back bent. It gets into the smallest, tiniest spots. At least the back bent gets me the true undercut.
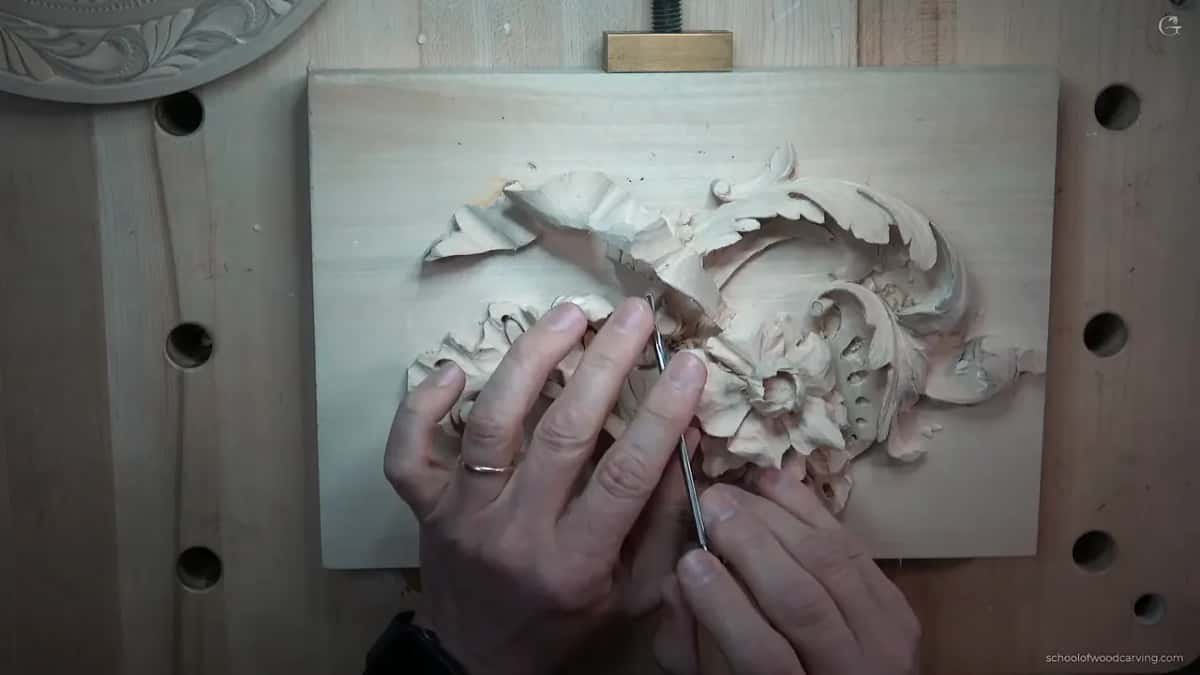
On a pipe of that leaf, a small gouge about an eighth of an inch went in first, and in a spot like that it never gets a really deep undercut. A really tiny back bent does. Mine is a number 7 by Ashley Iles, and I can go as deep as I want, so the leaf looks like it is just floating.

Here is each spot I talked about so far, with what a straight tool could do there.
| Where I was carving | What a straight tool could do in that spot | What the back bent did |
|---|---|---|
| Beyond a high spot | Coming in at the right angle, it digs in | Raised edge, safe attack there |
| Workshop 52, Venice Room | Almost impossible there without digging in much too deep | Flat number one, clean canvas |
| Floral and Molding 8 | I could probably get by with the straight tools | Safer, and life gets easier |
| Corinthian acanthus, lesson 5 | A straight gouge was in my hand at first | Easier undercut, beautiful shadow line |
| A pipe, Greek acanthus | A small gouge never gets really deep in there | As deep as I want |
When does nothing else get underneath?
In lesson 5 of the Corinthian acanthus I was undercutting with a straight gouge, and I said there is a much better way if you have back bents. My tool was a number 25/13 from Pfeil. It's a lot easier to use for undercutting, and the idea is the same. You're still kind of slicing. Right away it made a beautiful shadow line on that Corinthian leaf.
Further on, where two lobes meet, I used my knife. It would work there too, I said, because with a back bent the side you are not carving stays safe. You can undercut one lobe without touching the opposite one. That's why I like back bents a lot.

On a live stream in April 2020 a viewer asked if a skew could work between two leaves. To a certain degree, yes, I said, and it's a really good idea. But one part was a little higher than the other, so no matter what kind of skew you use, you're still limited, and you won't get a really nice undercut. For a really deep, beautiful dome effect inside, you have to use a back bent. Nothing is in my way. I can carve really nicely underneath at any angle, and I can go extremely far, right underneath, if I wish.
And once I had to stop undercutting. One area of the Roman acanthus, lesson 12, got fragile, with not much material on one side. I couldn't undercut in that direction anymore, or I would just go through.
Can a straight tool, a spoon or a knife do the job instead?
In lesson 8 of Floral and Molding for the Panel I could have used the same number 7, 14 mm (about 9/16 in), for the sides of that part. Using a back bent was a lot easier, and back bents are always the best tools for that operation. I took a really interesting one, an antique by Henry Taylor, a really short hook. It's still back bent, still a backward shape, but so short that I can get to the tiniest spots. Doesn't have to be that one, though. Any back bent will work, and even there I could probably get by with straight tools. I just felt the back bent would be safer.
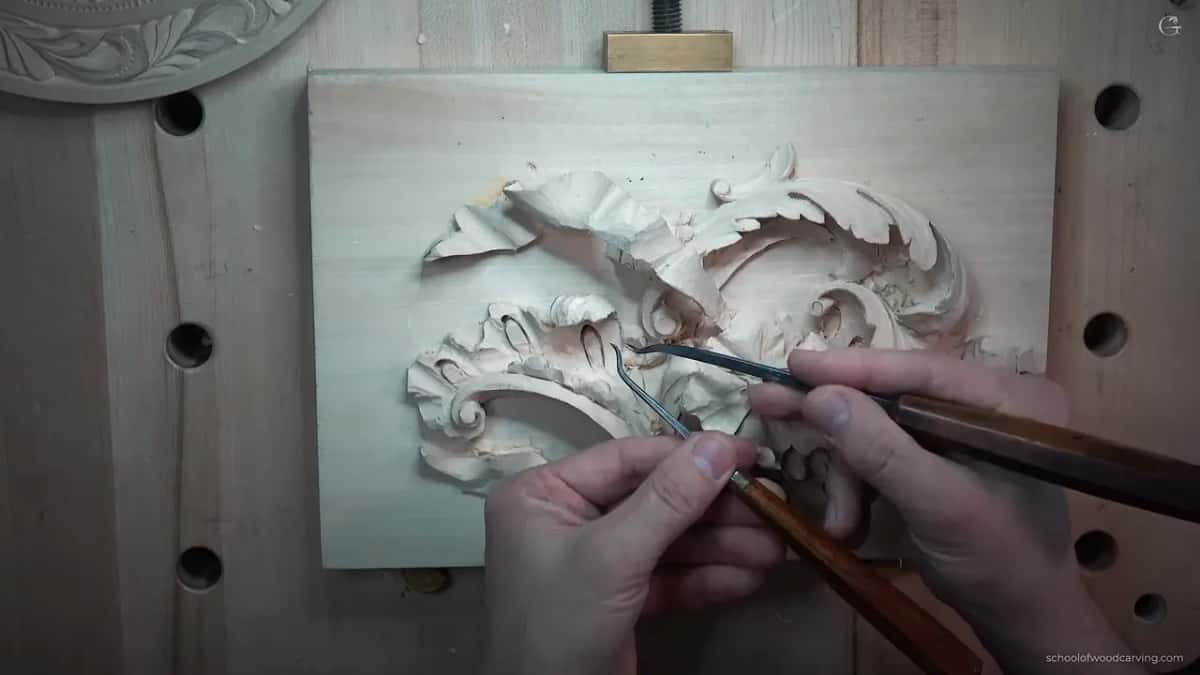
Later in that lesson I grabbed my back bent again and said the same. You could do it with straight tools, or with a small, tiny spoon, a number 3 or a number 2, and carefully remove the material. It comes out pretty much the same. With the back bent it just makes life a lot easier.
For the Venetian rosette, lesson 3, I used a back bent to blend the rosette, and a little later I said you don't have to use one. If you have a small, flatter spoon gouge, like a number 3, you can blend it the normal way.
And where two lobes meet together on the Corinthian leaf, I first called a carving knife or a chip carving knife pretty much the only tool you can get in.
Which sizes and shapes do back bents come in?
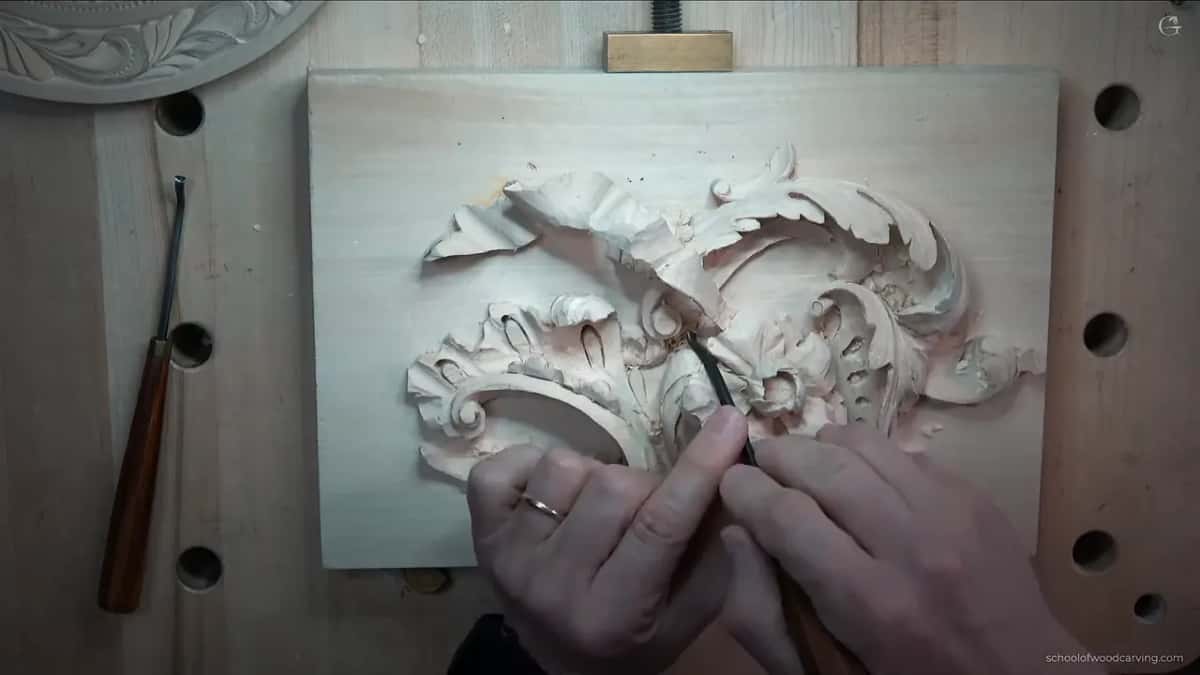
I've got some huge ones, really big, and they are really handy to get right underneath in the big carvings. Some are really tiny, about one eighth of an inch, three millimeters, with different curvatures. I also have some really short ones with different profiles. One of them is really, really tiny, and it's still a back bent. Another is almost like a shallow back bent.
Another one I said I could use on the Venetian rosette was really short. Unfortunately, I said there, modern manufacturers don't make those really, really short ones anymore.
In Maine, in the Grinling Gibbons class, I used a number 3 back bent by Henry Taylor on a big tulip. In London pattern that would be number 4, I said, and in European pattern number 3, which is about the same. In that lesson I used it upside down, to get inside and keep the roundness of the flower. The class carries the name of Grinling Gibbons.
On the grape onlay, lesson 13, one part was higher and another was higher, with a lot of stuff in my way. The tool for me was a number 3 back bent, about six millimeters, a quarter of an inch. I could easily get inside those corners.
On the lily box I wanted the illusion that one petal of the lily goes kind of deep underneath the next one. I picked a number 5 back bent of 3 mm (1/8 in) and worked my way in. Really deep excavation is what I was after. If it's a Pfeil, I said, a tool like that would be marked 25/3. Another brand marks it a little differently, and that's why I just call it a number 5, three millimeters.
Why own more than one back bent?
If you are able to afford them, it's a good idea to get multiple back bents, and I said so in the Greek leaf lesson. I have a lot of different ones. In one area the one in my hand was just too big, so I brought a smaller one, still a number 25 but only 6 mm (1/4 in), and kept on undercutting.
My suggestion on the Roman acanthus was this. If you're really serious about wood carving, get those back bents in different sweeps.
Should your first set include a back bent?
Not in the beginning, of course. Back on the grape onlay I called back bents must have tools if you are really serious about wood carving, and I added that the project was definitely not a beginner's project.
I know some of you don't have back bents. So on that Roman leaf I made the preliminary undercut first with the tool already in my hand, angling it on the inside. Without a back bent it's almost impossible, although to a certain degree you're still able to. Then I took a small one, a number 7 by Ashley Iles marked 37, about 3/32 of an inch (2.4 mm) at the end. Nothing blocked it, and I could dig really, really deep and make a really deep shadow.
Still choosing your first set? What to buy first has its own lesson in this tools course. Sharpening one of these has its own lesson too, sharpening a back bent, in the carving tool sharpening course, so I won't repeat it here.
Why are back bents my favorite tools?
I've got so many back bents, and those back bents are my favorite tools. When something is on my way and I need to get right underneath, it just helps me a lot. I said almost the same words in the Venice Room.
It takes time to undercut nicely. When those shadows show, especially with the right lighting, they look really nice. Gorgeous.
Every passage on this page comes from a lesson you can watch whole. A leaf on your bench with something in the way? Your Access opens all of them.
How it's done
- Find what is in the way. Look at the high spot, or the pieces standing in front of the area you need.
- Pick a back bent that fits the area. A big one can be just too big for an area. My Greek leaf needed a smaller number 25, only 6 mm, a quarter inch, so I brought one and kept going.
- Attack from above. Keep the raised edge over the high spot and attack the part behind it.
- Go under bit by bit. Remove a bit deeper with each pass, the way I worked under the Greek leaf.
- Don't force it. Go in without forcing the tool. I said it on the molding panel, and again on the big tulip in Maine.
- Clean what is left. With a small V tool at 45 degrees, take out what is left after the back bent.
Frequently asked questions
How is a back bent different from a front bent gouge?
Both are bent tools, but the back bent bends backward, so its main bevel sits on the opposite side. I showed both in Venice Room workshop 52. A front bent shows its bevel on one side, while the back bent's goes the other direction.
Will a skew chisel do the same job as a back bent?
A viewer on a live stream asked me that, and I said only to a certain degree. Where one part sits a little higher than the other, any skew stays limited and won't give a really nice undercut. For a deep dome effect inside, I use the back bent, because nothing gets in its way.
Do you need a back bent to undercut a leaf?
A straight tool angled on the inside makes a preliminary undercut, and to a certain degree you can manage. For deep work like my Roman acanthus, though, I call it almost impossible without one. Some spots also open up to a small spoon or a chip carving knife.
What to carve next