

Alexander Grabovetskiy, woodcarver, School of Woodcarving · Published 2019
Are Schaaf carving tools good enough for a beginner to start on?
Quick answer: Schaaf wood carving tools are a real option for a hobby carver, or for a furniture maker unwilling to sink real money into a first set. Using eleven of the twelve straight from the box, I cut a full grape panel, and the edges held about as long as my expensive gouges do.
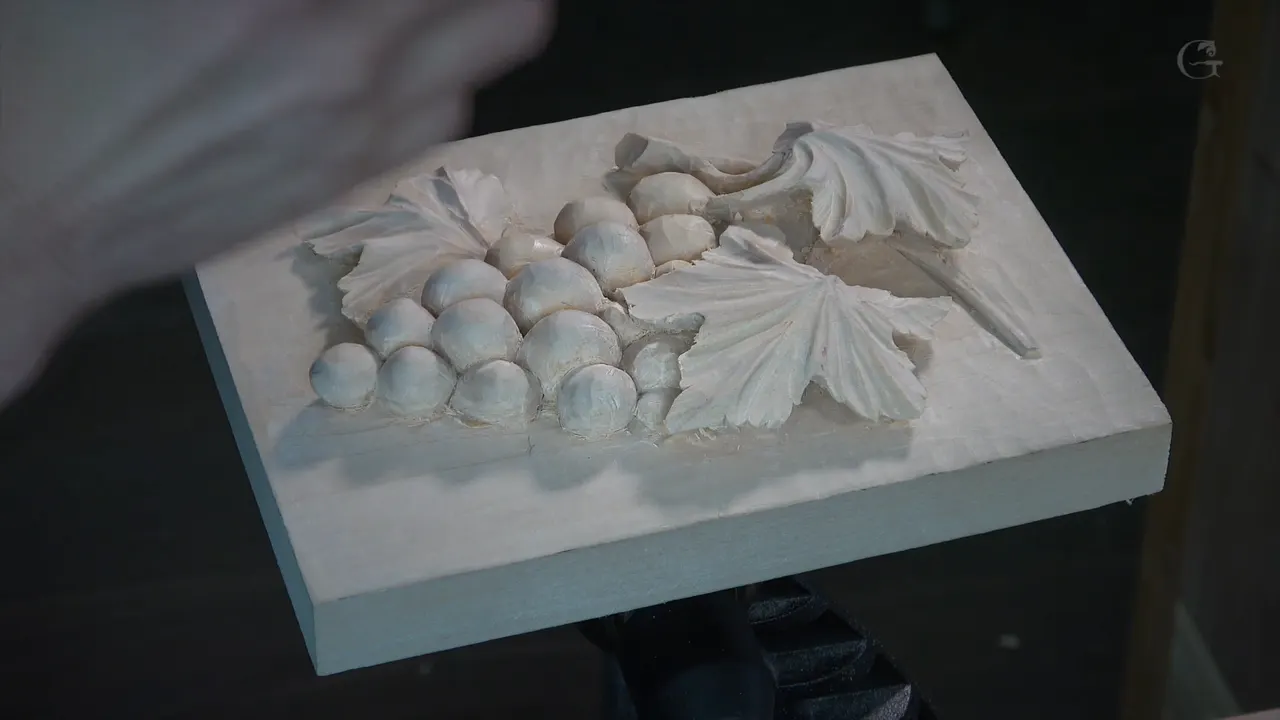
Schaaf gouges are a real option for a hobby carver, or for a furniture maker unwilling to sink real money into a first set. Using eleven of the twelve straight from the box, I cut a full grape panel, and the edges held about as long as my expensive gouges do.
How much have you already spent on tools that sit in a drawer? Have you ever held a gouge that looked fine and would not take an edge? And do you know what your last set really cost, once you divide it by the tools you actually reach for in a year?
I am going to be honest with you. Most tool reviews are written by people who opened the box, pushed the gouge into a scrap of pine, and filmed it. Opening a box is not a test. So I took a boxed set from Schaaf, pretended I had never learned to sharpen anything, and carved a real panel with them. Grapes. Leaves. Full relief, undercut, the whole thing. Afterwards I went back and looked hard at what was left of every edge.

What decides whether a cheap set is worth buying
- The steel has to be hard enough to hold a bevel. Schaaf claims Rockwell C60, and that number sits in the middle of the normal range for carving tools.
- Every brand needs sharpening. A pre-sharpened gouge is sharp for a day or two of honest work, and then you are on your own.
- Twelve tools will carry a small relief panel. Professional architectural work needs far more than that.
- The rough spot on these is the joint where the steel enters the handle, worst on the small ones.
- Eleven gouges out of twelve did the job, each one going back to the wheel maybe four times over the course of the panel.
What exactly is in the Schaaf box?
Schaaf sells a boxed set of twelve gouges built for people starting out. Search Amazon for a gouge set and this box lands on the first screen. The pitch is simple: a full working kit for roughly what one good gouge costs from an old English or Swiss maker. That claim is not marketing noise. I own gouges where a single tool costs twice what this entire box costs.
I carve every day for a living, and I teach in schools around the United States. When I write a tool list for a class I usually put down Pfeil, because it is the brand a student can find almost anywhere in the world. Excellent tools, honestly. And also the reason so many people never begin at all, because the price of a starter dozen stops them right at the door.
So the question I actually wanted answered was narrow. Not "are these as good as my best gouges", a silly question with an obvious answer. The question was whether a person with no money and no sharpening skill could take this box and produce something worth keeping. Different question entirely, and almost nobody bothers to run it.

Does a brand new carving tool still need sharpening?
Yes for every brand, and the Schaaf listing says so out loud. Their own page warns that if you are not planning to sharpen these tools, do not buy them. I appreciate that honesty, because it is true of every maker on earth and most of them stay quiet about it.
Take Pfeil. Most of the time those arrive ready to carve. You can go straight to the wood. But how long do you carve on a factory edge? A day. Maybe two. Maybe a week if you are gentle. There is always a point where the steel stops slicing and starts crushing, and then you have to bring it back yourself. That day comes for a hundred dollar gouge exactly like it comes for a ten dollar one.
In my own shop, every tool I buy gets reshaped, resharpened, and then stropped or buffed before it ever touches a project. Every one. No complaint about any brand in that, it is simply the work that owning tools involves. To see how that is done properly, the whole thing is laid out in our carving tool sharpening course, because sharpening is the skill that takes the longest to learn and the one that decides everything else.
For this test I skipped every part of that routine, with one single allowance: buffing.
Can you strop a gouge without a sharpening station?
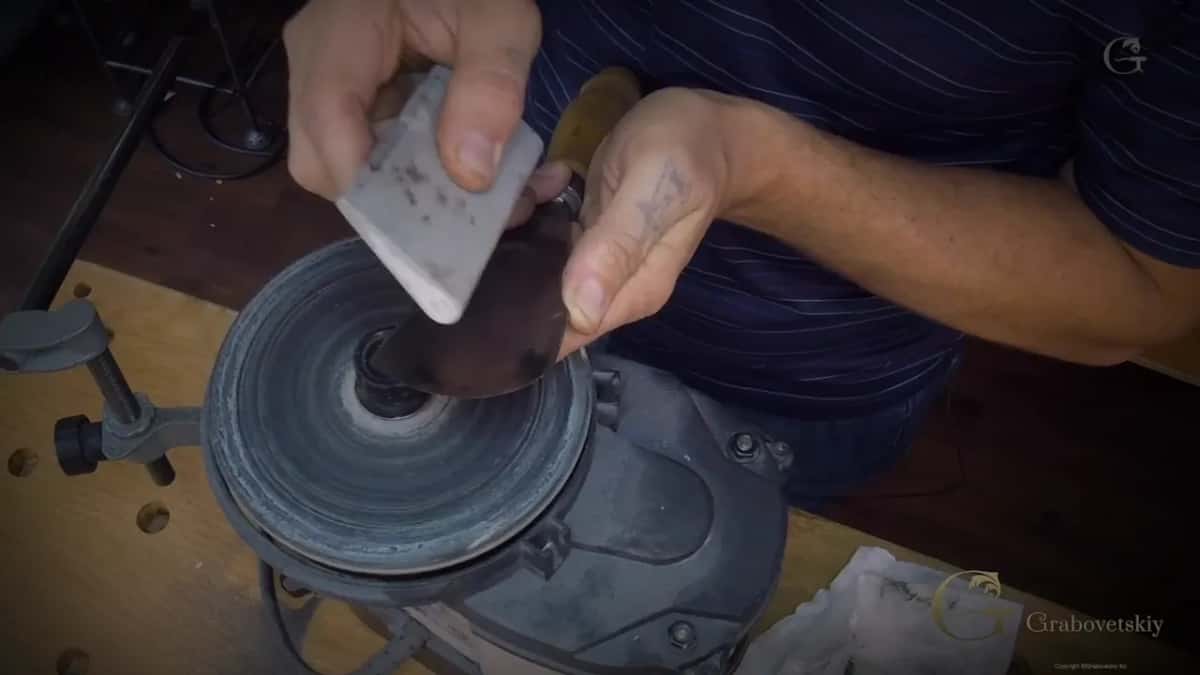
Buffing and stropping are not sharpening. Worth saying plainly, because people mix the words up and then wonder why nothing improves. Sharpening removes steel and changes the shape of the bevel. Stropping only polishes what is already there and takes off the tiny burr.
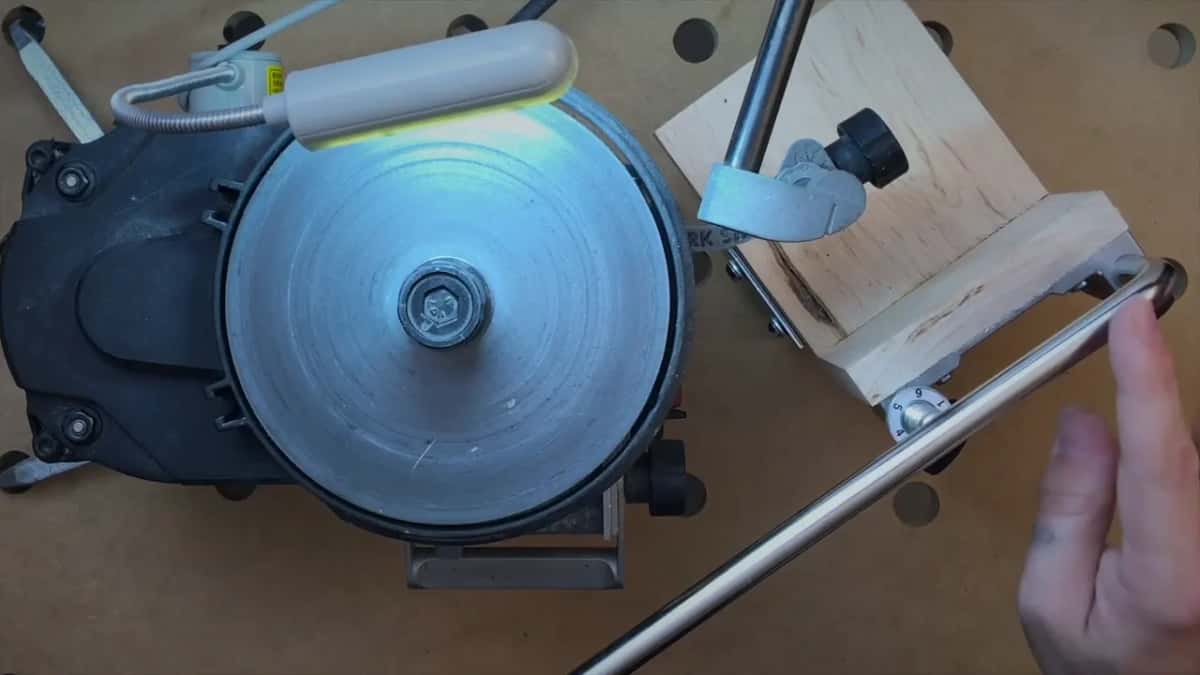
My own way is a felt wheel on a Work Sharp machine. Mine is the 3000, and it is an older model that has been in the shop a long time. I load the felt with a green compound, hold the bevel to it, and that is the whole operation. The compound does not need to be exotic. Green paste is sold almost everywhere in the world and it works.
Out of the box these gouges show machine marks along the steel, and the edge has clearly never been touched by a person. You can see it. I could not simply pick one up and carve. But a minute on the felt wheel per tool, and they cut.
How hard should a carving gouge be?
Most carving tools land between RC58 and RC62 on the Rockwell hardness scale, and Schaaf claims C60 for theirs. Right in the middle. Middle is the honest place for a gouge that has to take a mallet and still hold a fine edge.
Harder is not automatically better. Steel that runs too hard turns brittle at the edge, then chips the moment it meets a knot or a hard grain change. Run it too soft and the edge rolls over and goes dull while you watch. The middle of that band is where a carving tool wants to live, and it is why the good old makers all cluster there.
Did the claim hold up in the wood? I think it did. Across the whole panel every gouge wanted the felt wheel again perhaps four times. Roughly what I would expect from my Pfeil gouges or my Ashley Iles on the same job. I cannot tell you what the steel is made from. I can tell you how it behaved, and it behaved like a carving tool.

Are Schaaf gouges as good as Pfeil or Ashley Iles?
They compare well on edge holding and badly on finish, and the gap sits almost entirely in the details you stop noticing after a week. The metal on the Schaaf tools shows rougher machine stripes. Bigger gouges hide it completely. Look at the small ones, though, and the inset where steel meets handle is sloppy, which other reviewers noticed before I did. I found it too.
One handle in my set was slightly loose. For me that is not a deal breaker, because a handle is a piece of wood and I can replace a handle any day of the week. Their listing also says they will replace a bad tool. Fine.
| The brand | What it buys in a first year of carving | Fit and finish | Where it stops being enough for the work |
|---|---|---|---|
| Schaaf twelve | Gets you carving this month | Visibly rough | Architectural work, deep undercutting, any rare sweep you happen to need |
| Pfeil Swiss made | What I list for my own classes | Excellent | Nowhere. The price of a starter dozen stops people |
| Ashley Iles | What I reach for most days | Very good indeed | Same money problem as any old maker |
| Flexcut palm | Sits in my drawer, mostly unused | Good | Judged only against the work I do, which may look nothing like yours |
I own and use Henry Taylor, Auriou, Pfeil and Ashley Iles, and I have some Flexcut that I mostly leave alone. They are all different. There are pluses and minuses even in the expensive ones, which is something the catalogues never say. For the long version of how a working set gets built, that is what tool selection is for.
What wood should you test a new set on?
Basswood, and nothing clever. Mine was an offcut of American basswood, which Europeans call limewood, about 152 mm wide and 205 mm long, six inches by eight. Eight quarter stock planed down, so it finished just under 48 mm thick, an inch and seven eighths.
Why basswood? Even grain, no wild figure, and it takes a clean edge in every direction. It tells you the truth about a tool. Put the same gouge into construction lumber and you will learn nothing except frustration, because the hard and soft bands in that stuff tear no matter how sharp you are. Density figures for American timbers are published by the Forest Products Laboratory, if you want numbers rather than my word for it.
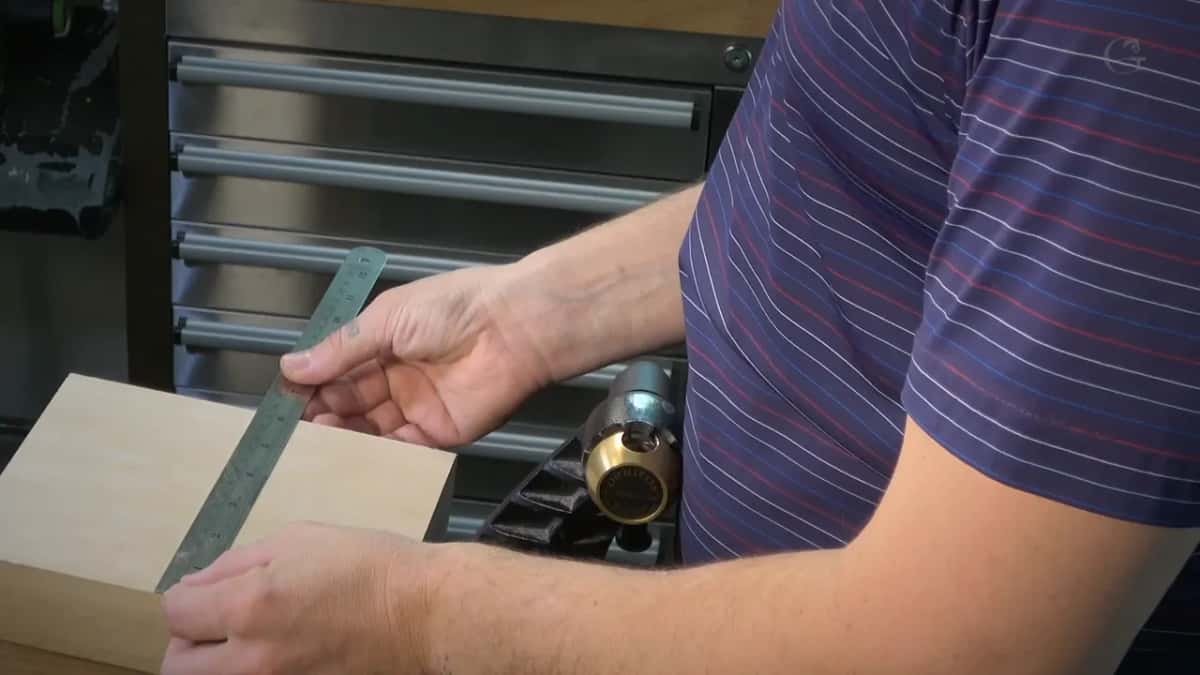

The piece had a planer snipe on one end. It did not bother me, but a few passes with a block plane took it out, and the board looked better for it. Small thing. Do it if it bothers you, skip it if it does not.

How do you hold a small panel steady?
Glue it to a backer block and clamp the block, never the panel. That single habit saves more carvings than any tool on this page. A thin board held straight in a vise will flex, and when it flexes your edge skips.
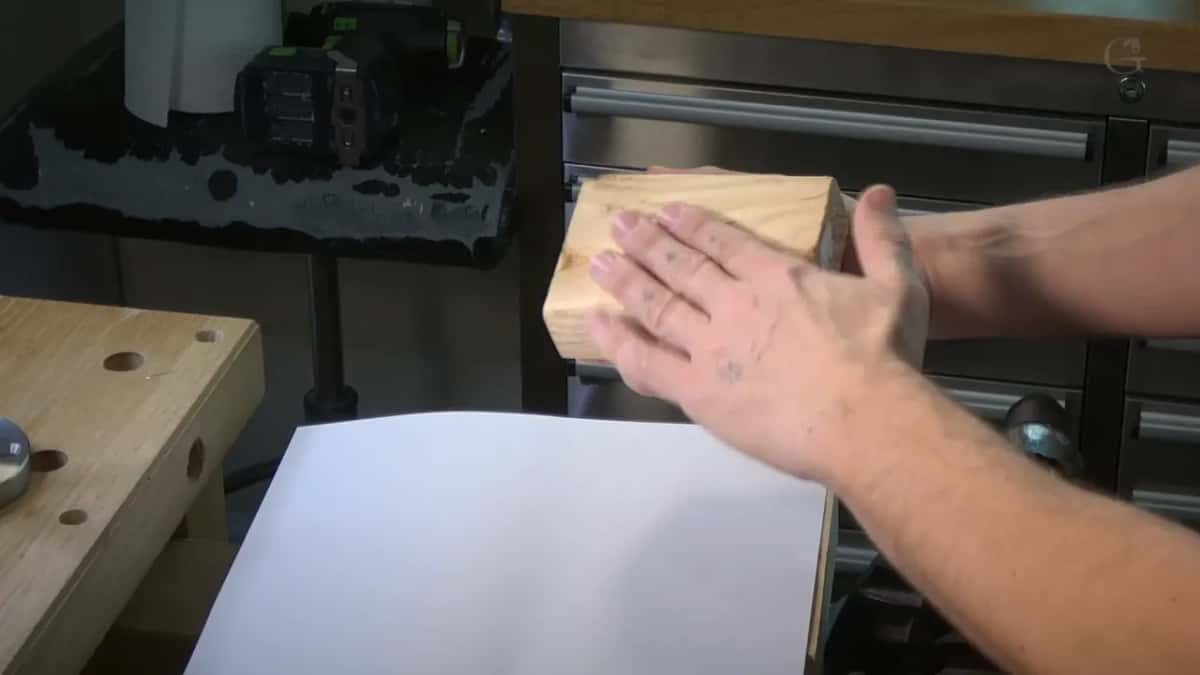
My normal method is paper and glue. You take a plain sheet of paper, glue one face behind the project and the other face to a scrap block, and the paper becomes a joint you can split later with a chisel. A pair of lion head onlays went out to a client on boards 1219 mm long, forty eight inches, and they were held by nothing but that paper joint. It does not fail.
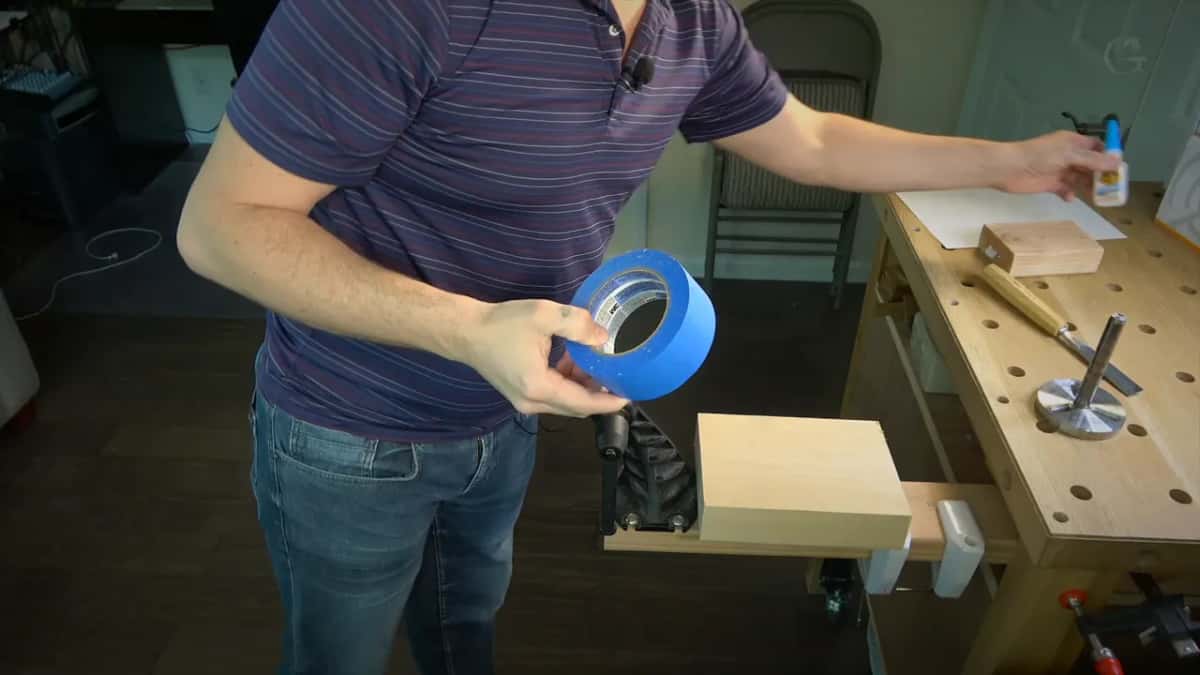
On this panel I tried something faster. Blue painters tape behind the project, blue tape on the scrap, then cyanoacrylate glue between the two taped faces. Ten or twenty seconds and it is locked. Any masking tape will do if you cannot find blue in your country, and any brand of super glue will do as well. Leave the tape wrapped around the edges, because that is what makes it easy to take apart afterwards.

The block then goes onto a Veritas carver vise through a screw plate. They sell two inch and three inch plates separately, which is worth knowing: buy several, leave one screwed to each project, and swap work in seconds. I used the two inch plate here with screws about 29 mm long, an inch and an eighth. For a panel this size that is plenty.

What can you carve with only twelve gouges in the box?
More than you would think, and less than you want. I drew grapes and leaves on the board with a marker, freehand, in about a minute. A marker only because it reads on camera; on my own bench I reach for a pencil like everybody else.

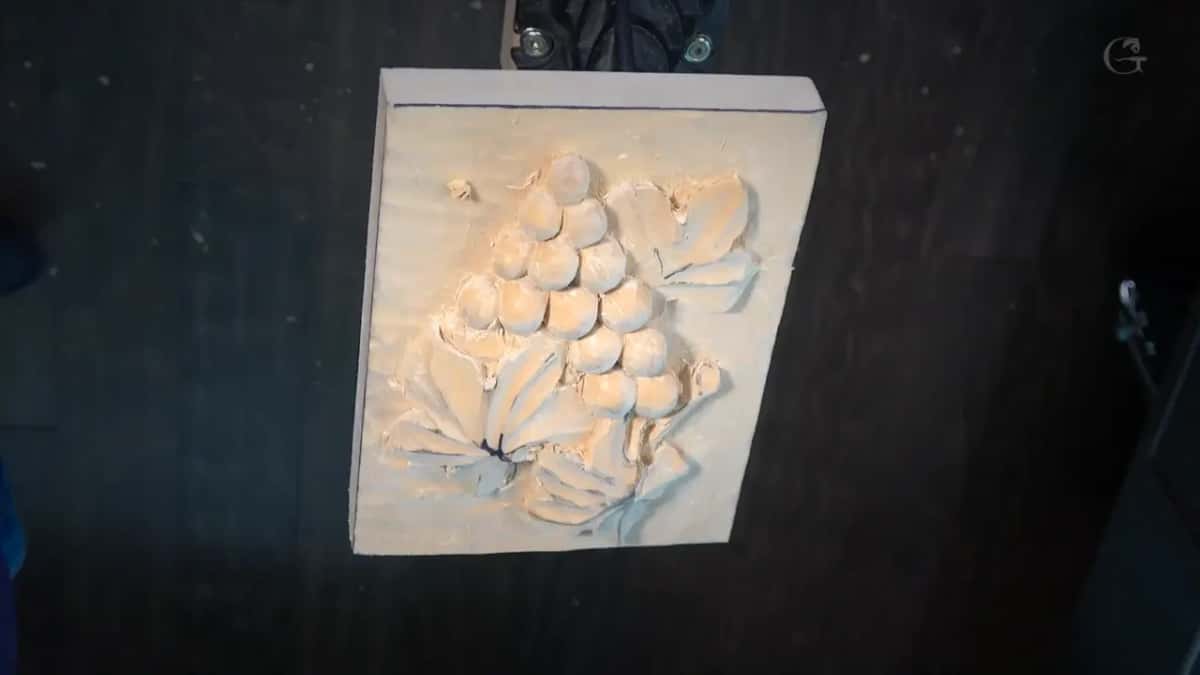
Then I carved it. Not a flat design either. Round grapes stacked over each other, leaves rolling over at the edges, real depth, real shadow. Full relief. The same modelling carries a Roman acanthus leaf. Eleven gouges saw work. The twelfth stayed in the box, and I could not tell you now whether the design simply never asked for it.
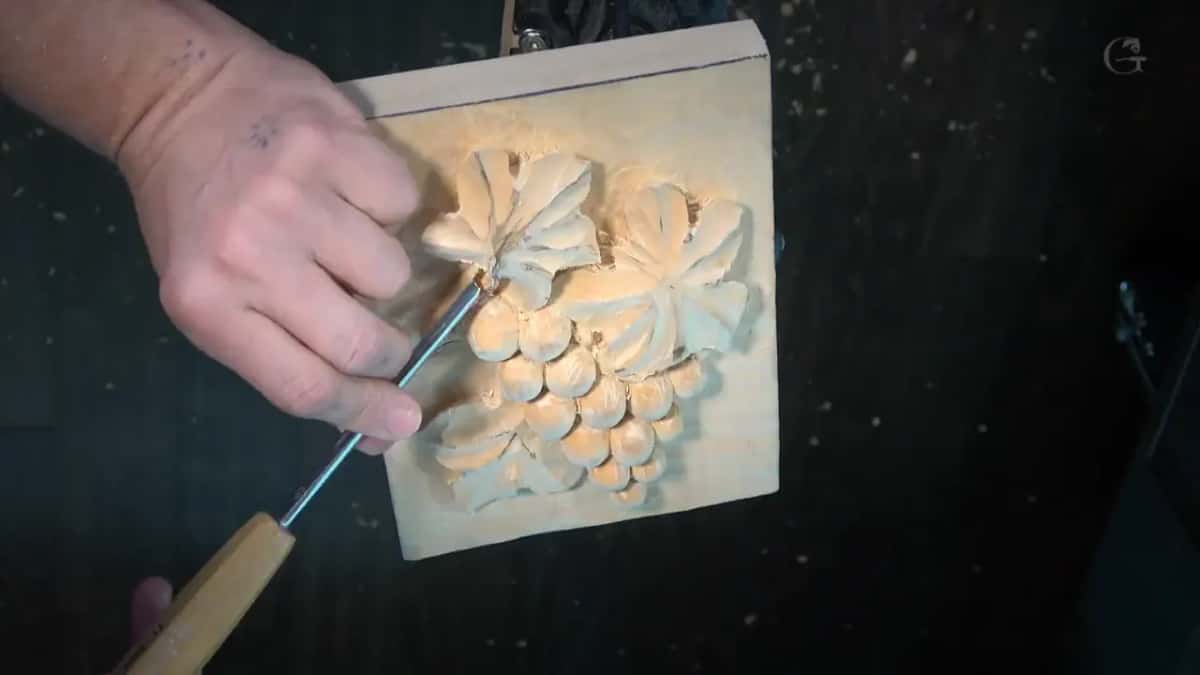
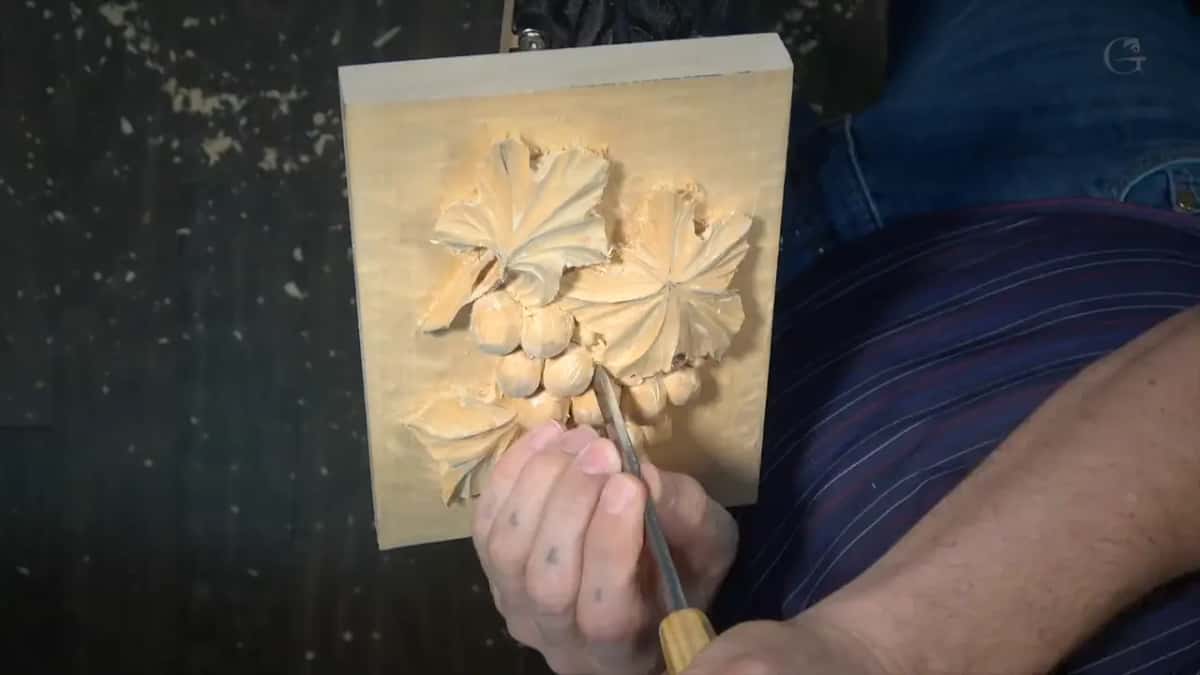
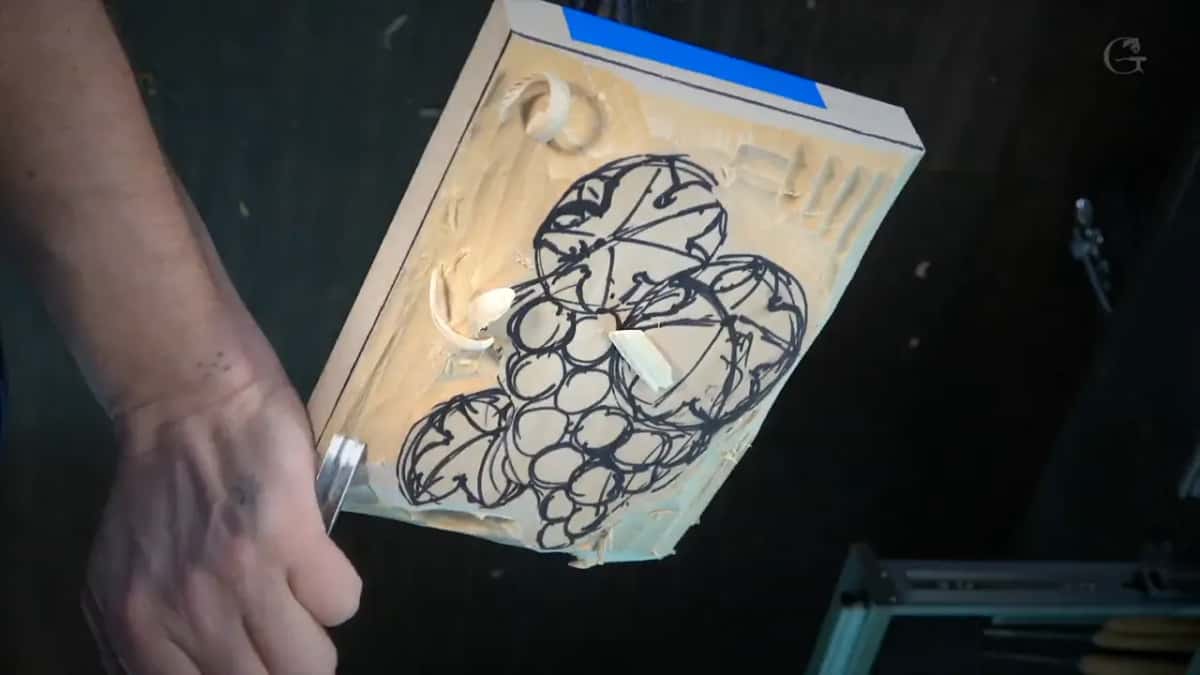
Could I have done more? Of course. I spent one minute on the design and a short session on the carving, and I could take that same panel much further. But the point was never to make a masterpiece. The point was to find out whether a person on a tight budget gets a real carving out of this box, and the answer was in my hand at the end of it. If grapes are what you want to carve, we have a grape onlay course and a vase with grape leaves that go much deeper than this panel did.
Which tools are missing from the Schaaf set?
Two, and both of them matter the moment your work gets deeper. The first is a small number 11 veiner, around 1 mm, for getting underneath things and cleaning tiny spots. Nothing else reaches where that tool reaches.
The second is the V tool. The one in this set is ground at 60 degrees, which is a fine general angle. I would want 45 degrees, or even 35. I use a 35 degree V tool constantly for undercutting, because the narrow angle slides in under a leaf where a wider one simply will not go. My preference and my kind of work talking, so weigh it accordingly.
Add those two and this becomes a genuinely capable little kit. And when you start reaching under and behind your forms, that is the moment to read about back bent tools and about the bevel angle for hardwood, because the angle on the steel decides what the tool can reach.
Should you buy a cheap set or save for a good one?
Buy the cheap set and start this month. My answer, for a hobbyist and for anyone decorating furniture he builds himself, since that work never calls for a big collection anyway. I would buy them. I said so on camera and I will say it here.
For professional carving, twelve tools is not enough, and no set of twelve ever will be. I reach for hundreds. But nobody starts with hundreds. Everybody starts with a handful and a piece of basswood and the willingness to be bad at it for a while.
Here is the part people do not want to hear. The tools were never what was stopping you. Sharpening was, and design was, and sitting down to do the work was. A cheap gouge in the hand of somebody who sharpens will carve circles around a Swiss gouge in the hand of somebody who does not. Not encouragement, just the thing I have watched happen in workshop after workshop. Where the tools sit on your bench matters too, and there is a whole lesson on bench organization about exactly that.
So what is it going to be? A box of tools that arrives and waits, or a panel on the wall that your grandchildren argue over? You have to be real about which one you want, because only one of them asks anything of you.
How it's done
- Tape both faces. Lay blue painters tape across the back of the carving blank, then lay tape across the scrap block that will hold it. Any masking tape works if blue is not sold where you live.
- Glue tape to tape. Run a thin line of super glue onto one taped face and press the two together. Ten or twenty seconds of hand pressure and the joint is locked hard enough to carve on.
- Leave the edges wrapped. Let the tape wrap around the sides of the blank rather than trimming it flush. Wrapped edges give you something to pull on when the panel comes off later.
- Screw on the vise plate. Fasten a two inch carver plate to the back of the scrap block with screws about 29 mm long, an inch and an eighth. Keep the plate near the centre of the block.
- Clamp the block, never the panel. Drop the plate into the carver vise and tighten. The vise grips the scrap block, so nothing squeezes the carving and no thin board flexes under the gouge.
- Buff every tool before the first chip. Charge a felt wheel with green compound and touch each bevel to it. New tools arrive with machine marks and no real edge, whatever the brand on the box says.
Frequently asked questions
How many gouges do you need to start carving?
A boxed dozen covers a small relief panel comfortably. My grape carving used eleven separate profiles out of the twelve in the box. Architectural work is a different animal, and there I reach for hundreds of shapes across a single commission.
Do cheap carving gouges hold an edge?
Mine did, within reason. Over a single panel every gouge wanted the wheel again a handful of times, which is what my Swiss and English steel asks for on the same job. Their listing puts the hardness at RC60, and nothing in the wood argued with it.
What is the difference between stropping and sharpening?
Sharpening grinds metal away and sets the shape of the bevel. Stropping polishes an edge that already exists and lifts off the burr left behind. One takes years to learn well; the other takes a minute per tool.
What to carve next