

Alexander Grabovetskiy, woodcarver, School of Woodcarving · Published 2022
How do you carve a matching mirror image of a relief panel by hand?
Quick answer: A matching mirror image of a relief panel, carved by hand, is mostly a question of how you measure. I touch each high and low spot on the finished piece with the needle of a pointing machine, drill that depth into the twin, then gouge quickly down to the holes.
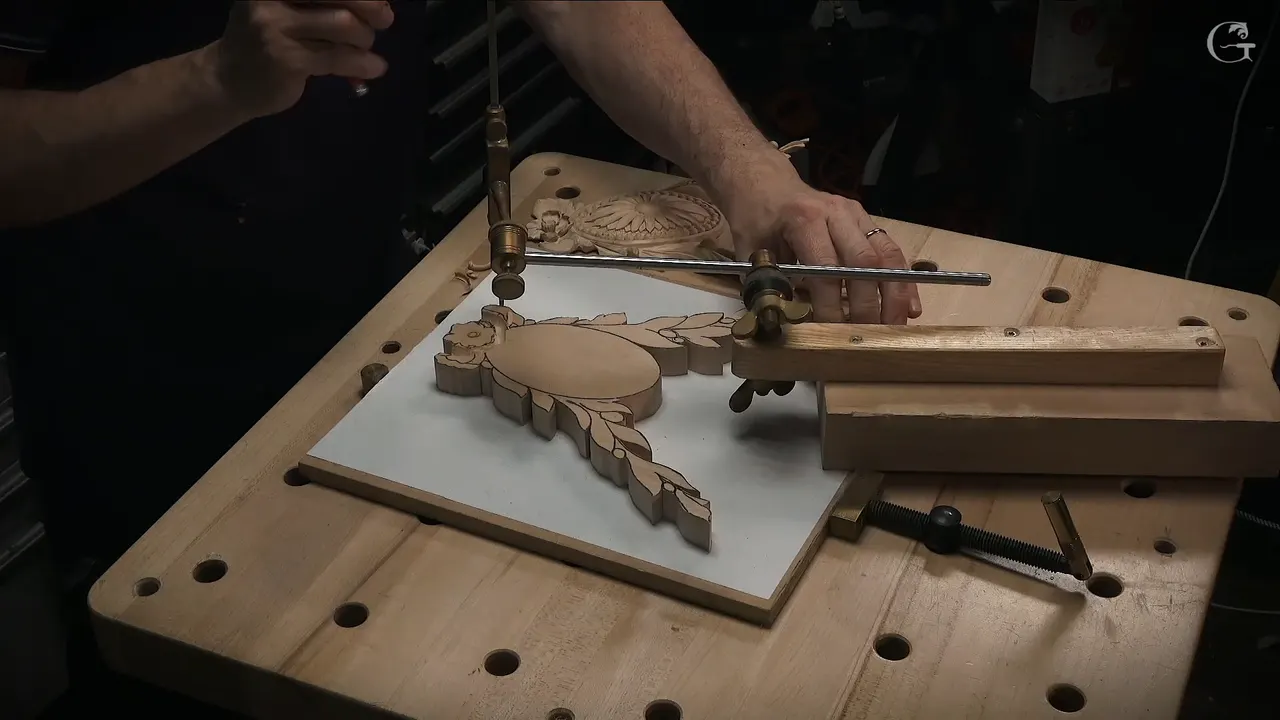
Making the second panel a true mirror of the first is, for me, a measuring problem first. On a live stream on January 20, 2022, I was working on the second of two pieces, and the first one stood right behind me, finished about a week before. They're reversed. It's the same piece repeated, just for opposite sides of the room.
That same week a potential client emailed me. I didn't know yet if I would take his project. It would take the whole room, the right side matching the left, just reversed. He wrote that I could carve one side and then use a pantograph or the router on the other side, and I wrote him back that this is not the way I do work.
All my work is by hand. I use gouges, my veiners and hand tools, and even if it's reversed, it's still going to be the same idea. But sometimes there's a problem with measuring.
Do you want the high spots on the second panel to match the first? The low spots too, and how deep each shell goes? Then every one of those points has to be measured on the finished piece and carried to the new one, one at a time. I do it with a very old tool, and on camera I also made two mistakes with it.

What the second panel needs from the first one
Every high spot and every low spot of the finished piece, measured and copied over.
A reversed design changes nothing for the tool, because the high spot stays the same height.
A needle touches the model, a stopper holds that height, and the gap over the new block tells you how deep to go.
Drill a hole that deep, or bring the needle down beside the piece and mark the height there.
Tighten everything first, because I forgot to once.
It isn't a must-have tool, but I love it and use it all the time.
Why is the second panel of a pair the hard one?
Look at a finished panel. You see a lot of different spots, and I want the height of each one the same on the twin: how high the highest point is supposed to be, how low the flowers go, how low the shells go.
Back on the floral and molding panel I put it this way. Because I'm repeating what I did before, I don't have as much freedom with how deep I can go, or where the high spots and the low spots will be. I need to somehow transfer it.
On a small one, yes, you can probably just put the mark and you'll be okay. But sometimes I work on huge pieces. Really big ones. Then measuring turns into a real problem, and in one Venice Room workshop, where I had to measure from the backside, I said that sometimes it's hard to use even calipers, but the pointing machine is good.
Can a router or a pantograph carve the reversed side for me?
You can probably do really nice stuff with a DupliCarver. I said so myself in the Dining Table Apron course, after telling about a comment on one of my posts on Reddit. One person asked me what I thought of his carving, so I went on his website, and he used a DupliCarver, which is router-based. No chisels, no nothing, just a router.
I told him it looks good, but it's not the real carving. He didn't take it well. He said it's still real carving, and it is. Of course I had to apologize, and I said yes, you still carve wood with the router.
With a DupliCarver you're not going to see the character, your own character, because you put your heart in every stroke and every movement, and every movement you make represents you, or the gouge you used at that moment.
Now I have to confess something. In April 2020, on a live stream, I told people they had asked me the week before if I use any machines, like DupliCarvers, and I had said no, absolutely none. I should say that is probably not true. Here it is, I said. It is a machine, and that's actually its name.
With the pointing machine, it's actually like a DupliCarver. You take it to a model, get to the point, and transfer that to a block of wood. Then you take a drill bit, drill it to the point, and chop it, gouging really quickly down to that point, and you know you won't make any mistakes, because the point is already established.
What is a pointing machine, and where did it come from?
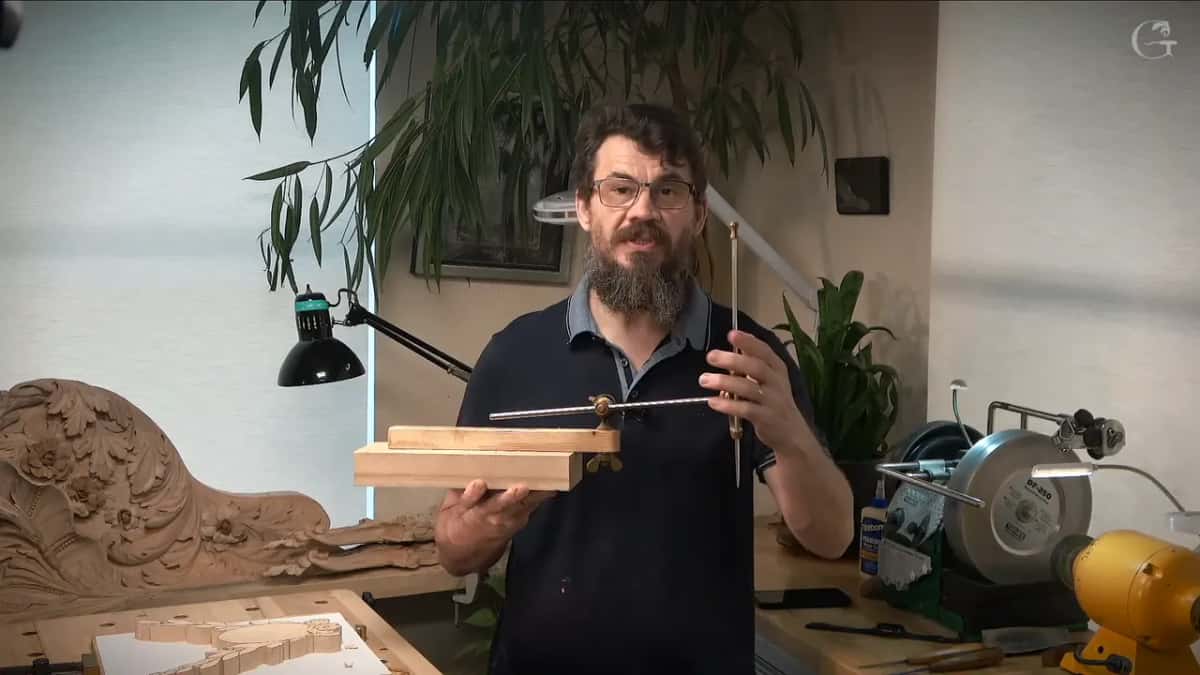
An ancient device. Some of you probably know it, and some of you have absolutely no clue. It's a pointing machine because it has a point, and it was made for copying, if you wish, so I can call it a dupli carver or a copy carver.
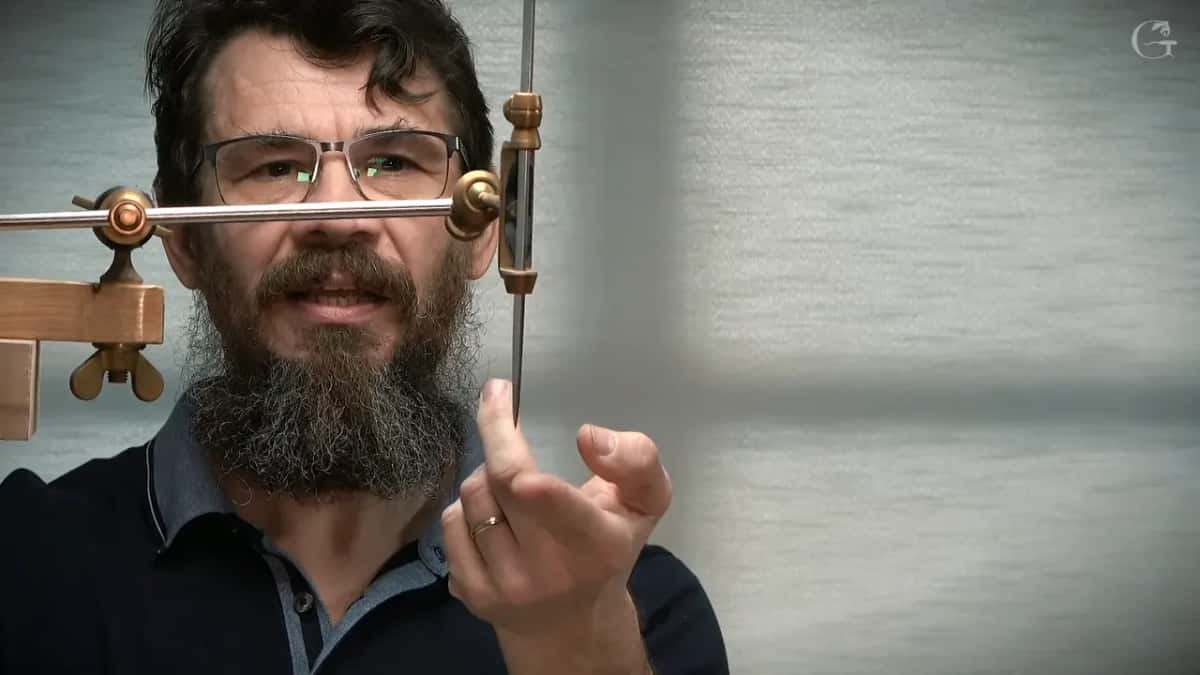
In the furniture panel course I called it a 3D duplicarver in your hands. It's based on depth. You measure the original and translate that to the workpiece. Sculptors use it, and I use it for full 3D in the round, but even for flat panels it's easy, because it has a needle and I attach a base.
People who made stone sculptures, in marble and so on, invented it. French people and Italians still argue between themselves about who actually did, and there are different versions of the pointing machine. That machine was used a long time ago, before any DupliCarvers or CNC machines.
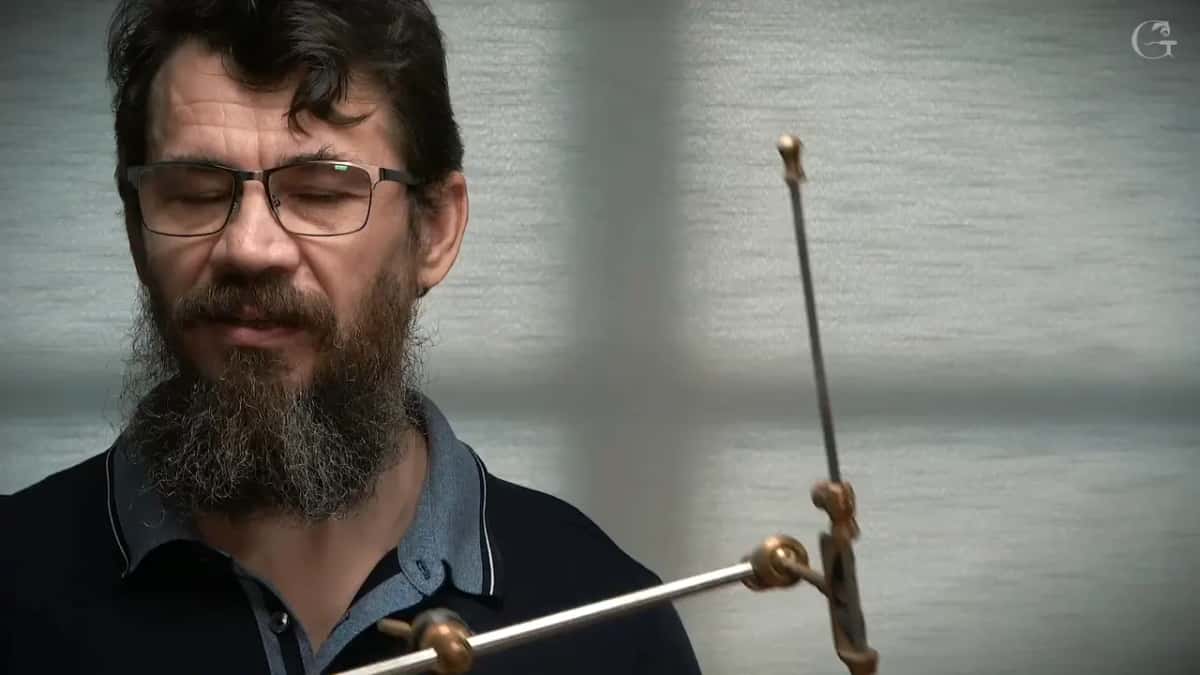
Did Michelangelo really let the stone talk to him?
There's a famous story. Someone asked Michelangelo how in the world you take a piece of marble and carve out a beautiful sculpture, and he said that when he looks at the stone, he lets the stone talk to him. With the chisel and the mallet in his hand, he just brings out whatever is already in the stone.
Really interesting story. Not necessarily true. Of course I don't know what Michelangelo answered, or who recorded that story. I'm not sure if he used a pointing machine either, but I know other Italian sculptors did.
What I do know is what those people did. They took two steps before they carved a sculpture, and I know Leonardo da Vinci did the same thing. First came a model in clay, brought to perfection, because with clay you can add on, chop out, put more on and take out whatever you don't like. It's flexible. I've got plastilina clay myself, but they would use just normal clay.
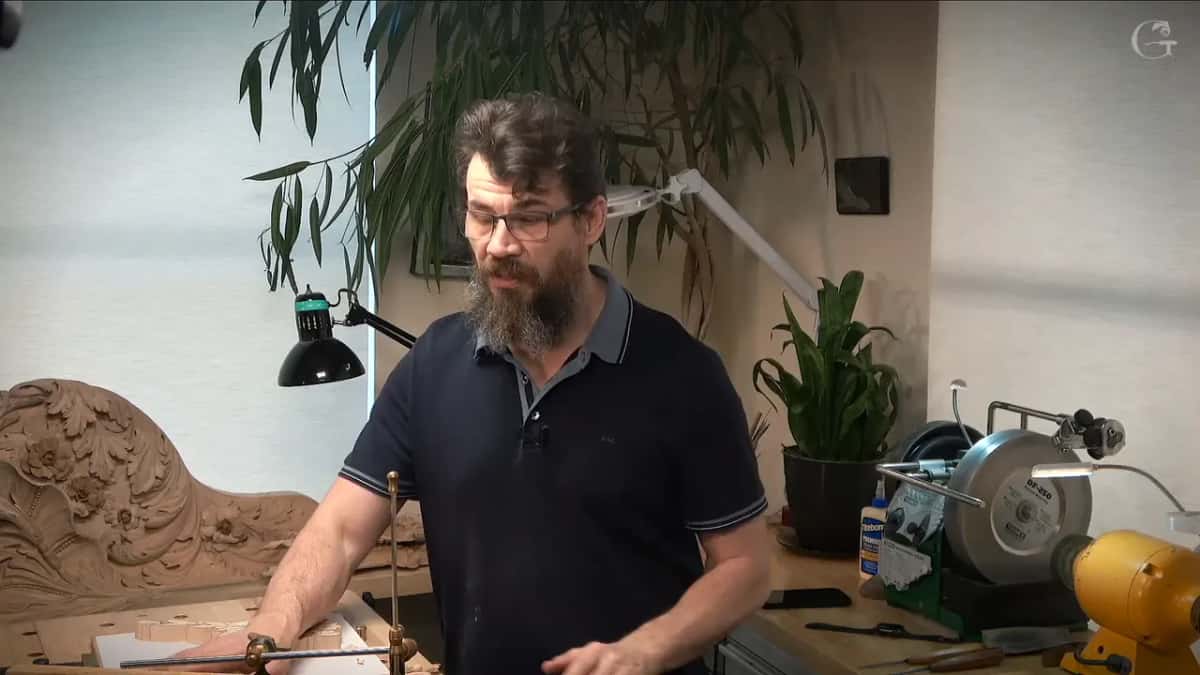
But once you take a stone, it's more like carving, an art of deduction. You're chopping away. If you chop away too much of the marble, you're finished, and they had that same problem we have.
A lot of sculpture before the Reformation went to Catholic churches, and they really had to repeat the face of Jesus, the face of Mary and the saints, accurately, every time, with all the proportions. They used the same device I hold in my hands.
For me the payoff is time. Even with the clay model right in front of me, I can still make mistakes when I take a gouge. How much time did it save me? On that April 2020 stream I wasn't talking about hours, and I started to say days, then stopped and said no, I'm pretty sure I saved weeks. Then I backed off a little: maybe weeks.
Where does the needle take its reading from?
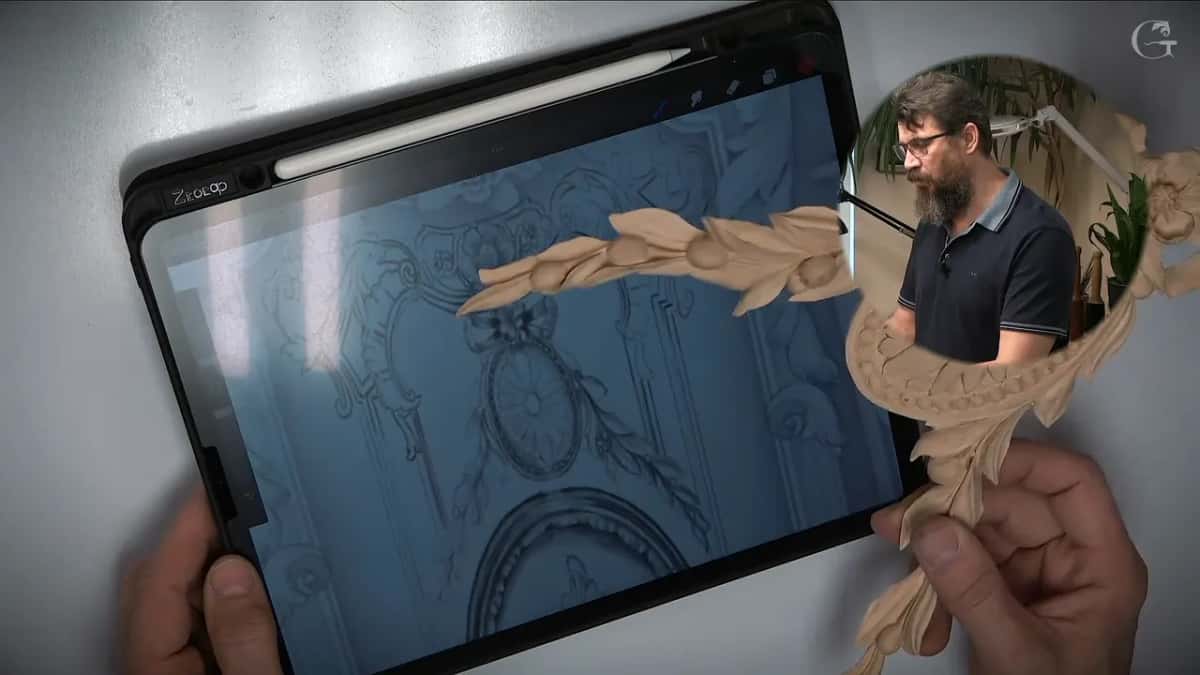
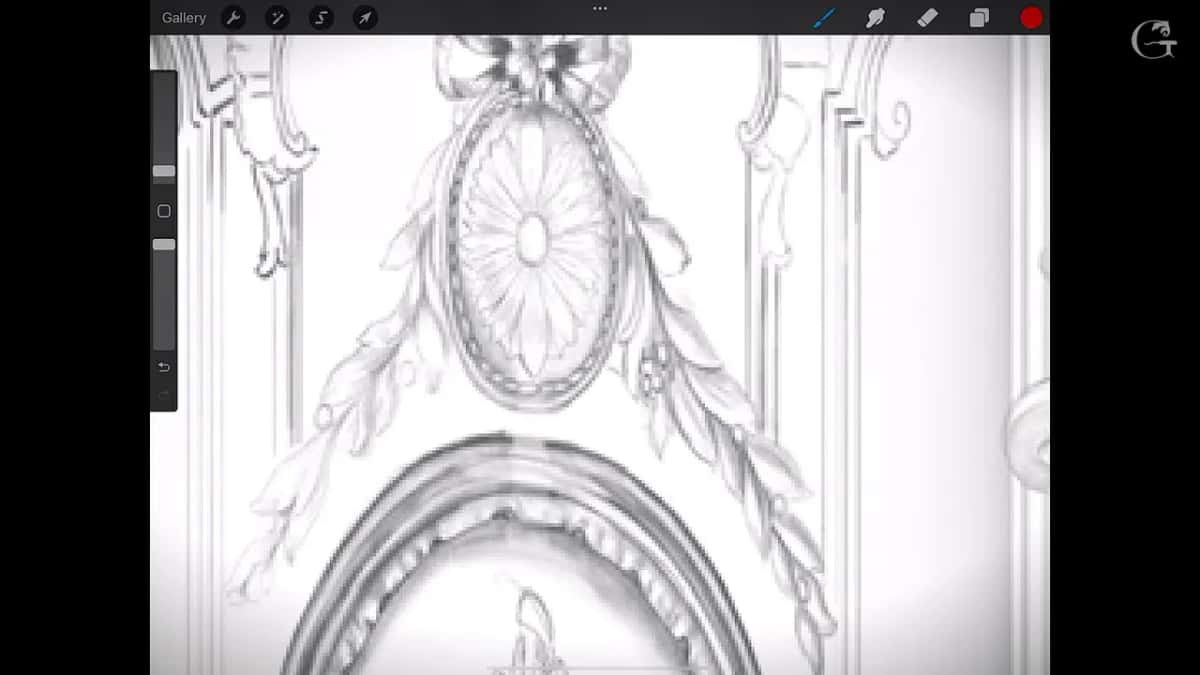
From the finished piece. My Chamomile and Bow Rosette shows it well: I'd done one side already, and the two pieces are equal, but they're mirrors, one for the right side and one for the left. It's always a good idea to have a piece already made. I can reference it and almost copy it, although it's not a copy, because it's flipped to a different direction.
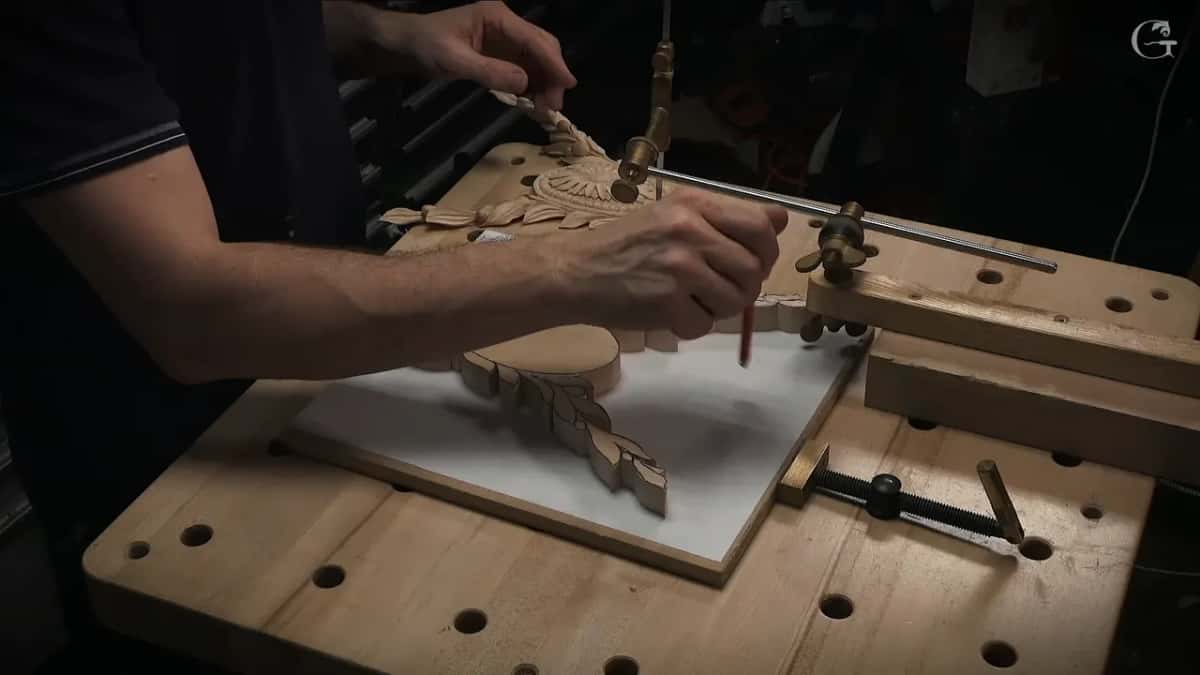
I place the machine right on the bench and reference off the bench itself. The needle goes down until it touches the highest spot. Then I adjust my stopper, and my furniture panel video shows that up close: the needle touches, the stopper holds it there, and I make it tight.
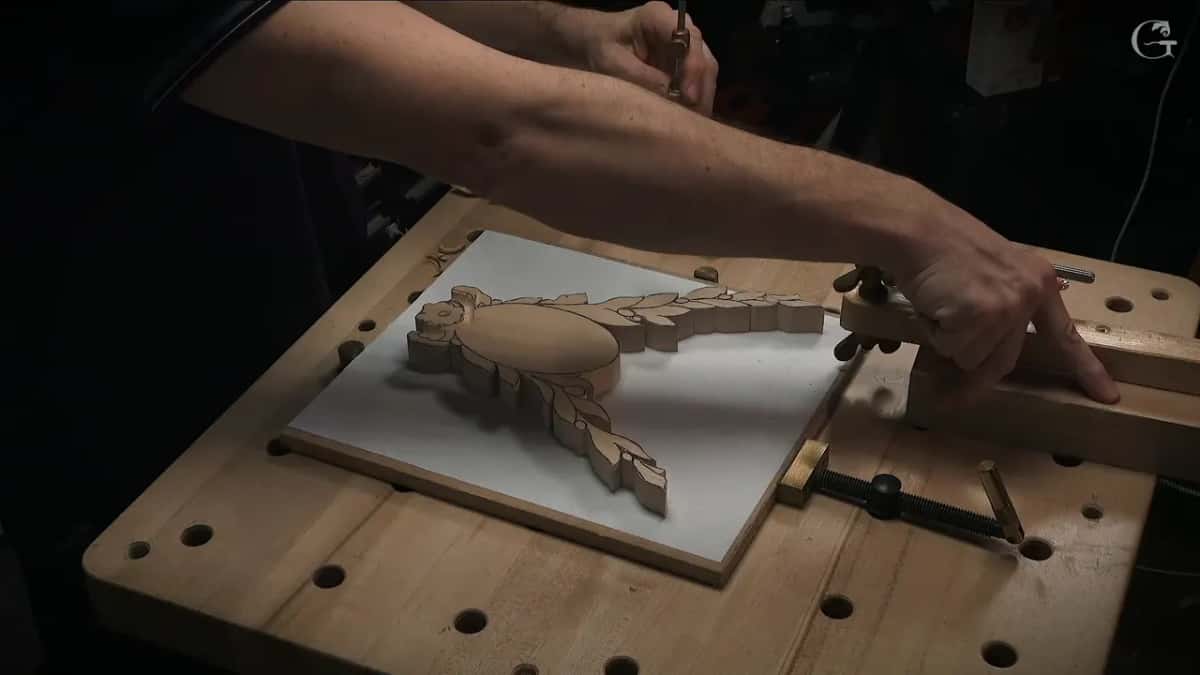
Next I move to the new piece. When the needle comes down on the block of wood, there's a distance, and that distance shows how deep I'm supposed to go. The chamomile reading came to about 10 millimeters, about three-eighths of an inch, so I marked that all around. All of it was waste.

Should I drill to the point or mark the side?
There's a couple of ways. That machine is actually called the pointing machine for a reason: you can drill to the point and just put the needle to the height. A plain hand drill is absolutely fine. Just make sure the drill bit is wider than the needle, because the needle isn't exactly 90 degrees down and it needs some room.
I usually go with about a quarter-inch bit, six millimeters, if it's possible, and three-sixteenths of an inch, like five millimeters, is absolutely okay too. The second way is for a piece that isn't big. I just lower it right down at the side of the piece, and there's my height. For the chamomile piece, a pencil mark went on the side, so I knew how low that part would go.

| Piece | Reading | Next |
|---|---|---|
| Floral panel, lesson 4-1 | Approximately a quarter inch (6 mm) to go at the highest spot | Drilled with a 6 mm bit |
| Near its final volutes | About 10 mm, maybe not exactly three-eighths of an inch | Drilled again, careful not to overdo it |
| The same panel, lesson 4-3 | No deeper than about 3 mm (1/8 in) at the lowest spot | A big number 7 came next |
| Venice Room, workshop 80 | Three-quarter of an inch, so about 20 mm to drill | Went another 10 mm, then another 6 |
| Workshop 79 of that room | Approximately three-quarter of an inch, taped on the bit | Needed 5/8 in (16 mm) more, so the tape was no good |
| Chamomile and Bow Rosette | About 10 mm (3/8 in) to remove at the high spot | Marked all around, then a number 8, about 20 mm, across the grain |
Why does mine stand on a block of poplar?
When you buy a pointing machine, it comes only with the upper part. So I modified mine a little. I got a block of poplar, and that way I can reference flat on my workbench or whatever else is flat, even my bandsaw, because it's flat.
The furniture panel course gives the same reason. Once the base is attached, I can always place it flat without even mounting anything, even on the panel itself.
What goes wrong when the machine isn't tight?
On the live stream I found it a little too loose and tightened it. I need to make sure everything is tight, and I don't want to break it either, so that's not a good idea. The floral panel caught me too. Measuring how I'd done on my original piece, I asked myself what I did. Oh, I know. I forgot to make it tight.
Lesson 4-1 of that same panel had a different one. See, I made a mistake, I said. I lowered down my needle, but I didn't fix my limiter, and only once that was fixed did I know how deep I should go there.
How rough can the second panel look before it's cleaned up?
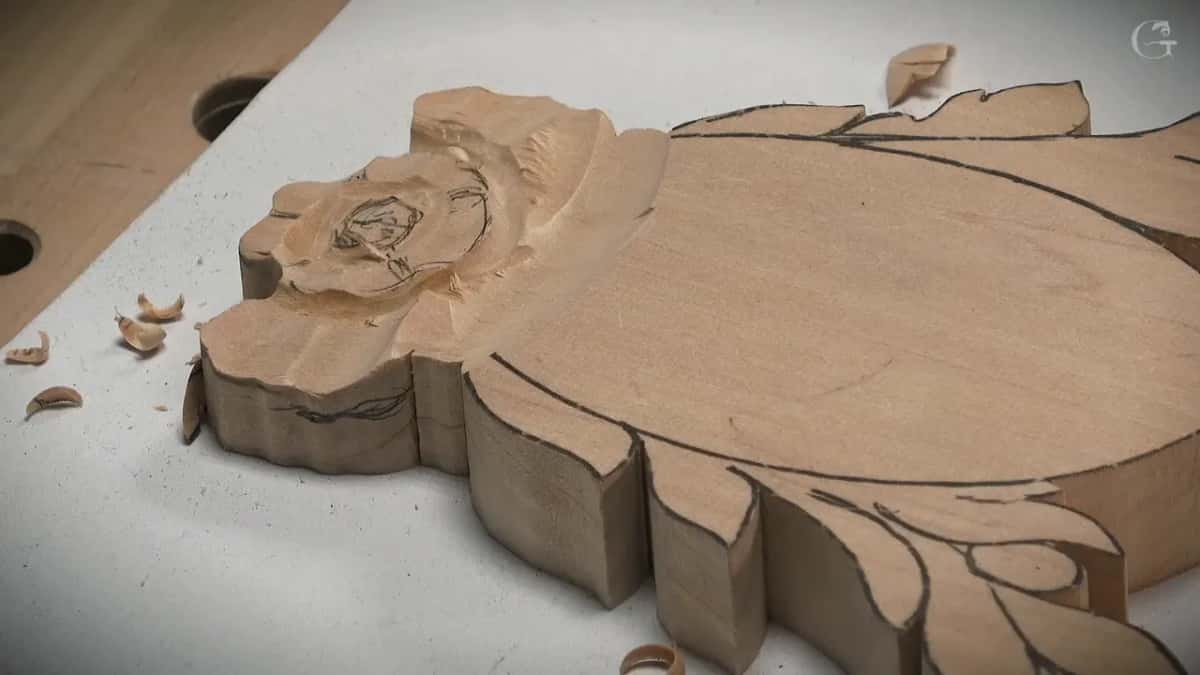
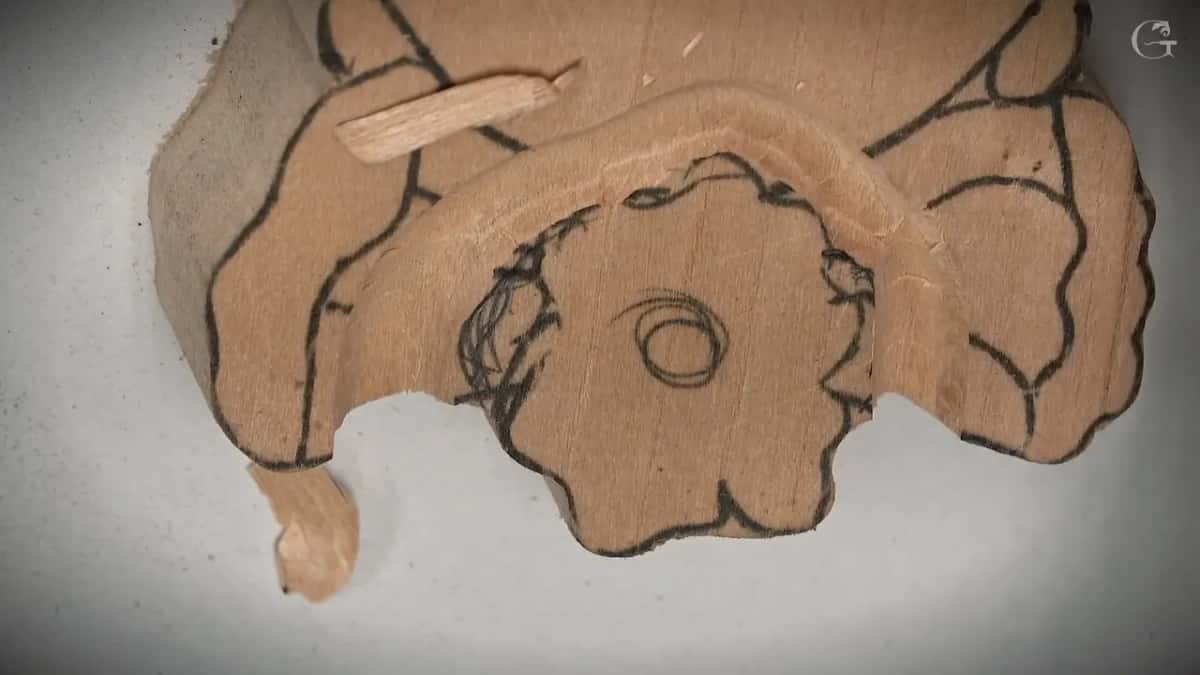
Showing the second piece on the stream, I told people not to judge me. It was rough yet, just the bosting stage, and I hadn't done the final pass, so it was really, really choppy.
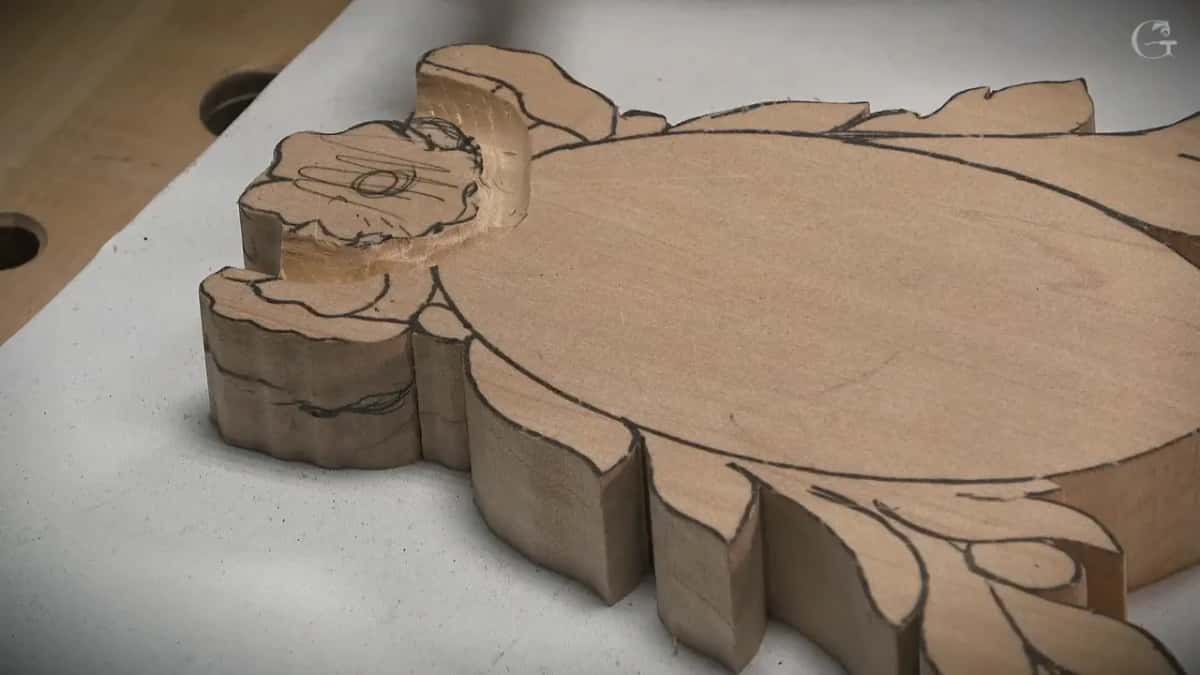
Back in the floral panel lessons I said what bosting means, just establishing the overall shape, and that's the reason it still looks rough when you look at it. In the modern acanthus course I called it stage number one.
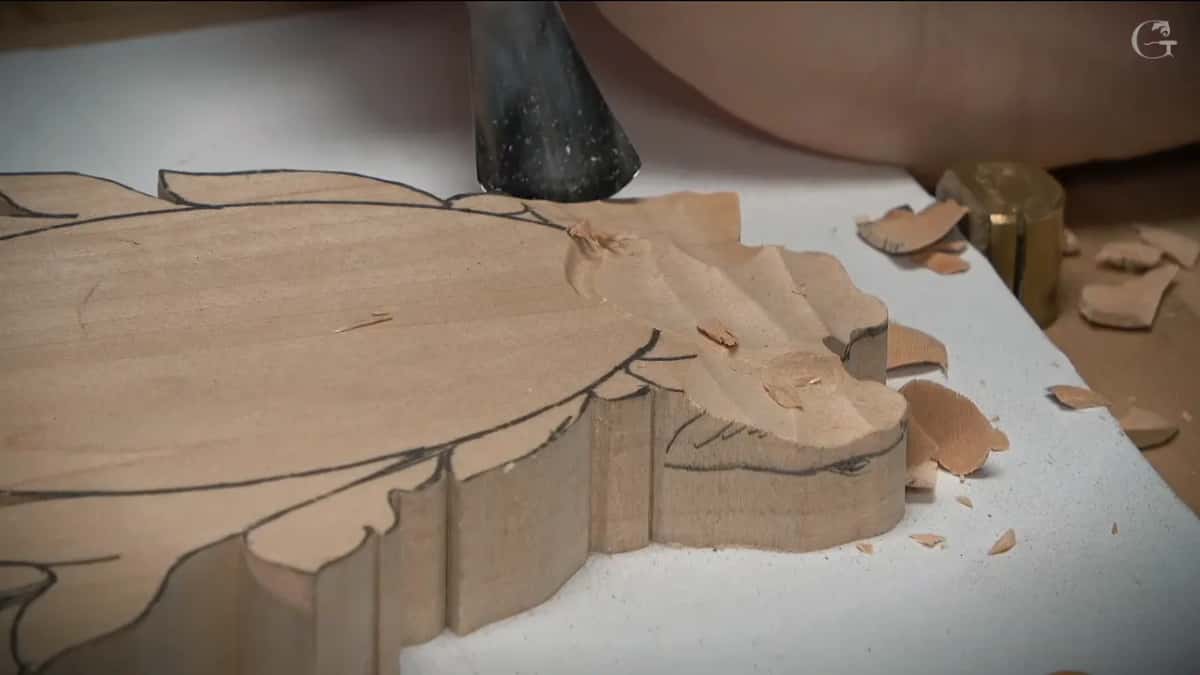
I'm a production carver. I carve for a living, so I really have to work fast, and all the chopping is done super fast and quick. Obviously I'm going to clean everything up, and it's going to look wonderful. Once I know how high each spot is supposed to be, I measure all around, drill the holes all around, and those are my spots. I know I won't miss them.
Will the mirrored twin match the first one perfectly?
Not exactly. On the chamomile design I did that from the beginning: it's not equal-equal on both sides, and it looks organic. The two mirrored pieces still have some variations too. The floral panel is the same story. It looks like both sides are the same, but they are not, and even the movement on the left-hand side of the first piece differs from the right-hand side.
The tool doesn't care which way the design runs. It doesn't matter if it's a reverse look or the same look, you just replicate it, and the high spot is going to be the same.
Sometimes you don't need the machine at all. On that furniture panel I said it was almost overkill for the project, and that if you can just eyeball it, as close as you can see by your eye, most of the time it's really accurate. Still, it's a handy tool. It helps a lot.
That tool is a lifesaver for me. I know I mentioned that multiple times, but if you like to carve a human face, it's a lifesaver there too. The tools course has a lesson on which gouges to buy first. The blog has a pointing machine article too.
Want to see the needle, the drill and the gouge on the bench, one point at a time? Access to the school opens every one of those lessons.
How it's done
- Make everything tight. Check that nothing on the machine is loose before you measure. I once found one spot a little too loose on camera and tightened it first.
- Stand it flat. Set the machine on the bench or any flat surface. Mine has a poplar block under it.
- Touch the high spot. Lower the needle onto the highest spot of the finished piece, adjust the stopper, and tighten it.
- Read the gap on the twin. Bring the machine to the second piece. The distance between the needle and the wood shows how deep to go at that spot.
- Drill down that deep. Drill a hole that deep with a bit wider than the needle. For a piece that isn't big, lower it beside the piece and read the height there instead.
- Chop down to the holes. Measure all around, drill all around, then gouge down fast to each point.
Frequently asked questions
Is a pointing machine the same as a router duplicator?
I call it like a DupliCarver myself, because you take it to the model, get to the point and transfer that to the wood. After that comes a hole drilled to the point and a gouge chopping down to it. The router-based one I saw on a website had no chisels at all.
Do you need one for a small carving?
Probably not. For a small piece, put the mark and you'll be okay. I reach for it on really big pieces, on a detail I have to do multiple times, and in spots where even calipers are hard to use.
Can a pointing machine check the depth of a background?
Yes. My furniture panel video shows exactly that: the needle touched the background, I adjusted my stopper and made it tight, then moved to another area. It touched the same there, so the depth matched. Since the base stands flat, I can always check other areas.
What to carve next