
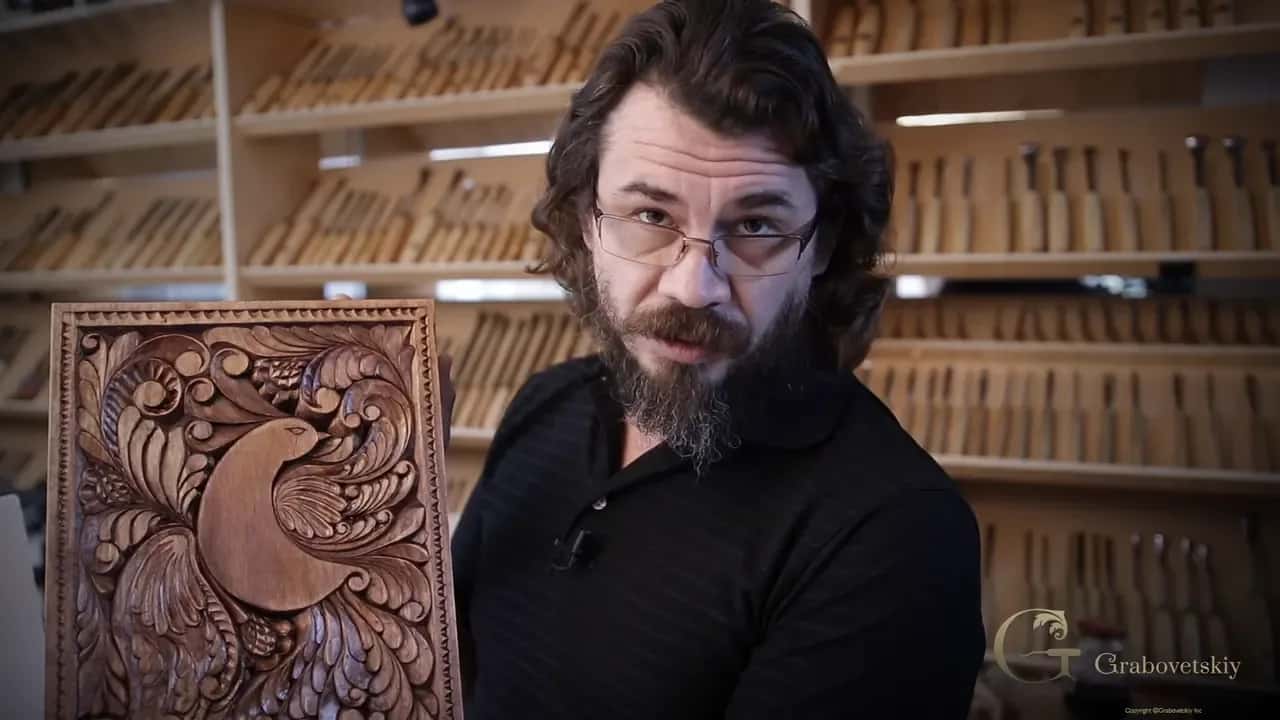
July 21, 2024 · Updated August 15, 2026
By Alexander Grabovetskiy — Master Woodcarver · Founder, School of Wood Carving · 18 min read
Beginner wood carving, the first year in the order it really happens
Key Takeaways
- Nothing here is secret. It reaches most people jumbled, and a jumbled year is what makes them quit.
- Good steel costs roughly what one dinner out costs.
- A leaf gets fixed on paper, never in the timber, and carvers who skip that stall somewhere around their eighth month.
- Softness is a poor guide to timber, since pine reads softer than lime and behaves far worse.
- Frustration in the second month is almost always an edge that quietly went dead, and the fix takes twenty seconds on leather rather than another purchase.
Beginner wood carving is one knife, one basswood board, and a year of short evenings. Draw the thing before you touch it, carve it, then keep the edge sharp the whole way through. Most people buy a boxed set instead and stop in month two. The order is the whole trick.
My grandfather put a chisel in my hand when I was six. I took it to a brick, tried to carve a face into it, and ruined the tool doing that. Nobody had told me what came first, so I went at the loudest thing in the yard.
The same thing still happens. Nothing about this craft is missing from the internet. It arrives jumbled, and a jumbled first year is what sends people back to their hobby drawer.
So here is the year as it really runs, and where to go for the parts that need a page of their own.
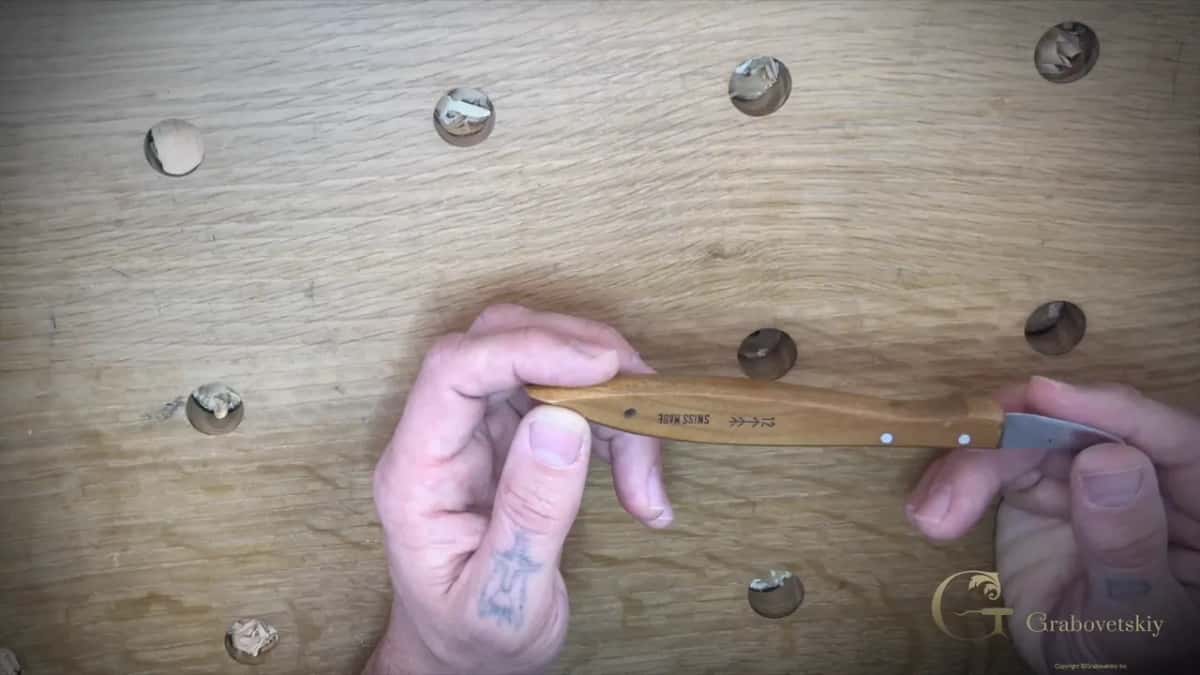
One blade, about an inch of edge. Almost everybody ought to begin right here, and almost nobody actually does.
What does a beginner actually need to start?
One carving knife, a basswood board, a leather strop and any table you already own. Under sixty dollars for the lot. The knife is most of that.
Mine is a number 12 Swiss made Pfeil chip carving knife, and it has sat on my shelf for over twenty years. I still pick it up every working day. It paid rent, food and clothes for my family in years when nothing else did. "So one-time investment, but it's a lifetime friend, which you can actually use a lot."

Please do not go cheap here. Soft steel will not hold an edge for a full afternoon, and a beginner who cannot tell a dull tool from a dull hand is exactly the person who should not be fighting bad metal as well.
The table matters far less than people think. You do not need a bench, a vise or a dedicated room. "And I've done lots of projects, actually, on the kitchen table." Two small clamps and a flat surface will carry you through this entire first year, so stop waiting for a workshop that has not arrived.

Buy the strop at the same time as the knife. Leather, a stick of honing compound, done. Nobody puts it on their list and every single person needs it from day one.
A gouge comes eventually. One number 7 sweep around 14mm is what I put in a beginner's hand, and the right day to buy it is the day a curve beats the blade. Not sooner. Buying tools feels like progress and it is not progress, which is a hard thing to hear with the catalogue open in front of you.
The full shopping list, with the four kinds of work and which steel each one wants, sits in carving for beginners. Blades get a whole page of their own in the post on carving knives.
Why does the drawing come before the tool?
A badly drawn leaf stays badly drawn no matter how cleanly you carve it. Design is a separate education from tool work, and it is the half nobody warns you about.
Here is how I put it to my own students. "The idea is to learn to carve and design, but the design goes before carving."

At sixteen I was apprenticed to a fine art master in Russia. One apprentice, one master, months at a stretch with almost nothing said out loud. The first thing he taught me was not a grip. He taught me to think like a tool, and only after that came the laws of space.
Those laws are real and each one is learnable in an evening. Where the eye lands first on a panel. Why a diagonal moves while a flat line sits still, which painters worked out long before carvers did and still teach as the rule of thirds. And why three flowers in a cluster have to be three different sizes, or a leaf tip stop just short of a line instead of touching it.

Repetition fixes your hands. It does nothing at all for a leaf drawn wrong, which is why so many careful people plateau around month eight and blame their steel. Copy old plates. Trace them, redraw one leaf twenty times, throw nineteen of them in the bin.
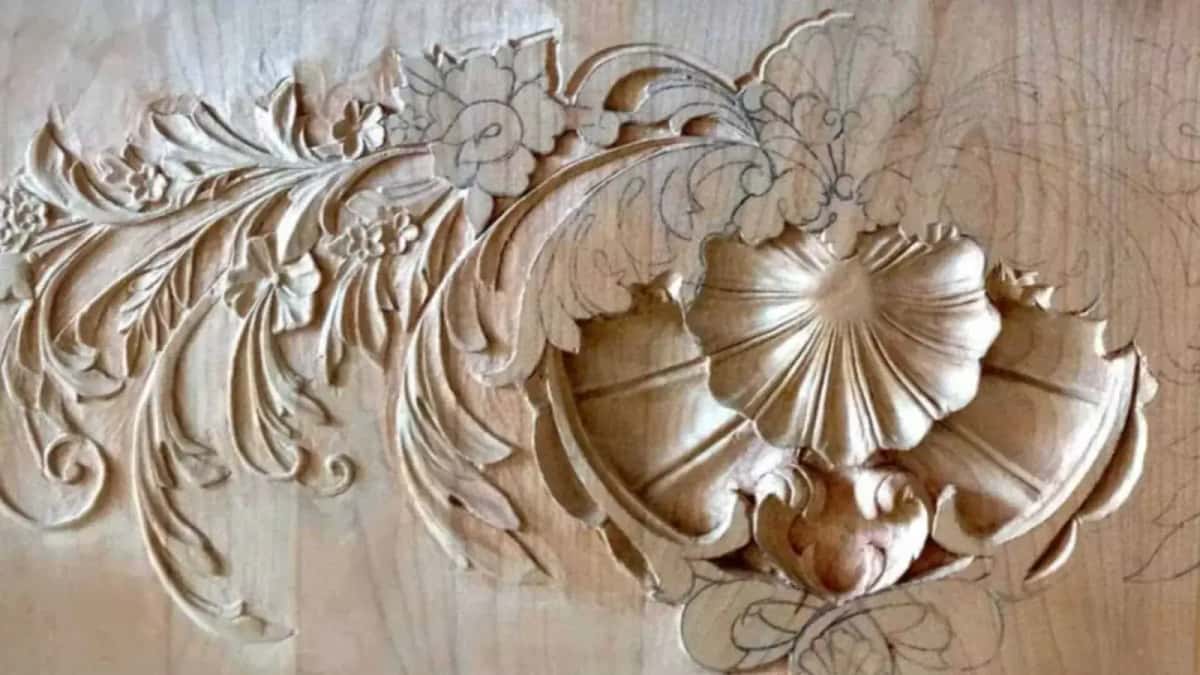
Start this in week one, on the same evening you make your first pass in wood. Every carver I know wishes he had begun the drawing side a good deal sooner than he did, and I include myself in that.
That study is what the design course exists for. There is also a whole book about the geometry underneath it, which I went through page by page in the mathematics and art post.
Which wood should go under the blade first?
American basswood, and nothing else comes close for a first year. "the best wood always is a basswood" is what I tell every student who asks, and I have never regretted saying it.

Europe calls it lime or linden. In England you buy it as lime timber. Back in Russia, where I grew up, we call it lipa, and the flowers make a very good tea, which has nothing to do with carving but crosses my mind every time I open a fresh board. "It's soft enough, and it still holds the detail."
Hardness is measured and published, so nobody has to guess. These numbers come from the Wood Database.
| Wood | Janka hardness | What it does under a sharp edge |
|---|---|---|
| American basswood | 410 lbf, the softest of these that still carves well | Slices clean in every direction and forgives an edge that has gone slightly dull |
| Butternut | 490 lbf | Coarser than lime, and it takes an oil finish beautifully |
| Yellow poplar | 540 lbf, deceptively easy on paper | Bruises under the blade and goes woolly on end grain |
| Black walnut | 1,010 lbf | Lovely, and completely unforgiving of any edge that is not sharp, so leave it until year two |
| Eastern white pine | 380 lbf, softer than every wood above it | Resin, knots and tension. It tears out exactly where your detail was going |
Read that last row twice. Pine is softer than lime by the number and will still ruin your month, because softness alone is not what makes timber carve well. Construction stock off a lumber rack is wet and loaded with tension.
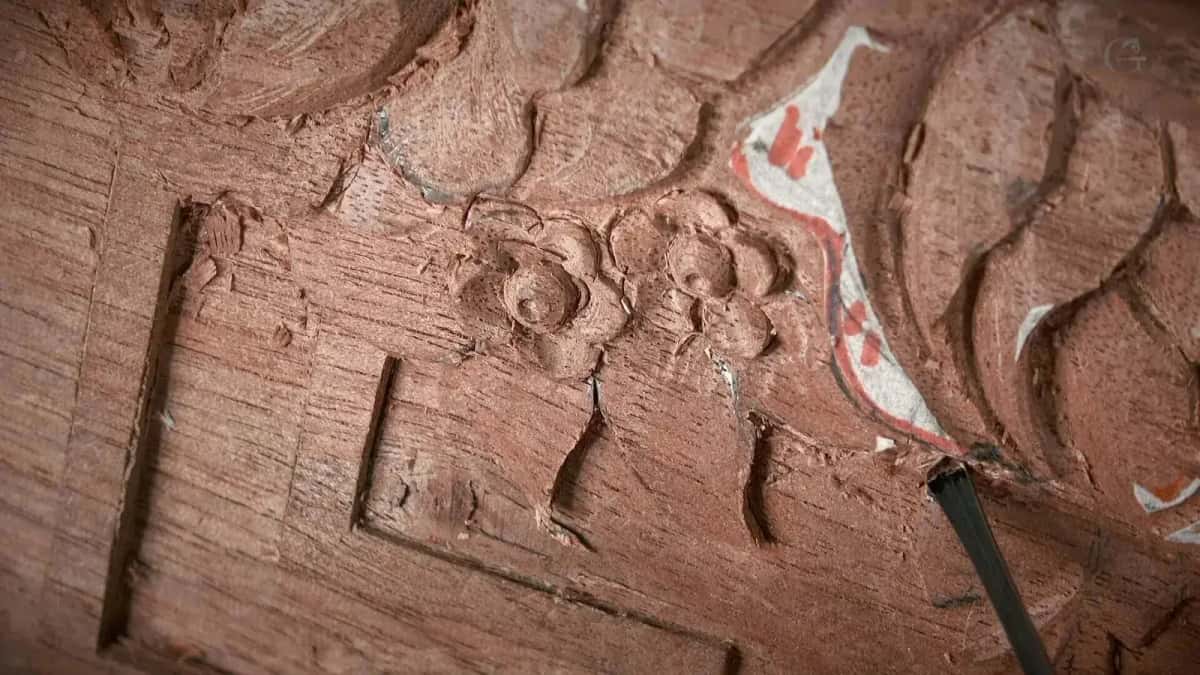
Look at the ends of a board before you buy it. The growth rings tell you which way it will move and which face will cup away from the heart, and a board that fights you across the grain will fight you in the carving too.
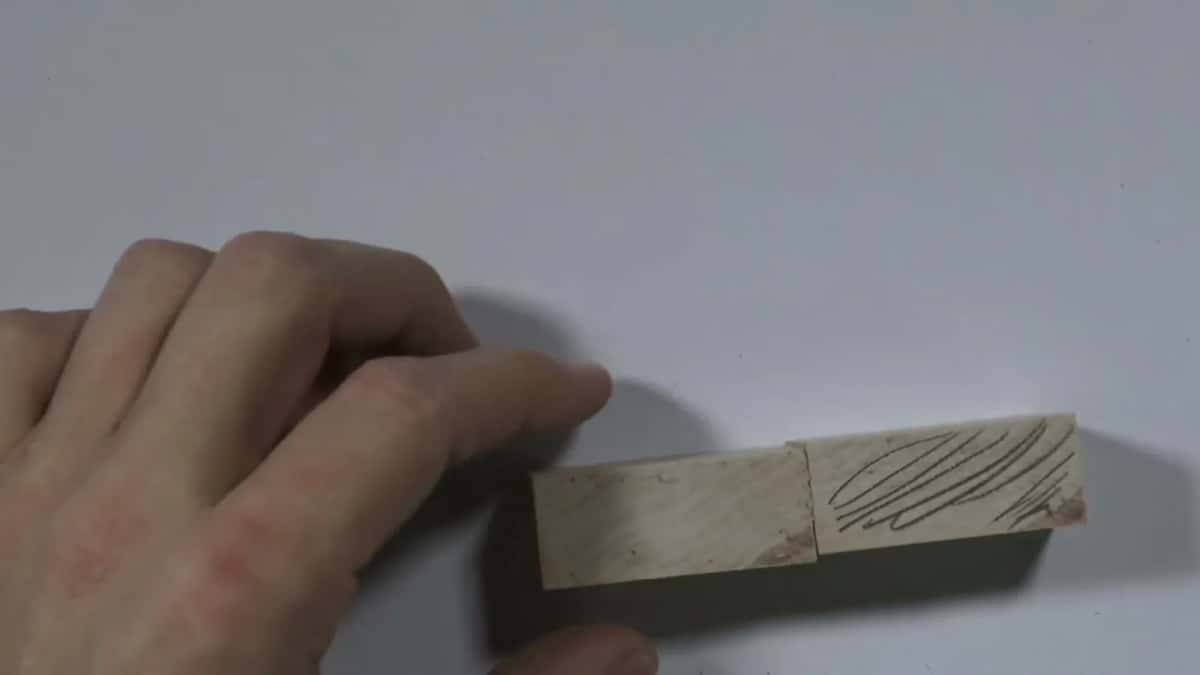
Basswood planks turn up in ordinary craft shops. Michaels stocks them, so does Woodcraft, and Lee Valley sells single tools rather than sets. Buy it dry. Kiln dried or air dried will both carve; wet will not.
What do you carve in the first week?
Three angles on a scrap strip, and nothing that looks like anything. Straight down at ninety degrees, right angle, left angle. The whole week, and I mean that literally.
Clamp the strip. Draw one straight line across the grain in three places, freehand, no ruler, because your hand has to start learning to make a line as well. Then hold the knife tight in your palm, set the point on the mark, and pull it straight down.
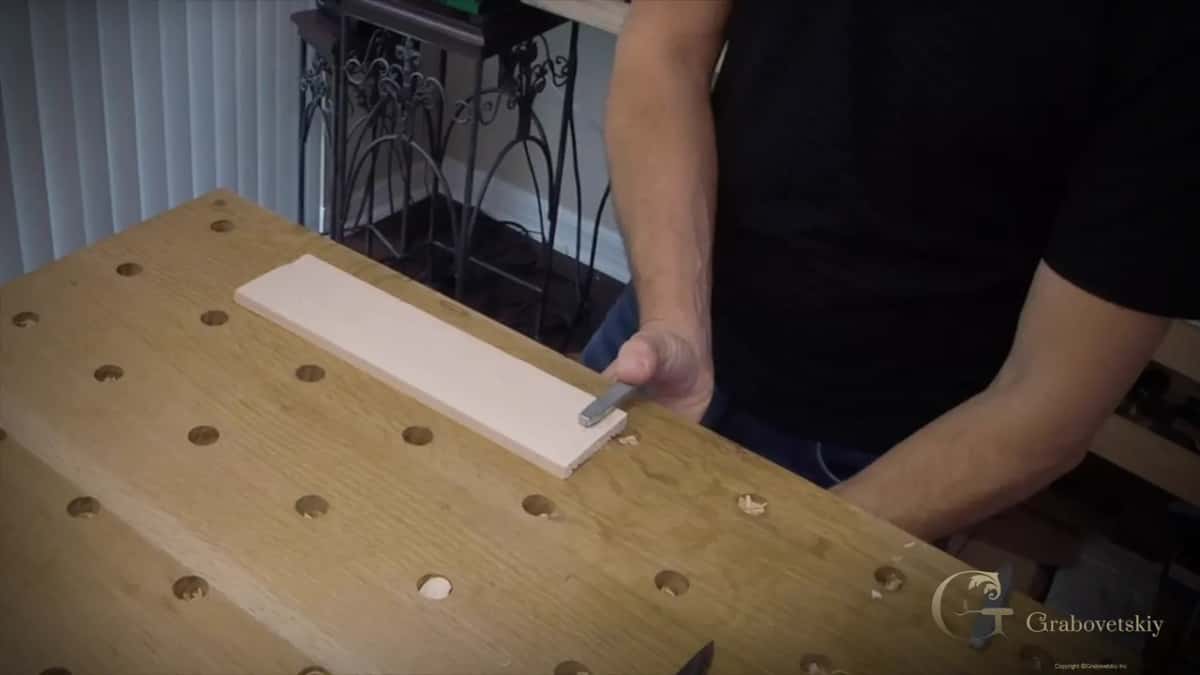
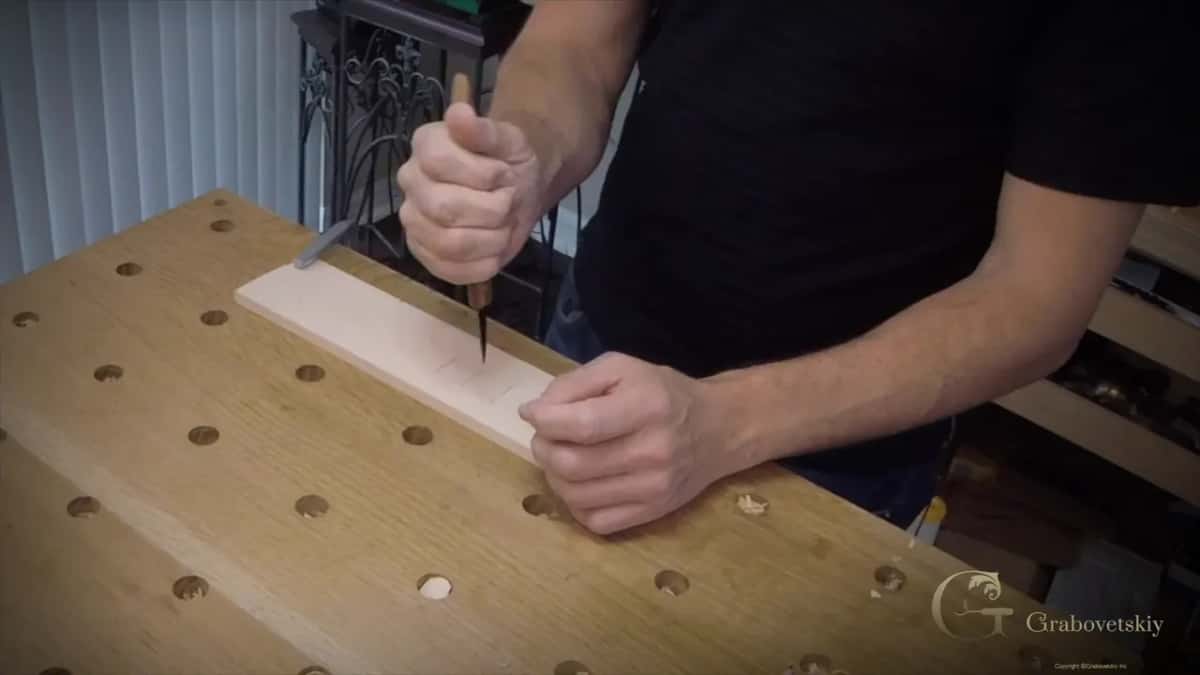
Come back at an angle from the right, then from the left. A clean chip lifts out and you have a V, and that V is the wall every other pass in your carving life will stop against.
"The goal is to establish the feel." You are not making an object this week. Your hand is learning how deep the blade wants to sit and what angle throws a clean chip instead of a torn one, and there is no route around that, only hours.

Then the old molding. Take a strip about 20mm wide and 10mm thick, step it off into equal squares by eye, and run a pencil line corner to corner in each square. Straight down on the square lines. Skew down to about two millimetres on the diagonals, flip the strip over, work back from the other side until the two meet in the middle.
For twenty minutes you are pretending that a knife is the only tool that exists. People decorated doorframes this way for a very long time, and the work holds up.
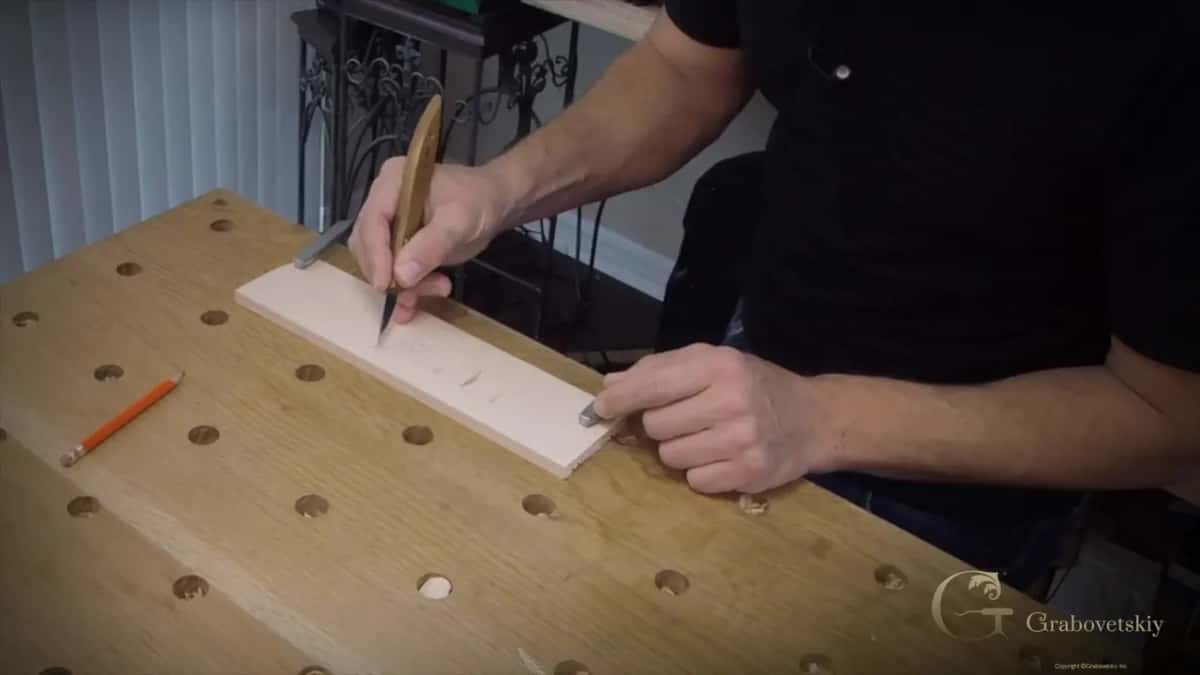
Draw a stem with a few small leaves next. Carve right and left angles down both sides of each leaf, holding the blade pinched like a pencil because the leaves are tiny. It will come out crooked. Mine did.
Every one of those exercises is in the first carvings course, filmed close and slow, and it is the cheapest month you will ever spend on this craft.
How do you carve your first real piece?
Draw it, stab the outline, drop the ground, model the shapes, then stop. Six steps in that order, and swapping any two of them costs you the board.
Step 1, draw the design on paper first
Pencil is free and basswood is not. Fix the drawing on paper until it is right, then glue or trace it down onto the board. Nearly every ruined panel I have seen was ruined on paper long before any steel came near it.

Step 2, park your free hand behind the edge
Behind the blade, never beside it. A blade that slips travels forward, which is the entire reason for the rule, and the habit is far easier to build in week one than to repair in year three.
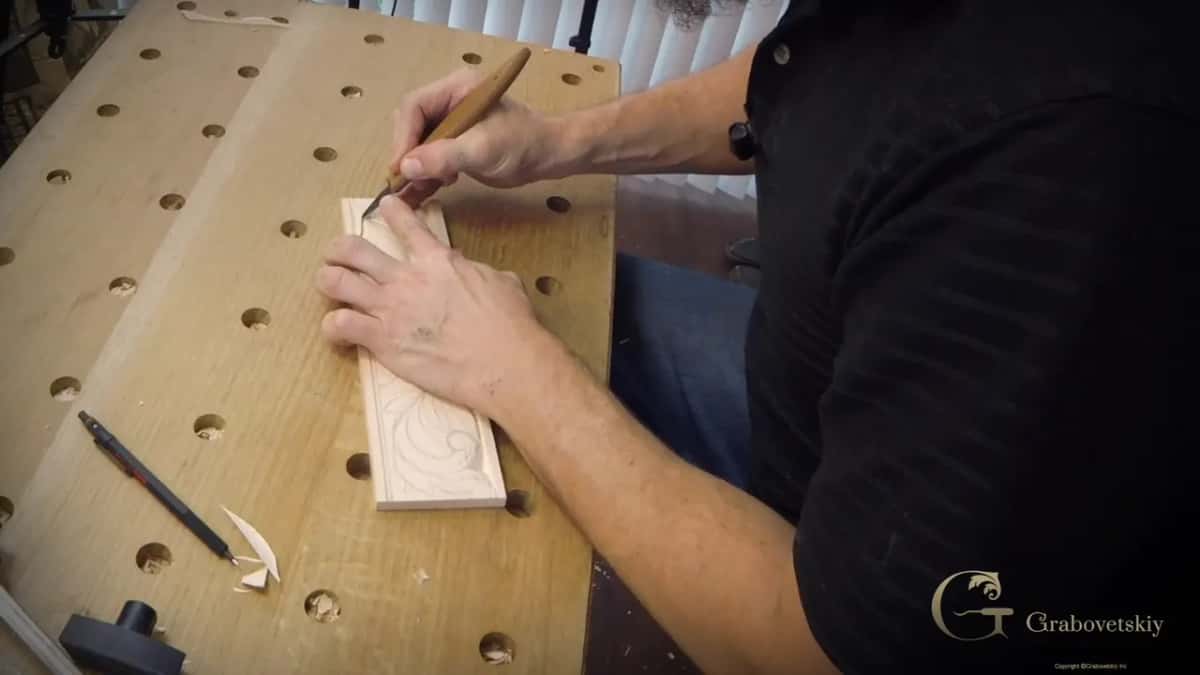
Step 3, stab the outline straight down
Knife vertical, following the line a quarter of a curve at a time. Try to run a whole curve in one pass and the blade will follow the grain instead of your pencil, every time.

Step 4, come back about five millimetres out
Roughly three sixteenths of an inch outside the stabbed line, at an angle, so a wedge of waste lifts away and your shape starts standing up off the board.
Step 5, take the ground down to one level
The slow part, and the one that decides whether the panel reads from across a room. About three millimetres deep for a first piece. Check it with a straightedge rather than your eye, because your eye will lie to you cheerfully and often.
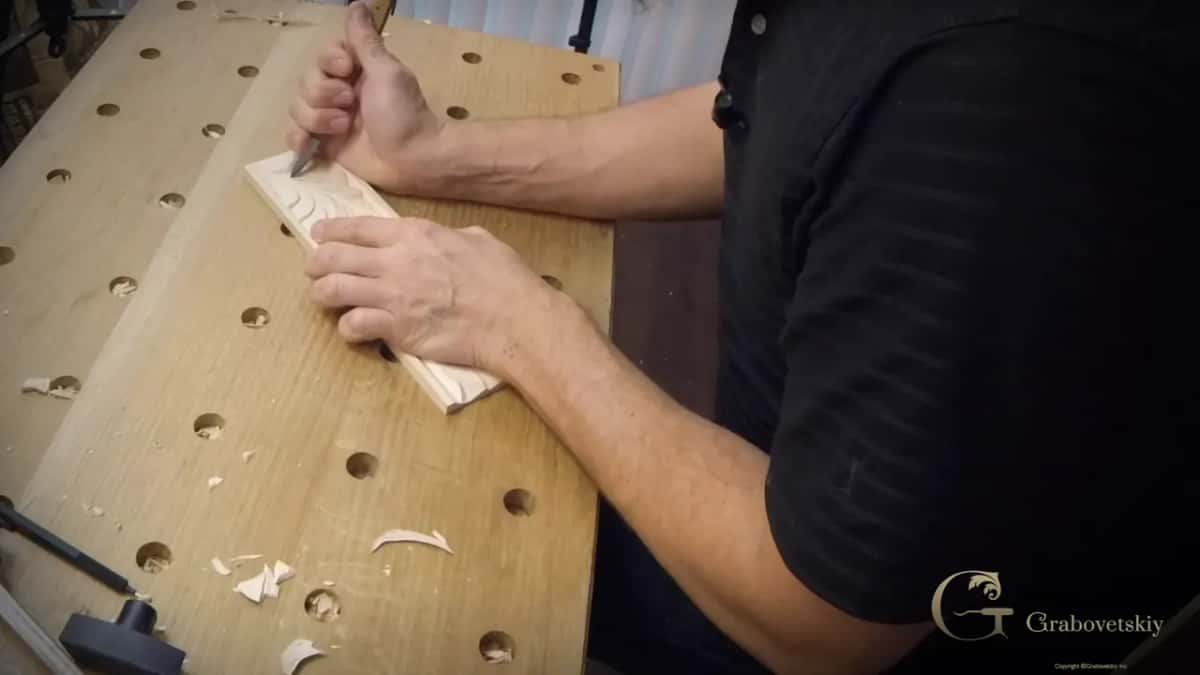
Step 6, model the shapes, then put the tools down
Roll each surface so light catches one side and shades the other. A V down the middle of a leaf does more than an hour of fussing at its edges. Then stop. Beginners carve the life out of a piece that was finished twenty minutes earlier.
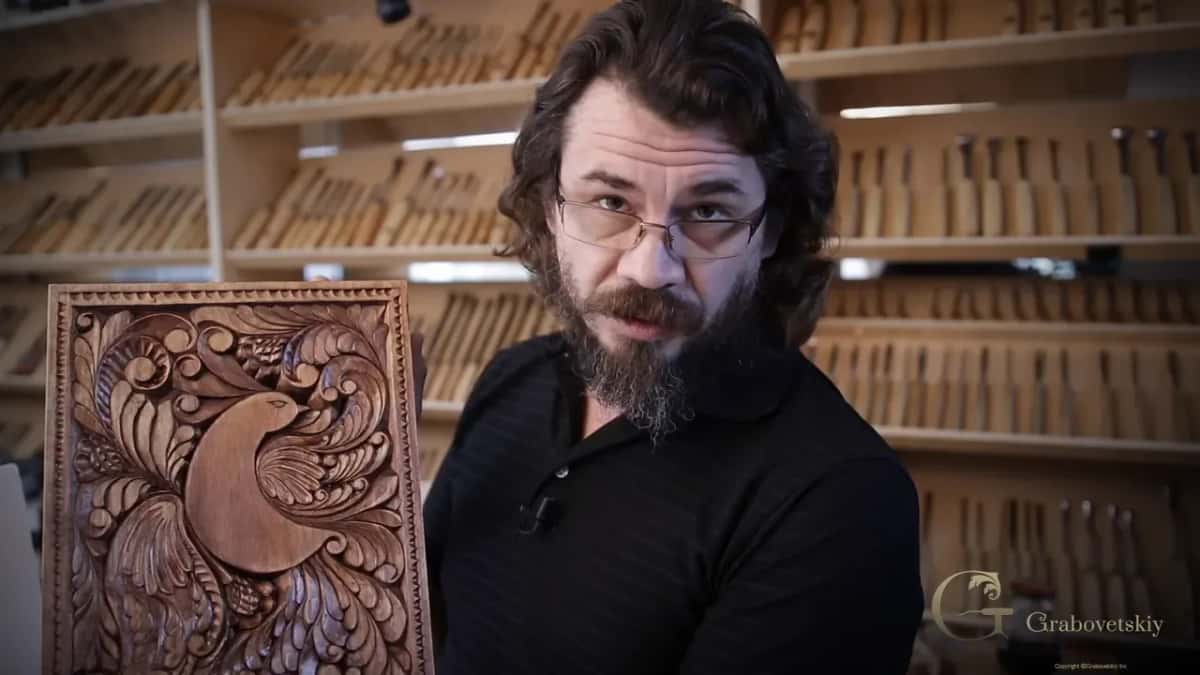
Rub in a little oil at the end. Tung oil or a hardware store finishing oil, thin coats, no rush, and let each one dry properly before the next.
Why does month two feel like going backwards?
Your tools went dull and nobody told you what dull feels like. A new knife arrives ground, not sharp, and those are two entirely different states of the same piece of steel.
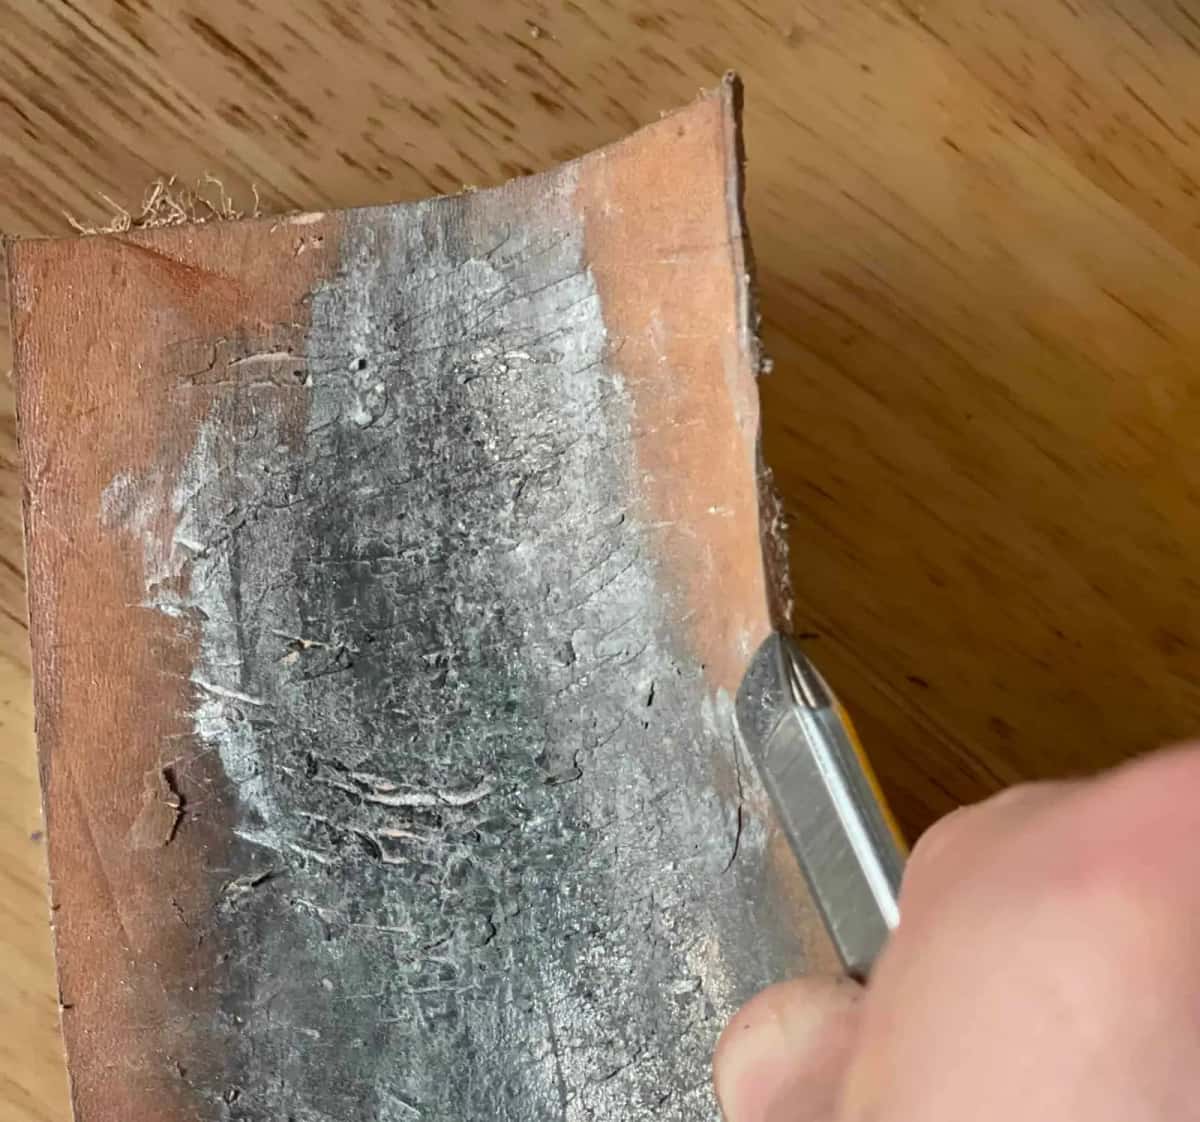
Ground means a factory put a bevel on it. Sharp means the edge will lift a curl off the corner of a board under its own weight with no push from you at all. The gap between those two is invisible at arm's length and enormous in the wood.
You feel it in your shoulder before you ever see it on the surface. The tool starts crushing fibres ahead of itself instead of slicing them, the surface goes fuzzy however careful you are being, and a beginner reads all of that as personal failure.
"probably one of the most important skills, ability to sharpen your tools" is how I rank it, and I meant the ranking. Nine letters out of ten that reach me from frustrated beginners turn out to be a dull edge. Most of those people argue with me first.
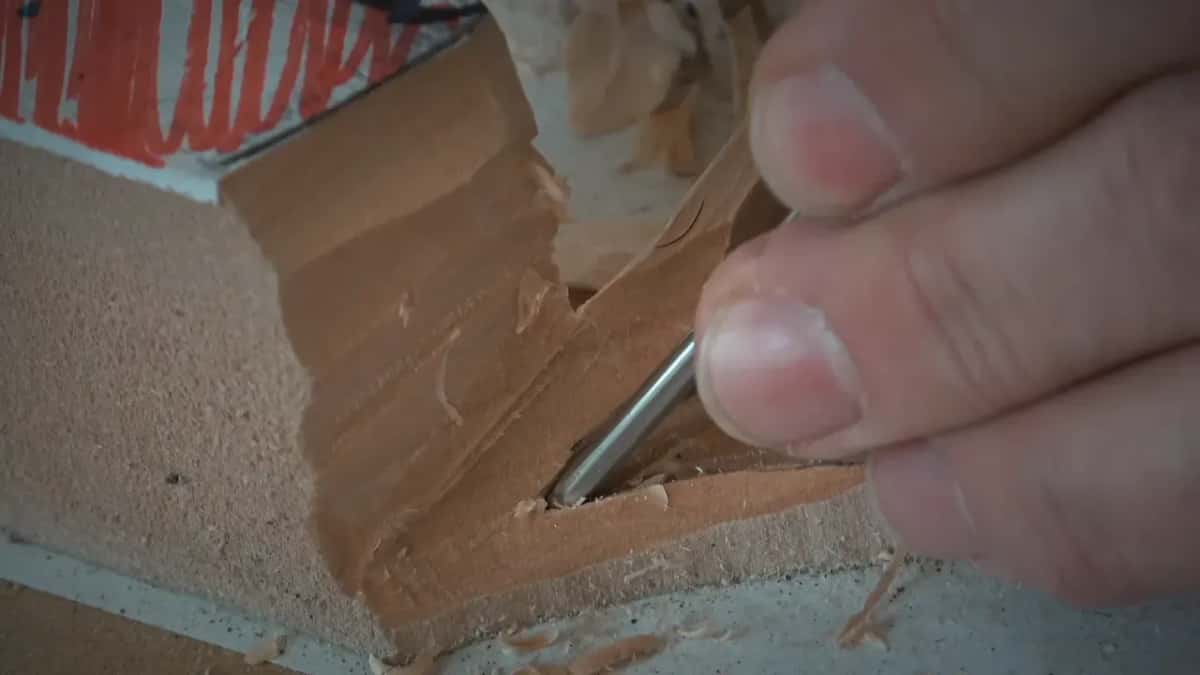
Strop it. Leather, a smear of compound, ten passes a side with the bevel lying flat, twenty seconds every time you sit down at the bench. Do that faithfully and you can go a very long time without meeting a stone at all.

When an edge has gone past stropping I use a Work Sharp with a carving jig, and I am honest about why. "Problem number one, I never saw perfect tool after sharpening by hand." That includes my own hands, after more than forty years of them.
Sharpening is one of the two genuinely hard parts of the craft, and I split both of them open in the post on what is actually hard. It has a course of its own as well, tool sharpening, because a camera struggles with a change that lives in sound and resistance rather than in the picture.
What does the rest of the first year look like?
Flat blade work, then a small relief panel, then depth and shadow. Three stages, roughly four months each. The third stage is where it starts looking like carving to anybody else.
| Months | What you are carving | Where it usually falls apart for people |
|---|---|---|
| 1 to 2 | Practice strips, an old style molding, a stem with leaves, one knife only | Skipping straight to a project |
| 3 to 4 | A curly board with a bird on it, knife and one gouge | The ground comes out lumpy and the panel reads soft |
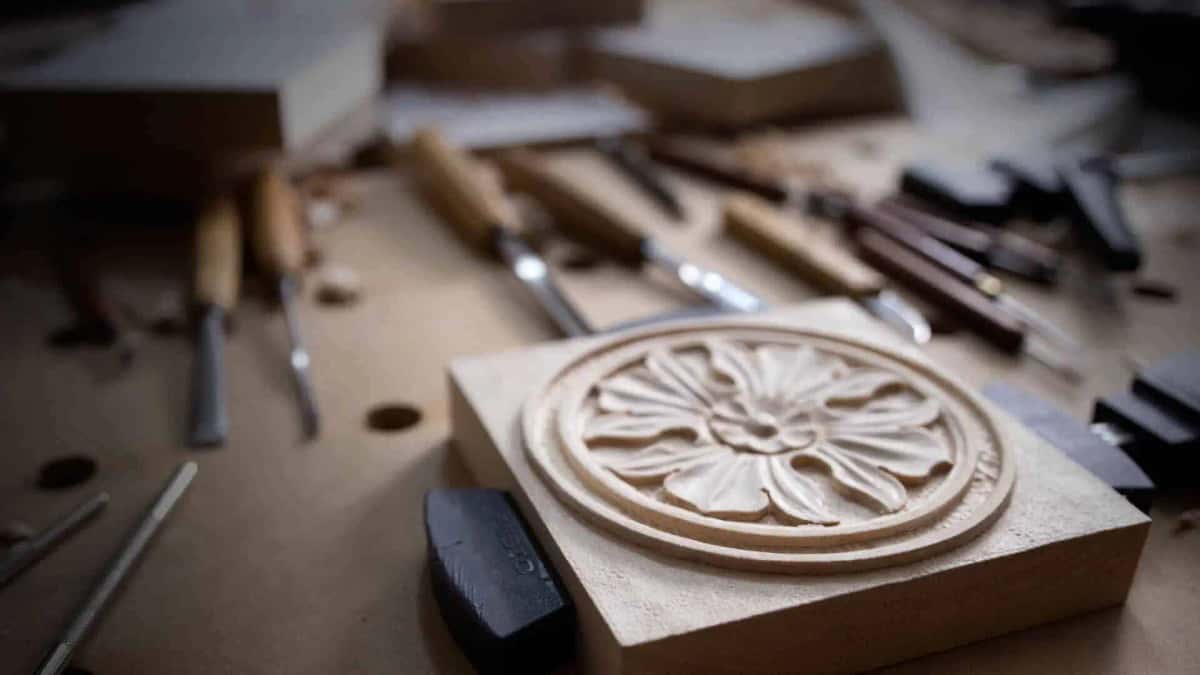
| 5 to 7 | A round plate or a rosette, three gouges and a strop | Grain turns and takes the petal with it |
| 8 to 10 | Relief with real depth, a V tool and a back bent gouge | Everything carved at one level |
| 11 to 12 | Your own design rather than somebody else's pattern, mostly pencil | You never started drawing |

Flat is harder than deep, which surprises everybody. Getting a background to one honest level is slow, fiddly work with no glory in it whatsoever, and once it is genuinely even the carving standing above it looks twice as good for no extra effort at all.
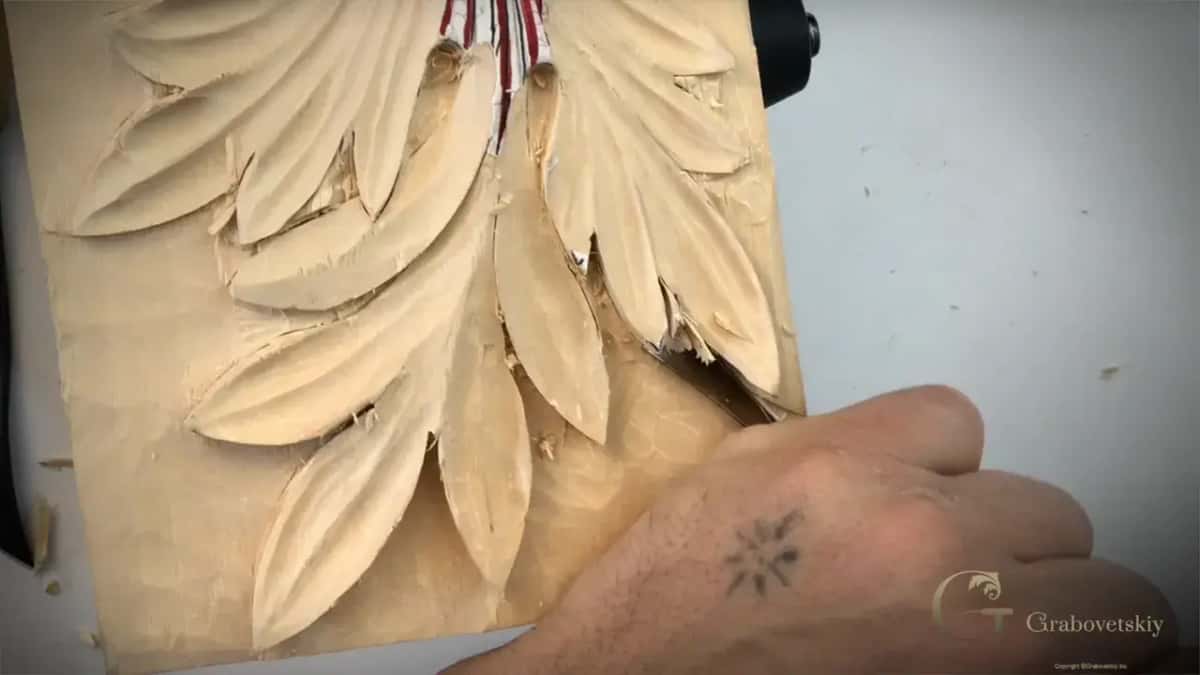
Then shadow. Carve back underneath an edge and it throws a hard black line instead of a soft grey one. From thirty feet a rounded leaf reads as nothing at all, and an undercut leaf reads as a shape.
Good projects for those middle months are the bird cutting board, then the butterfly plate to get you onto a curve, then the antique rosette. More ideas sit in small carving ideas, and the order the techniques should arrive in is laid out in the techniques post.

What do beginners get wrong most often?
Buying a set of forty eight gouges before owning one sharp knife. I watched a man do exactly that and use six of them for a decade while the other forty two went brown in a drawer.

Second one, abrasive. Put sandpaper on a carving and you round over every crisp arris your blade left behind, and the panel goes soft and dead the moment low light crosses it. Scrape it with the tool instead. Sand a flat board before you carve it, never afterwards.
Third, working everything at the same depth. A relief needs layers. Somebody new to it will happily spend six hours on lovely detail that all sits on one plane and reads as wallpaper from the doorway, and no amount of further detail will rescue it. Depth first, detail last.

Fourth, and this one is quiet, waiting to start drawing. People tell themselves they will learn to draw once their hands are good. Their hands get good and nothing changes, because the two skills grow on separate clocks and only one of them answers to repetition.
Fifth, working in bad light. A single overhead bulb hides everything. You need light coming across the surface at a low angle, or you cannot see the shape you are actually making, only the shape you meant to make.
The last one is not a technique at all. It is quitting on a ruined board. "The worst thing what can happen, you just buy a new piece of wood and keep trying." Basswood costs a few dollars. Your first boards are supposed to be firewood, and mine certainly were.
How much time does this take each week?
Twenty minutes a day beats three hours on a Saturday. Hands consolidate between sessions rather than during them, so frequency wins over length by a long way.

Leave the board somewhere you walk past. A tool in a cupboard stays in the cupboard, and a strip left on the kitchen counter gets picked up while the kettle boils.
People write and ask me what level they will reach in one month, in two months, in a year. I cannot answer that and neither can anybody honest. "It all depends on you and only you and the progress only you do."
I belong to a gym and I pay the fee every month. It would be a strange thing to ask the gym what my arms will look like in four weeks. The dumbbells are there. Whether I lift them is a different question entirely, and this school works the same way.
Twenty three minutes of me arguing that long hours are not what makes a carver.
Somebody once asked me what the richest place on earth is. Most people guess a country. "The richest place on the planet Earth is a cemetery." All that talent lying there, buried with people who never once used it, and I think about that far more often than is probably good for me.
The honest timeline, month by month, sits in how long it takes to learn.
Where do you go when the first board is done?
Straight into a second board, and get one honest opinion from somebody who carves for money. Your family will praise work a professional would reject. They are not lying to you. The fault is simply invisible to them.

Online lessons carry tool work and design perfectly well, and I compare the formats in the post on online classes. Sharpening resists a camera. It wants a person standing at your elbow eventually, so the bench weeks are listed on the in person page, and the single blade week is the one knife class.
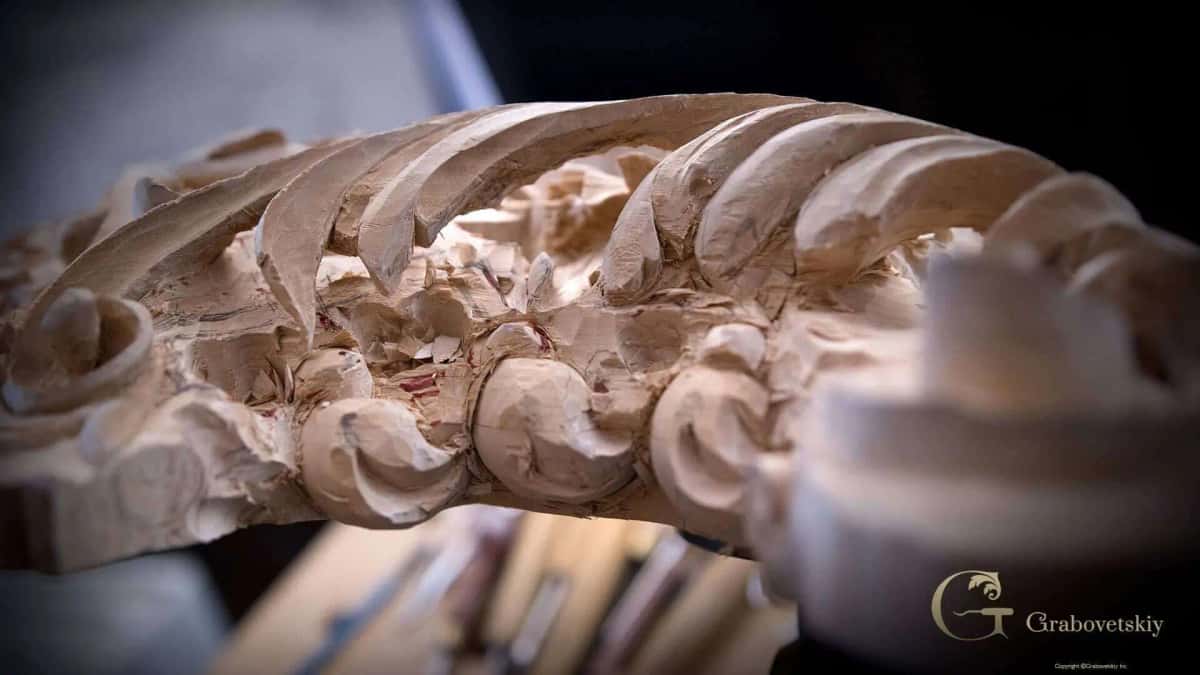
Where does it end up? Grinling Gibbons built his Baroque garlands out of lime, the same timber sitting on your bench, at about life size and with hand tools only. Acanthus leaves have been carved in relief for two thousand years and they are still the backbone of ornament. "There is absolutely no limit what you could do as long as you have a patience."
Some people start earning from this inside a couple of years, which I wrote about plainly in making money carving wood. Everything I teach is on the course list, and if you are weighing up schools there is a wider look in carving classes near me.
So. Another year of reading about it, or one board and a knife and twenty minutes tonight? Yearly Access is $200 and renews automatically every 12 months, monthly is $25, and one click ends either. Tuition here also feeds orphans and widows, because this is a 501(c)(3) school. Begin here, whenever you are ready.
Frequently asked questions
What is the best wood for a beginner to carve?
Basswood, sold as lime or linden across Europe. It slices cleanly in every direction and forgives an edge that has gone slightly dull, which yours will do constantly for a year. Stay on it until your sharpening is reliable.
How many tools do I need to start wood carving?
One. A chip carving knife will carry you through flat work and simple relief for months. Add a number 7 gouge around 14mm the day a curve defeats the blade, and not a day before that.
Can I learn wood carving at home without a workshop?
Most of my students do exactly that. A kitchen table, two small clamps and a good light is enough for the whole first year. Knife work needs no mallet, so it makes very little noise and almost no mess.
How long before my carving looks good?
Tool control gets respectable in about four months of short daily sessions. Work that stops a visitor in the hallway takes two to three years, mostly because that is how long the drawing side needs. Nobody warns people about that half.
Do I have to be able to draw to carve wood?
Eventually, yes. You can copy patterns happily for a year and improve the whole time. After that your work stops moving until you learn why a shape is the shape it is, and copying alone will never teach you that.
Is wood carving safe for a complete beginner?
Safer than most people expect, provided the tool is sharp and your free hand stays back of the steel. A dull edge makes you push, and pushing is what causes both the slips and the sore wrists. Clamp the work down.