
January 10, 2023 · Updated August 15, 2026
By Alexander Grabovetskiy — Master Woodcarver · Founder, School of Wood Carving · 10 min read
Wood carving techniques that change the work, and the order to learn them
Key Takeaways
- Rank each skill by its payoff, not its reputation.
- An even background does more for a finished piece than any amount of delicate work above it.
- Rotate the steel while it travels.
- Set a lamp almost level with the surface before you decide a piece is done, because overhead light hides your faults.
- Abrasive softens each crisp facet you spent the whole evening carving there.
Wood carving techniques are the handful of moves that decide how a panel reads from across a room. The ground goes down first. Then how you roll the surface, then what the steel leaves behind when you stop. The rest of what you will read about is names in a catalogue.
People write to me asking for a list. Chip work, relief, in the round, power tools. That is a menu of jobs, and a menu tells you nothing about which move to practice on Tuesday night.
So here is the honest ranking. What each one buys you in the finished wood, where it usually goes wrong, and the order I put them in when somebody sits down at my bench.
Which wood carving techniques actually change the work?
Six of them. They are worth wildly different amounts, and ground depth changes more than everything below it put together, which is why it sits at the top.
| Technique | What each one changes in the finished work | Where it goes wrong | How long before it belongs to you |
|---|---|---|---|
| Ground depth | More than everything else on this list put together, by a distance | Left shallow | About a month of honest bench time |
| Rolling the surface | Whether light travels | Carved flat and then called finished, which happens constantly | Half a year |
| The slice | Every surface the tool leaves behind it | Pushing straight ahead | A few weeks to learn, and then it is permanent |
| Reading grain | How often the board tears on you instead of slicing | Blaming the wood | Two projects, maybe three if the wood is difficult |
| Undercutting | Grey shadow becomes hard black | One afternoon, honestly, and you will use it forever after that | Too deep, edge gone |
| Leaving it unsanded | Whether the thing reads as carved by hand or as a plaster casting | Sanding | Years. Still working on it myself |

Read the top row and the bottom one. Beginners spend a whole first year on rows two and five.
Why does depth beat detail?
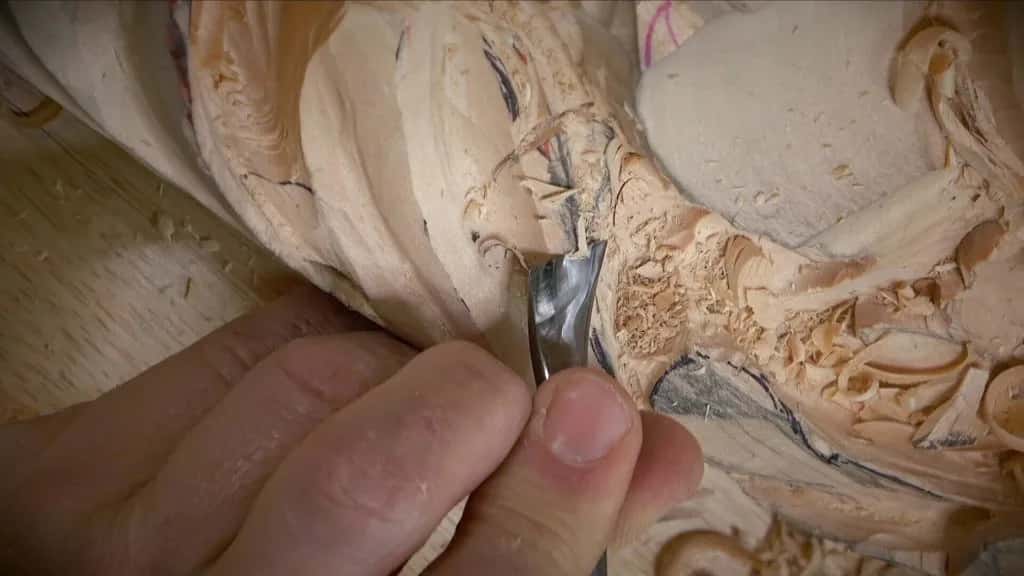
Your eye reads shadow long before it reads a carved vein. Stand back six feet and the fine work vanishes. The dark holes do not.

I say this in class more than my students want to hear. In one of the furniture panel lessons I caught myself saying it again on camera, right after apologizing for it. "It's all about the shadows."
A relief carving works by lowering the field so the design seems raised. That means the background is not a leftover. The background is the machine that makes your shadows, and if it stays high, nothing you do above it will save the piece.

Put a number on it so you are not guessing. On a first panel I tell people to dig six millimetres, a quarter of an inch, and check it with a straightedge rather than an opinion. In the techniques course I say the depth out loud in both metric and imperial, because the students are spread across countries I have honestly lost count of.
Somebody in that class said the ability to see in three dimensions is something you build, and I told him he was right. My answer: "More you carve, more you see. Not just the scratching wood. Deeper you go, deeper you see."
What is the real difference between slicing the wood and pushing it?
A slice shears the fibres apart, and a push crushes them ahead of the edge. Same tool, same wood, completely different surface.
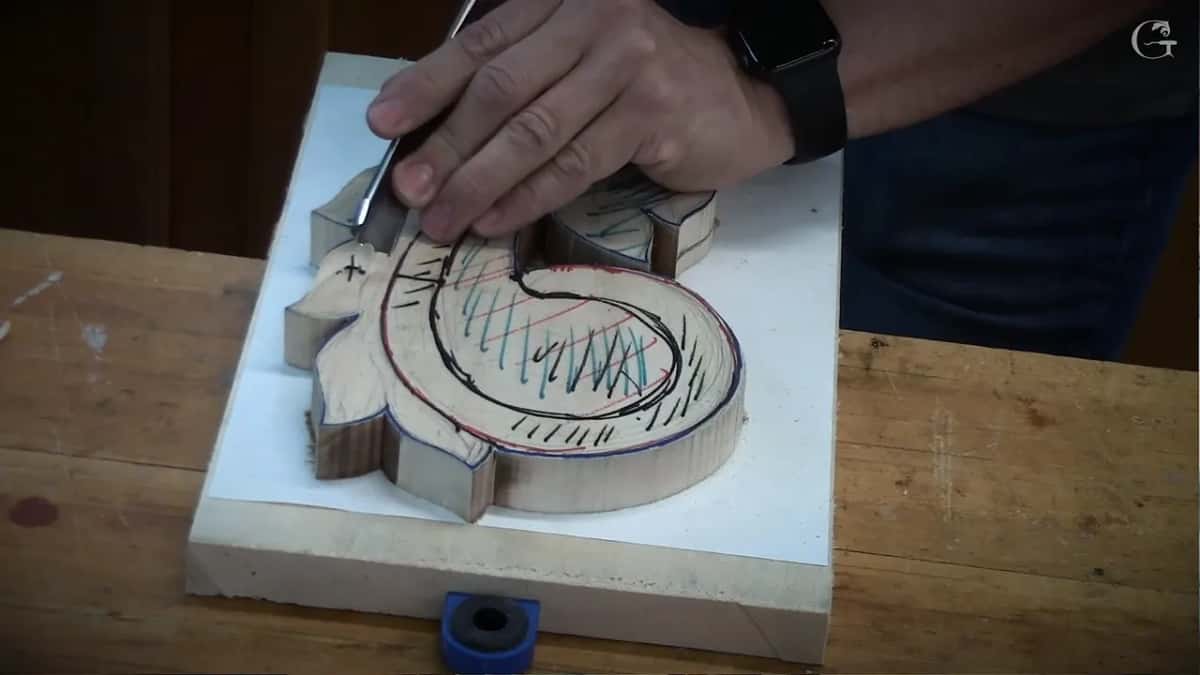
Here is the move. As the gouge travels forward, rotate it. The edge arrives at an angle instead of head on, so it parts the fibres the way a knife parts a tomato rather than squashing it.
My lesson on this runs barely a minute, and the whole thing sits in one sentence of it. "I'm kind of slicing. I'm not pushing wood." Then, later in the same lesson, the instruction: "Just rotate."
There is a second half nobody expects. Your arms are not what drives the tool. I said it out loud while carving a furniture panel one afternoon and it is the truest thing I know about tool control: "I'm not moving the tool, I'm actually moving the whole body with the tool."
How do you carve wood that fights back?
Sharpen the tool and stop negotiating with the board. Grain direction matters right up until the design stops caring, and in ornament that happens early.
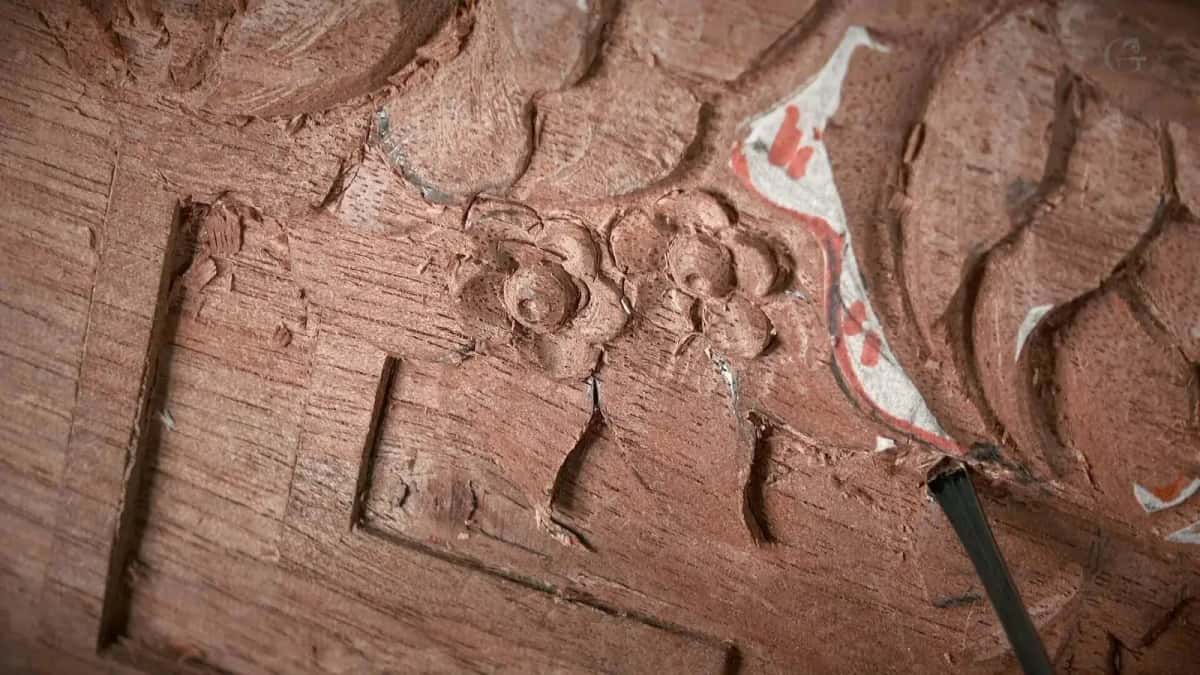
Grain is the long arrangement of fibres running through the board. Go one way and they lie down and slice. Go the other and they lift and tear, and you get the mess in that photograph above.
The simplest way to teach it has nothing to do with wood. If you have a dog, pet it against the grain and watch what the hair does. That is your gouge.

Then there is the place where the rule runs out. Carve a bowl, or any hollow, and the fibres change direction halfway round. We call that the marriage line. Keep going through it and the wood splits, so you spin the board and come at it from the other side.
And in ornament there is often no good direction at all. I told a class exactly that: "When you carve in Grinling Gibbons style, there's no such a thing carve with the grain." The answer I gave them is four words long. "Sharp tools. Break the rules."
If your edge is dull, this whole section is theory. That argument is laid out in why sharpening is the hard part.
Which light shows you the truth about a carving?
A lamp held low and off to one side, never the light above your bench. Overhead light flatters. Low light tells on you.
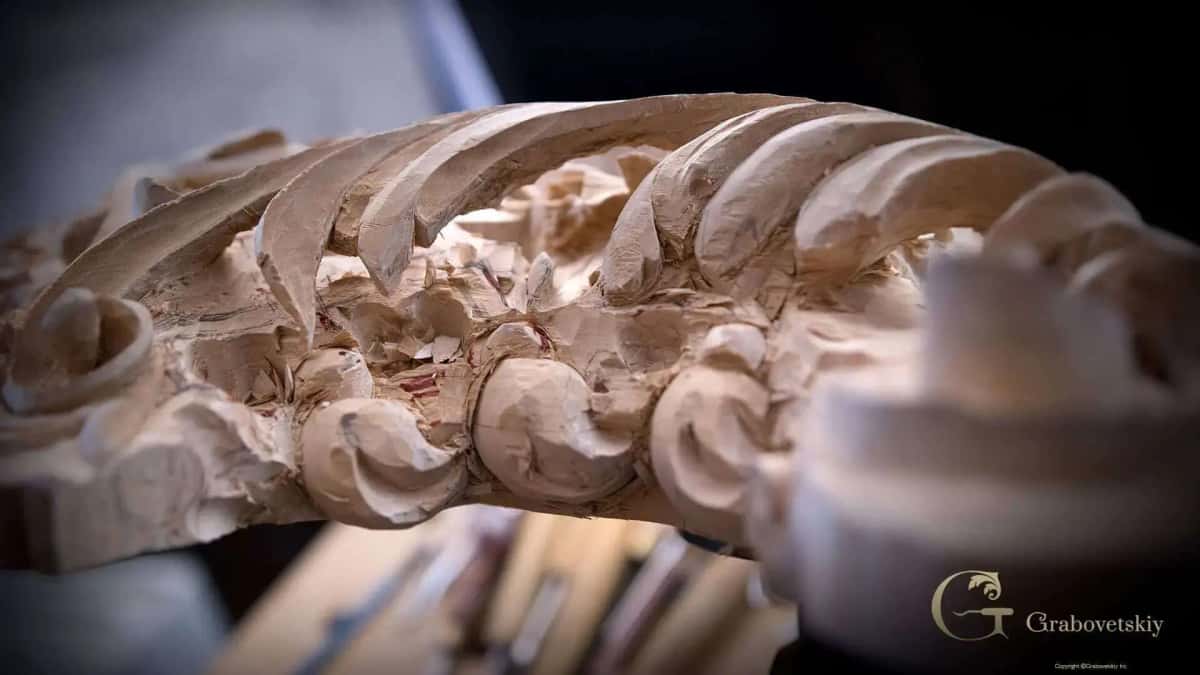
Conservators call this raking light, and they use it to read the surface of paintings and sculpture, because light almost parallel to a surface reports every rise and dip on it. A carver needs the same instrument for the same reason.
I keep a lamp on the bench and drag it around while I work. Half the time I am not looking at the wood at all. I am looking at what the shadow does when the light moves, because that is what a person standing in the finished room will see.
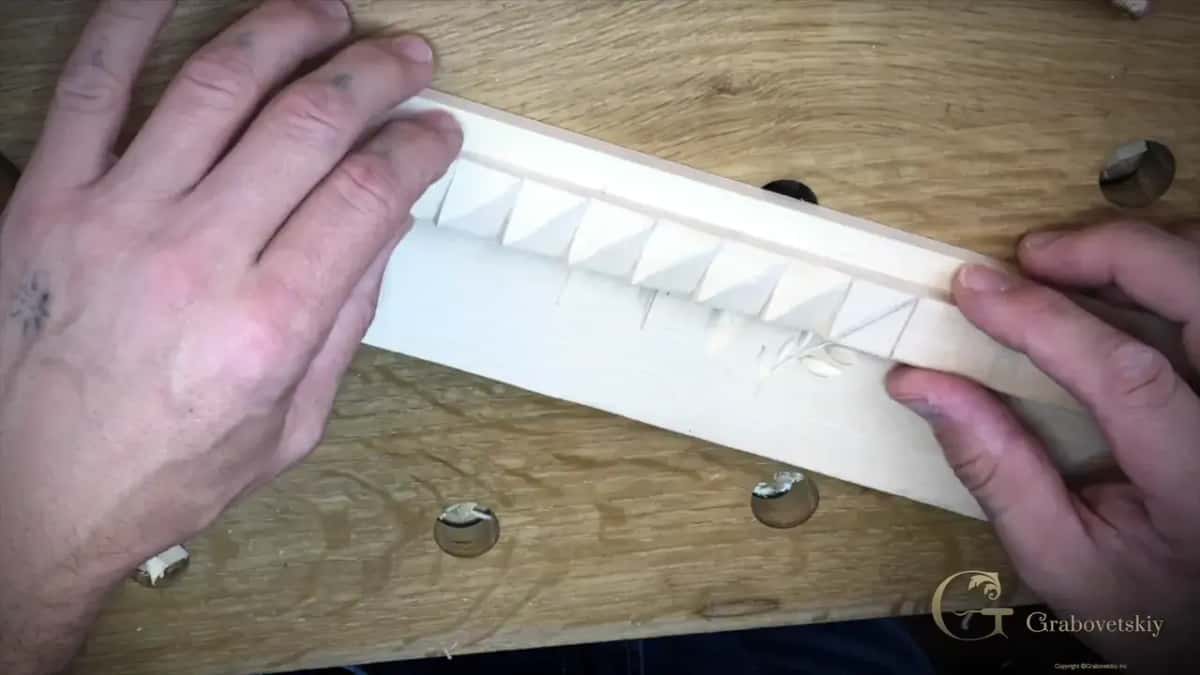
Try it tonight on whatever is sitting on your bench. Switch off the overhead, put a desk lamp almost flat against the board, and roll it slowly under the beam. Everything you got away with under the ceiling light shows up.
Should you sand a carving or leave it off the tool?
Leave it off the tool wherever you can, and sand only when the finish demands it. Abrasive rounds over the crisp facets that were doing your work.
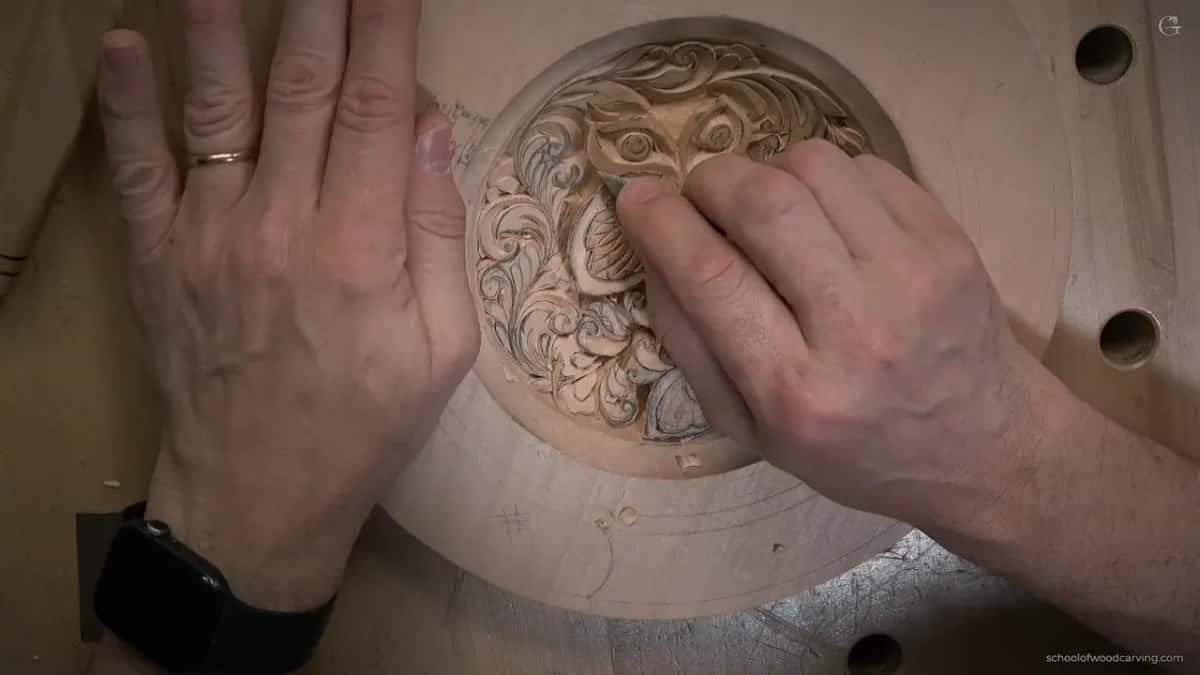
The old shops had no sandpaper and managed fine. They used reed rush, shark skin, broken glass held flat as a scraper. Scraping travelled all over Europe as a finishing method, and a carving knife dragged backwards does the same job on your bench today.
Then burnish it. Rub the surface down with an offcut of the same species, American basswood on basswood, and the fibres lie down and shine without a grain of grit left in the pores.

I am not a purist about it. When a panel is going out for water gilding the surface has to be stabilized and genuinely shiny, so yes, I sand, and I use a mesh abrasive rather than paper so the dust falls through instead of loading into the wood. As much as I love out of the chisel finish, gold leaf does not care what I love.
What I will not do is sand to hide bad carving. I carved a tool mark into a background once and said so on camera, because it was mine and I had put it there.
In what order should you learn these techniques?
Draw, ground, rough, model, then detail, and never jump a stage on one leaf. Skip ahead on one flower and the panel goes lopsided.

Step 1, get the drawing right on paper
Pencil costs nothing and basswood does not. Fix the design flat, then glue or trace it onto the block. What you can see in the design course is that most ruined panels were ruined here.
Step 2, set in the outline and take the ground down
Open the line, then drop the background to one even depth across the entire board. Not around one flower. All of it.
Step 3, rough the big masses before any detail
Establish which shapes sit high and which sit low. At this stage the panel looks worse than when you started, and that is correct.
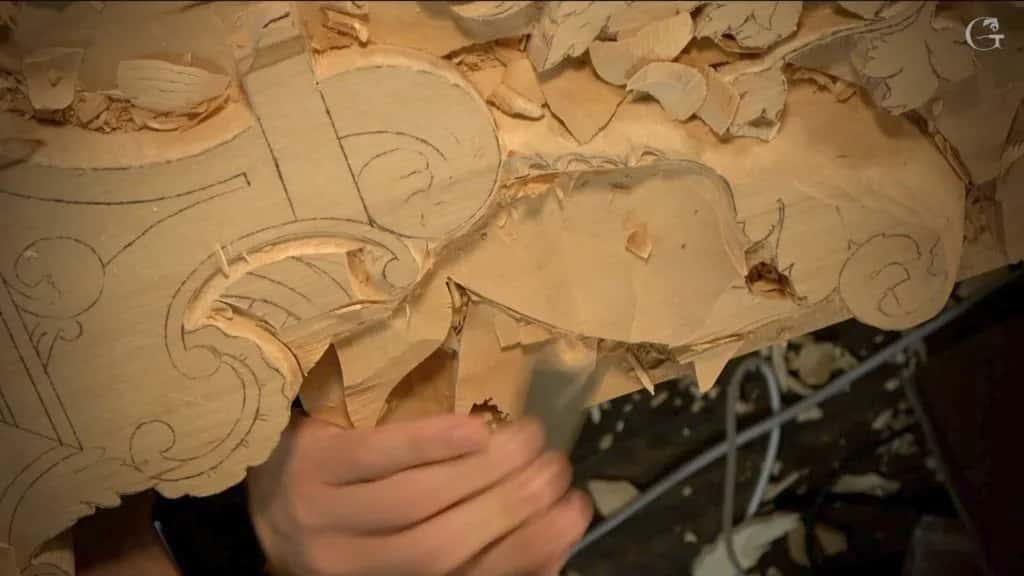
Step 4, clear the mess so you can see
Mid way through a furniture panel I stopped and explained why I was tidying instead of carving. "Right now it looks too messy, and I need to create my canvas where I can see much better what is going on." Redraw on top of the carving when you need to.
Step 5, model, undercut, then put the tool down
Roll each surface so light runs across it, open the shadows underneath, and stop. Most pieces are finished about twenty minutes before their carver believes it.
Where to begin the whole thing is in carving for beginners, and the blades are in the knives post. Everything I teach sits on the course list, and Pfeil is the steel I hand beginners.
Two of these I have filmed and put on the channel free, if you would rather watch than read. One is on design against technique and the other asks when a carving is finished.
So. Do you want another list of technique names, or do you want the six moves that change the wood? Tuition here also feeds orphans and widows, because this is a 501(c)(3) school. Yearly Access is $200 and renews automatically every 12 months, or $25 a month if you would rather test me first.
Frequently asked questions
What are the main wood carving techniques?
Ground depth, rolling the surface, slicing rather than pushing, reading grain, undercutting, and letting the gouge marks stand as the finish. Catalogues sort carving into chip work, relief and sculpture in the round, but those are jobs. These six are the moves inside every one of them.
How deep should a relief carving be?
About six millimetres, a quarter of an inch, for a first panel. Check it with a straightedge instead of your eye. Deeper panels exist, and one I filmed runs eight inches down, but that depth needs experience you do not have in month one.
Why does my gouge tear the wood instead of slicing it?
Two causes, and they are usually both present. The edge is dull, which crushes fibres ahead of it. And you are pushing the tool straight forward instead of rotating it through the pass so the edge shears.
Do professional carvers use sandpaper?
Sparingly, and mostly when a finish demands it. Traditional shops scraped with glass or a knife back and burnished with an offcut of the same wood. I sand a panel that is going for gold leaf, then reach for mesh rather than paper.
What is the marriage line in wood carving?
My name for the point on a curved surface where grain direction flips, usually inside a bowl or a deep hollow. Carve straight through it and the wood splits. Turn the piece and work back toward that line from the other side.
Which technique should a beginner practice first?
Taking a background down flat and even. It is dull, nobody photographs it, and it improves a panel more than any detail work you could learn in the same month. Flat ground is harder than deep ground.