
August 7, 2024 · Updated August 15, 2026
By Alexander Grabovetskiy — Master Woodcarver · Founder, School of Wood Carving · 9 min read
Wood carving for beginners, and which of the four to start with
Key Takeaways
- Pick which of the four you are doing before you buy a single tool. No catalogue will answer that.
- Begin on a flat board with a blade, where shallow errors show themselves and cost almost no timber.
- An even background matters more than clever shaping, and strangers notice it first from across a room.
- Basswood forgives a dull edge. Lumber yard pine does not, and it will convince you the fault is yours.
- Hold off on three dimensional pieces. Turning one in your hand lets the eye keep finding a flattering angle.
Wood carving for beginners means picking one of four kinds of work and staying there long enough to get good. Blade work on the flat, relief, work in the round, and geometric cutting. Each wants different tools. Choosing badly is what makes people quit in month two.
Nearly every beginner starts by buying tools. That is backwards. You cannot know which tools you need until you know which of the four you are doing, and the four are further apart than the catalogues suggest.
So here is what each one is, what it costs you in steel, which wood to put under it, and which one I would hand you if you walked into my shop today.
A bare board and a pencil. Every one of the four begins right there, whatever it turns into later.
What are the four kinds of wood carving?
Knife work, relief, in the round, and geometric cutting. Everything else is a variation on one of those four, whether the catalogue calls it chip carving or high relief, whatever a tool catalogue decides to call it this year.
| The kind of work | What it looks like when finished | Tools needed | Would I start you here or not |
|---|---|---|---|
| Flat blade work | Shallow shapes, every blade stroke left showing | One knife only | Yes, and this is where I begin |
| Relief carving | Shapes standing up off a flat ground | Knife, gouges | Yes, straight after the first board |
| Geometric cutting on flat stock | Repeating triangles and facets, laid out with a compass | A blade, patience | Only if the geometry appeals to you |
| Sculpture you can hold | A whole object you can pick up and turn | Gouges, mallet, rasps | Not yet, and I will explain why |
| Architectural and furniture carving work | Ornament made to fit a building or a piece of furniture | Everything listed above | Two years away at the very earliest |
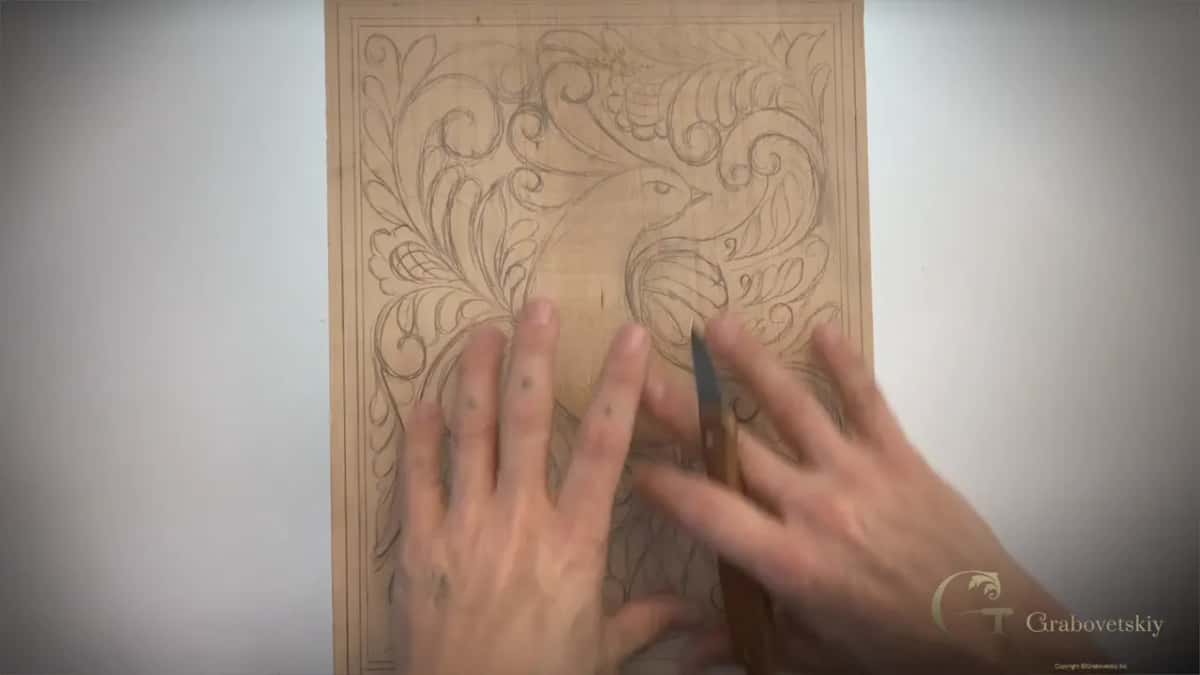
The last column is the one people argue with, and I would read it anyway.
Why start with a single blade on flat work?
Shallow mistakes, and every one of them stays visible. A bad pass on a flat board takes off very little wood and hides nothing.
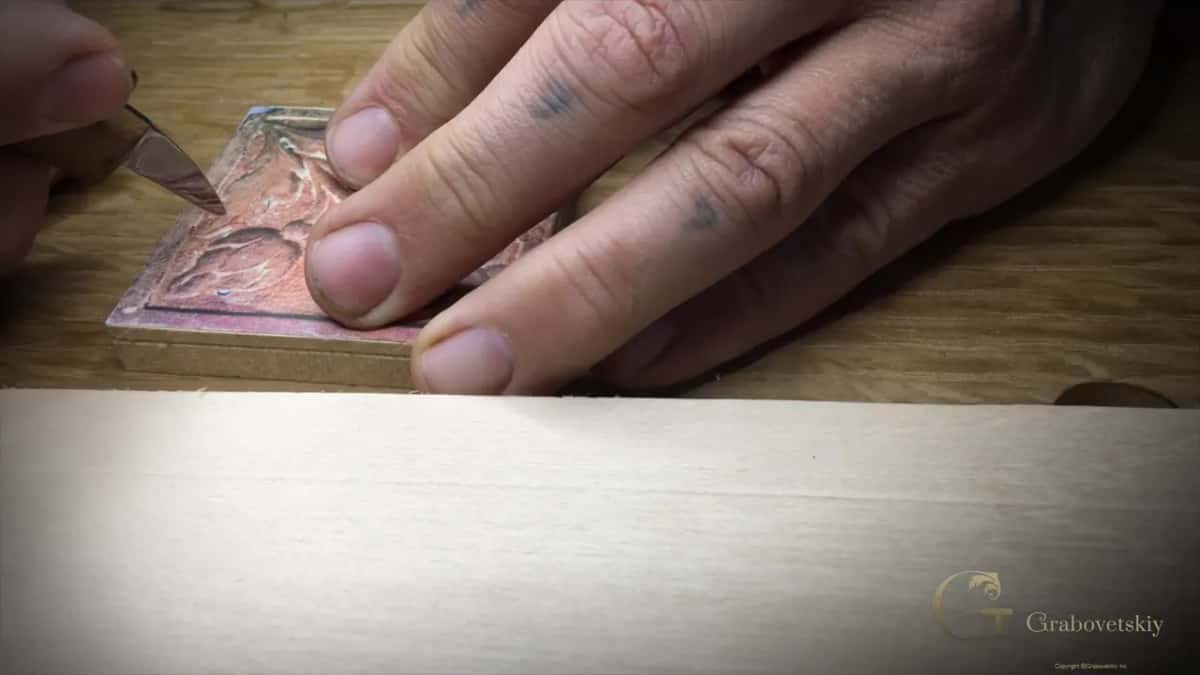
Hold the knife pinched like a pencil, one finger riding along to guide the blade. Straight down on the line, then come back from the other side and lift out a fine V. That V becomes the wall everything else stops against.
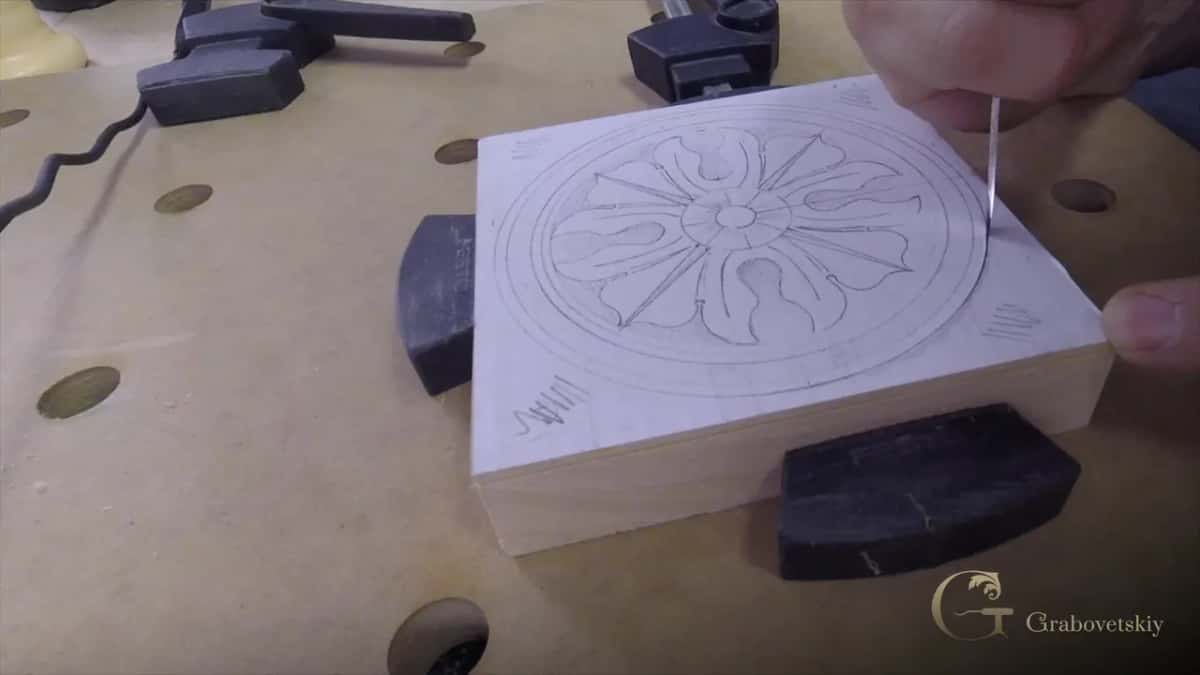
I carved a whole coffered ceiling this way once, working nights in a kitchen against a one month deadline, with a single Pfeil number 12 chip carving knife. My wife sat up reading books out loud to keep me awake. So do not let anybody tell you one knife is a compromise.
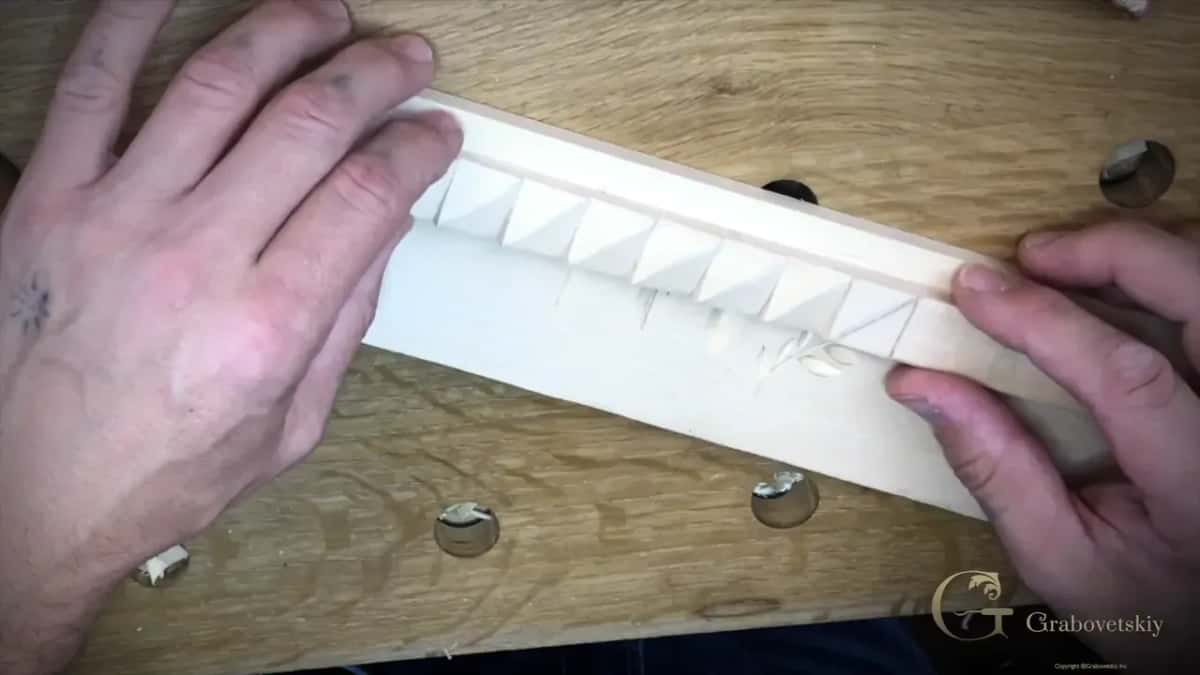
There is a whole northern European tradition built on exactly this, running back to the eighth century and still visible on the doorframes of Norwegian stave churches and in the Urnes style. The one knife class is the nearest thing I teach to it.
What is relief carving and when should you move to it?
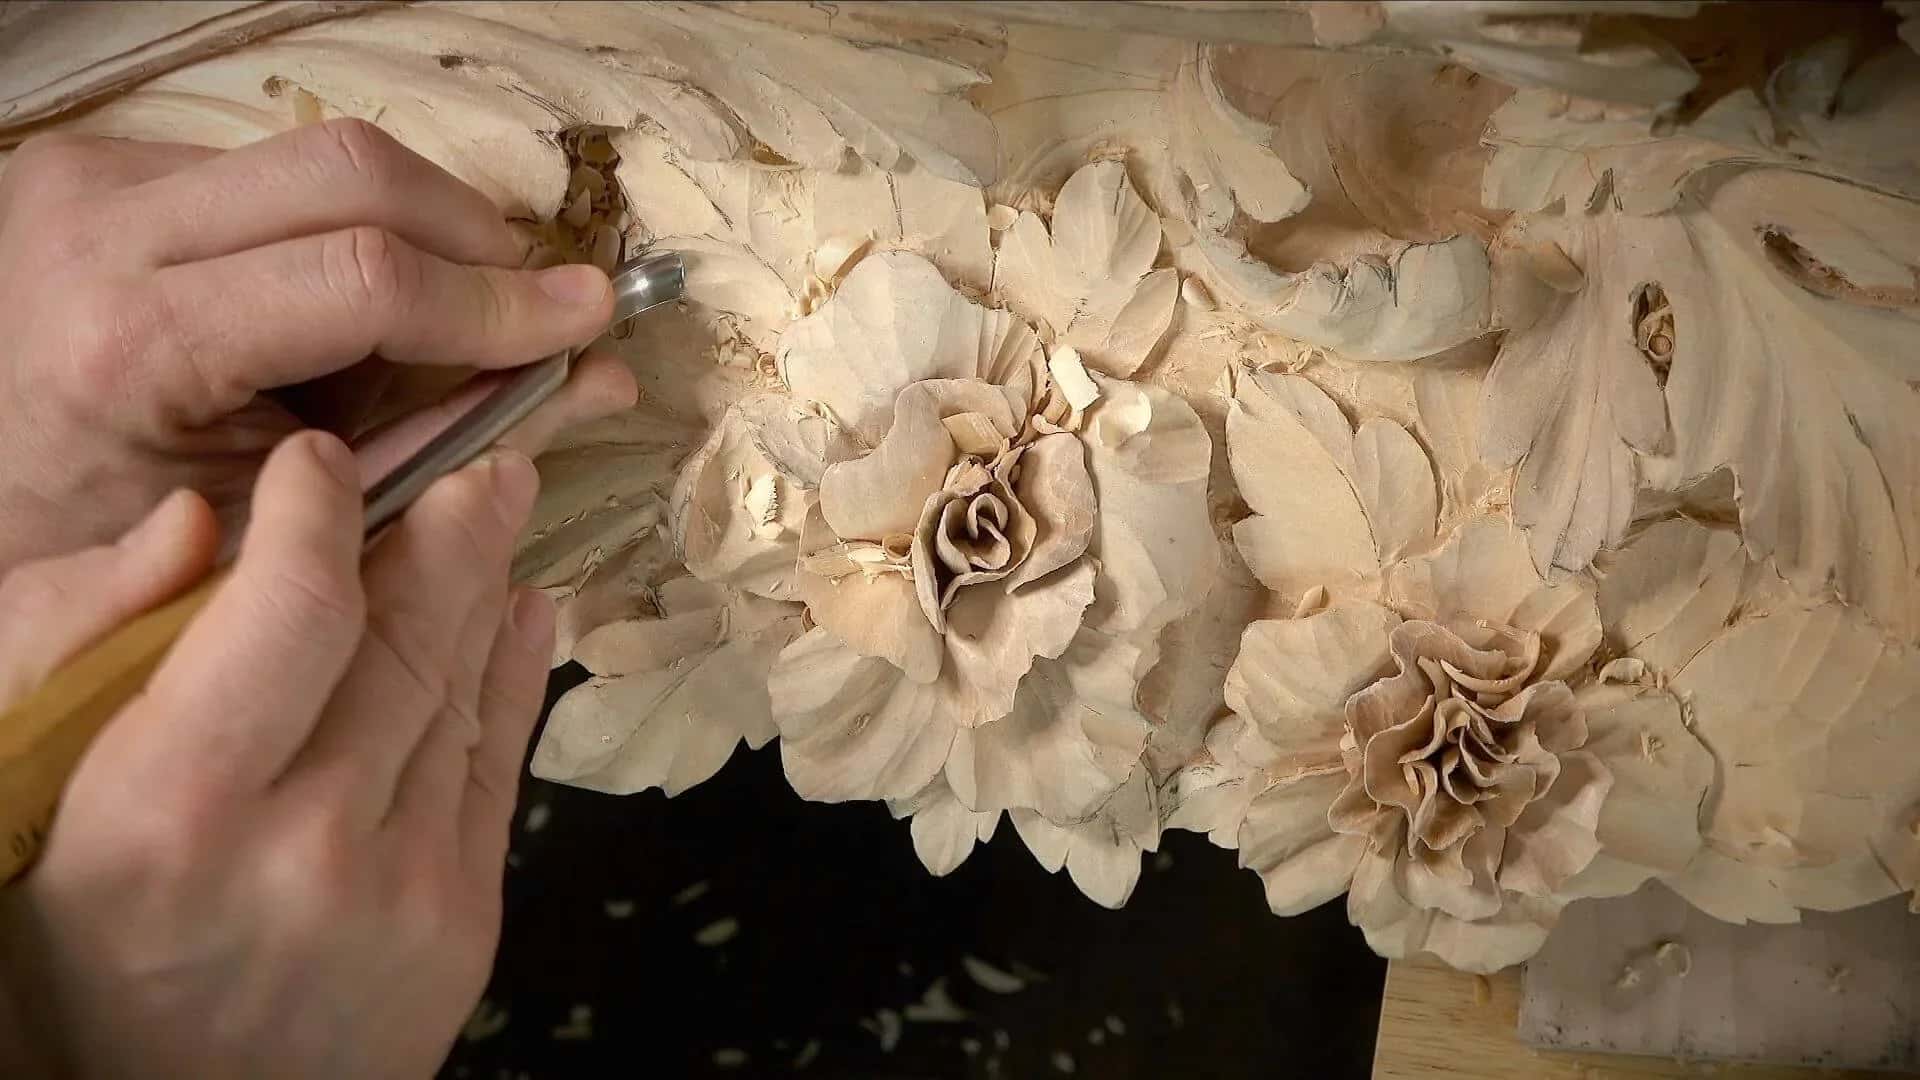
Relief is a shape standing above a flat background, and it is the second thing you should learn. Most ornamental work in the world is relief.
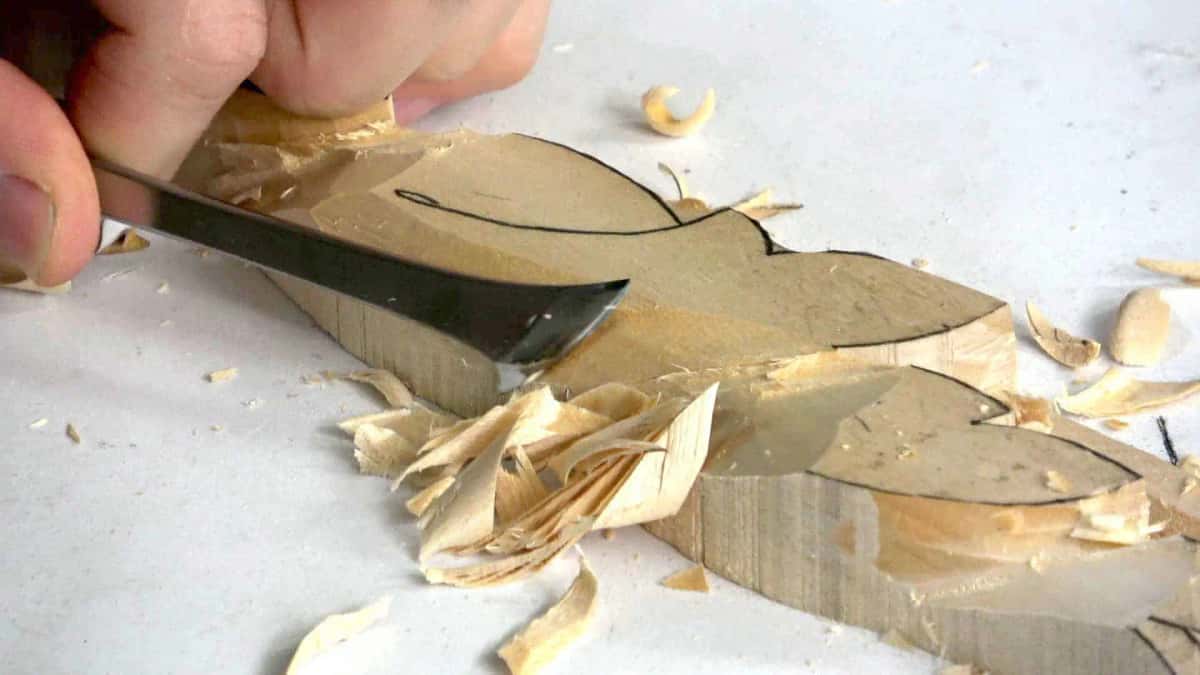
Two skills carry the whole discipline. Taking the ground down to one even level, and modelling the shape above it so light runs across the surface. Beginners fixate on the second and neglect the first, then wonder why the panel reads lumpy from across a room.
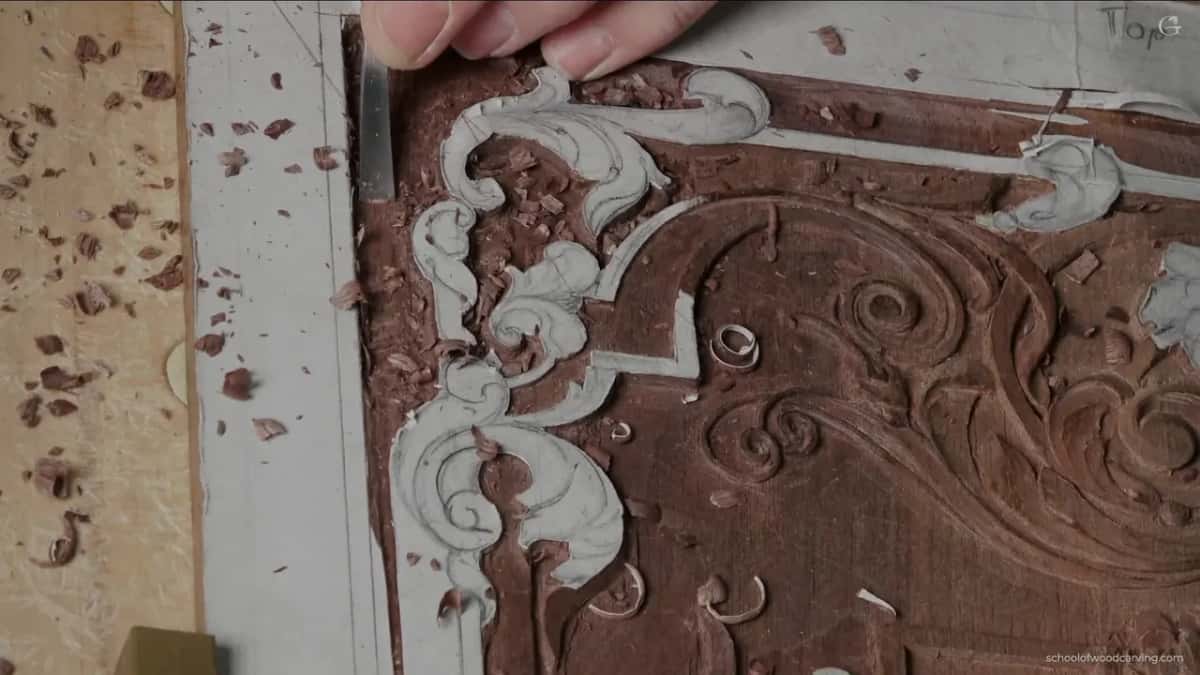
Flat is harder than deep. A grounding gouge with a slightly bent blade reaches into the corners a straight one cannot, and once the background is genuinely even the carving above it looks twice as good for no extra work.
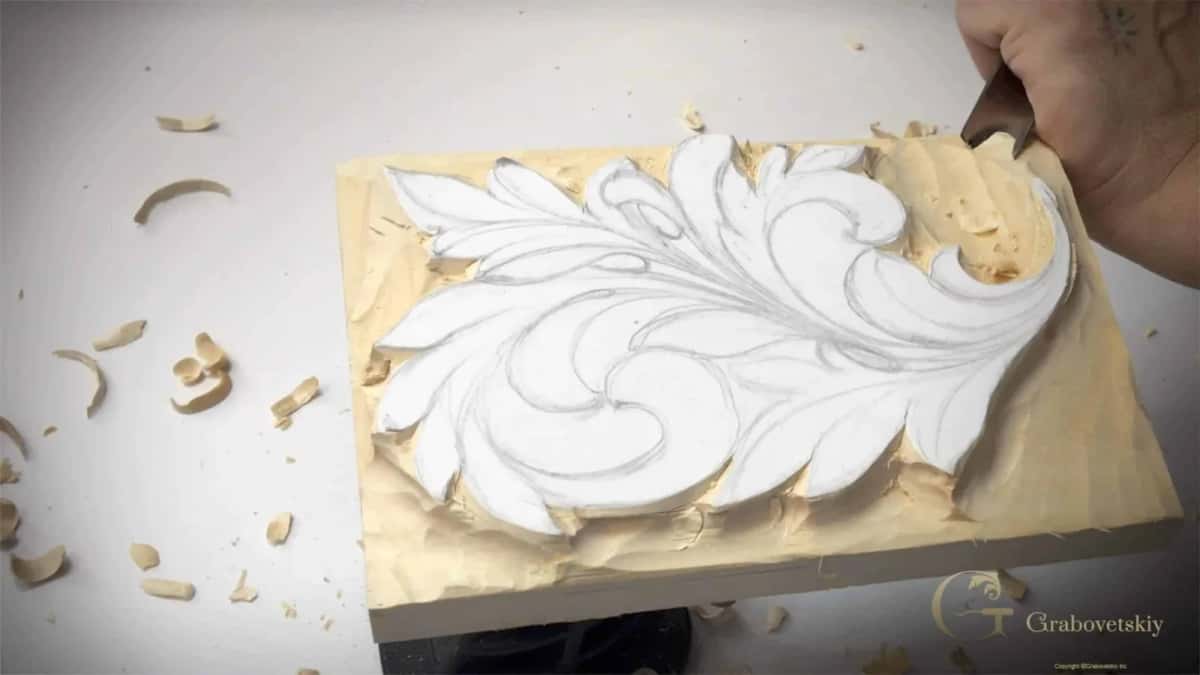
Start on the first carvings course, then the butterfly plate to get you onto a curve, then the antique rosette.
What about sculpture you can pick up?
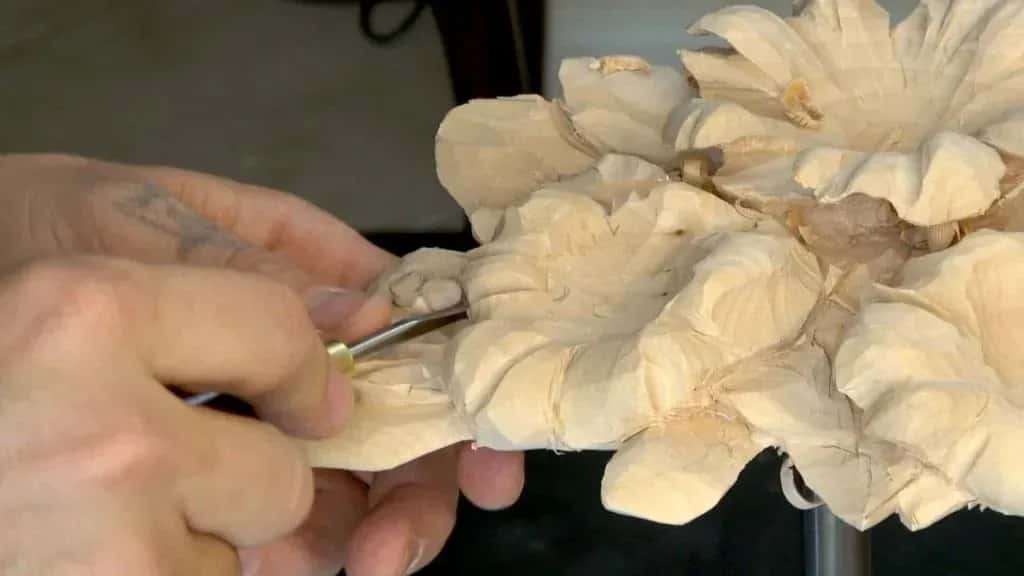
Wonderful work, and I would not hand it to you in your first year. A three dimensional object hides your errors from you, which is exactly what a beginner does not need.
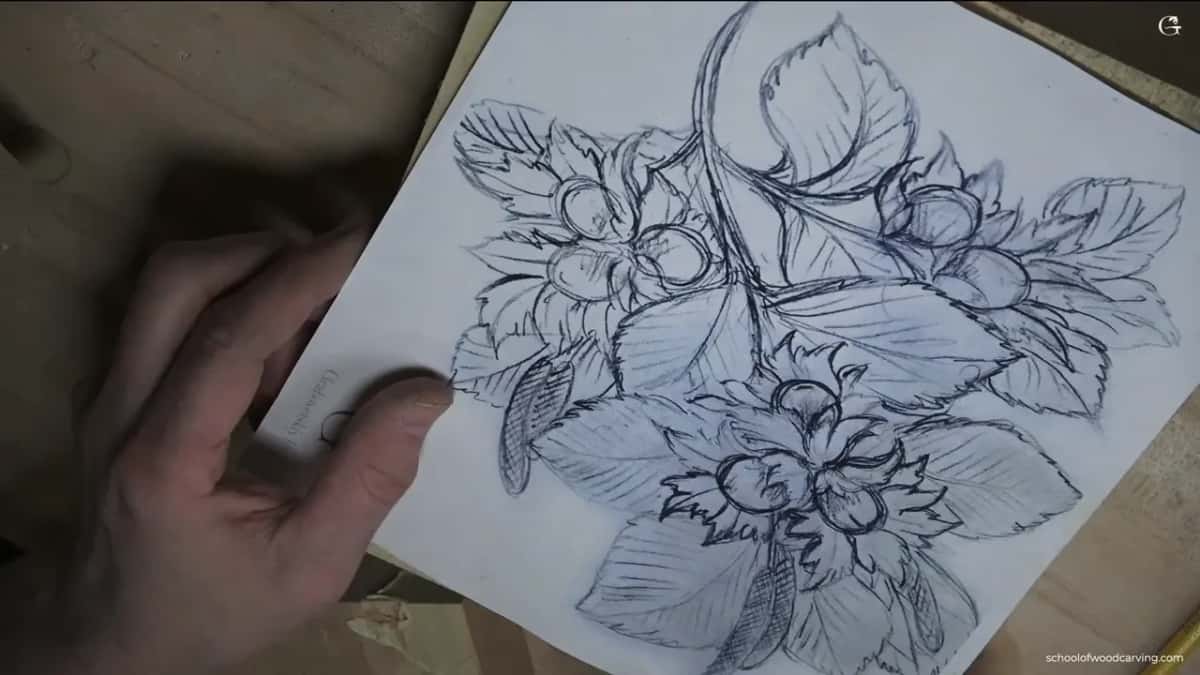
On a flat panel every fault sits in plain view under raking light. Turn an object in your hand and the eye keeps finding an angle that flatters it. You will convince yourself it is fine, and it will not be.
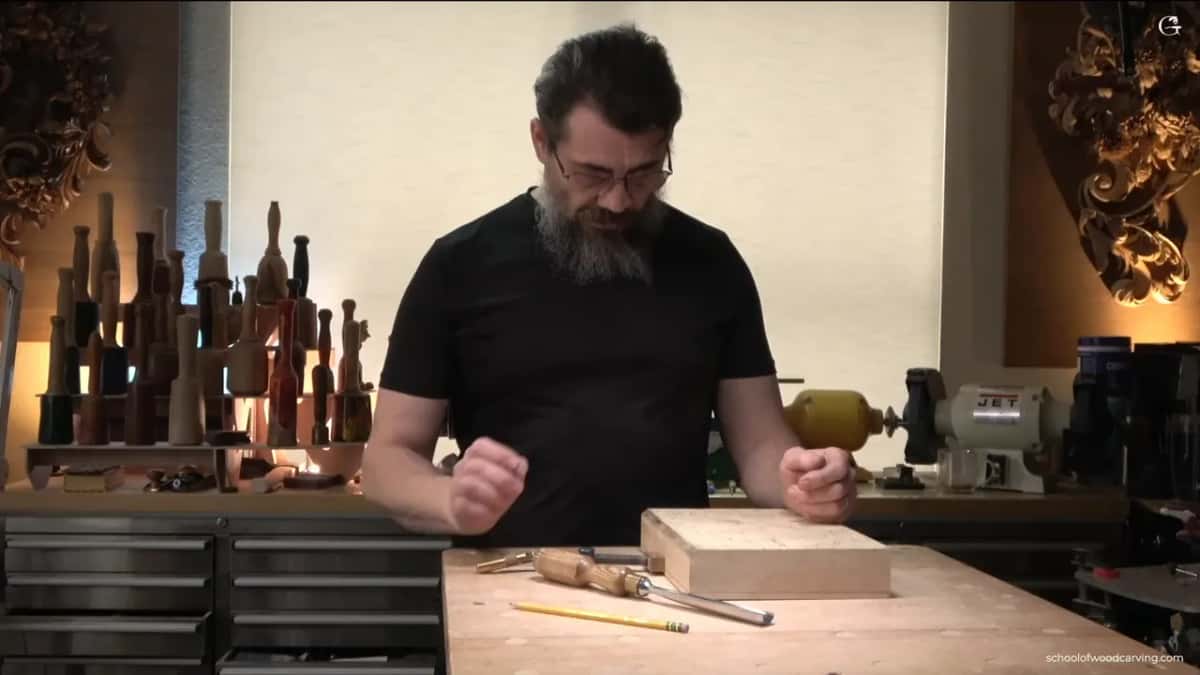
When you are ready, hazelnuts is where I take students into the round. It is a solid block worked all the way around, and it needs gouges, a mallet and a rasp rather than a knife.
Which wood should a beginner actually carve?
American basswood, and there is barely a second place. Get this one wrong and you will decide the problem is you rather than the timber.
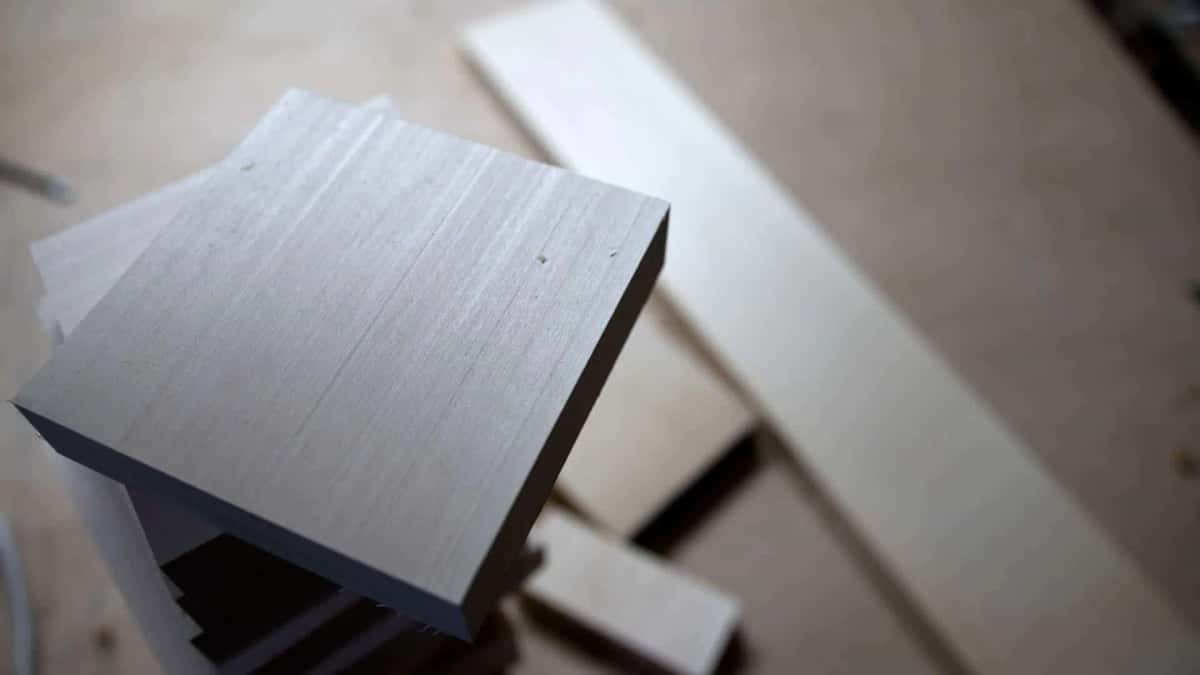
Basswood, also sold as limewood or American linden, cuts cleanly in every direction and forgives an edge that has gone slightly dull. Yours will go dull constantly for the first year. The density numbers explain why it behaves.
Butternut is a fair second, a little coarser, and it takes a finish beautifully. Poplar carves but bruises and goes woolly on end grain. Walnut is genuinely lovely and genuinely unforgiving, so leave it until your edge is reliable.
What I would keep away from is pine and anything from a lumber yard rack. Construction stock is wet, knotty and full of tension, and it will tear out exactly where your detail was going. I started on whatever was lying around the house and made my own first year much harder than it needed to be.
How do you carve your first panel, start to finish?
Draw it, stab it, drop the ground, model it, then stop. Five stages, in that order, and swapping any two of them costs you the panel.
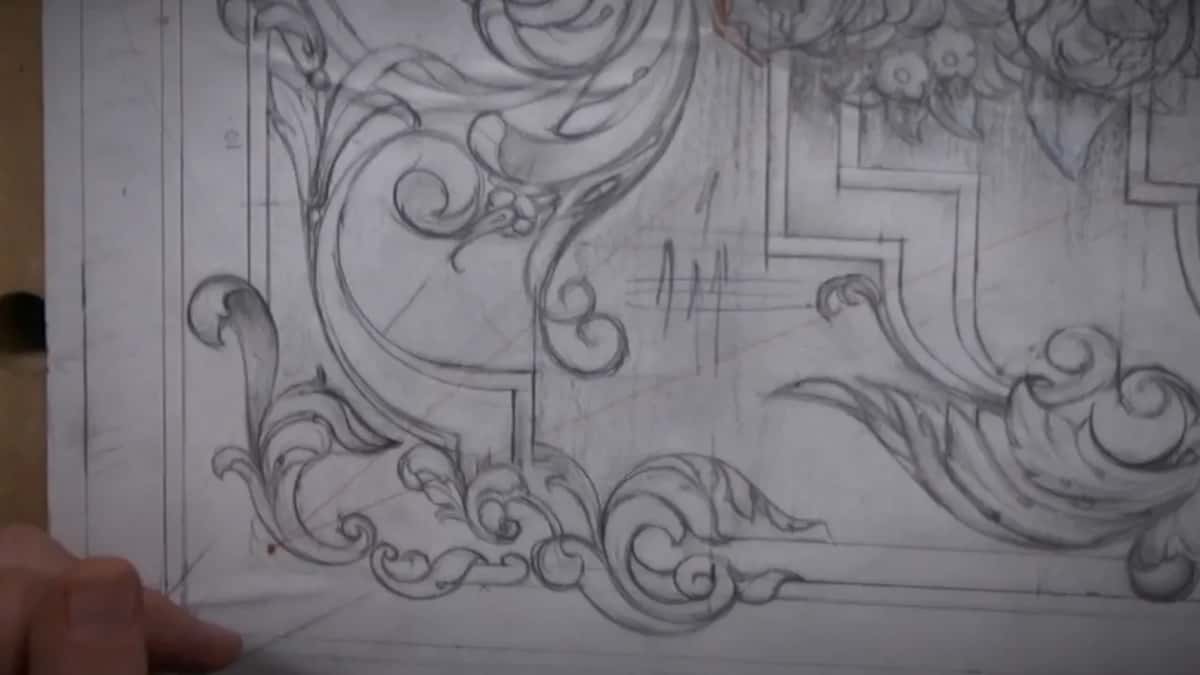
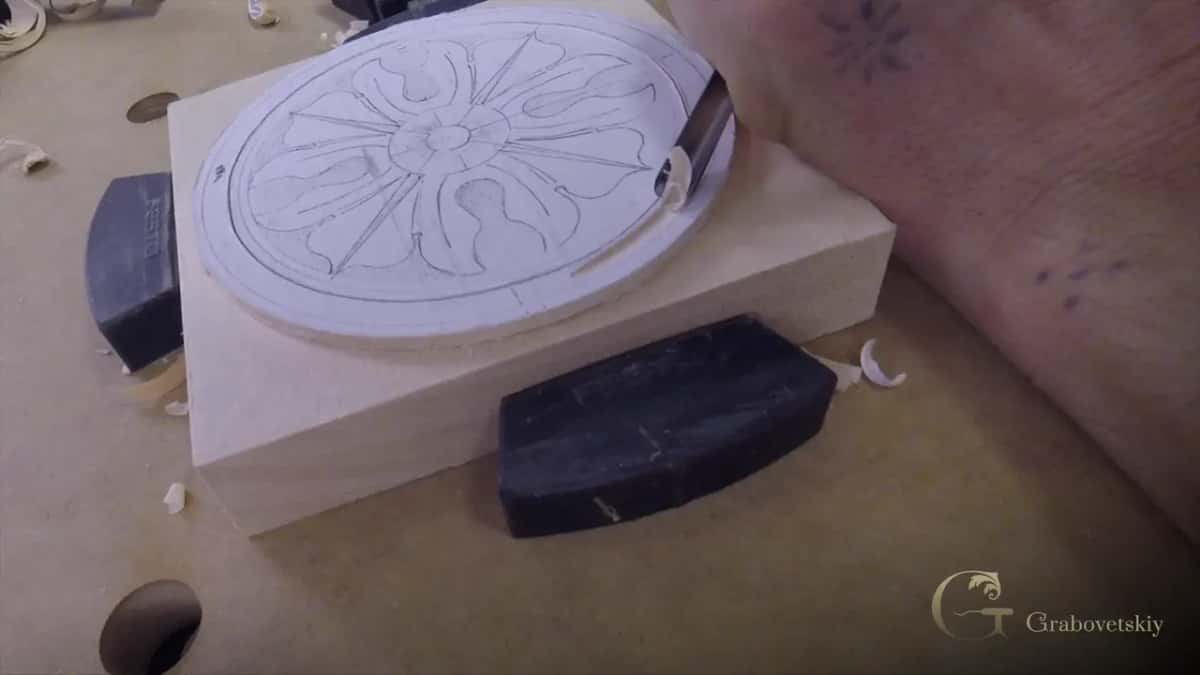
Step 1, draw the design on paper first
Pencil is free and wood is not. Fix the drawing until it is right, then glue or trace it down. Nearly every ruined panel I have seen was ruined on paper long before a tool came near it.
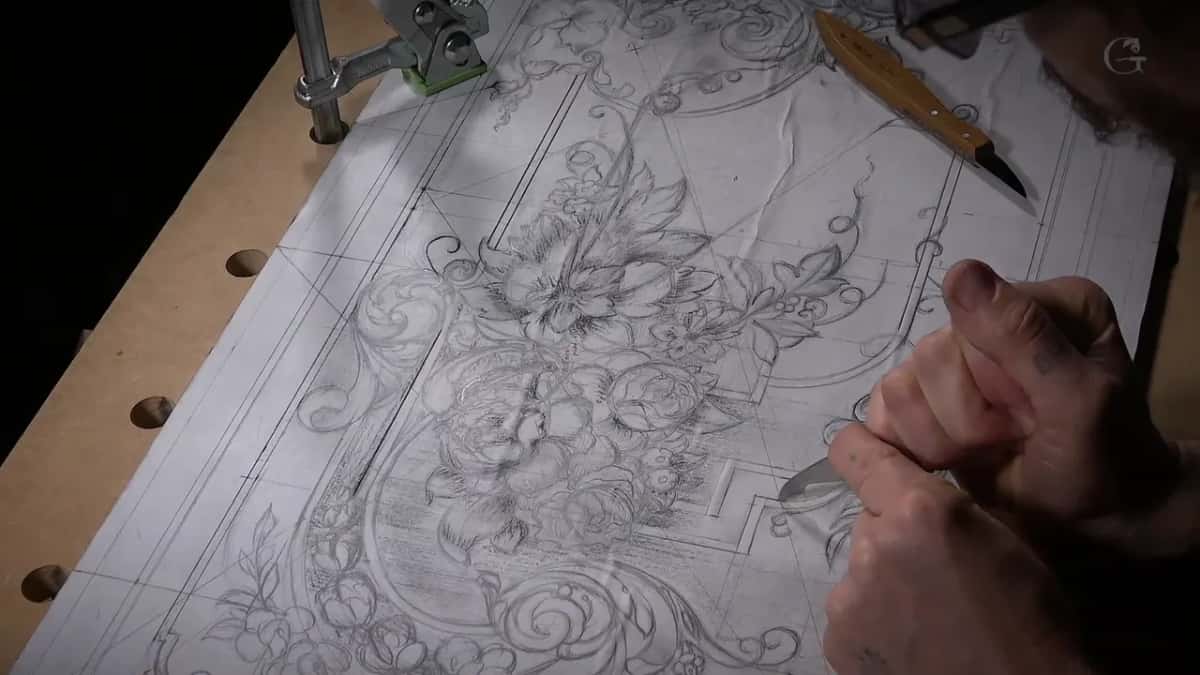
Step 2, stab the outline straight down
Knife held vertical, following the line a quarter of the way at a time. Do not try to run the whole curve in one pass. The blade will follow the grain instead of your pencil.
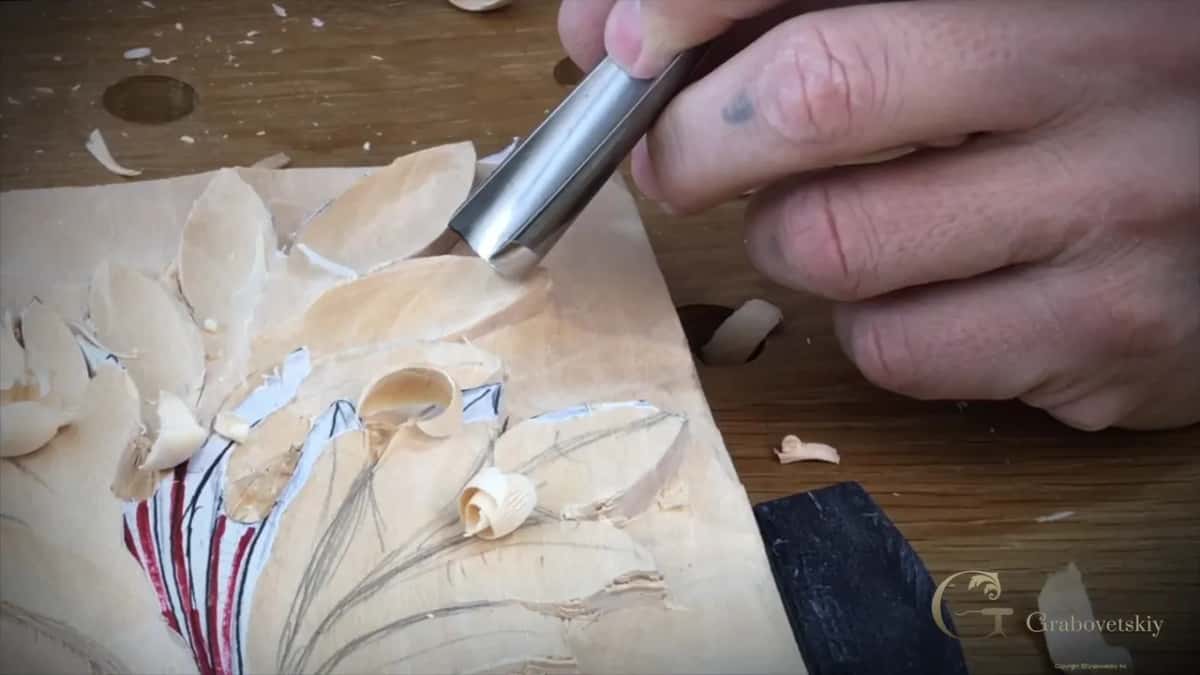
Step 3, take the ground down evenly
Now the slow part. Get the background to one consistent depth, about three millimetres for a first panel, and check it with a straightedge rather than your eye.
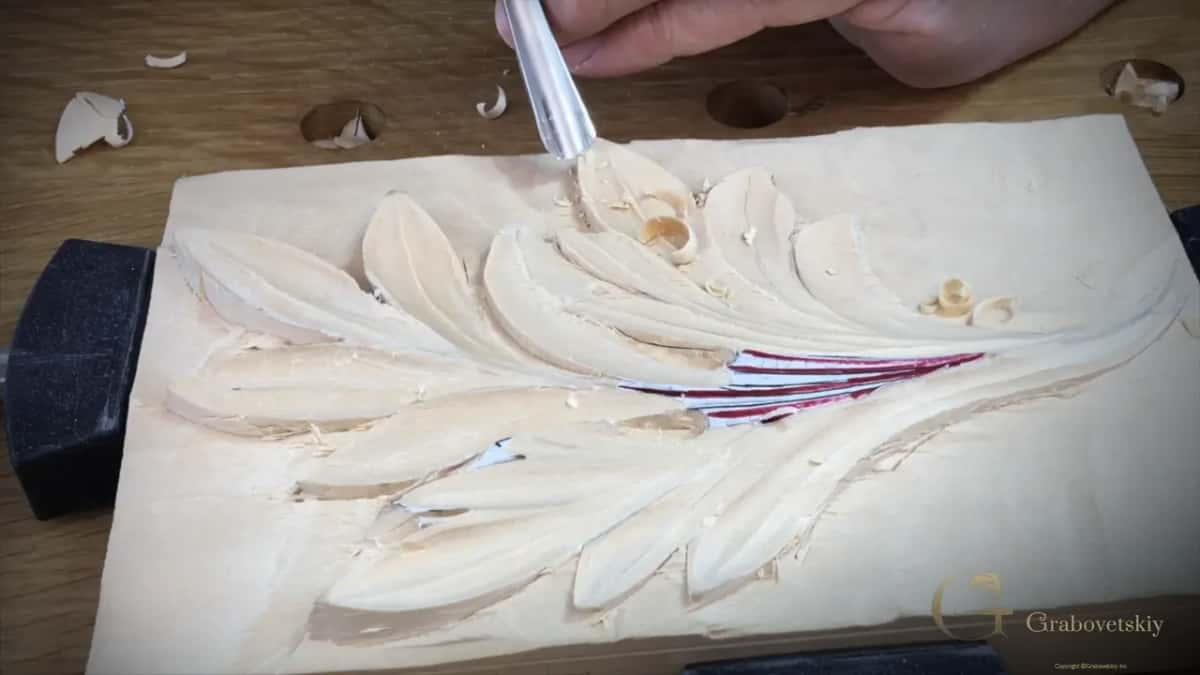
Step 4, model the shapes so light moves
Roll each surface so it catches light on one side and shades on the other. A leaf carved flat is just an outline. Roll the surface and it reads from six feet away.
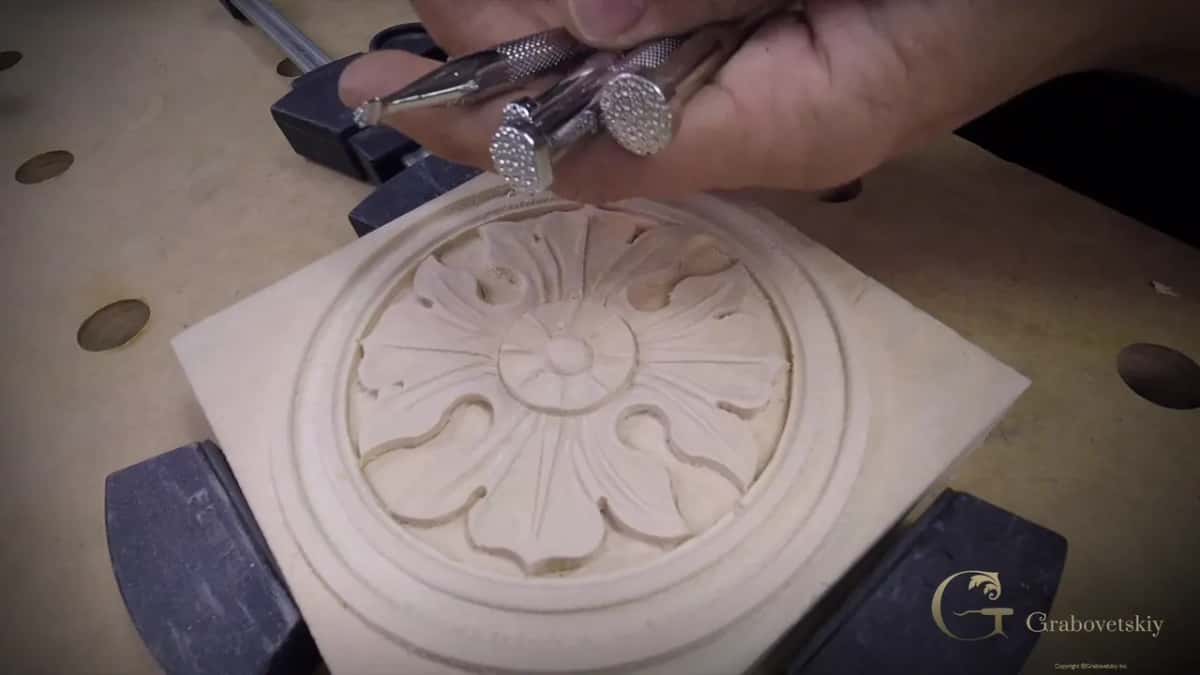
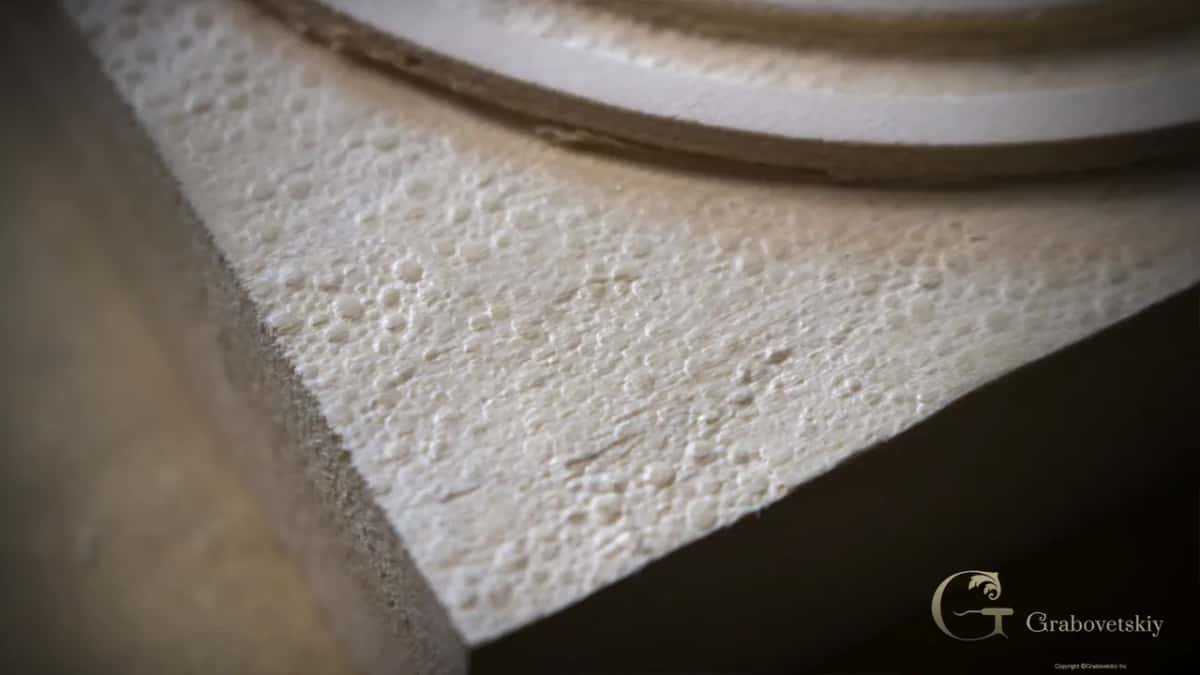
Step 5, texture the ground, then stop
A punched or bubbled background pushes the carving forward and hides small unevenness. Then put the tools down. Beginners keep going and carve the life out of a piece that was finished twenty minutes earlier.
What tools does a beginner really need?
One blade, a number 7 gouge around 14mm, a stone and a strop. Under sixty dollars, and that kit carries a full year.
Skip the boxed set. I watched a man buy forty-eight gouges and use six of them for a decade while the other forty-two went brown in a drawer. Woodcraft and Lee Valley both stock singles.
Sharpening matters more than owning. A new gouge is ground, not sharp, and it will crush fibres ahead of the edge instead of slicing them. You feel that in your shoulder before you see it in the wood. More sits in the knives post.
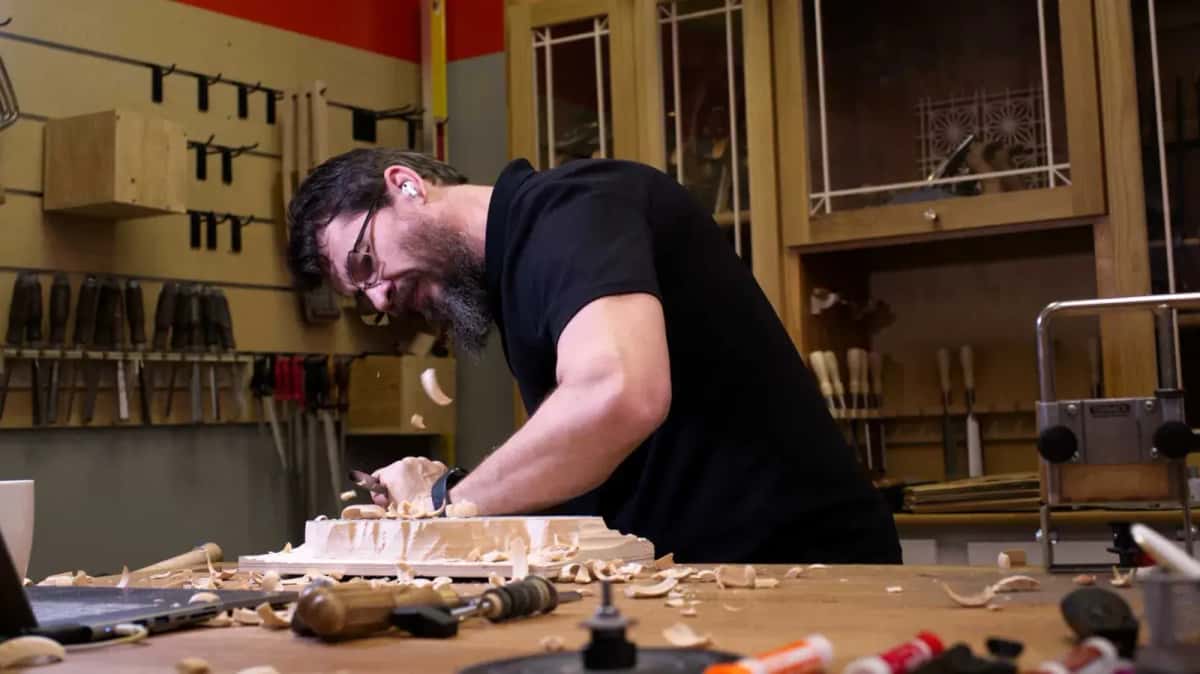
One last thing, and it is the one that separates a craft from an art. Tool control comes from repetition and nobody has to hand it to you. Design does not. Knowing why a leaf turns where it turns is a different study, and it is where self taught carvers stall for years. That is what the design course is for.
There is more on where to begin in small carving ideas, on the timeline in how long it takes to learn, and on whether it is within reach in is carving hard to learn.
So. Do you want a drawer of tools you never sharpened, or a panel on the wall that your grandchildren will argue over? Tuition here also feeds orphans and widows, because this is a 501(c)(3) school. Begin here, whenever you are ready.
Frequently asked questions
What is the easiest kind of wood carving to start with?
Shallow knife work on a flat board. The cuts remove very little wood, so a slip costs you almost nothing, and every fault sits in plain view where you can learn from it. Two evenings and one knife will finish a first piece.
Do I need gouges or will a knife do?
One blade alone carries you a surprisingly long way, through flat work and simple relief. Add your first gouge the day a curve defeats the blade. Not one day sooner. Buying tools feels like progress, which is not the same thing as being progress.
Which wood should I avoid as a beginner?
Pine and anything off a construction lumber rack. That stock is wet, knotty and loaded with tension, so it tears out right in the middle of the fine work. Oak will fight you the whole way. Stay on basswood until you can put a reliable edge on a tool without thinking about it.
How sharp does a carving tool really need to be?
Sharp enough to lift a curl off the corner of a board under its own weight, with no pressure from you at all. Below that the tool crushes fibres instead of slicing them, and the surface goes fuzzy no matter how careful you are.
Should I carve with a mallet or by hand?
By hand for everything a beginner does. A mallet is for hogging waste out of thick stock in the round, or for hardwood. On a basswood panel it costs you the fine control you are trying to build.
Can I teach myself wood carving from videos?
Tool work, yes, and design too if the course teaches it. Sharpening is the one that resists a camera, because the change is in the sound and the resistance rather than the picture. That one eventually wants a person beside you.
Filed under
- Basic Wood Carving Skills
- Beginner in Wood Carving
- Beginner's Guide to Wood Carving
- Beginner Wood Sculpting.
- Entry-Level Wood Carving
- Getting Started with Wood Carving
- Initiation to Wood Carving
- Introductory Wood Carving
- Intro to Wood Sculpture
- Simple Wood Carving Techniques
- Starting with Wood Carving
- Wood Carving 101
- Wood Carving Basics
- Wood Carving for Beginner
- Wood Carving for Newbies
- Wood Carving for Novices
- Wood Carving Fundamentals
- Wood Carving Made Easy
- Wood Carving Tutorials for Beginners
- Wood Crafting for Beginners
- Woodworking for Starters