
August 1, 2024 · Updated August 15, 2026
By Alexander Grabovetskiy — Master Woodcarver · Founder, School of Wood Carving · 9 min read
Small wood carving ideas you can finish with one knife
Key Takeaways
- One sharp knife carries a beginner further than a boxed set of forty eight. A whole coffered ceiling was cut with one Swiss blade.
- Basswood forgives. Pine tears along the grain and drives new carvers away from the craft.
- Choose the next project by the skill it forces on you, never by how impressive the finished thing looks.
- Buy a gouge the day a curve defeats your knife. Not one day sooner.
- Drawing your own pattern trains the eye. Tracing somebody else's finished carving inherits their mistakes.
Small wood carving ideas for beginners are projects that fit in one hand and need one tool. A carved cutting board, a rosette tile, a plate with butterflies. I once carved an entire coffered ceiling using one knife, so the number of tools is not what stops anybody.
People write to me stuck on the same thing. They have one knife, maybe two gouges, a corner of the dining table, and a feeling that none of it is enough to start. It is enough. It was enough for me when my whole shop was a kitchen.
Below are five projects I actually teach, smallest first, with what each one costs you in tools and evenings. Then the pattern question, which is the one nobody asks until they are already stuck.
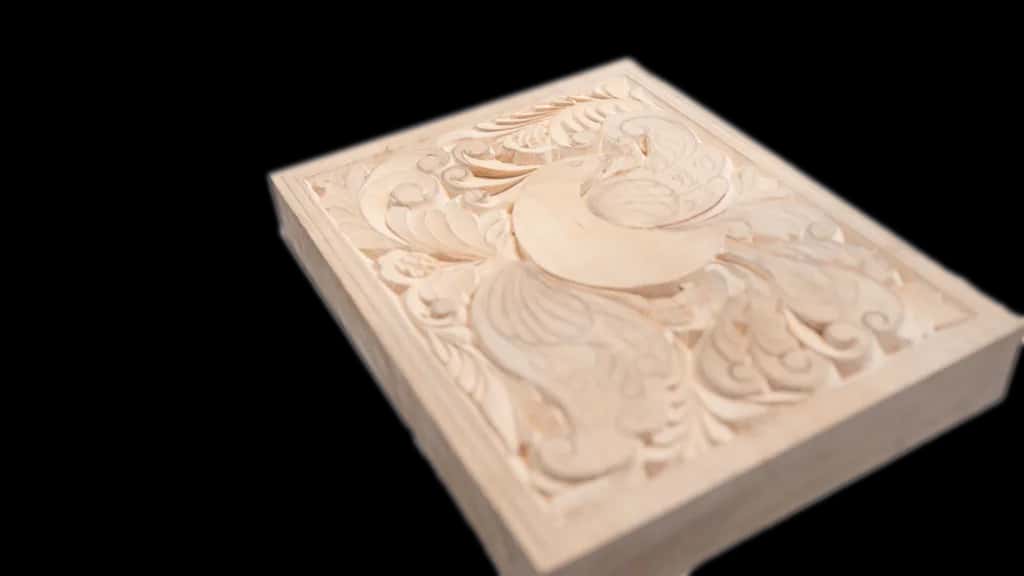
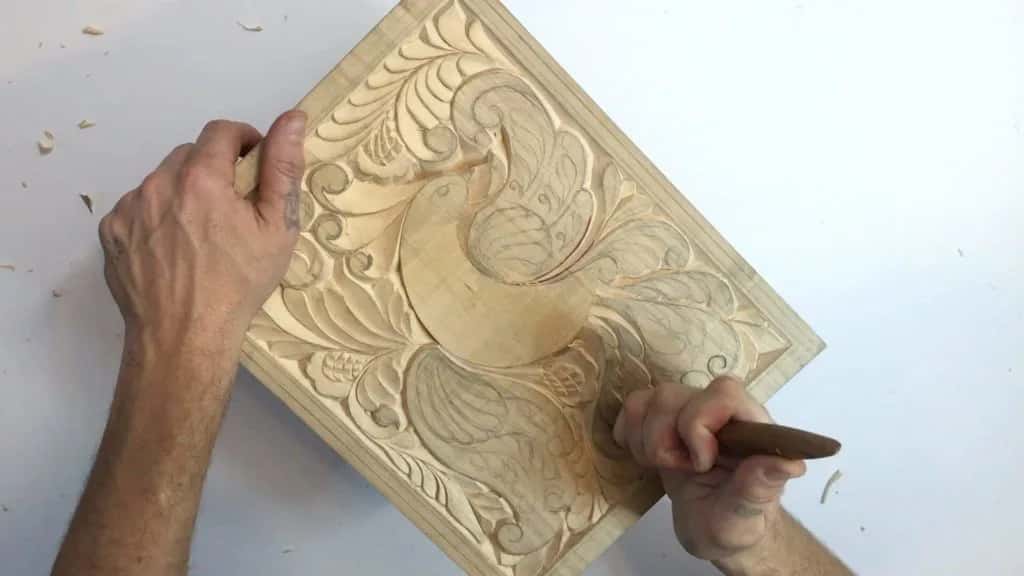
Every line on that board was cut with a single blade.
What can you actually carve with one knife?
Far more than anybody tells you, and I can prove it with a ceiling. One knife is not a beginner compromise. It is a whole tradition.
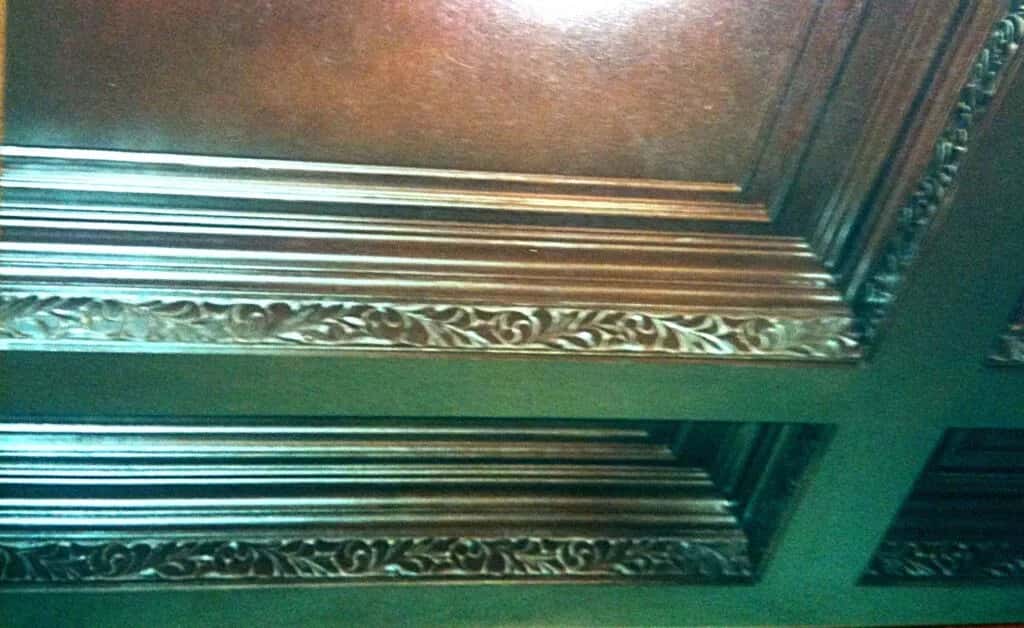
Years ago I took a commission for a carved coffered ceiling. The beams had to be carved down both sides, the house was going into the Parade of Homes, and the deadline was one month. My workshop at the time was the kitchen of a small house. I worked through the nights, and my wife sat up reading books out loud to keep me awake.
The whole ceiling came off one tool. A Pfeil number 12 chip carving knife, Swiss made. It went in on time.
I tell that story because a beginner with one sharp knife is not short of anything except practice. A knife costs about thirty dollars, fits in a backpack, and carves on a hotel bed if that is where you are. My post on carving knives goes through which ones matter.
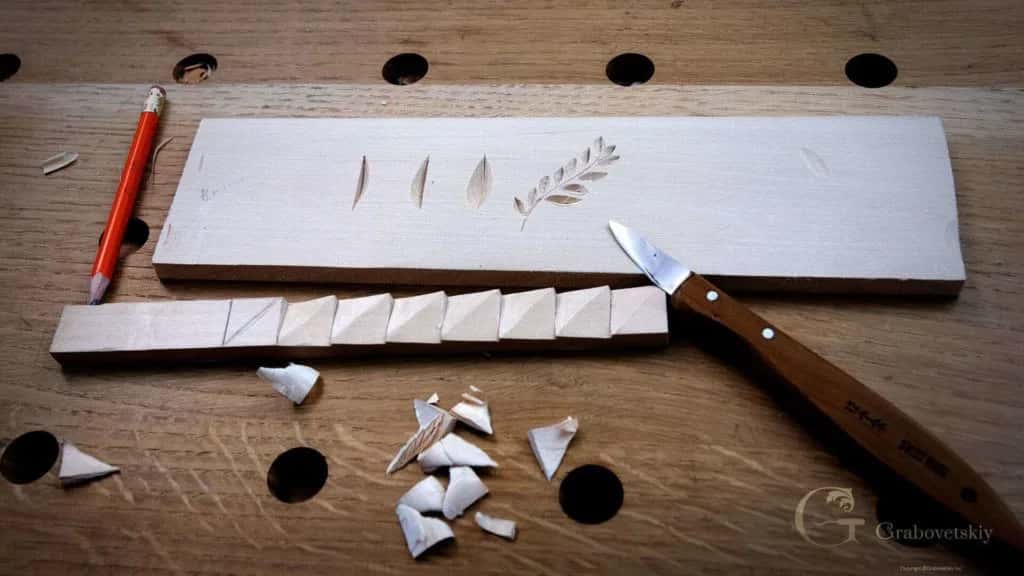
Skill lives in the head. The tool only does what your eye already decided.
Which small project should you carve first?
Pick by what you own, not by what looks impressive. Here are the five in the order I hand them to students, with the real cost of each.
| The small project | What you need to have on hand | Rough time | The skill it will actually teach |
|---|---|---|---|
| The old European style | Just a blade and one flat scrap of soft pine | About two evenings | Straight lines and a clean stop |
| Curly bird board | The knife again, a basswood blank, real patience | A week | Rolling a curl so light moves |
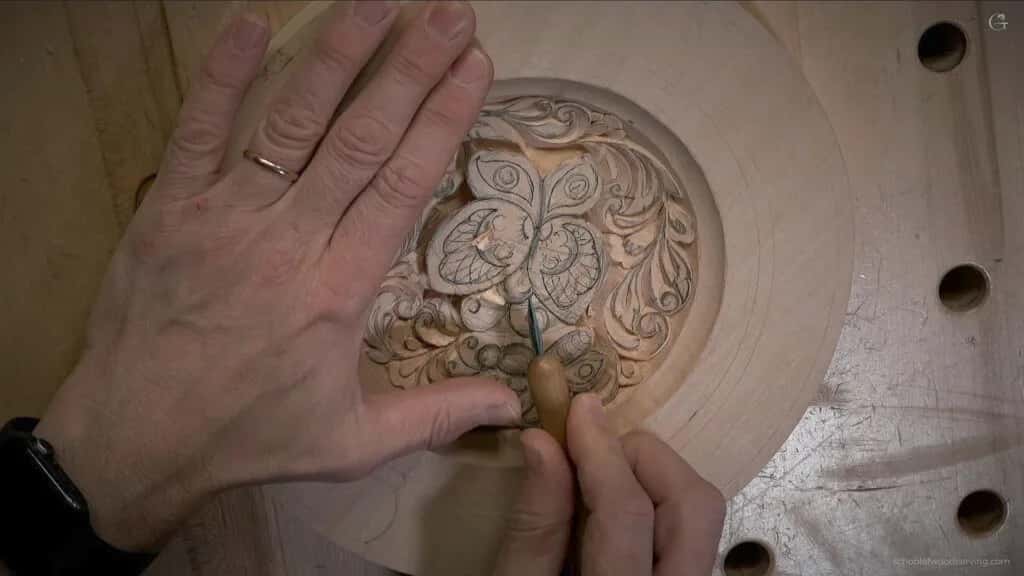
| The round plate with butterflies | Your knife plus two or three quite shallow gouges | Roughly two weeks | Working round instead of dead straight |
| Small flower rosette | Three gouges, one veiner, and a single sharp knife | Ten evenings | Petals that sit at different heights |
| The antique style rosette | Six gouges, a mallet, and a bench that holds still | About one month | Depth, and knowing how far to undercut |
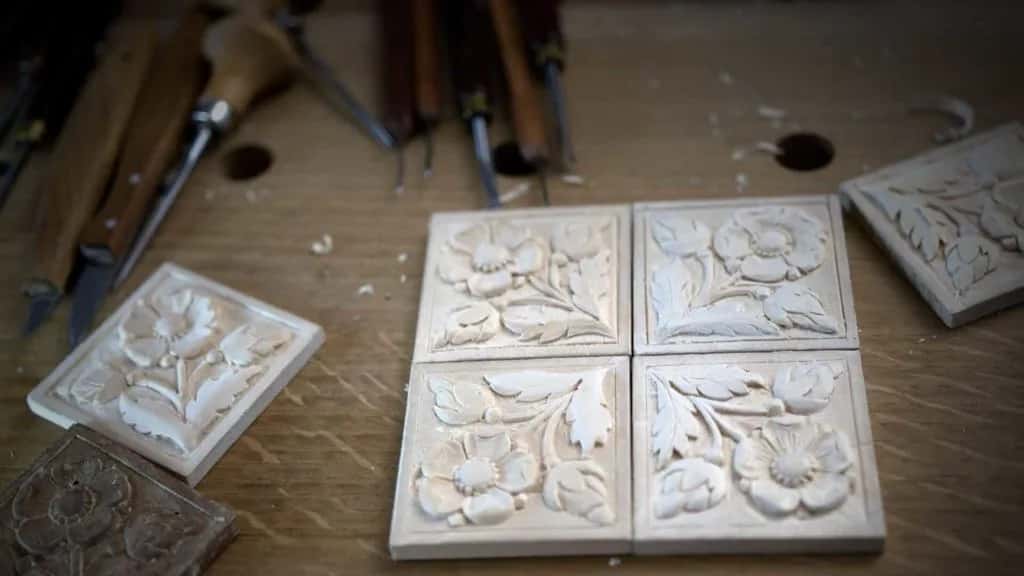
Notice what the last column says. You are not really carving a bird or a flower. Each project buys one specific skill, and the object is just the excuse.
What is the old European style, and why start there?
Shallow geometric carving off a single knife, and it is the oldest beginner path there is. Travel through Norway, Denmark, Germany, Russia or Finland and you find it on everything.
The style runs back to the eighth and ninth centuries. It went on furniture, on entry doors, on chests, and on the boats themselves. The Oseberg ship is the famous survivor, and the stave churches of Norway still carry the doorframes. Look up the Urnes style.
Why it suits a beginner has nothing to do with it being easy. The cuts are shallow, so a mistake takes off very little wood. The lines are straight or gently curved, so your eye can check its own work. And it wants exactly one tool.
Nearest thing I run to it is the one knife old world European class.
How do you carve the curly bird cutting board?
Five evenings, one knife, and a basswood blank you can buy for the price of a sandwich. This is the project I point at more than any other.
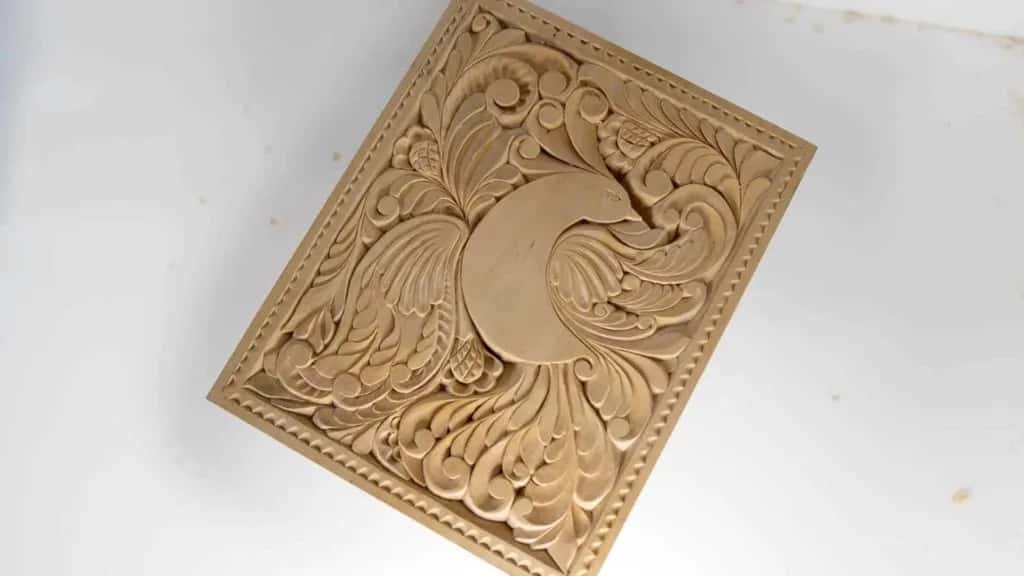
Step 1, trace the pattern onto the blank
Get American basswood, not pine and never construction lumber. Trace the bird and the curls down in pencil, then leave it overnight and look again in the morning with fresh eyes. Take your time here, because the drawing is the carving and you cannot fix a bad line later with a sharp tool.
Step 2, stop cut every outline
Run the knife down each line at a slight angle, then come back from the other side and lift out a fine V. That V is the wall everything else stops against.
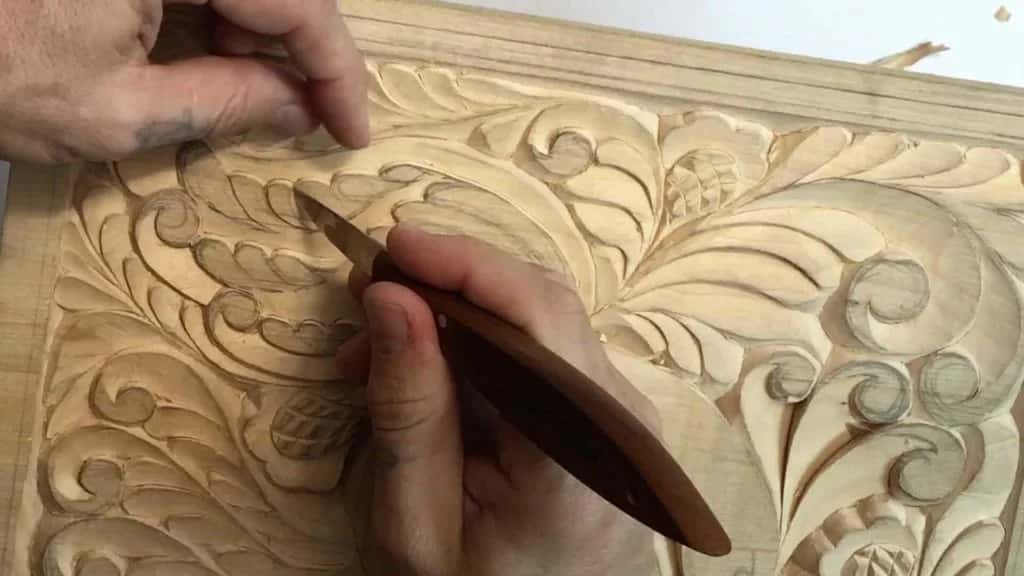
Step 3, roll the curls
Now the part people fall in love with. Each curl gets a long slicing pass that starts deep and lifts out shallow, so the surface turns like a wave. Do not chop at it. Slice.
Step 4, set the background down
Take the ground below the bird a consistent depth all the way round, about three millimeters. Even matters more than deep. A wobbly background reads as a mistake from across a room.
Step 5, oil it
Food safe mineral oil, poured on and rubbed in. The grain darkens, every curl you cut suddenly has a shadow, and the board stops looking like a practice piece.
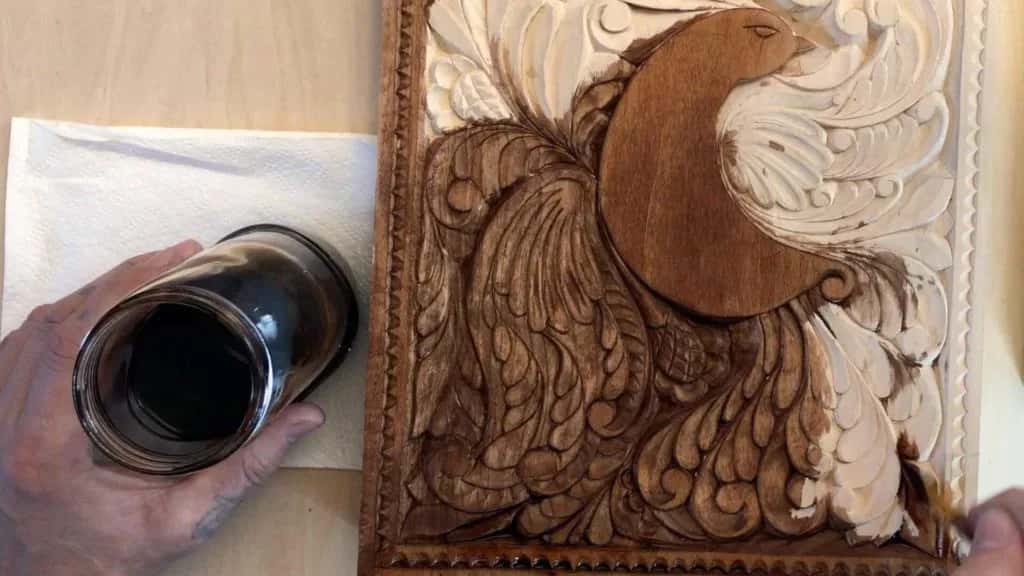
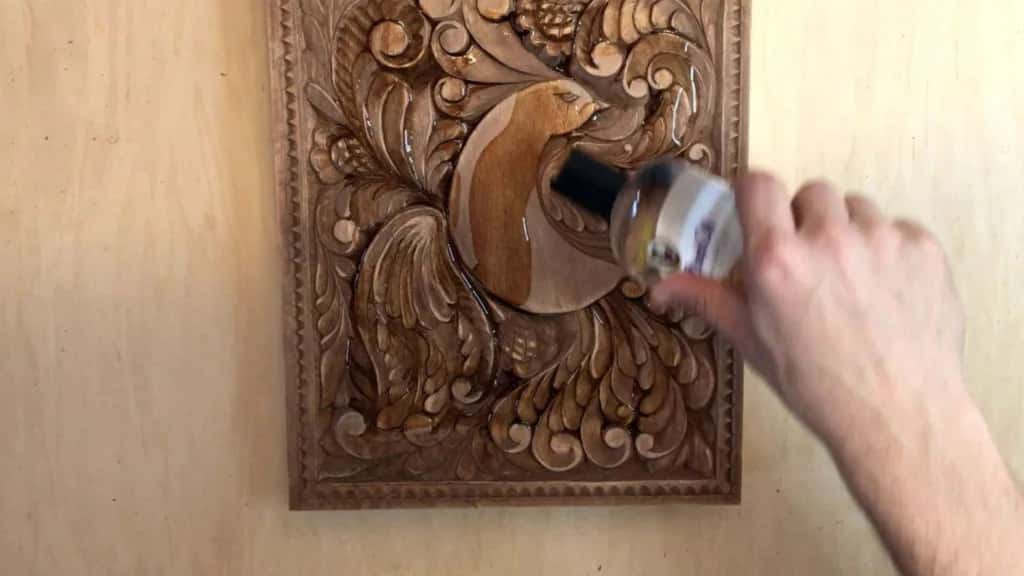
The full course is here in the first carvings lessons, filmed close over the blade.
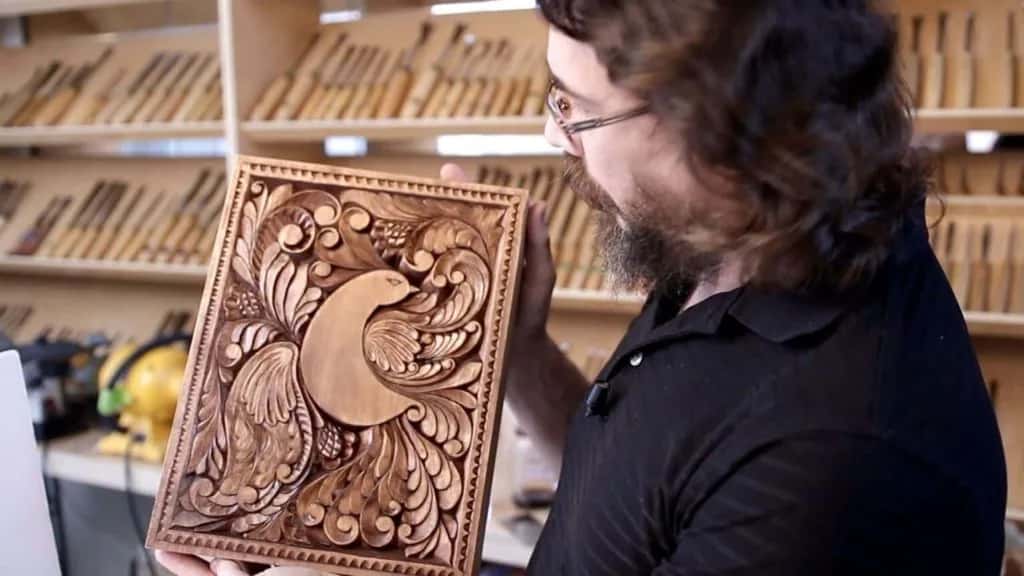
When should you buy more than one knife?
When a shape you want has a curve your knife cannot follow. Not before. Buying tools is not progress, it only feels like progress.
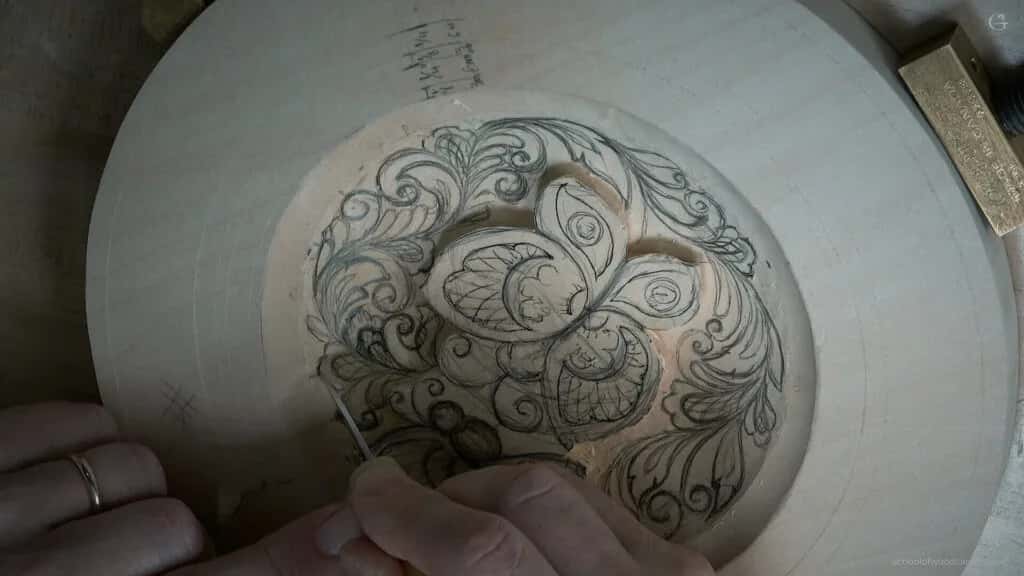
The plate with butterflies is where most people cross that line honestly. A round plate has no straight anything in it. Wings are hollow, the ground curves away under them, and a flat blade simply will not sit down into that.
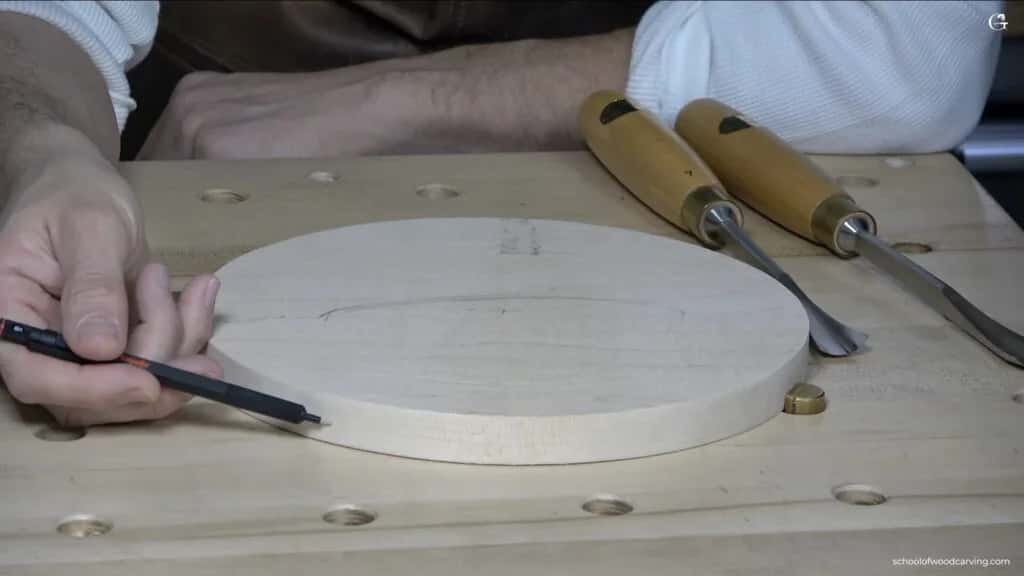
Two shallow gouges and a small veiner cover it. That is three tools, not thirty. I have watched a man buy a boxed set of forty-eight and use six of them for a decade, and the other forty-two went brown in the drawer.
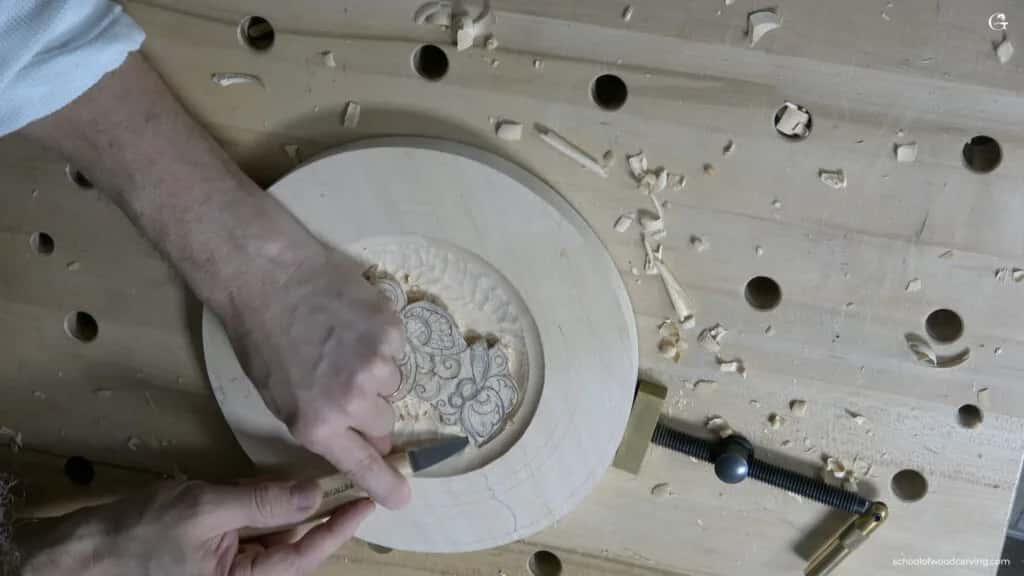
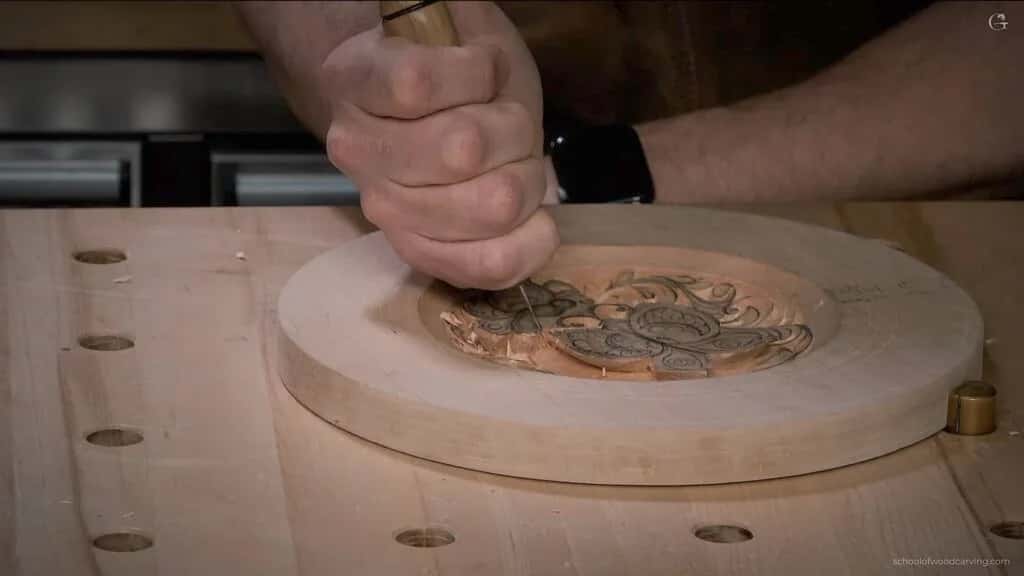
Sharpening matters far more than owning. One tool with a real edge beats a full roll of dull ones, and a dull gouge crushes the fibers ahead of it instead of slicing them. You feel that in your shoulder before you see it in the wood. Woodcraft and Lee Valley both stock strops that will do the job for well under twenty dollars.
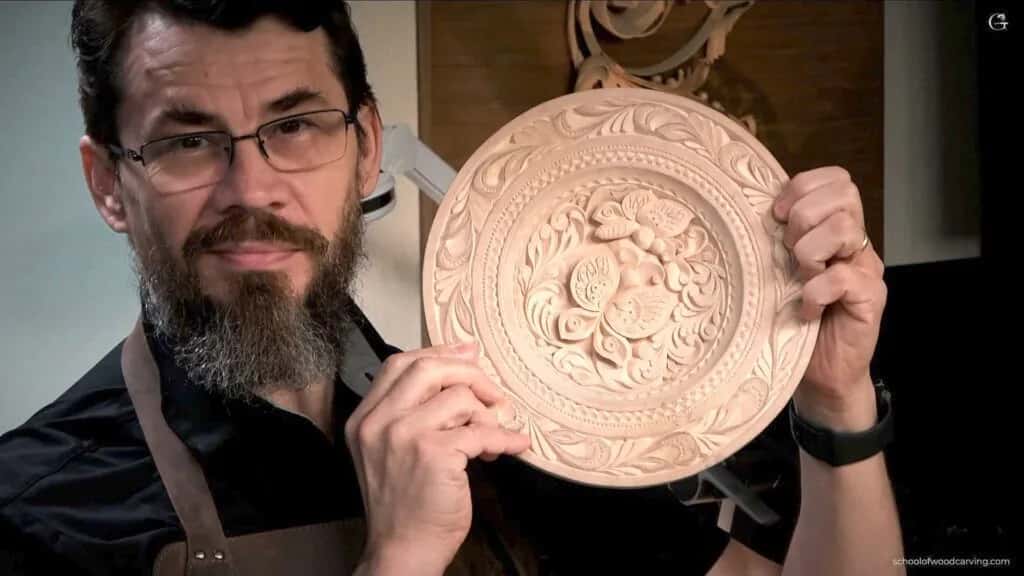
What comes after the first few small carvings?
Rosettes, because a rosette forces you to think in layers. Everything so far was one surface.
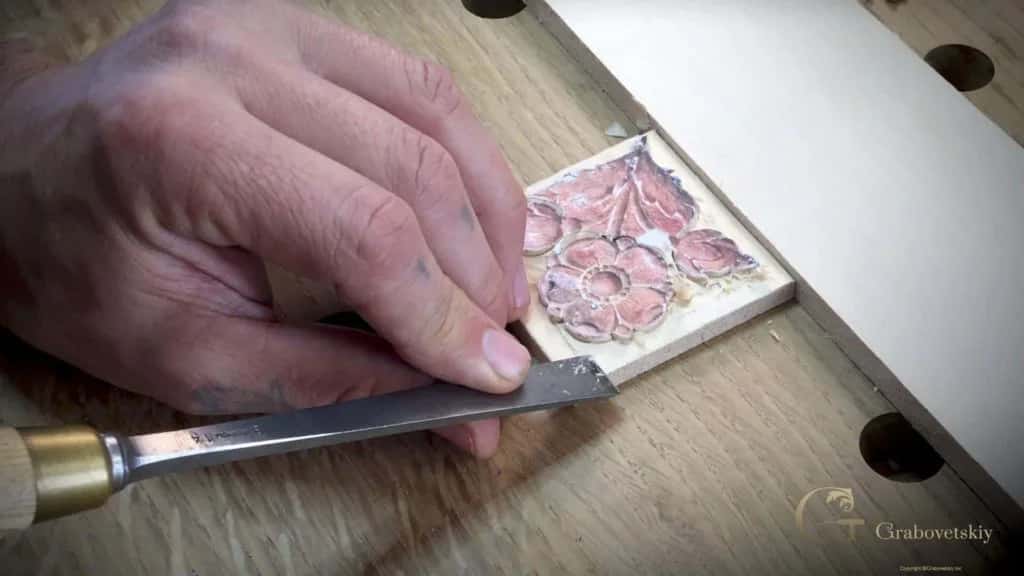
A rosette is petals over petals over a ground, and each layer has to know where it sits. Get one wrong and the whole flower goes flat. The small flower rosette is the gentle version.
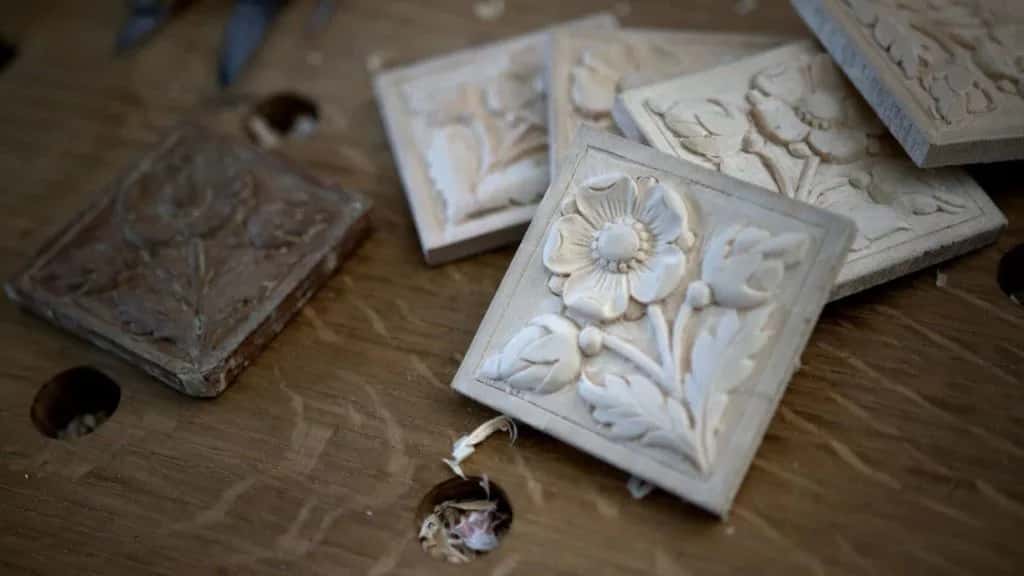
Then the antique style rosette, which is a month of evenings and the first piece most students hang on a wall instead of giving away.
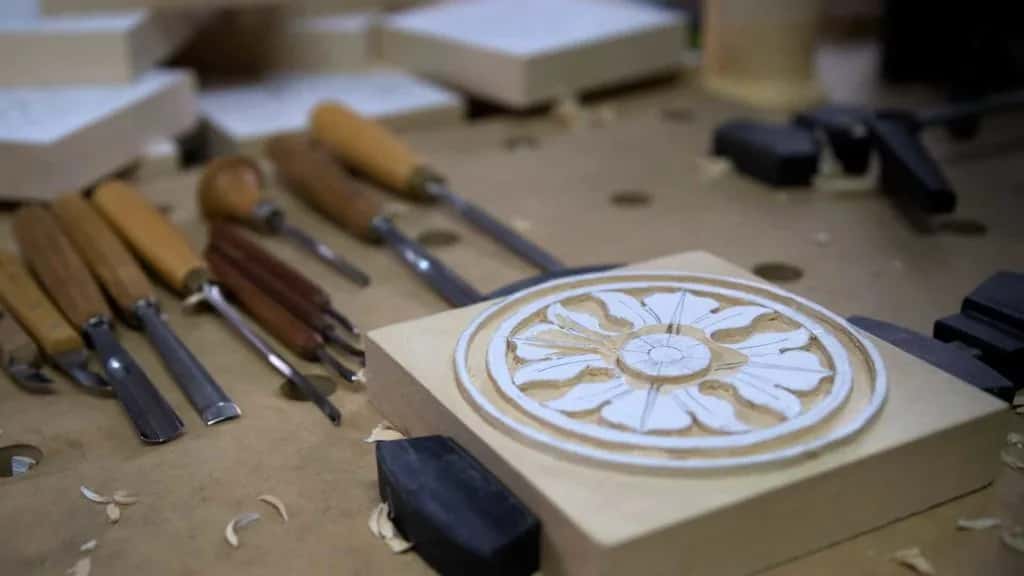
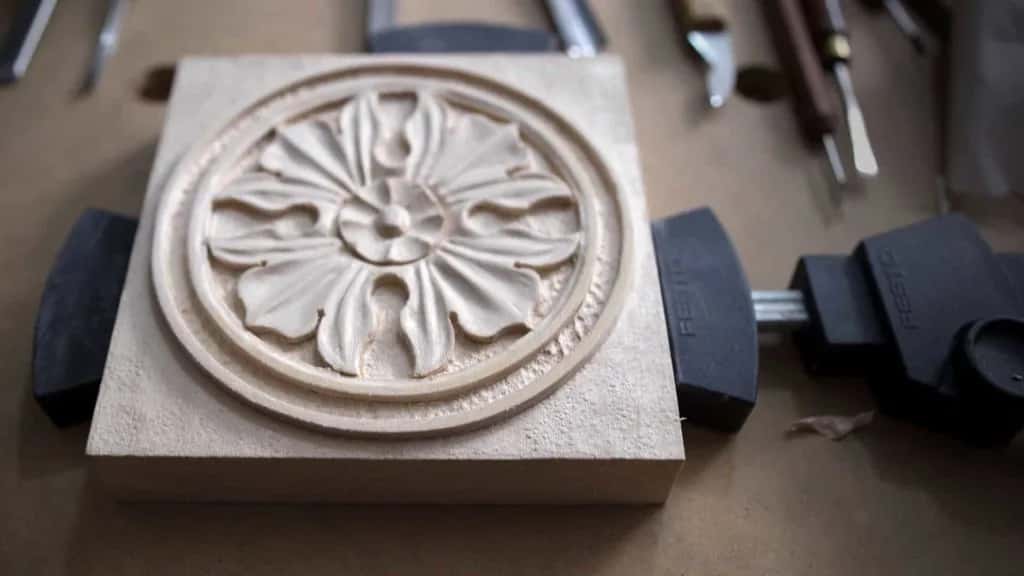
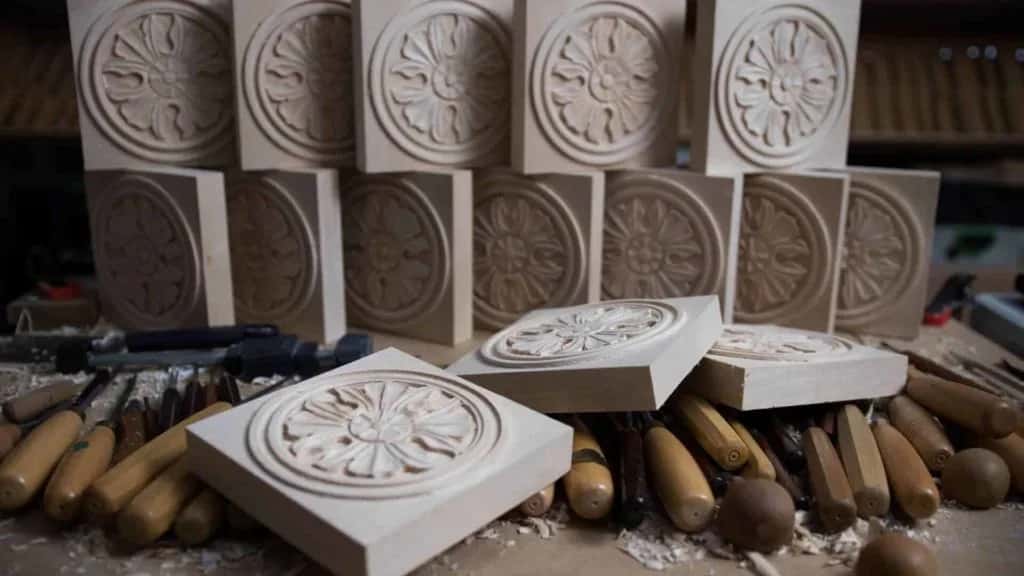
After that the door is open. Hazelnuts take you into the round, and the whole course list runs up to architectural work from there.
Where do you get patterns for small carvings?
Draw them, and I mean that as the cheaper option, not the noble one. A bought pattern teaches your hands. A drawn one teaches your eye, and the eye is what is actually short.
Start by copying old work. Photograph doorframes, old chests, picture frames in a museum. Old carvers copied each other for six hundred years and nobody thought less of them for it. Woodcarving Illustrated prints usable patterns in most issues, and chip carving geometry you can lay out yourself with a compass.
What I would not do is carve from a photograph of somebody else's finished carving. You inherit their mistakes and never learn why the shape is that shape. There is more on this in what to carve as a beginner, and in which tools a beginner really needs.
On the bench itself, the dining table is fine and was fine for me. This post covers benches if you want to build one properly. And if you are still wondering whether any of this is within reach, I answered that honestly here.
So. Do you want a drawer of tools you never sharpened, or a board on your kitchen counter that your grandchildren will fight over? Tuition here also feeds orphans and widows, because this is a 501(c)(3) school. Begin here, or read what other students said on the classes page.
Frequently asked questions
What is the easiest thing to carve for a beginner?
A flat board with shallow geometric cuts in the old European style. Two evenings and one knife will finish it. The cuts are shallow enough that a slip removes almost nothing, which matters a great deal when your hands are still learning what the blade wants to do.
Can I really carve with only one knife?
I carved a full coffered ceiling on one Swiss chip carving blade, working nights in a kitchen against a one month deadline. A single tool limits which shapes you can reach, not how good the work is. Add a gouge when a curve defeats you, never before.
What wood should I use for small carving projects?
American basswood first. Butternut second. Both cut cleanly in every direction and forgive an edge that has gone slightly dull, which yours will. Pine fights you, tears along the grain, and puts beginners off the craft entirely. Construction lumber is worse still.
How long until my carvings look good?
The first board that you would happily hand somebody usually arrives around three months of steady evenings. Real control over a curved surface takes a couple of years. Nobody sells a shortcut around the repetition, and the people who claim to are selling something else.
Do I need a workshop or a proper bench?
A kitchen table works. Mine was a kitchen for years, through paid commissions. What matters is that the work cannot shift under the tool, so one clamp or a bench hook does most of the job, and light from one side rather than straight down.
Should I sand my carving when it is finished?
Try very hard not to. Sandpaper rounds every crisp edge you spent evenings cutting and leaves grit behind that will dull your tools next time. A sharp tool leaves a surface that catches light in a way sanded wood never does.
Filed under
- Basic Ideas for New Wood Carvers
- Basic Wood Carving Designs for Newbies
- Basic Woodworking Carving Tips
- Beginner-Friendly Wood Carving Projects
- Beginner in Wood Carving
- Beginner's Guide to Wood Carving Projects
- Beginner Wood Sculpting Ideas
- Easy-to-Follow Wood Carving Designs
- Entry-Level Wood Carving Concepts
- First-Time Wood Carving Ideas
- First Wood Carving Project Suggestions
- Introductory Wood Carving Projects
- Novice Wood Carving Craft Suggestions
- Simple Carving Projects for Beginners
- Simple Wood Carving Ideas for Novices
- Small-Scale Wood Carving for Beginners
- Small Wood Crafting Ideas for Beginners
- Starter Wood Carving Projects
- Sure
- Wood Carving for Beginner
- Wood Carving Ideas for Beginners