
November 9, 2022 · Updated August 14, 2026
By Alexander Grabovetskiy — Master Woodcarver · Founder, School of Wood Carving · 18 min read
What wood carving tools should a beginner use?
Key Takeaways
- Two tools plus a strip of hide will carry a whole first year.
- Brand counts for much less than an edge you can bring back yourself, at your own bench.
- Limewood, lindenwood, lipa and basswood name one tree, not four.
- A factory bevel lands too short and too steep to work with, whatever the brand.
- Cheap abrasive paper does the job a two hundred dollar stone does, only slower.
Quick answer: Wood carving tools for beginners are one knife, one gouge, and something to sharpen them on. That is the whole list. I carved for months on a single knife because my teacher would not hand me anything else, and the man turned out to be right.
You went looking for a starter set and found a fitted case of twelve tools priced under one good gouge. Five stars. No way to tell what the steel inside is worth.
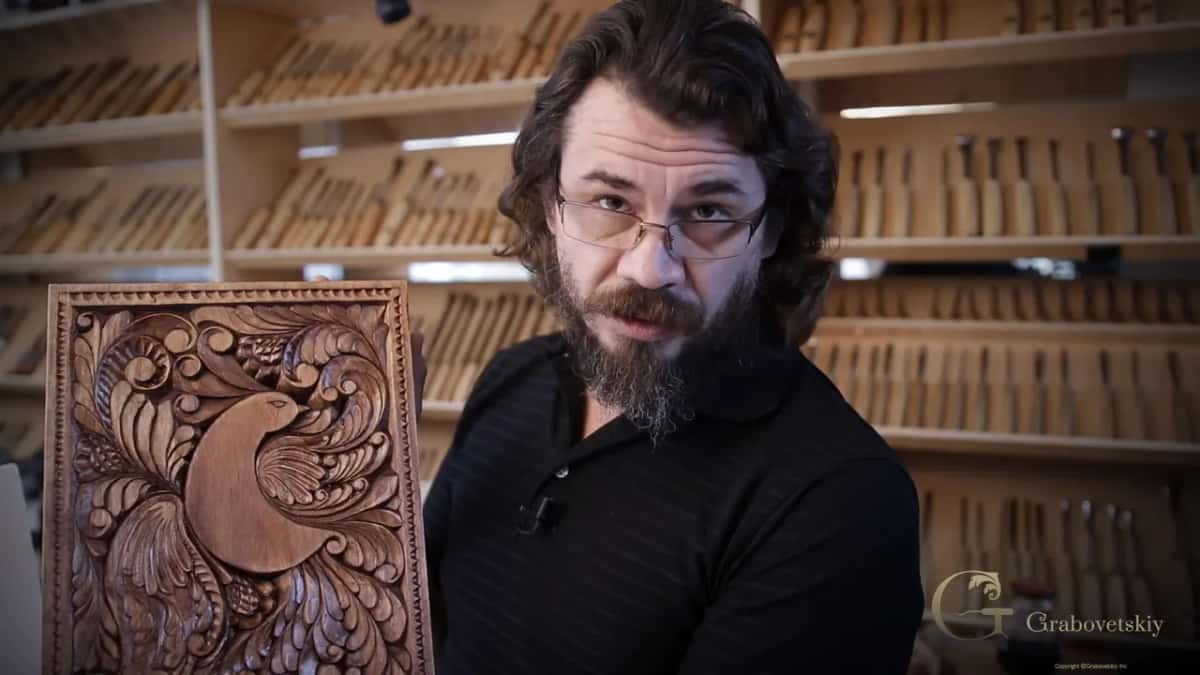
About a thousand tools hang on the wall behind me, collected one by one over thirty years, and most of a panel still gets carved with four of them.
So here is what I would buy if I were starting again this week, what I would walk straight past in the store, and the one skill nobody puts in the box.
What wood carving tools should a beginner use?
A beginner needs a carving knife, one medium gouge, and a strip of leather with paste on it. Nothing else for the first month. Add a number 11 veiner when your lines start wandering and you want them to stop.
Smaller than any starter set will sell you. I am not being cheap here. Twelve tools you cannot sharpen are twelve tools that sit in a drawer feeling like a mistake, while one tool you keep sharp will carve a whole board and then carve the next one.
The first tool | What it does that nothing else does | Buy when | Things I would look at first |
|---|---|---|---|
Number 12 knife | Cleans every line a gouge is too wide to reach | Day one | Steel that holds a real edge |
A basswood board | Takes an edge without fighting | Same day | Eight inches long is plenty here |
Leather and paste | Brings the edge back long before it is gone | Right away | Scrap leather from a shoe shop |
Number 7 gouge | Shapes round forms in a leaf | Week two | Width of about half an inch |
Number 11 veiner | Draws your outline down into the wood so it stops wandering | Month two | Narrow, around three or four millimeters |
A table tells you what and never tells you why, so every row above gets its own section below. The full reasoning behind the list lives in our course on tools for wood carving.
Twenty six minutes on this same question, filmed at my bench back in February 2021, with the tools in my hands.
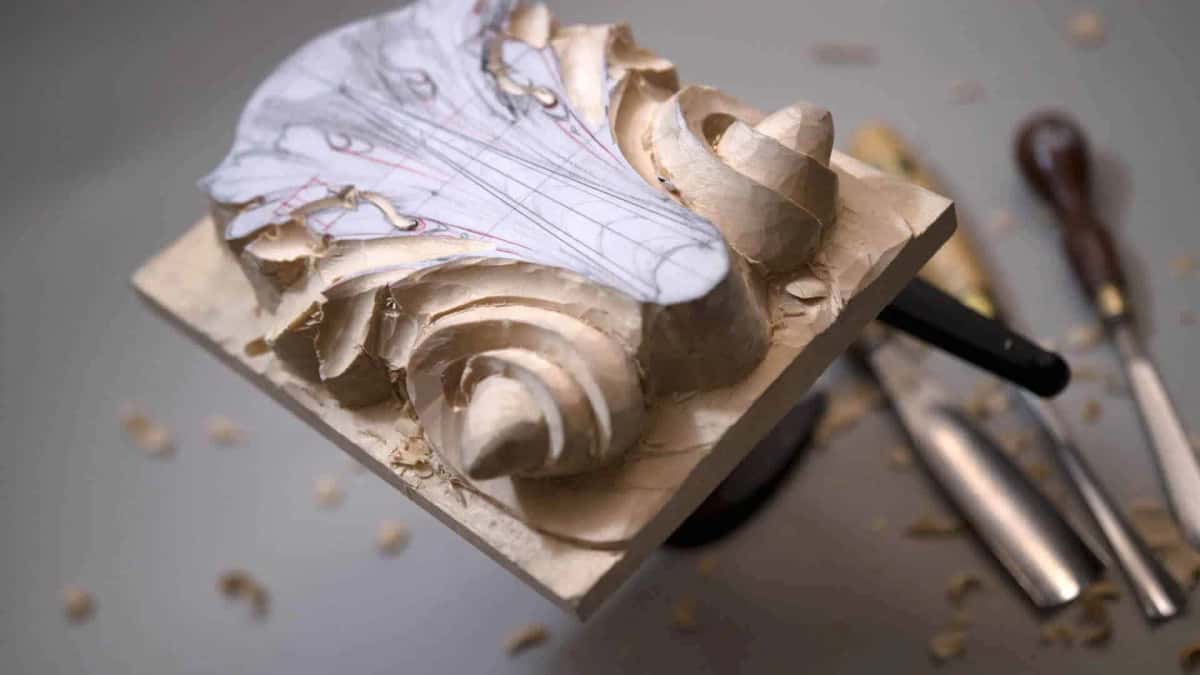
Three handles waiting out of focus while the block gets its first shapes.
Why start with only one knife?
One tool forces you to learn the hand instead of shopping for the next tool. My teacher understood that better than I did at sixteen, and he refused to argue about it.
His rule was short. Master the knife, then I hand you a gouge. Fail at the knife and no gouge was coming, and he meant every word of it.
So for a long stretch I owned a knife and nothing else. Flat projects at first. Slowly they began to round out, and I hated that knife and loved it in the same week.
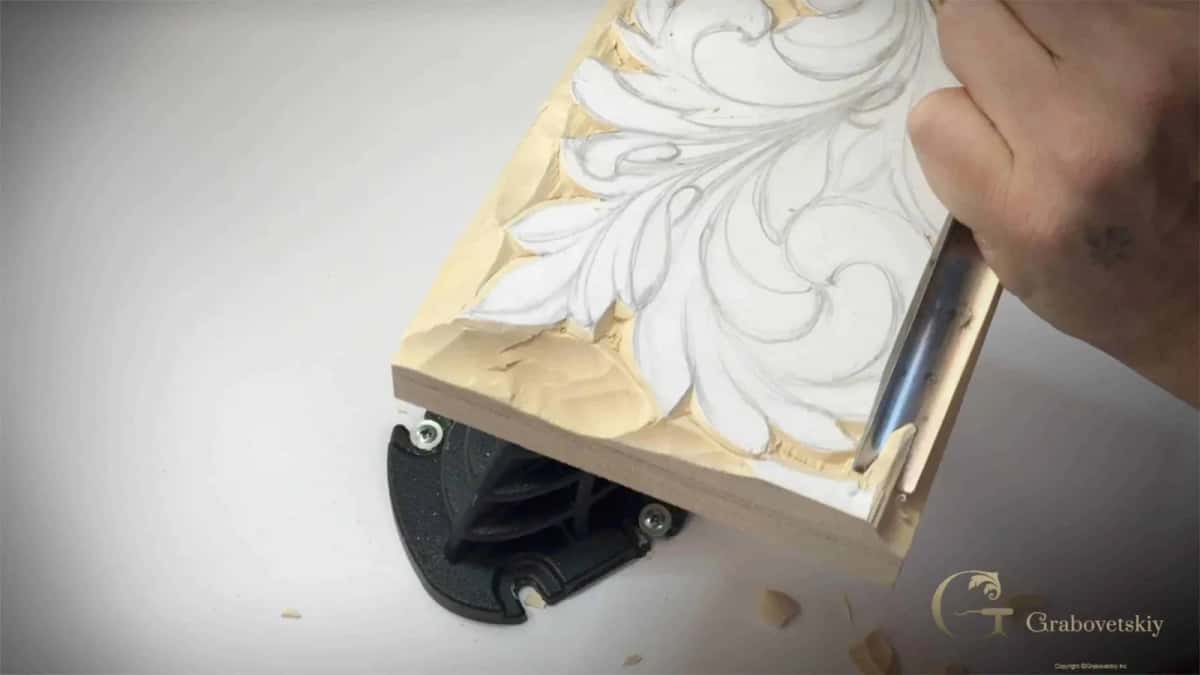
Riding the pencil outline at an angle, which is the first carving on the whole project.
Here is the part people do not believe. My favorite knife has sat on my shelf for twenty years and I still pick it up every day. One payment, and it became a friend for life. That knife paid bills. It paid my housing. Not twenty dollars, not a hundred, not even a thousand, but real money across real years.
When I came to the United States from Russia I owned exactly one gouge and one knife. The gouge came from my teacher as a gift. My knife I made myself, out of necessity, because forty dollars was not a number I had. Those two tools were the whole kit and they got me work.
For the longer version of what a carving knife even is, I wrote a piece on carving knives and how they differ.
Which carving knife should I buy first?
Get a number 12 Swiss knife from Pfeil if the money is there, and a BeaverCraft knife from Ukraine if it is not. Both carve. One lasts longer.
My number 12 has been my favorite for two decades. Around forty dollars, which is real money for a piece of steel that small, and I would still tell you to buy it once instead of buying junk three times over.
The BeaverCraft is a wonderful knife. Wonderful. I say that as a man with a shelf of tools that cost four times as much, and if I did not want to spend forty or sixty dollars on a single tool, that is exactly where I would go.
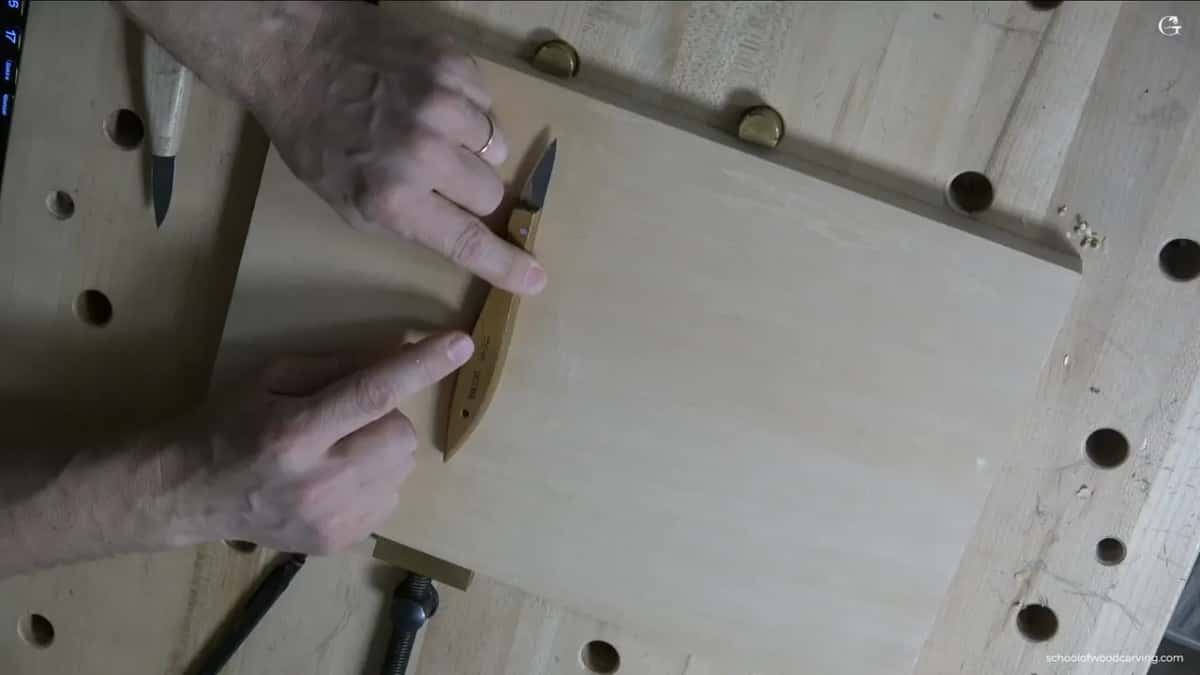
Two knives in the frame. Honestly, one of them is enough.
You will also find bundles of four knives for about twenty dollars. Do the math on that. Five dollars a knife. Three will live in a drawer forever, and the one you use needs sharpening the first evening.
Knife or brand | What I have actually seen it do | Rough price | Who I would hand it to |
|---|---|---|---|
Pfeil number 12 | Twenty years on my shelf and it still works daily | Around $40 | Anyone who can stretch to it |
BeaverCraft from Ukraine | A wonderful knife, genuinely wonderful | Under $20 | A carver watching every dollar spent |
Bundle of four | Three of them will sit unused in a drawer | About $20 | Nobody, if you can help it |
Flexcut carving tools | Handle ridges bite into my palm | Varies widely | Undercutting work, not everyday carving |
One you made | Something carvers across Vietnam and Russia have always quietly done themselves | Steel scrap | Anyone with a grinder and patience |
That last row is no joke. Carvers in China, Russia and Vietnam still forge their own, and they always have. Mine came from scrap steel, because there was no other way for me to own a knife at all.
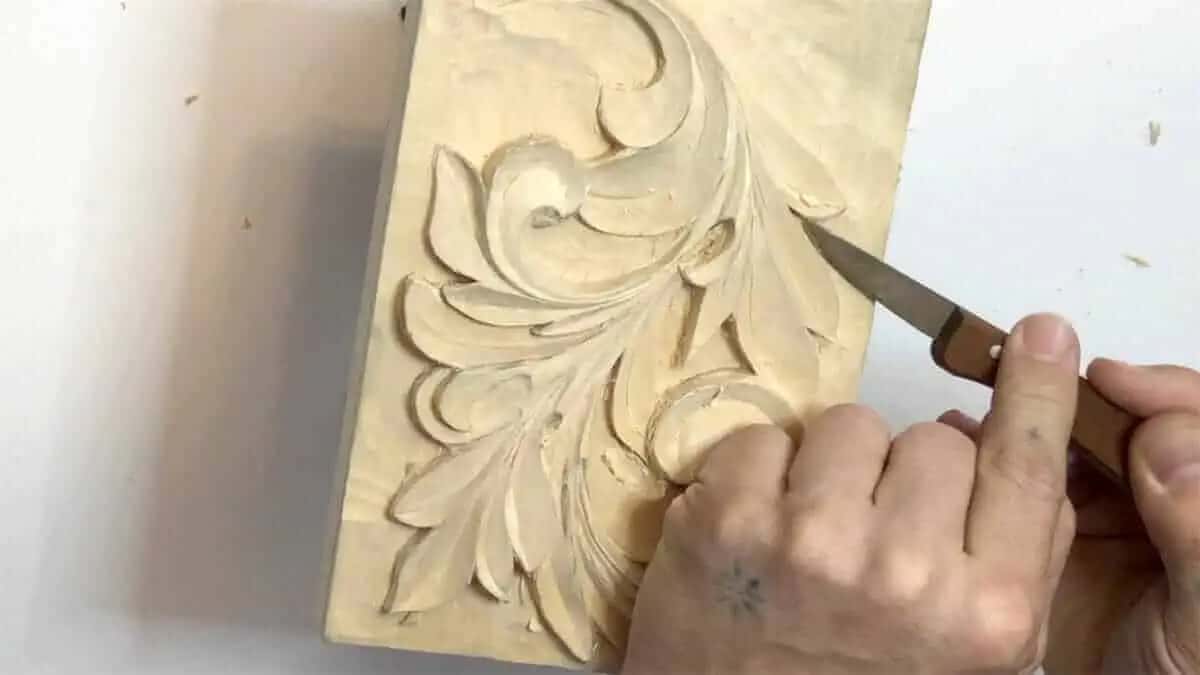
Cleaning fuzz off an edge, which is a corner no gouge will ever reach into.
How many gouges does a beginner really need?
Two will carry you through a first year, and four will carry you through a real panel. Buying twelve is a shopping decision rather than a carving decision.
Think of it the way I do. Every tool is a soldier in an army and each one has its own job. A bigger army takes bigger ground, so bigger projects become possible. Two soldiers, and your ground is whatever the two of them can reach and hold.
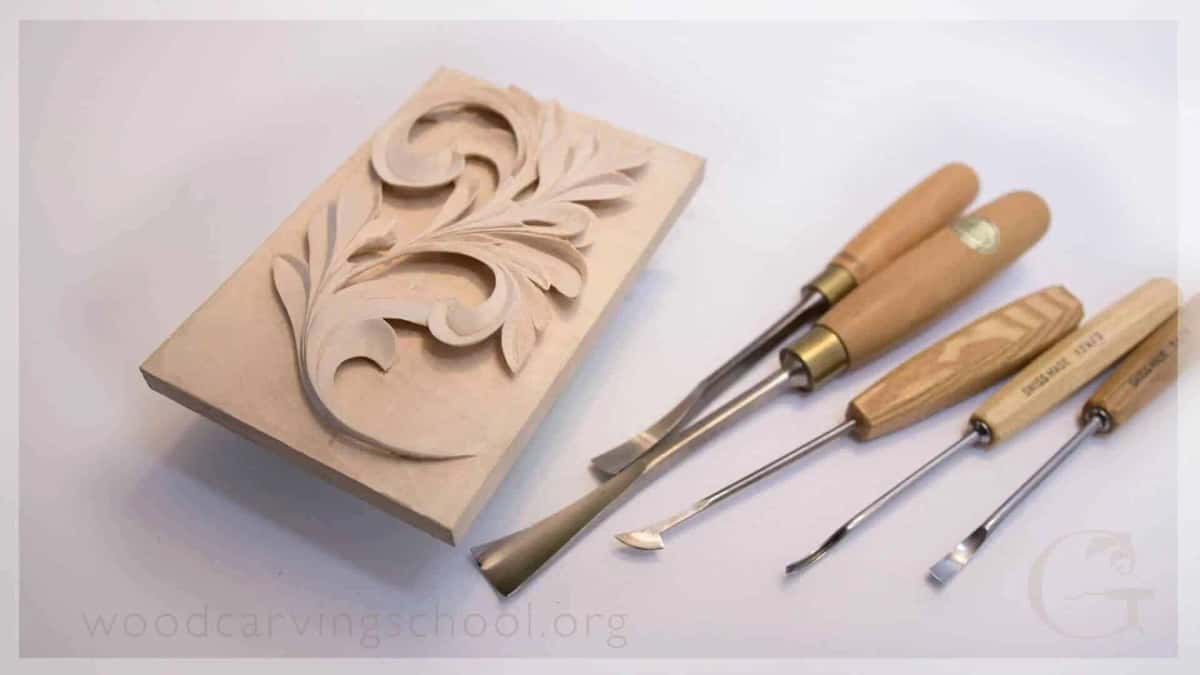
One finished scroll and the five tools it took. Two big ones, three small bent ones.
I read a carving forum once where carvers agreed that a real carver never uses more than twenty tools. Then I am not a real carver. Mine number about a thousand and the pile keeps growing. Their point survives anyway, because most of my working day runs on number 11 veiners.
Now the mistake I watch people make, including people who have carved for years. They pick up the smallest tool in the rack and zig and zig across a surface that a wide gouge would have cleared in four passes. Frustration follows. Then they blame the wood.
Grab the bigger tool. Always. Move to a medium one when the big one stops fitting, and save the smallest of the small for details right at the end. Surprisingly fine work comes off a wide blade in a steady hand.
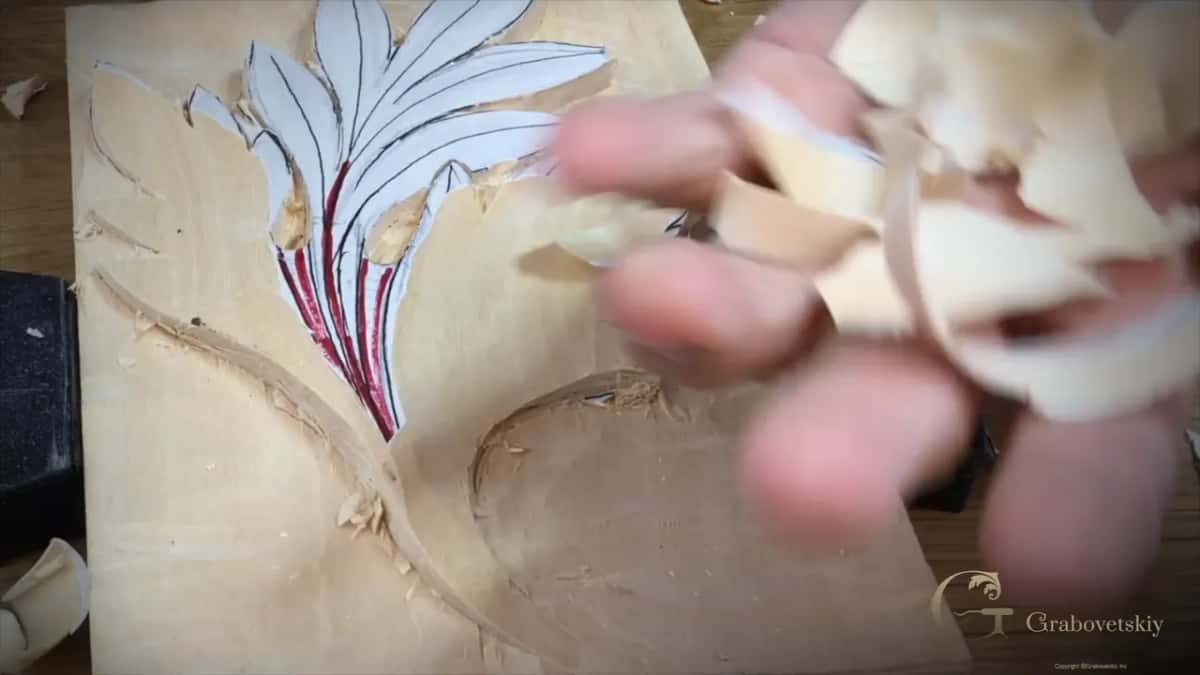
One shaving off the leaf. The red pipe lines are still showing underneath.
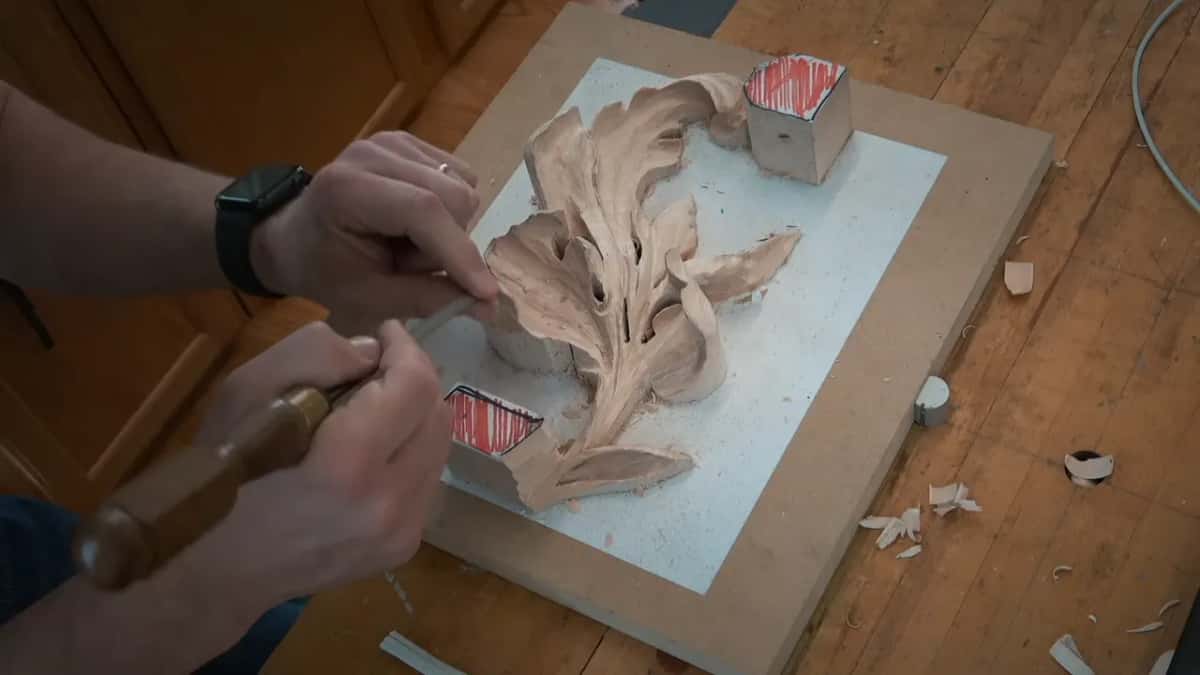
Two hands driving a single gouge. Those little red hatched blocks are my depth marks.
My first gouge was a number 7 and my teacher chose it, not me. Still one of my favorites, and I reach for it without thinking. Start there. Around half an inch wide suits a hand that is still learning what a tool wants to do.
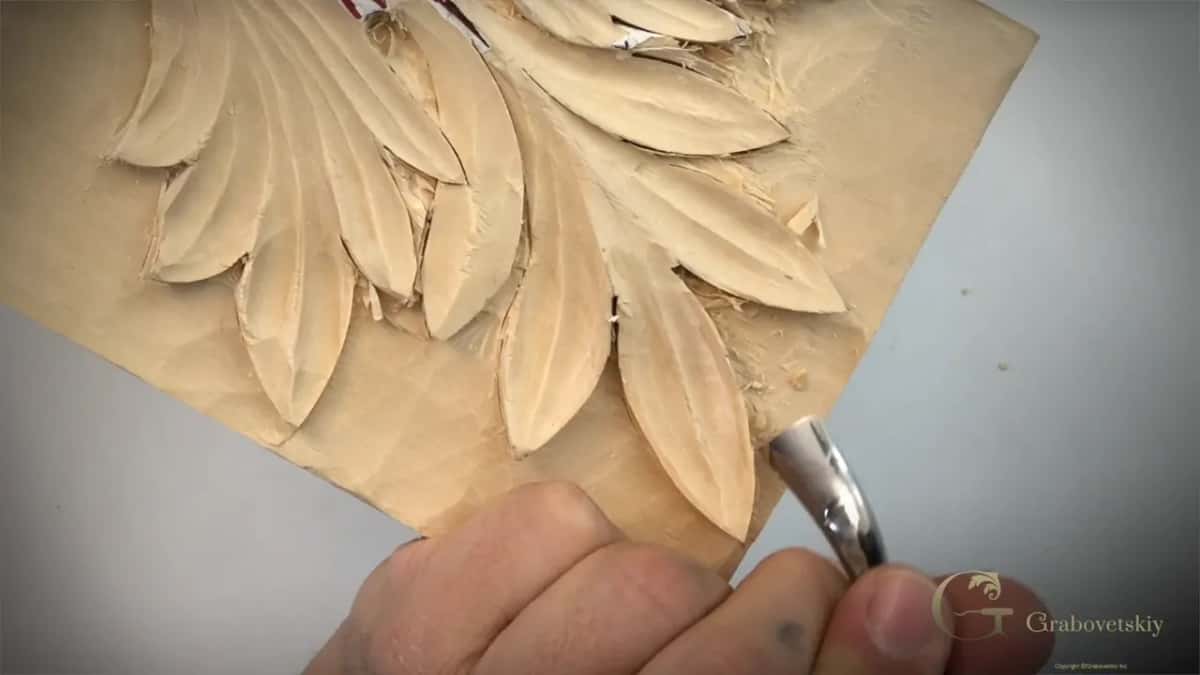
A back bent tool reaching under a lobe. Buy it in year three.
What do the numbers on a carving gouge mean?
The number tells you how curved the edge is, and nothing else. A 2 sits nearly flat. An 11 is a deep narrow U. The millimeter figure beside it gives the width of the blade.
Tool sellers skip this part, and skipping it costs you money. Once you can read a number you stop buying duplicates, because a 5 sits between two tools already in your rack and your eye will catch that before your wallet does.
Number on it | How much curve the edge actually has | First job | Where a beginner meets it first |
|---|---|---|---|
Number 2 flat | Nearly flat, running almost exactly the way a chisel does | Clean up | Flattening a background that went wavy |
A number 3 | A curve you barely see | Soft shaping | Rounding over an edge by hand |
The number 7 | Half a circle, and deep enough to really bite | Real shaping | He gave me this one first |
Big number 9 | Almost a U, moving real wood | Heavy removal | Roughing out before anything looks right |
Veiner, number 11 | A deep narrow U, and the one I reach for most | Line work | Most of what I use daily |
V tool proper | Two flat walls that meet in one corner | Outlining work | Hardest of them all to sharpen |
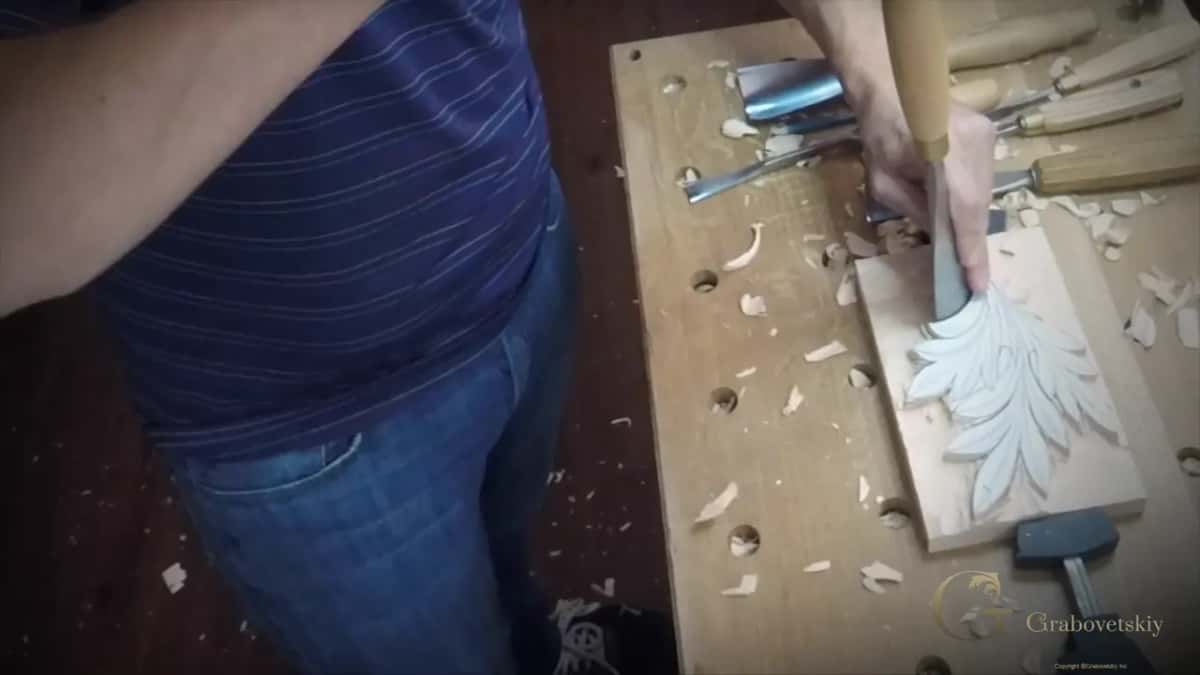
Pushed by hand, no mallet needed, because that sweep already matches the curve.
Reading the chart is half of what people call talent. Match the sweep of the tool to the curve on your drawing and the wood gives up without a fight. Guess at it, and you spend the evening fixing an edge you never meant to make.
Now a warning about the V tool. Two flat walls meet at the bottom in a corner, and that corner is where beginners lose an hour and then their temper. Mine arrives ground at sixty degrees from the factory. I usually take it down to forty five, sometimes as far as thirty five.
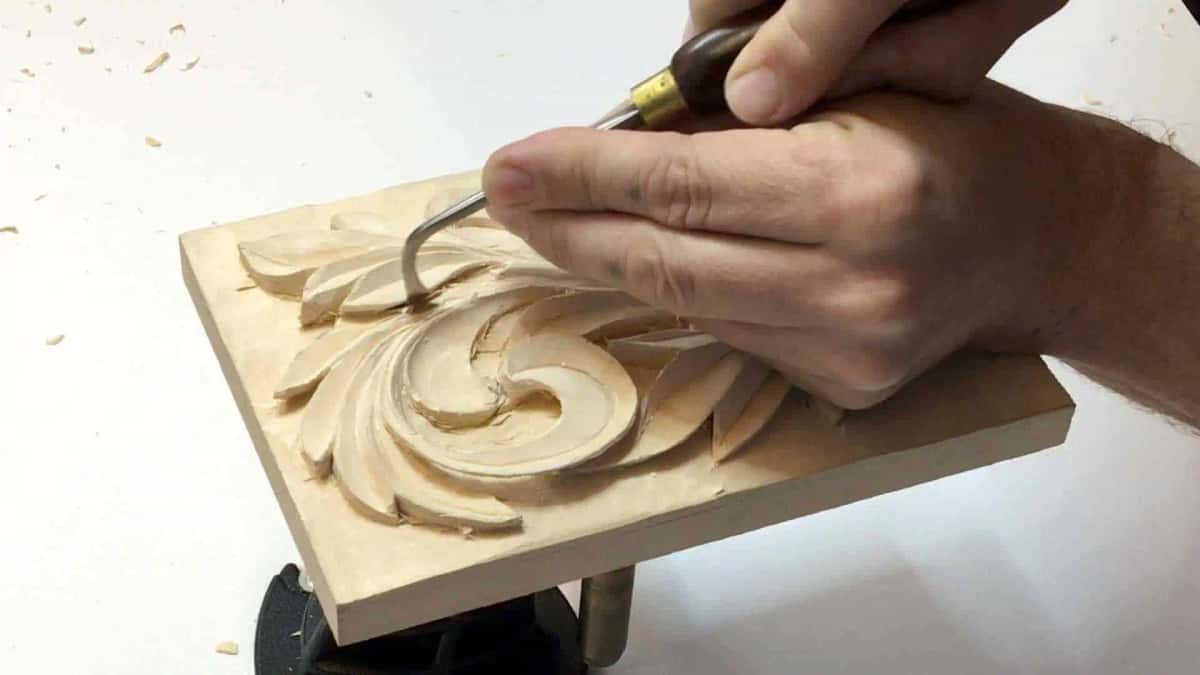
A short bent gouge with its tip down inside a recess. Year three, not year one.
What wood is best for a beginner to carve?
American basswood, which is the same tree as limewood, lindenwood, and lipa. Different countries, one wood, four names on the label. Buy a board of it and stop reading tool reviews for a while.
It takes an edge cleanly, it does not fight the tool, and it holds detail far better than its softness suggests. Botanists call it Tilia americana, and the USDA plant profile maps it right across the eastern states. The Forest Service write up has more on the tree than you will ever need, and for working numbers on grain and weight the Wood Database entry for basswood is the one I check.
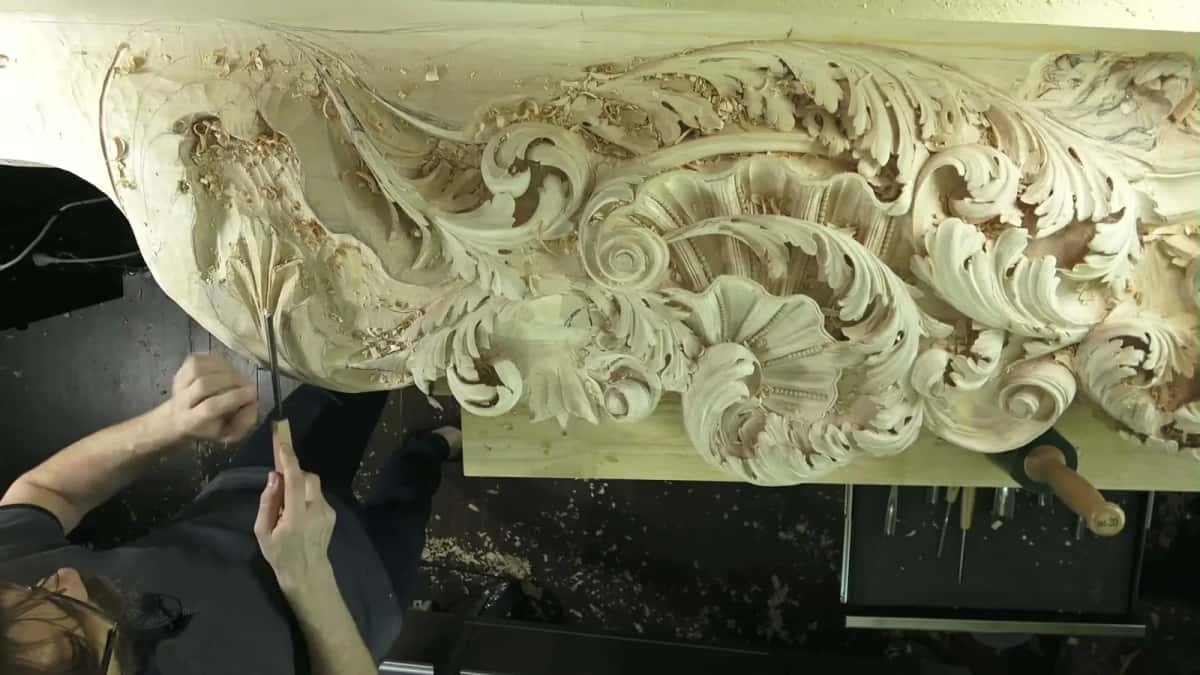
A Baroque shell and scrolls, carved deep, with both hands steering the blade.
I am picky about basswood, and I live in Florida, where you really cannot find any. So it gets shipped to me. Nobody mentions that small daily annoyance when they tell you carving is a peaceful hobby.
Butternut is beautiful and I love it. Hard to get in the United States now unless you happen to live in Pennsylvania, Ohio, or Indiana. Down in the southern states it is close to impossible. The grain is my one complaint.
Now the line that changed how I work. I once complained to my teacher that he had handed me a bad piece of wood. He answered that there is no such thing as bad wood. It is dull tools. Only dull tools. Sharp steel does beautiful work on the worst board in the pile.
He said the same thing to me years later and I was still annoyed by it. Still right, though. To go deeper on species we keep a guide to basswood and how it carves plus a broader piece on choosing wood for carving.
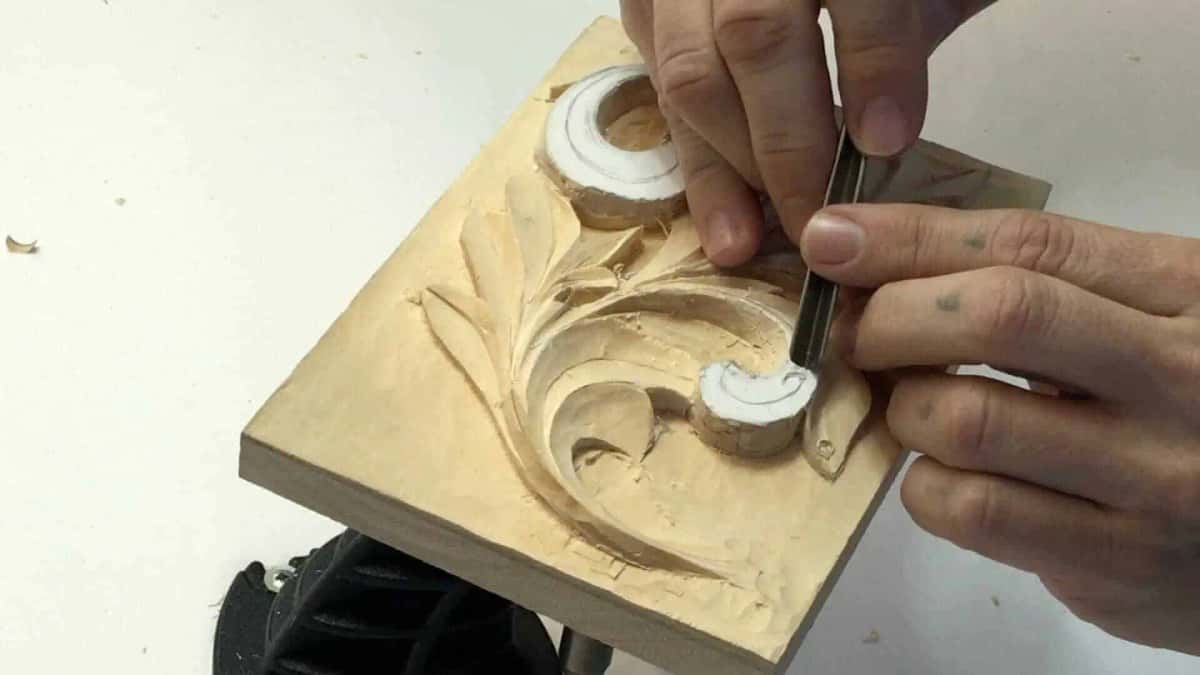
Paring beside the eye. Nothing here can be put back.
Why do my carving tools go dull after one month?
Every tool goes dull, and the only question is when. People buy tools, carve happily for a month, hit the wall, and decide they have no talent. There is no talent problem here, only an edge problem.
Watch what actually happens. The tool stops slicing and starts crushing. Surfaces tear. That person blames the wood, then blames himself, and the tools end up in a box in the garage. I have seen that box in a hundred workshops.
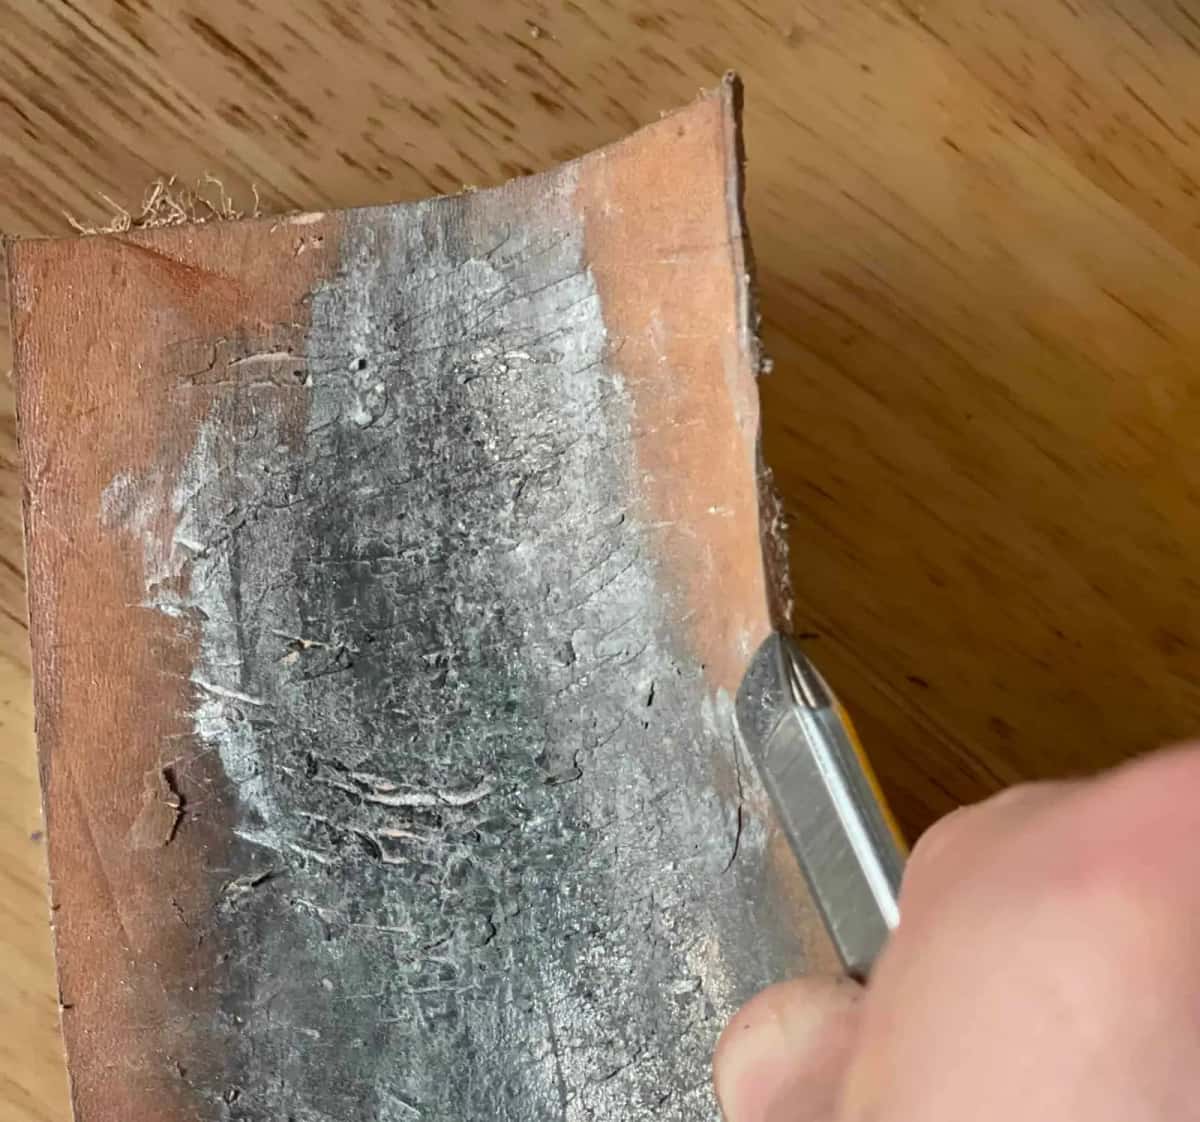
Backwards down the leather. Forwards and you slice the strop in half.
Something the sellers will not print. Look at the bevel on a brand new tool of any brand at all. Short, steep, and not acceptable for carving. One Amazon listing says it plainly. If you are not planning to sharpen these tools, do not buy these tools. True of every brand on the shelf.
Sharpening is the hardest of the three skills. Design, carving, sharpening, in rising order of difficulty, with sharpening at the top. Easy once you know what you are doing, and getting to that point is the whole job.
No money is needed to start. Do not overcomplicate it, he told me, unless there is cash for stones, and one stone runs two hundred dollars. Go to the hardware store, buy five dollars of sandpaper in a few grits, lay it flat on a bench, work there. That was the first thing he ever taught me.
Then strop. My grandfather stropped his straight razor on a piece of hide, and a strop is nothing fancier. Walk into a leather shop, buy a scrap, load it with paste. Skip the expensive one with the fitted block.
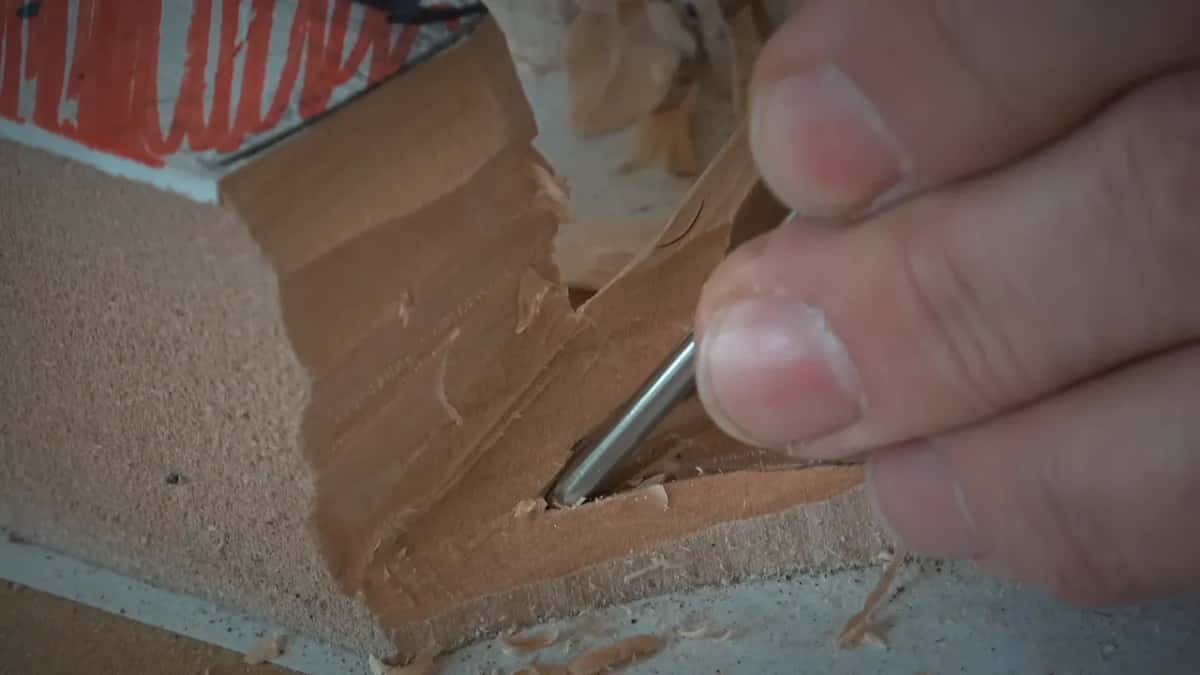
One curl of basswood lifted out of a tight corner, which a dull tool simply cannot do.
Where a two hundred dollar stone is not a real option, sandpaper is genuinely fine, and carvers around the world work this way without their work suffering for it. We teach the whole sequence in the tool sharpening course, with a group of sharpening classes beyond it. Machines like Tormek are wonderful and none of this needs one.
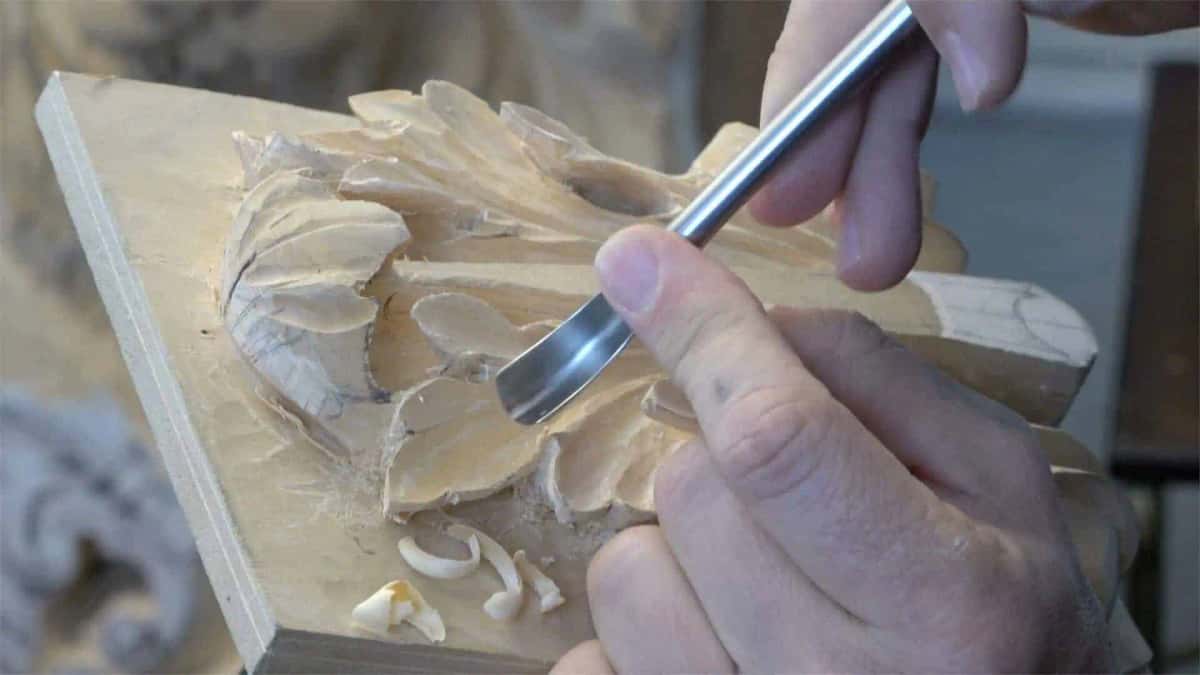
Thumb and forefinger braced right against the blade. Three shavings on the wood below.
Most beginners quit at exactly this wall, and almost none of them know that is where they are standing. If your month is up and the wood suddenly feels wrong, your edge went first. Fix the edge, and the talent you thought you never had comes right back.
Where do I carve if I have no bench?
Your kitchen table works, and so does the dining table. Some people never begin because they believe a shop is the entry fee. It is not. I have carved whole projects on a kitchen table with a single knife.
For anything bigger, use the sandwich. Take a sheet of paper, glue one face to the back of your piece and the other face to a block of scrap. A short length of two by four is the cheapest block anywhere. It holds solid while you carve, then splits apart cleanly along the paper when the work is finished.
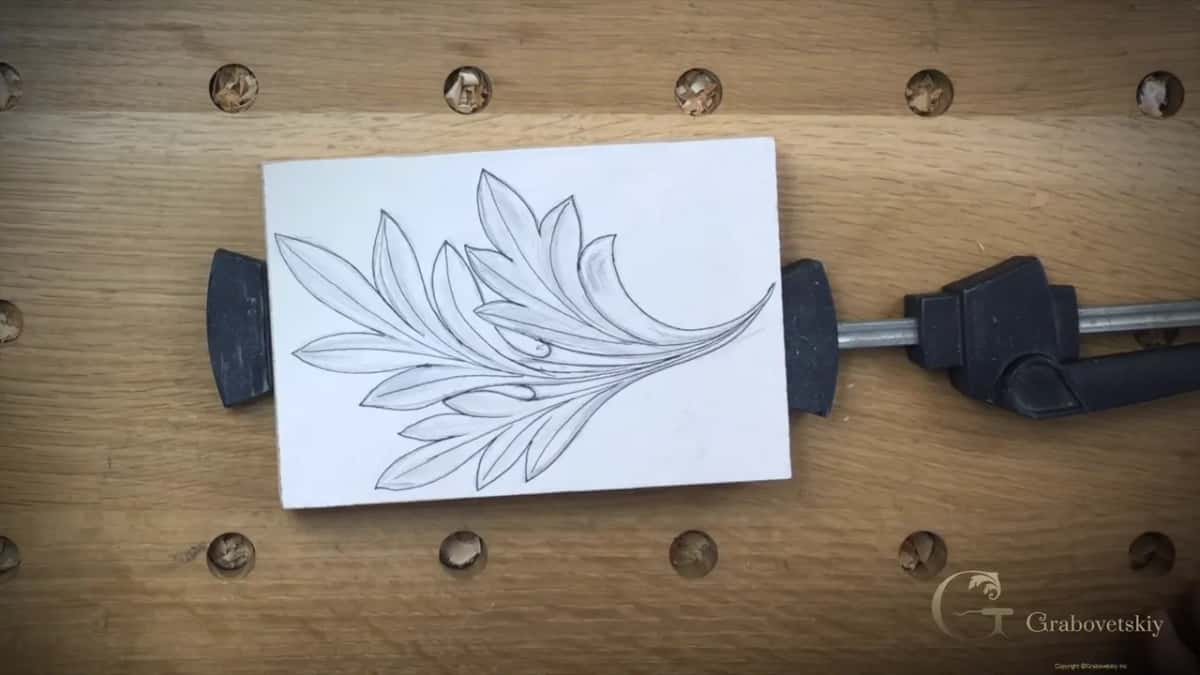
Clamps from both sides hold the patterned block flat while it gets roughed out.
Two rules about the bench itself, and both concern your hands. Never put a hand in front of the knife, because one day you will slip and carve yourself badly. And when you pick a tool up, take it with the blade pointed away from you, carve, put it back.
Keep two to five tools in front of you, and no more. I own about half a thousand and laying them all out would cost me the afternoon hunting for the one I want. Our piece on carving benches covers the rest of the setup.
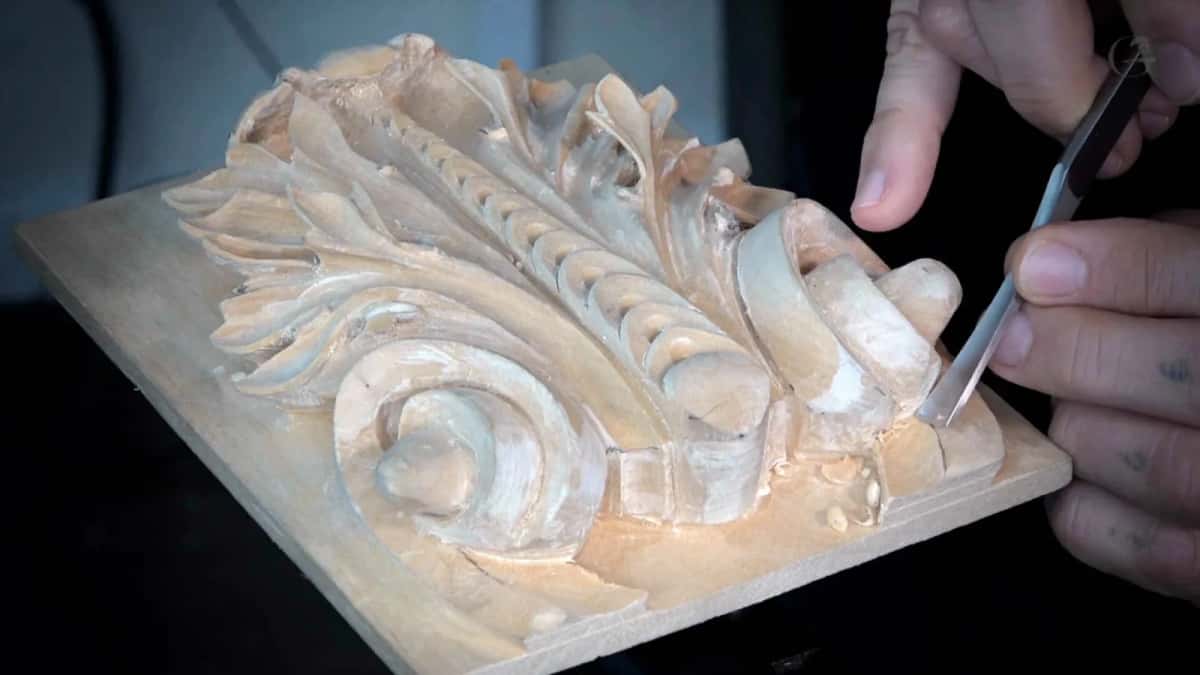
Held in the hands, not the vise, so the right edge is reachable.
How much should I spend on my first carving tools?
Sixty to eighty dollars gets a beginner properly started. One good knife, one gouge, five dollars of sandpaper, a scrap of leather, and a basswood board. An honest number, and far below the price of twelve tools in a case.
When I do buy a full set, my order runs Auriou first, then Ashley Iles, then Pfeil. Auriou steel holds an edge. The tools are beautiful in the hand and they last a lifetime. Classic Hand Tools carries the range in Britain and Lee Valley stocks carving tools across North America.
Twelve Schaaf tools run about half a thousand dollars. As a hobbyist, or a furniture maker who carves sometimes, I would buy them without hesitating. For full time carving they fall a little short. I would add a small number 11 around one millimeter for getting underneath and undercutting, then regrind the V tool.
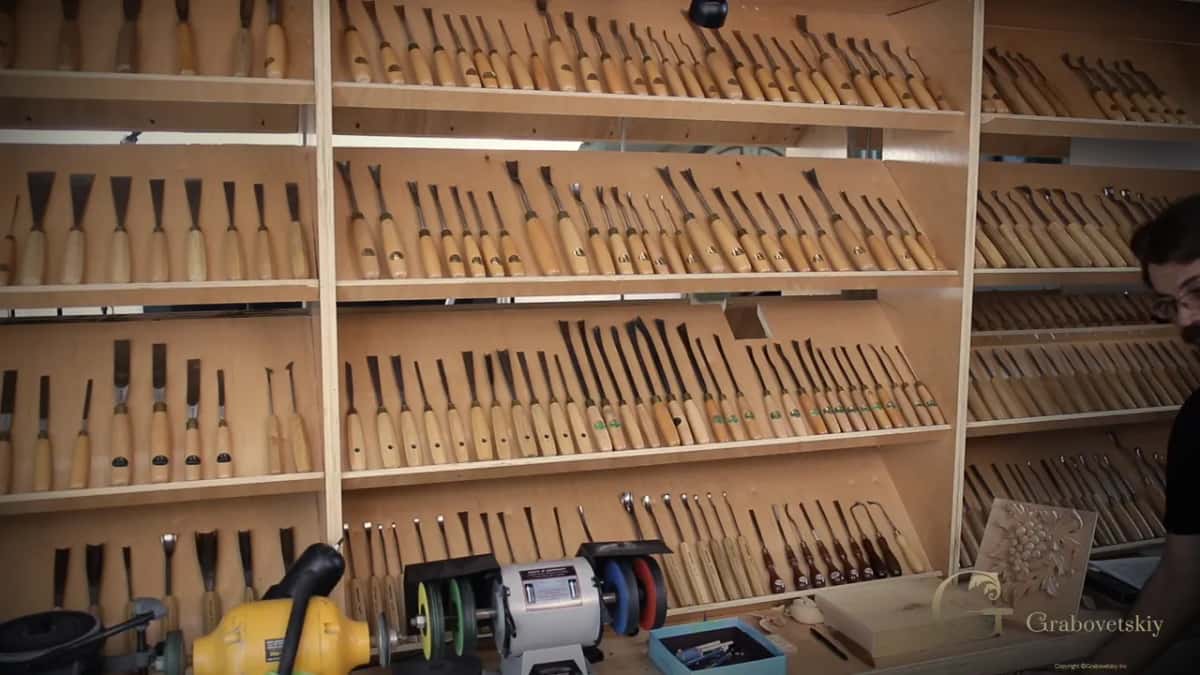
Four shelves and part of a fifth, sitting right above the grinder that keeps them sharp.
Nobody buys a wall like that on day one. Mine grew across thirty years, one tool at a time, usually because a project demanded a shape I did not own. Correct way to build it. Buy the tool the work asks for.
A hundred chisels like a hundred different thoughts, a hundred ideas to propose to the wood.
David Esterly wrote that in The Lost Carving, about his years restoring Grinling Gibbons work after the Hampton Court fire. He counted a hundred and thirty tools on his bench, and he began with far fewer, exactly as Gibbons did, whose Cosimo panel sits in the V and A today.
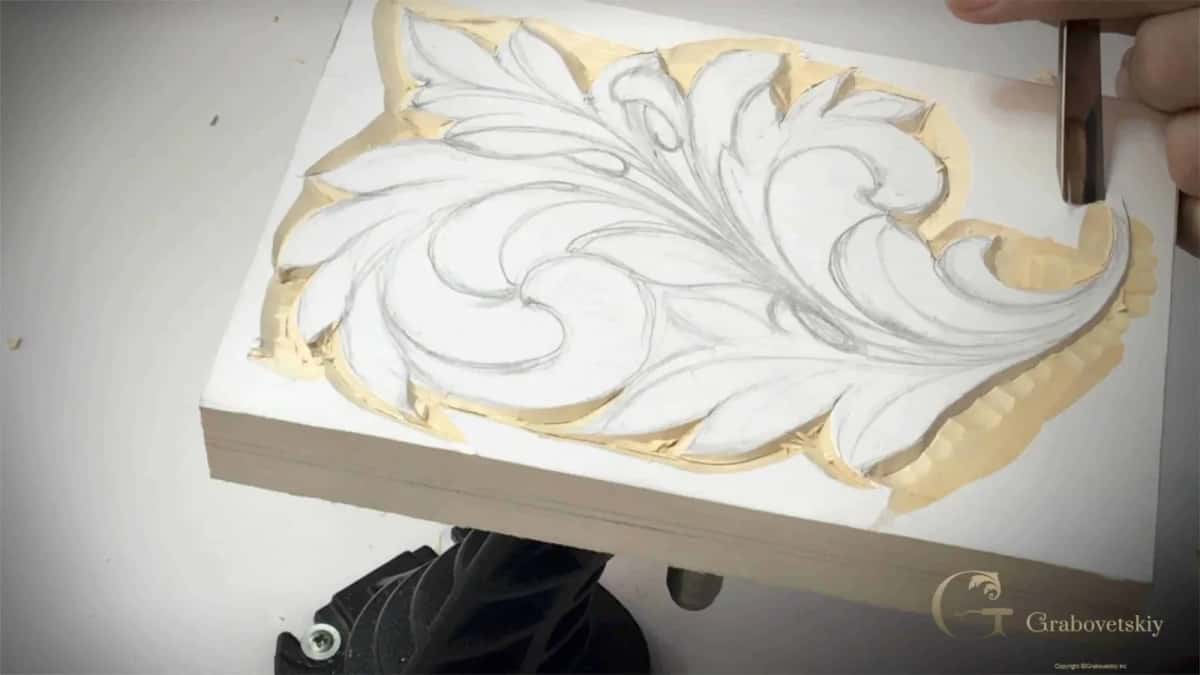
The background comes away under a bare hand, with no mallet in sight.
How do I set up my first carving kit?
Five steps, one evening, and you can carve tomorrow. Work through them in order, because step three is the one everybody skips and later regrets.
Step 1, buy the knife and the board
One carving knife and one basswood board about eight inches long. Nothing else goes in the cart. On a tight budget, the Ukrainian knife under twenty dollars is a real tool, not a compromise you will resent later.
Step 2, get sandpaper and leather
A few grits of sandpaper from the hardware store, five dollars in total, plus a scrap of leather from a leather shop and a stick of honing paste. Your sharpening bench is now complete, and it will stay complete for a year.
Step 3, regrind the bevel before you carve
Factory bevels come short and steep. Lay the sandpaper flat, work the bevel longer and lower, then strop on the leather until the edge shines. Yes, before the first project. Not wasted time.
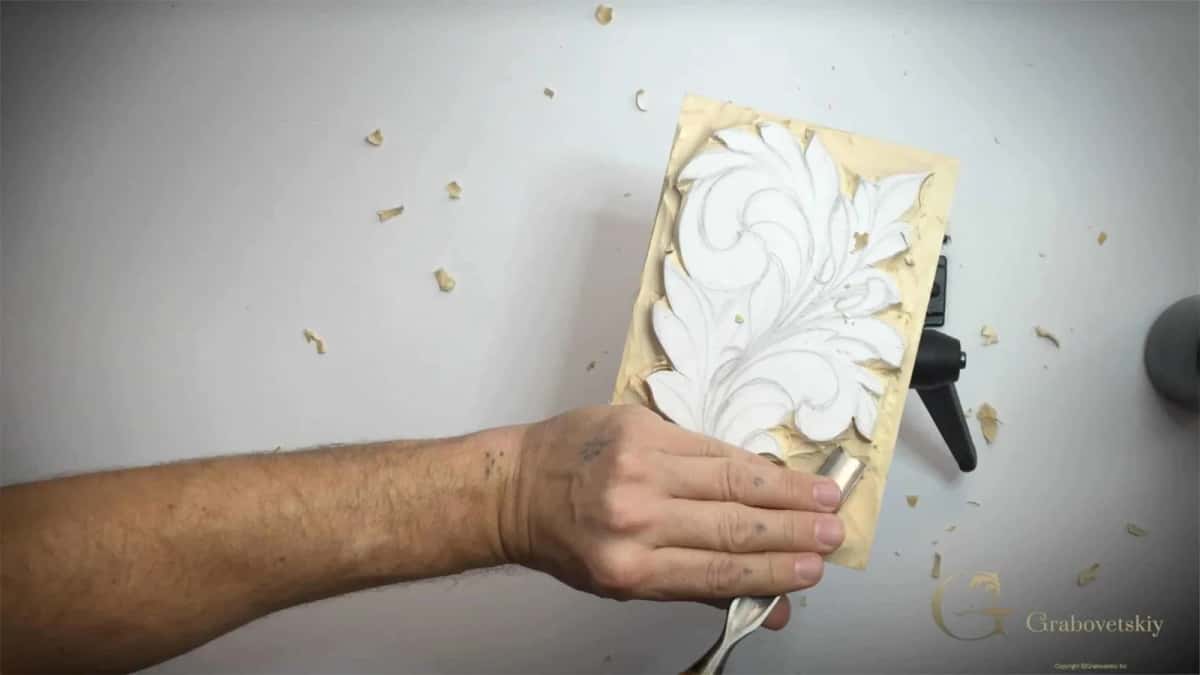
The ground is coming away and the leaf itself has not been touched yet.
Step 4, carve one simple thing badly
Pick something flat and small. It will come out wrong and that is the point, because a first project is a measuring instrument rather than a gift. Our list of first projects has options that forgive a beginner.
Step 5, strop before every session
Ten seconds on the leather before each sitting. Not when the tool feels dull, because by then you have already fought it for an hour without noticing. Our first cuts course for beginners opens here for exactly this reason.
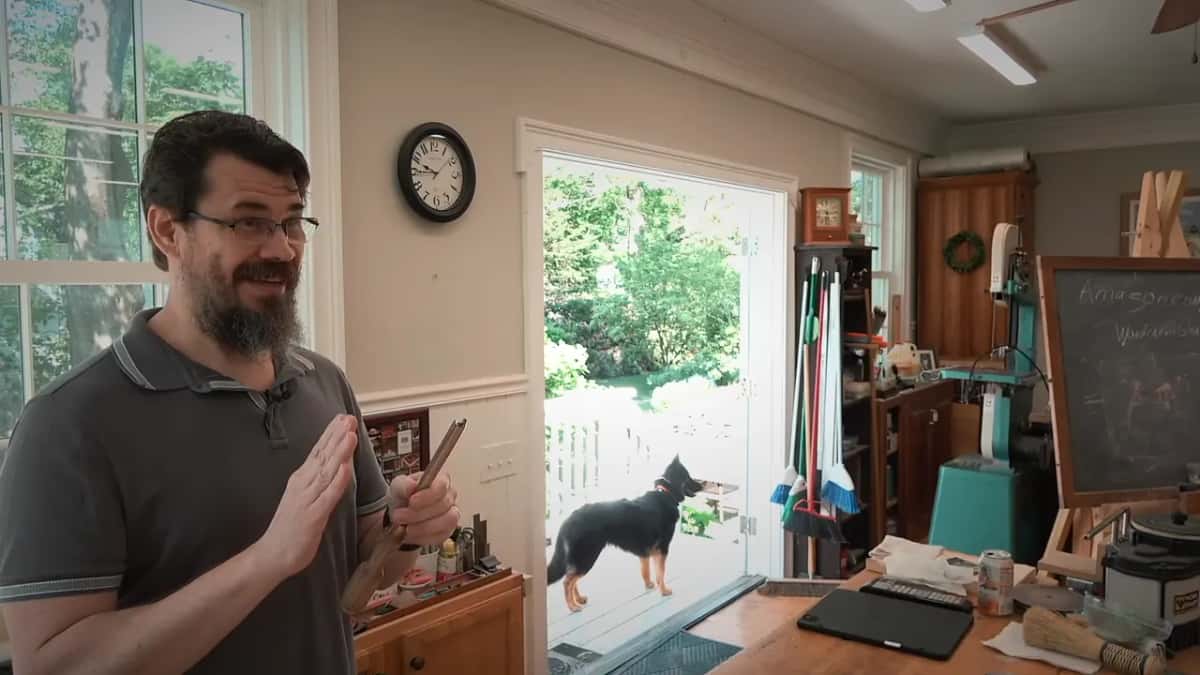
Talking a class through which gouge to pick up, while the shop dog waits in the doorway.
After that the tools stop being the question. You will buy a number 9 because a background needs clearing, then a small number 11 because a corner refuses to open. The work tells you. It always does, and it has never once told me to buy a set.
You may be wondering whether any of this is learnable at your age, or with the hands you have, and I answered that honestly in is carving hard to learn. There is a plainer walk through the first steps in carving too. Most people begin with us in the knife carving classes. The beginner course assumes you own nothing yet, and our piece on mistakes beginners make collects the errors that cost people their first year. Our whole course catalog is open to browse.
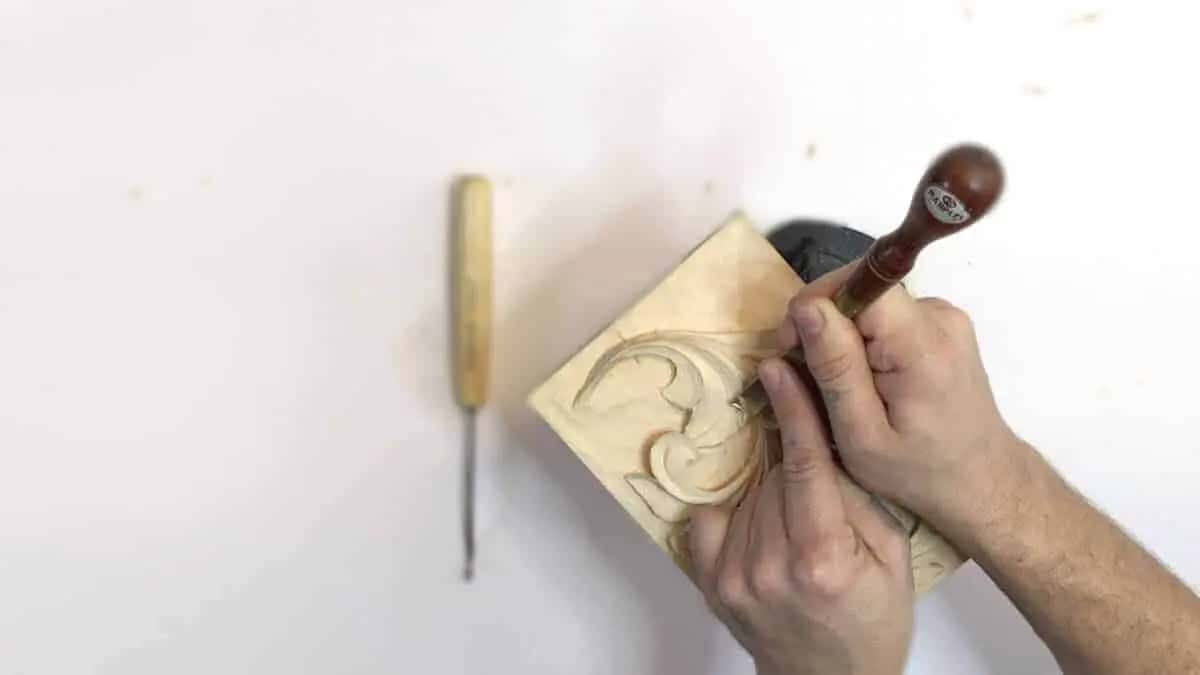
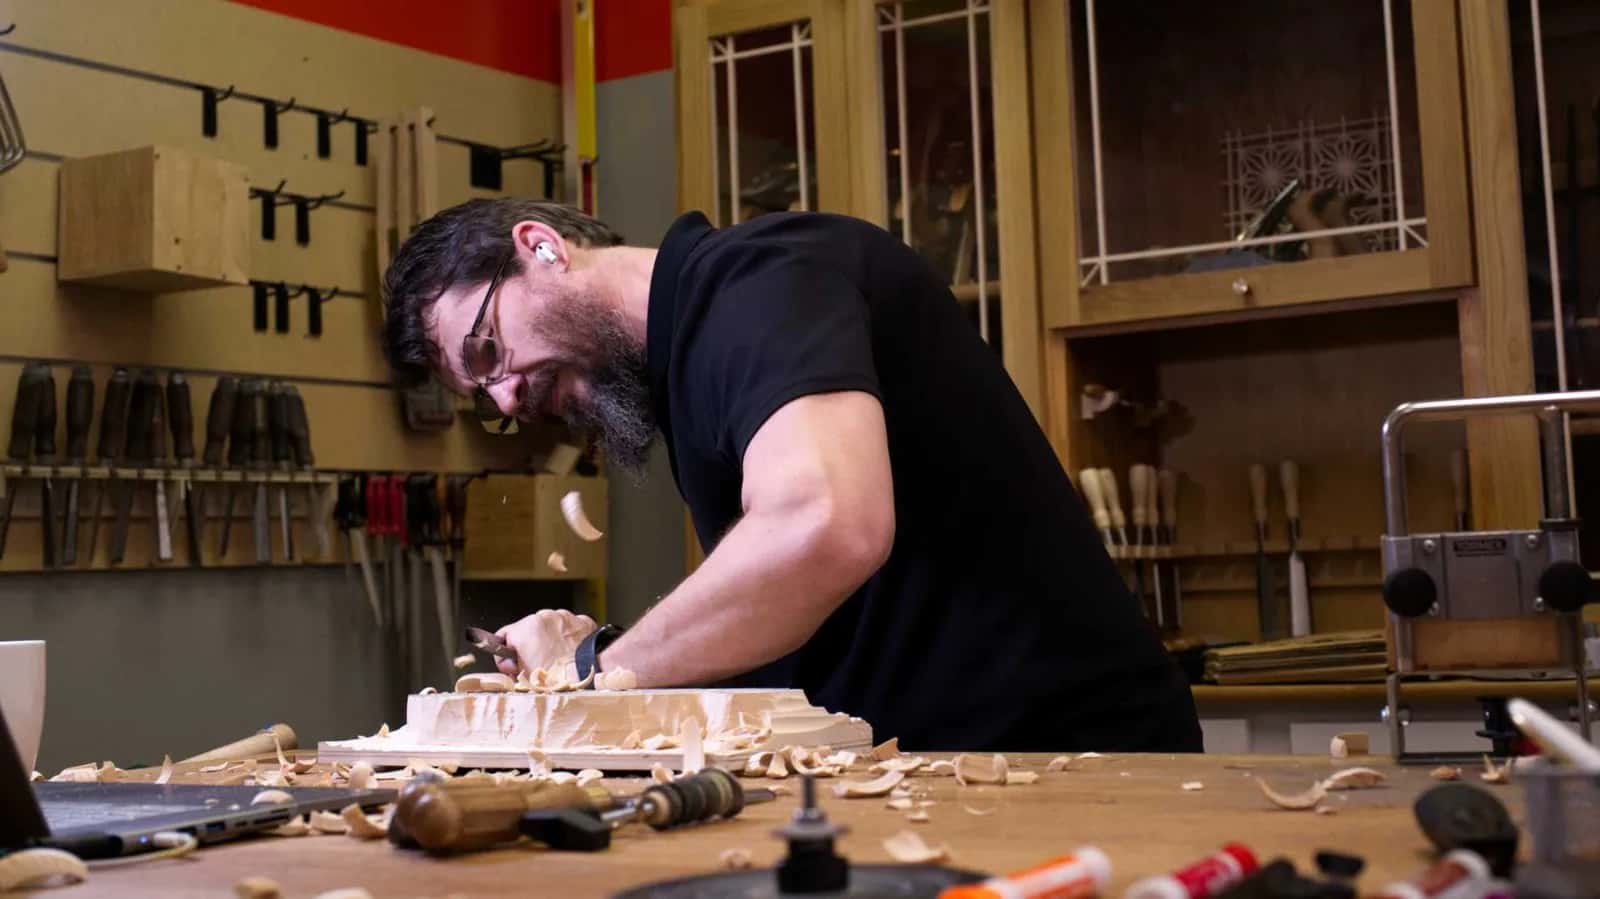
One tool on the bench, one in the hand, and that was the whole afternoon.
Frequently asked questions
Do I need a full wood carving set to start?
You do not. One knife and one gouge will carry a beginner through a first year of real work. A case of twelve mostly buys shapes you have no project for yet, and every one of them still needs sharpening before it will carve properly.
Are cheap carving tools worth buying?
A few of them are genuinely good. Ukrainian knives under twenty dollars carve well and I recommend them without any embarrassment. Steer well clear of the four for twenty dollars bundle, where the steel gives up quickly and the handles were designed by nobody.
What is the best wood to practice on?
American basswood, sold across Europe as limewood or lindenwood. It slices clean, holds fine detail, and costs almost nothing next to the woods people romanticize. Butternut is lovely if you live where it grows. Skip construction lumber, which will dull your edge and test your patience in one afternoon.
How often do carving tools need sharpening?
Strop before every session and you will rarely need more than that. A full regrind comes maybe twice a year on a tool in daily use. An edge fails gradually. You notice late, which is exactly why the habit beats the reaction.
Can I learn carving without a workshop?
Plenty of my students do exactly that. A kitchen table, one knife, and a scrap of basswood is a working setup. Glue your piece to a block of two by four with paper between them and the table survives untouched.