
November 8, 2022 · Updated August 15, 2026
By Alexander Grabovetskiy — Master Woodcarver · Founder, School of Wood Carving · 10 min read
How do I learn to carve wood, and the order that actually works
Key Takeaways
- Order beats talent. Design, then the gouge, then the stone, and the stone cannot wait until year two.
- Ten copies of one shape teach more than ten different projects.
- Four evenings of one hour beat a single eight hour Saturday, because hands forget between visits.
- Finish the ugly ones. Walking away from a promising start teaches you absolutely nothing.
- Leave faces alone for two years, because they punish errors you cannot yet see.
To learn to carve wood, start with one knife, one basswood board and one simple leaf. Add sharpening in week two and drawing in month two. Repeat one shape until your hands stop thinking about it, then change the shape. That loop, run for a year, is the whole method.
People write to me asking for the shortcut and I never have one. What I do have is the order, and the order matters more than talent does.
I began at six with a chisel and a brick, because that was what was in the yard. Nobody handed me a curriculum. Forty years later I teach the thing I wish somebody had drawn on a napkin for me: three skills, in a fixed sequence, repeated until they stop being separate.

How do I learn to carve wood as a complete beginner?
Buy one knife, one basswood board, and carve the same leaf ten times. Not ten different projects. One shape, repeated, until the tenth looks nothing like the first.
Everybody skips this part because it sounds too simple to work. Repetition is how a hand learns anything. In my beginner cutting board course I said it straight at the camera. I could hear the objection coming. "I know some of you maybe think it's too simple, and the course called for the beginners, but believe me, you will really appreciate after taking this course".

Ten blocks laid out on the bench is not busywork. Block one teaches your hand where the tool wants to travel on its own. Block four is where the grain finally speaks. By block ten you have stopped watching the blade and started watching the shape, and that shift is the whole thing.
What are the three skills, and in what order?
Design, carving, sharpening. Design is the hardest and the most valuable. Carving is the one everybody wants to start with. Sharpening is the one that quietly decides whether the other two work at all.
In my design course I explained where that ranking comes from: "The secret was in design. And design is the most complicated thing. Design connects to your brains." Every old workshop guarded its patterns, not its techniques, because anybody can learn to push a gouge and almost nobody can invent a good ornament.

| The skill | How long before it stops fighting you | What it costs | What happens if you skip it |
|---|---|---|---|
| Drawing and design | Two or three years of steady practice on paper | Pencils, paper | You spend your life copying other people |
| The carving itself | Six months to competent | Tools, wood, and a bench that does not wobble under you | Nothing, this is the fun bit |
| Sharpening every tool | About a year before the job stops being a chore | Stones, a strop, some compound | You conclude, wrongly, that you have no talent for this at all |
Notice which one has the worst failure mode. A beginner with dull tools never blames the edge, and instead decides quietly that they are clumsy. Then they quit. So I tell people to learn sharpening in week two rather than year two.
Do I need to draw before I can carve?
Not to start, but you will hit a ceiling fast without it. Trace a pattern for your first three projects. Start drawing in parallel and you will pass everybody who did not.
Without drawing you can only ever make what somebody else already designed. For some carvers that is a real career and there is no shame in it whatsoever. But the moment a client asks for a panel to match an antique, or a leaf to fill an odd shaped space, the person who can draw solves it in an afternoon. The person who cannot goes hunting for a pattern that does not exist.

Nobody is asking you to draw faces. You are learning one family of shapes, over and over, the way a musician learns scales. An acanthus leaf has a small number of rules, and they repeat right through Byzantine, Romanesque, Gothic and Renaissance ornament. Start with drawing the acanthus leaf, and if you are worried about your ability, whether you need drawing skills answers that honestly.
How long does it take to get good?
Six months to competent, two years to confident, ten years to good. Those are my numbers from watching several thousand students, and they hold up better than any encouraging version.
Competent means the panel reads from across a room. Confident means you can start a piece without yet knowing how you will solve the middle of it. Good means you have stopped copying, and what comes off your bench looks like you.

Time at the bench beats intensity. An hour four evenings a week will take you further than eight hours every third Saturday, because hands forget between sessions and you spend the first hour of every long session getting back to where you were. There is a stage by stage breakdown in how long it takes to learn wood carving.
What does a first year actually look like?
Six stages, each one built on the last. If a new student walked into my shop tomorrow, here is the path I would put them on.


Step 1, one knife and one board for a month
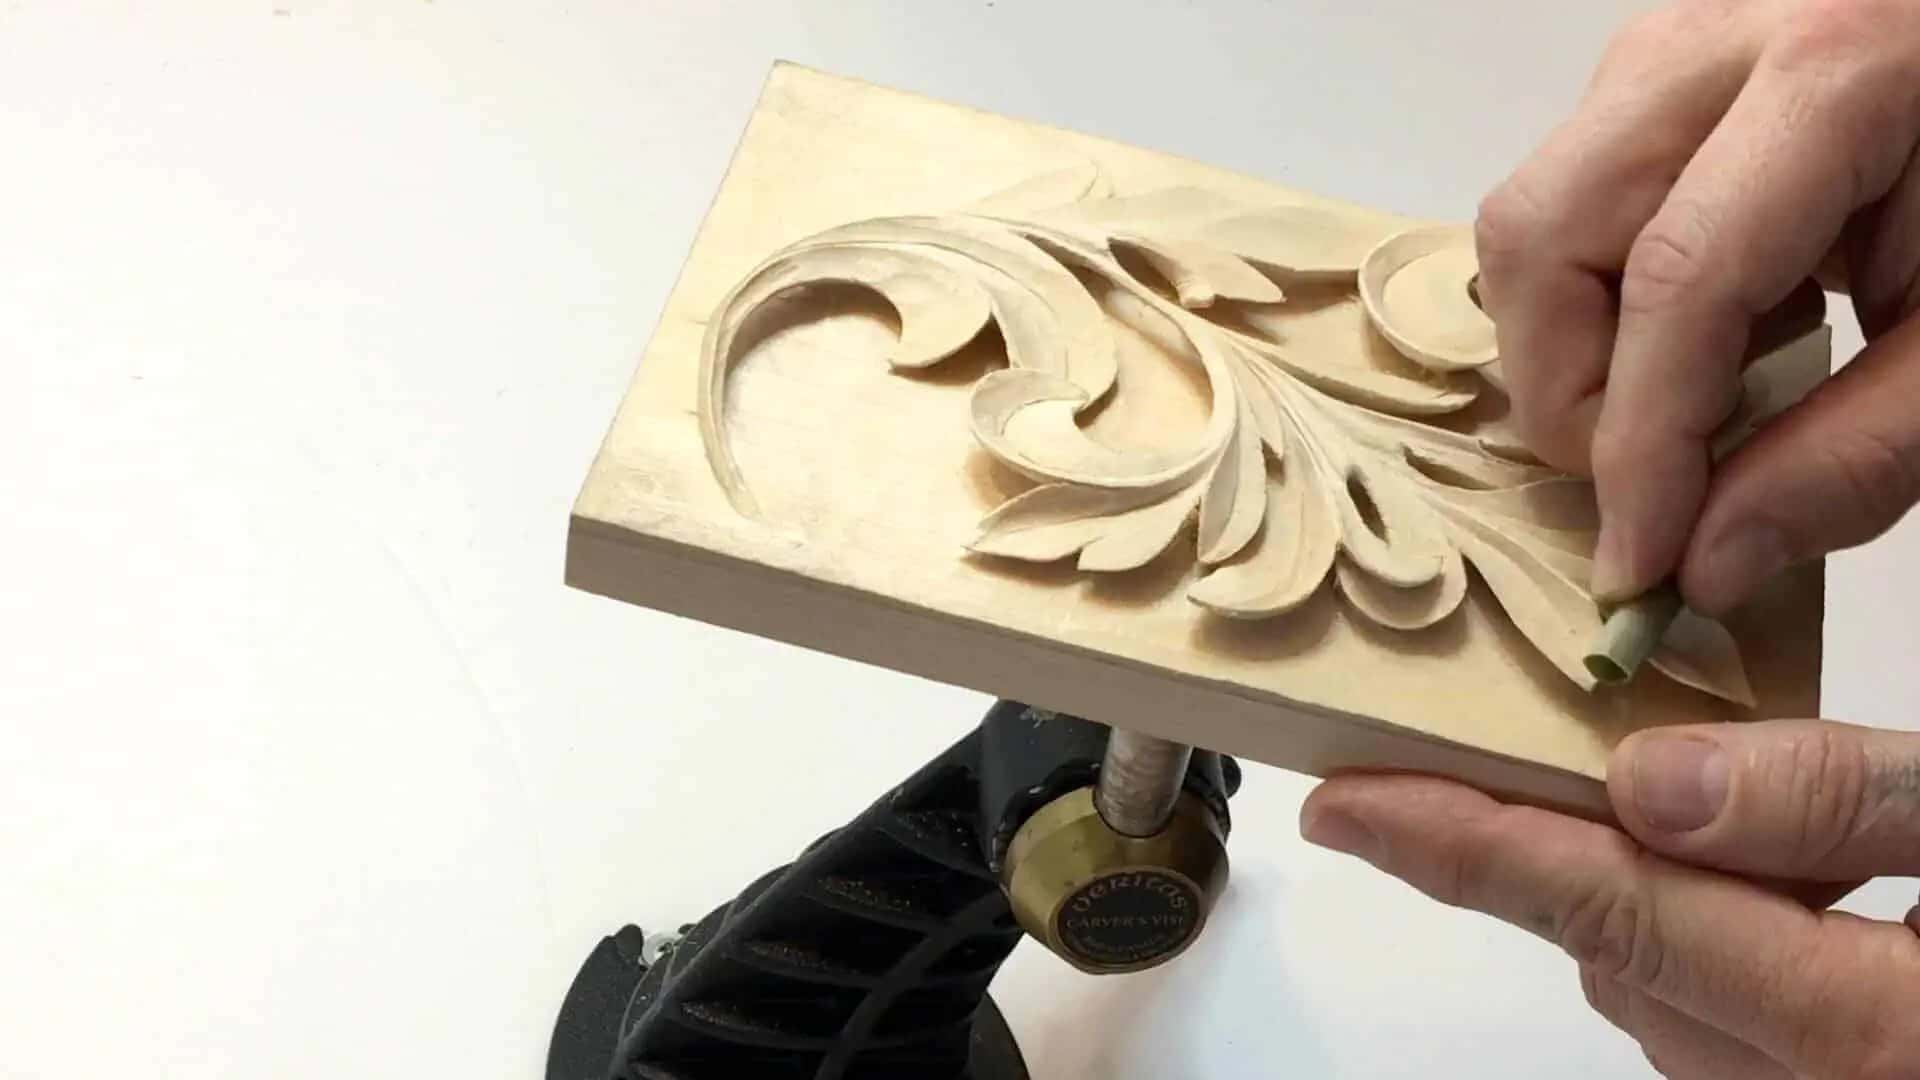
A carving knife, a strip of American basswood, and a simple leaf drawn on it. Learn which direction the fibers run and what happens when you go the wrong way. Nothing else. Bird of Paradise cutting board is built for exactly this month.
Step 2, learn to strop in week two
Leather, green compound, ten passes a side with the bevel flat on the leather. A powered jig from Work Sharp comes later. Do it before every session. You will feel the difference on the first pass and you will never again wonder whether the tool or you is the problem.
Step 3, add four gouges and carve a relief panel
A 20mm number 9 for waste, then a 7 to shape, an 11 veiner to outline and a flat 3 to level. Draw, set in, ground down, shape. My First Cuts course runs this sequence, and the tool set post explains why only four.

Step 4, start drawing in month three
Fifteen minutes before each session. Copy an acanthus leaf from a photograph of a real carving, not from a modern clipart version. The V and A sculpture collection is full of usable references, free to browse, photographed properly, and far better than anything a search engine hands you. Your hand learns the rules of the shape long before your head can explain them.
Step 5, repeat one project until it stops being hard
Same rosette, five times over. One leaf until you are sick of it. People resist this stage harder than any other, and it separates a hobbyist from somebody who can take a commission.
Step 6, carve something with a real shadow in it
Undercut edges, deep hollows, an eye that goes properly dark. This is where relief carving becomes sculpture, and where Principles of Design starts paying you back.

Should I take a class or teach myself?
Both, and in that order. A structured course saves you the two years of wrong habits that self teaching almost guarantees.
Self taught carvers usually arrive with the same three problems: they hold the tool with both hands on the handle, they never learned to sharpen a V tool, and they design by tracing. All three take an afternoon to fix if somebody shows you, and years to find out alone.
In person has one thing video cannot give you, which is somebody standing behind your shoulder saying stop, turn the board. I teach that way each summer at the Marc Adams School of Woodworking. Video has two things a class cannot: you can replay a pass forty times, and slow motion shows a rotation that happens too fast to see in a room. There is a fuller comparison in online wood carving classes, and can you teach yourself wood carving takes the self taught route seriously. Woodworkers Institute publishes free carving articles worth reading between projects, and tool sellers like Woodcraft run beginner classes in many US cities.

What if I keep making mistakes?
Then you are carving. I make them on camera, leave them in the video, and fix them where you can watch.
In one Venice room lesson I said straight out, "I know I said I made a mistake right here, and yes, I did, actually. I did, and I admit. But that mistake is easy to fix." In another workshop the whole comment was four words: "I made a mistake. It's okay."

That is not modesty, it is the actual craft. Almost every error in relief work is repairable, because you can lower the surrounding area, re-cut a line, or turn a torn spot into a deliberate shadow. The unfixable ones are few: through a thin panel, off the edge of the board, and a split you carved past instead of stopping at. Everything else is Tuesday.
The students who improve fastest are the ones who finish bad pieces rather than abandoning them. A finished bad carving teaches you six things, most of them uncomfortable. Walking away from a promising start teaches you none of them.
What should I carve after the first leaf?
A rosette, then a panel with two shapes in it. Add exactly one new problem at each step, never three at once, and the ladder stays climbable.
A rosette adds a circle and repetition around it. A two shape panel adds overlap, which is where you learn that one thing has to sit behind another and that the shadow between them is what tells the eye. After that comes an acanthus scroll, which adds movement, and by then you are carving ornament rather than shapes.

Skip anything with a face in it for the first two years. Faces punish small errors in a way leaves never do, and a beginner cannot yet see the error until somebody points at it. What to carve as a beginner lists projects in the order I would give them out, and small carving ideas covers what fits in an evening.

Nobody is going to hand you the time for this. You will have to take it from something else, and that something else is probably a screen. Shall we carve?
Frequently asked questions
Can I learn wood carving at fifty or sixty?
Yes, and older students are often my best. They bring patience, and patience is worth more than young hands in this craft. My oldest active student is in his nineties and still sends me photographs.
How many hours a week do I need?
Four hours split across several evenings beats one long Saturday. Hands lose the feel between sessions, so frequency matters more than total time. Twenty minutes a day genuinely works.
Is a workshop or a big bench necessary?
No. A kitchen table, a board clamped to it and a mat under everything will carry you through a whole first year. Space becomes an issue only when the panels get large.
Is it better to copy a master or invent my own design?
Copy first, for years. Every carver in history trained by copying, Grinling Gibbons included, and your own voice arrives once your hand knows the vocabulary. Inventing too early produces work that looks invented.
What is the single most common beginner mistake?
Carving too deep too early. Depth costs waste, wall and risk, and shallow work with one good shadow reads better anyway. The second most common is carving with a dull tool and blaming yourself.
How do I know when a carving is finished?
Put it under a lamp lit from one side and look from six feet away. If the shapes read and the shadows land where you meant them to, stop. Most spoiled carvings were spoiled after they were done.