
December 7, 2020 · Updated August 15, 2026
By Alexander Grabovetskiy — Master Woodcarver · Founder, School of Wood Carving · 13 min read
What is the best woodcarving tool set, and the four that do the work
Key Takeaways
- Count sweeps, not pieces. Thirty pieces often means twenty duplicates and no depth.
- Four numbers carry a relief panel: 9 hogs, 7 shapes, 11 outlines, 3 levels. Skip the rest.
- Soft steel convinces a beginner they have no talent, when the real culprit was heat treatment.
- Budget for the edge as well as the steel. A fifteen dollar strop outlasts a seventh gouge.
- Holding and light change a carving faster than any purchase, because shadow is the whole point.
The best woodcarving tool set is a small one. Five or six sharp gouges, a number 9 for waste, a number 7 for shape, a number 11 veiner, a flat number 3, a knife, and a mallet. Buy honest steel from Pfeil, Ashley Iles or Flexcut and skip the 30 piece bargain box.
I paid for that lesson in cash. In my sharpening course I tell the story on camera: "I remember when I bought my first tool set, and I paid like half a thousand dollars for just a few gouges". A few. Not thirty.
Half my students arrive holding a box with 30 or 40 pieces in it, still in the foam, and they carve with four of them. The rest sit there looking impressive. So here is the honest version of what a carving set has to do, which gouge numbers earn their place on the shelf, and how to buy them gradually without waking up broke.

How many carving tools do you actually need to start?
Four. A number 9 gouge around 20mm to take waste out fast, a number 7 for shaping what is left, a number 11 veiner for outlining, and something flat like a number 3 to clean the ground. Those four carry most of a relief panel.
On the hazelnut panel I filmed last year I reached for a fifth tool maybe six times in nine hours. The numbers come from the old Sheffield list, and they describe how curved the blade is. Number 1 is dead flat. Number 11 is a deep U, a gutter, what carvers call a veiner. Everything between them is a sweep, and the higher the number, the tighter the curve. Size in millimeters is the width across the edge, so "number 9, 20mm" is a fairly deep gouge as wide as your thumbnail.
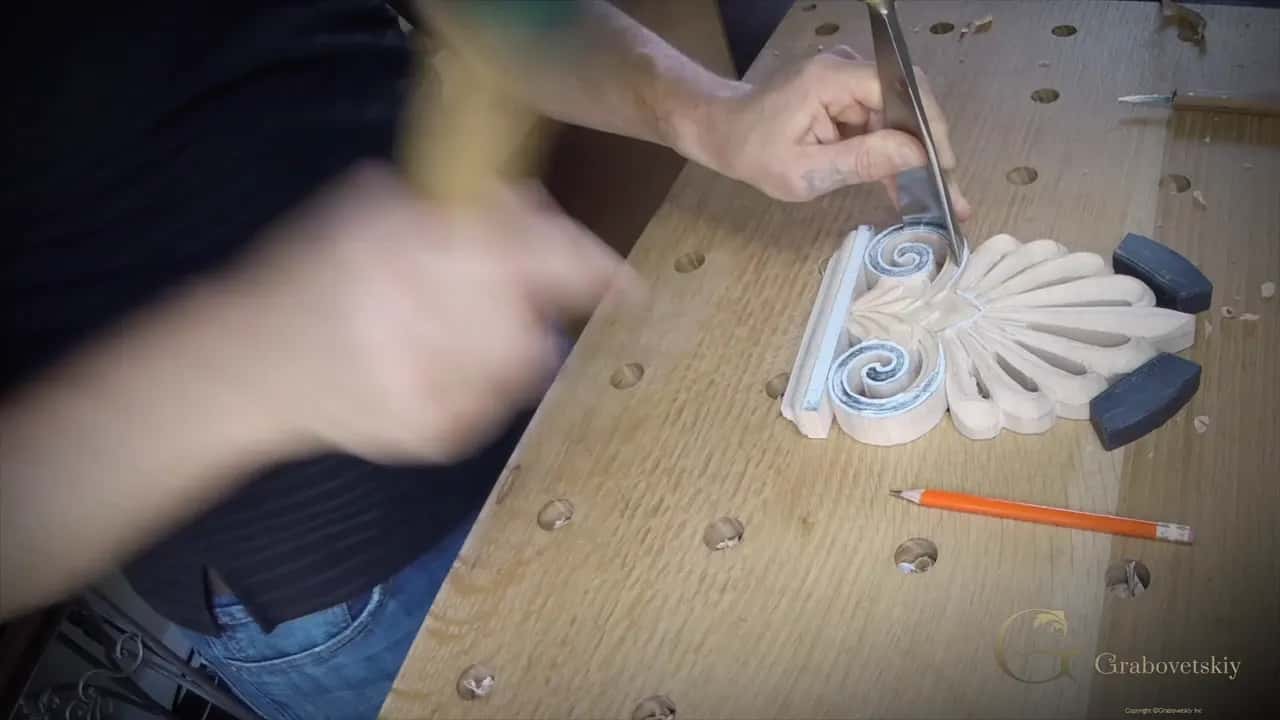
Where beginners lose money is thinking coverage equals capability. Carving does not work that way. One well ground number 7 will do the job of four badly ground ones, because you can roll it, tilt it, and slice with the corner. I show that roll in the Byzantine acanthus course in slow motion, and it is the single thing that turns a beginner into someone carving instead of scraping.
What should you look for in a woodcarving tool set?
Steel that holds an edge, a blade thin enough to slice, and a handle that fits your palm. Everything else printed on the box is decoration.
Hold the blade up to a window. Good carving steel is ground thin behind the edge, so light comes through the last millimeter and the tool goes into basswood like a knife into a cold apple. Cheap steel gets left thick, because thick is easier to grind and harder to break in shipping. It wedges fibers apart instead of slicing them, and you feel that in your shoulder inside of ten minutes.

Handles matter more than people expect. Mine are octagonal ash, because a round handle rolls off the bench and lands on its edge, and a chipped edge costs you half an hour with a stone. Length is personal. I like a longer handle for mallet work and a short palm handle for close detail, and a set that gives you only one shape will send you shopping for the other shape anyway.

One more thing nobody tells you. Count the sweeps, not the pieces. Thirty pieces that give you twenty V tools in twenty widths is not a set, it is inventory. Read what a beginner set should really contain before you press buy.
Which brands are worth buying?
Pfeil, Ashley Iles and Flexcut, and each one suits a different carver. All three hang on my wall. Here is what their own makers say, and what I do with them.
| The tool maker | Where the steel is forged and ground | Edge claim | Who I would hand it to |
|---|---|---|---|
| Pfeil, of Langenthal, Switzerland | Swiss made in the same town since 1902 | No claim made | A carver who plans to stay years |
| Ashley Iles | Forged, ground and tempered in England | Free sharpening service offered | Anyone drawn to older English tool shapes |
| Flexcut, made in the States | American made, and that is their own phrase for it | Factory honed already | A first timer holding one knife |
| An unbranded bargain box | Country of origin is rarely stated anywhere | Nothing stated | Nobody I teach, and I mean that kindly |
A pattern maker called Ashley Iles started that firm in Sheffield in 1948, and his son Tony runs it now. None of that is romance, it sits on their own about page. Pfeil has worked out of Langenthal since 1902. When I say buy honest steel, this is what I mean: a shop with a street address and a family inside it. Stubai in Austria belongs in the same conversation.

Price. Yes, it hurts. Six good gouges will cost you somewhere north of two hundred dollars, and the bargain box is thirty. Listen, if money is your biggest problem right now, this is probably not the right hobby yet. Get a pencil and a sheet of paper and draw, because drawing is free and drawing is half of carving anyway. But if you want to carve, you have to be real about what the tools cost.
Does a beginner tool set come sharp enough to carve?
Usually no, and that is where most people quit. Flexcut is the exception. They say plainly that every blade leaves the factory honed. Ashley Iles offers a free sharpening service, which tells you plenty about what turns up in the post.
I repeat this in class until people get tired of hearing it. Sharpening is the main and most important part of wood carving. In the sharpening course I say it straight: "you can't carve anything with dull tools. It's just absolutely impossible." And in the Hashemi flowers workshop, up to my elbows in chips, I stopped and said, "Tools, they just must be really sharp."

My old teacher put it better than I ever have. I came to him one morning holding a board and complaining, and he looked at me and said there is no such thing as bad wood. Only dull tools. Sharp tools can do beautiful work even on the worst of the worst pieces of wood. Thirty years later I have not found a case where he was wrong.
So budget for the edge, not just the steel. A strop and green compound runs fifteen dollars and carries you a long way. A powered system from Work Sharp or Tormek costs real money and saves real hours. The whole method sits in Carving Tool Sharpening, gouge by gouge, including the V tool that everybody ruins first.

How do you build a carving set one tool at a time?
Buy the tool your next project needs, and only that one. Every working carver I know filled a wall this way, and it spreads the cost over years instead of one painful afternoon.

Step 1, buy one knife and carve for a month
A single carving knife and a scrap of basswood will teach you grain, grip and patience. My beginner cutting board course is built on exactly that. On camera I told the class, "I know some of you maybe think it's too simple, and the course called for the beginners, but believe me, you will really appreciate after taking this course". Start there. The Bird of Paradise cutting board needs almost nothing else beyond that.
Step 2, add the number 9 and the number 3
Now you can hollow and you can flatten, which is most of what a relief panel needs. A 20mm number 9 removes waste in big rolling bites, and a wide flat number 3 cleans up behind it. Two tools, and suddenly a flat board becomes a relief panel.
Step 3, add a 2mm or 3mm veiner
The veiner outlines. It runs a groove just outside your pencil line so the shape stays protected while the background comes down. Small is better here. A 1.5mm number 11 reaches into corners no knife will ever get to.
Step 4, add a number 7 and a V tool
The number 7 is the shaper, the tool that lives in my hand more than any other. A V tool carves crisp lines and texture, and it will also teach you to sharpen properly, because a badly ground V tool tears every single time.
Step 5, buy the odd shapes only when a job demands them
Back bent, front bent, fishtail, spoon, macaroni. Every one of those exists because some carver two hundred years ago had a problem you have not met yet. When you meet it, buy the tool. Not before.

Step 6, add the mallet last
A round carver mallet in lignum or brass changes what you can attempt in a day. Light taps, not swings. There is more on whether you need a mallet at all, and on what a carving mallet actually is, but the short answer is not on day one.
Is a cheap carving tool set a waste of money?
Not always, but it is a gamble you pay for twice. I have seen a fifty dollar set take an edge and hold it, and I have seen a two hundred dollar set with soft steel go blunt on the third pass.
The trouble with an unknown set is not the price. You cannot tell whether the tool is bad or you are. A beginner with soft steel spends three months believing carving is beyond them, and it was never them, it was the heat treatment. So I would rather see somebody with two good gouges than twenty bad ones.

If your money is tight, here is the order I would spend it: one knife, then a number 9, then a strop. Three purchases, spread over a season, and real work is possible with them. The beginner tool question lands in my inbox every week and the answer never moves. Nor does the answer to whether carving is hard to learn, which is mostly a sharpening question wearing a disguise.

What else belongs on the bench besides the gouges?
A way to hold the work, a strop, and good light. The rest can wait.
Holding comes first. A piece that shifts under the tool is dangerous, and slow too. Bench stops, a screw clamp, or a board glued down with paper in the joint so you can split it off later. I use bronze stops that drop into dog holes, and for small blocks two stops that let the block spin instead of pinning it.

A small router plane is the one non-gouge I would not give up. It levels a background to one exact depth, which by eye takes an hour and by router plane takes four minutes. Lee Valley, Woodcraft and Highland Woodworking all carry sensible ones.

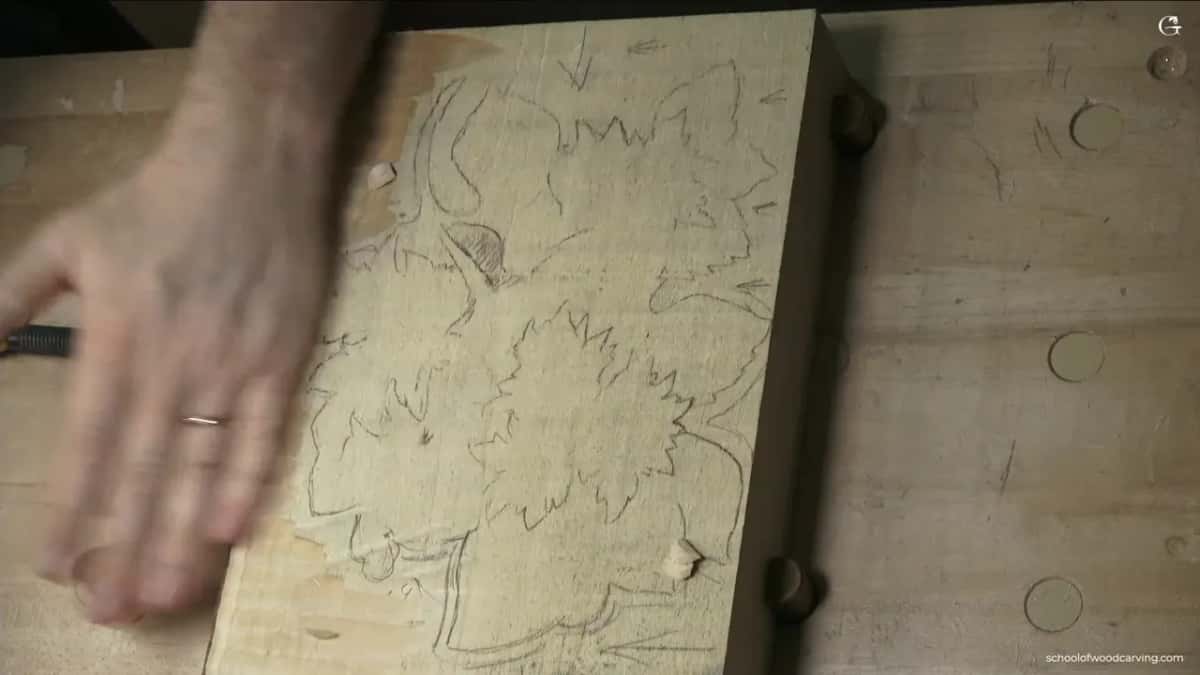
And light. Raking light from one side, low and across the work, so every ridge throws a shadow. Carving is shadow. Under flat overhead light you cannot read what you have done, and you will keep going until the piece is dead. More on that in the workbench post.
Which wood should a new set of tools meet first?
American basswood, sold as limewood or linden in Europe. The Wood Database puts it at 410 lbf on the Janka scale and calls it perhaps the most suitable species for hand carving.
Do not test new steel on construction lumber. A 2x4 is kiln blasted spruce full of knots and hard summer growth, and it will frustrate you and take the edge off every tool you own by lunchtime. In my rosette workshop I told the class that Grinling Gibbons "called this wood as a queen of all woods", and he had his pick of anything in England between 1648 and 1721.

Want the full comparison? I wrote it up in what is the best wood for carving. Short version: start on basswood, stay a year, then try walnut once your edges are honest. And if you are still deciding what to carve first, pick something with one clean curve in it.
What does a finished set look like after twenty years?
Mine runs to about sixty tools, and twelve of them do nearly everything. The other forty eight arrived one job after another, each solving a problem the wall could not already solve.
Nobody gets to sixty tools by buying sixty tools. You get there by carving, hitting a wall, working out which curve would take you past it, and buying that curve. Twenty years later the rack is full and you still reach for the same twelve.

The teaching side is the part I care about. I run All About Tools for Wood Carving for exactly this reason, and I still teach in person at the Marc Adams School of Woodworking, where I get to watch a hundred people open a hundred different boxes. The students who do well are almost never the ones with the biggest box.

You already have a piece of wood in your head, and it has been sitting there a while. Shall we carve?
Frequently asked questions
What is the minimum tool kit for a complete beginner?
One knife and one strop. That pair will carry you through a first project on basswood and teach you grain direction without costing much. Add a number 9 gouge once flat work stops being enough.
Are palm tools or full size gouges better for a first set?
Palm tools suit small work held in the hand, and full size gouges suit anything clamped to a bench. Most carvers end up owning both. If you must pick one, pick full size, because a mallet turns them into heavy tools whenever you need power.
How much should I spend on my first carving tools?
Plan on forty to two hundred and fifty dollars, depending on how many you buy at once. Less money on better steel beats more money on a big box. Three good tools will outwork fifteen unknown ones.
Do carving tools need sharpening straight out of the box?
Most do. Flexcut states its blades leave the factory honed, while other makers ship a ground bevel that still wants honing and stropping. Test on a scrap before you decide.
Which gouge number does the most work in relief carving?
A number 7 in a mid width. Curved enough to hollow and flat enough to shape, it stays in my hand while the others get swapped in and out. The 20mm number 9 runs a close second for clearing waste.
Can I use woodworking chisels instead of carving tools?
For rough waste, sometimes. For carving, no. A bench chisel is ground thick to survive a mallet and lever out a mortise, so it wedges wood apart where a carving gouge slices it. The difference shows up in the surface.