

Alexander Grabovetskiy, woodcarver, School of Woodcarving · Published 2022
Why do you leave the edges high when you rough out a relief carving?
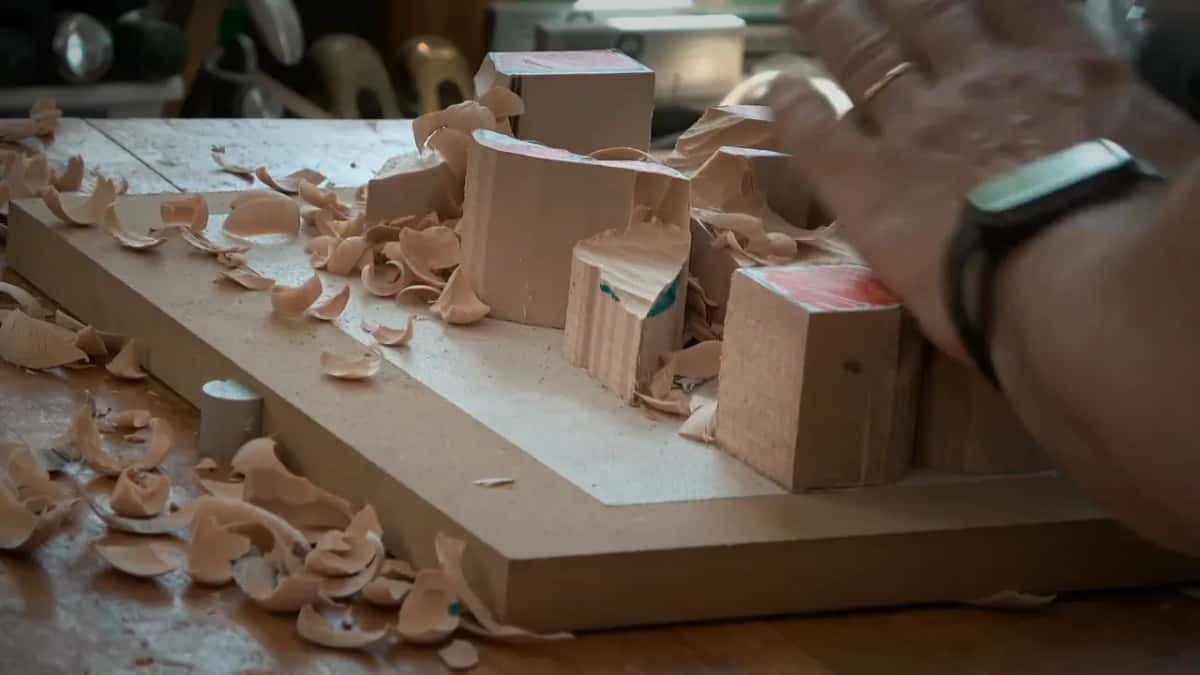
Quick answer: Keeping the edges high in a first rough is what I did on a leaf from a 1903 design. I sank its middle about halfway, so 25 mm of wood stayed at the bottom, and stopped the ends higher, at about 38 mm, for now. They roll over later, and that needs a smooth, slow rise.
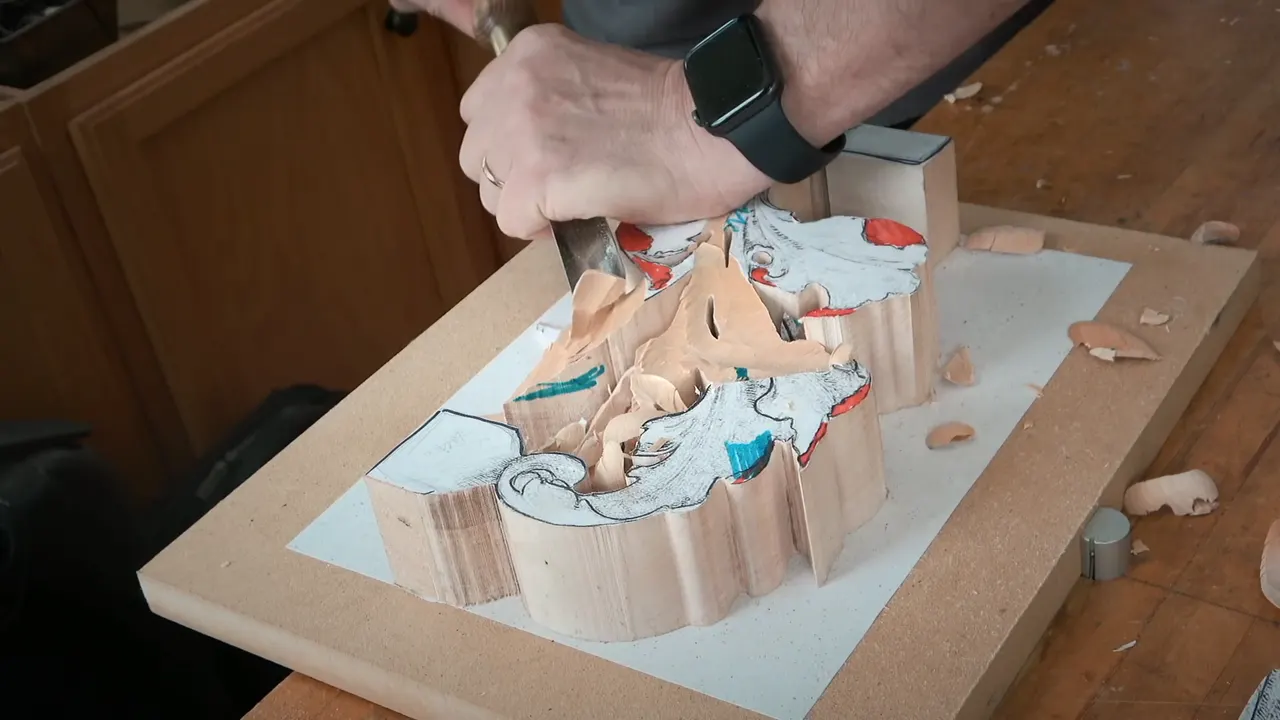
Leaving the ends high is the plan I followed on this acanthus leaf from a 1903 design, where the middle sank into a valley about an inch (25 mm) above the background while the ends stayed near 38 mm (1 1/2 in) for now. I gave the class my reason at the bench. Those edges will roll, and the change in height has to be really smooth and gradual.
That's the whole rough out of this relief carving, lesson 1 of Carving Modern Acanthus. In class I called this first stage bosting, and what it sets, I said, is the 3D movement, the overall movement, without the details yet.
You want a leaf whose edges curl back the way a real leaf does? And each curl looking like it grew there? Then the wood for those curls has to come through the first rough.
You'll get each height I kept and the words I said while the gouge was in the wood.
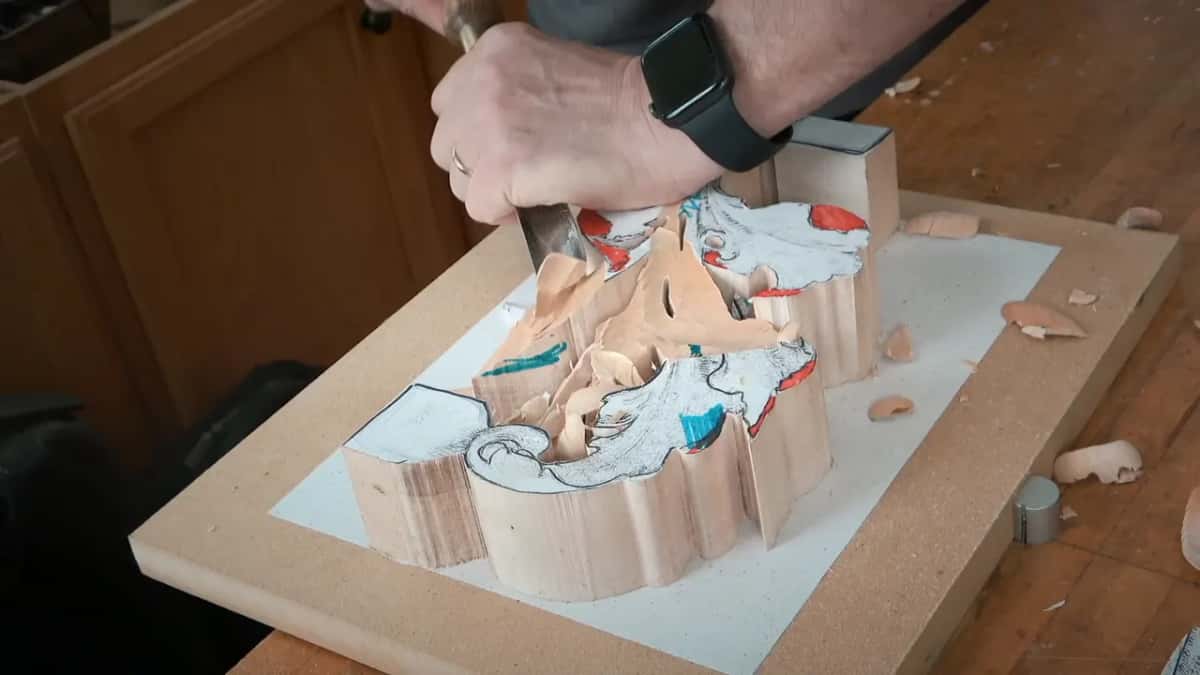
Six lines on the first rough
Halfway down in the middle, with an inch left above the ground.
Ends kept near an inch and a half, for now.
My reason was the roll that comes later, and I said it needs a really smooth change in height.
Rolls come at two heights here.
Both the leg and the stem stay high for the first rough.
I asked my class to have the second version of the drawing on the bench.

Where did the valley go on this leaf?
Right in the middle. I told the class to concentrate on the middle first, and I said that middle would be like a valley.
So I lowered it about halfway, and one other part with it. On this block I called that 7/8 of an inch or one inch from the bottom, 22 or 25 mm. How far it goes depends on how thick the block is, I said, and what's left is one inch of wood from the background. One inch, I reminded them, is 25.4 millimeters.
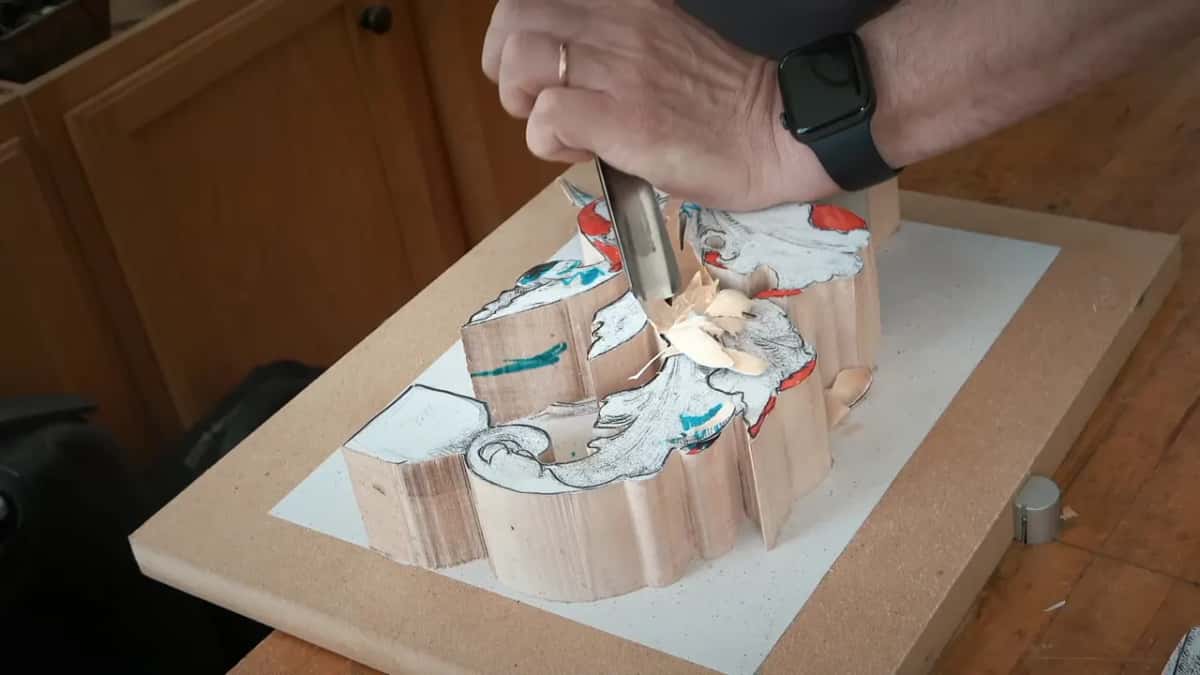
Eyeball that inch, I said, and when to measure instead is another page.
Before any of that, I chopped the bigger chunks off on the band saw and took it to the scroll saw, keeping the legs on.
The first tool was the widest one in my case, a number 9 gouge of 20 mm, about three quarters of an inch, just a millimeter bigger than that in my case. Treat your tools like an army, I said, or if you don't like the war idea, call it a dance between metal and wood, and the big tool is the best dancer. Every pass was a slice, starting on one side of the tool and ending on the other, and pushing, I said, is a big mistake. I showed it really slow so they could see the slice. I teach the tools on their own in All About Tools for Wood Carving.

Why do the ends stay higher than the middle?
They roll later, and that's the reason I gave the class. On this ornament the deepest spot sits in the middle, about an inch up off the background, but not at the end.
The reason why, I said, is that it's going to roll like this. And the change has to be really smooth. Gradual.
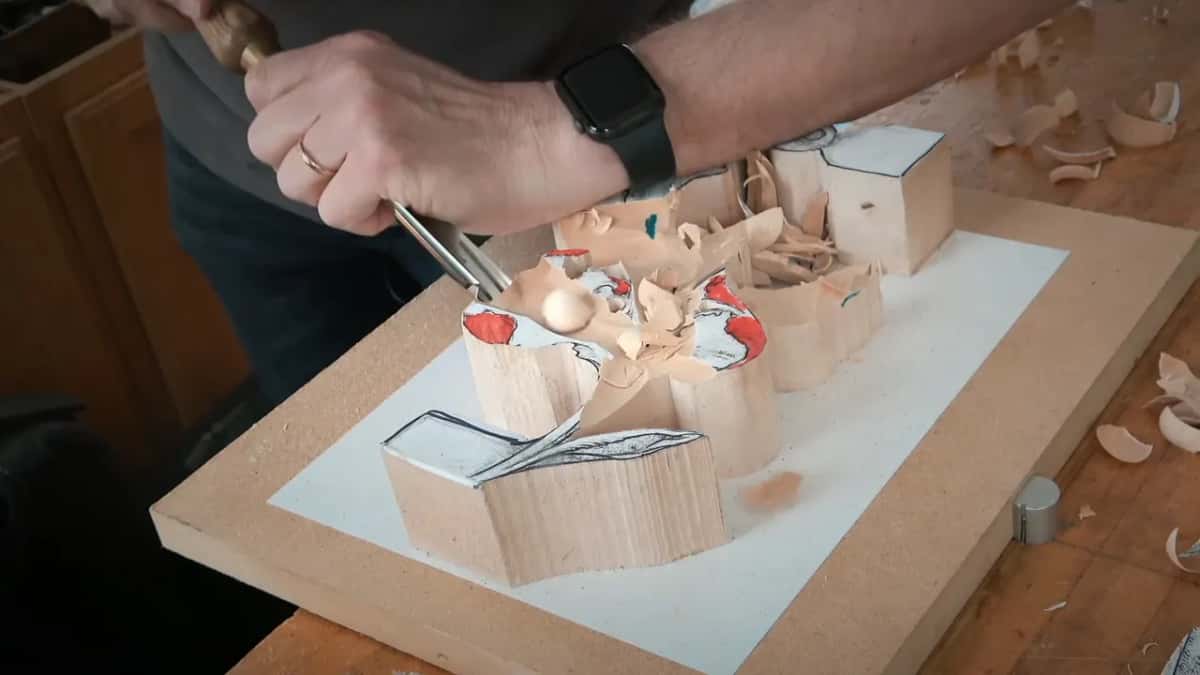
In one place I left about one and a half inches, 38 mm, while right in the middle it would be an inch. Then this side of the design went all the way to one inch. Later, at one end, I said I'd leave about 38 mm as of now.
The outside spots stay a little higher. One area, I said, would go a little lower later on, but for now the 38 mm was okay.
Those edges can break, too. Carving toward the outside of the design, I said, I have a tendency to catch and break the edge, so it's always better to attack from the outside in. Why that works gets a page of its own, from the Venice Room.
Choosing whether an edge gets a curl at all is a different question, and I answered it on a Venice Room panel in workshop 73. Which part sits highest on my Roman acanthus is another story, told in lesson 4 of that course.
Do all the rolls sit at the same height?
Two heights, on this leaf. Let me explain what I mean by rolling, I said. Some of them will be really high, rolling back high, and some roll back too but at a much lower level. Right then I wasn't marking those rolls yet.
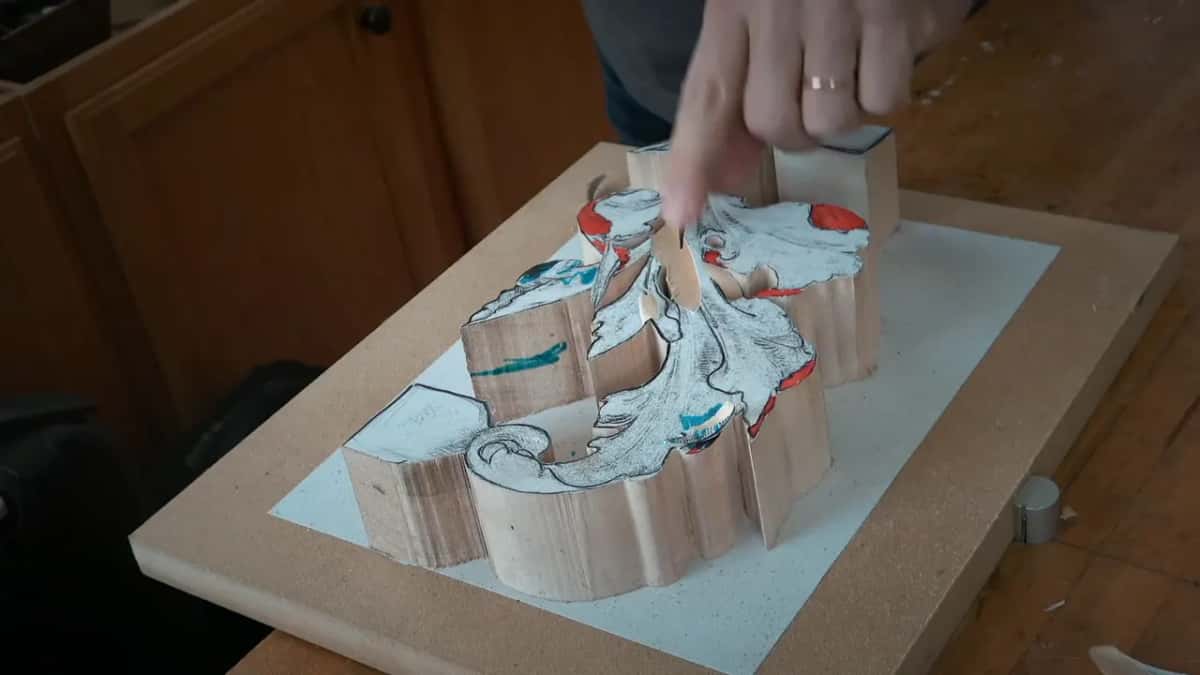
Rollovers are the high spot, I said, and later I'd use the same colors and they would understand. We'd go one step at a time.

I even caught myself once while I was marking, and said it to everyone. You know what, that's the wrong spot. It'll curl, but much lower. On another one I stopped myself and said I don't want to confuse you, it still rolls.
Those spots will curl, and we were going to use the whole body of the stock and make it true 3D. Since it's 3D, I said, we really need care with what we do.
Anything colored orange was a high spot, so I told them not to touch it, not even to think about it. A whole page on what a high spot is comes from Venice Room 113, and a petal that curls up is another job again, on the third Venetian Flowers Rosette lesson. A leaf that twists in relief sits on the fourth lesson of that course.
How gradual is the slope in a relief carving rough out?
Gradual enough that the wood grows up toward the ends with no sharp drop. Don't go all the way, I told them. On one side I said we keep the 38 mm, and it'll be gradual from the inside out. It grows up.

Near the end of step one I rotated the piece to show you. The movement there was gradual too. I don't make a really sharp change going down, I said, so make sure you don't take too much.
Later, near the edge, we'll make a really nice flipping motion, or rolling over, whichever word you like.
Another part I took down to roughly an inch and a quarter, 32 mm, maybe an inch and an eighth, 29 mm, measured off the background at its highest spot.
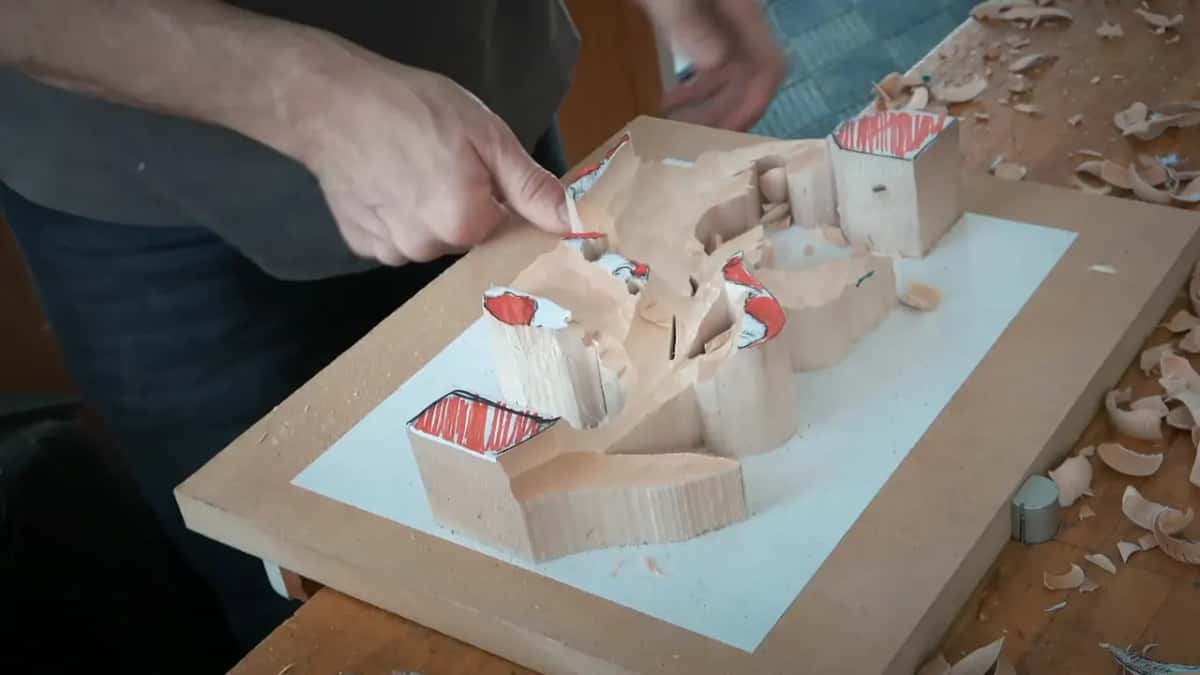
My passes in this lesson stayed short, about half an inch, three quarters at the most, and I sliced each one. Across the grain is always better, I said, even while I was going the other way right then, since with the grain the edge can catch and break a spot you really don't want to break. I also warned them not to go deep with the tool raised high, and to keep each pass as shallow as they could. In areas like this, I said, do short passes and not long ones, and attack from different points. Coming at it from the other sides probably gives a better result there.
Lowering one section of a Venetian panel so it keeps flowing is a separate story, and workshop 150 of the Venice Room tells it. On the Byzantine leaf the rough stops at a band kept clear of the ground, and lesson 2 of that course shows it.
Which parts stay high besides the ends?
The leg did, for one, the piece I also called a handle. Don't touch that handle, I said. That leg stays, and you don't touch that surface at all.
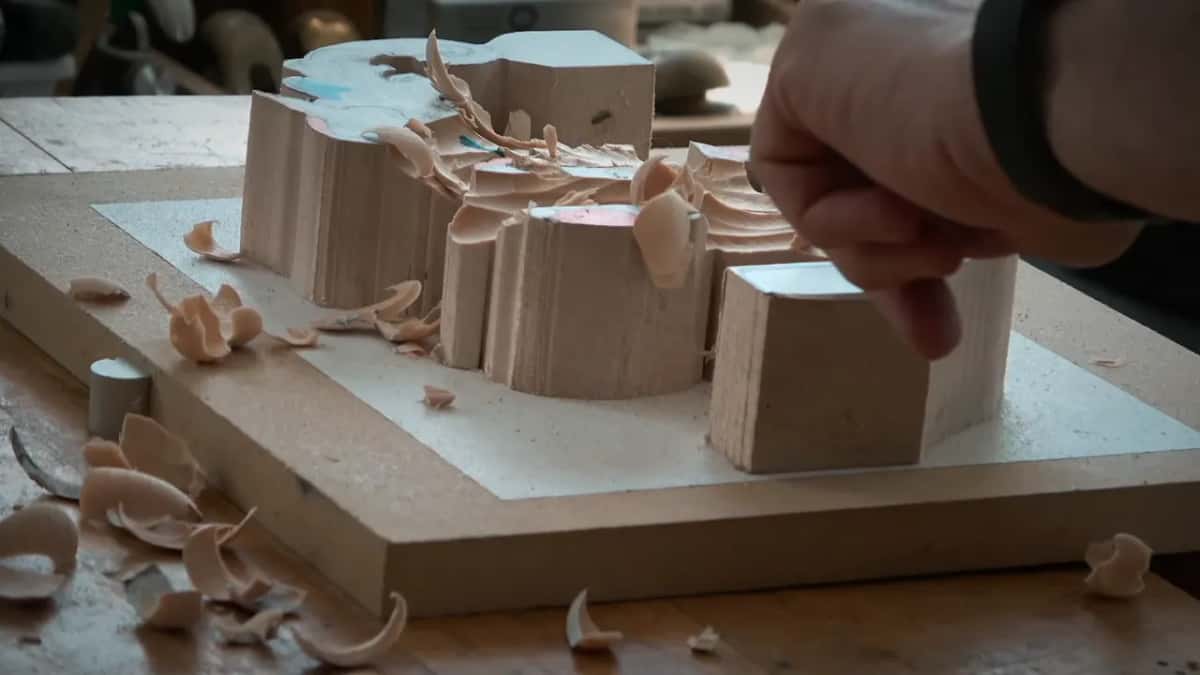
Another side stays a high spot as of now, I said, though it was safe to take wood off the side of it. The stem drops later, but not yet.
There was one more spot I stayed away from, and I said I'd lower it later, but it was an important spot. The rest of it around there could be gone, and around tiny spots I said to be careful. Later, at tiny parts again, I said not to push. Let the tool do the work, and that's why we slice. It's really important not to destroy them, and I made sure I wasn't going to hit my high spots.
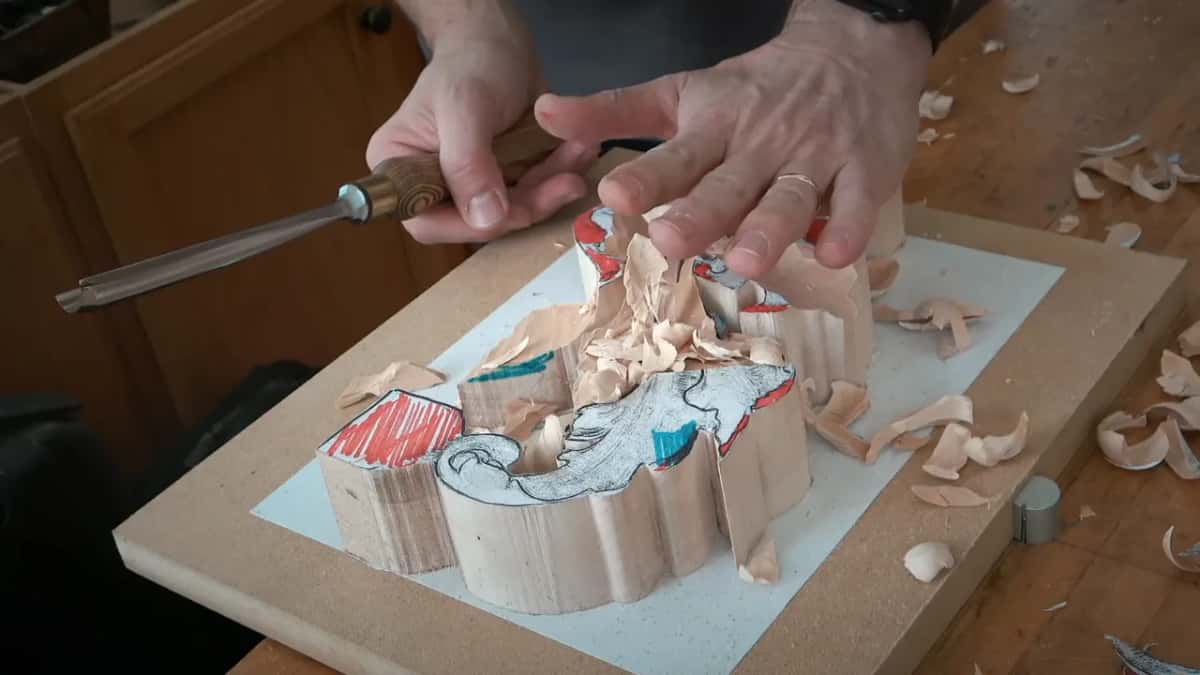
My left hand sat right on that handle while I worked, solid and close to the blade. And at the drawn line I stayed back about 1/8 of an inch, 3 mm, even 2, since there's a chance to clean that later. Getting through a rough without breaking a thin part has its own page, built on a Greek palm fan.
What happens to the drawing in the middle?
It can get carved away, and I asked everyone not to be afraid of that. You're supposed to have a second version, I said, and I hoped you had it on your bench already. Did you grab two pieces or one? I had a second one, and you could go grab one right then.

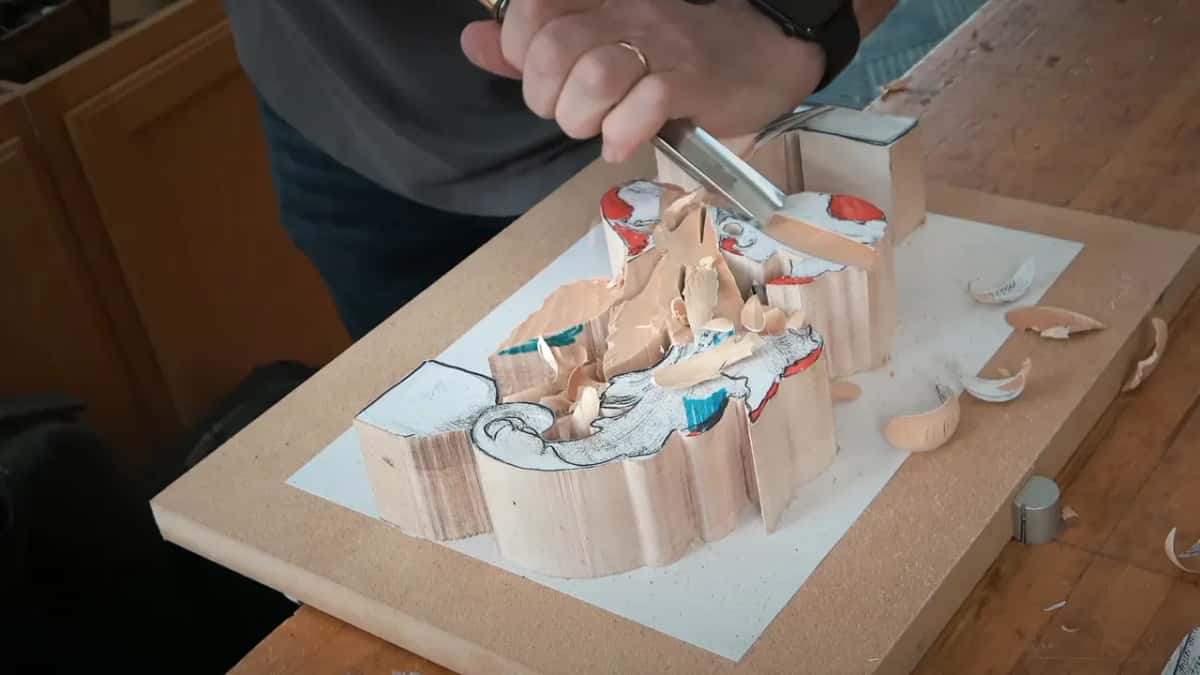
Partway through, I had made a flat surface so I could develop the design there a little later. It doesn't have to be crazy flat, I said. But I still have to be able to draw on that spot again.
We do it in several layers because it's 3D, and I said I'd draw on it again in the different colors.
How much to keep for a hollow on a Venice panel is a different page, from workshop 129. When to clean a surface up comes later too, and I answer that one on Acanthus over Moldings.
In what order did the wood come off?
Middle first, with one other part, and the ends waited. Then the widest gouge took the middle and that one part about halfway down, every pass a slice with a rotation motion.
Early on I left about one and a half inches in one place. After that, one side went down to the one inch. Partway along I had a flat surface to draw on again, and I warned the class about getting a curved tool too close to the line. I kept rotating the piece to come at a spot from the other side, since a gouge pass leaves one clean side and one rough side, and here both had to be clean. Toward the finish of that part I came to one end, said I wasn't going the whole depth there, and left it high for now.
In the last part the leg stayed, the stem waited, and another part came down to about 1 1/4 inches. Last of all, I rotated the piece to show the gradual slope and called step one done.
How long should the first rough take?
About half an hour, maybe 40 minutes, is what I asked of the class. Don't look at me for the pace, I told my wood carving class, because I do this every day, and I'm much quicker.
I usually show one or two steps, sometimes three when they're easy enough, and I give you a time for them, about how long each one is supposed to take. Then you go do those steps on your own, inside that time. You'll catch up, I told them. But please don't get frustrated.
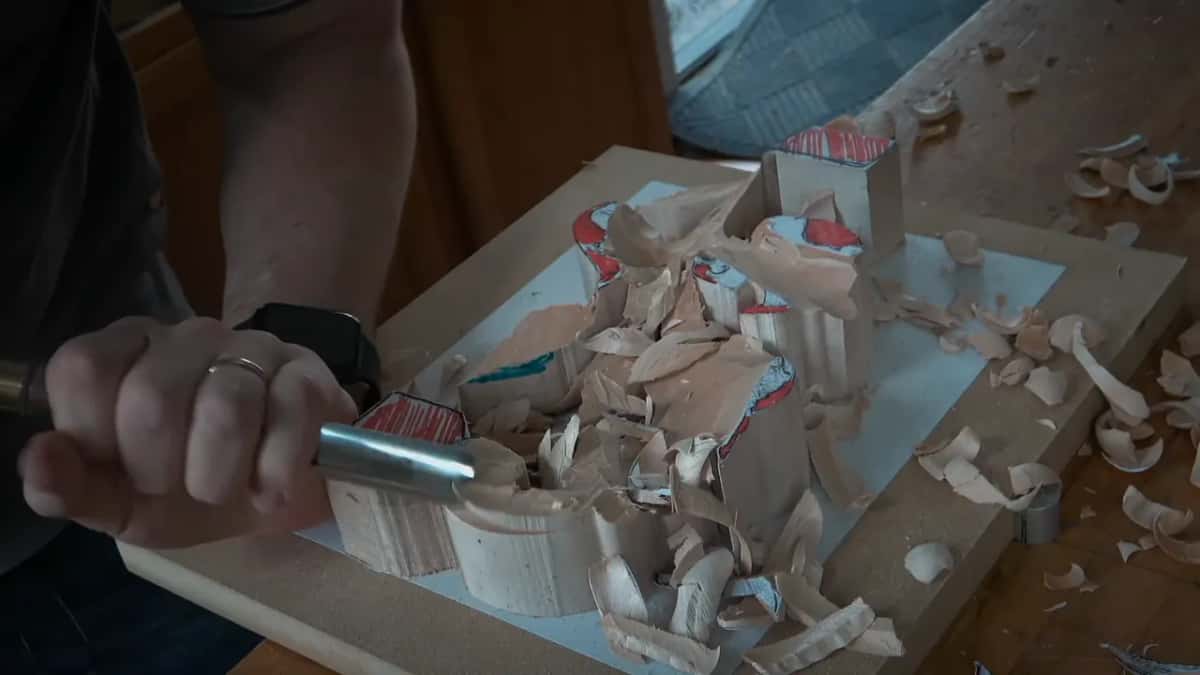
So that was step number one, and it did not take too long. When it was done I asked for somewhat consistent movement. This part, I said, still goes down a little later. The very beginning has a course of its own, First Cuts for Beginners.
What numbers did I give the class?
Nine of them, and the table keeps them in one place.
Spot | Height | Later |
|---|---|---|
Middle of the leaf | about one inch, 25 mm, of wood over the background | the deepest spot |
Ends, for the moment | near 1 1/2 inches, 38 mm, before any roll | some go lower |
This side of design | down to the one inch mark, about 25 mm | in this lesson |
Another part, its top | 1 1/4 in (32 mm), maybe 1 1/8 in | taken down then |
Back from the line | roughly 3 mm, about 1/8 in, even 2 mm okay | cleaned up later |
Leaf stem, for now | left alone for now, then lowered fully a little later | waits its turn |
Leg, also called handle | not touched at all, not even its top surface | stays all lesson |
Every pass I took | half an inch long, three quarters at the most | always a slice |
Time for step one | half an hour or maybe 40 minutes total | you'll catch up |
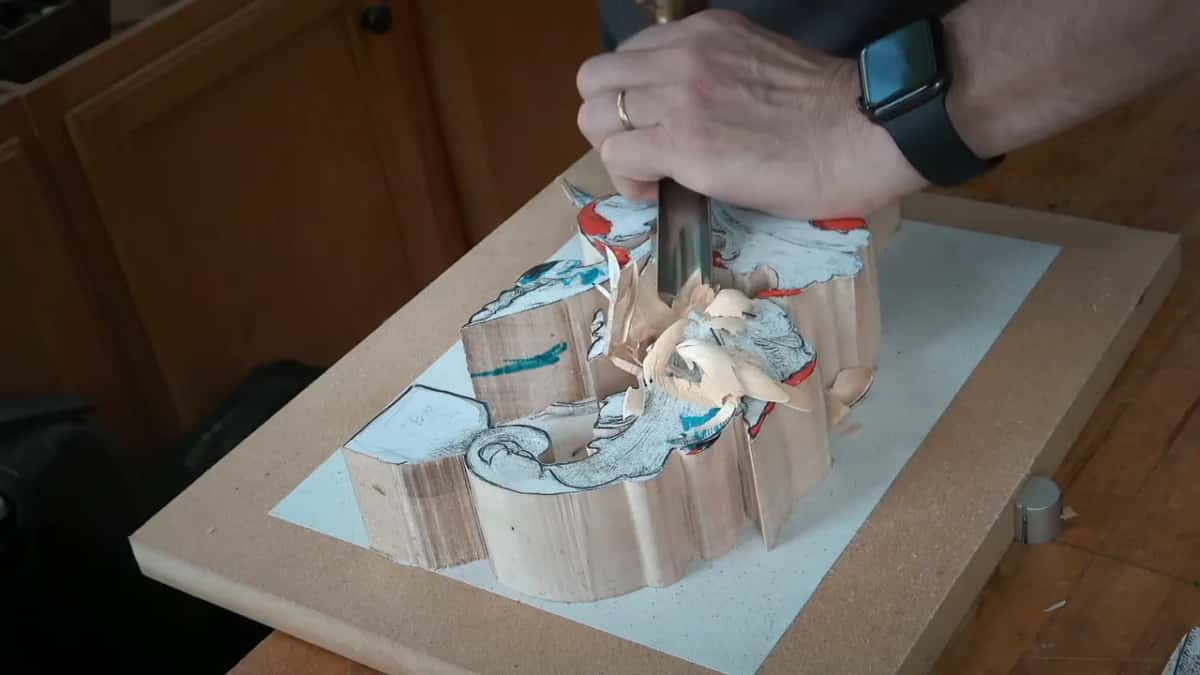
The rolls themselves come later in this course, out of the wood the first rough kept, and the next lesson picks up this same leaf. Lesson 1 was filmed in a class, with people at the bench answering me back. Want to watch those rolls come out of it? Access opens every lesson of Carving Modern Acanthus and the rest of the school.
How it's done
- Keep a second copy of the drawing. Have the second version on your bench before the first chip, the way I asked my class to. Then you can lose the picture without worry.
- Keep off the leg. Leave that handle as it is, top surface and all, since the leg stays through the whole first rough.
- Sink the middle about halfway. Take the middle down until roughly an inch is left above the ground. On a thicker or thinner block that number changes.
- Stop the ends near 38 mm. Leave them there for now, since they roll later.
- Let the wood grow up toward the ends. Keep the change gradual, from the middle outward, with no sharp drop, and make sure you don't take too much.
- Leave a surface you can draw on. Crazy flat isn't needed. You only need to be able to draw on that spot again.
- Check the movement before you stop. Make the movement somewhat consistent when step one is done. Some parts still go down a little later.
Frequently asked questions
How deep did the middle go in this lesson?
About halfway into the block. One inch of wood stayed over the background there, and I called that 7/8 or 1 inch from the bottom. The number depends on how thick your block is, I said to everyone, so yours may differ a little from mine.
Why not carve the ends as deep as the middle?
My reason was the roll. The deepest spot belongs in the middle and not at the end, I said, because the leaf rolls there, and that needs a really smooth transition. So the ends stayed higher for the time being, ready for the rolls that come in later lessons.
Can the ends come down later?
Parts of them do. One area, I said, would go a little lower later on, and when step one was done I said this part was still going to go down. For now the 38 mm was fine, and the rolls get carved in the lessons after this one.
What to carve next