

Alexander Grabovetskiy, woodcarver, School of Woodcarving · Published 2022
How do you carve the wavy edge of an acanthus leaf?
Quick answer: The wavy edge on my 1903 acanthus leaf is one I carved straight first and waved late. A 3 mm number 11 made a fingernail shape, almost an undercut. A 1 mm eleven went deeper, the 3 mm tool rolled it inward from outside, and the waves were chopped straight down.
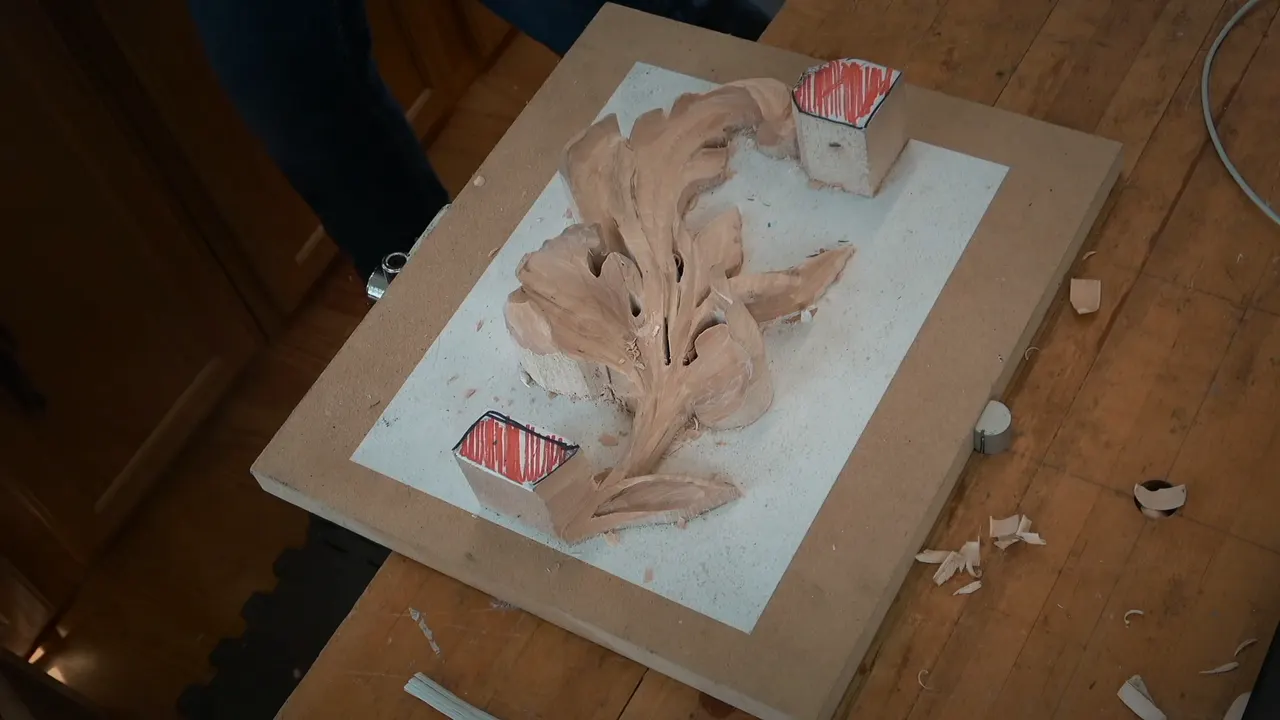
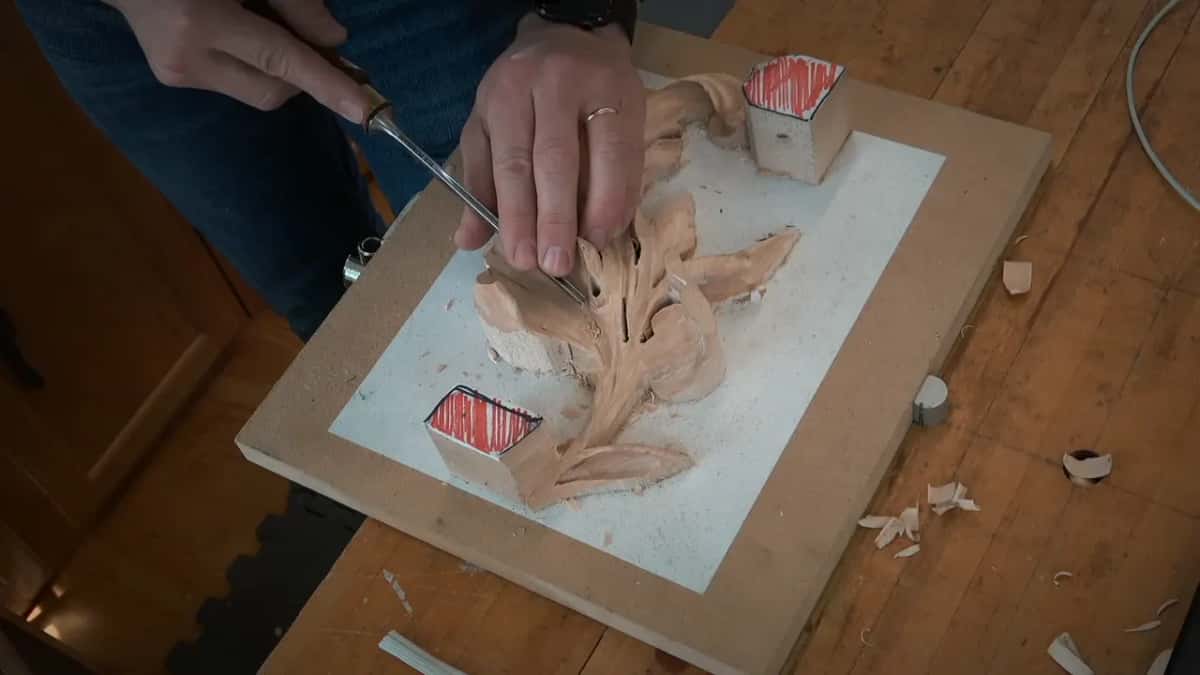
The wavy edge on this acanthus leaf is one I started as a straight line and gave its waves only near the end. On paper that line goes really wavy. In the wood my first pass was a plain fingernail shape from a 3 mm number 11, flute at about 11 o'clock, and I told the class it was almost an undercut.
That's lesson 6 of Carving Modern Acanthus, my acanthus leaf carving class on a design based on a piece sculpted in 1903. A 1 mm eleven went under the fingernail next. The same 3 mm tool then rolled the edge inward, from outside in, and the waves were chopped straight down after all of that.
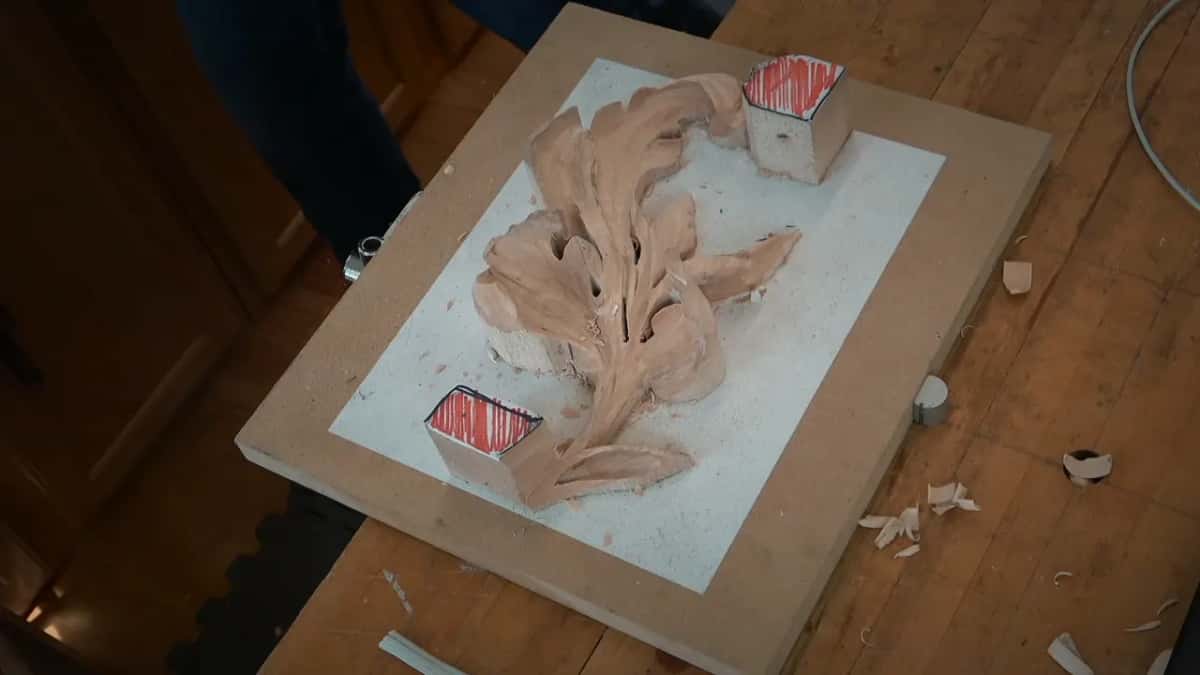
Want that edge to wave in and out the way the drawing does? With a dark line of shadow under it as well? Then the waves can wait a little.
Below are the tools I named, where the flute pointed, what I said about depth and the order that edge went in, each one from this lesson.
The order on this edge
First came a straight fingernail shape from a number 11, 3 mm wide, flute near 11 o'clock.
Almost undercutting, I called it.
Next came the tiny one, 1 mm, and I said 0.5 mm goes deeper still, if you have one.
That undercut blends in, starting at almost nothing and ending deep.
The bigger eleven rolled it inward next.
Waves came after that, the same tool held upright.
Then a side look.

Where does acanthus leaf carving start on a wavy edge?
With one preliminary pass. Look at the picture, I said, and that section goes right underneath that little thing, and we're going to undercut there as well. It's a really interesting movement. You really don't have to do it, but I think it's going to look really nice.
Just before it I talked about a pipe. Look from the side, I said, and it's not supposed to be a straight line, and even in 3D it still has to be a motion. I wanted to bring my pipe's curvature up to the eye. I don't have that ability everywhere. On this one it was already there, I said, and since we were going to make that detail, it would happen automatically.
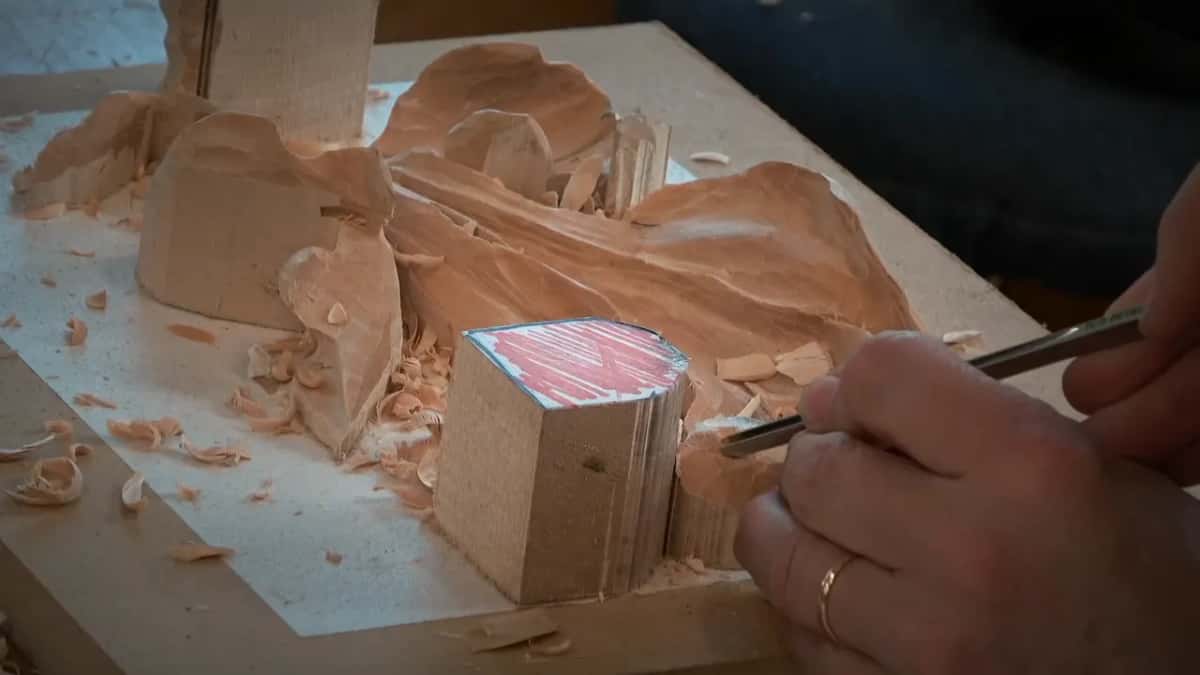
After that I warned the room that this finer work takes somewhat smaller tools. Anyone who struggles with that, I said, can keep working on it or just get over it. I said I'd work on that little thing, and on this one too, and took up a number 11 and 3 millimeters. My flute went to about eleven o'clock, I'd say. Almost like undercutting, I told everyone, and then I put it plainly. It's not a real undercut, but almost.
Then I blended it in from this side, as I put it. It has to be blended, I said. The shape that came out looked like a fingernail, and it doesn't have to be divided right away. For me it was only an indication of the movement at first, step number one. Then I went over that same pass again.
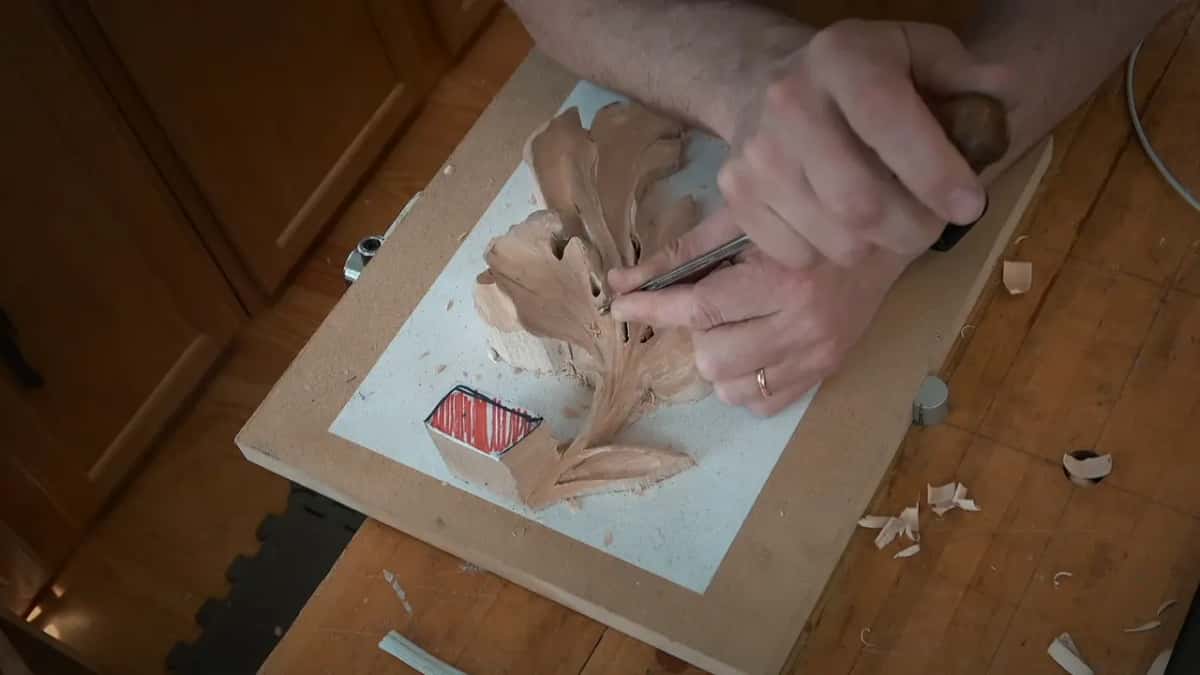
Why carve it straight when the drawing waves?
Paper shows the final form, and I asked the class not to concentrate on that form yet. "Don't concentrate on a final form like you see that on a piece of paper," is how I said it. Right after came the wavy part and what I meant to do with it. I'd pointed the class to the picture before that as well. Look at that detail, I said, and see this overlapping motion, the roll going one way while another part goes below.
I made just the fingernail at the beginning, a straight one like this, and said I'd be able to make that waviness a little later. Those were my words on camera, with the leaf on the bench in front of me. My drawing wasn't always clear either. Talking about a pipe before that, I said that even if I didn't draw it really clearly, there's supposed to be a pipe.
Which gouges did the work?
Two number 11s carried the edge, a 3 mm one and a 1 mm one. Micro tools, I called the small ones. Before this edge, I'd called the number 11 my most beautiful tool. Eleven three, that is 11 3, I said once, naming the 3 mm one.
Stage | Tool | Said |
|---|---|---|
A straight fingernail | number 11, 3 mm, with the flute near eleven o'clock | almost undercutting |
Going in deeper | micro eleven of 1 mm, or half a millimeter | after shadow |
Blending that undercut | flute up, then turned left while carving, to ten | not nine |
Rolling it inward | back to the 3 mm eleven, from almost the end | feel the grain |
Then the waves | same tool held straight down for a light chop | after the roll |
A look around | more undercut underneath one spot, where it needed some | side view next |
Where do the micro tools come in?
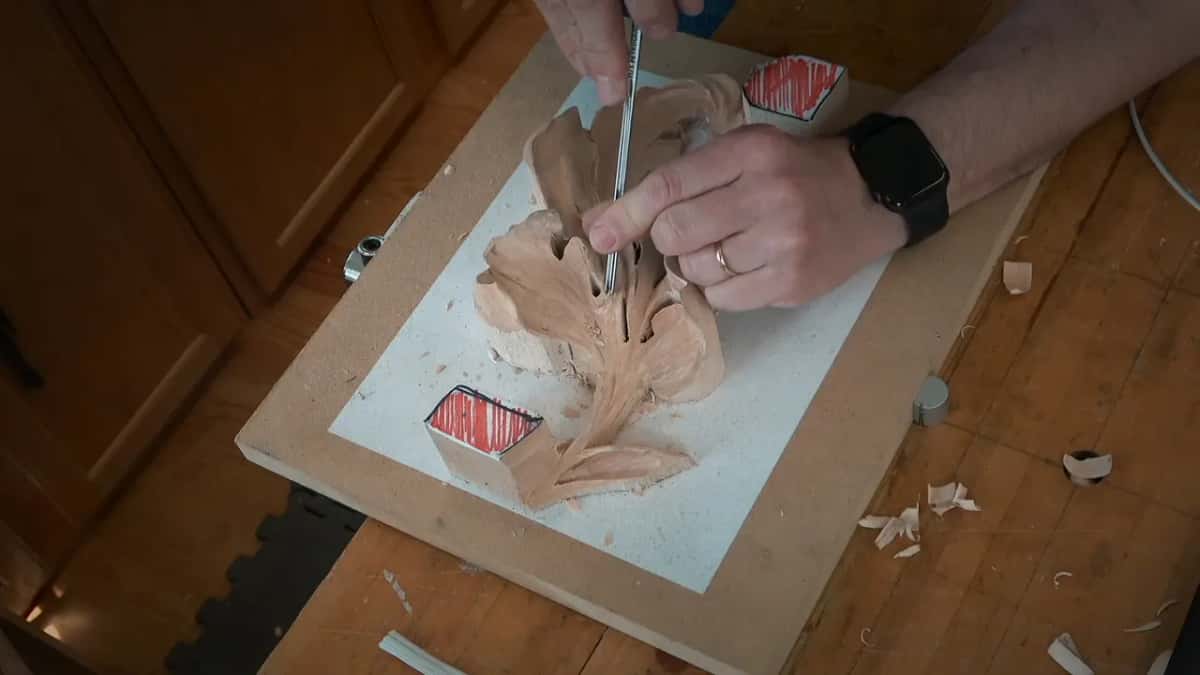
At the deeper part. When the moment came I said we'd introduce micro tools, one millimeter or half a millimeter, and then, let me pull, actually, one millimeter. That one was a number 11 too.
That smaller size stayed a maybe. If you do have an even smaller one, I said, you'll see the detail. With it you can make an even deeper undercut, and it's going to look even better. I said that twice, about half a minute apart.

How deep does the undercut go under it?
Deep enough for shadow, which is what I said I was after. I know there's a lot of light all around me in that room, and you don't see that shadow. Place the piece on a wall somewhere without too much light, I said, and you're going to see it.
Near the eye I held back. It's not really around the eye, though partly it is, and I said don't go too far there. It won't look nice. That undercut must blend, starting at almost nothing and going deep, and at one spot I said I would not undercut right there.
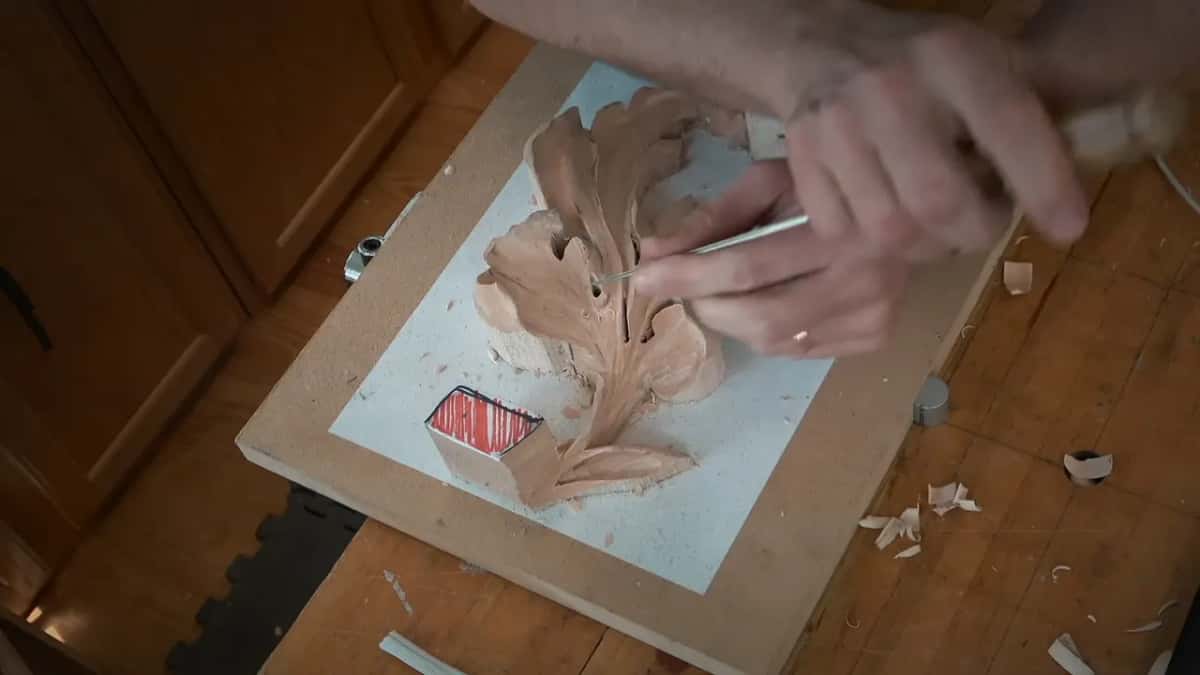
Under another part, earlier in the same lesson, I'd warned the class not to be too crazy about it. It gets really hard if you don't have the proper tools to go really deep. At home, I said, I would just go deep, but in that room we were limited.
Which way does the flute turn?
Up first, then to the left while I carved. I started with my flute up, somewhere right there, and turned it as the tool went, to about 10 o'clock or so. Nine o'clock I skipped, because I had some stuff in my way. Eleven o'clock came up before this too, where I called it approximately 11 o'clock.
Twelve on a clock face is the flute pointing straight up, so eleven and ten lean it over to the left.

How did the edge roll inward?
With the same 3 mm eleven, once I'd found it again. When you have a lot of tools on the table or the workbench, you get lost, and that's what happened to me right there.
I started from almost the end of it and carried the tool inside slightly. I want it to feel like it's rolling inward, I said, from outside inward. Just be careful how you do it. You have to feel the grain.
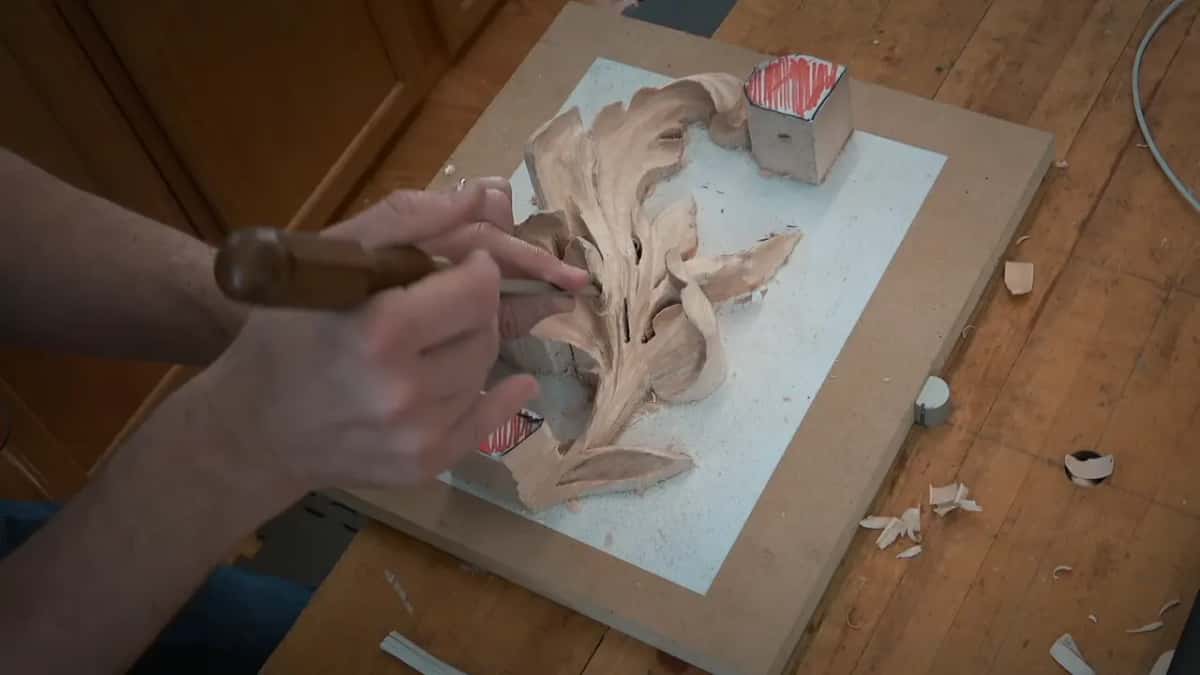
It stays almost flat and then goes downhill, so it's supposed to feel like it just rolls backwards. A small detail, but something nice, and the Romans brought in that movement. You're not going to see it in the natural world. It's more beautification than anything else, and I think it just looks really nice.
When did the waves go in?
After the roll was done, and with that same tool. Obviously you have to work the details, I said. I presented it straight down and chopped slightly, and that gave the edge its waviness. The undercut was already done by then, which I said made the final shape a lot easier for me.
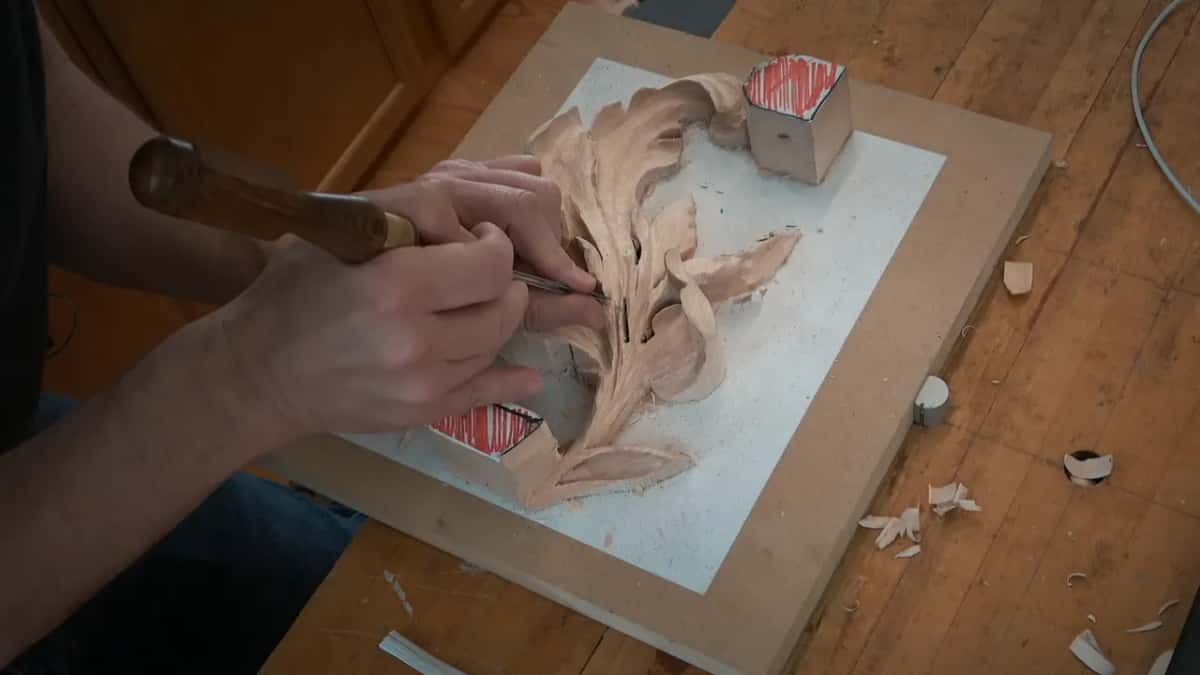
Pay attention to what's going on all around, I told everyone next, in case some stuff needs fixing. In my case one spot needed a little more undercut underneath, and that was probably a good time to do it.
Can you see an edge this small on video?
Not always, and I said so more than once. Everything blocks the view, I said at one point, with my own hand blocking this camera. Can I get the camera? I asked the room. Later I asked if you could see it, and then, what about now?
The waves were a little far for the camera, though you should be able to see the movement. Maybe from a different camera, I said, you can see it even better, and late in the lesson I admitted you probably don't see that really well on the camera. Don't understand what I'm doing? Take a picture, I said earlier, just to look at it.
What did I check once the waves were in?
The line from the side. Look from different angles, I said, and you can see if a line is a little too straight, not flowing. Then fix it. Rotate the piece, kneel down, look at it from different points of view.
What came before that edge?
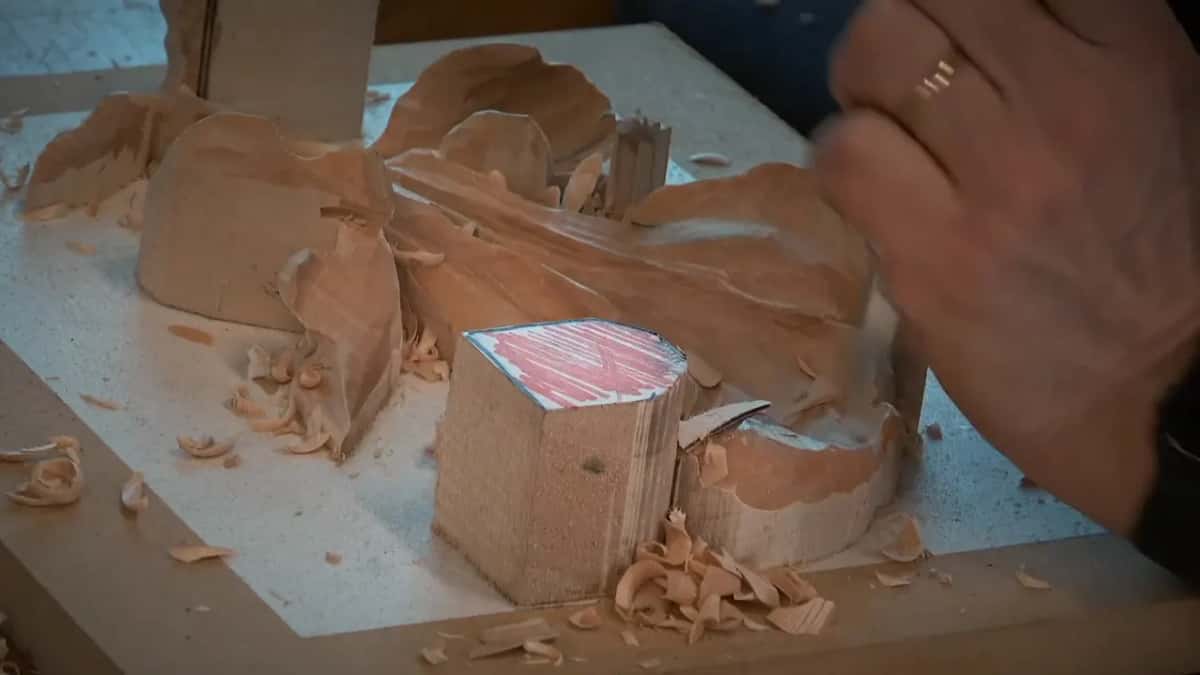
Earlier in the lesson came a small part that flips backward slightly, as I put it. I asked if you could see how I was making that motion. Can I say motion? Motion is good, right?
That one I said I'd bring a little closer inside, more than even what I drew. And I'm going to drop almost all the way to the background, I said, leaving maybe about 1/8 of an inch, about 3 mm. The next part goes uphill, down, down, down, then uphill again, and I said I'd drop it almost to the background, but not all the way, with a spoon gouge in your case and a number 11 in mine.
What else happens in lesson 6?
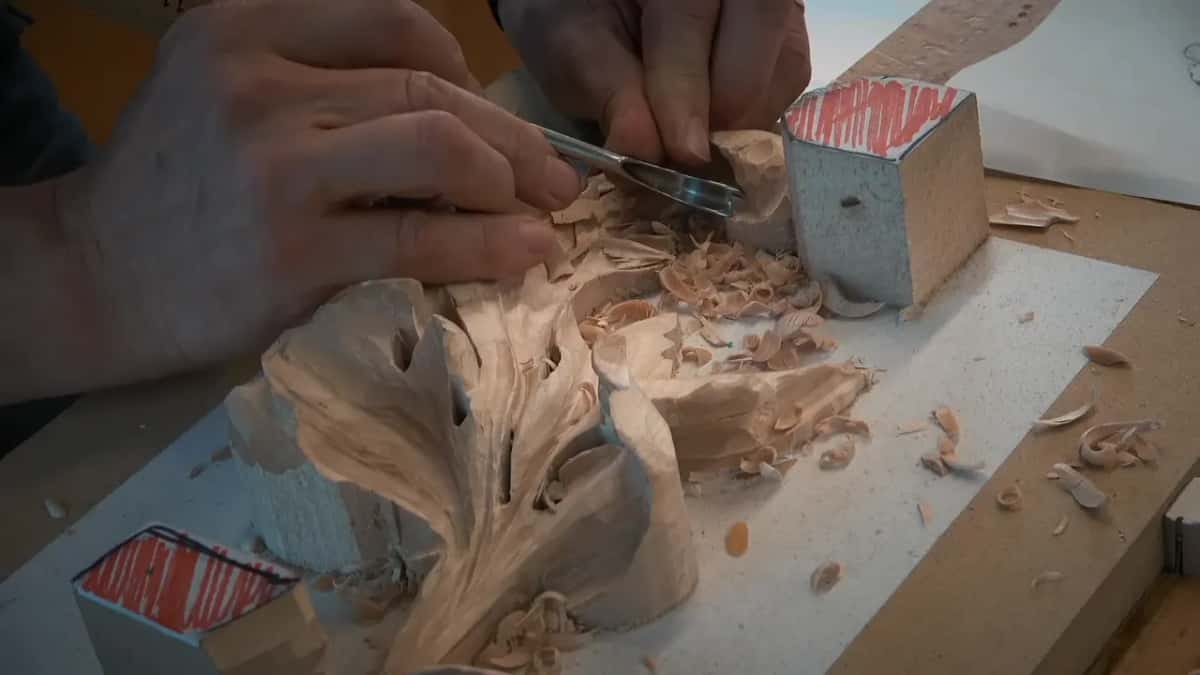
Concaves open the lesson, on a leaf carved in deep relief. I worked my way in with the spoon gouge, little by little, and wanted the ridge raised up, on the bigger scale and even on a small scale. Why is that important, I asked. Shadows, yes, you're right, I answered. A book I mentioned says the concave gives you the best shadow, and that's why acanthus movements on furniture carried lots of concaves.
Against the grain I changed position and worked the opposite direction. Later, on a concave, I said yes, it fights me, because I'm carving against the grain. Okay, wonderful people, we are getting pretty close, I said, and redrew the lines. It doesn't have to be perfect, by the way.
The roll on top took what I called my secret tool. One student hadn't bought one, and for anyone without it I said you just use a number 7 upside down. Just to prove the point, I said I'd still use my secret tool. You can do the same operation with different tools. What I was making there is just the motion, overall like a sphere, if you want to put it that way. After that an undercut went right underneath that motion, my hands placed solidly on the board. At one point I told a student, you should become my assistant in my shop.

Next came an eye and its pipe. Every time we have an eye, the overlapping motion, we're supposed to have a pipe, the same rule as on the Greek and Byzantine leaves and up onto a molding in Acanthus over Moldings. A concave went on each side. Where I used a number 11, I told the class to use a number 9 spoon gouge, and a 14 mm (9/16 in) number 7, upside down, blended the concave.
I kept those concaves shallow. I don't want to spend my time cleaning that stuff, I said, just an indication of that movement. Late in the lesson a pipe goes uphill to the eye, since otherwise it's a little too boring for me, and a number 7 at 45 degrees knocks one side down before it flips over to blend the other. The leaf was first roughed out back in lesson 1.

New to all of this? If you've never held a gouge, First Cuts for Beginners is where to put your hands. The Corinthian leaf teaches the anatomy on a bigger, more forgiving scale, and the lessons map lays the whole road out in order. Which tool does what, and why, is the whole of All About Tools for Wood Carving. Sharpening is the skill under every other skill here, and it has a course of its own, Carving Tool Sharpening.
Want to see the fingernail turn into a wave? And the tiny one going in underneath it, right after the fingernail? Access opens lesson 6 with every other lesson of this course. Three videos, about 25 minutes.
How it's done
- Lay in a straight fingernail. Take a number 11 of 3 mm, flute near eleven o'clock, and go in almost like undercutting. Blend it in from one side, and leave the wavy line on the paper for now.
- Go over that pass again. Repeat it once. At this point it only shows the movement.
- Deepen it with a micro eleven. Switch to the 1 mm tool, or a half millimeter if you have one, and take the undercut deeper for shadow.
- Blend the undercut out. Start with the flute up and turn it left as you carve, to about ten o'clock. Begin with almost nothing, finish deep, and don't go too far near the eye.
- Roll the edge inward. Go back to the bigger eleven. Start close to its end, carry the tool inside slightly, working from the outside in, be careful, and feel for the grain.
- Chop the waves straight down. Hold the same tool straight down and chop lightly to give the edge its waves.
- Look around, then check the side. Add a little undercut wherever it still needs some. Then rotate the piece, kneel down and fix any line that looks too straight.
Frequently asked questions
What size gouge do you use on an acanthus leaf edge?
On my leaf in lesson 6, an eleven three millimeters wide made the first fingernail pass, then rolled the edge inward and chopped the waves. A micro eleven at 1 mm took the undercut deeper. I also named a smaller size.
Is the first pass along the edge a real undercut?
Almost, I said, though not quite. Tipped over to about eleven o'clock, the tool went in nearly the way an undercut would, and then it got blended from one side. What it left looked like a fingernail, still undivided at that point.
Why go deeper with a smaller gouge?
Shadow. In class I said a half millimeter gives an even deeper undercut that looks even better, and on a wall with less light that darker line is what you'd notice. Under the bright lights where we worked, you couldn't see it.
What to carve next