
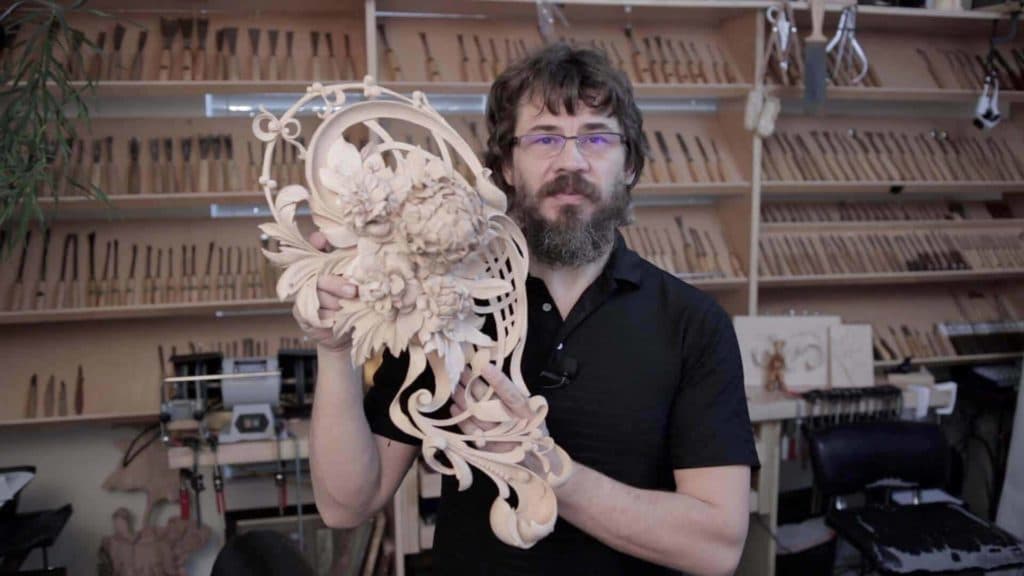
Alexander Grabovetskiy, woodcarver, School of Woodcarving · Published 2022
Which details does a finished modern acanthus leaf have to show?
Quick answer: A finished modern acanthus is a panel where each part rises in its middle, each eye carries a pipe, and no line reads straight from any angle. Those count as the law of this 1903 style. Climbing flips and a ladybug are taste, like the backward Roman roll, and some of those you can skip.
A modern acanthus panel is done when every part bulges in its middle, every eye has its pipe, and no line looks straight from any side. Those I hold like a law for this style. The backward roll at the hole is taste. So are the flips that climb uphill and my ladybug, and on camera I said so in plain words. That is how I sort the details of acanthus leaf carving on the 1903 design in this course.
Does a carved leaf look better when it throws a deep shadow? And does a line go dead the moment it runs straight? Then you know most of the law already.
I'm going to be honest with you. After eight workshops of relief carving on one two inch block, it gets hard to tell which details count and which ones I carved because I like them. I said both kinds of things while I worked, sometimes in the same minute. This page puts them in two piles, the law of the style and my taste, and every line comes from my own lessons, with the lesson named.
The short list for a finished panel
Every part bulges a little in its middle. I called that this style, and I said other acanthus leaves may not have it.
Each eye gets its pipe, down to the tiny eyes on the wavy edge.
Nothing reads straight or flat in a side view.
Where the wood lets you, a pipe rises uphill to its eye.
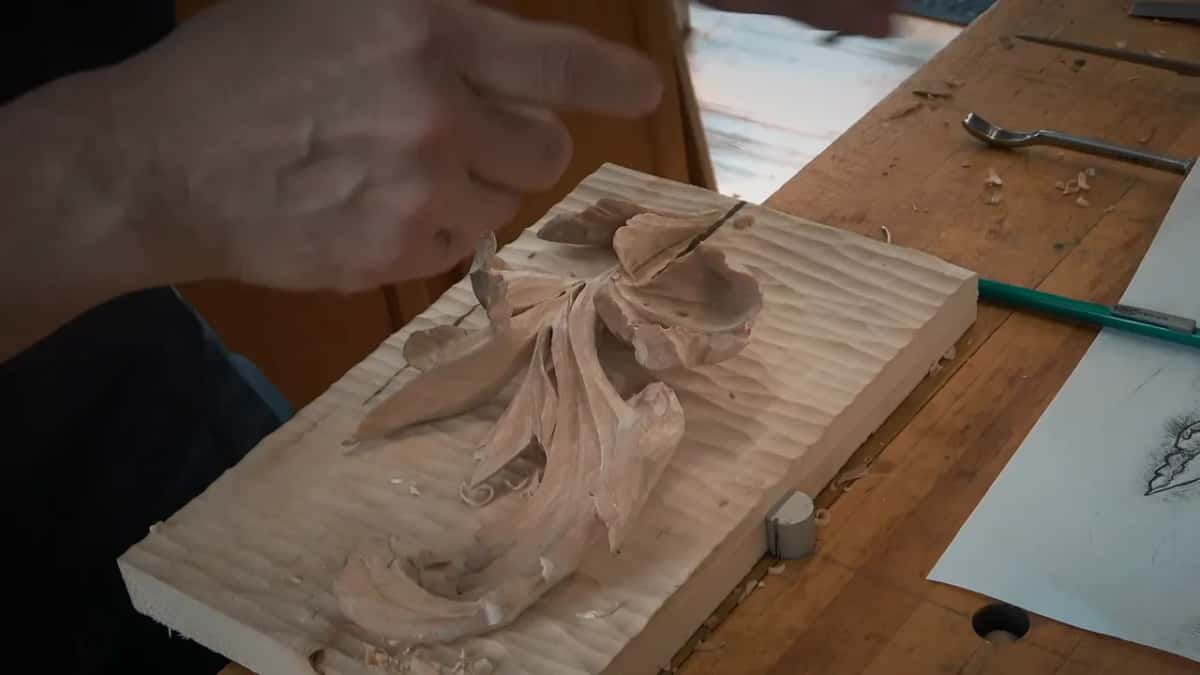
Everything is supposed to look almost like a spoon, in every direction, flipping and rolling over.
Climbing flips are up to you.
So is the ladybug, and the Roman roll is my own taste, nothing more.
Which rules does acanthus leaf carving in this style never bend?
Three things never bend on this leaf. Twice I used the word law for them. Talking about the eye and its pipe during lesson 4, I said it's just like a law. And when I made a pipe rise in the sixth lesson, I called that rise a really good law in design, and in the same breath I said nothing in nature is straight.
The third rule is the bulge, and for that one I used a different word. Style. Everything else got softer words from me, like if you have a problem with that movement, forget it, do something else.
Soft words mean taste. And taste you can argue with.
Does every part have to bulge in the middle?
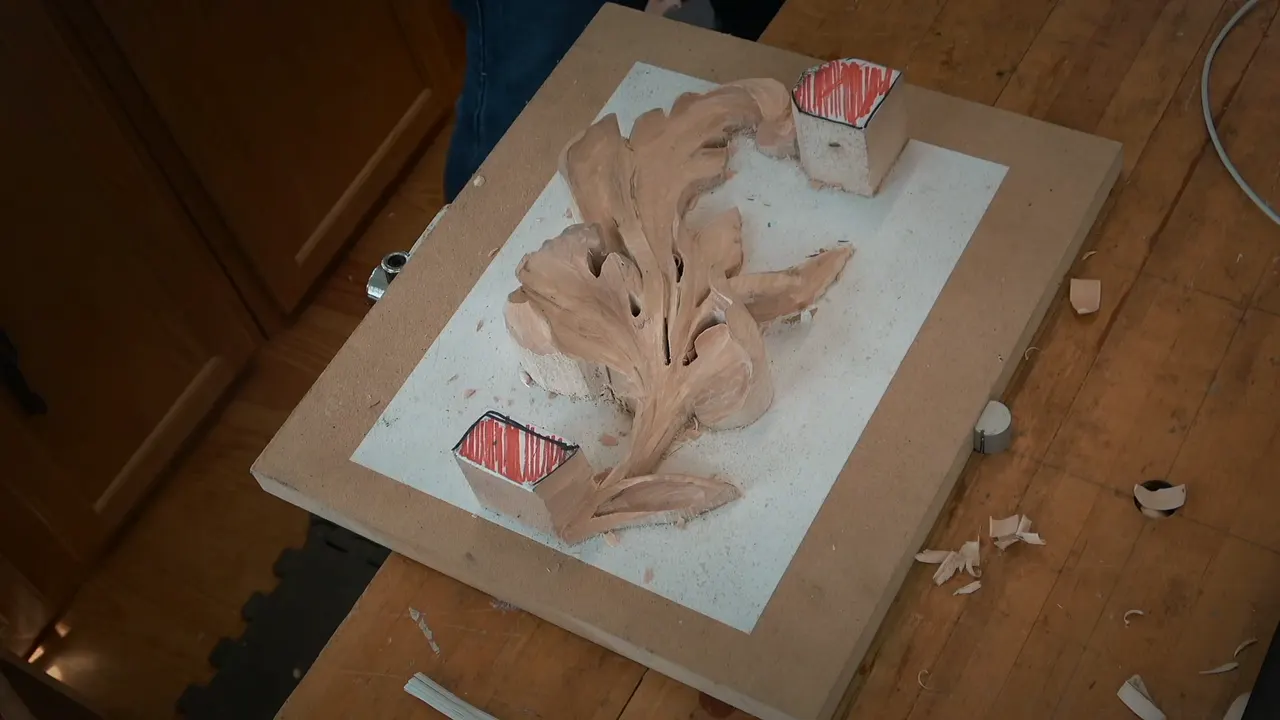
On this leaf every part does, the small ones too. Lesson 5 has a little convex inside the leaf, with a small triangle as the stopping point for it. I excavated right on the side of it with a 20 mm (3/4 in) #9, so the hollow flows all the way under the curve.
I wanted that bulge because it gives more shadows, and as I said to the class, it's really good for the eye.
Then I said something worth hearing twice. This applies to that type of acanthus leaf, the one in front of you. Some acanthus leaves won't be like that. It's just that style.

Another ridge went up in lesson 6, and I said everything in this style gets raised, on the bigger scale and even on a small scale. By the last part of the final lesson I was still at it, making those ridges a little higher with a spoon and a concave all around them, because that gives a better shadow.
The old leaves go the other way. Back in the Roman acanthus course I said a concave on the inside was unique to the Greek and later the Roman design, and that the Byzantine leaf used it too. More European, more modern leaves were for other lessons.
My class missed the bulge once. Looking at the work from the day before in lesson 4, I did not see any of you establish that bulging. A furniture panel lesson shows the same shape across one leaf, a concave on one side, a concave on the other, and a convex between them.

How do you find every eye on a finished panel?
Count them the way I did. Mine had four eyes on the lesson 4 panel, and for the class it was three. Then look for the ones that hide.
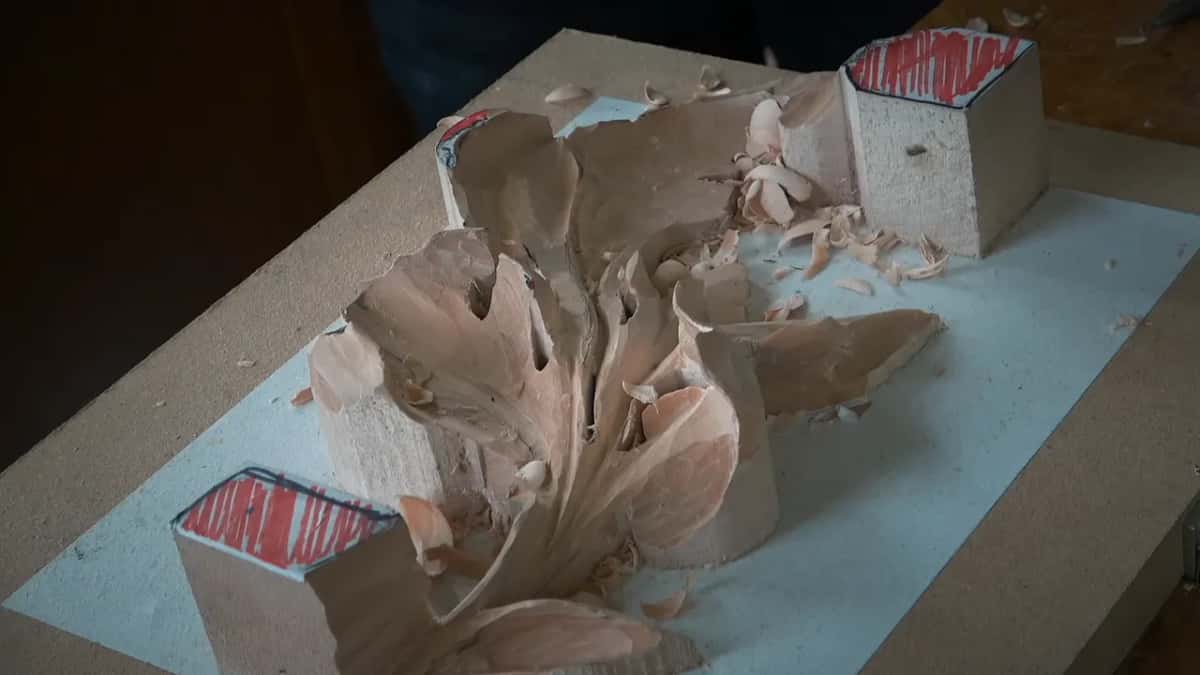
Where two parts overlap, that overlapping motion is an eye, and lesson 6 had one I didn't even draw really clearly. It still had a pipe going on. An eye is an eye on a tiny scale too. When I carried a 3 mm #11 a little deeper in lesson 4, the line flowed down into a small pipe.
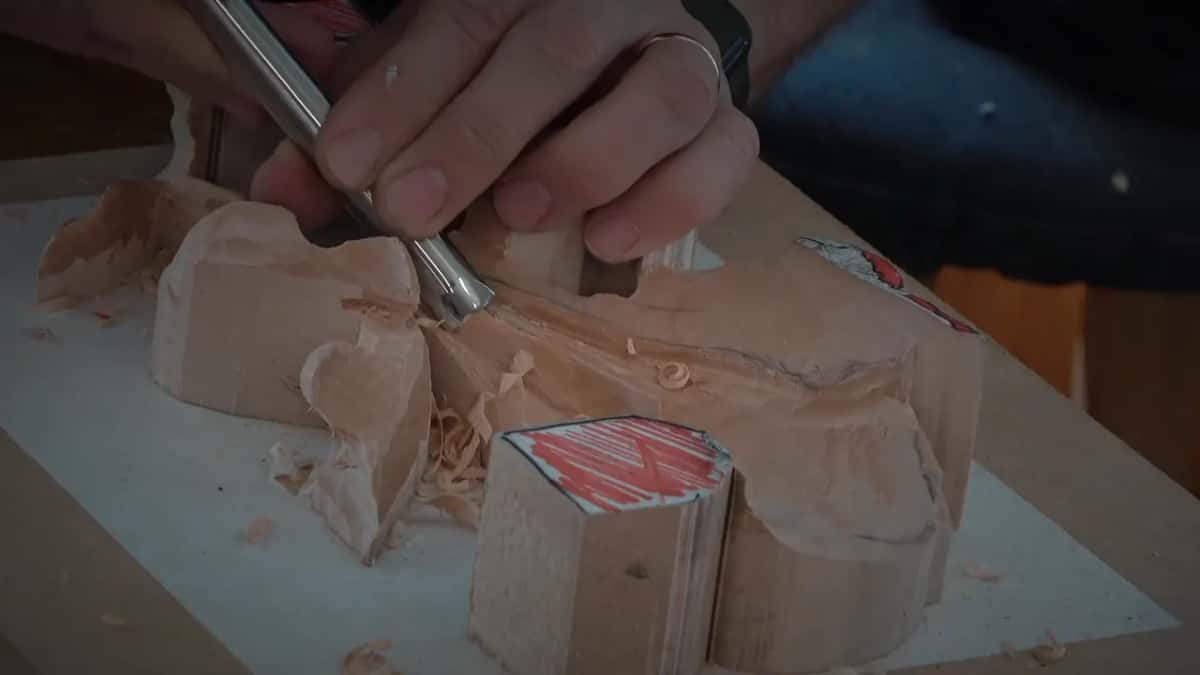
The smallest ones sit on the wavy edge. That area is just like a micro eye, I said in lesson 8, which means you need a micro pipe, and it does not have to be really pronounced. Even on the micro level, slice it. Don't push it.
I even pointed at one on the back. Working from behind, I said one spot is probably one of the really important spots, because it is an eye.
Why should a pipe climb up to its eye?
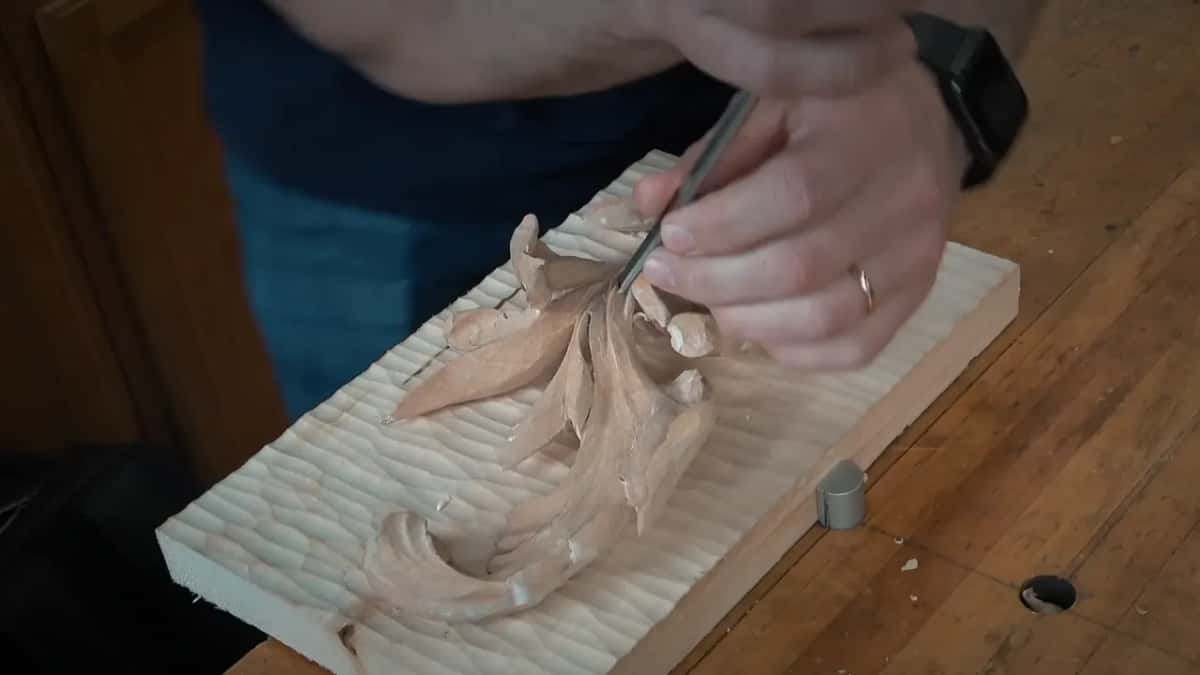
A rising pipe keeps the leaf moving when you turn the panel. One section in lesson 6 looked nearly like a straight line from the side, and even in 3D it still has to be motion, so I brought the curve of the pipe up toward the eye.
I don't have that ability everywhere. Some pipes already had the curve, and on others the detail I carved next gave it to them.
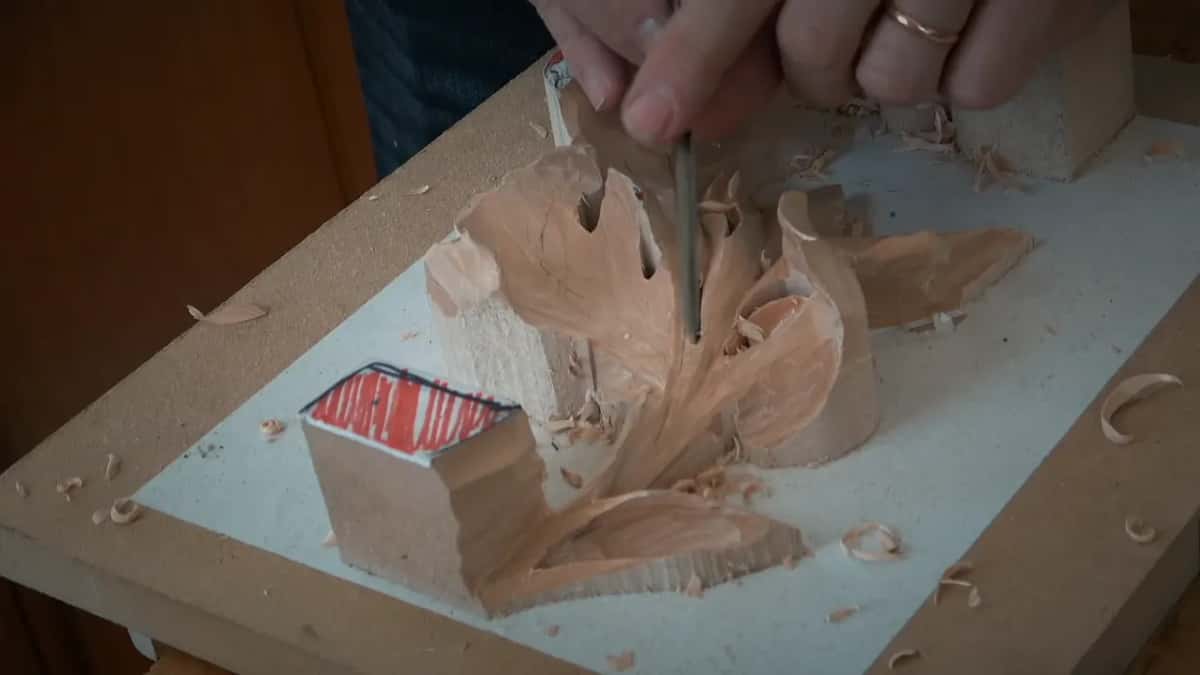
The next part of that lesson has another one, and I said that pipe goes uphill to the eye. Otherwise it's a little too boring for me. My #7 went in at about 45 degrees to the center line, left side of the tool only, and knocked the side down a little. Then I flipped the tool the other way, also at 45 degrees, and blended it. Just a slight rise, and I still have a pipe.
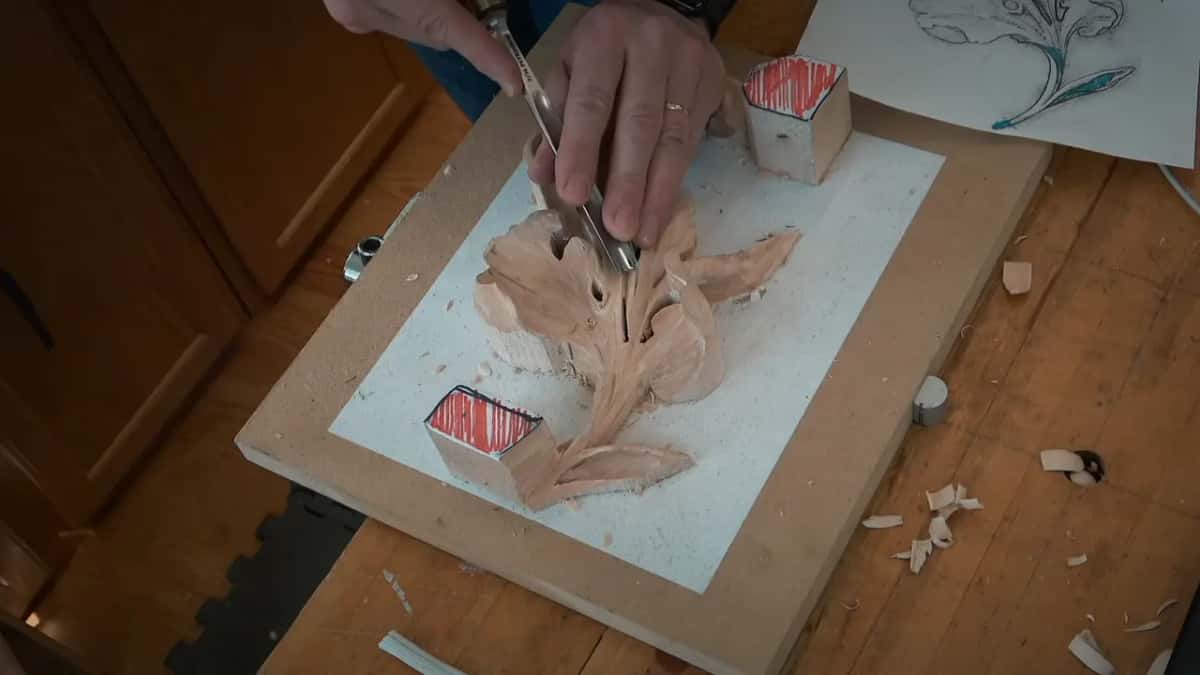
It casts a little different shadow, I said, for a really small detail. That rise is the moment I said really good law in design. Remember what I said the first day. Nothing is straight, and even a straight line is still a curve in nature. And a math based 3D modeling program calls it a curve too, I told everyone.
What should the panel look like in profile?
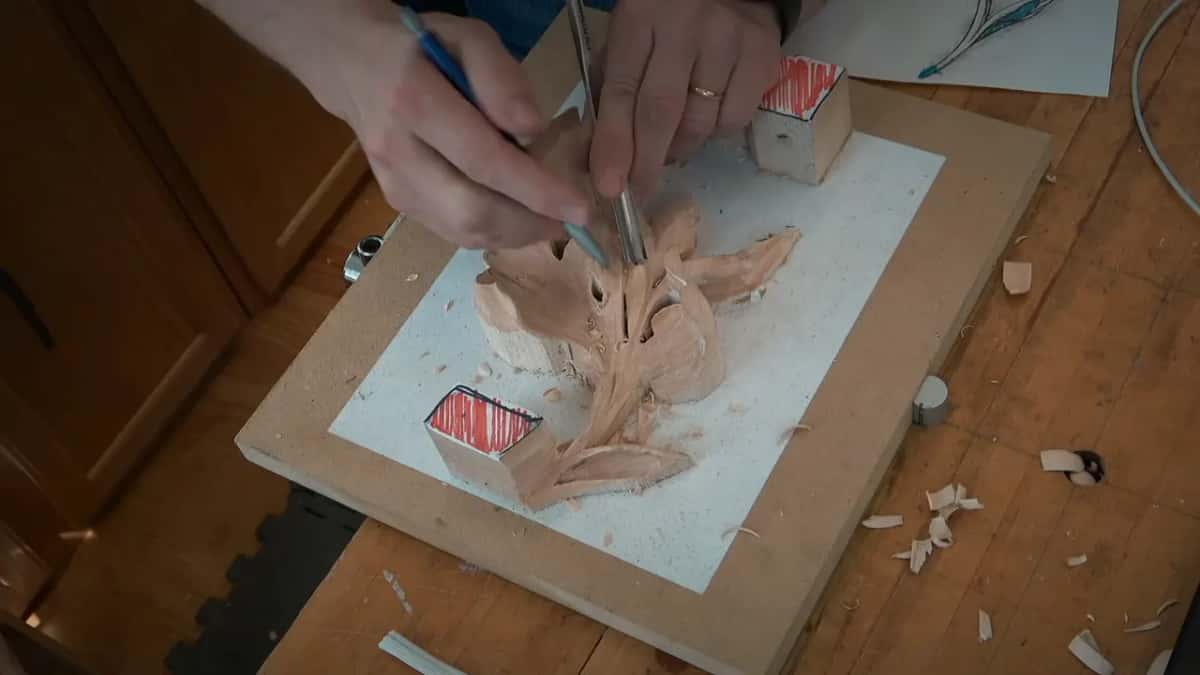
Every line should still move in profile, and a flat stretch is a thing to fix. Back in lesson 3 I said you really have to look at it sideways, to see if it's really rolling or not.
A part in lesson 5 had been straight and flat, and I wasn't too happy about it. I don't want to see any flat areas, I said, not even from an angle, because there are no straight lines no matter what the perspective. No bueno. So I dropped that part to about the level of its neighbor, then took a 10 mm (3/8 in) #9 for the flipping motion.

Later another section was too flat, and I didn't really like it. So I went back in with the big #9, 20 mm, and excavated a little more.
Read one profile with me. Studying a part sideways in lesson 5, I said it should come up from below, rise to about one inch (25 mm) from the background, drop back, then bulge just a little. Mine was rough there, so a #7 with a rotating motion blended it into a nicer transition.
Even the line where a stem runs into the leaf should bend. The class heard me say in lesson 3 to make sure that line is not straight and has some curvature, because later it becomes a stem going inside the leaf.
So turn the panel. Kneel down. My advice in lesson 6 was to look at it from different points of view, and if a line is a little too straight and not flowing, just fix it.
Is the spoon effect a rule or a choice?
I said it like a rule. Lesson 2 is where I wanted to see a spoon effect, almost like a spoon, and everything is supposed to be like that, in this direction, and it also flips and rolls over in all the directions.
Lesson 3 came back to it with the spooning effect. At one spot I traded the 10 mm #9 for the 20 mm, because the wider gouge gives a better curvature. It left marks inside, and I only cleaned them a little, since the details inside were still to come.
The hollow has to run smooth into the one next to it. It's got to be a really smooth, really gradual transition to the previous one, I said in lesson 2, and you can always break the edge if you come at it the wrong way. Please don't.
Does the roll at the hole belong to the law?
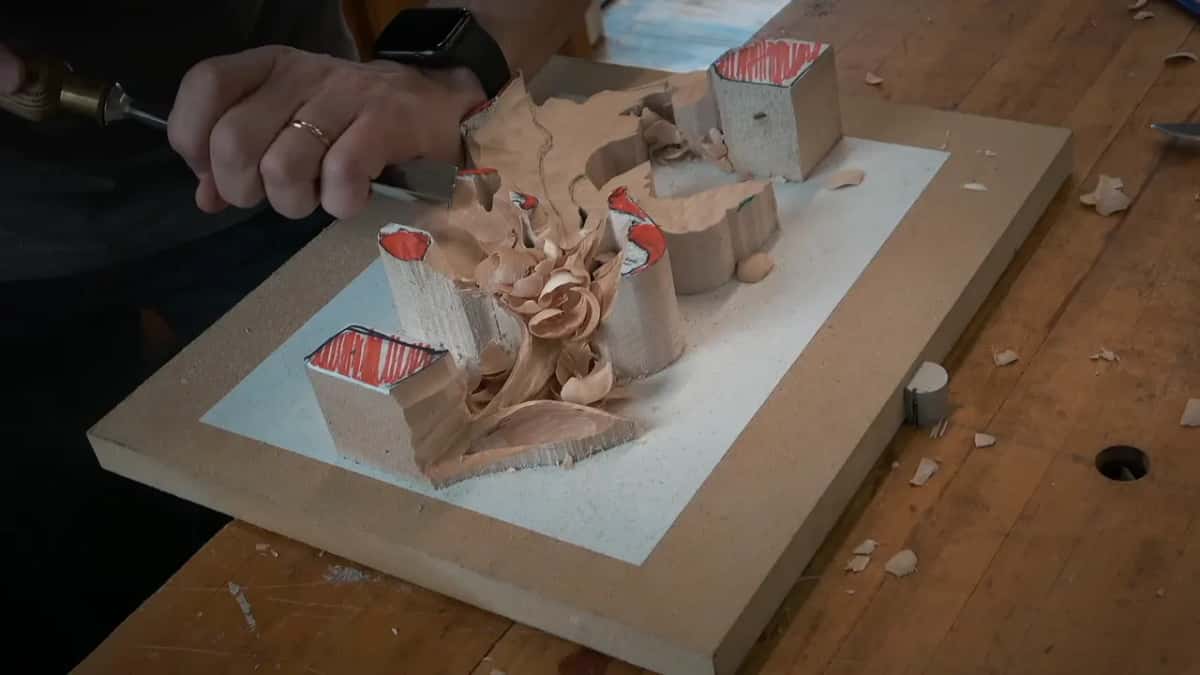
That roll is taste, Roman taste, and I put it in because I think it looks nice.
Here is how it went in lesson 6. A 3 mm #11 started from almost the end of the part and carried slightly inside, from outside inward, so it feels like it rolls inward. You have to feel the grain while you do it. Seen from above it still looks almost flat, then it goes downhill and rolls back from the hole.

I called it a small detail, something really nice. The Romans brought that movement in. You won't see it in the natural world, and it's more beautification than anything else. I thought it would be good to show you anyway.
Right after that I told the class where the design came from, a piece sculpted in 1903. It's called modern because it was modern back then, and to me it looks really nice.
Lesson 8 has a part that runs downhill under the middle. I'd call it a stem. Really it's a part of the leaf, whatever they called it, modern back then, and I kind of like the whole idea.
Which flips can you leave out?
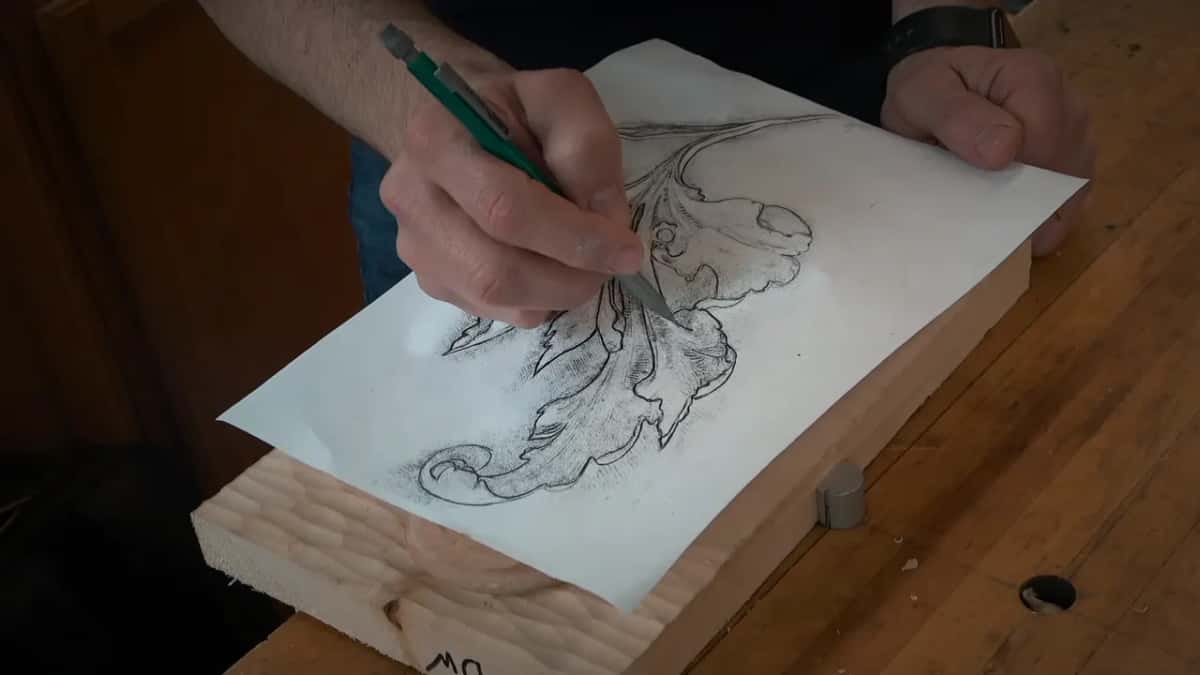
The climbing flips, and I told you so while I carved them. With the #11, my most beautiful tool, I flipped one detail slightly uphill during lesson 6. You don't have to do that, I said, but I think it's going to be beautiful. Later came a really interesting little movement, and again you really don't have to do it, I said, though I thought it would look really nice.
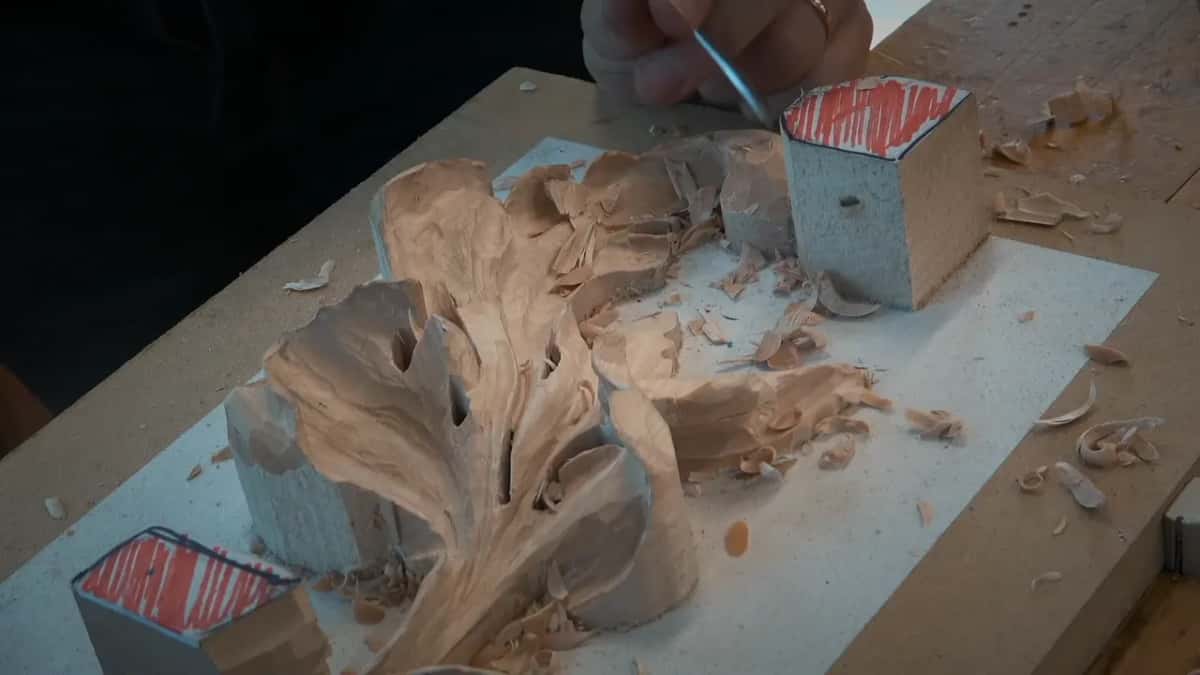
Depth is a choice too. Under one detail in that same lesson I said that if I were at home, I would just go really deep, but in class we were limited by the tools. Really extreme undercutting I called another technique on its own, back in lesson 8, for when you plan to do really nice stuff.
Then the ground. You can leave it flat, and it'll look okay. Or carve a ladybug where people can see it through a hole, the way I did in lesson 8, and if you don't like the ladybug, put your signature there.
Tools are taste as well. When a student didn't bring a tool like my secret one, I said use a #7 upside down, because you can do the same operation with different tools.
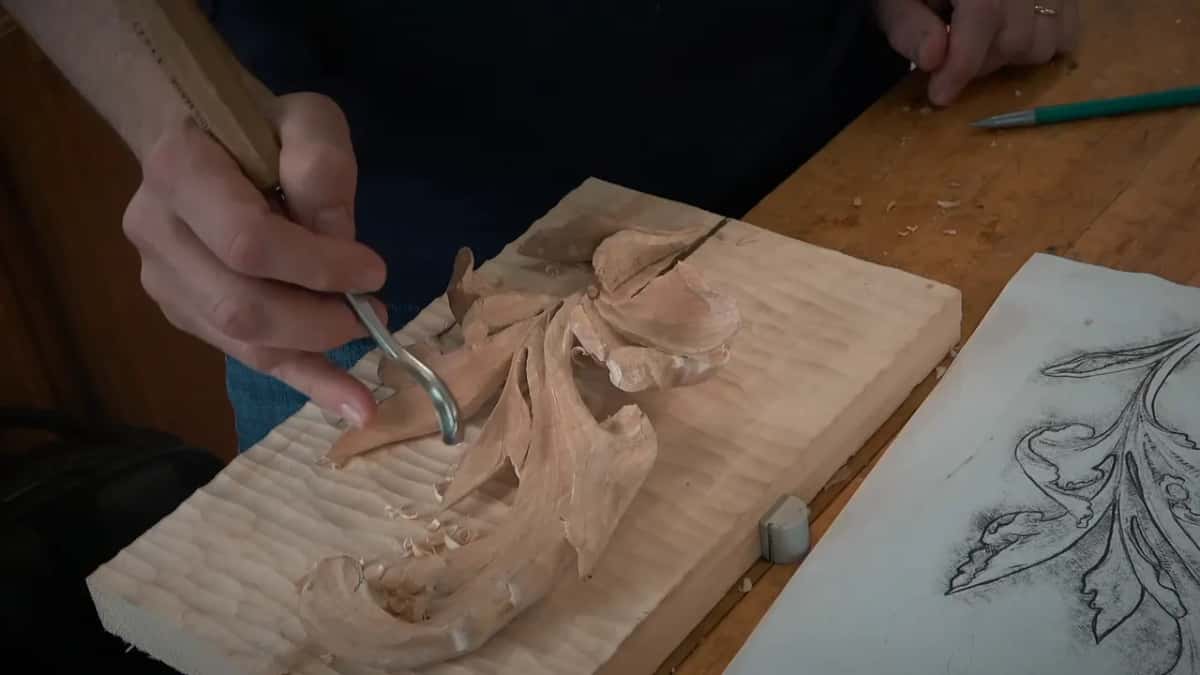
What has to hold up on the edges and the back?
Thickness has to hold. Some of the class went a little too deep under one part in lesson 5, and I told them to put their fingers there, because fingers can feel if you took too much. I kept about 3 mm (1/8 in), and a little less is okay, but then it becomes fragile.
On the back the check is the same. Lesson 7 has me putting a finger underneath to feel how thick the wood is, because you can make a lot of wormholes and then try to convince me. Any wall, a surface the tool never touched, gets blended into the undercut or taken out. I see the wall you don't see, and I don't want to see it.
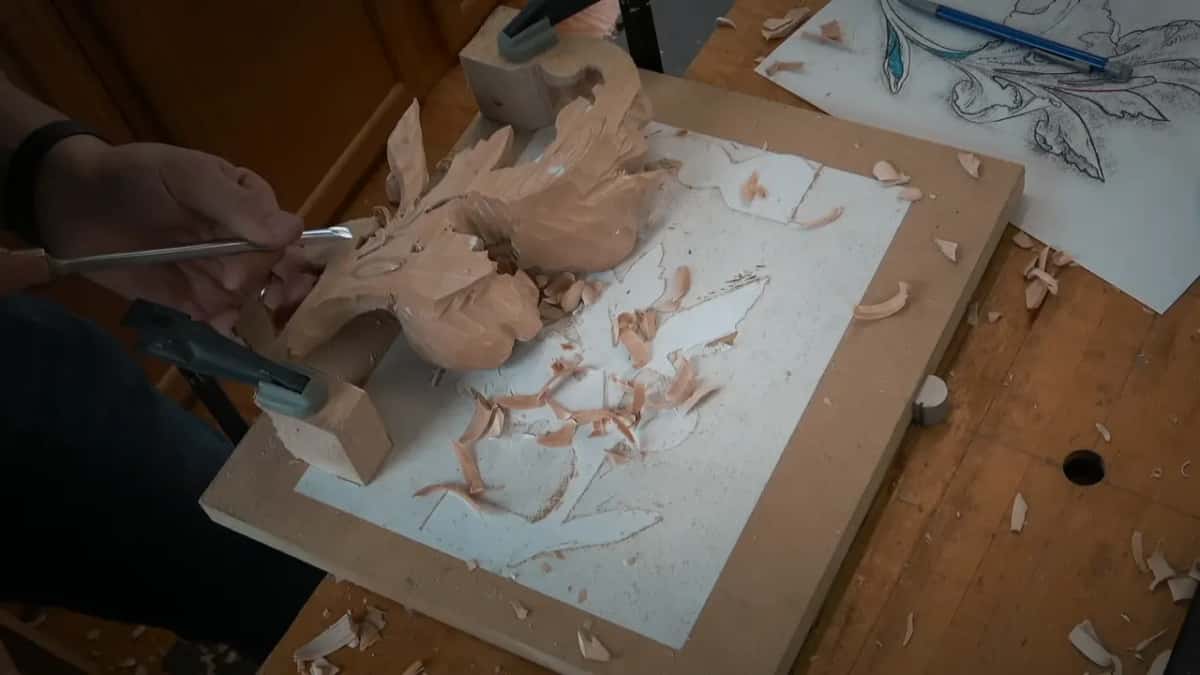
Before the panel comes off the board, look at the other areas, and if something looks weird, just fix it. In class I asked the students to come to my piece and compare it with theirs.
Law and taste side by side
Here is the whole panel in one table, with the words I used on camera.
Detail I check | Law or taste, in my own words | Main tool | What it does for the leaf |
|---|---|---|---|
Bulge every part | Law for this style, not every acanthus | Spoon gouge | Casts more shadow for the eye |
Every eye's pipe | A law, every time you see one | Number 7 | Four eyes on mine, three yours |
No flat line | Law, no straight line from any side | Turning it | Fixed when you kneel and look |
Pipe climbing uphill | Design law, where the wood allows it | Tilted seven | Casts a little different shadow there |
Spoon effect everywhere | Supposed to look that way, every direction | Wide nine | Flips and rolls over all directions |
Roll from hole | Taste, the Roman beautification, not in nature | Small veiner | Feels like it rolls inward, backward |
Optional uphill flips | Taste, I left that one to you | Number 11 | I think it looks really nice |
Ground left flat | Taste, flat is going to look okay | Same seven | A ladybug or your signature there |
Five rows are law, and the last three are taste.
The last page of this course asks for one photo of your panel, jpg or png, and I look at that photo and certify you based on what I see.
Can you hold a gouge? And turn a panel around to see it sideways? Then you can carve this leaf with me, eye by eye. All eight workshops sit behind the tuition page, and wood carving like this is what we do there.
How it's done
- Turn it and kneel down. Look at the panel from every side, low as well as from above, and rework any line that runs straight.
- Count the eyes. Overlaps count. So do the little ones on the wavy edge. Give each one a pipe.
- Check each bulge. Every part should rise in its middle. Where a ridge sits low, take a spoon gouge around it and lift it a little.
- Feel the thin places. Fingers under the undercuts and behind the panel. I stopped near 3 mm.
- Hunt the walls behind. Any surface the tool never touched gets blended into the roll or removed.
- Go around the pattern. Study the picture, go around the pattern, and check the waviness and which way each movement runs.
- Settle the taste. Flips, deep undercuts, a flat or tooled ground, the ladybug. Keep what you like.
Frequently asked questions
Must every acanthus leaf have a raised middle?
Only this style needs it, and I said so on camera in lesson 5. The old Greek and Roman leaves went the other way, and in the Roman course I explained that those carvers always put a hollow on the inside.
How many eyes does the 1903 panel have?
Mine had four, and most of the class had three. Overlaps count, because an overlapping motion is an eye even where the drawing is unclear, and the wavy edge hides micro eyes. Each one, large or small, needs a pipe.
Do you have to carve every flip on this leaf?
Two flips from lesson 6 are up to you, one turned slightly uphill and one small movement I called really interesting. Deep, extreme undercuts are your choice as well. Eyes, pipes and bulges are not up for a vote on this design.
What to carve next