

Alexander Grabovetskiy, woodcarver, School of Woodcarving · Published 2022
Why does my carving gouge get stuck in the wood?
Quick answer: A gouge that gets stuck is one you place too high, so it goes in with no way out, as I warned in lesson 3 of Carving Modern Acanthus. Each pass took about a sixty-fourth of an inch, and on camera I told the class the move is called the escaping cut.
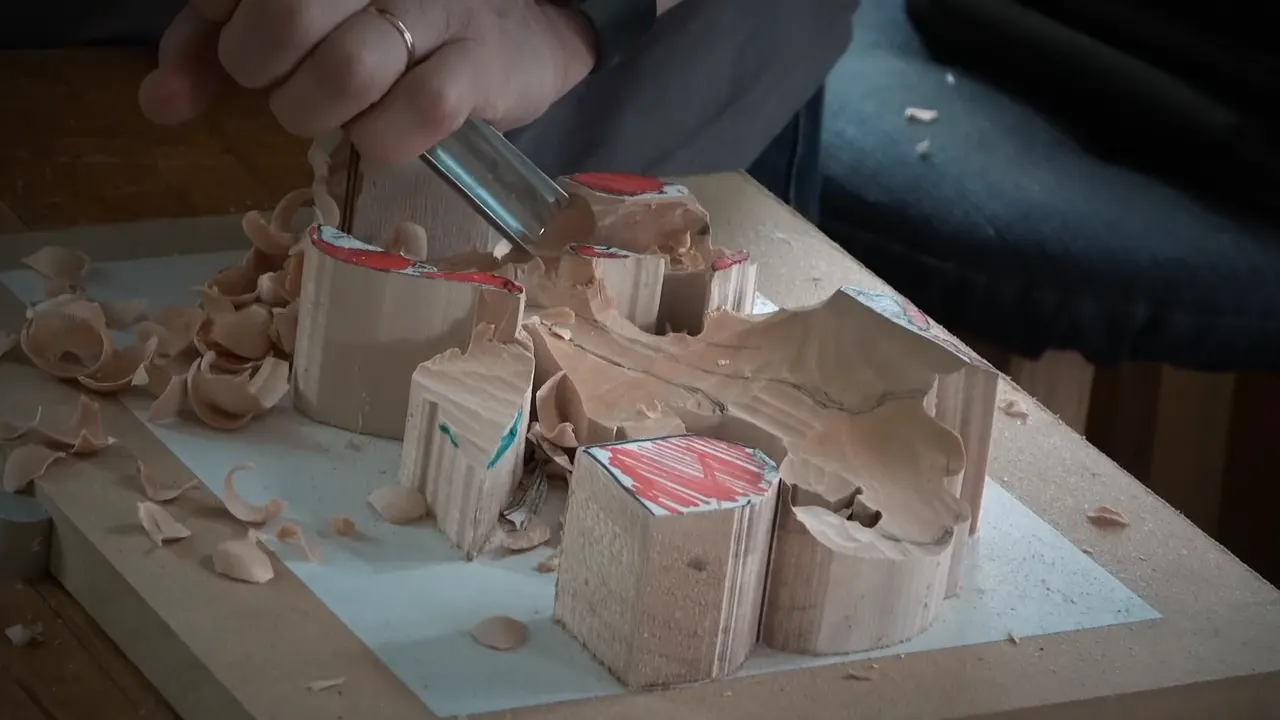
A carving gouge gets stuck when you place it too high, so it digs in and you can't escape. That was my warning to the class in lesson 3 of Carving Modern Acanthus, on an acanthus leaf from a 1903 design. I went in and escaped, again and again, slicing up as I went. Each pass took less than a sixteenth of an inch. Maybe 1/64 in, about 0.4 mm. Later in the same lesson I told them what that move is called, the escaping cut.
Did your gouge slide into a hollow just fine and then stop? Did you lean on the handle to pull it free? Then look first at where the edge went in, and at how much wood it was trying to take. My own mistake is on camera in that lesson too, and I will tell you what it cost me.
How to use a gouge so it comes back out
Don't place the tool too high, I warned, or it won't escape once it is in.
My passes stayed thin.
For a better curvature I chose the wider number 9, 20 mm, over the 10 mm one.
A spoon is where the straight tool can't escape.
When the wood fights you, turn the piece and attack from another angle instead of digging deeper, the way I told the class.
Beside the stem I went down to a quarter inch, 6 mm, above the background.
What is the escaping cut?
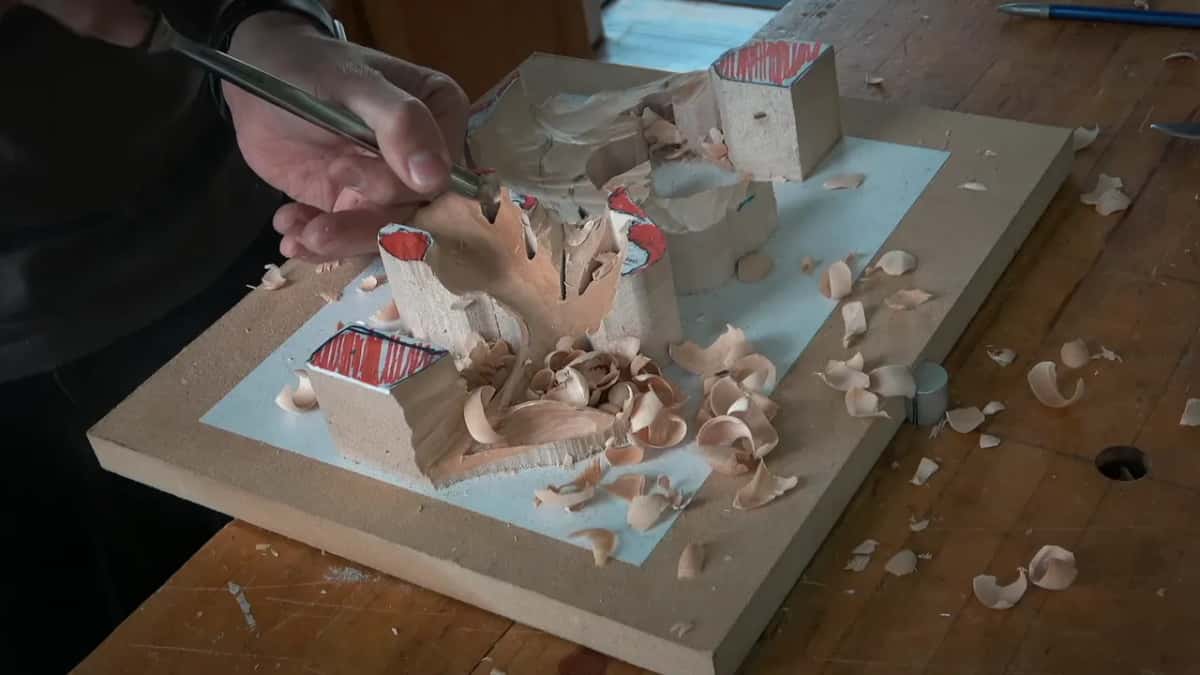
The escaping cut is a pass that digs in with the gouge and then comes back up out of the wood. Here is how I put it to the class. When you dig in and escape out, that cut is called escaping cut.
I had done enough from one direction, so I came at that lobe from the opposite side with the 20 mm number 9, three quarters of an inch, little by little. A little later I started from one point and kept going in and escaping, and even then I was still slicing up.
It looks easy, I said. And it does look easy, right up until you dig too high and place your tool too high, because then the edge goes in and you can't escape, and you have made yourself a problem.
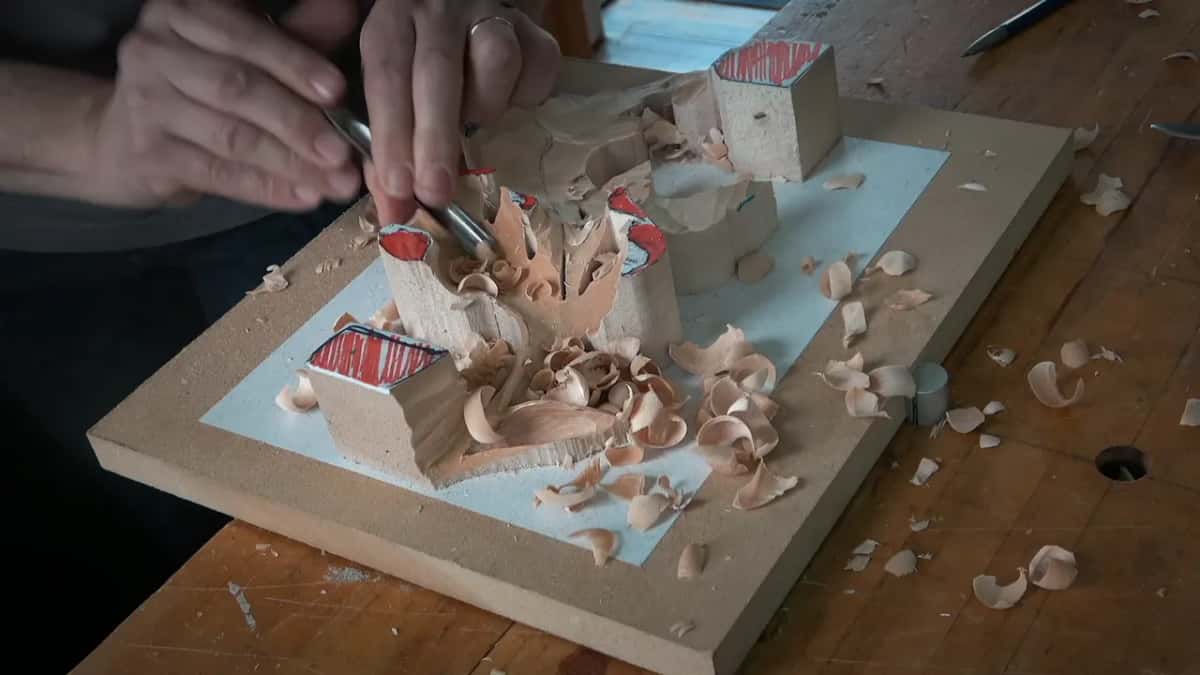
The same in and out is on a Byzantine leaf, where in Carving Byzantine Acanthus Leaf 2 I told students to just go in and then escape out slowly. On a furniture panel background, in Carving Furniture Panel 17, I made sure I was escaping and not digging.
Why does a gouge dig in and stay there?
Placed too high, the edge goes in with no way back out, which is how I explained it on this leaf.
A hollow like this one pulls you two ways. I really wanted to get in. On the other hand, I didn't want to lose the gradual movement of that spot, and I told them that spot was really important.
Right at the start of the lesson my pinky was on the wood as a point of support, holding solidly even while the rest of my left hand was raising. Later, on the next side, I was taking small, small passes, and I wasn't even going too deep. You got that point, right? I asked them.
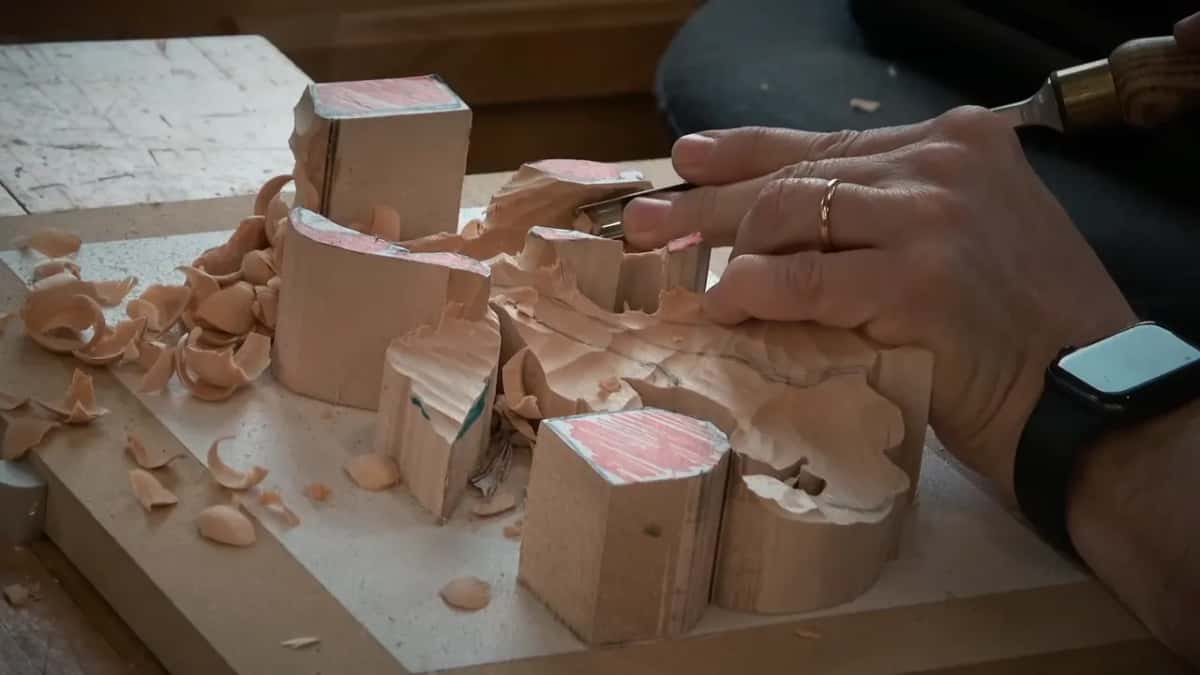
Please don't, I said about the high tool. Everything is supposed to be gradual. Don't be crazy about it, as much as you love it.
How thin is each pass?
On this leaf it was not even a sixteenth of an inch, 1.6 mm, at once. So don't dig too deep, I said, I'm not taking too much material at once. While I worked I put a number on it. Maybe 1/64 in, and that is how deep each pass went.
I know it looks fast, I told them. But somehow it works that way. When you take less material, you get the job done faster.
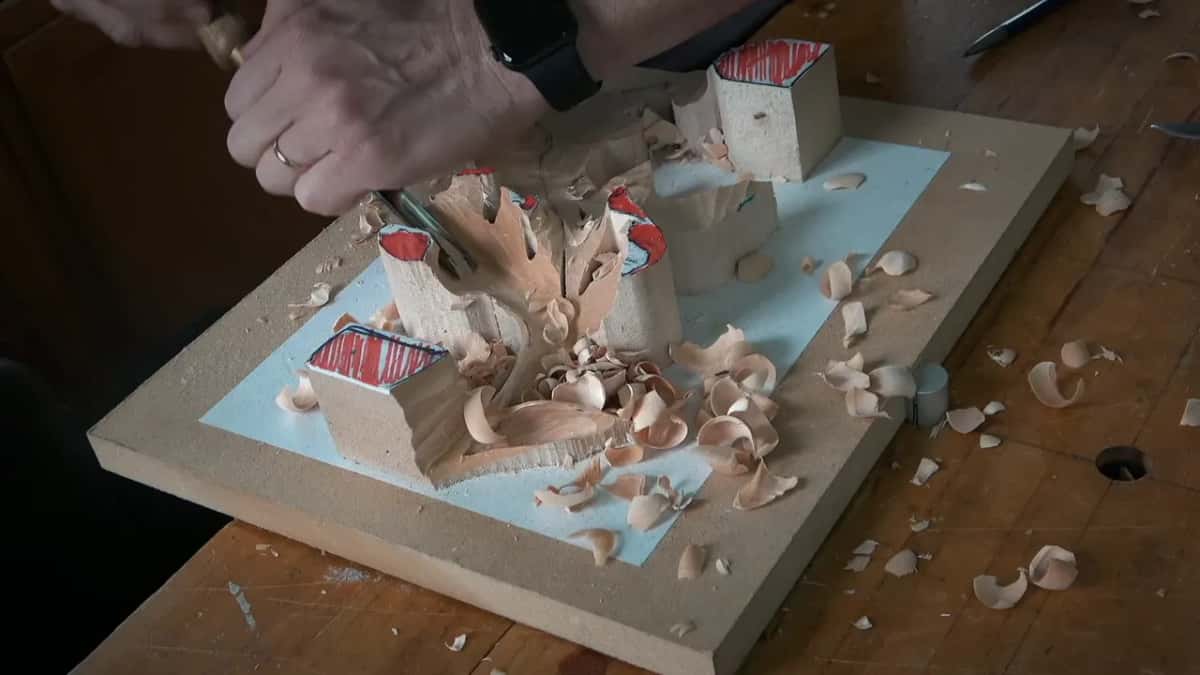
After that I took the same tool toward the line and outlined it in really tiny passes, a little closer each time. It does not have to be perfect, I said. Don't overdo it, I warned soon after. You would get frustrated, because we could still change the design later on. In the videos of my school, I said, I don't take the detail to the final stage, and I work on the overall project first.
How much wood is left under the tool is another question, and it has its own page from workshop 70 of the Venice Room.
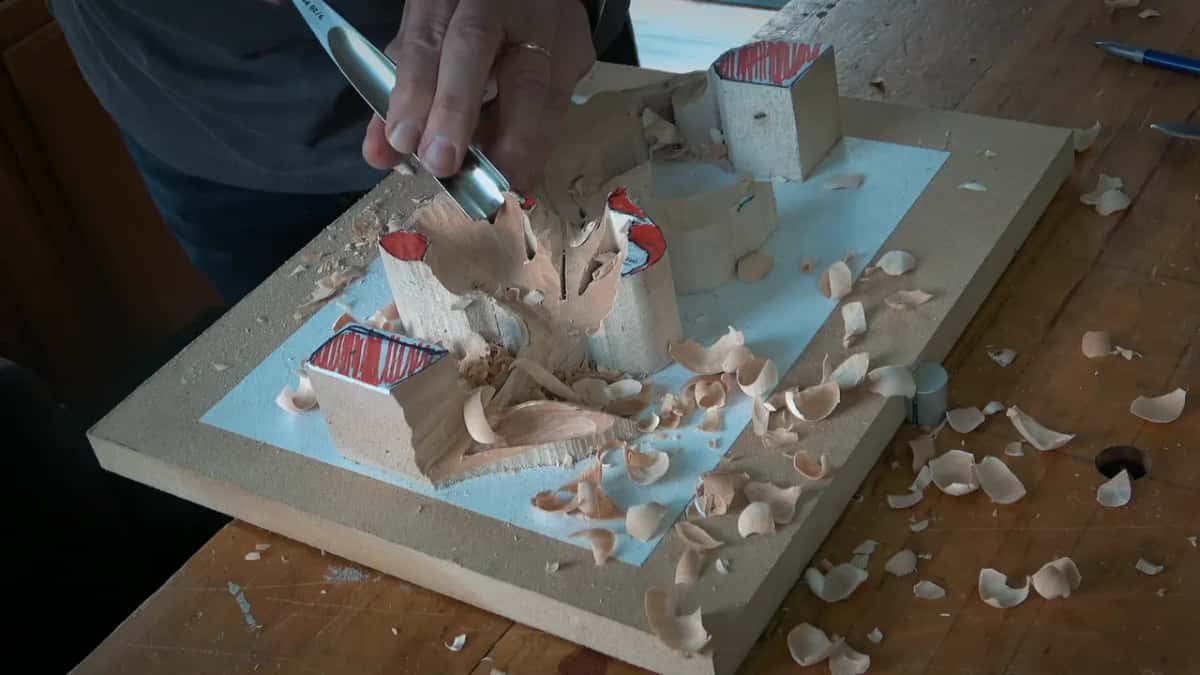
What happened when I talked too much?
I made a mistake, and then the whole area around it had to come down lower.
It went like this. I was taking those small passes and talking to the class at the same time. See what I just did, I said. Just made the mistake, talking too much. Now the whole thing has to be lowered down, so please don't make the mistake I did.
Somebody in the class answered me with three words. I do too. Oh, that makes me feel good, I said, so I'm not the only one, and that little exchange is still there in the lesson.
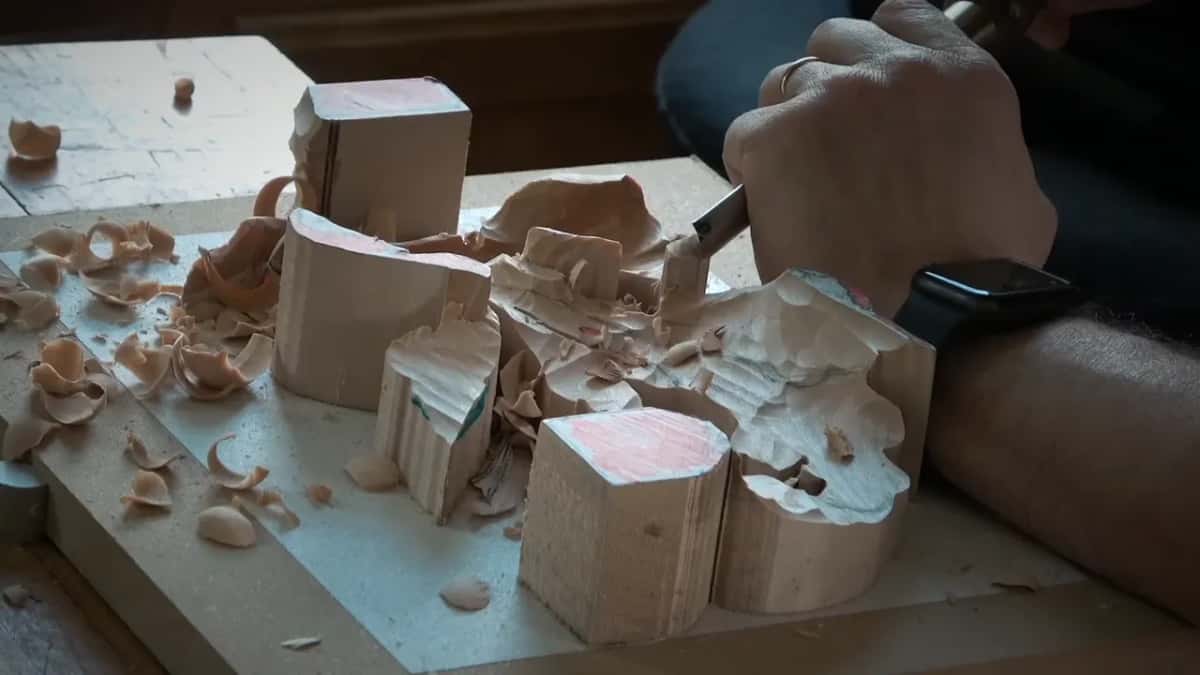
Why did I switch to the bigger number 9?
The 20 mm gouge would give a better curvature, and I said exactly that when I changed my mind. My plan had been the 10 mm one, three eighths of an inch, to repeat what I had done on the opposite side. Or actually, you know what, I said, let's grab 20 millimeters.
Keep an eye on the grain, I added, because coming in from the other side can give you some surprises.
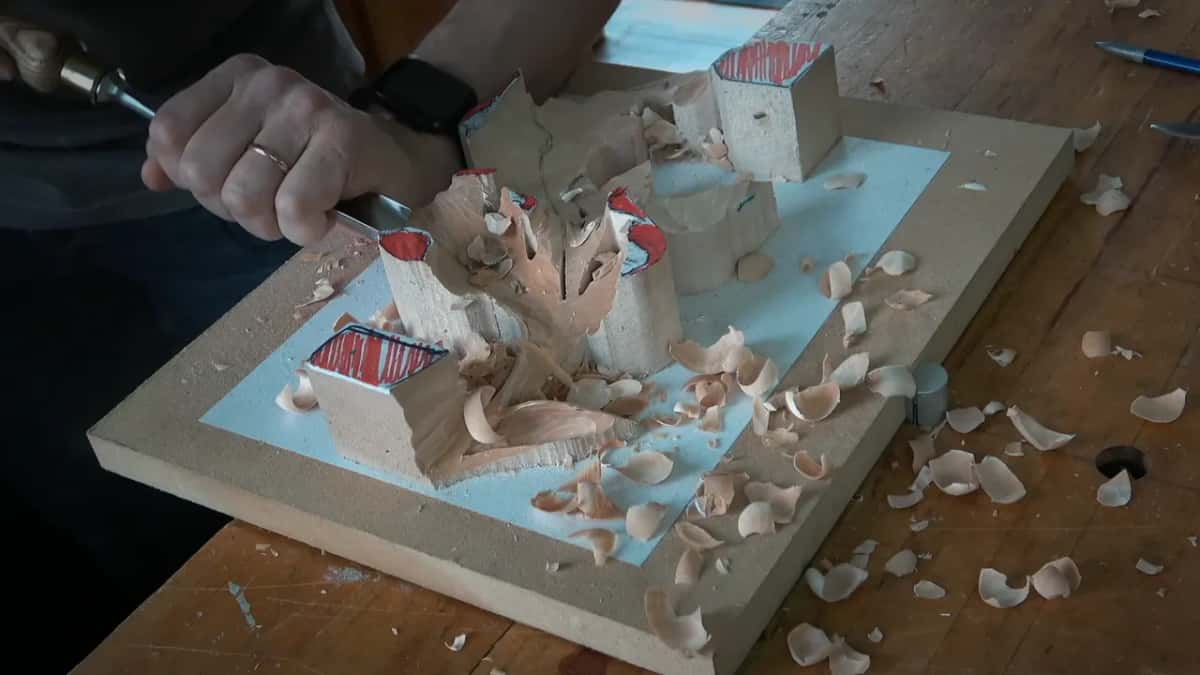
Next I showed them the marks inside. After the bigger tool I could just clean a little bit, and I didn't need to clean a lot, because we still had details to work on in there. Remember, we're not going to use any sandpaper, I said a little later.
The course page has my longer answer on picking the biggest gouge that fits, and Carving Furniture Panel 35 has a whole page on bigger gouges and fewer passes.
Moment | Tool | Words |
|---|---|---|
Scooping the lobe | The wide number 9, 20 mm (3/4 in) across | gradual movement |
The other side | One 10 mm (3/8 in) number 9 at first | exactly the same |
Another hollow | Twenty millimeters again instead of the 10 mm | better curvature |
Near the line | Same tool, really tiny passes toward the line | not perfect |
Trouble escaping | A spoon, named after the spooning itself | lot easier |
Under the curl | Number 9 at 10 mm, then the piece flipped | don't mess |
When does a spoon gouge help?
When the straight tool gives you a problem escaping, don't stress yourself, I said. Use a spoon. The tool takes its name from what we were doing, I told them, a spooning, pretty much, so now it's a lot easier to escape.
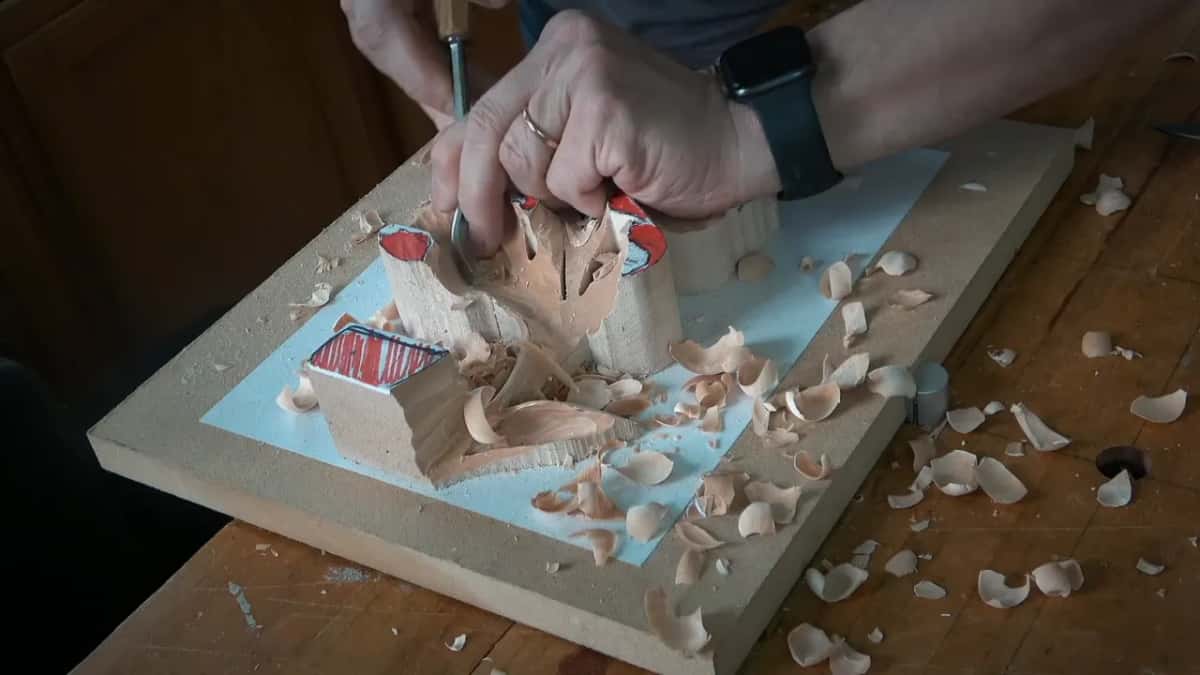
On the lobe I started with, the spoon shape was the plan. This part would be raised, I said, and we would make the spooning effect, so everything there would look almost like a spoon. I even joked about it with the class, saying at least you'll be able to do a spoon. Before I picked up the next tool I called that step number one, to scoop this out and make it almost like a spoon.
Elsewhere on the leaf, the plan changed. Same idea, I said, except this one would have just one side raised up instead of a spoon inside.

The difference between a spoon gouge and a spoon veiner has its own page, from workshop 112 of the Venice Room.
What if the grain fights the gouge?
Don't push it, I warned. If it fights you, change the position and attack from another angle, and you should be safe. You always feel what the grain does, I said, so keep an eye on it. This side was much better in my case.
A few minutes later I said it again. If it fights you, don't dig deeper, or you're going to have a problem. Rotate the piece, attack it from the other side, and it's going to be much better.
Over on the other side of the leaf I went back to the wide number 9, and said I hoped I was recording it. My grain was going up as a direction there, so I said maybe it's a good idea to be smart, and I came in from that side.
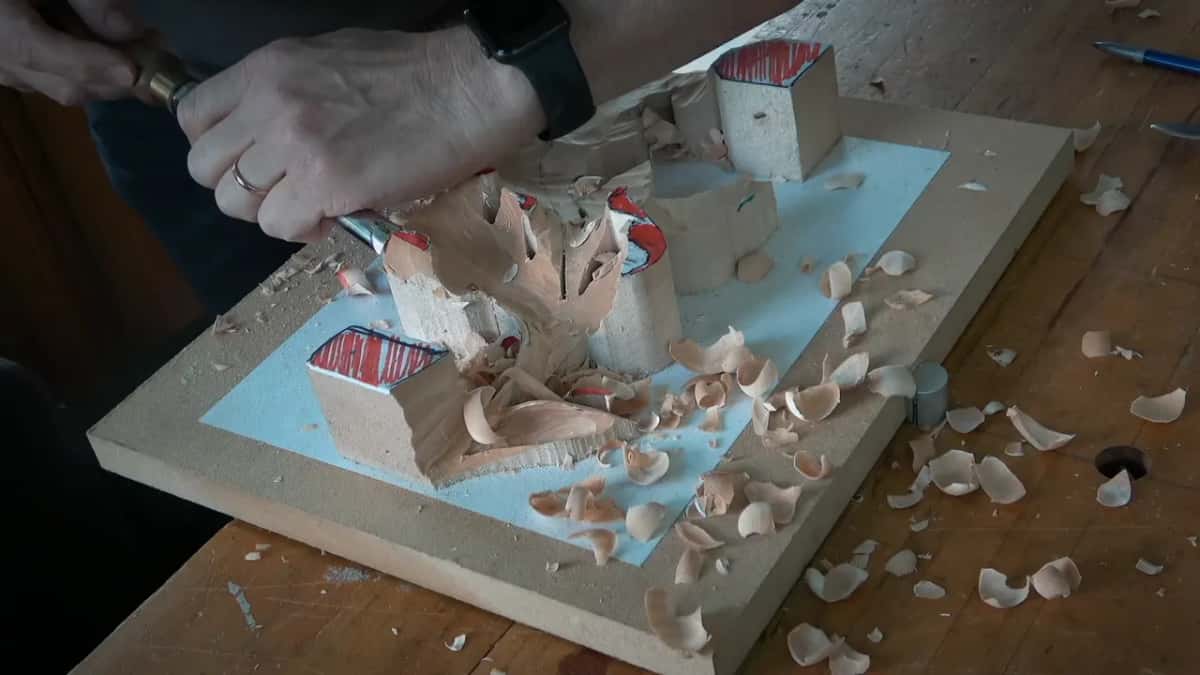
The little part meant to curl up came later. Let me repeat, I said, for those who don't know what we're going to work on. We took some material out from the top first, using that 20 mm tool. I asked whether the other camera was better, too. I wanted to say number 11, but it was the 9. And yes, I knew I was carving against the grain there, and I said so on camera. Which is not the smartest.
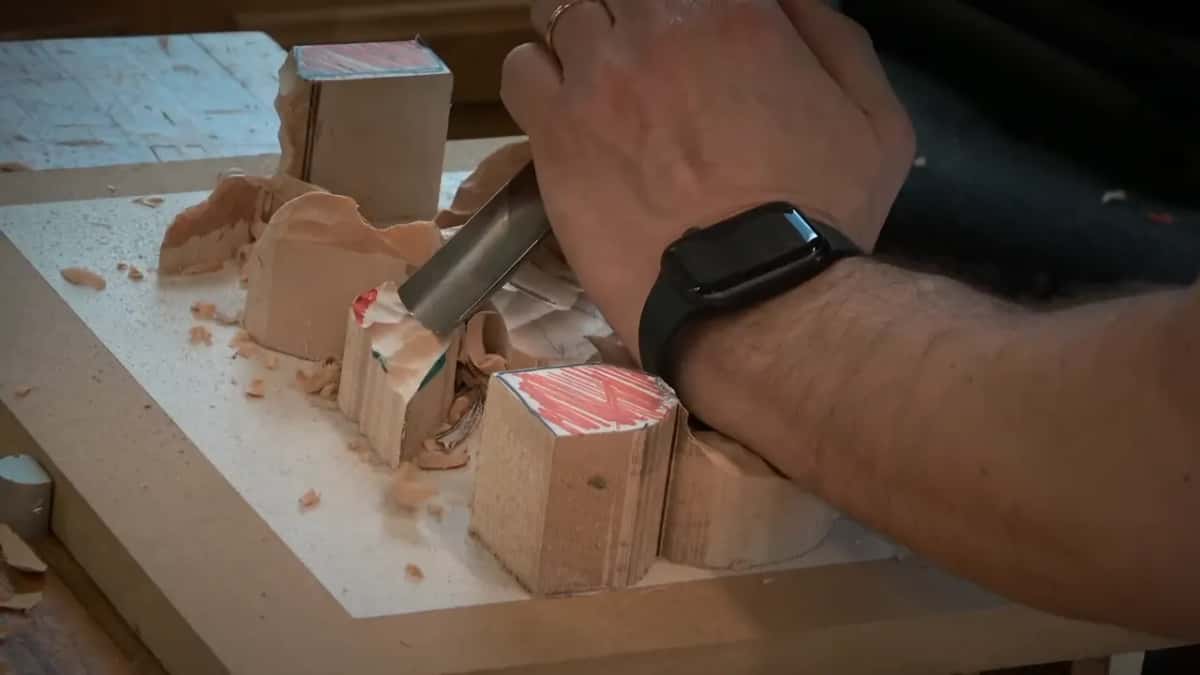
My longer answer on grain direction is on the course page.
How far down does the gouge go before it escapes?
About a quarter inch, 6 mm, above the background, at the low spot beside the stem. I pointed at it so they could see it.

I could have gone the opposite direction, I said, and made my stem lower, with the leaf just a little bit on top. But I thought it would look nicer to drop the whole section and use the whole two inches, 51 mm, for more 3D motion. I think it's going to look nice, I said.
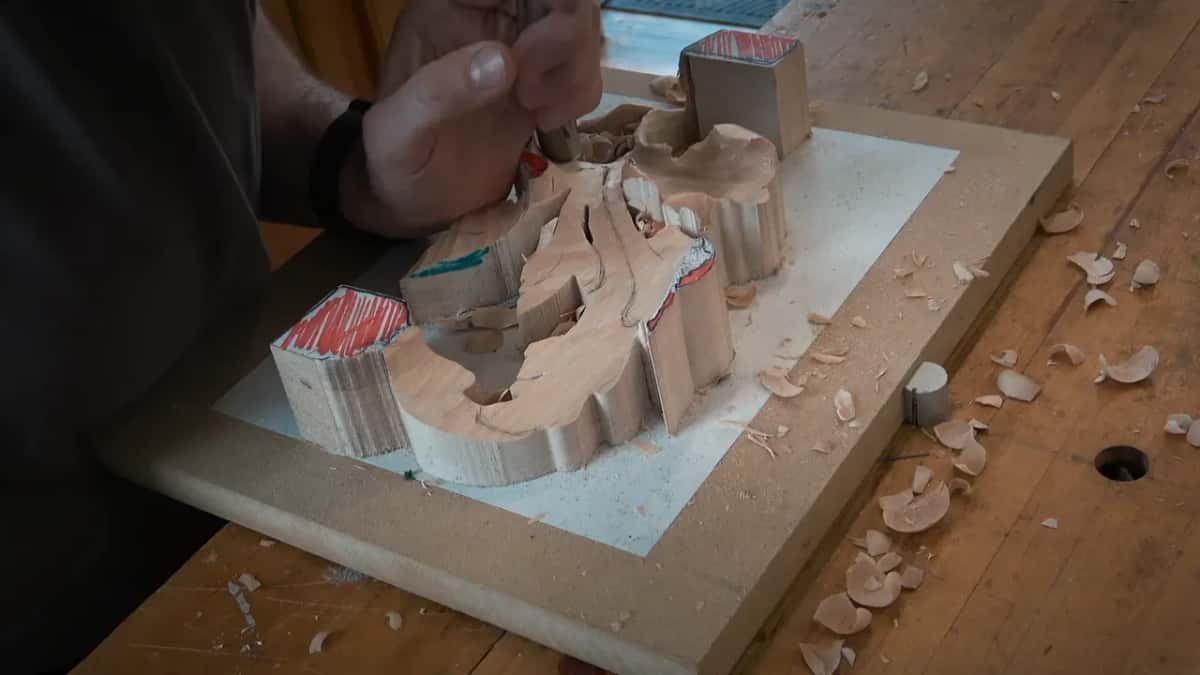
Make sure that line is not a straight line, I told them. It has to have some curvature, and later on it will make sense, when a stem goes inside that leaf. Earlier I said I had left about an inch, 25 mm, from the background for now, and that later on it would go deeper.
With a number 7 on the curl, I knocked one side down as far as I could, almost to the background, not all the way but really far. I presented the flute at about ten o'clock, and for anyone who doesn't know, the flute is right in the middle of the tool.
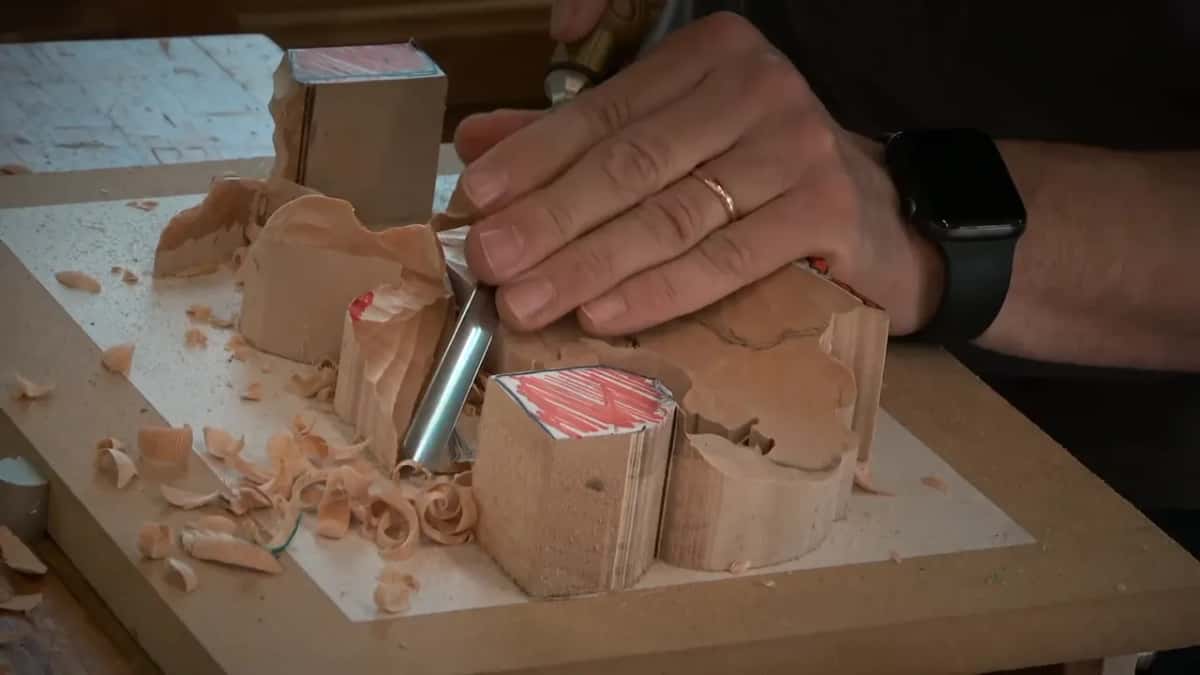
The next part got about 6 mm again before I hit the background. I tried to show them, holding on a second, and asked if anybody could see it now. At the very end of the lesson I said it once more. Keep about six millimeters, a quarter inch, and be careful, don't be too crazy about it.
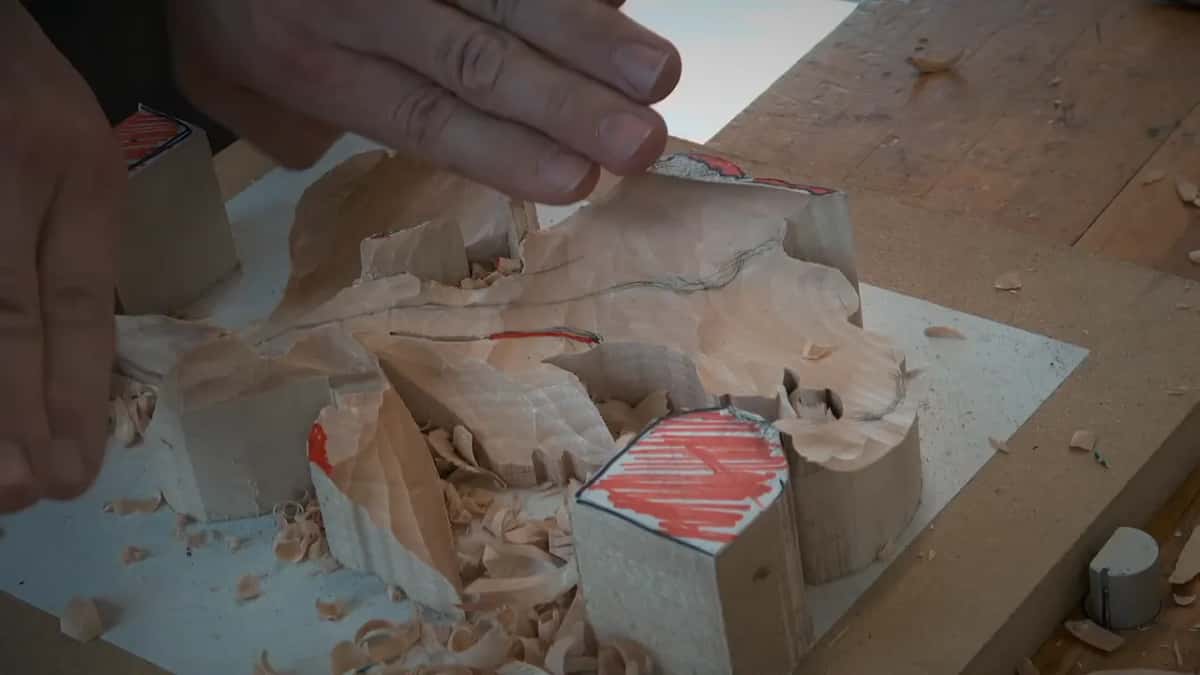
How thick should a weak part stay?
About 1/8 of an inch, 3 mm, is what I kept, and I said you can keep it a little more if it feels too dangerous, 3/16 of an inch, five millimeters. Right before that I said I kind of like this project. I love it, actually.
Don't make it too thin, I told them. It's a weak area, and if you make it too thin, you're going to break it. Does it make sense so far, I asked.
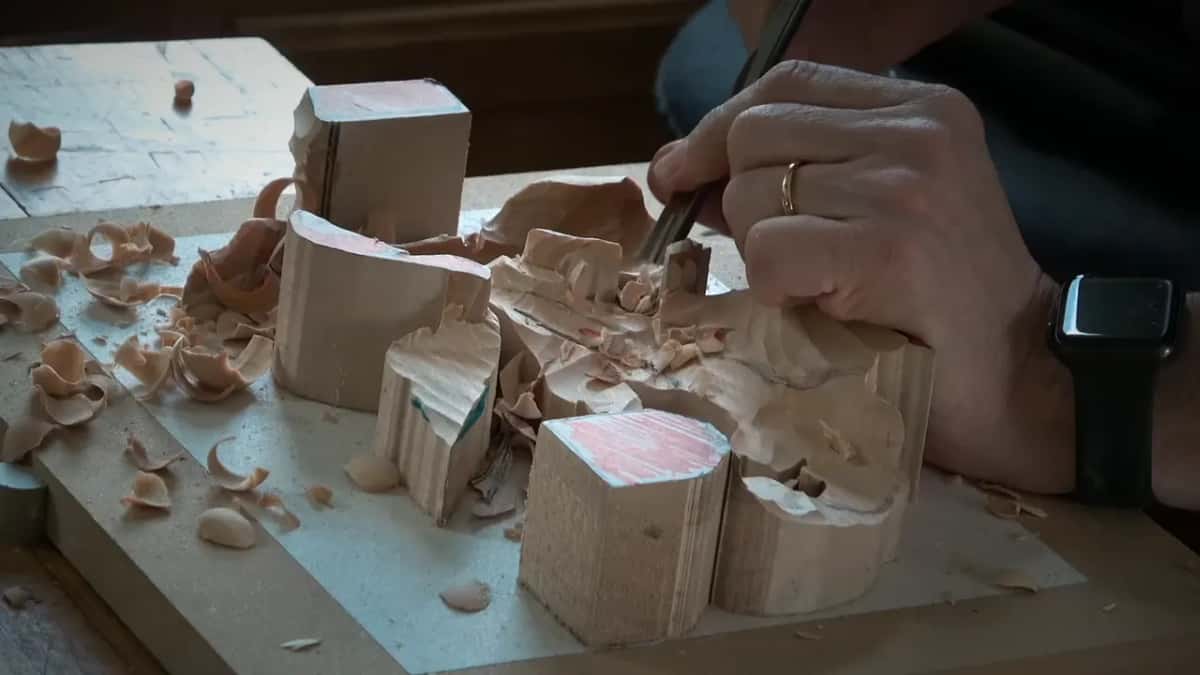
That little part meant to curl up got a warning too. Don't take too much material out of it, I said, because we still had to dig inside. Little by little. At another fragile spot I said to be careful how you attack that section. That little thing is real fragile.
What did the preliminary cut do on the little part?
A 10 mm number 9, three eighths of an inch, opened that part up from one side first, and then I flipped the piece and worked from the opposite direction. Before that I told them it was a really important one. Don't mess that up, please. Is it visible, I asked, with my hand right there?
I left about six millimeters again on that pass. Coming back the other way I went really carefully, right underneath, with the same number 9.
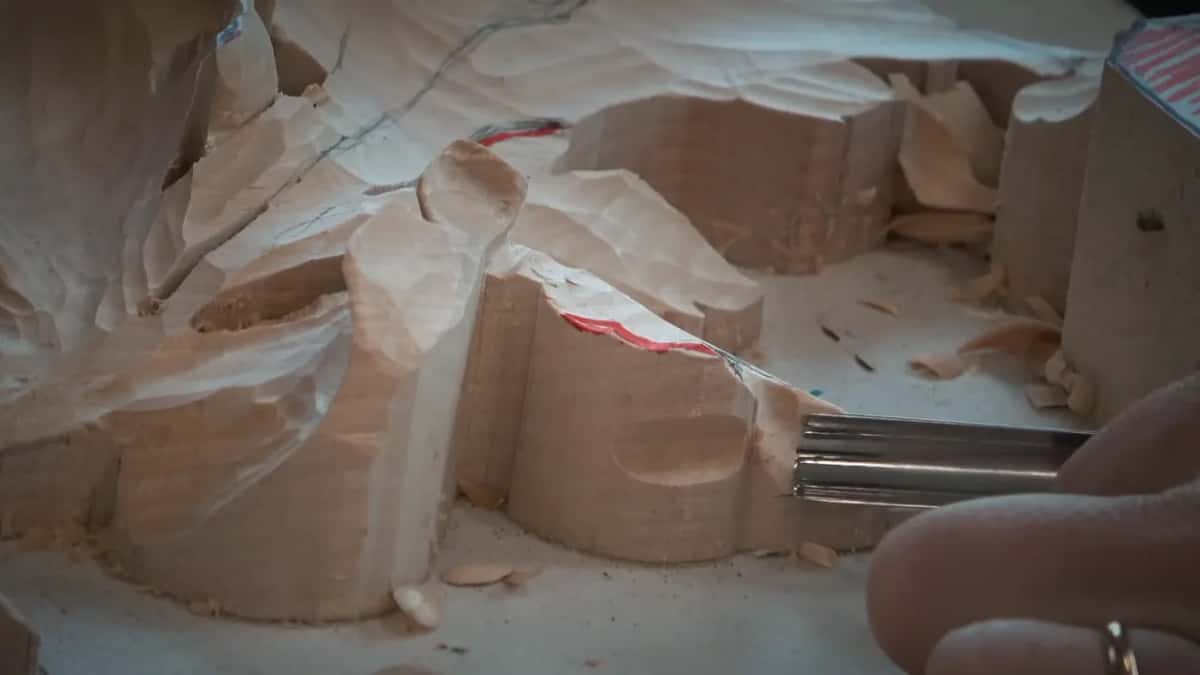
What comes after this lesson?
The course runs eight lessons of three videos each, filmed in the summer of 2022 with a class around the bench. The leaf keeps going after this. Lesson 5 picks it up, lesson 6 and lesson 7 come next, and lesson 8 is the last one. My longer list of slips at the bench is in common mistakes to avoid in wood carving, and the acanthus carvings in the V&A show how many hollows a relief leaf can hold.
Did a gouge stop in the wood on you? Then watch this leaf, one thin pass at a time. The whole course walks the leaf lesson by lesson, First Cuts for Beginners is there if gouges and wood carving are new to you, and Tuition and Access are on one plan page.
How it's done
- Begin at one point. Start from one spot, enter, escape, enter again, slicing up each time.
- Keep the tool from sitting too high. Set too high, the edge digs in, then can't climb back out.
- Take almost nothing. Not even 1/16 in at once. Maybe 0.4 mm.
- Trade the 10 mm for the 20 mm. On a hollow like this, the wider number 9 gave me a better curvature.
- Reach for a spoon where the straight tool won't escape. Use it there, and stop stressing.
- Turn the work if the wood fights back. Spin it round and come in from a fresh direction rather than digging deeper.
- Leave about 6 mm over the background. A quarter inch, for now. Be careful.
Frequently asked questions
Why won't my gouge come back out of the hollow?
In lesson 3 I put the blame on where the tool goes in. Placed too high, it has no way to escape once it is in, and then there is a problem. My answer on that leaf was a gradual pass, about a sixty-fourth of an inch deep, in and out again.
Does a spoon gouge help when the straight one jams?
Use a spoon if the straight tool gives you a problem escaping, I said in lesson 3, and don't stress yourself over it. The spoon gets its name from the spooning on the lobe I started with, so getting out is a lot easier with it.
What should I do when the grain fights the gouge?
Don't dig deeper. That was my answer in this lesson, or you'll have a problem, so change your position, rotate the piece and come at it from a new angle. One little curl I carved against the grain anyway, and I called that not the smartest.
What to carve next