

Alexander Grabovetskiy, woodcarver, School of Woodcarving · Published 2022
How do you carve an acanthus leaf one section at a time?
Quick answer: Carving an acanthus leaf section by section is how step two went in lesson 2. I redrew approximate lines, then worked only the part that ends at the stem, the lowest point, leaving 3/8 of an inch (10 mm) of height for now. It got its first roll and shadow, stayed rough, and then the next section began.
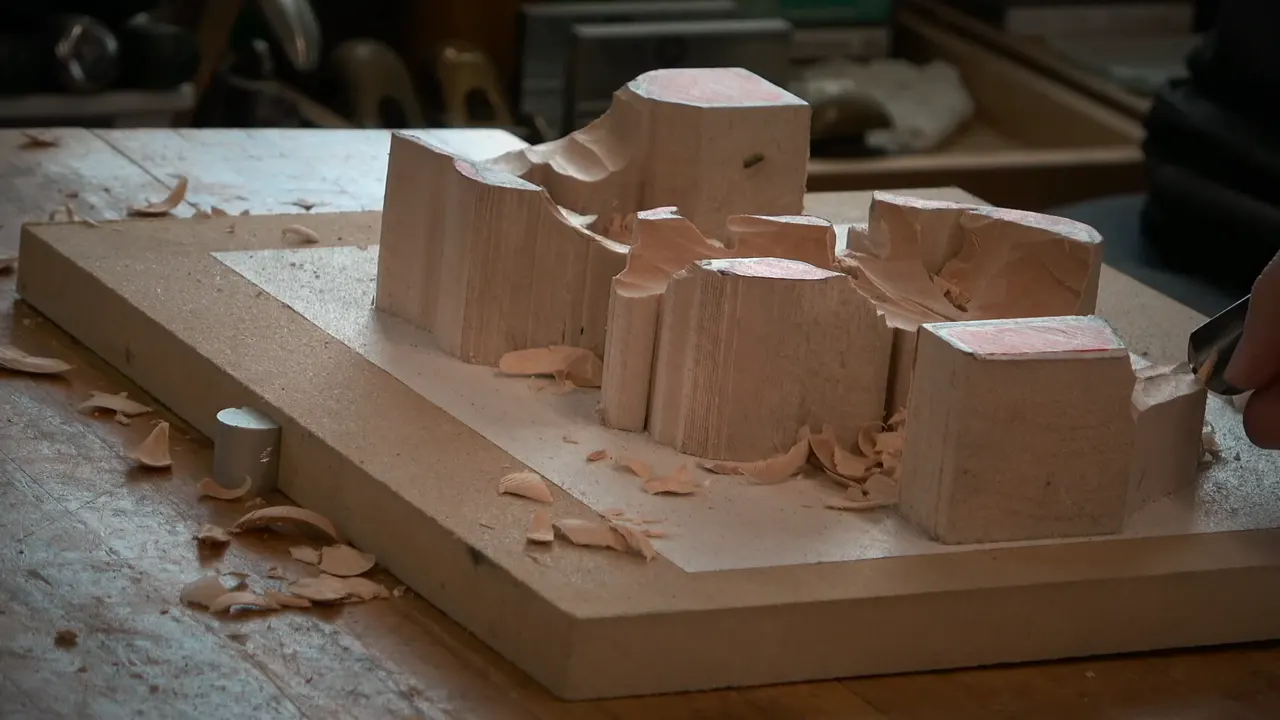
Carving the leaf one section at a time is what step two looked like on my modern acanthus, and I began with the section that runs down to the end of the stem. First I drew the lines back on, approximate ones. Then I worked that part alone. Its stem end is the lowest of the lows, and I left no more than 3/8 of an inch there above the ground for now, close to 10 mm. It stayed rough on purpose. The next section got its turn after that.
This is lesson 2 of Carving Modern Acanthus, my acanthus leaf carving course from a 1903 design, carved in relief and filmed with students at the bench. Here the gouges stayed in one small area of the acanthus first, and the rest of the leaf simply waited.
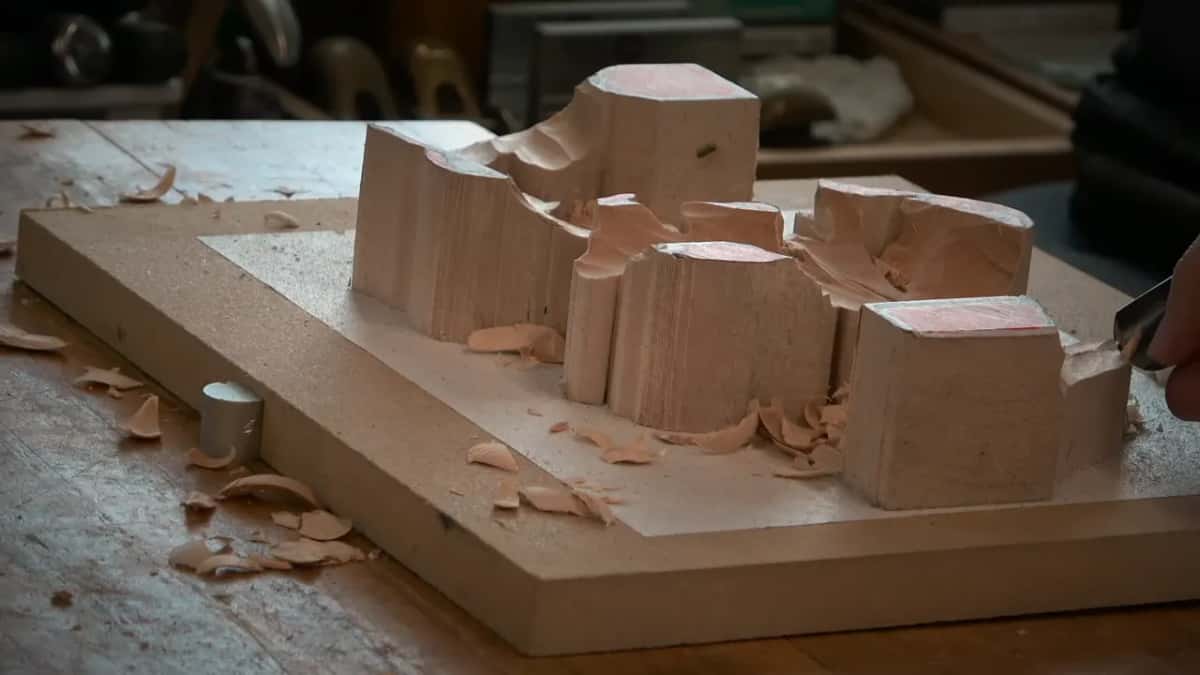
Does a whole leaf look like a lot of wood to move at once? Would one small part feel easier to begin on? Then give that small part all your attention, learn the roll on it, and carry what you learned to the bigger parts, which is how I ran this class.
You'll get the order I used, which five tools came out, how much height I left for now, and what I said at each turn, in my own words wherever I have them.
Step two on my leaf, the short version
I redrew approximate lines and chose one section, the part that reaches the stem.
Its stem end goes lowest, roughly 10 mm high for now.
The first passes went along the rolling part's side, with the big number 9, slicing.
Before any rolling, a small preliminary cut went in underneath.
A 14 mm number 7 gave it the rolling motion, and a 1 mm number 11 turned upside down opened the shadow.
I left it rough and moved to the section beside it.
Which section did I take first?
The one that reaches down to the stem. I explained that on my drawing this part starts from a line and will be lower, and I called one more line there a really important line. That part is also a rolling part, which means I have to carve right along its side, and that is what's going to give the beautiful look.
Before any of that came the drawing. "You don't have to be exact," I said, "just draw right on inside," and I called them approximate lines. For now I would concentrate only on that section, and later in the same step I said we were still going to concentrate on the same detail. We would develop it, then move on, and only then start developing the other side.
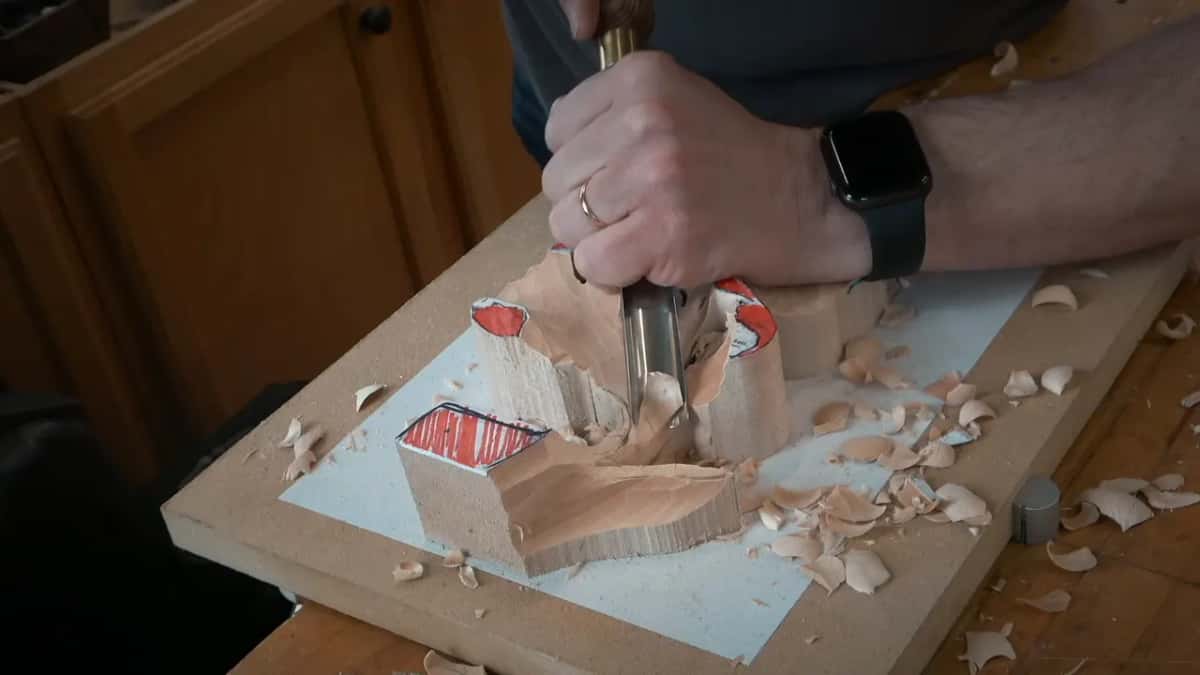
Why start on that small part?
I wanted the class to get the logic of it. I asked them to pay attention, and I said it's really important. I told them I didn't want to teach like a driving school, turn right, turn left, press the brake. "I would like you to understand the logic," I said. "You have to feel it. What's going on?"
That's why I kept explaining that this part is gonna roll, and that part is gonna roll. And I gave them the reason to start small. "Once we're gonna work on this part, you will understand what's going to happen on the bigger parts." I hoped it wouldn't feel like too much. It was one step, then the next.
I used the same driving lesson picture in the first class of my Grinling Gibbons course in Maine.
How low does the stem end go in acanthus leaf carving?
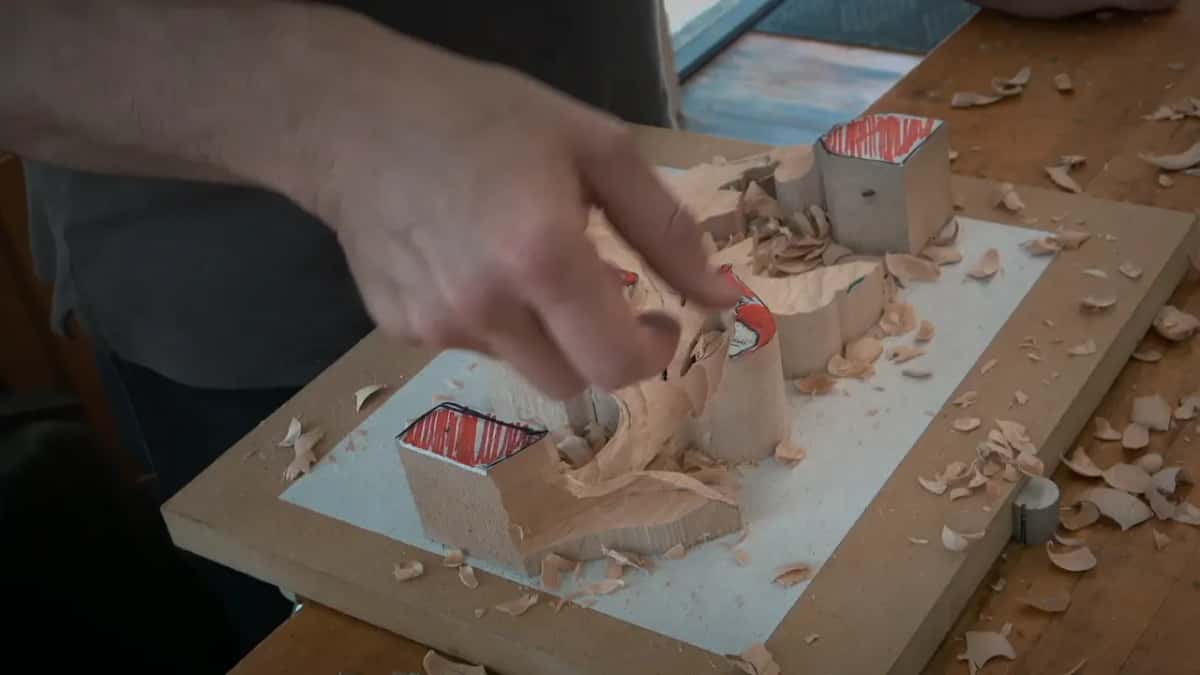
Almost all the way to the ground. I called the end of that stem the lowest of the lows, and for now I left no more than three eighths of an inch standing there, about 10 mm. Later on, when we refine that part, it's going to be even lower.
If 3/8 doesn't feel comfortable, I told them, half an inch is fine as of now, about 13 mm, and later on we'll have a chance. After the first passes I showed the class what was left on that side, and that was all of it.
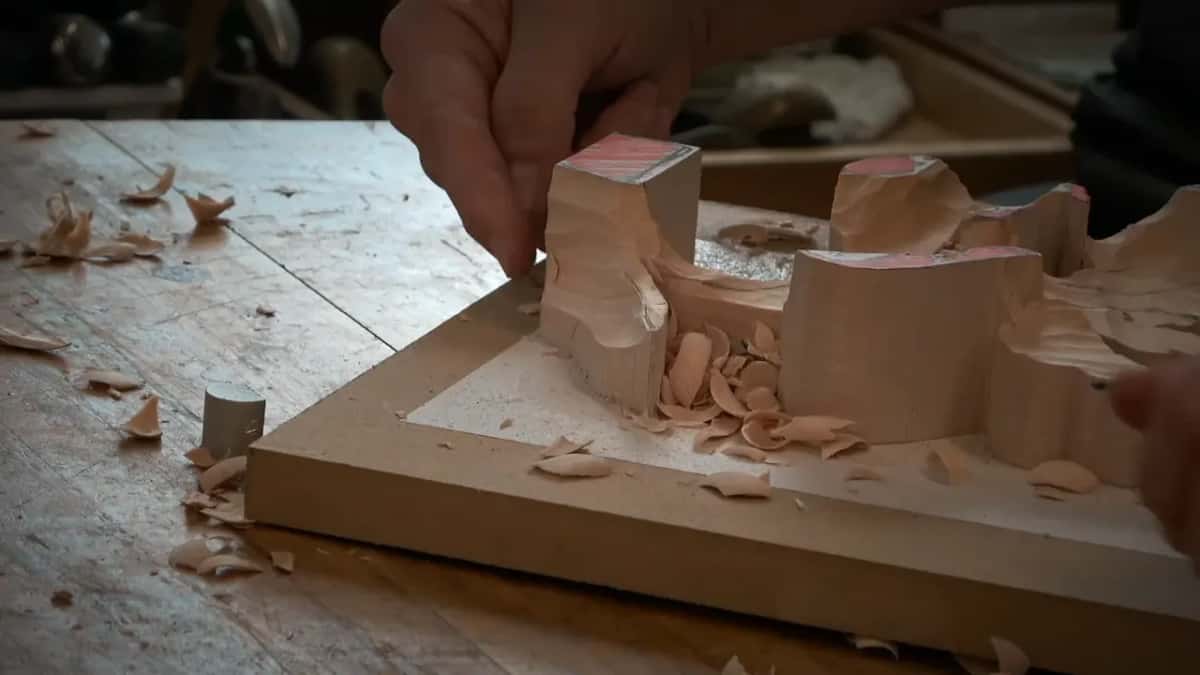
Next I put a mark at about 10 mm. You don't have to measure it, I said. From that mark the wood slopes, and later this part is going to roll, really nicely rolling, as I put it. When a ruler really matters is a separate question, and lesson 160 of the Venice Room takes it up.
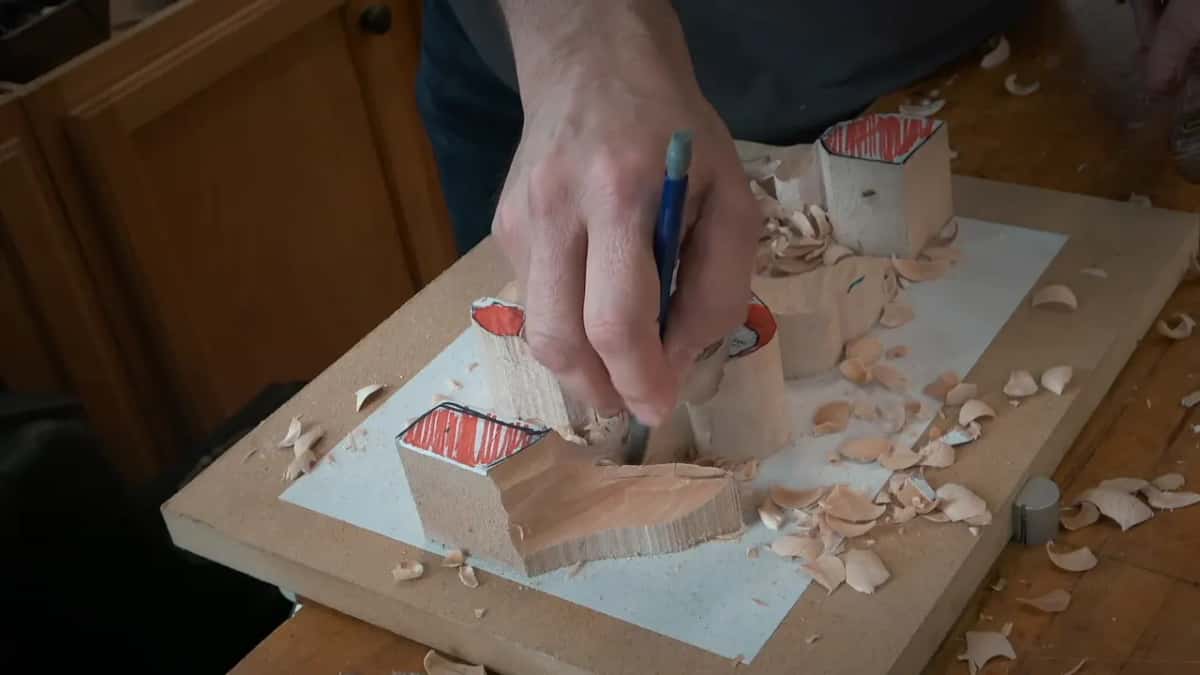
Which gouge opened that section?
The bigger tool, the same number 9 we had been using, three quarters of an inch or 20 mm wide. Every pass with it was a slice. Down along that side it went, to that height, and then the same pass went in at a second spot.
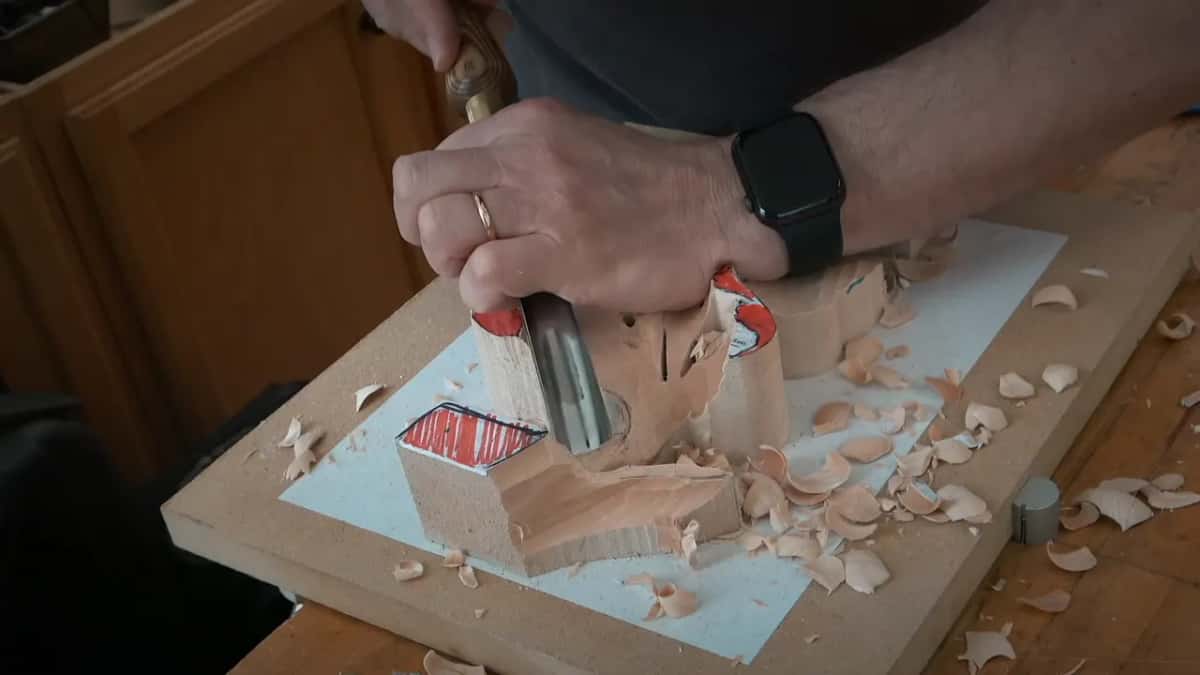
What if the clean side of the gouge faces the wrong way?
"You just be careful," I said. "That's it." Every gouge leaves one side of its pass rough and the other clean, and on that spot my clean side was on the left hand side, which is not the right side. I had to bring the tool in from there, and I had that piece right in the way.
So I went at about 45 degrees with small passes. Watch my hands, I told them. One spot looked a little too high, and I said I could probably take it out. The other side could come a little more down as well, because we want to see the 3D movement. Just being careful, that's all I was doing.
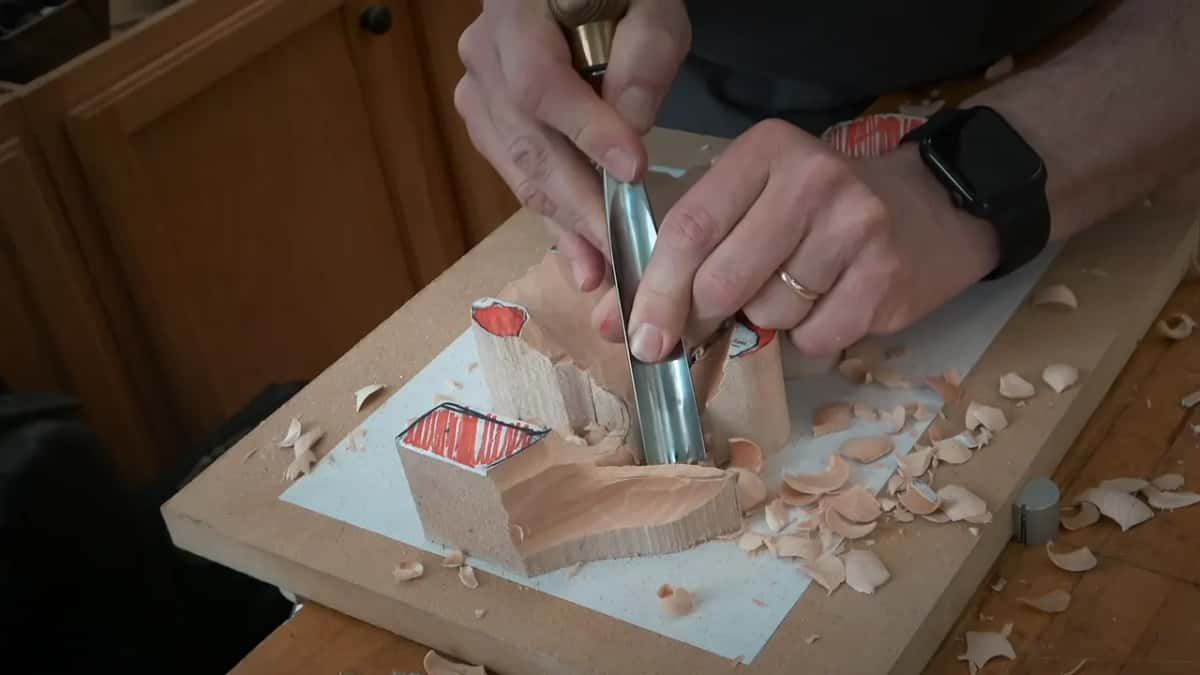
Can you carve against the grain in a spot like that?
I did, with a narrower number 9, 10 mm, and I said other wood carvers would say no no. They never make a deep pass like that, and I wondered out loud what you are going to do when something like that is on the way, especially in a spot like that one.
"Of course, you can get all types of crazy tools," I said. "But what about if you don't have?" Just keep your tool sharp, that's it, and break the rule. Even with the smallest passes I'm still trying to slice, at about 45 degrees.
How close that 10 mm went to the line is told in lesson 140 of the Venice Room.

How does the stem end come down?
Gradually. I said I was going to lower down that part as a gradual movement in 3D space, which means I had to chop only that part, and I checked that it made sense so far. For that I reached back for the big one, the 20 mm number 9, to take it down really gradually.
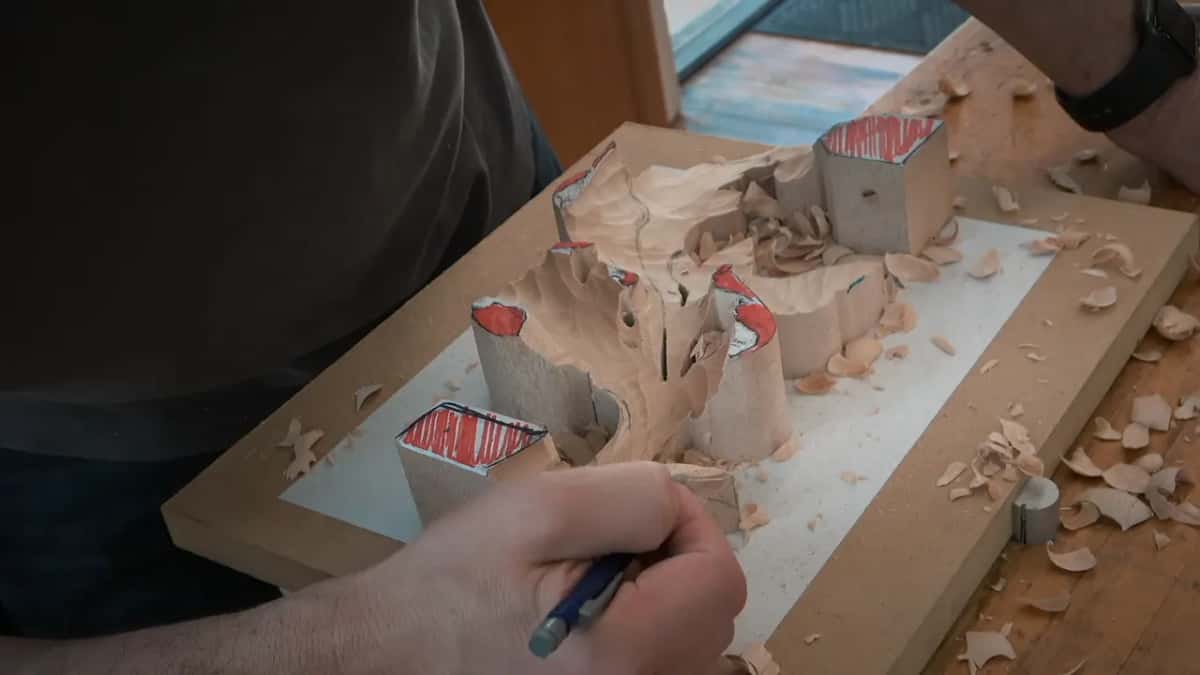
How did the roll on that section start?
With a small pass underneath, before any rolling at all. I made it against the grain and called it a preliminary cut, not the final one yet, only an indication that there's going to be a rolling motion. Rolling without undercutting doesn't produce any shadow, I said, and wood carving is all about the shadow and light.
The tool for it should be something like a number 9 spoon gouge, 10 mm, and if you don't have a spoon gouge, I said, then it's a big problem. I had a spoon veiner, which looks pretty much the same but is a different tool, 7 mm in my case, and lesson 112 of the Venice Room sets the two side by side.

Exactly the same could go underneath that line too, I said, but not all the way and not too much yet, and that one had to be attacked from one side. Then I told them not to copy me on that one. "Don't do the way I do, never point the tool towards yourself," I said. "I'm doing it just for the camera sake."
After that came the number 7, 14 mm, and the rolling motion. Even with a number 7 I was still making my passes the same way, slicing. The bunch of chamfer cuts that followed is on the page for lesson 118 of the Venice Room.

Push too hard there and you break it. "If you're gonna break it, you're gonna cry," I told them, "and I don't like crying."

When does the shadow show up?
With a 1 mm number 11, even smaller, under the roll. I made that pass right then, I said, so they would understand where I was going. A 1 mm is one you should have. I worked my way in with the tool turned upside down and did not push too hard. You can break that part really easily, I warned. After that the waste came out. "See that shadow," I said, "that's what we are after."

I can actually make a much nicer pass with the 1 mm, I said. Turning a gouge over has a page of its own, from lesson 40 of the Venice Room.
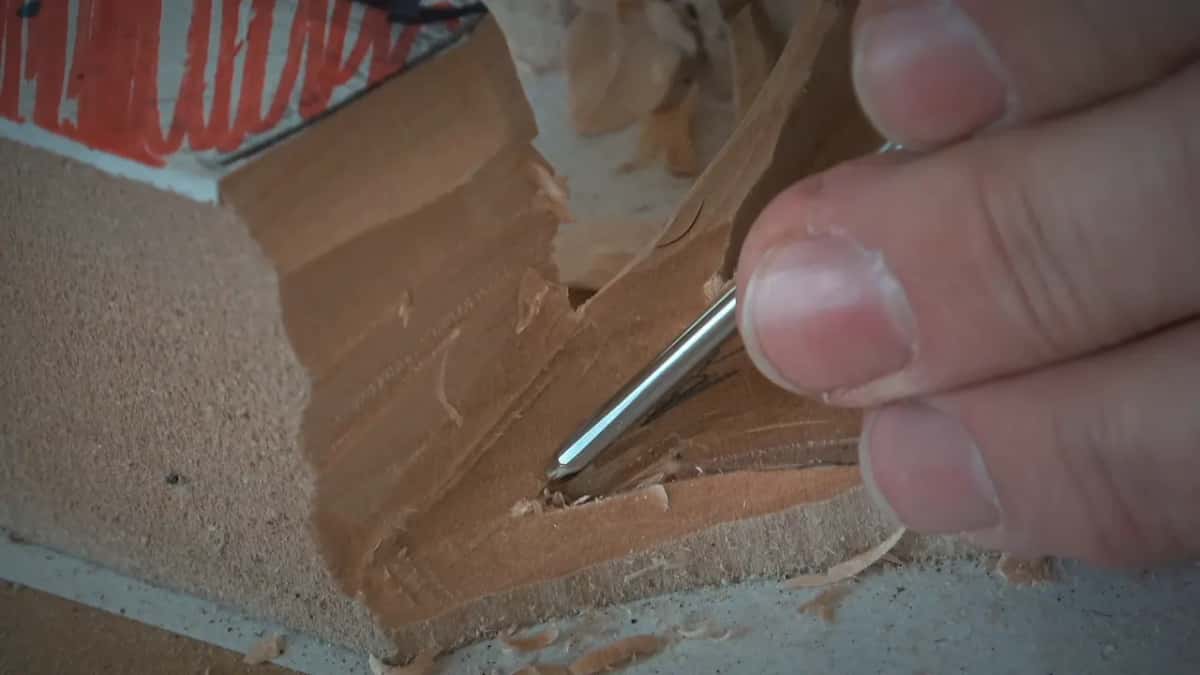
Why leave that section rough and move on?
The detailing gets its own chance, a little later, once we chop off those legs, those handles. "Don't worry about the detailing yet," I said. "We're going to have a chance to make the detailing, but that is how it's supposed to look right now." When I moved to the next area I added, do not overdo it.
Why the legs are there at all is on the course page. Long passes wait for the end as well, and lesson 141 of the Venice Room covers that.
What happened on the section next door?
The same big number 9 came out, 20 mm or 3/4 of an inch. It sits right next to what we had done. This section is going to roll like that, I said, and roll this way, and it's also going to have a little bit of movement up. So I excavated underneath it and blended it nicely, and that was still a preliminary. Some movements on the inside come later.
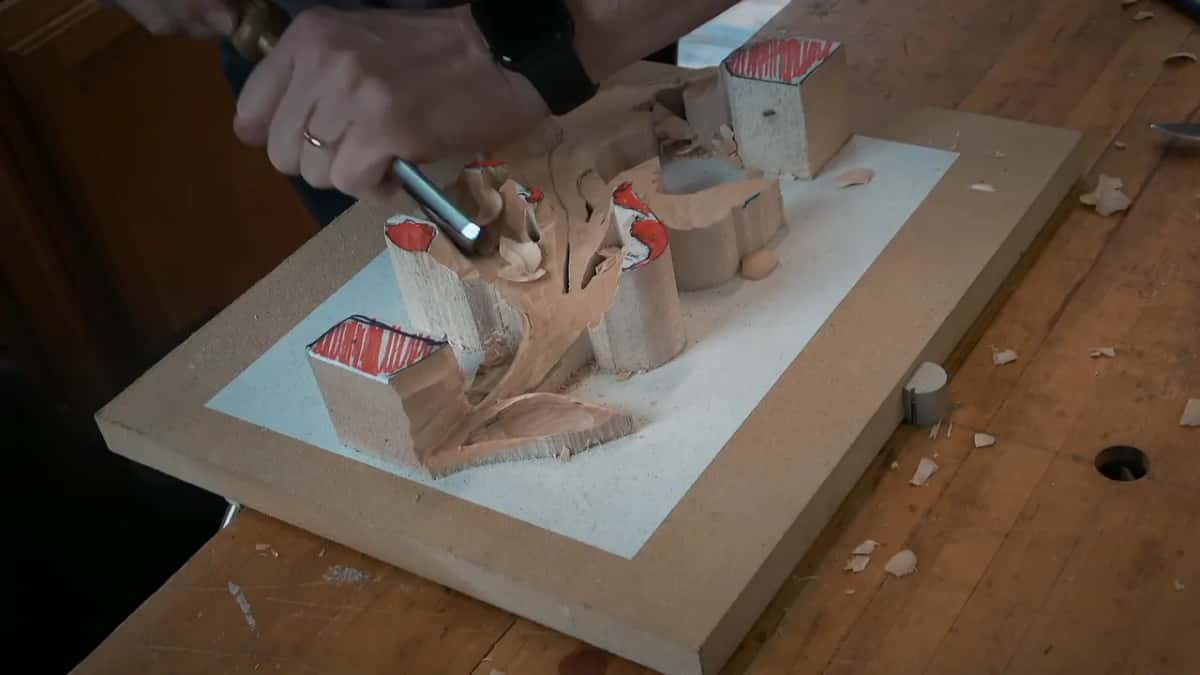
My flute started straight up at twelve o'clock and ended almost at nine o'clock, after I first called it three o'clock. I scooped little by little and dug right underneath, staying away about 1/8 inch, 3 mm, from the line.
Start the turn from either side, I said, same result. Later the same thing happens under the next part, so it overlays, and that's gonna roll. In one place I said I could probably use just a corner of my tool.

"What I'm after," I told them, "I want to see like a spoon effect, almost like a spoon." Everything is supposed to go this direction, and also flip and roll over, all the directions.
Be careful where the new section meets the old one. You can always break the edge, I said, so please don't. It's got to be a really smooth, really gradual transition into that earlier work.

What did the 10 mm number 9 add there?
A little more depth underneath those rolling motions. Before that I told everyone to leave the eye alone, which I said is like a human eye, with its raised pipe that we really want to keep, so do not knock it down.
"Feel what the tool does," I said. If it fights you, the pass won't be really nice, so change the angle you attack from and make very small passes. I'm still slicing with those, and I don't push it. Push it, and that's what you get.
"Look at my hand," I said. It sat solidly on the background, and I told them never to do air carving. "I know I'm gonna repeat that multiple times, but it's important," I added, because I see it all the time.
Which tools came out, and in what order?
Five tools did it, and the wide number 9 came back more than once, for the stem end and then for the next section.
Tool | Job | Said |
|---|---|---|
Wide nine, 20 mm | Slicing beside the rolling part, down toward the ground | still slicing |
Narrow nine, 10 mm | A hard spot, with the grain running the wrong way | break the rule |
Spoon veiner, 7 mm | A small first pass right underneath the roll | preliminary cut |
Number 7, 14 mm | Gave that first section its rolling motion | Exactly the same |
Tiny eleven, 1 mm | Upside down beneath the edge, clearing the chips | See that shadow |
Wide nine again | The next section, flute turning from twelve toward nine | nine o'clock |
Narrow nine again | Deeper under the rolling motions, with very small passes | change the angle |
The course page lists all eight lessons, and Acanthus over Moldings runs the leaf over a molding. Corinthian, Byzantine and Roman acanthus each have a course too, and First Cuts for Beginners is there for anyone new to the gouge.
Does one small section sound easier than a whole leaf? Would you like to watch the roll happen on it first? Then come and carve it with me, starting where the stem runs down, and see the Tuition and Access on one plan page.
"I hope you see the motion," I said to the class that day.
How it's done
- Redraw approximate lines. Draw the lines back on, right on the inside, without worrying about being exact.
- Choose the section by the stem. Concentrate only on that one part. It starts from a line and will sit lower.
- Carve along the rolling part. Take the wide nine, 20 mm, and slice along its side until about 3/8 inch (10 mm) is left where the stem ends.
- Lower that part gradually. Let it slope from a mark near 10 mm. Chop only that part, gradually, with the big nine.
- Make a preliminary cut underneath. Use a spoon gouge, or a spoon veiner like mine, and keep this first pass small.
- Roll it with the number 7. Give it the rolling motion with the 14 mm seven, still slicing every pass.
- Open the shadow with a 1 mm eleven. Turn the tool upside down, work in under the roll gently and take out the waste until the shadow shows.
- Leave it rough and go next door. Skip the detail for now. Move to the section beside it and blend the two gradually.
Frequently asked questions
Do you finish one section before starting the next?
Not in this lesson. I left the first section rough on purpose and went to the part next to it, and I asked the class not to overdo it. Detail waits until we chop away those legs, a little later.
How high do you leave the stem end for now?
About 3/8 inch, close to 10 mm, left over the ground at the stem end. If that doesn't feel comfortable, half an inch (about 13 mm) is fine for the moment, as I said in class. Later on, when it gets refined, it goes even lower.
Which tools does the first section take?
A number 9 at 20 mm and another at 10 mm, my 7 mm spoon veiner, a 14 mm number 7 and a tiny number 11 at 1 mm. You should have something like a number 9 spoon gouge for that first preliminary cut, I said; I had the veiner instead.
What to carve next