

Alexander Grabovetskiy, woodcarver, School of Woodcarving · Published 2022
What do you do before you take a relief carving off the board?
Quick answer: Getting a carved leaf ready to leave its board is, in this lesson, an undercut stopped short, hands kept off the finished wood and some wood cleared from the edge in. A slim eleven went under the leaf partway, a number 7 dug in on a slant, and one little part waited for the back.
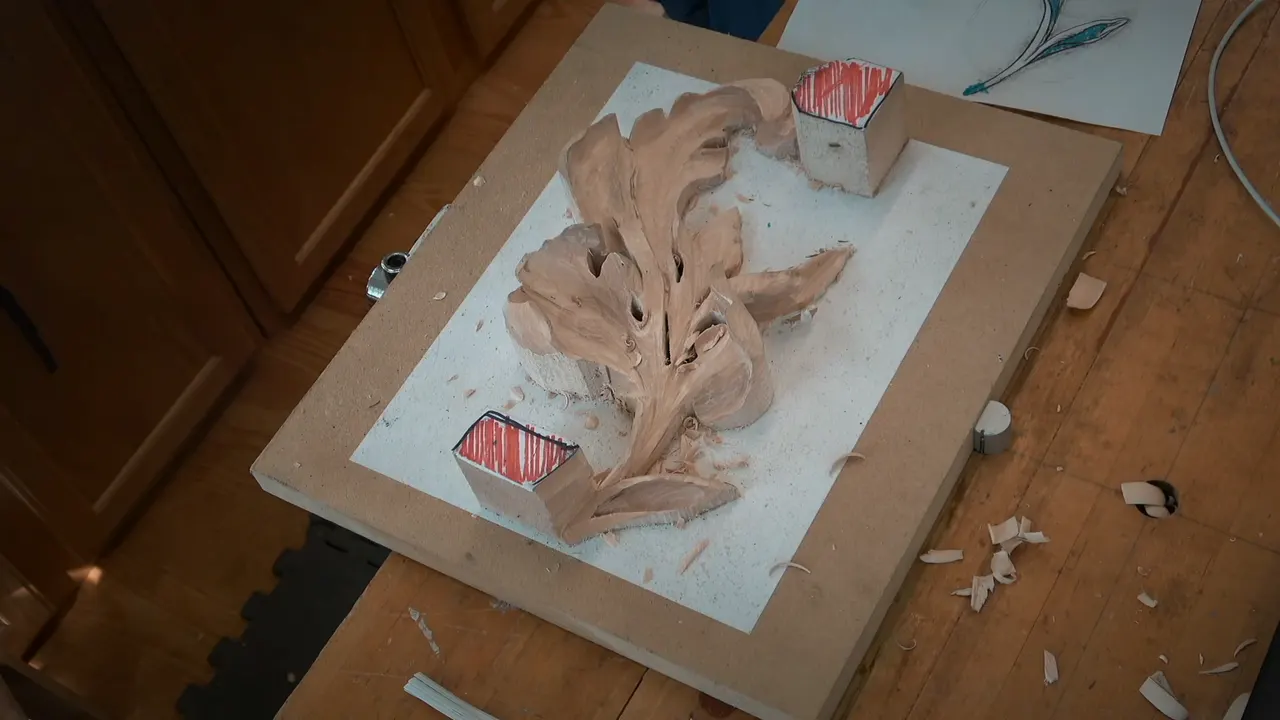
The work before a relief carving comes off its board is, on this acanthus leaf, an undercut stopped short, some wood taken from the outside in, and one small section left alone. My 3 mm (1/8 in) eleven went in under the leaf and stopped before anything broke through. In between, I showed how a dark spot comes out with a flatter tool, a number 2, a job for the very end. The section I kept back was for later, when we'd attack it from the back side.
That's lesson 7 of 8 in Carving Modern Acanthus, an acanthus leaf wood carving from a 1903 design, filmed in a class with people at the bench. I told them we'd take the piece out maybe by noon, maybe even before noon.
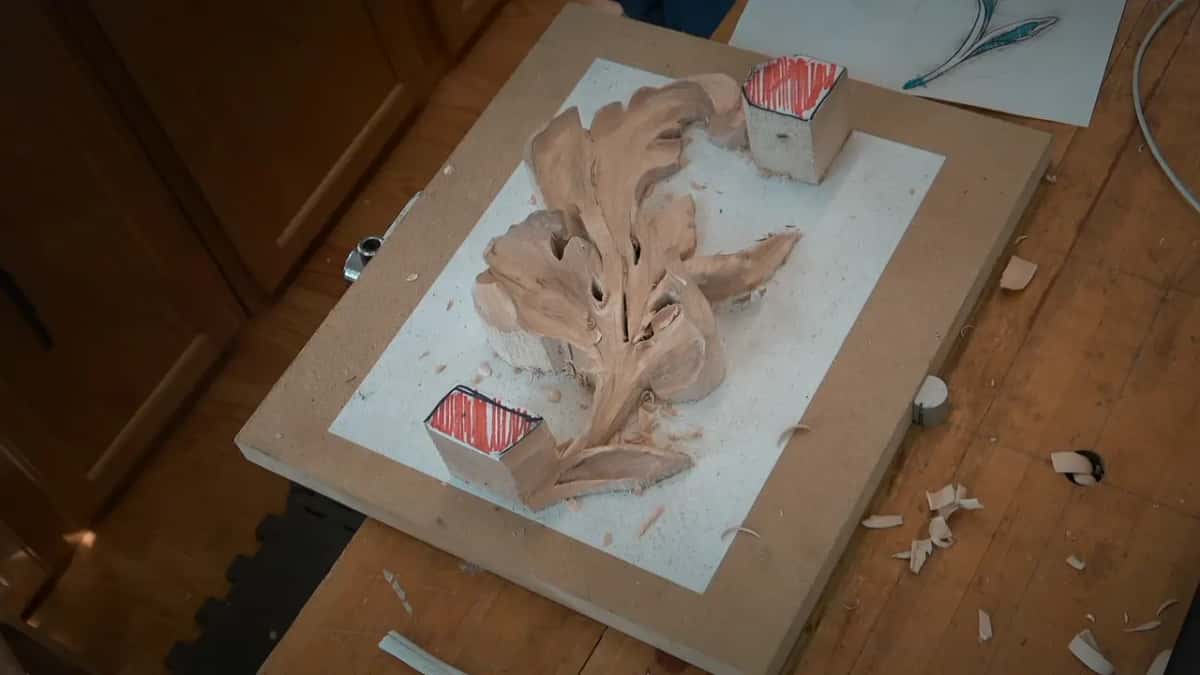
Want your leaf out of the board in one piece? Every stem still on it? Then a few small jobs come first. The undercut had nothing complicated about it, I told the class, and I hoped it was easy enough.
You'll get them here in the order I did them, with the tool I had in my hand each time.
Six lines on what came first
- My 3 mm eleven slipped in from three, then nine, and stopped short.
- The connection stayed.
- From that point on, hands stay off the parts you've finished.
- Any dark spot comes out at the very end, a flatter gouge riding over its facets.
- Wood came away from the outer edge going in, a number 7 on a slant, still slicing.
- One little part got almost nothing from underneath, saved for later.
What goes in under a relief carving first?
A slim one, a number 11 at 3 mm, and only partway in. It was the same tool I'd been using, and I presented it all the way to three o'clock to make what I called my preliminary undercut. Then came the same idea on the other side, with my tool at nine o'clock, the way a clock face reads.

Like I said, don't make it airborne. Go right through and that piece is airborne, and this one was going to be fragile.
What I mean by a preliminary undercut is on its own page, from the Venice Room, lesson 132.

Why keep a connection underneath?
On this leaf the grain was the reason. "Keep the connection, please," I said, and then I said it again.
Sometimes it's good to have an airborne piece. I love airborne work, but in this case the grain runs that direction, and if you create that airborne piece, it's going to be so fragile that you'll break it right on the grain.
So keep it in mind when you design your own piece. If you design something like a stem that's airborne, it's really important that it runs with the grain. If not, you'll break it, or somebody else will, maybe one of the people who touch it.
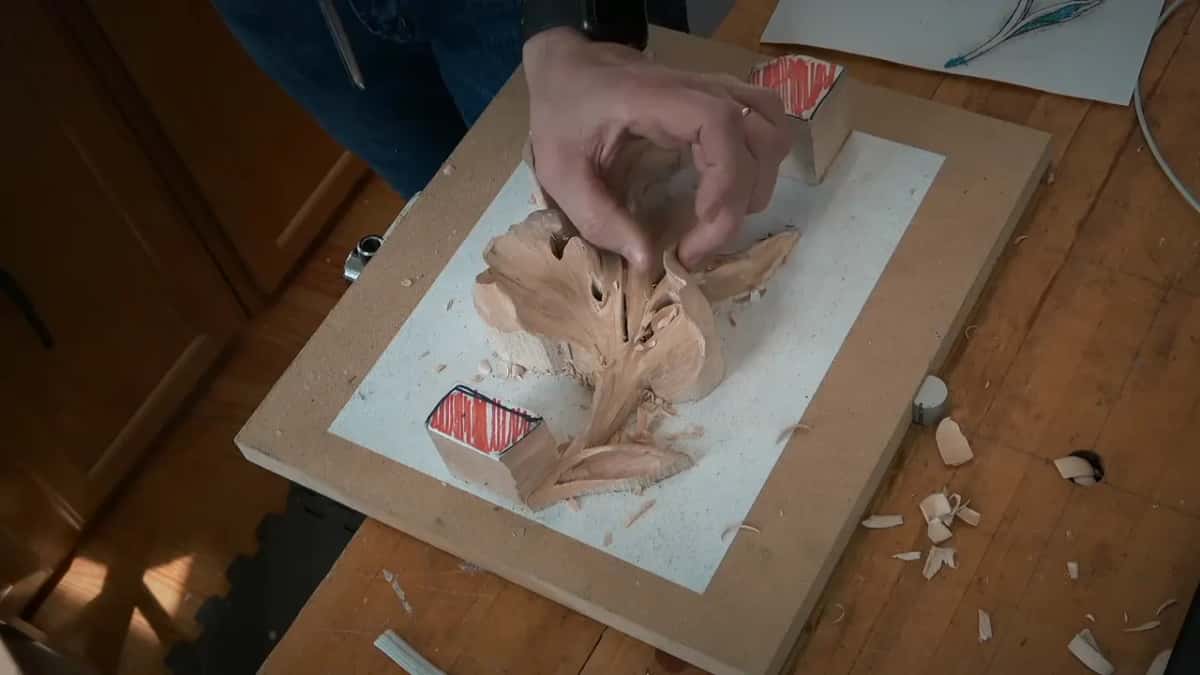
There was the trip home to think about, too. You have to travel home and pack that thing, and if you don't break it, the people who check your bags will. Ask me how I know. I even stopped writing "sharp objects" on my tools, because it doesn't matter what I write.
Later in the lesson I came back to the undercut. Keep some connecting point between those two undercuts, I said. A connection point left on purpose under a thin curl gets a page of its own, from workshop 66 of the Venice Room.
Why do your hands come off the wood at this point?
Up to this lesson it was okay to touch the piece. I hadn't said anything, because in every class everybody touches it, and you feel more with your hands than you see with your eyes. A thousandth of an inch, you can feel with the hand.

Now be really careful how much you touch the wood. That goes for your pieces as well as mine, and mine already had a black spot from so many people rubbing on it. It isn't dirt. It's oxidation from the oils in your body, and washing your hands with soap doesn't change that, since you still make those oils.
Somebody had called me a spy, so I said I'd collected DNA from some of them now. Then I said it once more. Do not touch my piece.
Why hands do that to bare wood is told on the course page. Call it a patina if you like, whatever you call it, but I don't like how it looks. If you're going to put a stain on it later, it's okay. I wouldn't worry about it.
What I'd rather do is lay a paper towel over the part you've already done and rest your hand on that. Cotton gloves came up, and painters gloves, some with one side rubberized. Those you can use, but I don't. Latex gloves work well too, but all day long in latex feels really bad. I just use my hands. I feel my tool much better.
How does a dark spot come off an unfinished carving?
With a flatter tool riding on top of the facets until they come out and take the dirt with them. That's what you do at the end, and we weren't done yet, but I showed the class the technique right then.
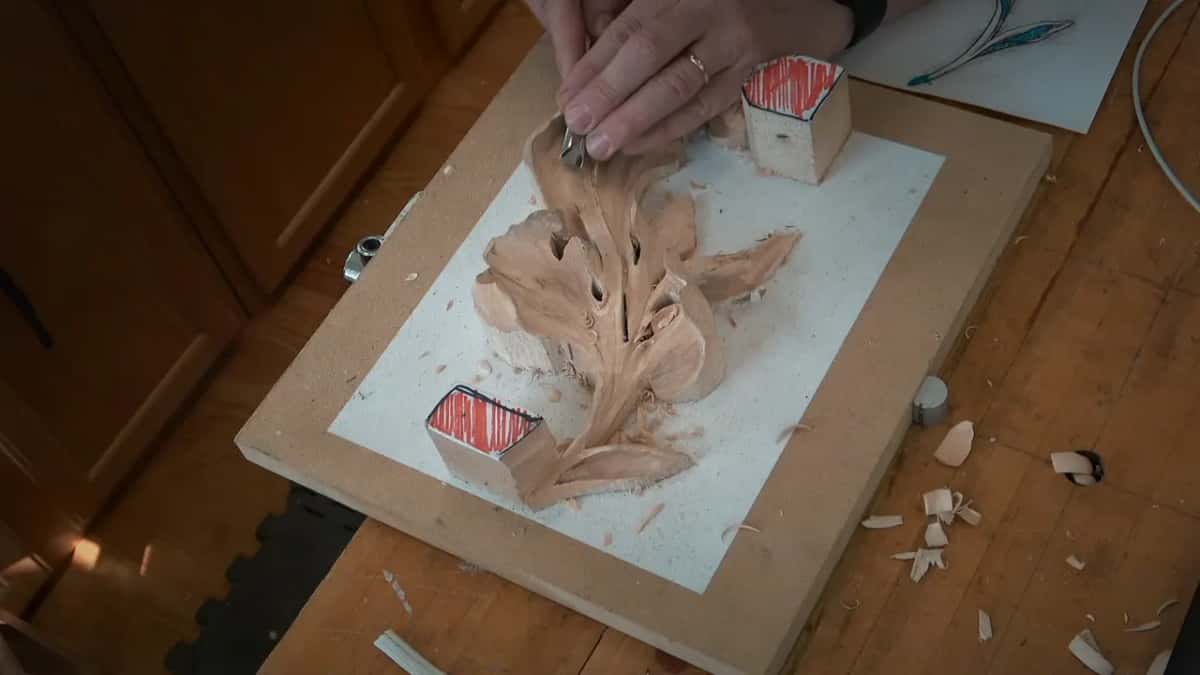
Let's say a spot has already gone blackish. That's why I asked you to bring a number 2. Done slowly, so you can see it, the tool rides over the facets, I take them out just like that, and I clean all that dirt.
If it fights you, change the direction. That means the grain runs up that way. Find the spot, and present the tool so you don't have to fight it.

Then spend your time cleaning. You can almost blend everything to a shiny look, and I've done it, to perfection. It can take longer than carving the whole thing, and blending gets its own page in workshop 158 of the Venice Room.

Why can sandpaper give you trouble later?
Sanding pushes the fibers in, and for anyone planning to finish it later, the first coat of stain or shellac makes the grain pop back out. Then you have to sand it again. In some cases it's okay, but in a really complicated area it's almost impossible to take care of that raised grain. A lot of people ask me about sandpaper, and I bought some and tried different kinds.
When you carve, you don't smoosh anything. You slice it, it's clean, and when the finish goes on it won't raise as much. It puffs slightly, because the liquid gets inside the wood, but you don't feel it with a finger.
Cheap sandpaper leaves a lot of abrasive inside the wood, too, and the next time a tool goes in there it gets dull really quickly. You have to resharpen. That's the number one thing, I said, why people don't like to use it.
In my opinion the best one for wood carving right now is a mesh from Mirka, a Finland based company, called Abranet. It isn't even paper, it's a mesh with holes in it, so whatever you take out goes into that net and you can take the dust away. It doesn't clog, it doesn't leave much abrasive behind, and if you like that look, it's absolutely okay to use.
I have customers from different countries. Before I sign a contract, I tell them that in my opinion it looks better without sandpaper, and that I'll leave the tool marks. Usually they don't read it and sign it anyway. Both looks are authentic, I think. It's whatever you like.
What gets fixed before the leaf comes out?
Anything that looks weird. In one area we had to fix a section and blend it a little nicer, and I didn't show that on camera, since there was no reason to. You just work your way, blend the whole thing and make it really nice. Look at the other areas too, and if something looks weird, just fix it.
How much wood comes out before the release?
Only part of it, starting at the outer side and going in, toward a leaf that later ends up no more than maybe a quarter inch (6 mm) thick overall, or maybe 3/8 of an inch (10 mm). That order has a page of its own, from lesson 152 of the Venice Room.
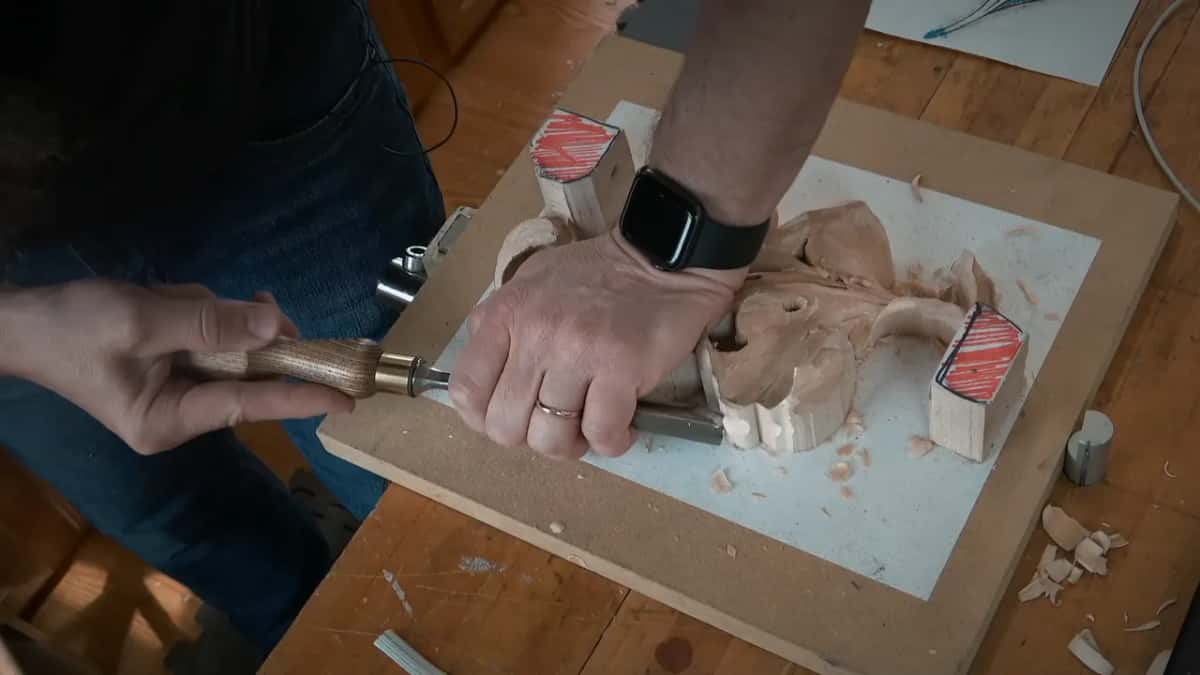
I said I knew you didn't see it and asked for just a second. It didn't work, but anyway, you should understand what I'm doing. Then I held the piece with my hand and asked if you could see the side. One of the techniques is a number 7, presented somewhat at an angle, and you start your excavation like that.
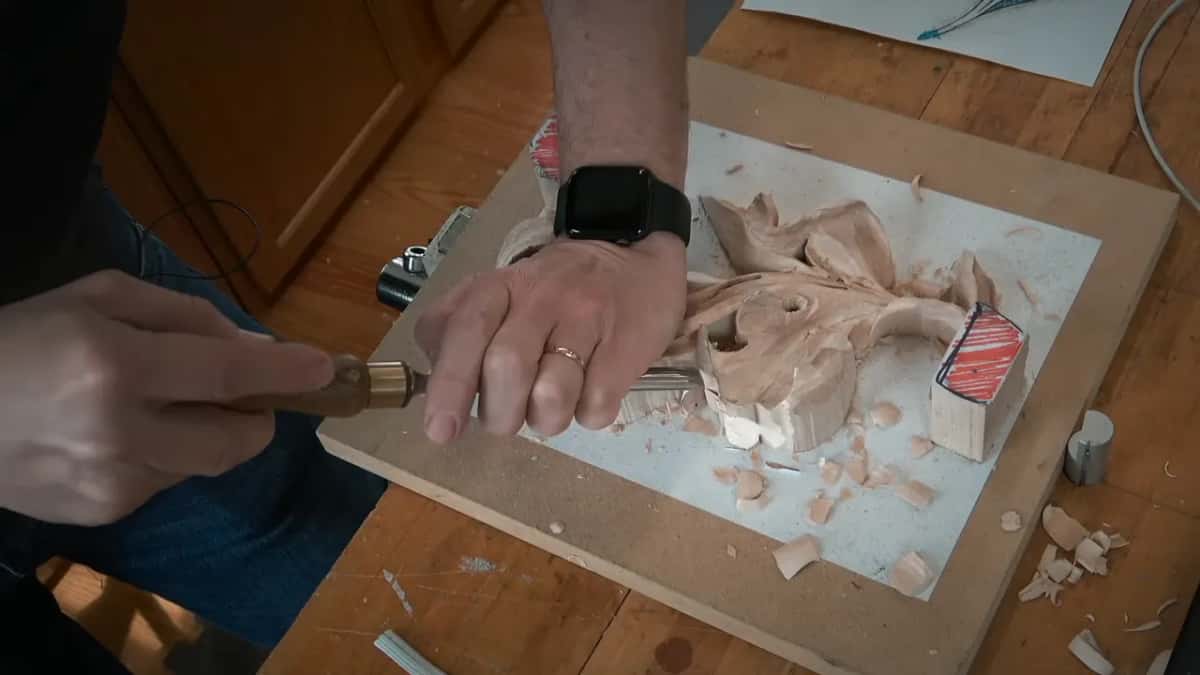
Take everything pretty much to the edge, I said. Keep in mind that some areas flip over, though, so don't be too crazy about it. At this point you can just chop. It's a good idea.

Near one of those flips I warned the class again. Make sure you don't get too close to that spot, or you'll be in real trouble. Better to be safe than sorry.
Is an undercut pushed or sliced?
Still a slice, even with the gouge under the edge. Even if I'm doing an undercut, I'm not just pushing it. Exaggerate it and I'm scooping the wood out, and it's still that same motion.
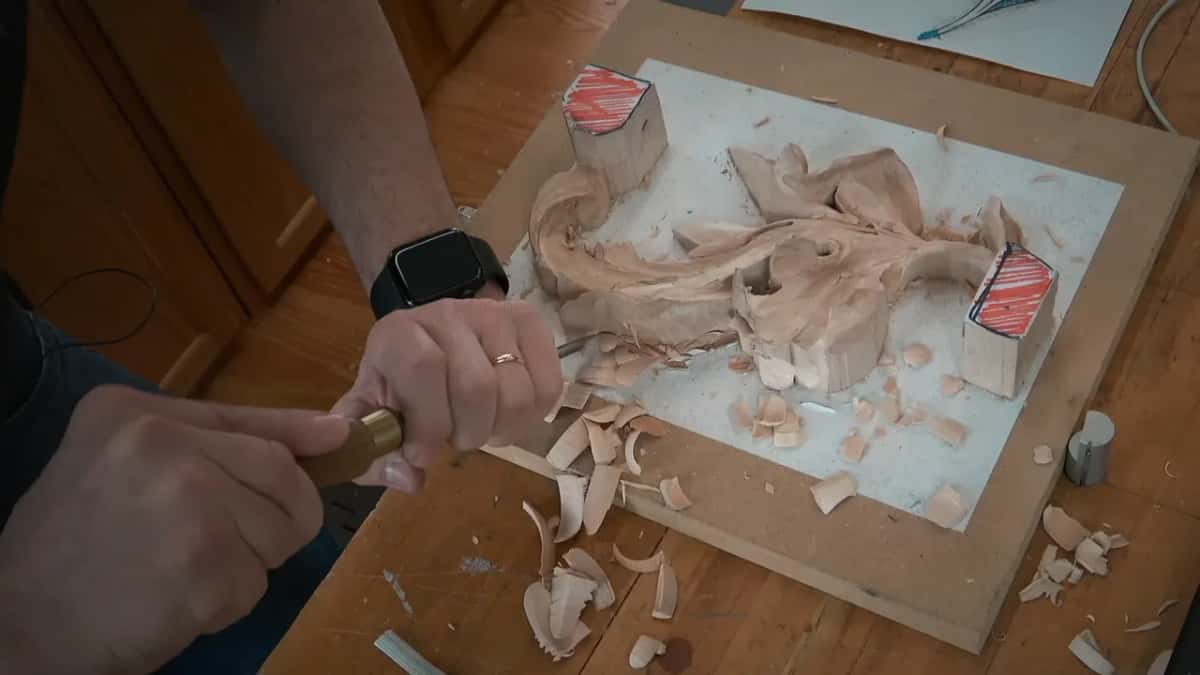
I couldn't tell you what angle I was at, and I wasn't sure I could even measure it. Lots of wood came off really quickly after that. I still kept some thickness, because we don't want to create a really fragile piece.

Which part do you leave for the back side?
One small section, where I told the class to undercut almost nothing. Do not do too much when you get there.

We'd come at it later, from behind, and chopping it now and spoiling it would be a big mistake. You'd only be frustrated, I said, so please don't touch that little thing.
Those handles get chopped later, from the back side. Before any of that, you really have to be careful how you approach taking it out.
What happened when the leaf came out?
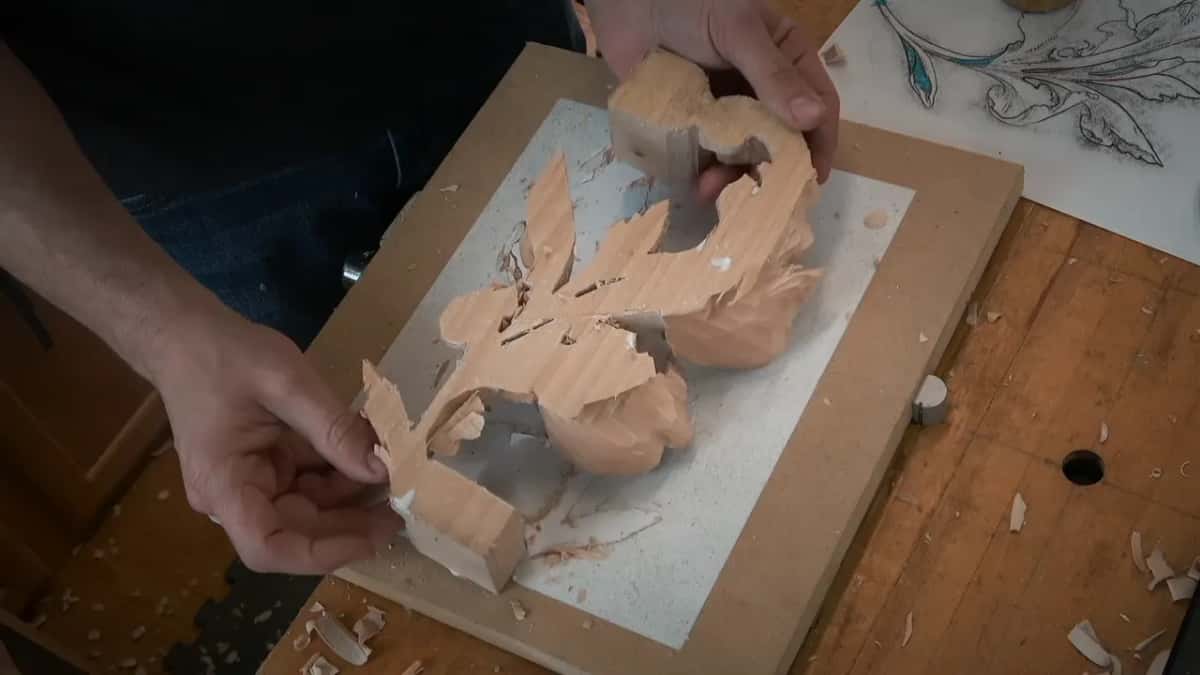
A flat number 2 and a mallet worked in under the stem and the handle, following the grain, then a number 7 went in the middle, and in the end just one spot was still holding. "Here you go," I said. "So clean."

That's the release, and lesson 10 of Acanthus over Moldings shows one on another panel.
Then we needed clamps, and I had to go and find them. On the back I didn't want to see a wall, and I said I knew you'd look at me like, huh, what is he talking about. Come to my piece, compare yours, and you'll know exactly what I mean. Could you see that line inside, I asked, or no? One part there was supposed to roll, so I blended it with the number 7 upside down.
A couple of spots stay untouched for the glue. The area doesn't have to be big, and for me a couple were enough. Working the back, I said I'm not afraid it's going to crack, because my tools are sharp. Those handles give really good support, plus a couple of spots it lies right on, and that's why we kept some areas untouched. Everything else gets blended nicely, carefully around the spots you'll glue. The rest of the back is on the course page too.
Every job before the release, side by side
Job | Tool | Note |
|---|---|---|
First undercut, both sides | the eleven at 3 mm, first from one side and then the other | not through |
Dark spot cleaned | a flatter number 2 riding the facets, saved for the end | dirt out |
Wood out early | outer side going in, then a number 7 tilted over | still slicing |
One section spared | almost no undercut there, kept for working from behind | big mistake |
Thickness kept | later a quarter inch, or 3/8 in at the most | not fragile |

Which lessons come before this one?
If you're picking up the leaf here, lesson 1 left the edges high in the rough. Lesson 2 took it one section at a time. Then lesson 3 was about a gouge set too high with no way out, and lesson 4 found the bulge nobody had raised. After this one, the course has one more lesson and a final assessment.
When that last spot let go, the leaf was out. Want yours to come out the same way? Then put in the undercut, let the connection stay, and leave that little section alone. Every lesson of this course, and the rest of the school, opens with Access.
How it's done
- Undercut partway from both sides. Turn a 3 mm eleven round to three on the clock and slip it in underneath. Then come from nine on the other side, and stop before anything goes airborne.
- Leave the leaf connected. Leave some wood between the two undercuts. A stem you design to sit free should run with the grain, or it breaks.
- Keep hands off what is finished. From now on, be careful how much you touch the wood. Lay a paper towel over the finished part and rest your hand there.
- Thin it from the outside. Begin on the outer side and go in, ahead of the release. Hold a number 7 somewhat at an angle, and stay back from any part that flips over.
- Slice, even under the edge. Scoop the wood out in the same slicing motion, never a plain push. Hold on to some thickness so the piece doesn't turn really fragile.
- Save one section for the back. Undercut almost nothing on the little section you'll work from behind. Chopping it now would be a mistake.
Frequently asked questions
Which tool made the first undercut?
Mine was a number 11, 3 mm wide, about 1/8 in, the same tool I had used before it. I presented it at three o'clock on one side and nine on the other, and stopped before the leaf went airborne.
Why not carve the leaf free right away?
In this lesson the grain ran a way that would leave a free piece so fragile it breaks right on the grain. Keep the connection, I told them. Then everybody still had to pack the work and carry it home.
How thick should the leaf stay before you take it out?
Later on, the overall thickness should be no more than maybe a quarter inch (6 mm) or maybe 3/8 in (10 mm). Ahead of the release I took plenty of wood away fast but kept some, so the piece would not get really fragile.
What to carve next