
Alexander Grabovetskiy, woodcarver, School of Woodcarving · Published 2022
How do you carve a modern acanthus leaf?
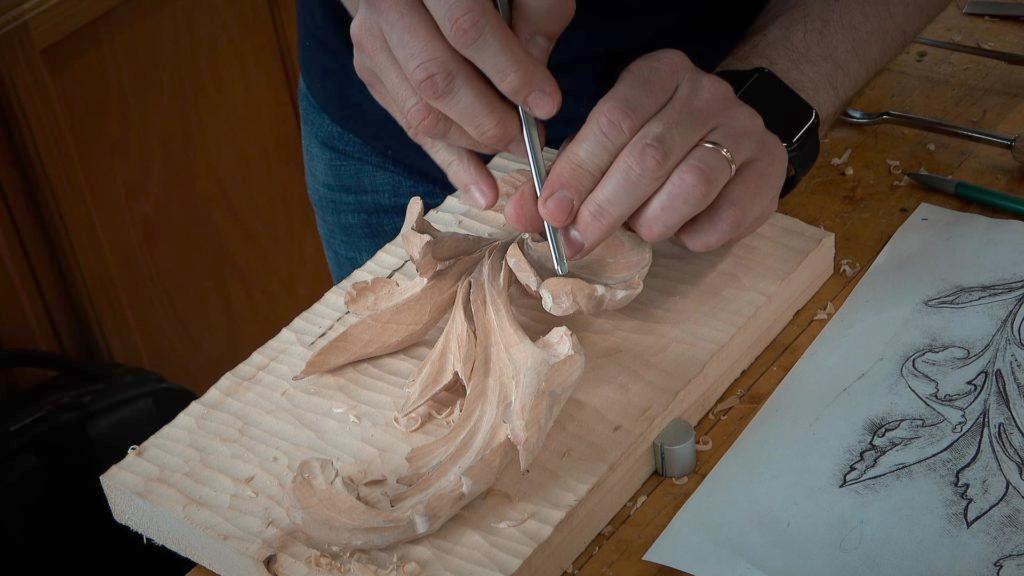
Quick answer: Modern acanthus leaves are carved in deep relief from one block of basswood, 2 inches thick or 51 mm. Shape always comes before detail. You rough the leaf until its middle sits halfway down, an inch above the background, roll every lobe, then carve the eyes and pipes that throw the shadow.
What is a modern acanthus leaf?
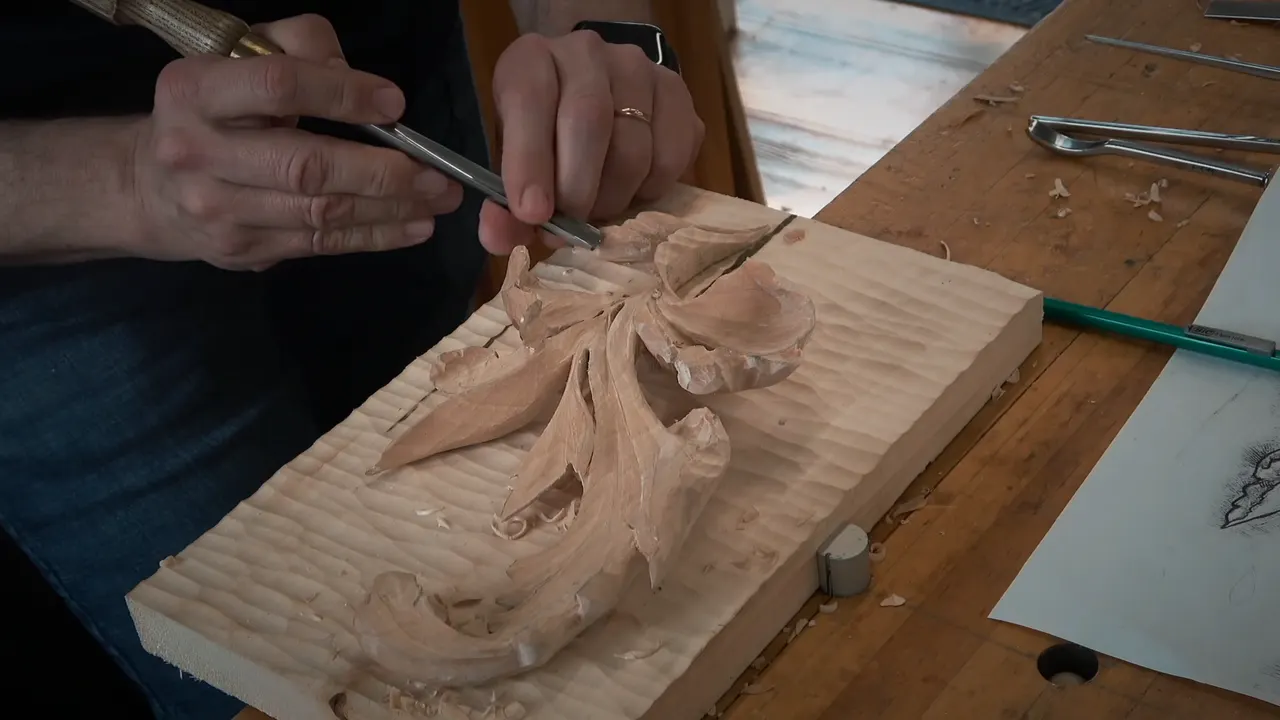
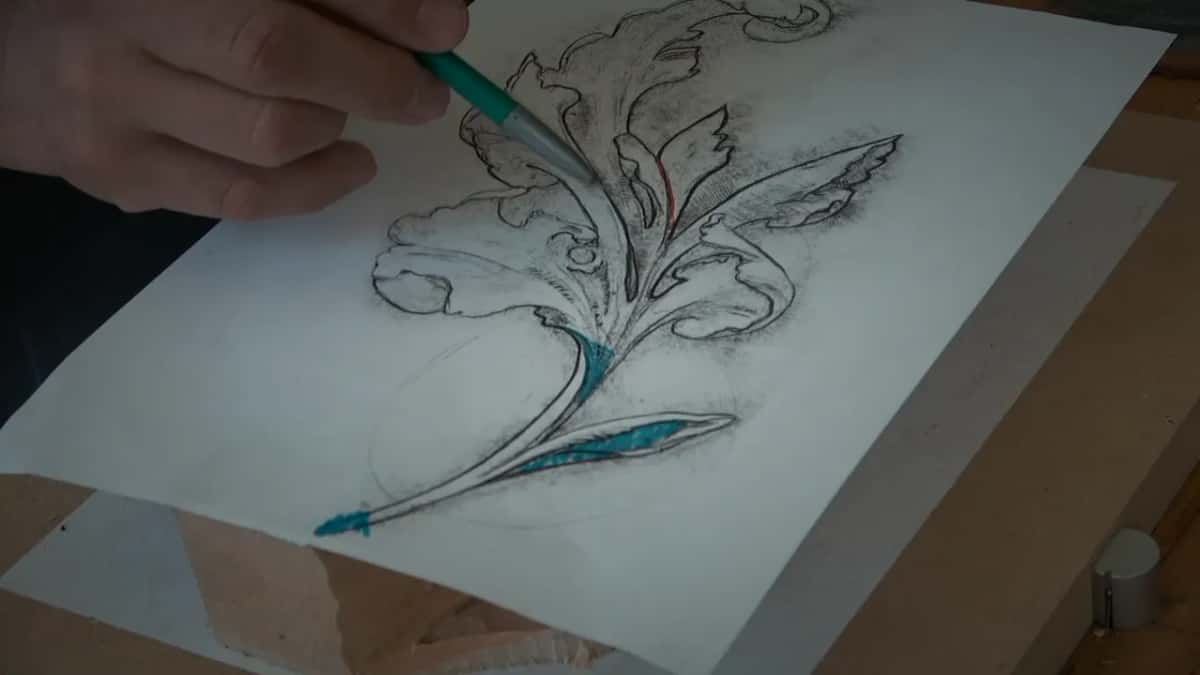
A modern acanthus is the acanthus ornament as carvers were drawing it around the turn of the last century, and the one I teach here was copied off a piece sculpted in 1903. Modern back then. Not modern now. I copied it anyway, because it looks really nice.
The leaf came down from Greece and Rome and got copied for two thousand years. It was modern back then, in the Art Nouveau years.
Same anatomy, looser handwriting.
One thing in it is pure invention. That little curl rolling backward into itself came from the Romans, and you will not find it on any plant growing in a field. They put it there because it looks good. I kept it for the same reason, and if you want to see where it started, the Roman leaf is where that curl is born.
What wood do you use for a deep relief carving?
Basswood, 2 inches thick or 51 mm, and I use the whole depth of it. American basswood, lindenwood, limewood. Same tree, three names, depending where you live.
You need that thickness because of what happens later. The middle of the leaf sinks halfway into the block, a full inch or 25 mm, and lobes roll over each other on the way down. We use the whole body of that two inch stock, because we want true 3D.

Why leave tabs when you cut a carving out on the scroll saw?
Those little tabs, the legs, hold your carving to the board for the next seven workshops, so you draw them before you saw and you never carve them off. I repeat this over and over in the class, because I know people make that mistake.
Chop the big waste off on the band saw first. Then take it to the scroll saw and follow the line. Keep the handles.

They are doing two jobs. They hold the piece down while you dig, and later they carry the whole weight when you flip the panel to work behind it. So do not touch that handle. That leg stays.
What does bosting mean in wood carving?
Bosting is the first stage, where you establish the whole three dimensional movement of a carving and no detail at all. The English say bosting.
Call it roughing if that is easier. Whatever the word, it means creating the overall shape, the way normal people would say it.
I work this way for a reason. You look at a drawing on paper in two dimensions, then you carve it and walk around it, and in real wood, from a real angle, you see something you want to change. Spend a lot of time cleaning that spot first, and now you want to change it, and you just get frustrated. So I get the whole shape standing, study it from every side, and only then go after detail. That order is the spine of everything in Principles of Design in Wood Carving.
Step one on this leaf should take you about half an hour, maybe forty minutes.

Which gouge should you pick up first for relief carving?
Always the biggest one that will fit the job. Here I start with the wide nine, 20 mm across, three quarters of an inch. At home I keep gouges over 3 inches wide, and if one fit I would grab it.
Beginners do the opposite. They pick the smallest tool in the roll and scratch away, and it takes forever.
Treat your tools like an army. Every one has a job, and you send in the big one first to take ground. The small ones come later, when there is something small left to do. Which tool does what, and why, is the whole of All About Tools for Wood Carving.
What is a slicing cut in wood carving?
A slicing cut is one where the gouge rotates as it travels, so the edge enters at one corner and leaves at the other. Start on the left of the tool and finish on the right, or go the other way round. Either way, it is slicing.
The other thing people do is push.
Pushing is not carving. Push it and the tool catches, and sooner or later it breaks off the piece you cared about most. Let the sharpness do the work, not your shoulder. Keep that tool really sharp, and if it is not, go back to sharpening.
Short passes too. Half an inch, 13 mm, and three quarters at the very most. Short passes are the safer ones.

Should you carve with the grain or across it?
Across the grain is the safer direction on a leaf like this. Run with the grain and the edge eventually catches a fiber, follows it down, and takes a chunk of your carving with it. And that is a spot you really did not want to break.
Now, I break this rule constantly, and you watch me do it. Sometimes there is no other way into a hollow. When I go against the grain I keep the edge sharp, and even my smallest pass is still a slice. On a scooping pass I take maybe a sixty fourth of an inch, under half a millimeter.
When the wood starts fighting you, stop. Do not dig harder. Rotate the piece and come at it from the other side.
Which side of a gouge cut comes out clean?
Every gouge cut has a clean wall and a rough wall, and which is which depends on grain direction, not on your skill.
So think about which wall has to come out clean and which one can stay rough. Here, in my case, both walls had to be clean.
Take the cut you can take from where you stand, then rotate the whole panel and come back at that same hollow from the opposite side. Two approaches, two clean walls. Rotate it as many times as you need. Nobody is timing you.

Where do you put your left hand when carving?
Flat and solid, on the block or the board, as close to the blade as you can get it. Never both hands floating in the air. Air carving, I call it. No bueno.
Watch a carver who has done this a while and the left hand is doing half the work. The thumb is the leverage point, and the tool lies pinched between two fingers. Sometimes the left hand alone drives the whole cut.

Two things come out of that. More control, the more solidly that hand is planted. And stamina, because the muscles of both hands share the work and you do not get tired.
What are the eye and the pipe on an acanthus leaf?
The eye is the opening where two lobes of the leaf separate, and the pipe is the raised ridge running out of it. Just like a human eye. And the rule from there never changes.
Every time you see an eye, it has to have a pipe. The law of the leaf, and it does not bend. There were four eyes on my panel and three on most of the students'.
A pipe is always convex. Bulged, rounded, like a plumbing pipe lying on the wood. To carve one you do not carve the pipe at all. You cut a hollow down each side and the pipe is what stands up in the middle, and then the shoulders get blended with a seven, 14 mm wide, held at about 45 degrees. Every leaf in the school obeys it, on the Greek leaf and again on the Byzantine one.
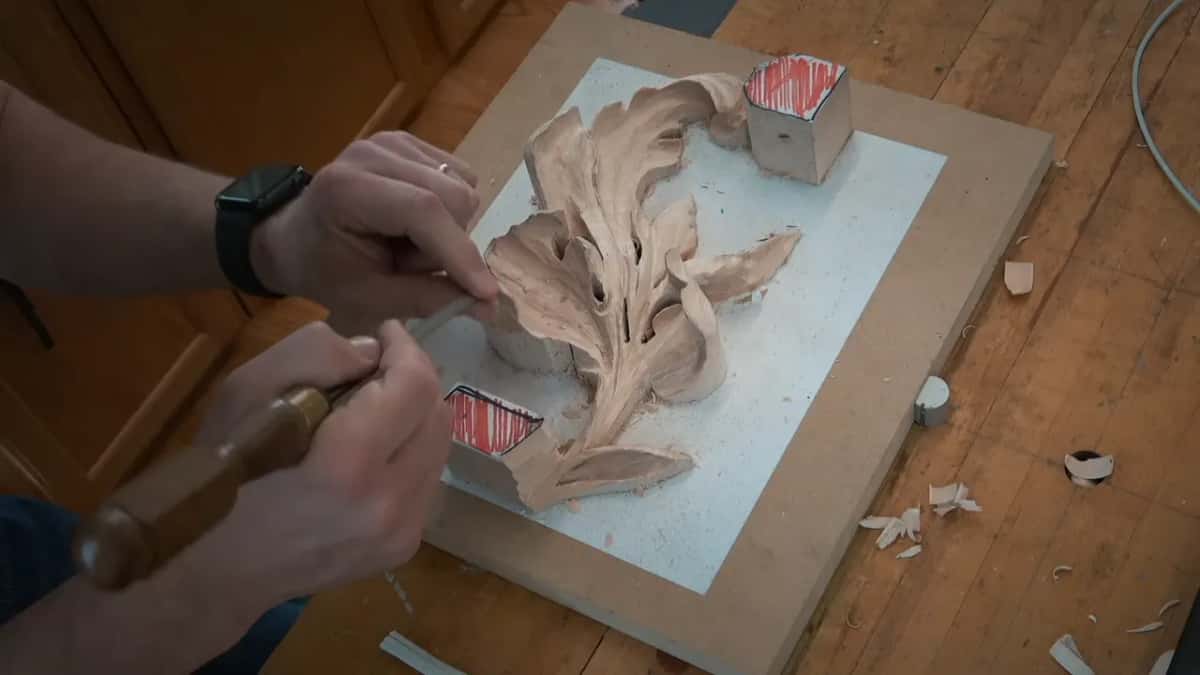
Run the same rule up onto a molding and it still holds, which is the whole subject of Acanthus over Moldings, and it holds on a Greek acroterion too.

Concave and convex in wood carving, what is the difference?
Concave is the valley and convex is the bulge, and the whole reason you care is shadow. A concave cut casts the deepest, darkest shadow you can get out of wood. The old carvers loaded acanthus furniture with hollows for exactly that reason, and you can watch it happen across a whole panel in Carving Furniture Panel.
Wood carving is shadow and light. That is all it is.
The shape of this leaf is a rhythm of the two, hollow and ridge and hollow again, right down to a micro pipe barely a millimeter wide.
Turn the shop lights off and look at your panel. In the dark the shadow shows up much better, the way it will when the panel hangs on a wall somewhere without too much light.

How deep should a relief carving be?
The deepest point on this leaf, right in the middle, still stands about an inch above the background, 25 mm. Outer edges stay higher at first, near an inch and a half or 38 mm, and come down later.
Other numbers worth writing on the wall. The stem end drops to 10 mm, three eighths, and some corners go down to a quarter inch, 6 mm. And I kept one lobe about 3 mm thick, an eighth of an inch. A little less is okay, but then it gets fragile.
Keep 3 mm back from your pencil line while roughing. Get closer than that with a curved tool and you undercut by accident, where you do not need it.

Why does my relief carving look flat with no shadow?
The lobes roll, and nothing is carved in underneath them. A roll alone throws no shadow. Your eye needs a dark line beneath the edge before it will believe the leaf is lifting off the ground.
So after the rolling comes the undercut. One small cut in under the rolling edge, taken carefully, and suddenly a black line sits where a moment ago nothing was. And the leaf starts to float.
Do not get carried away. Undercut too far and the edge goes airborne, and airborne on this design means fragile, because the grain runs the wrong way through those thin spots and the piece still has to survive being packed and carried home. If you do not break it, somebody at the airport will.

Why do two gouge cuts leave a rough seam where they meet?
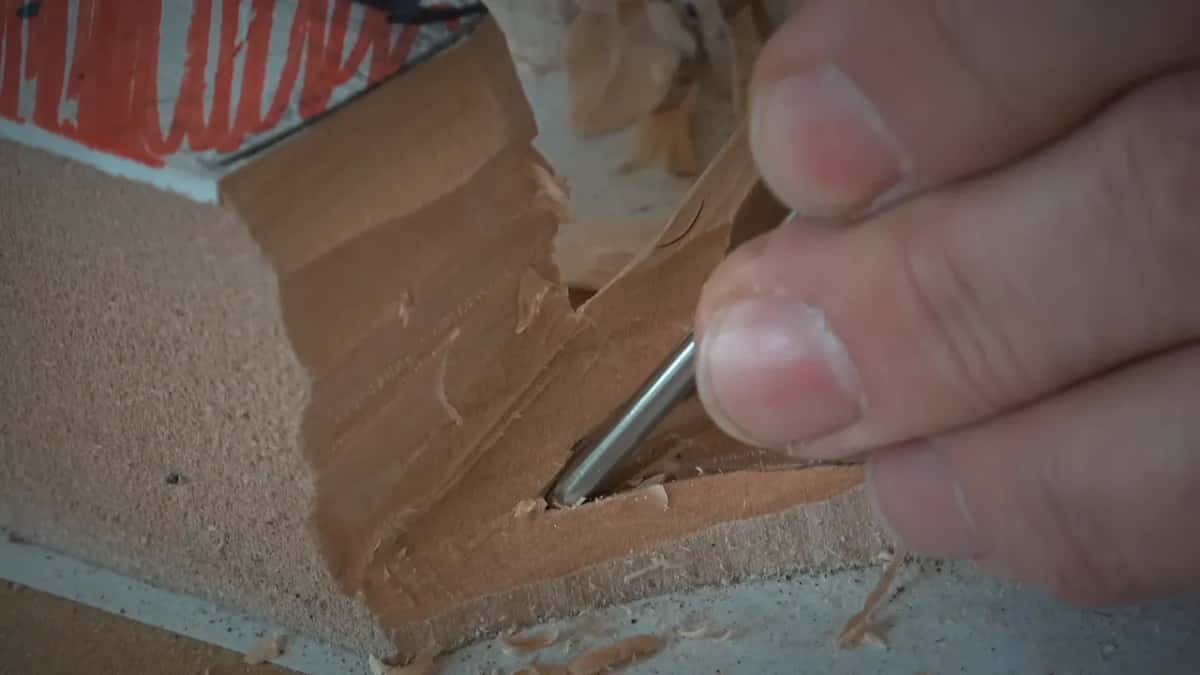
A marriage line is the ragged seam where two cuts coming from opposite directions meet in the middle of a hollow. The grain did not change. Your cut changed, and the fibers meet head on at that spot.
Push through it and you break the whole thing.
You fix a marriage line by blending, never by attacking. Approach from several different angles with light passes, softening from both sides, until the seam disappears into the curve. Perfection is not the point at this stage. All marriages are like that.

Can you smooth a carving without sandpaper?
You ride the gouge on top of its own facets and rotate it as you go, taking the high points off one at a time. The 14 mm seven does most of this work, presented at an angle and moved slowly.
Go slow enough and every ridge you made softens into the curve underneath. Take it far enough and you cannot find a single facet anywhere.
But I stop before that. I leave the facets showing, like brush marks on a canvas. A blended surface reads like plastic to my eye, while a faceted one catches light from many angles at once, so the piece changes as you walk past it, the way a cut stone does. There was a stretch of my life when I cleaned everything to death and it all came out looking machine made.

Do wood carvers use sandpaper?
Some carvers treat sandpaper as an abomination, and they are wrong about history. Look closely at Grinling Gibbons and the surface is smooth. For a long time people assumed he never abraded anything. Then restorers got close to it, David Esterly among them, and there are sanding marks.
He did not have sandpaper. He had Dutch rush, a reed that grows by the water, and dried it cuts about like 400 grit. Byzantine gilders were smoothing their work with red clay and limestone more than 1,500 years ago. Marble carvers were abrading 2,000 years ago.
So the honest answer is that it is a matter of taste, and of the customer. My Italian clients want it smooth as marble, not one tool mark. My English and German clients want every mark left. Sand if you like, but use a good mesh that does not shed grit into the wood and dull your gouges, and know that sanding presses fibers down so the grain lifts again the first time you put finish on it. I do not sand my own work. We spent a week on his method in the Gibbons class in Maine.
Why should you not touch a carving with bare hands?
Your fingers leave body oils, a chemical reaction happens in the wood, and a dark spot shows up. Soap does not prevent it. Chemistry, not dirt.
I let everybody handle the pieces in class, because your hands read a surface better than your eyes do. You can feel a thousandth of an inch with a fingertip. By the seventh workshop my panel carried a dark patch, left by everyone who came by and felt the rolls.
Once a section is finished, lay a paper towel over it and rest your hand on that. Cotton painters gloves work too. It only matters if you plan to leave the wood bare. Under a stain, it is okay.
How do you carve the back of a relief panel?
You take the carving off its board with a flat number 2 gouge, working in from the ends and following the grain, then hollow it out behind until every flat wall is gone. Never lever from the middle. That cracks it.
Once it is loose, clamp it face down and look for what I call walls, any surface you never reached from the front. Bring every one of them out to the edge, or blend it into the roll above.
Use smaller gouges back here than you did on the front, because a big tool catches in a thin section and splits it. Leave the panel 6 to 10 mm overall, a quarter inch up to three eighths, and keep two or three untouched spots for the glue. Once it is glued down, nobody can work out how it was done.

Should the background of a relief carving be left flat?
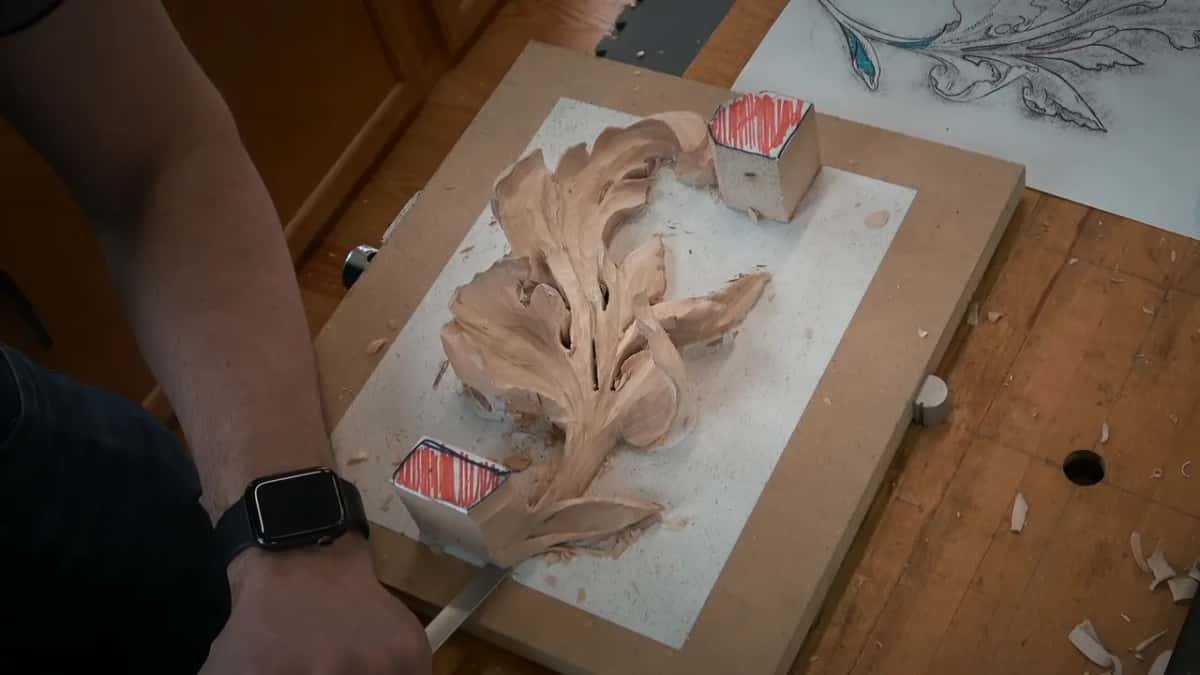
A flat background looks okay, but I cover the whole ground with short overlapping strokes from a seven, running across the grain. Long strokes feel wonderful and look terrible.
One spacing rule makes it read as texture instead of scratches. Take a cut. Divide it into thirds in your head. Start the next cut at the far third of the last one, then keep going, staying roughly parallel or perpendicular to the grain but never in a march. Random enough to look like weather, regular enough to look intentional.
Cover everything except the glue spots.
And on my panel there is a ladybug down in that ground, dug out with a 3 mm eleven only a couple of millimeters deep, its head split from the wings by one corner of a seven. You can see it through the gap under the leaf. Put your signature there instead if you do not like the ladybug.


Why does my acanthus carving look stripy?
Stripes come from carving the small edge details with a narrow veiner instead of a wide gouge. A 3 mm eleven leaves a scratched groove. Put a row of those down a leaf edge and the eye reads stripes, not a leaf. I do not like stripy acanthus. Plenty of carvers work that way and it looks nothing like a plant to me.
Those edge details are micro pipes, the same eye and pipe rule working at the scale of a millimeter or two. Wherever the leaf edge waves in and out a tiny eye forms, and the tiny eye still wants its pipe.
So carve them with the seven. A shallow concave down each side, and the ridge between stands up on its own. By this stage you have a 1 mm eleven in your hand as well, sometimes half a millimeter, and every cut is still a slice. Even at that size the tool has to slice, so never push it.

Which stage comes first on an acanthus leaf?
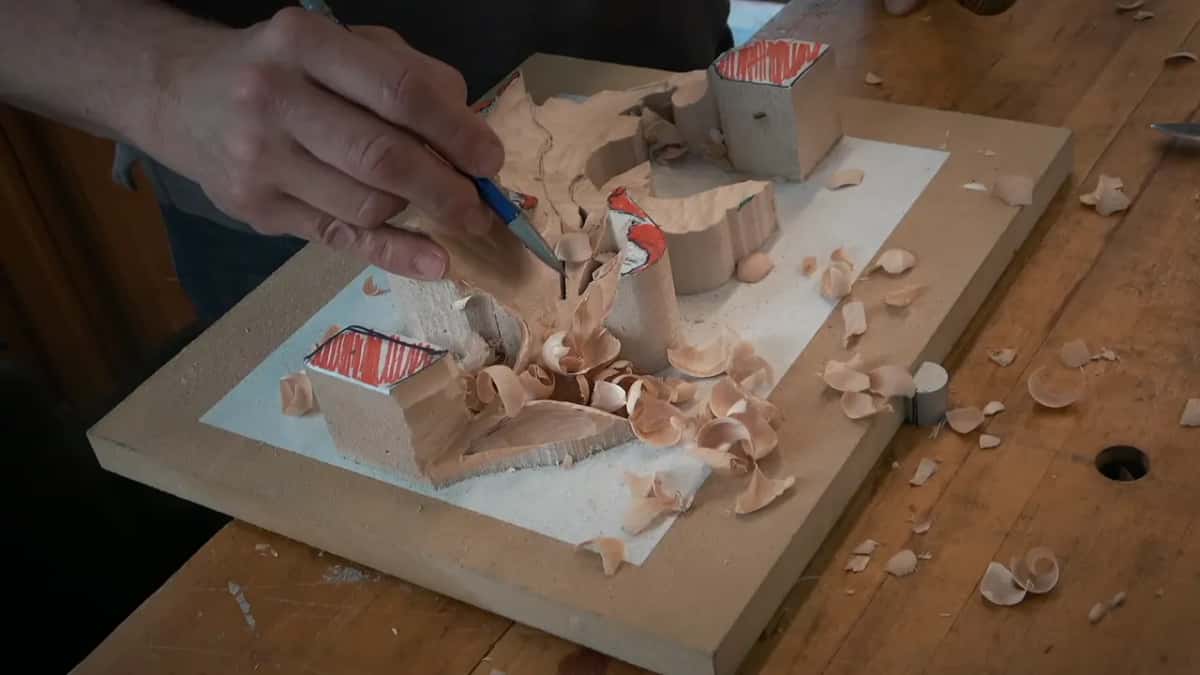
Overall shape first, then the bigger details, and cleaning up last. Across the eight workshops the pencil drawing gets redrawn on the wood at least three times, because the shape keeps shifting underneath it.
My father used to say that repetition is the mother of knowledge, and knowledge is the mother of wisdom. He and I did not agree on much. He was right about that one, and it is why you will hear me say the same things in every workshop until they stick.
The other thing I say constantly is that nothing in nature is straight. Not one line here is, not even the ones that look it. Look from the side and a flat spot shows up as a mistake every time.
Can a beginner start with this leaf?
This class goes one or two steps at a time, and I give you a rough time for each step. I show it, you carve it. Please don't get frustrated, because you are going to catch up. I don't like frustrated people.
If you have never held a gouge, First Cuts for Beginners is where to put your hands. After that, the Corinthian leaf teaches the anatomy on a bigger, more forgiving scale. The lessons map lays the whole road out in order, and the old carving books in the library cost nothing to read tonight.
People ask who is teaching before they ask what it costs, which is fair, so here I am.
So there is a block of basswood in your shop and a drawing of a leaf somebody sculpted in 1903. Where does the first hollow go? Come and find out at the bench. Shall we carve?
That is the whole of Carving Modern Acanthus. Eight workshops, twenty four videos, filmed at the bench with students asking questions the whole way through.
| The job | Reach for | Size |
|---|---|---|
| Chopping the blank out | Band saw, then scroll saw | keep the tabs |
| Bosting the shape down | The wide number 9 | 20 mm, 3/4 in |
| Working closer to the line | The narrow number 9 | 10 mm, 3/8 in |
| Rolling a lobe over | One number 7 | 14 mm, about 9/16 in |
| Escaping where a straight tool jams | Spoon gouge | 10 mm, 3/8 in |
| Separating one leaf from another | An eleven veiner | 3 mm, 1/8 in |
| Cutting the shadow line under an edge | The small eleven | 1 mm |
| Deepest micro undercut | The finest eleven | 0.5 mm |
| Lifting the panel free | Flat two, with a mallet | not named |
| Texturing the ground | The number 7 again | 14 mm, about 9/16 in |
The main tools named across the eight workshops, and the job it does on this leaf.
How it's done
- Saw the blank and keep the tabs. Chop the waste on the band saw, then follow your line on the scroll saw. Draw the holding tabs before you cut. They anchor the panel for seven workshops and carry it when the back gets hollowed.
- Mark the high ground in color. Color whatever must stay high. Orange for the high, blue for what drops. Then keep every tool off the orange until the shape underneath has settled.
- Bost the whole leaf down. With that 20 mm nine, take the middle down a full inch. Leave the outer edges near 38 mm for now. Shape only, no detail at all, and the whole stage runs about forty minutes.
- Redraw, then develop one section. Put pencil lines back on the reshaped wood and finish one section's roll before touching its neighbor. The stem end comes down to 10 mm, three eighths.
- Roll the lobes, then cut the shadow. Roll each lobe with the 14 mm seven. Then cut in underneath the rolling edge so it throws a dark line. Keep that edge about 3 mm thick, because if you make it too thin, you are going to break it.
- Give every eye its pipe. Wherever two lobes part there is an eye, and each one gets a convex pipe. Hollow both sides, leave the ridge standing, blend the shoulders at roughly 45 degrees.
- Blend the ridges and the seams. Ride a seven on top of its own facets, rotating slowly, until sharp ridges melt into curves. Blend out the seams where two passes met, too. Leave some facets showing.
- Free it, hollow the back, tool the ground. Lift the carving off with a flat two, working from the ends. Hollow the back to 6 or 10 mm. Spare the glue spots. Texture the ground with short strokes, then glue it down.
Key takeaways
- This leaf uses the whole body of two inch basswood, 51 mm, and the middle drops a full inch into it.
- Bosting means getting the whole three dimensional shape standing before any detail exists.
- Reach for the biggest gouge that fits, which on this leaf means the wide number 9 at 20 mm.
- Slice, never push. The tool rotates as it travels, entering on one corner of the edge and leaving on the other.
- Every eye on an acanthus has to have a pipe, and a pipe is always convex.
- Rolling a lobe throws no shadow by itself. The undercut beneath it is what lifts the leaf.
- Nothing in nature is straight, so a flat spot anywhere on the leaf reads as a mistake.
Frequently asked questions
Can a beginner carve an acanthus leaf?
Each step gets shown first, and then you work it on your own with a rough time to aim for. If one movement gives you trouble, forget it and do something else.
How long does it take to carve an acanthus leaf?
Bench time runs to eight workshops, and roughing alone takes about forty minutes. My own times are no guide, because I do this every day and I am much quicker.
What size gouges do you need for acanthus carving?
Eight gouges do most of the work in this class. Two nines, wide and narrow. One seven. Three elevens, the finest of them 0.5 mm. A spoon gouge for the hollows a straight tool cannot escape, and a flat two for lifting the finished panel free.
What to carve next
More on this: Acanthus mollis, the plant behind the ornament, The Corinthian order and its acanthus capitals, Relief sculpture, high relief and low, Wood carving, a short history of the craft, Basswood, its working properties and density, Chisels and gouges, how the edges differ, Sandpaper and the older abrasives before it, David Esterly, who restored the Gibbons carvings, Gilding, the trade that needed a smooth ground