

Alexander Grabovetskiy, woodcarver, School of Woodcarving · Published 2022
How do you carve a ladybug into the background of a relief carving?
Quick answer: A ladybug in a relief background is a small bug sunk into the ground under the carved leaf, not a figure in the round. Here I dug round mine a couple of millimeters with a 3 mm number 11, then rounded it with the corner of a 14 mm number 7 and gave it a head and two wings.
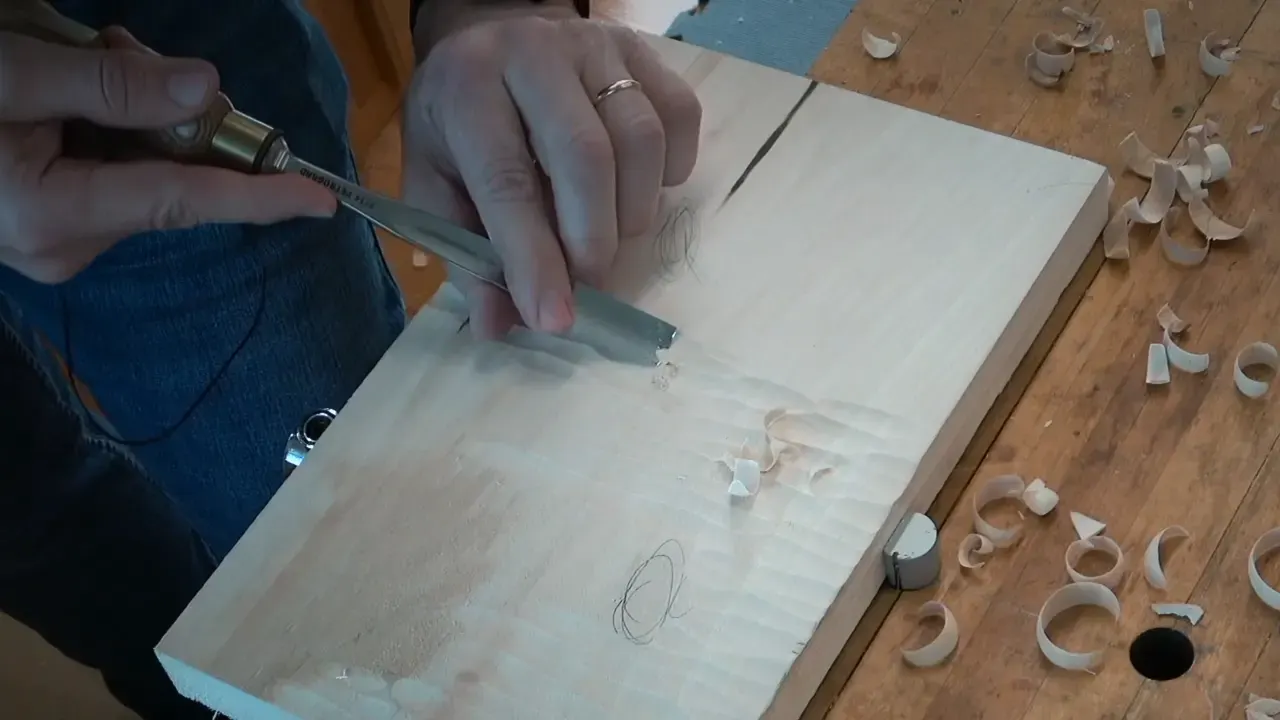
The ladybug wood carving in this lesson is a small bug sunk into the ground of a relief panel, not a figure carved in the round, and it waits under an acanthus leaf where people find it through a hole. I dug round it with a number 11, not deep, and shaped it using a number 7's corner. Then it stayed put while the background went in, and only after that did I bring it back out.
This is the last lesson of Carving Modern Acanthus. By now the leaf from the 1903 design is free of its first board, and here it gets laid on the board that becomes its background. The bug goes into that board.
Ever leaned in close to a carved panel to see how it was made? Looked through a gap in the leaves at the wood behind it? That wood can hold a ladybug.
You'll get the gouges I used, how deep I went and the order of my moves, along with the things I said to my class at the bench while I worked.
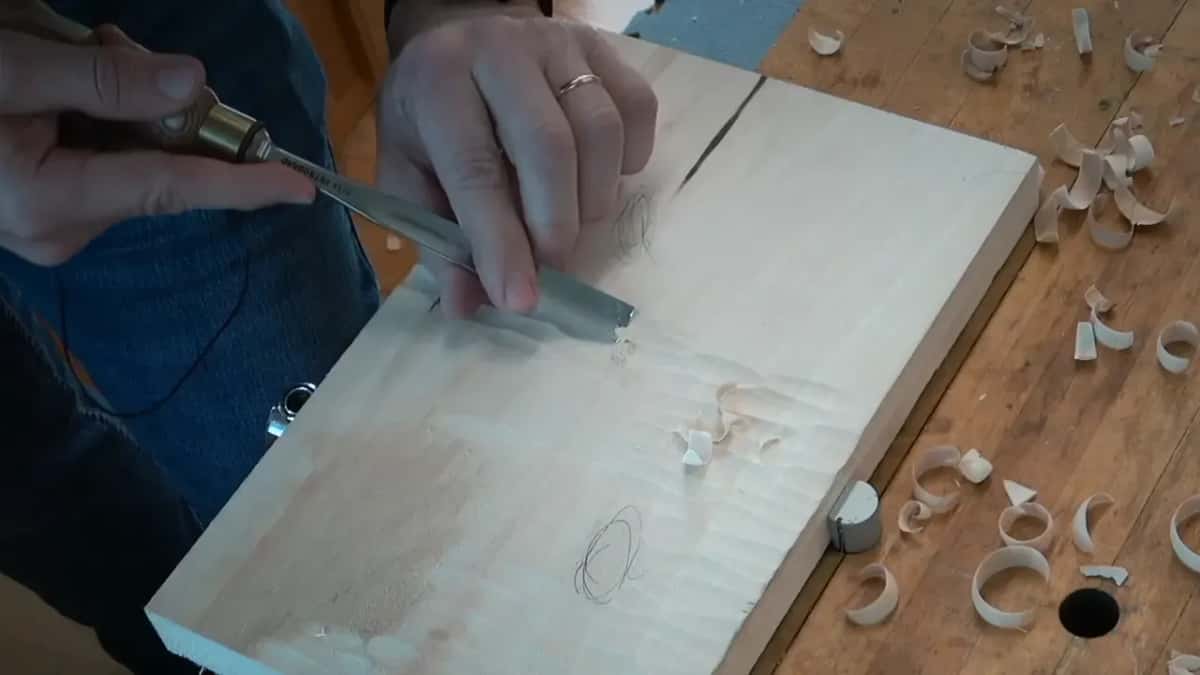
The ladybug at a glance
It goes under a hole in the leaf, so people can look through and find it.
Two glue spots hold the leaf.
A number 11 of 3 mm (about 1/8 in) digs round it. The dig stays shallow.
Keep it small.
A 14 mm (about 9/16 in) number 7, its corner only, rounds the body, then marks off a head and two wings with a line between them.
The background goes in before the bug is done, and you watch it the whole time.
Last comes a slight undercut, then corner work on each leg and antenna that leaves small shadow lines.
Why carve a ladybug where only a hole shows it?
A ladybug under the leaf is something you could never get from a single piece of wood, and a hole is how people see it. It goes where you have a hole, I told my class, so they can see through it.
Holes are one way in, not the only one. Look at the panel the way I showed them, and you can still pick out a ladybug down there.

It came up at the end of the first video. I had asked them if they wanted me to show how to do that background. You can leave it flat, I said, it will look okay, but. Then, oh yeah, the ladybug. Yeah, the ladybug is a good thing. Hold on.
Before I started on it, I asked the room, is that okay to make a ladybug?
Later, with the background going in, I said I guessed they liked that idea. And if you don't like the ladybug, you can put your signature right there instead, I told them.
Another class heard the same offer from me. In lesson 1 of Carving Byzantine Acanthus I told them the place for a bee, or whatever you want, or your signature, comes before the second piece goes on. Lesson 6 had me saying that if you want something inside, like a signature, it's time to do it before you glue. And in lesson 9 I reminded them they could place a signature or a bug inside.
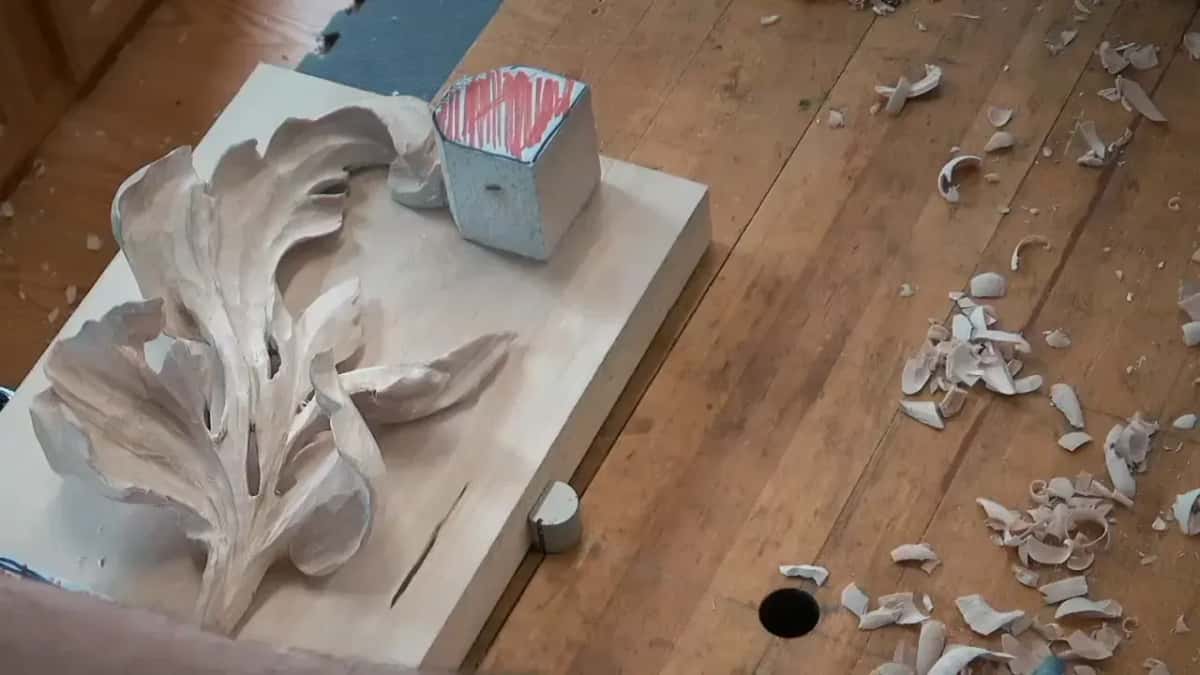
Where does the ladybug sit on the board?
Under one of the holes, on the board the leaf will be glued to.
Early in the first video I said we kept only a couple of spots for the glue, and that's going to be plenty. Screws are an option too, I said, if you have plenty of material.
Near its end I said there's probably some glue on those spots, and we need to clean it a little with sandpaper. Otherwise the glue won't stick.
Next I laid the carved leaf on its board where it's supposed to lie, and traced, approximately, where each gluing spot was going to be, where it will touch. Approximately, all right, I said again.
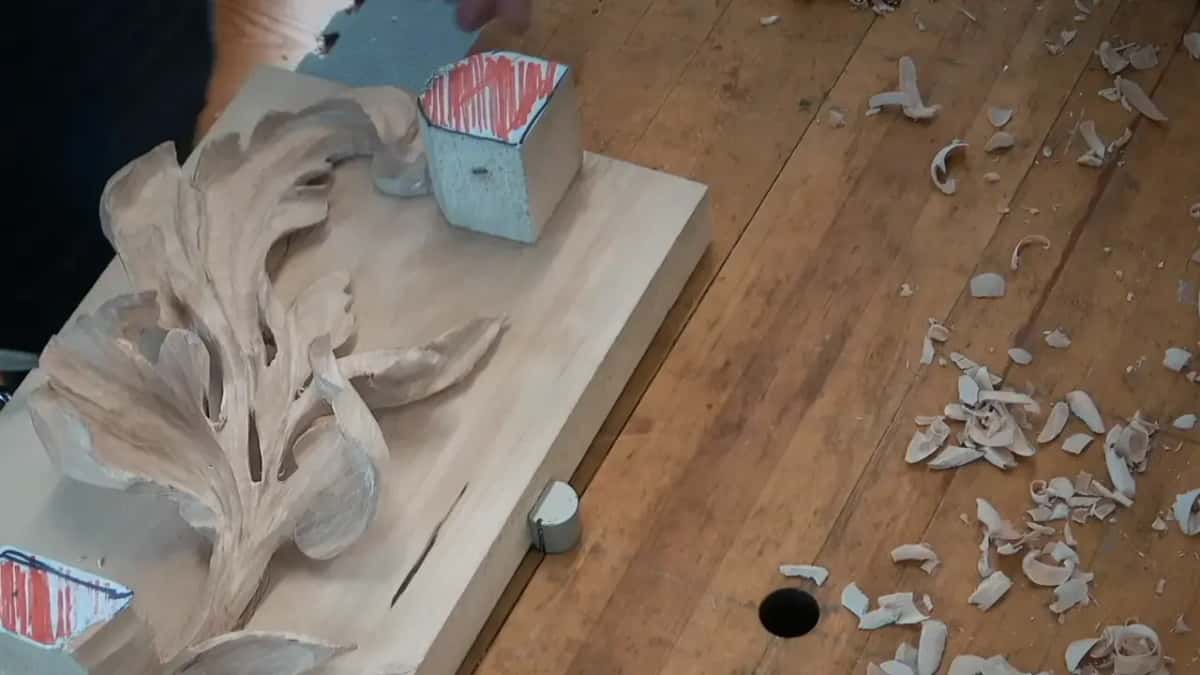
Only those two spots, I said at the start of the next video, and the ladybug can go somewhere right there. On my board it went between the two pencil outlines. One scribbled oval sat above the bug and one below it. I'm not going to touch the gluing spot, I told them once the gouge was moving across the ground.
The Grinling Gibbons class in Maine has a lesson on why one spot on the back of a carving is left uncarved.

How big and how deep should a ladybug wood carving be?
Small, and shallow. Don't create a huge one like this, I said before I started digging. Off to one side of the board, the leaf sat on the bench while I worked.
To do that is actually easy, I told the class. First of all, you really have to dig around it with a number 11, three millimeters.
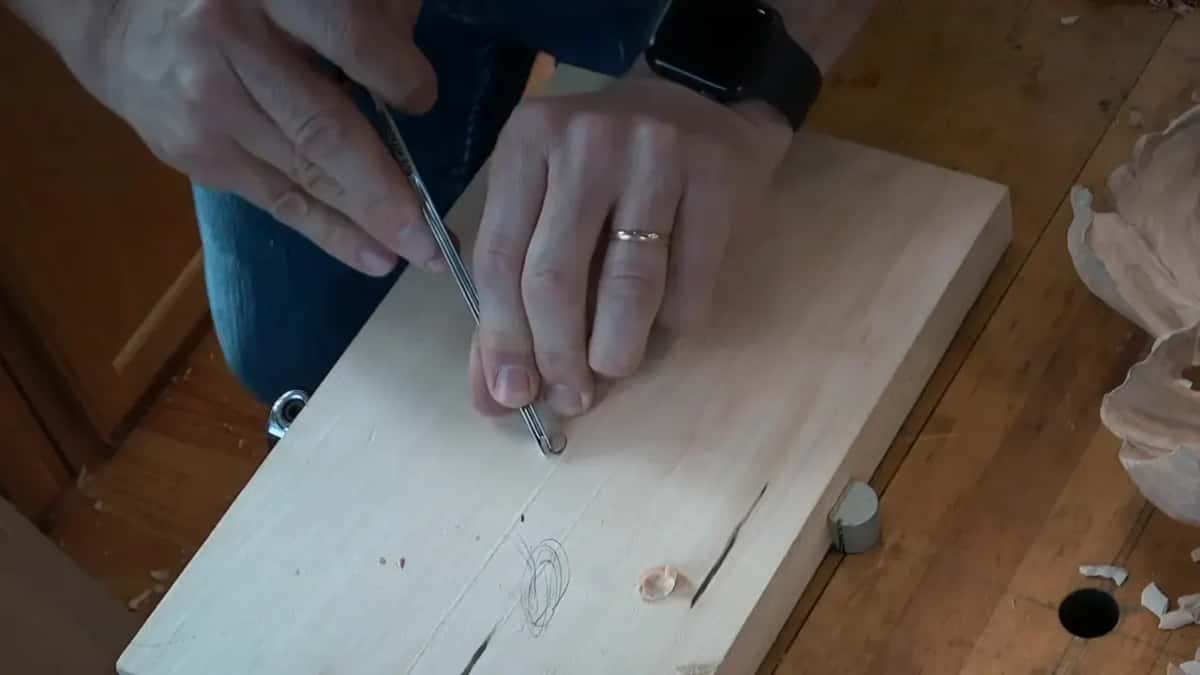
The depth came next. Not so deep, don't do too deep. I've got, I don't know, a couple of millimeters deep, no more than that.
Which gouge shapes the head and the wings?
The 14 mm number 7, and only its corner. Right after the number 11, I took that gouge and went at the ladybug with only its corner, to round it. While I was rounding it, I said it'll be cool, really cool.
But the ladybug has a unique thing, I told them. A number 2, I thought out loud, and then I said, actually, you know what, the number 7, the same tool. With its corner I separated the head from the wings, and I put a line right in the middle. That line is for the wings.

Can you see that ladybug, I asked them once the line was in.
Which number does what is the whole subject of All About Tools for Wood Carving.
Tool | What it did here, in my class | When |
|---|---|---|
Number 11, 3 mm (1/8 in) | dug round the shape first, shallow, keeping the bug small | first move |
Corner of a 14 mm (9/16 in) number 7 | rounded the body | right after the dig round it |
The same corner | set the head apart and drew the line between the wings | next, while I talked to them |
Across the ground, the 7 | texture round the bug, watched the whole time | before finishing it |
Slight undercut underneath | the corner again, for a shadow round the ladybug | once it was exposed |
Straight down for each leg | each mark leaves a small shadow line of its own | near the end |
Half millimeter, 0.02 in | a better undercut, if you own one | your call |
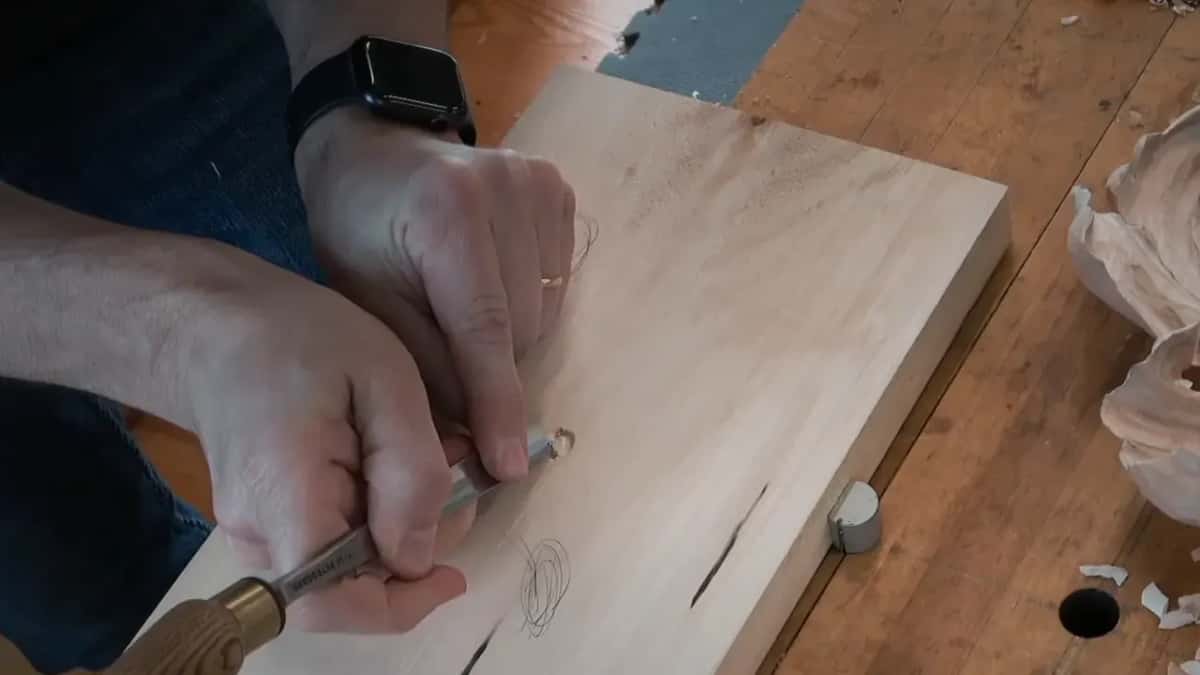
What happens to the ladybug while the ground gets carved?
It waits, and you watch it. I told my class it's not the end. Before we finish that ladybug, we've got to work on the background. Don't carve that thing away, I said.
We could use the same number 7, I said, across the grain pretty much. It's just the one tool, I told them, and pay attention to what I'm doing. There are multiple ways to do a background, I told them. Sometimes we've done a double layered background, with strokes from smaller tools inside it too. It's actually looking really nice. People think it's just carved from the single piece, I said.
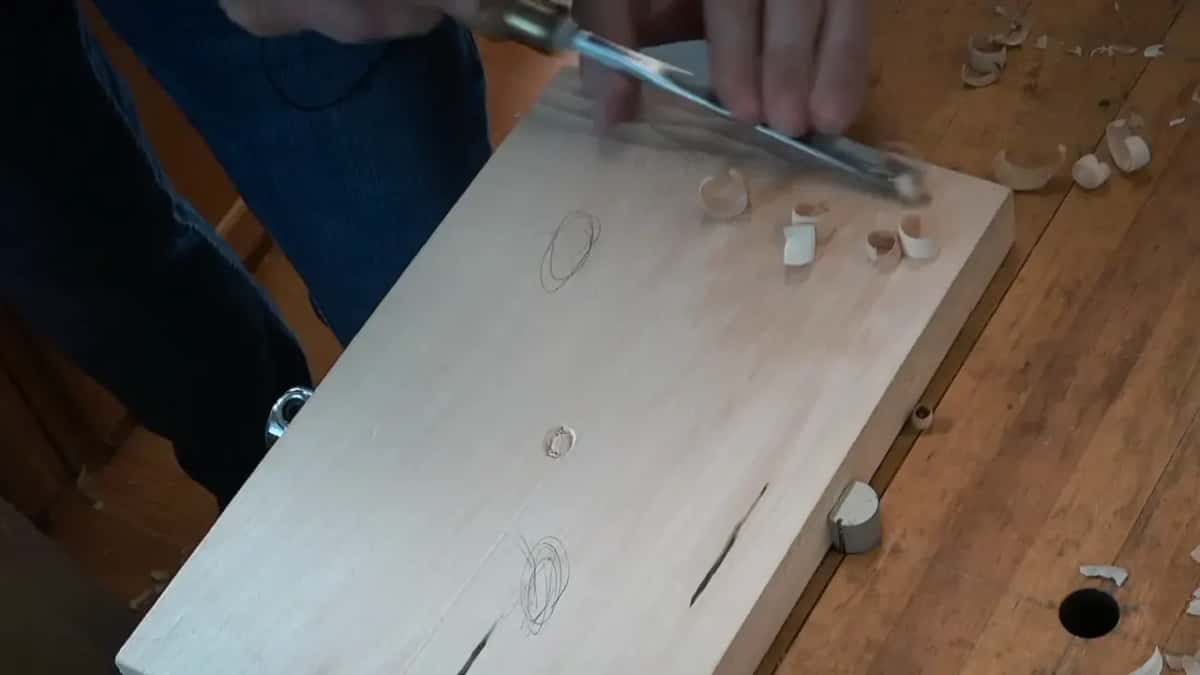
At one point I said, oh, I love that thing, hold on just a second. I placed the finger against the board, the middle finger, and started the motions. In the frames the strokes begin at one end of the board and work their way toward the bug.
Our strokes are going to blend as we get closer to the bug, I said, and a moment later I added that I had to be really careful when I got to the ladybug.
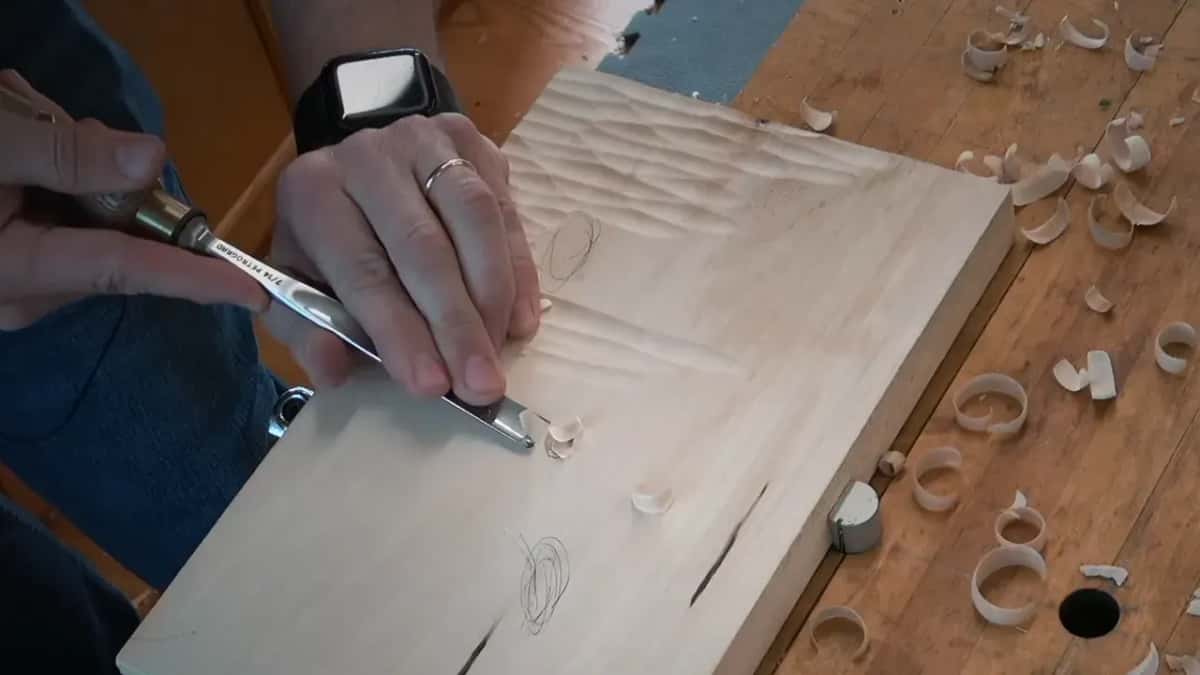
I did it in random spots, and then I told them, let me do around the ladybug, you don't have to watch the whole process. I flipped the board.
This school has other grounds too, like the dotted background texture in the Techniques course and the bubbly background on an antique style rosette.
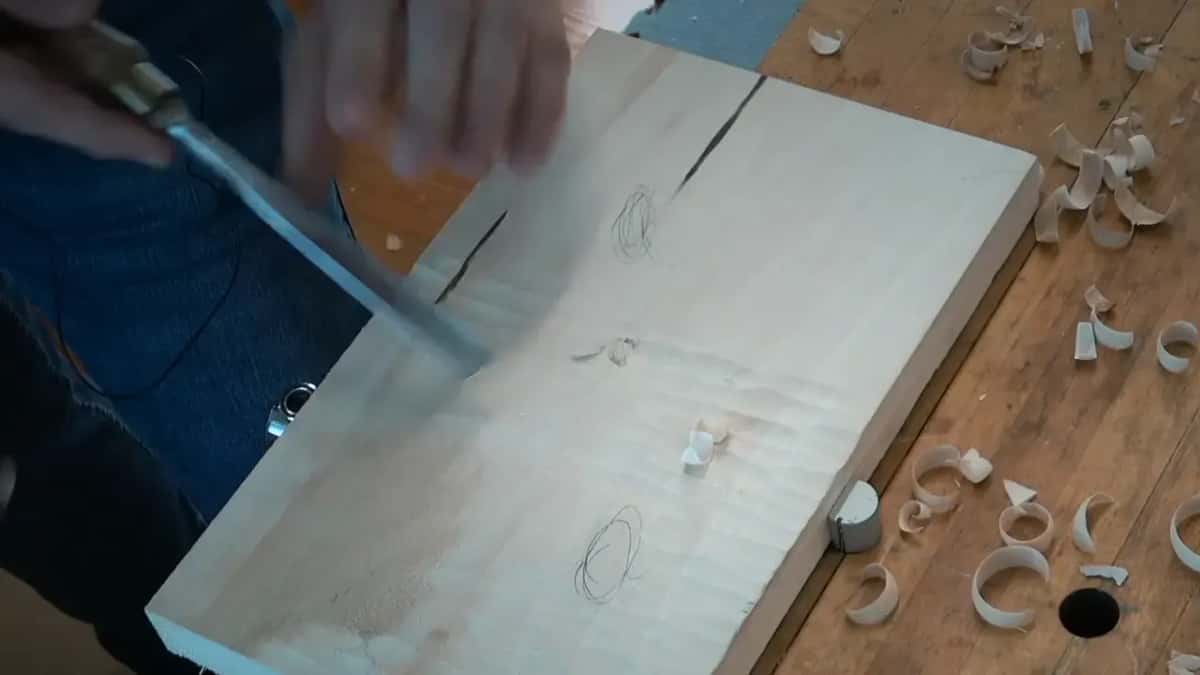
When does the ladybug come back out of the ground?
When the background reaches it. I need to expose that ladybug, I said, and I got really close to it.
I took the same tool, the number 7 at 14 millimeters, and undercut slightly underneath it, just to create the shadow around that thing. Just the corner.
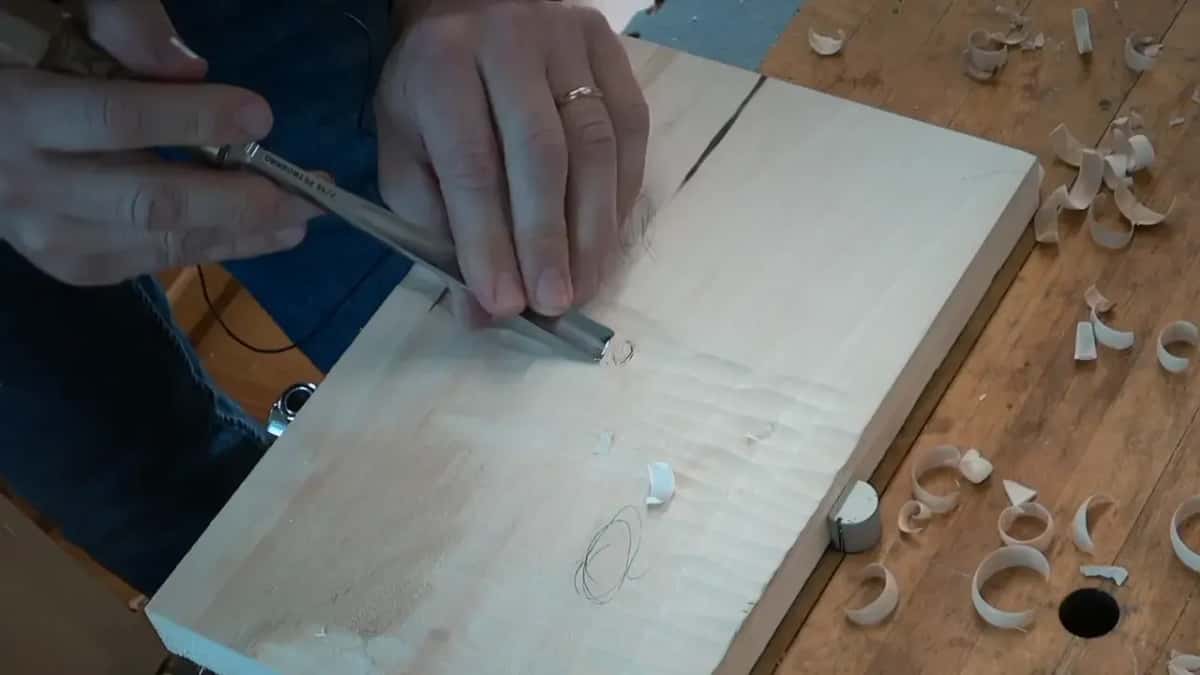
I asked if they could see that on the screen.
Just be careful, I told them. Don't make too much mess, because we still have to create legs. I said I could refine it and make it more like a ladybug, and so on.

Can you carve legs and antennae that small?
With the corner of the gouge you can, and that is how mine got them. For the legs, and whatever you call those little things, the antennae, the corner just goes down like this, and it makes a small shadow line. Could they see it, I asked.
The legs the same, I told them. Just the corner.
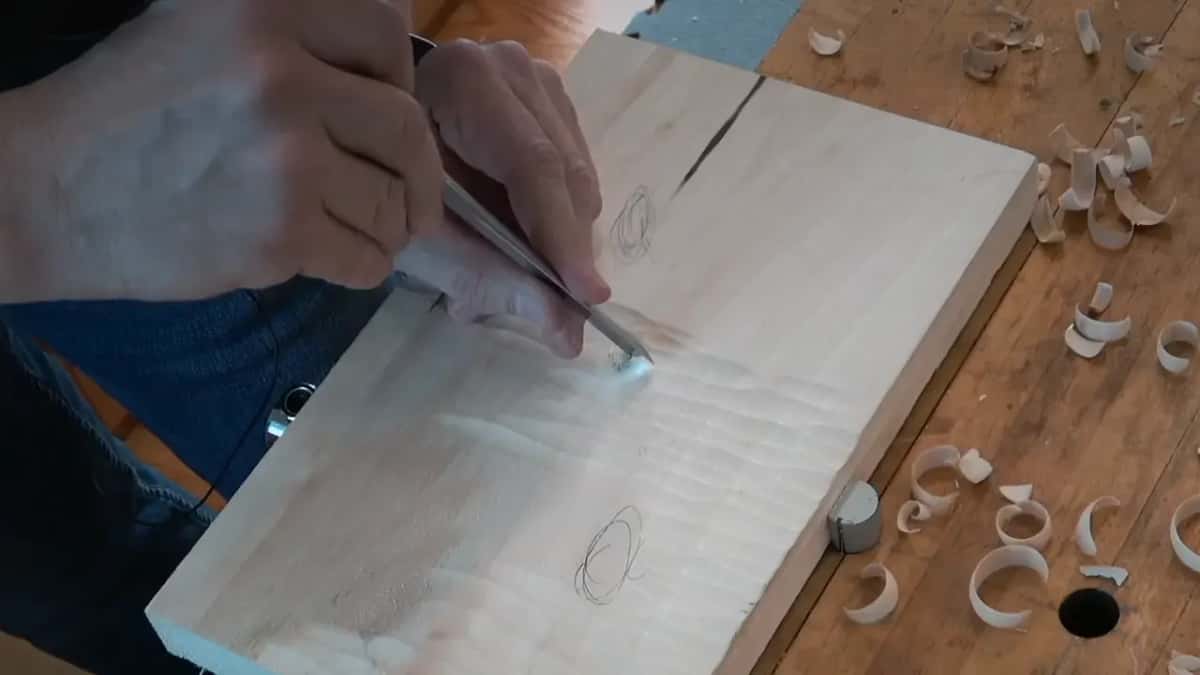
At the start of the last video I said you could take a half millimeter tool, if you have a half millimeter, and create a better undercut. But there's your ladybug, I said. It will be somewhere underneath.
What did the leaf need on its back before the ladybug?
Less pressure and more digging. The first video of this lesson is the back of the leaf, the side that will face the ladybug once it is glued down.
I came at it from the other side without creating pressure. Look at my hand, I told the class, it can still sit solidly somewhere, just not on the piece. You don't push on the piece now.
An undercut that far is another technique on its own, I said, for when you plan to make something really nice.
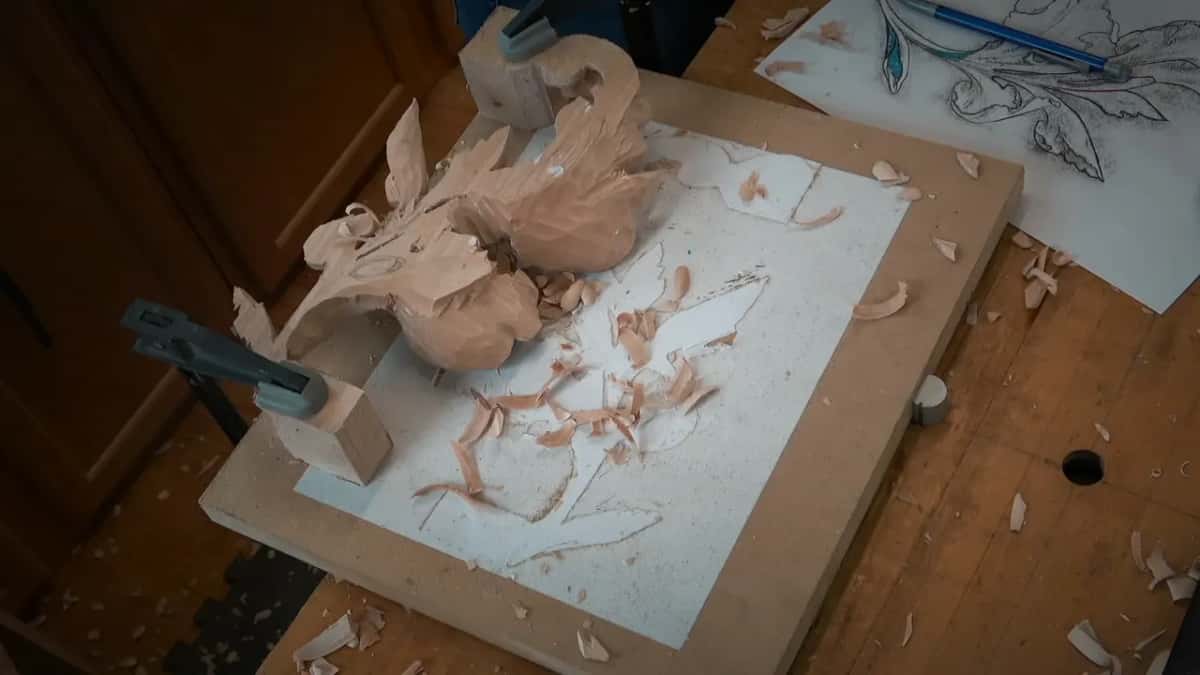
I was using a number 9 right then. A spoon could create the inner movement, I said. Some of the areas you could not reach when you carved from above, you can now excavate, and make beautiful movements inside. Unfortunately you don't see that on a camera, I said, but once you come here, you'll know exactly what I mean.
Are you laughing at me, I asked at one point. Then, oh, that's fragile, I said, and either of us could break it. This area, I need to blend also. Is this better, I asked, and then, better now.
On a stem area I tried to round it a little and not take too much. In another section I can actually create some really interesting movement, I told them, and take some of that out, keep maybe just the beginning. But I don't want to make mistakes.
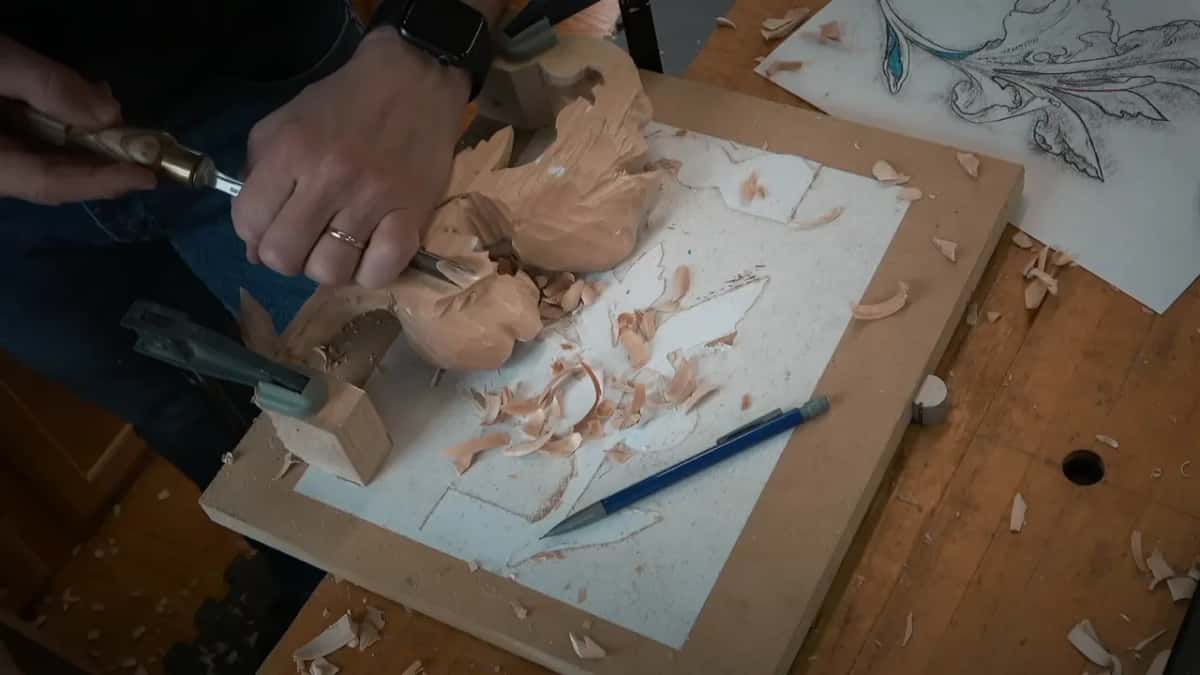
I answered the bench on one part. You could do that last, yes, but it's actually with the grain. It's pretty solid. That should be safe. If you don't feel comfortable, leave it to the last.
I see the wall, I told them. You don't see it, but I do see the wall, and I don't want to see it. So I worked my way in. See how much material I have to take out, I said, and I grabbed just the number 9.
Please slice it, I said, four times in a row. Don't push it. If you push it, you'll catch, and you can break it. Now it's even more important than before.
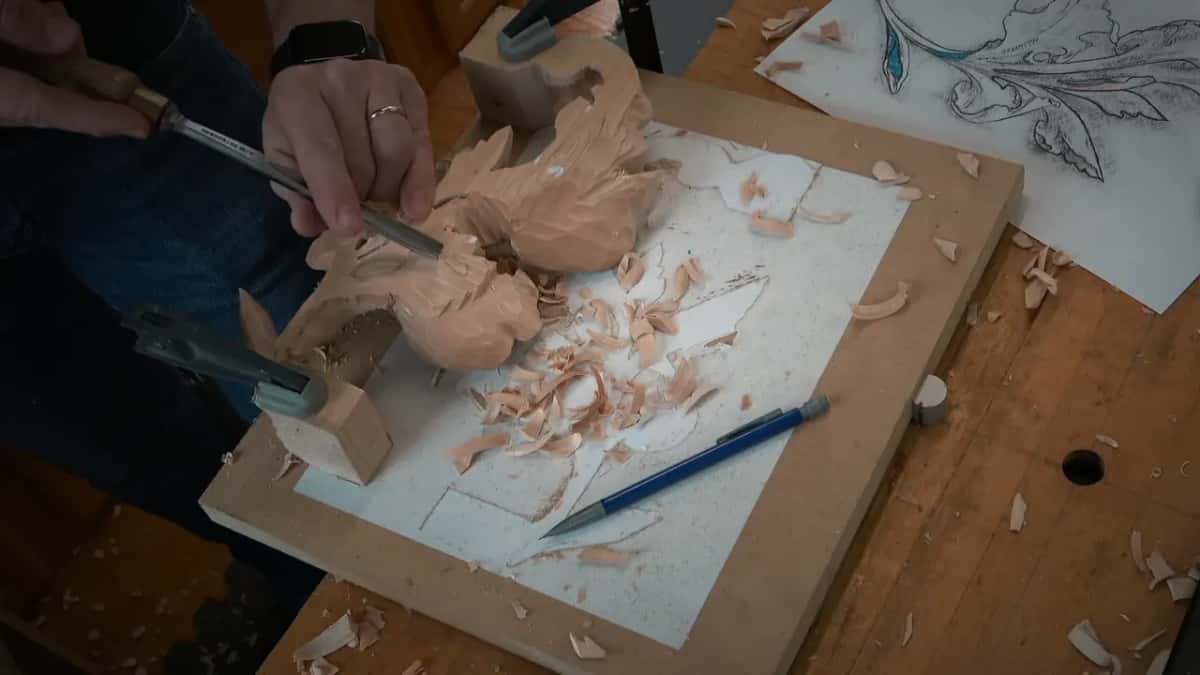
See where I'm placing my finger, I said, my pinky. I still create a supporting point. I cannot press with my hand on this, I'd break it, but I know the middle part is kind of solid, and I'm able to press there.
Right there is probably one of the really important spots, because it is an eye, on the other side. So you should be able to understand by now, I said. Go ahead and do it.
What else happens in this last lesson?
Once the ladybug was done, the edges of the leaf got their last waves. That last video went to smaller tools. Next to the 3 mm number 11 I pulled a 1 mm (about 0.04 in) one too, because we'll use more of the tinier tools, I said, tonight, no, today. And don't forget, I told them, you always can come to my piece and check what I'm doing inside.
The leaf itself was roughed out back in lesson 1, with its edges left high, and lesson 4 is about what beginners get wrong on acanthus. There's also a short tip on back cutting in the Techniques course.
If you've never held a gouge, First Cuts for Beginners is the course for that, and the lessons map shows where this one sits.
Like the idea of a bug only a close look will find? Want to see each move of the gouge on it? Then watch the lesson. Access opens every lesson of Carving Modern Acanthus and the rest of the school.
How it's done
- Find the spot under a hole. Set the carved leaf where it will sit and trace roughly where its gluing spots touch. Put the ladybug where people can look through the leaf and see it.
- Clean the gluing spots. Rub off any glue on them a little with sandpaper, or the glue won't stick.
- Dig round the bug. The number 11, 3 mm wide, goes round it first. Small, I said, and not so deep.
- Shape the body and the wings. Round the body with the 7's corner alone, part off the head, and draw one line down the middle for the wings.
- Texture the ground first. Work the background with the same gouge before you finish the bug. Watch it the whole way, and let your strokes blend as you come near it.
- Expose it and undercut a little. Go slightly under the bug with that corner so a shadow shows round it.
- Put in legs and antennae. One straight-down touch of the corner for each, and every mark leaves a thin shadow line. A half millimeter, if you own one, gives a better undercut.
Frequently asked questions
Which gouges does a relief ladybug need?
Mine took a number 11 of 3 mm for the dig round it and a number 7 of 14 mm, whose corner did everything else on it, down to the legs. I also said a half millimeter, for anyone who owns one, gives a better undercut.
What can go under the leaf instead of a ladybug?
Your signature. Anyone who doesn't like the ladybug can put a signature in that spot, I said. In my Byzantine Acanthus class I offered a bee as well, and said whatever you pick goes in before the second piece is glued on.
Is a carved ladybug hard to make?
I called it easy in this lesson, and the warnings I gave were about care. Be really careful near the bug when the background closes in, I said, and don't make a mess, because the legs still have to go in.
What to carve next