

Alexander Grabovetskiy, woodcarver, School of Woodcarving · Published 2022
What do beginners get wrong when carving acanthus leaves?
Quick answer: A missing bulge is what my class got wrong on this acanthus leaf. When I went over the work from the day before, nobody had raised the middle. In lesson 4 I also warned about a high ridge lost under the undercut, cleaning that pushes on the roll, a forced chip and a channel sunk too deep.
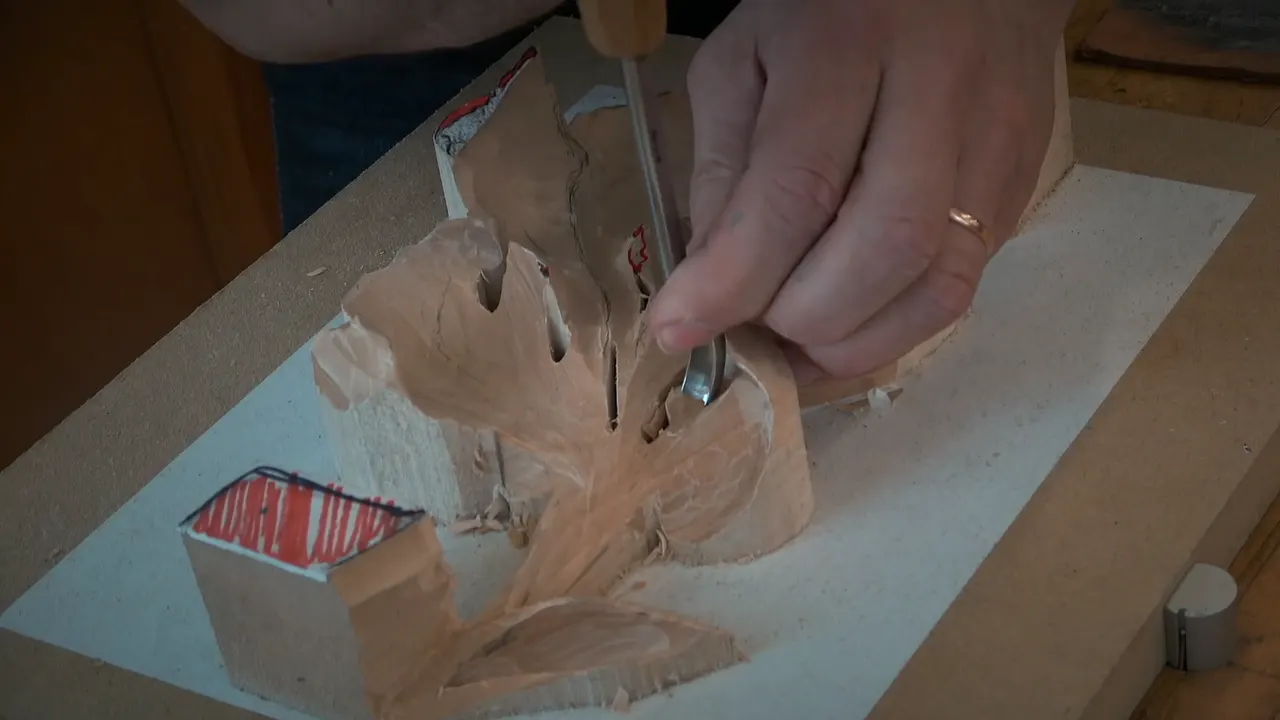
The thing my class got wrong on this acanthus leaf was the bulge in its middle. I had talked about it the day before, and when I looked at your work, I did not see that any of you had made it. So in lesson 4 of Carving Modern Acanthus I said it one more time and carved it in front of you.
If you are carving acanthus leaves for the first time, here is what that one lesson on this relief held. Some of it I saw on your leaves. Most of it I gave as warnings while my own tools were moving: a number 7, a number 9, a spoon gouge and a 3 mm veiner.
Want the middle of your leaf to rise? Want a roll that keeps its edge while you clean under it? Then go through these corrections one by one, with the tool I held for each and the words I used at the bench.

Seven corrections from one lesson
- None of the leaves I saw had the bulge in the middle.
- Keep the high ridge while you undercut below it.
- Clean under the roll without pushing against it.
- If a chip does not fly out, go back and make that pass again instead of forcing it.
- A separation channel only needs to be a channel.
- Hold the gouge between two fingers, where you can see the edge.
- Every eye gets its pipe.
What did I see on your leaves from the day before?
A middle with no bulge, on every one of your leaves. Look at this leaf. It has a curve that goes uphill, the next one goes uphill too, and the middle part has to bulge a little higher than the rest. That is a convex movement, and nobody had it yet.
To get it, you grab a spoon gouge. For you that meant a 10 mm one, about 3/8 inch. Mine was a number 11 of 7 mm, and I said a 10 mm would give me the same result.
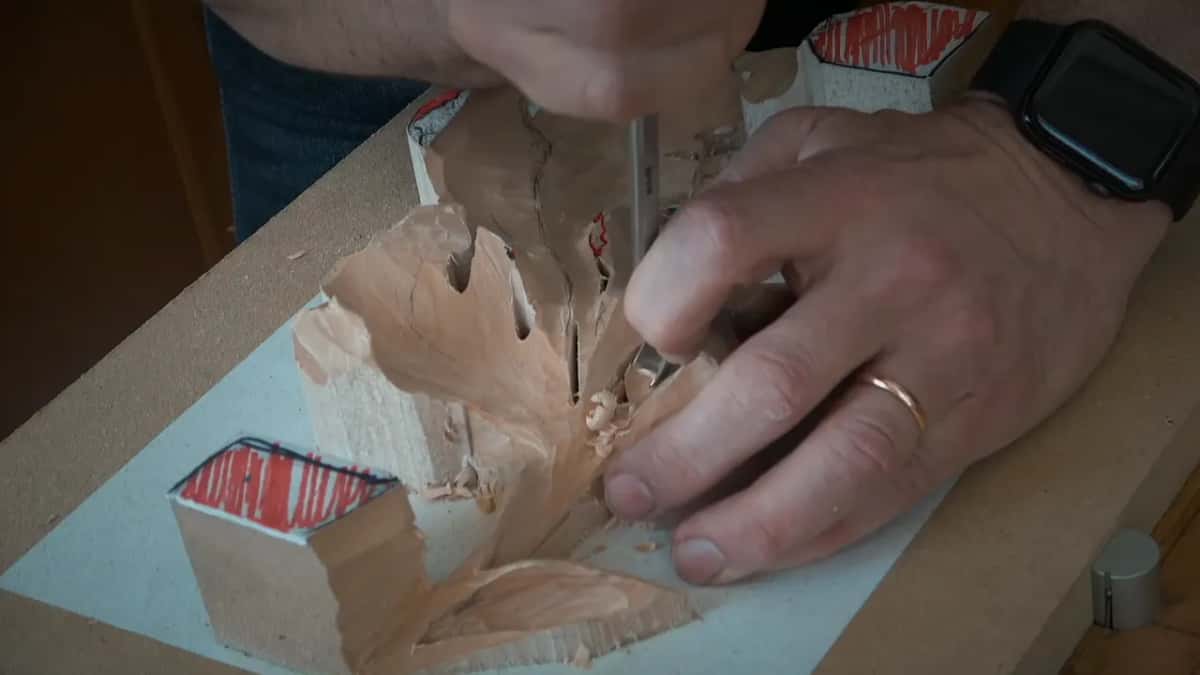
I worked right on the side to raise the part that has to come up. Another part goes the other way. On the other side we had already dropped one part slightly, so here I dropped one slightly too, with the same tool, my hand placed really solid and my thumb as the leverage point. Small scoops.
And don't drop it too much. I told you not to be too crazy about the drop. The raise is what I'm after.
If you want to go a little farther, take the number 7 of 14 mm and ease the edge out slightly, so the part feels like it rolls backward. On my leaf I said it was too late. Still, I rolled it back slightly, no more than one millimeter, about 1/32 inch, and told you that on camera you most likely don't see that. Nothing complicated, I said, and got my drawing out for the next part.
Why does the ridge stay high when you carve acanthus leaves?
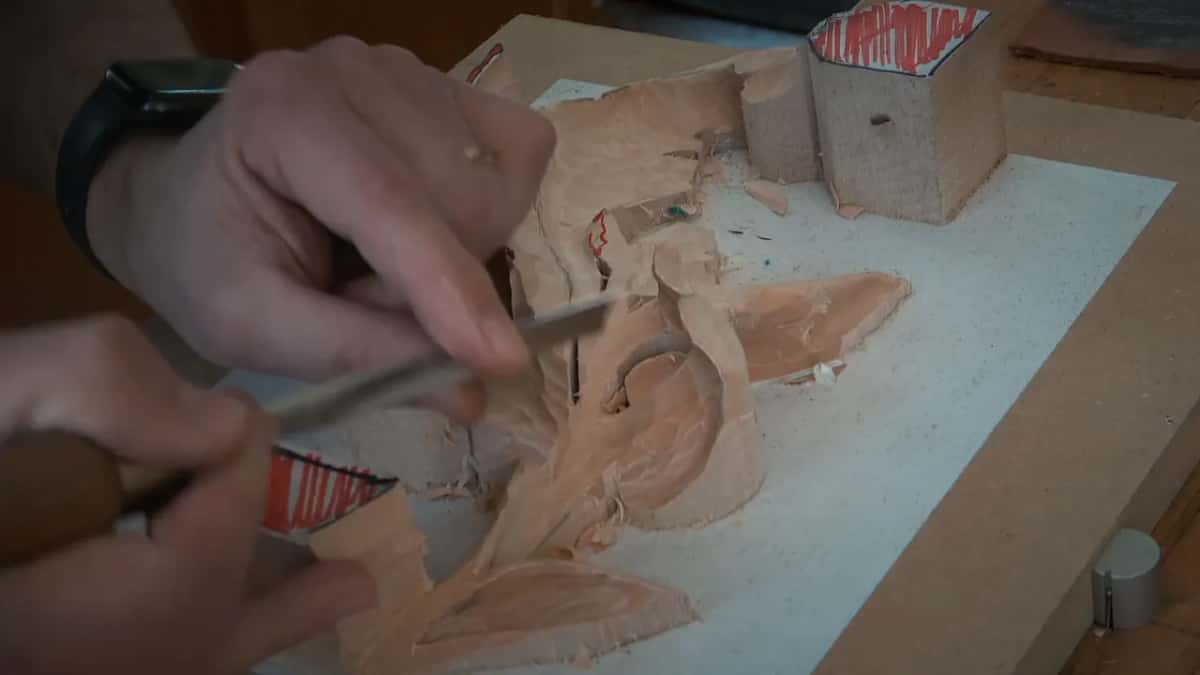
The ridge on top turns into the convex later, so I asked you, please, not to destroy that high spot. Before touching that part, we worked on the undercut, with my red pencil mark already there and my number 9, 10 mm, in my hand. For me it would be better, I said, to come at it from the right position.

It was the same rolling back movement we already had on the other part. Convex on top, then down into the concave underneath. And if I had to drop it slightly more, I was okay with that.
Then came the number 7, 14 mm, which is a little bigger than half an inch, and I started my rolling motion. Once more I said it is better to attack that from the right position.
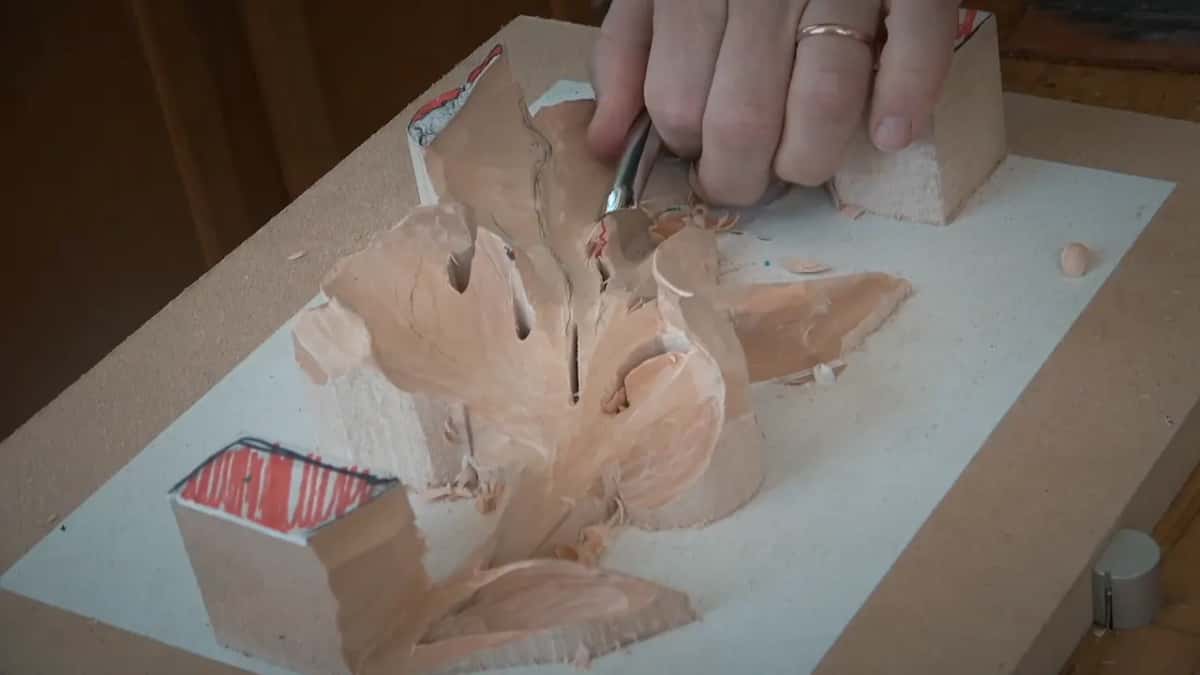
That motion is how the lesson opened, too. My 14 mm number 7 made the roll first, and later, on the other side of the same leaf, I said my goal was to create that motion, rolling backward, with the undercut and the full movement still to come. The same tool, like a spoon, could make a slightly deeper pass there, I said. A warning followed, about the detail that comes later on top of that leaf. Make sure you don't mess that thing up. One step, I said, and a very simple one.
How do you clean the mess under the roll without breaking it?
Gently, with one corner of the tool, and never by force. After the roll and the undercut there was a mess in there, and I asked out loud what I was going to do with it. I could take a spoon gouge, I said, or a spoon veiner in my case, and clean it out slightly. Only slightly.
I did not want to go too deep, because I did not want to lose the bulging part that comes later. That's about thinking ahead, I said. Next the same tool went in on an angle, using just one of its corners, the right-hand one, to lift some of the waste out.
Again, do not remove too much. And if a piece does not fly out, don't force it. Go back, make that pass again with the right-hand corner, without pushing too hard. Then clean it, I said, until I'm happy.
One more warning came right after. When you clean, do not push too hard against the rolling motion, or you damage the side, and even if it does not break, the result will not look really nice. Feel how deep it is supposed to go. Take your time, and work your way in. Soon after, I wanted to know whether you could see that development, how it was rolling right now.
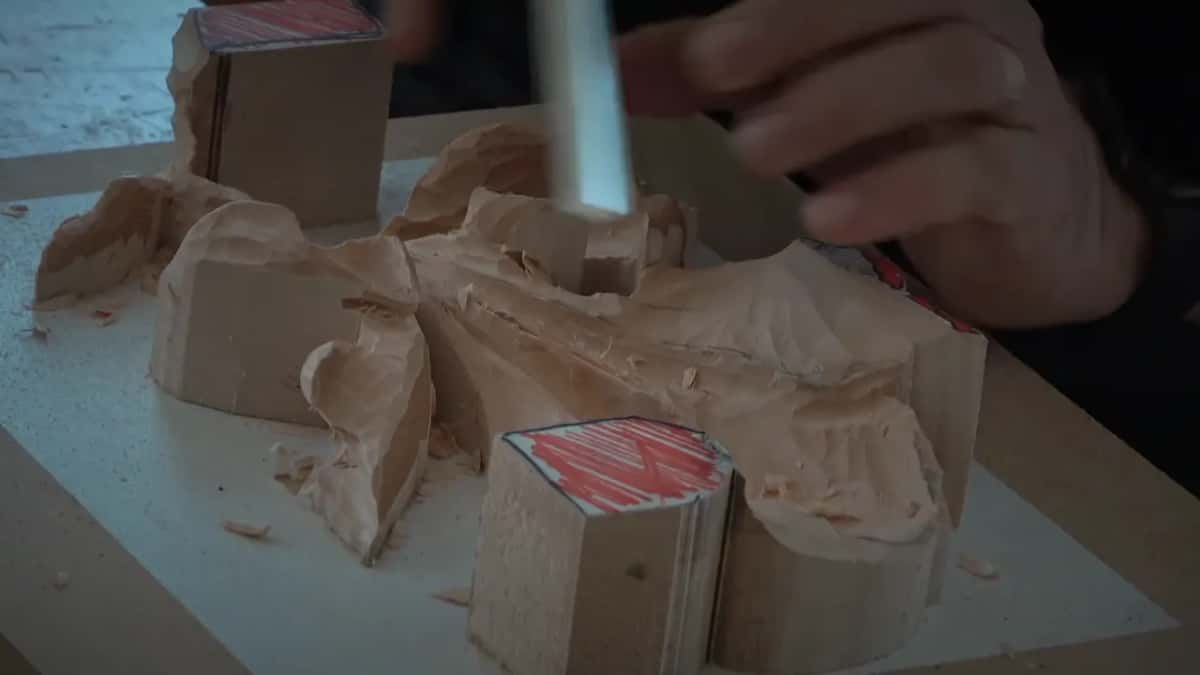
Where do your fingers go so you can see the edge?
Between two fingers. I asked you to pay attention to how I was holding my hand, which was placed really solid, with just the fingers on the tool.
Then I showed you the other grip and said that is not the right way to do it, because you are not going to be able to see what you are doing. The force comes from the sharpness of the tool, I said, not from how much I push it, and that gives a really clean result.
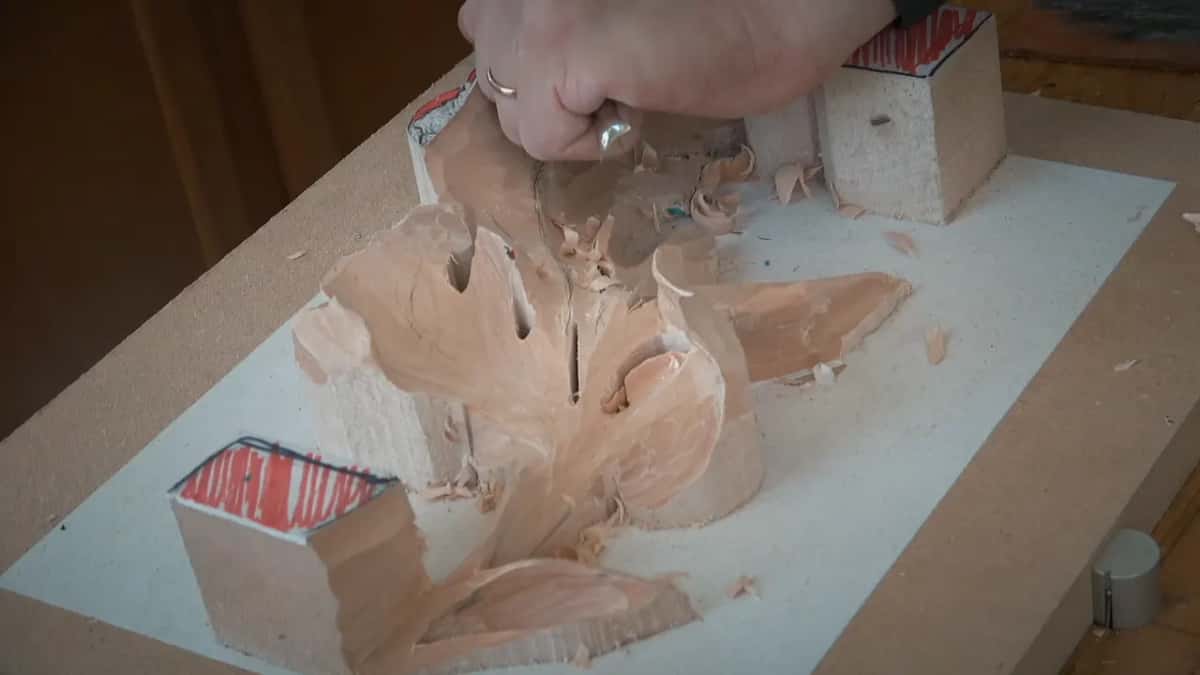
Earlier in the lesson I told you I knew you would go against the grain in one spot, so the tool has to be really sharp. I called that really important.
There was one more trick for the hand. For the first pipe I turned the number 7 upside down and held it on about 45 degrees, because I could not use it straight in that spot. When you present it on an angle, I said, it becomes a much smaller tool, and I used pretty much just its edge.

How deep should a separation channel go?
Just deep enough to be a channel. My paper drawing has a line where one part separates from the next one. I brought that part down a little more with the number 7 first.
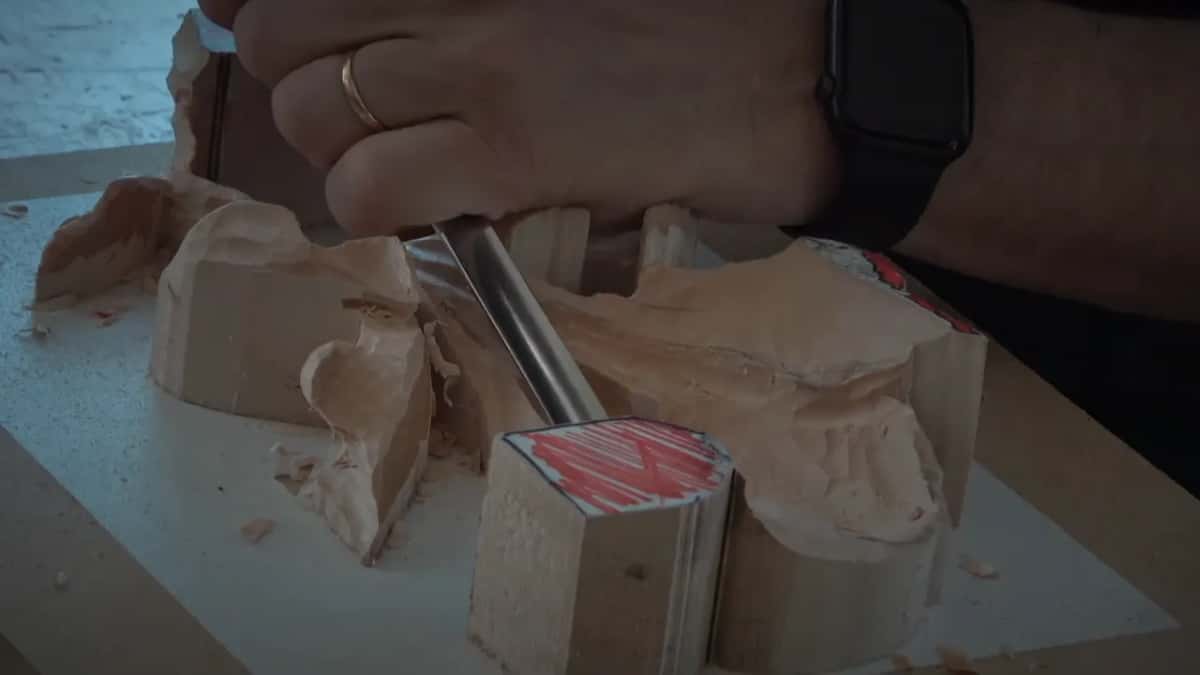
Then the separation went in, made by a number 11 veiner of 3 mm, about 1/8 inch. I checked how far I had got and started from about that point. Don't go too deep there, I told you, because it gets a lot harder to clean, and we were making just the channel. See how beautiful that tool is, I said, and I turned the flute slightly to about one o'clock to blend, then two o'clock, almost to three.

On a number 11 you can use just the side of it, as I had told you, and it becomes like a micro tool. I said I could make a little zipper line along it with the same tool, and that separates the parts.
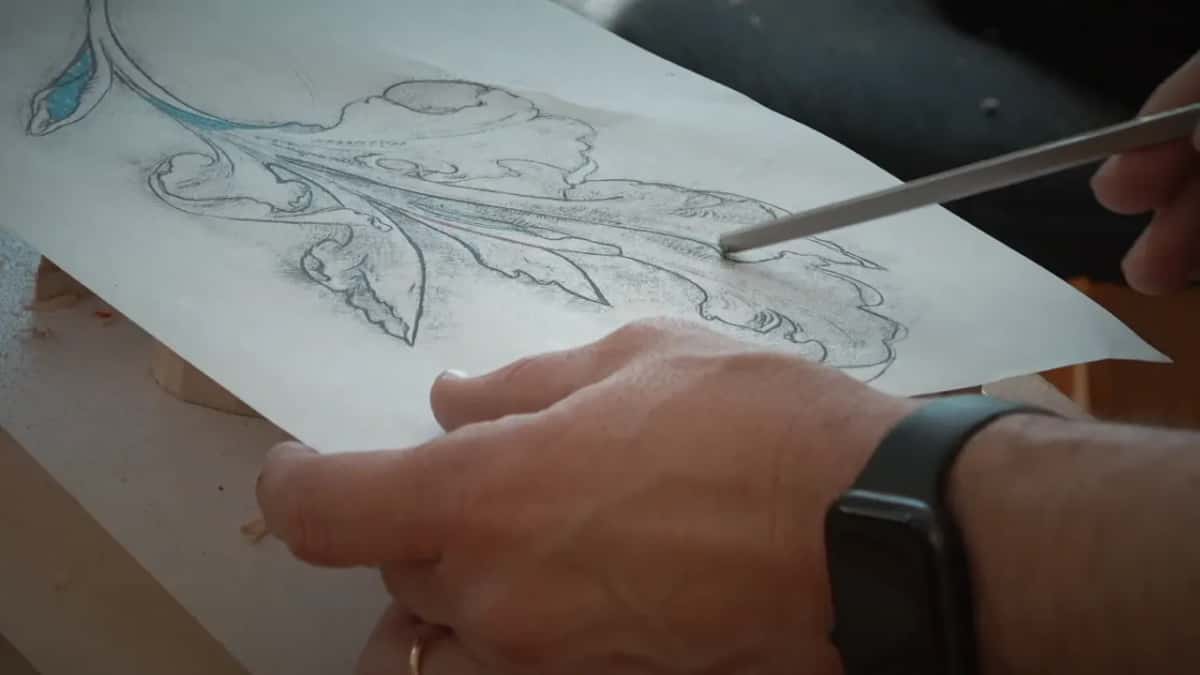
What goes wrong where one part lies over another?
Too deep an undercut there, and the top part is left floating in the air. Early in the lesson I was undercutting using the number 9 and told you to be careful. I asked you to keep an eye on the spot where one piece intersects the other, because it lies right on top of it.

It gets really weak, I said. It floats in the air, and you are going to break it, so please don't do that. The pass there goes upward, uphill, almost like blending as you get close.
If the tool fights you because of its limits, grab your spoon. That way you can go uphill.
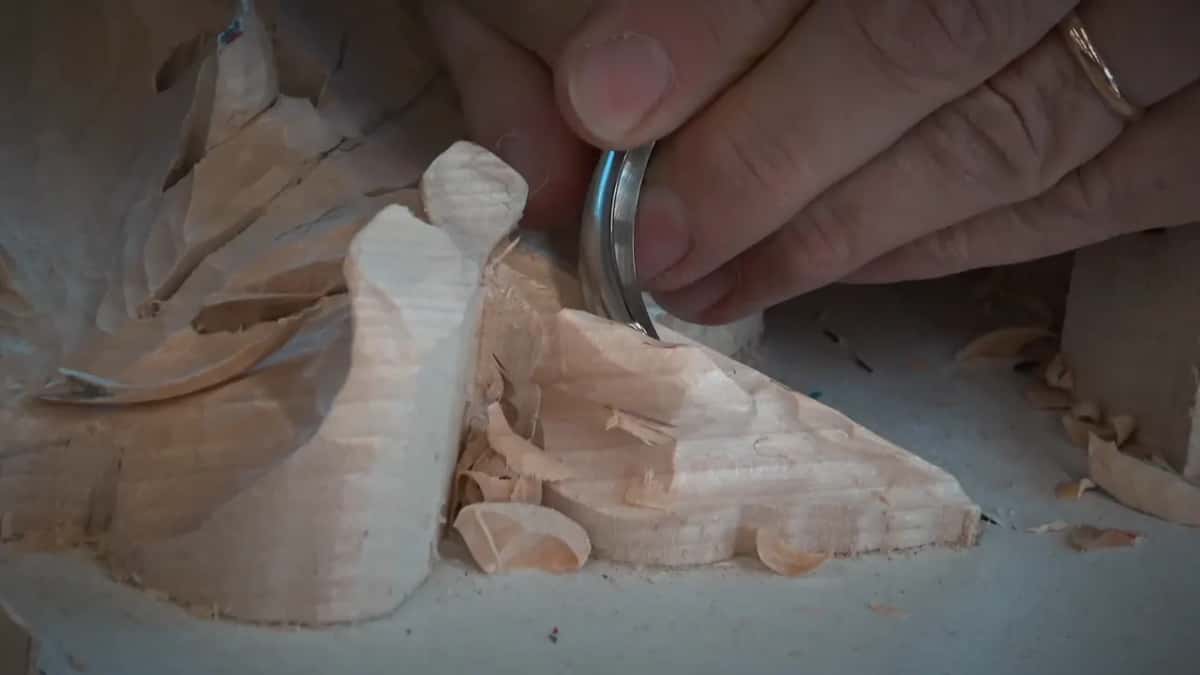
What hides from you while I carve?
A lot of this lesson is small enough to hide. At the very start you heard me ask whether you could see what I was doing. Later it was whether it showed on the camera, and once I said it does not show.
Yes, the center part comes down, I told you near the end of the separation, but let me say once more what I'm after. I said concave convex, then I'm sorry, and fixed it. I want to see convex.
On one pipe I said maybe I did not explain that well, and showed how I had carried it all the way down. Then I asked if the lights could go off, so you would see it much better. My 3 mm number 11 carried that line a little deeper, all the way, like a flowing line. A small pipe is still going to be raised, I said, not huge, but you should be able to detect the movement. At one point I even asked the class to show me some enthusiasm.
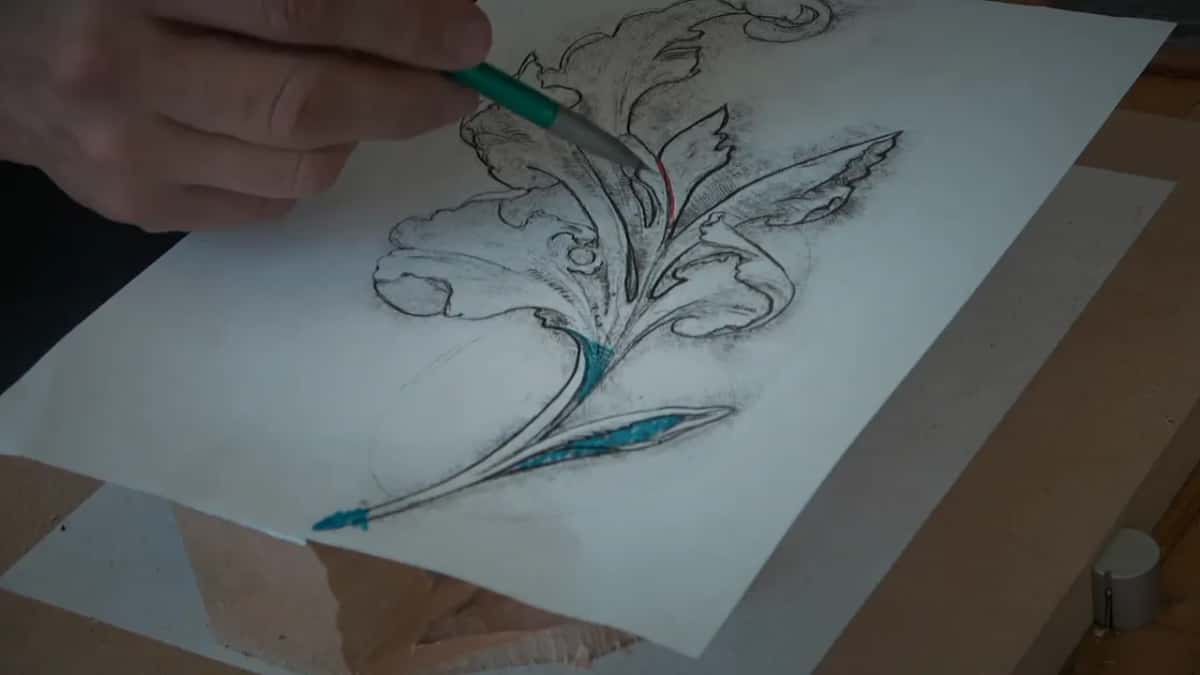
How many eyes needed a pipe on this leaf?
Four on mine and three on yours, and every one of them needs its pipe. Before the first one, one of you asked which side it has to be, and I said hold on, let me do this first, and I would explain on the blackboard.
For the first one I had the left side done and the right side done, and I told you to look at the screen. That gave me a space to work, so now I could make my convex. For those of you who don't know, I said, convex is always raised up, a bulge, and concave is a valley. I blended one side, then switched and made exactly the same pass going the other direction, the tool on an angle again. A preliminary move, I said. We develop it more a little later, but this part became convex.
I had not carved the second eye yet, because we had not developed that leaf, so I did a preliminary one, not as deep. On another eye I said you would probably need a bigger tool, a 10 mm spoon gouge. When one of you asked a question there, my answer was that the pipe is a raised part, with concaves on both sides and the convex right in the middle.

The main pipe comes first, I said, and a really nice curling back movement a little later, and I asked you, please, to make sure you do that. One pipe had been missed. Again I made the two side passes and went looking for my number 7, and it was right here. Even when I could not flip the number 7 upside down for the convex, I still used it the normal way, on 45 degrees, with really tiny blending passes on each side.
A leaf can also look wrong for bigger reasons, and there is a page on that.
Which tool went with each correction?
The table puts each correction next to the tool or the grip that went with it.
| Mistake | Words | Tool | Fix |
|---|---|---|---|
| No bulge kept | I did not see any of you | Spoon gouge | Raise one part, drop another slightly |
| Ridge undercut away | Please do not destroy the high spot | Number nine | Keep it high for the convex |
| Chip forced out | Don't force it, go back and recreate | Right corner | Try the pass once more, gently |
| Pushing on roll | Do not push against that rolling motion | Spoon veiner | Feel the depth and go slow |
| Channel too deep | A deep one is harder, I said | Number eleven | Keep it a channel, then blend |
| Grip hides edge | With that grip you will not see | Two fingers | Let the sharp edge do it |
Where can you watch the whole lesson?
In lesson 4 of the course, three videos at the bench, with the class asking questions while I worked. Lesson 5 comes after it, and the school's First Cuts for Beginners course starts before any of this.
Want to see the bulge go in, one small scoop at a time? Want to hear what the class asked me as I went? Then come to the bench with me.
How it's done
- Raise the middle of the leaf. Lift the part that must come up with a spoon gouge worked from its side. Lower another part only a little.
- Leave the ridge standing high. Undercut beneath the roll with a number 9 and leave the high spot alone, since it becomes the convex.
- Clean with one corner. Tilt the tool and lift waste with its right-hand corner. Take a little at a time.
- Repeat the pass, gently. When a piece won't fly out, repeat the pass without leaning on it.
- Sink a shallow channel. Run the 3 mm veiner along the separation line, just deep enough for a channel, then blend.
- Hold it where you can see. Hold the tool in two fingers and let its sharp edge do the work.
Frequently asked questions
Which spoon gouge raises the middle of the leaf?
In this lesson I told the class a 10 mm one. My own was a number 11 of 7 mm, about 1/4 inch, and I said a 10 mm would give me the same result. I worked right on the side to raise one part, then dropped another only slightly in small scoops.
How far should the edge roll backward?
On my leaf, no more than one millimeter, about 1/32 inch, done with the number 7 of 14 mm by easing the edge out. I called it too late on mine for more. The roll back was the extra step I offered anyone who wanted to go a little farther.
What do you do when a chip will not come out?
Do it over, as I told the class, rather than force it. I used just the right-hand corner of the tool, pushed gently, and cleaned until I was happy. Pushing hard against the rolling motion, I warned, damages the side.
What to carve next