
Alexander Grabovetskiy, woodcarver, School of Woodcarving · Published 2021
What is a high spot in wood carving?
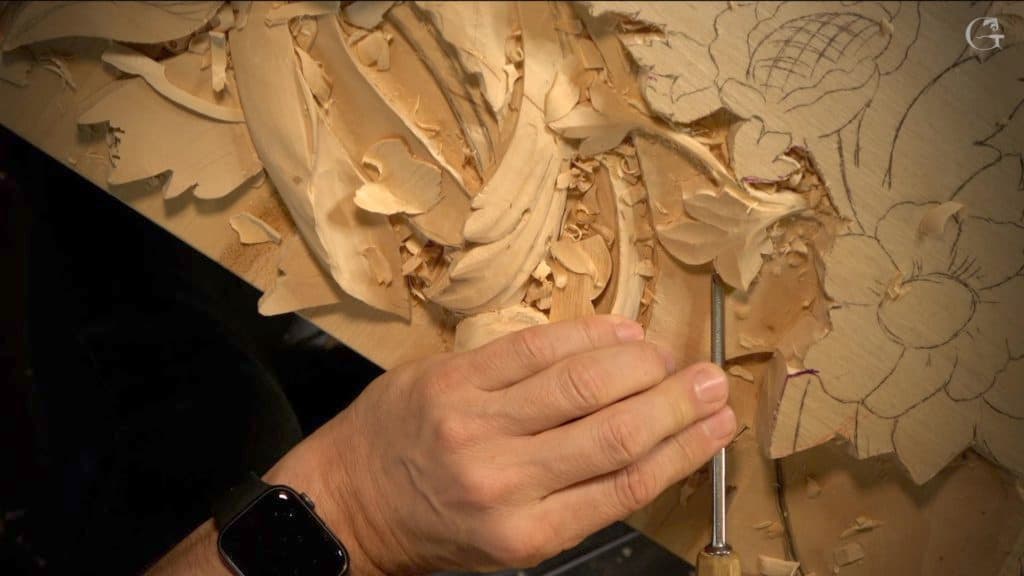
Quick answer: A high spot is the part of a carved shape that stays up while the wood around it is lowered. My lesson 113 in the Venice Room has it in one sentence about some leaves, left where they were while a detail next to them had to sit lower.
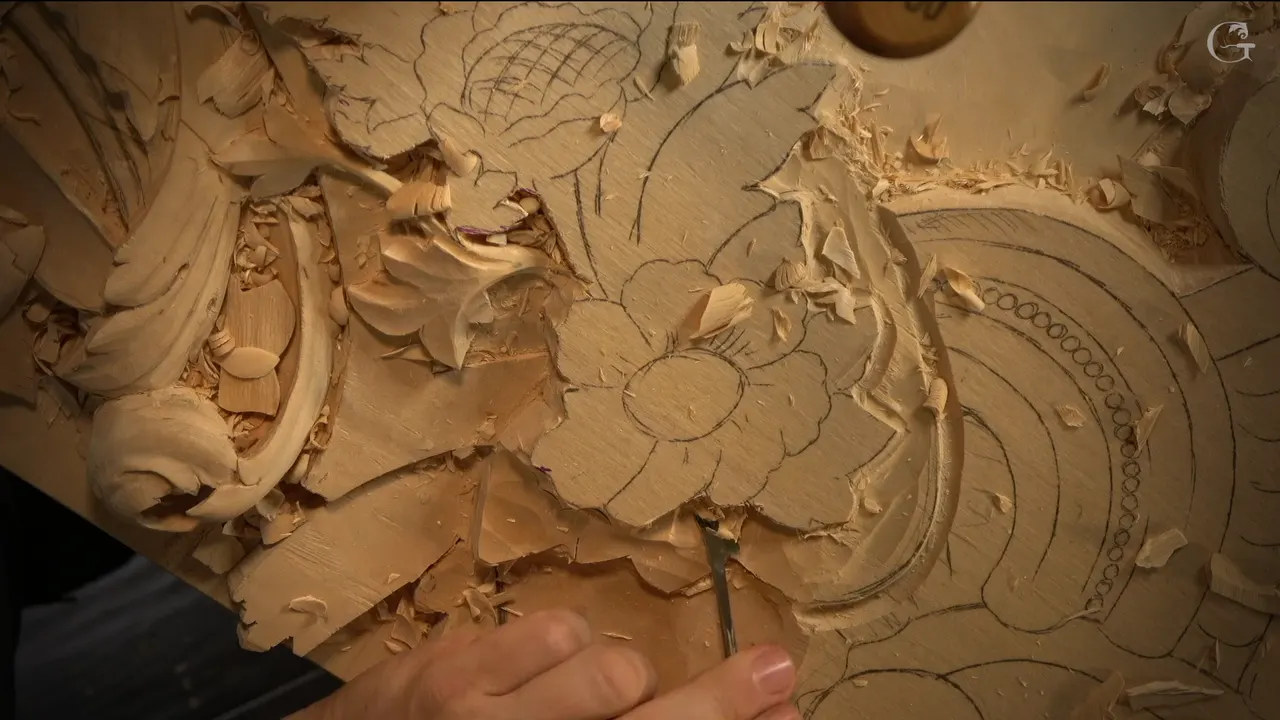
A high spot is the top of a shape in a carving, the wood I leave standing while everything around it goes down. In workshop 113 of the Venice Room I said it in one line, about some leaves next to a flower. I could leave the high spots of those leaves where they are right now. This page is about how to do relief carving around that kind of wood. Lesson 113 comes first, and then my own words from nine other lessons, each one named and linked so you can go and watch it.
Is there a leaf or a flower on your board that has to stay up? Does the wood just beside it have to go down? Then that top is your high spot. You leave it alone until the shape around it is made.
High spots in six short lines
Lesson 113 kept the tops of some leaves and decided a detail beside them sits lower.
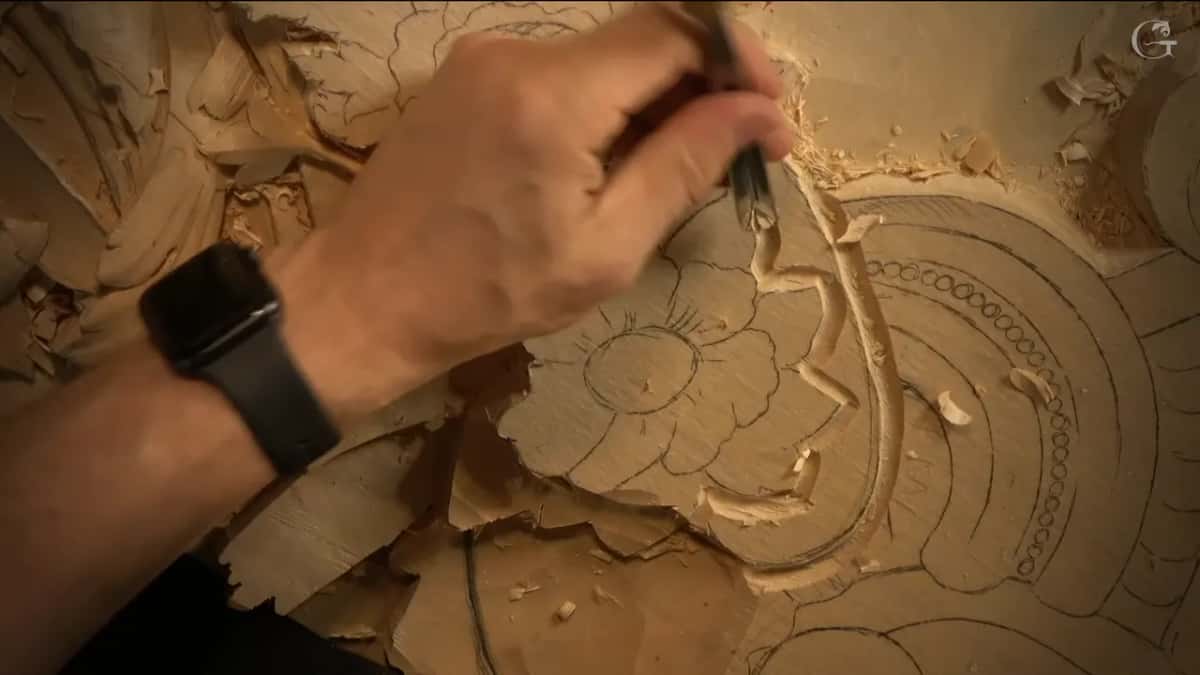
A 30 mm veiner in part two opened a drop of roughly 16 mm, five eighths of an inch, between the upper level and the lower one.
One leaf can have three high spots.
On my grape vase, red marker picked out the tallest of three tops on one leaf.
Where the paper still sits on a ridge, that ridge is almost untouched, and you can see it.
The same two words can also mean a bump.
What stayed high in workshop 113?
The leaves by the flower stayed high. Part three of the lesson opens with a small accident, because I dropped my tool, and ten seconds later I was right back on the line.

A detail would go in beside those leaves, and I told you plainly that I did not know yet how I wanted to carve it. I didn't want to mess it up. One thing was settled already, and I said it out loud. That detail has to be lower than those leaves.
So its design was still open, while how high it would sit was already decided. The tops of the leaves could stay right where they were, and I said that when I outline the flower itself, that outline would go much deeper.

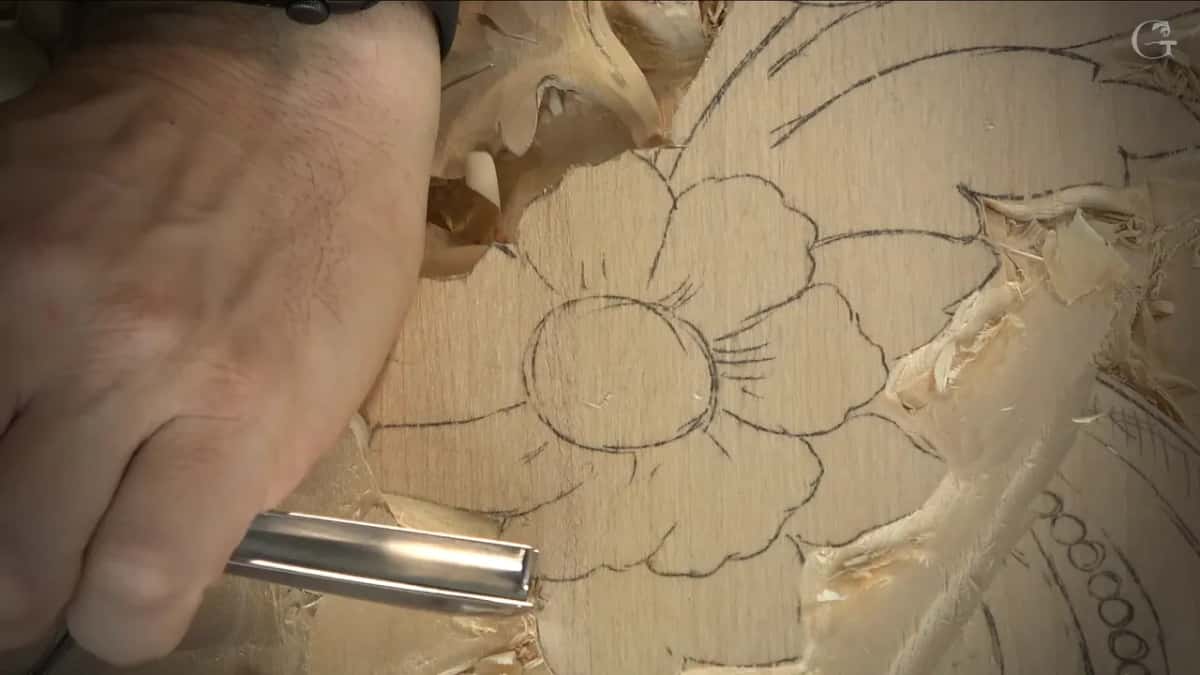
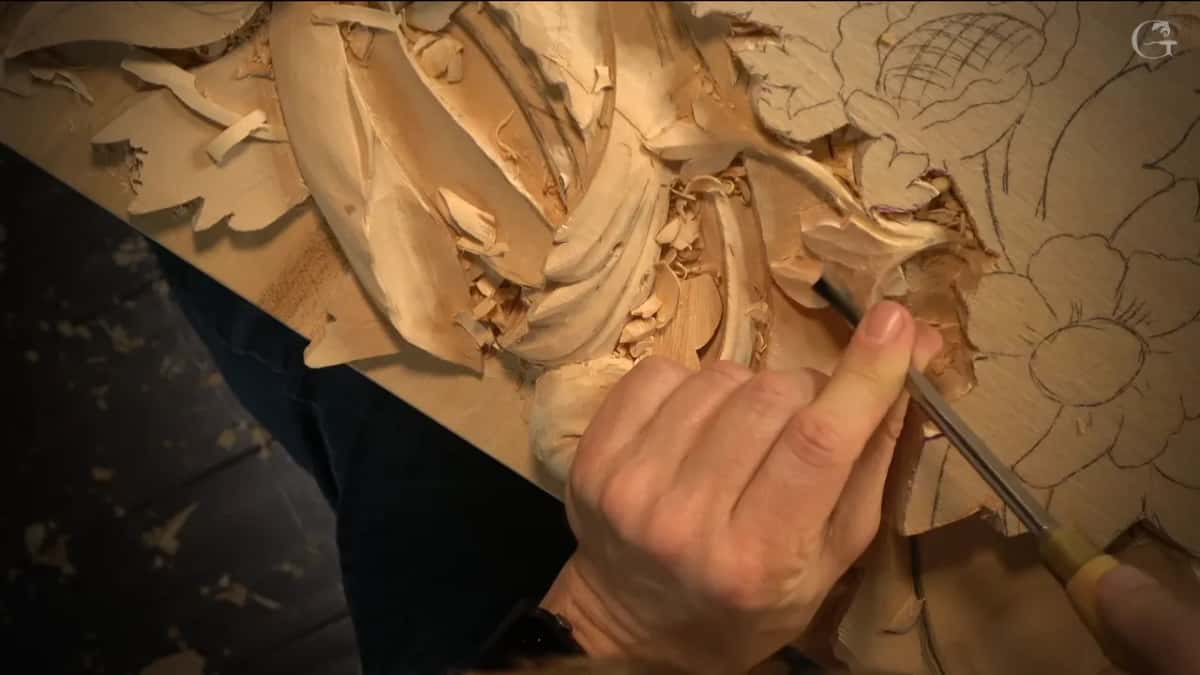
Then a number 7 of 14 mm (9/16 in) took the area around them down. That part has to be lower anyway, I said, and one part even lower, growing from underneath. A flatter gouge went in where the leaves separate. The side that would end up lower anyway got a much deeper pass right away, and after that I outlined the leaves.
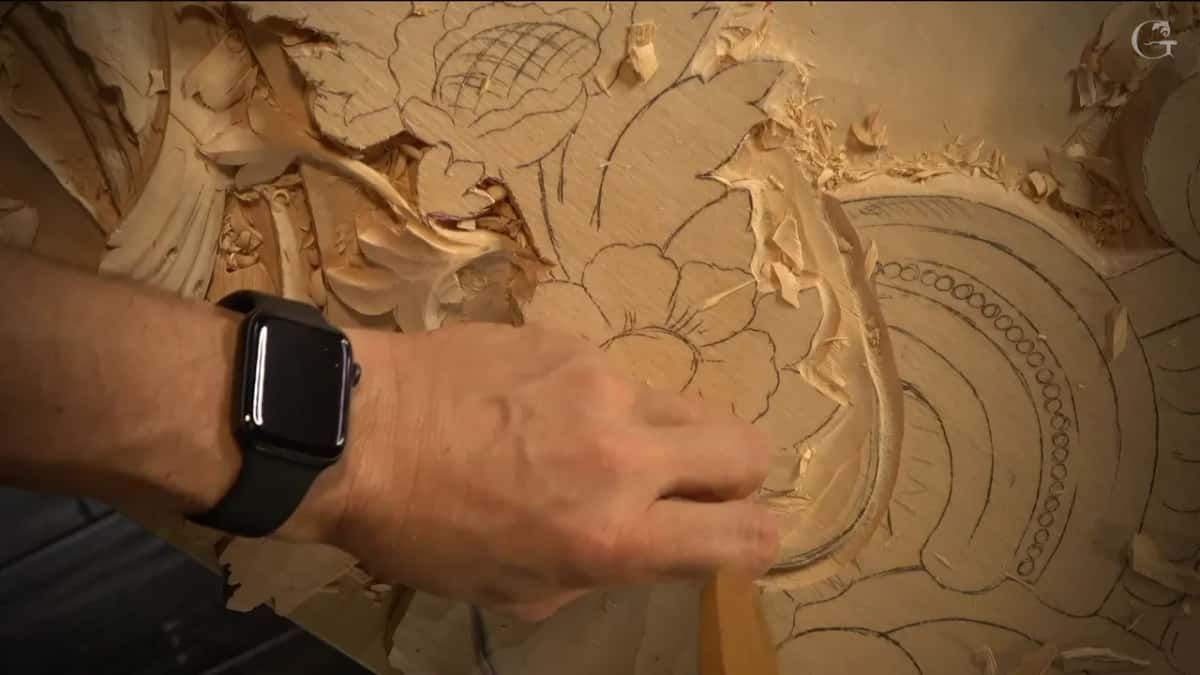
By the end of part three I said the carving was somewhat three dimensional. At least it was already looking like something, and I asked you what you think. Only then did I pick up a 10 mm (3/8 in) number 11 and outline the flower, a simple one, not a really complicated flower, and I said I hope you will like them.
How far down did the wood around the leaves go?
Roughly 16 mm (5/8 in) in one section. Part two of the lesson is where the biggest tool came out. I left the cleanup for off camera, since you don't need to watch me deal with that, and lowered at least that section on camera, with the flowers coming really soon. I named a 20 mm number 11 and then said, you know what, I can take even bigger, 30 mm (1 3/16 in).
I called it a huge gouge and corrected myself in the same breath to call it a veiner, a number 11. When I said I think it is enough, the drop was approximately 16 millimeters between the upper part and the part below, and that gap is what gives the petals of the flowers room for a beautiful movement downhill later.
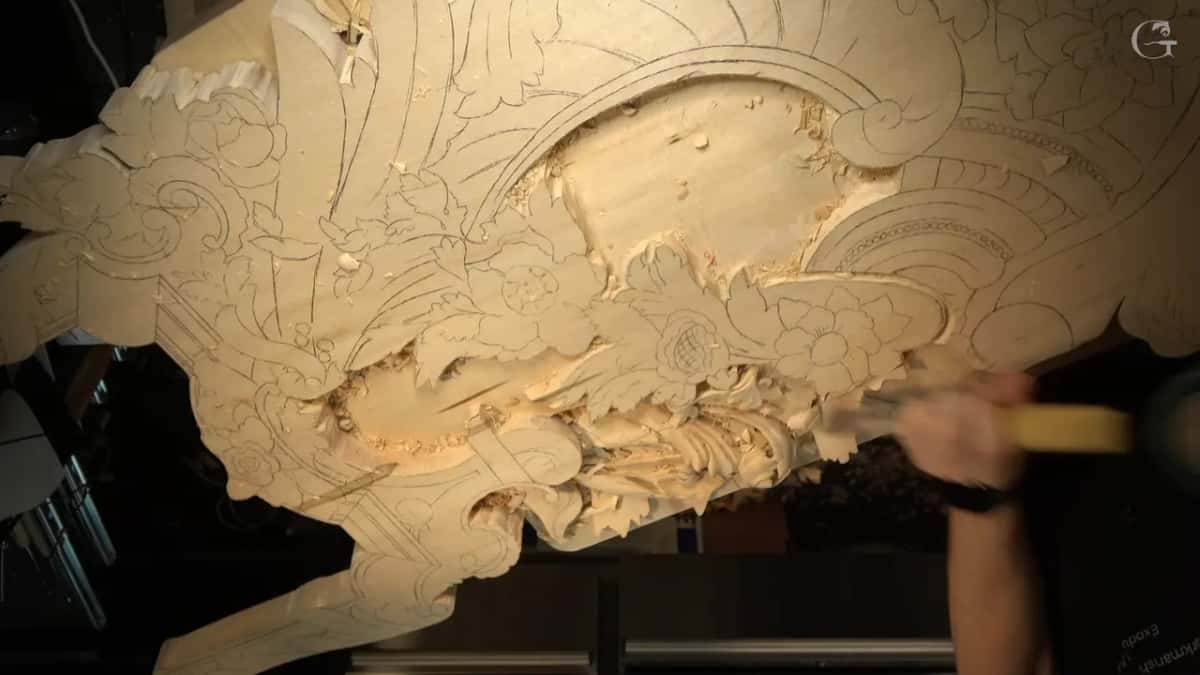
One corner I planned to keep, a little bit of it. Part two began with me ready to outline the flowers, and then I said or maybe no, and went first to what was going on inside, something like a frame. That section went only a little lower, about an eighth of an inch, 3 mm. It took a number 3 spoon gouge of about 12 mm (1/2 in), then a 5 mm number 3, three sixteenths of an inch, and then a 3 mm one to scratch inside, and I said it gives a feel that is really architectural. After that, a smaller gouge would outline the rest of the leaves.

Part one started it. A big number 3 gave one part a kind of concave look, and I said I think I like it. Right after that I thought I might lower that section too. Then I put the lines back, so I would not forget what was supposed to happen there, and I saw that one part could overlap a little with the stem of a leaf. The line about keeping the tops only comes in part three.

How to do relief carving without carving away the top
You pick out the tops, you leave them, and you bring the rest down gradually. That is the order I gave a class in Maine, in my Grinling Gibbons class, named for the wood carver Grinling Gibbons.
Let's determine the high spots first, I told them. We were making the dome gradually, the same as on the first layer. The main element there was a tulip, with a secondary one somewhere near it. The tulip I called untouchable. I would not take much from its surface, I said, because we would work it from a side later on. The rest was to come down, pretty much all the way, and I asked them to make sure it was somewhat gradual.

A Byzantine acanthus in lesson 7 got the same advice, said plainly. Just make sure you keep the high spot. We were giving that leaf its roundness, a bowl upside down, and I said any flatter tool can pretty much do it. Touching that spot would come later, I added, but for now, while the shape is being made, we don't touch it. I also stopped to take a picture really quickly, for the reference. That leaf comes from Byzantine art, which is where the course got its name.
The second layer of the lily box started the same way, with me saying we have to identify the high spots and the low spots. That layer was really thick, about 20 mm, more than three quarters of an inch, and it was not going to stay like that. Some spots would end up really higher than others, I said, and the whole design would get blended. A few spots we have to identify as high spots, and we're not going to touch them now. Then, looking at one of them, I said maybe I'd lower that one.
Why would you mark a high spot with a marker?
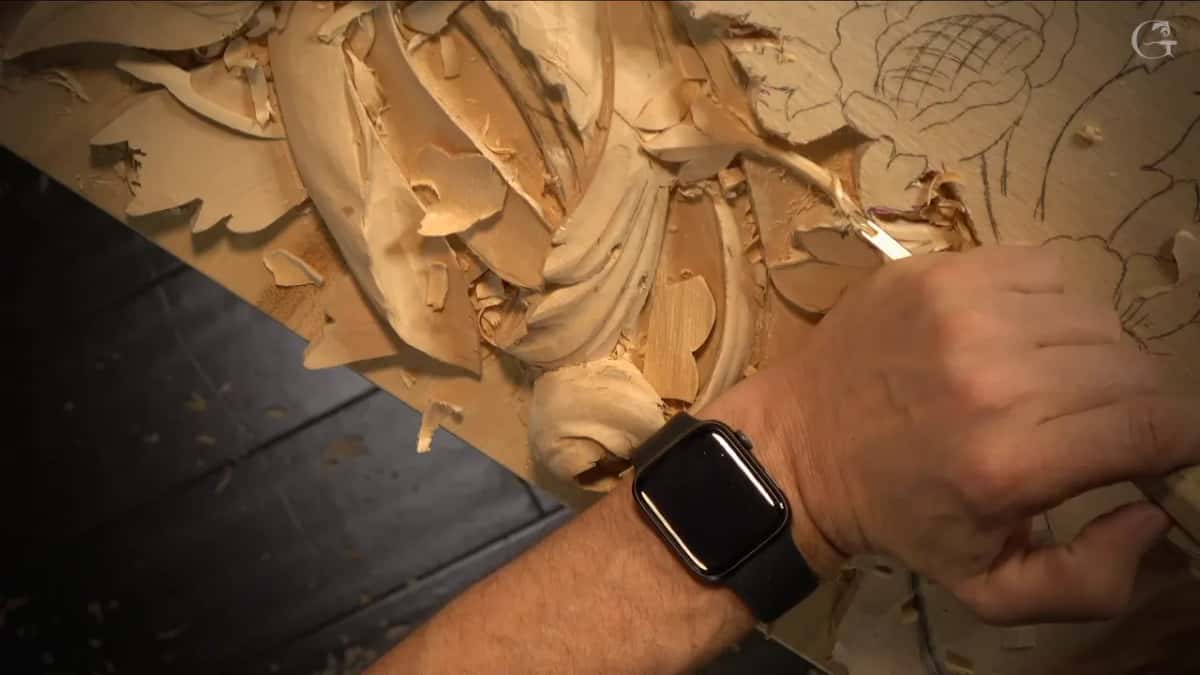
To show you, and to exaggerate the tallest top on a leaf. Lesson 2 of the vase with grape leaves has red marker going onto one leaf. I had found three high spots on it, and I said they were not really high, but one was the highest spot of the leaf. That leaf of a grape had two more that would be somewhat high too.
A little earlier in the same lesson I marked one on purpose. Please pay attention, I said, because I'm doing it on the big leaf and the rest of them I'll do exactly the same. We need to keep those high spots almost untouched. The rest would stay unmarked, because I really wanted to keep it as high as possible. Otherwise, I said, we're going to lose the overall shape.

The modern acanthus in lesson 1, an acanthus from a 1903 design, had a color code on the drawing. The red is going to be high spots, I said, and then corrected it, in my case it's orange. We are not touching those. Step one was the middle of the leaf, with a number 9 of 20 mm, three quarters of an inch, and I said we would go in multiple layers because it's 3D.

Does one leaf have only one high spot?
A leaf can have several, and the grape leaf above had three that were not equal. Only one of them was the tallest. Elsewhere on the vase another high spot was a convex, and I said it's supposed to flow really, really nicely.
A furniture panel in workshop 17 had a whole leaf as its high spot. The moldings there would sit a little lower, because they run underneath that leaf, and we really need to keep that leaf the high spot, I said. The volute there had to be a little higher, and I said it twice.
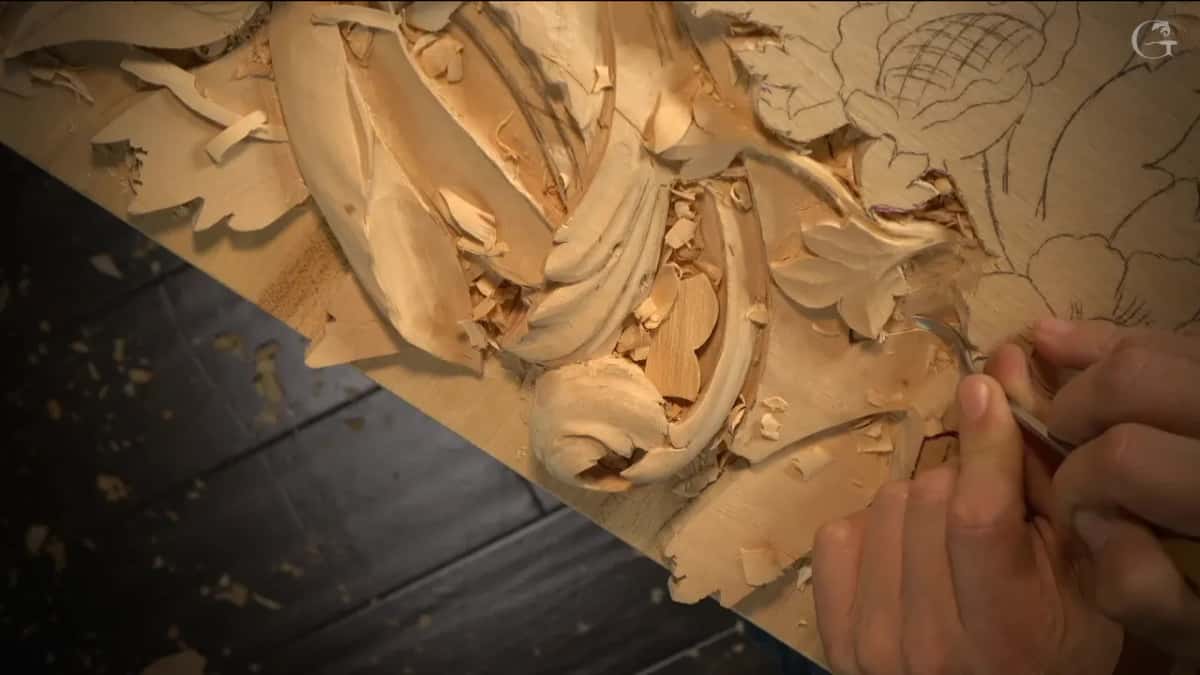
Which part of an acanthus leaf should be the highest has its own page from a Roman acanthus lesson, and why the outer line of a leaf can stay high has one from a rosette workshop. This page is only about the habit of finding the tops and keeping them while everything nearby goes lower.
What does the paper on the wood tell you?
Paper still on the wood tells you that spot is almost untouched. On the Greek acroterion, lesson 3, I was leaving the ridge with my paper on it, because it's my high spot and I don't want to go lower than that. An acroterion is an ornament set at the peak or a corner of a pediment. I shaped around the ridge carefully and said a gouge would come a little later for the concaves.
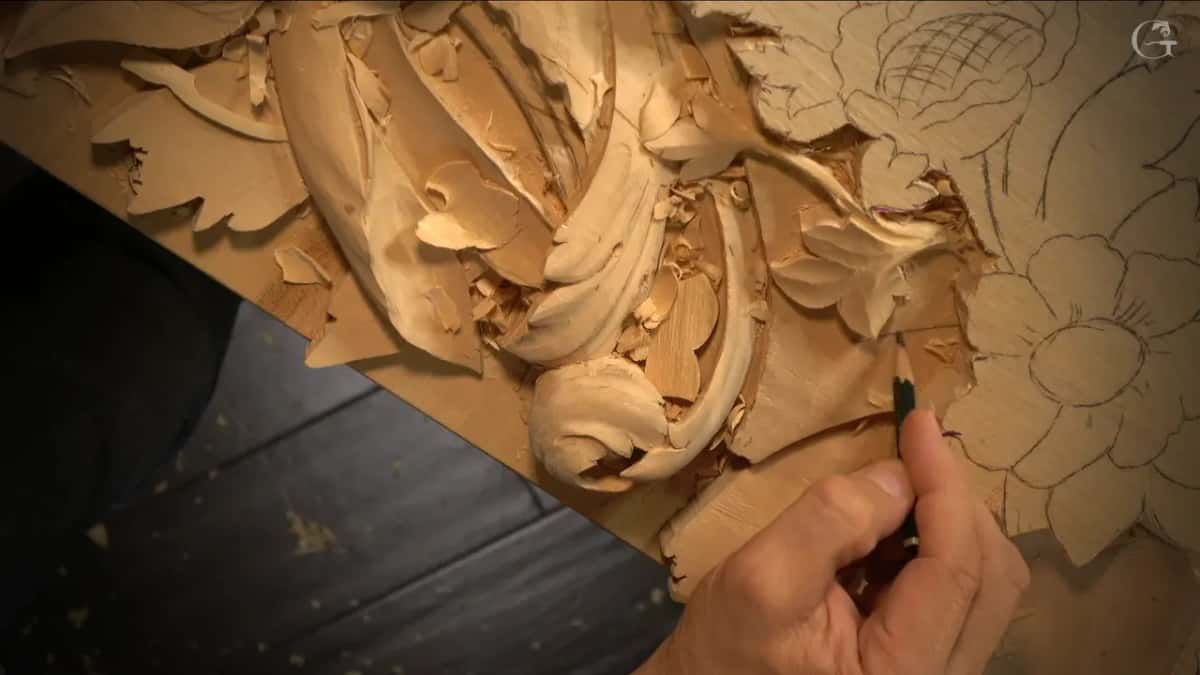
Furniture panel 29 went the same way. I took a number 8 by Dockyard, about 4 mm (5/32 in), and then a number 3 to blend. And see, I said, I've got all my high spots almost untouched. Wherever you see the paper, it's almost untouched, and still there is a 3D effect.

When does a high spot finally get carved?
Later, once the form has been made around it, and the lessons that say when all point that way. The Byzantine top waited for the roundness. The tulip in Maine would be worked from a side later on, and the acroterion's gouge was coming a little later.
Lesson 113 fits the same pattern. Those leaf tops stayed while I lowered the area around them, and I said the outline of the flower would go much deeper when its turn came. While I explained on the lily box how the gouge starts at one edge, rotates and ends on the other edge, I said I would not touch my high spot.

Here is the whole list in one place, with what stayed up and what did the work around it, so you can pick a lesson and go and watch the wood come down.
Lesson | What I left standing high | Tool |
|---|---|---|
Venice Room 113 | Leaves by a simple flower, their tops kept at full height | Number 7 of 14 mm |
Vase, lesson two | Tallest of the three spots on one leaf, exaggerated in red | Red marker in hand |
Modern acanthus one | Everything colored orange on the drawing, the part we were not touching | Number 9, 20 mm wide |
Greek acroterion three | Ridge left under its paper, the high point of that piece | Gouge planned for later |
Furniture panel 29 | Almost every place where the paper still showed on the wood | Dockyard 8, then a 3 |
Maine class two | Tulip I called untouchable, with the rest to come down | Side work saved for later |
Can a high spot be a bump you don't need?
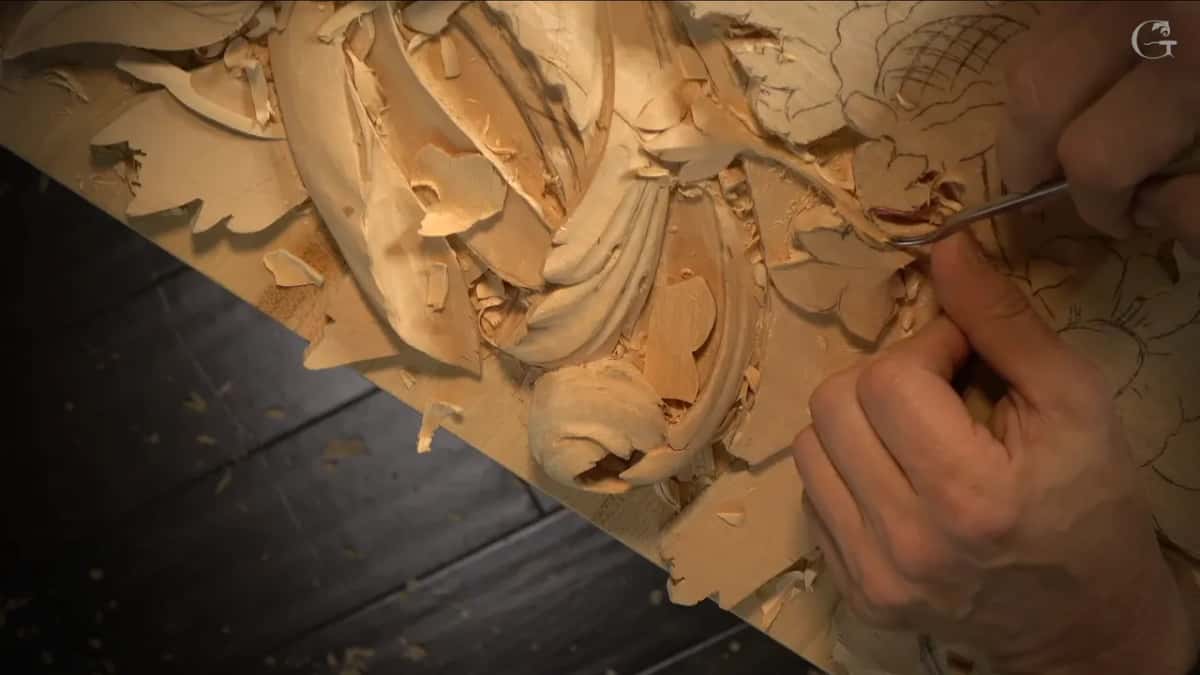
In one lesson the same words mean the opposite. In workshop 16 of the Venice Room, on the side of a pipe, I told you to go both directions and knock down all the high spots which I don't really need. Those were bumps, and they had to go. And since it was a pipe, I said it had to have two sides. Taking bumps down with a wide chisel has its own page from workshop 105.
In these lessons what happens next tells the two apart, since the tops stay put while the bumps go.
Where can you watch the high spots stay up?
Workshop 113 is in Part 10 of the Venice Room. The lesson before it is workshop 112, and the one after is workshop 114. The room copies Venetian work, and the panel is carved in relief, leaves and scrolls standing up from a lower ground.
Every lesson named on this page opens with full access to the school. You can watch the 30 mm veiner go in, around six minutes into part two. And you can hear me say what stays and what goes. Part three is where you hear the line about the high spots, about a minute and a half in, while the wood carving around them keeps going down.
How it's done
- Decide what stays up. Pick the tops before you lower anything around them. In my Maine class the tulip was the main element, and a secondary one sat close by.
- Mark the tallest one. Put red marker on the tallest top, as I did on one grape leaf of the vase, to exaggerate it.
- Lower the rest gradually. Take everything else down a little at a time, the way I asked the Maine class to bring the wood down around its tulip.
- Leave the paper where it sits. Where paper still covers a ridge, shape around that ridge. The acroterion ridge kept its paper for that reason.
- Touch the top last. Return to it after the form beside it is made. My Byzantine leaf got its roundness first, and its top waited.
Frequently asked questions
What does it mean to keep a high spot in wood carving?
Keeping one means you carve everything near it lower while that top stays at its first height. Plain advice on my Byzantine acanthus video was to just make sure you keep the high spot, and to come back to it after the rounded form exists.
Should you mark the high spots before carving?
Marking them is something I did on two courses. A grape vase leaf got red marker on its tallest top, and the modern acanthus drawing showed them in orange. On the vase I marked the big leaf to show you, and said the rest would stay unmarked.
How much lower does the wood around a high spot go?
Venice Room 113 gives one real number. A 30 mm (1 3/16 in) veiner, a number 11, left a drop of roughly sixteen millimeters between the top level and the bottom one, and that room lets the petals travel downhill later.
What to carve next