
Alexander Grabovetskiy, woodcarver, School of Woodcarving · Published 2021
What is a chamfer cut in wood carving?
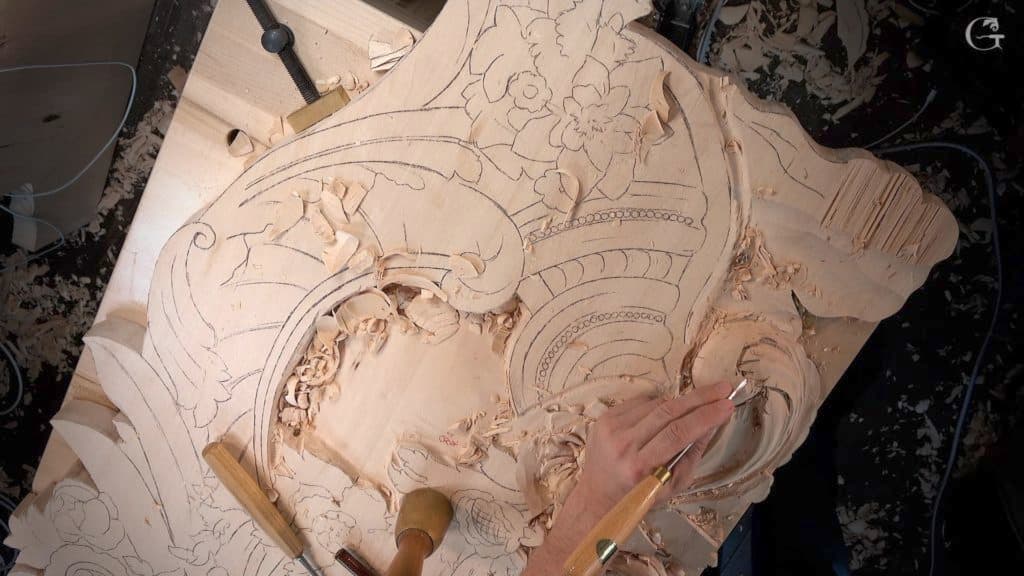
Quick answer: A chamfer cut is a small flat plane carved along a ridge so it no longer stands sharp. In lesson 118 of the Venice Room one acanthus ridge was not rolling yet, so I said I needed to chamfer it or fillet that, and a number three blended it.
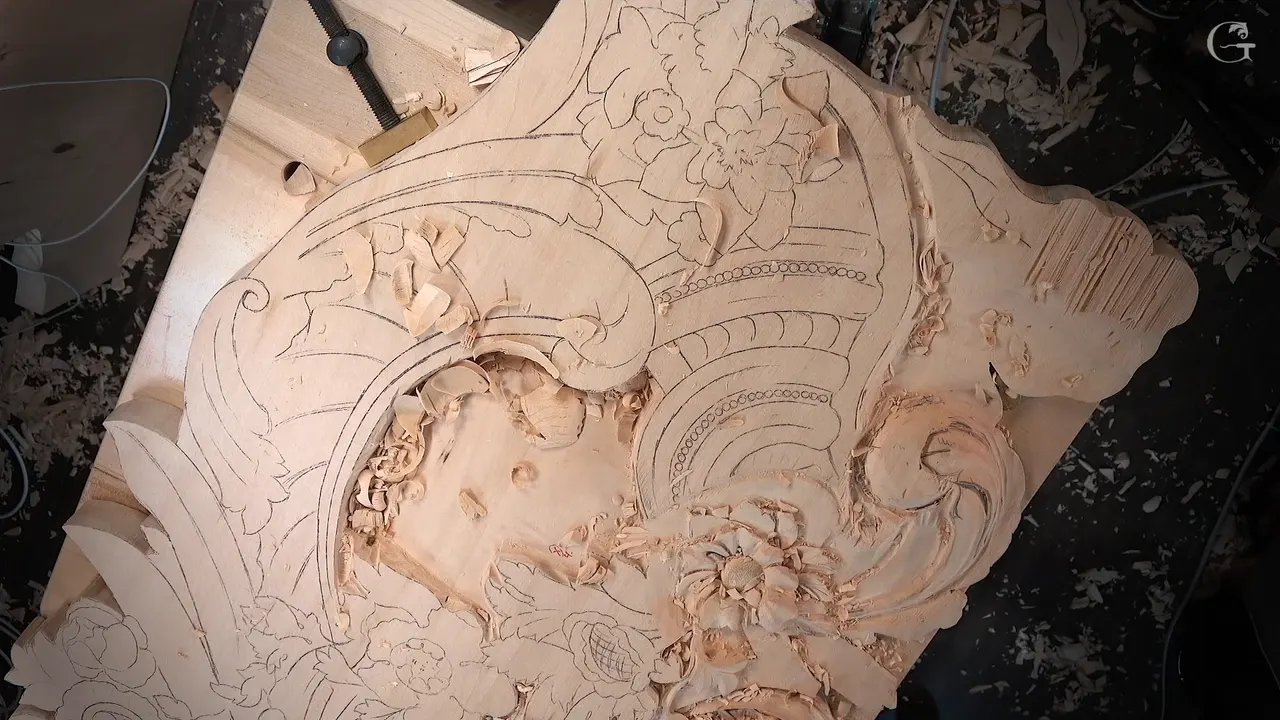
A chamfer cut is a flat plane carved along a ridge, so the edge stops standing up sharp. In lesson 118 of the Venice Room I stopped over one section of an acanthus leaf and looked at its ridge. It needed to roll, and it didn't. "So I need to chamfer it or fillet that," I said, and a number three blended it over.
Have you ever looked at a carved leaf and seen one ridge standing up as a thin, hard line? Did that line look more like the edge of a plank than a leaf? A small flat taken off that line is where the rolling starts.
In the dictionary sense a chamfer is a sloped edge between two faces of an object. Mine get carved by hand on the ridges of an ornament, using gouges and a knife. This page stays with that flat plane, and it gathers what I said about it in lesson 118 and in fourteen other lessons: what I chamfered, which tool I picked up, and the wood I kept back for it.

The flat plane in six lines
On the lily box I called the chamfer "just a 45-degree cut," a flat plane on a ridge or an edge.
Bevel and chamfer were two words for one pass on my Roman acanthus.
My tools for it were a number three, a flat number two of 12 mm (1/2 in) and a knife.
The first flat starts small.
Wood gets kept for it ahead of time, about 13 mm on one shell ridge in the Venice Room.
Sometimes it stays flat for good.

Where did lesson 118 need a chamfer?
On one ridge of an acanthus section, right after my first big concave. Workshop 118 is short.
Three parts of about seven minutes each, and step one had already been three main movements, counted one, two and three. The lesson opens on a 2 mm tool, with a switch to 1 mm planned for later. I cleaned that mess a little with a number three turned upside down, just so it was cleaner for my eyes, and set a middle line at six parts out of ten. Then came the size hunt for the concave, said out loud as I went: seven millimeters, maybe ten, twelve, and then fifteen, like 5/8 of an inch.

Fifteen worked. It still had to be attacked from two sides, since one side of a pass comes out clean and the other a little messy, and why one wall of a pass comes out rough has its own page.
Then I stopped. The second side had to wait, because the ridge needed something first. Like I said, it has to look like it's rolling, and right then it didn't. I said I needed a chamfer or a fillet on it, then took the number three and blended it this way.

Only then came the second concave, and that one went almost underneath. Got to be careful how I do it, I said, and check what the grain does. Doing it a bit at a time is always better there, and the hollow blends almost to nothing after that point.
The second part worked the next section the same way. Its middle turns convex once the movements blend, and I could use different tools to blend it, I said, but took the back bent for a long pass. Later came "Let me blend those ridges," on the middle convex.
Rolling came up twice more in that one lesson. Early on, I thought I needed to roll one part a little more, "otherwise, it's not going to look nice." In the last part, after shaping two divisions with a 14 mm number seven, I got my tool upside down on a ridge and gave it "just a slight roll."
Those flats get no size anywhere in 118. The ridge had to roll, and all I said about it was "I think it looks really good."
What is a chamfer cut on a carved ridge?
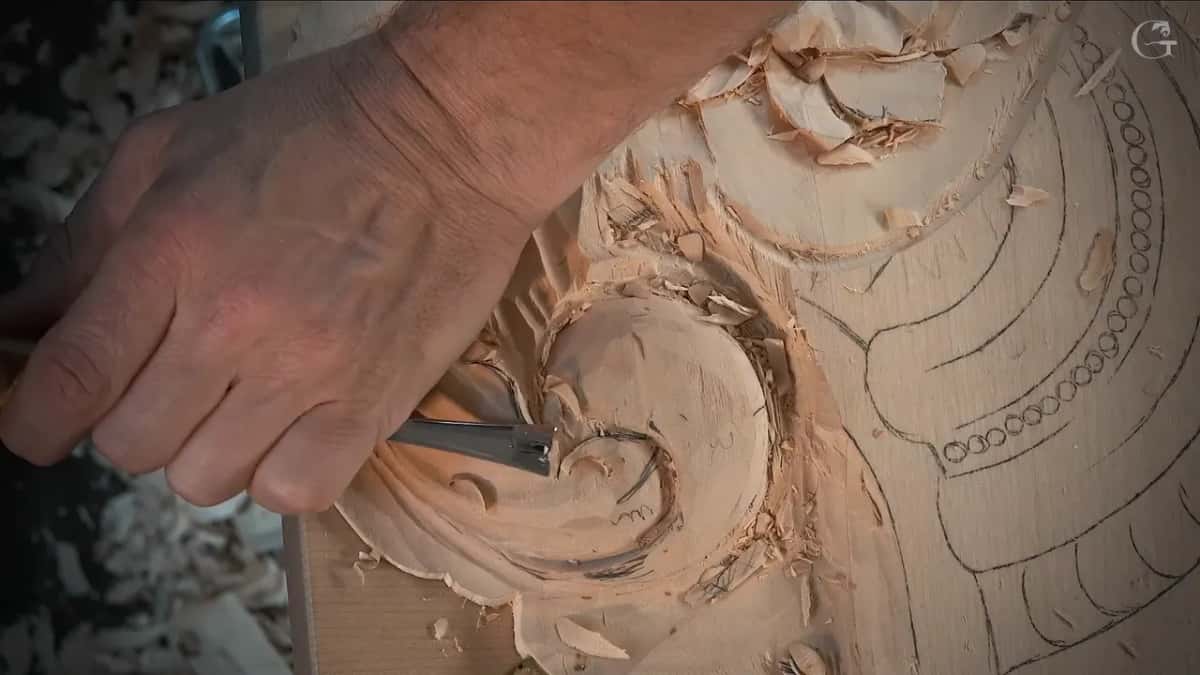
A flat plane that takes a sharp ridge down to a small slope. My plainest words for it came in lesson 3 of the lily box, while I was rounding edges on the first layer. A half millimeter tool had just undercut a little, and I did not worry about the black lines yet, because I was going to round my edges anyway. "Chamfer is just a 45-degree cut," I said there, one that leaves an edge you can still see.
Filleting was the better word in that spot, for a round, and though workshop 50 has me calling a round a rounded chamfer, the fillet has a page of its own that sets the two side by side.
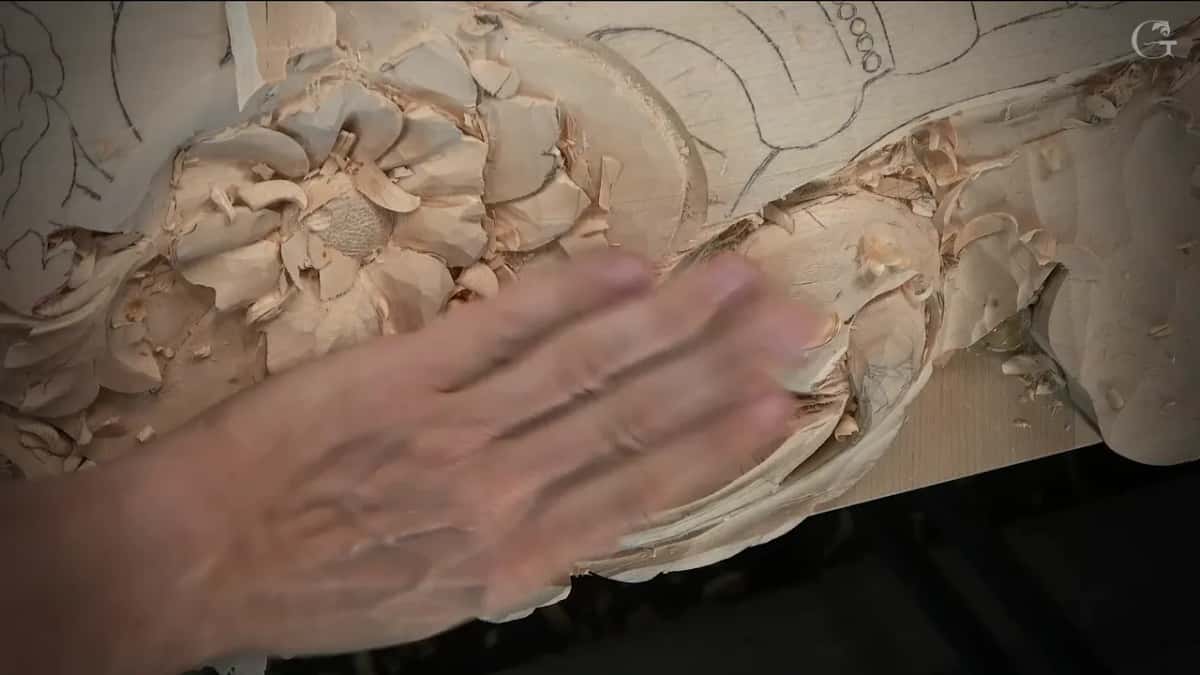
Names shift a little between lessons. During lesson 16 of the Roman acanthus I was taking a little bit of ridge off, called it a bevel, and then offered the other word, "or chamfer, if you like that word better." A few seconds later came the name this page carries: "That is also proper name for that. Chamfer cut."
You can see where one of these ridges came from in workshop 52 of the Venice Room. In that lesson a concave had left a ridge I wanted gone, so I blended it away and then said, "next, I have to chamfer those sides." The chamfer, I told the camera, "is usually chopping like that," and a back bent, which I really love, can make it round.

What does a chamfer cut look like on a leaf?
Small, and more than once hard to see on camera. In workshop 52, right after I named it, I had to stop: "Apologies, you can't see that." After that I showed it again another way. Part two of 118 had the same trouble. "I know you don't see that yet," I told the camera, then showed the middle from above.
What you do see is the ridge. Before, it stands up as one hard line. After, it leans and starts to roll, and on the lily box volute I said the flat gave it extra dimension. My Roman acanthus got the plainest verdict of all, once its flat was on: "I think it looks nice. My personal opinion, of course."
Which tool carves a chamfer?
A flatter gouge or a knife, in these lessons. The ridge in 118 got the number three. Over in workshop 83 I cleaned one side with a 7 mm tool and changed the direction first. Then, shaping a convex to match the opposite side, I reached for "just probably number three, I would say," then chamfered it little by little, multiple times.
For part of the bouquet on lesson 23 of the furniture panel I wanted a lot more flatter tool. Maybe a number two, I said, and took a number two at 12 millimeters, like a half an inch. "Carefully just slicing it and chamfer it."
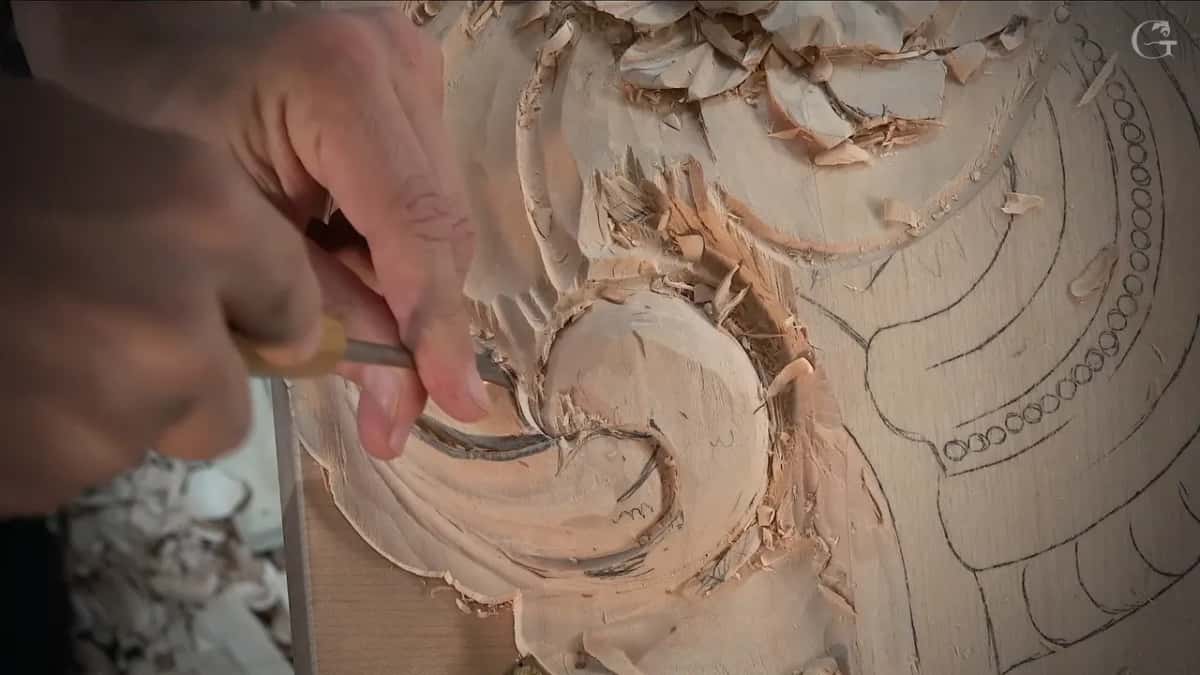
Knives came up too. One side in lesson 20 of the same panel had to slope downhill, and for that chamfer movement I said, "I probably should use a knife. I think it's going to work out really good." Lesson 11 of the floral and molding panel had me first ask for some kind of flatter tool, then say you can do exactly the same operation with just a knife, little by little, creating chamfer cuts to make the overall shape.
The same lily box lesson shows how a knife does it. When I'm using a knife, I said, I am actually doing that chamfering, but gradual: one angle, then in and in, until the edge takes on a roundness effect.
Later in that lesson 20 I said this operation could be done with the gouge or with the knife. "It doesn't really matter." It was still initial, just to create that chamfer, and visually we were going for a three-dimensional look.
So that is three tools across these lessons: a number three gouge, a flatter number two, and a knife.

How to chamfer wood edges by hand with a gouge
Begin almost flat, keep it small, and let the next one sit below it. That is how I put it on the furniture panel in lesson 20, when the main body of a flower had to round this way and then that way. I called it the chamfer technique, or multi-chamfer technique, and cleaned first.
"It's almost flat at first at the beginning. Almost flat chamfer. Not big." From there you start with the first, then move down, all the way in.

Grip came up on the Roman acanthus, just before that bevel. If you can get as close as possible to the edge of the tool, I said, you can control much better, and I'm always placing the part on some support for the same reason.
And pressure? Working the leaf on lesson 2 of the modern acanthus, with the flute pointed about to one o'clock and a bunch of chamfer cuts to make, I said it straight: "Don't push it. If you're gonna push too hard, you're gonna break it." Let the tool do the work, and make sure it is a sharp tool.
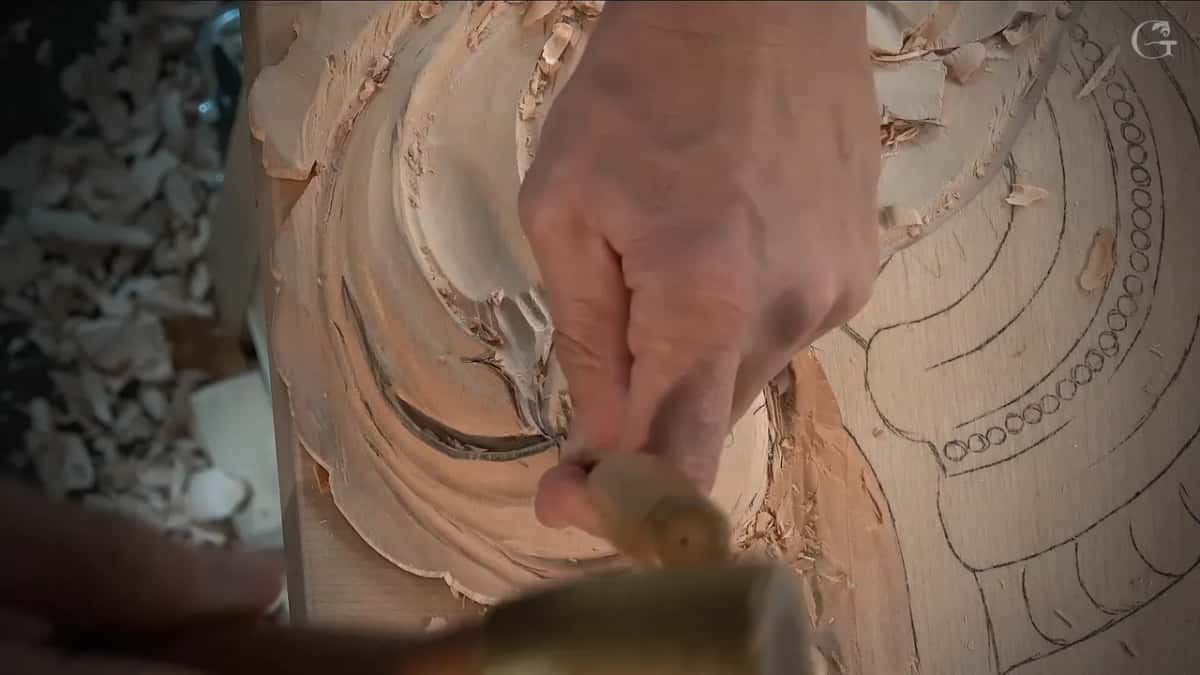
How much wood comes off? For the bouquet in lesson 23 I knew roughly the movement of my flower, so I started a rolling movement and took away what I did not need. I called it filleting or chamfering, whatever you want to call it, and said the point was to make that side a little lower, but not as low. Then a number: no more than a 16th of an inch, like a millimeter and a half, maybe just 1 millimeter down.
Rows of flats turn into a round in the end, as on the modern acanthus, "chamfer chamfer chamfer until it just fillets," and why furniture carving keeps no sharp edge covers that whole method.

Why keep wood back for a chamfer?
Room has to be there first. In workshop 75 I left that room before the ridge even existed, cleaning underneath a spot on the panel and keeping approximately half an inch standing there, about 13 mm. The reason, in my words: "we need to chamfer the ridge of that shell, the future shell, and I need that space."
The shell did not exist yet, and its chamfer already had a place.

When does a chamfer stay flat?
When the flat itself is the detail. Back in lesson 6 of the lily box I chamfered one side of a volute all the way to one point and said it gives extra dimension: "that's going to be just a straight chamfer." A concave went on the opposite side of it, and I said it could start with the same tool, a number three, though I was working against the grain.
Small detail, I said, but people who know how volutes are supposed to look will really appreciate it.
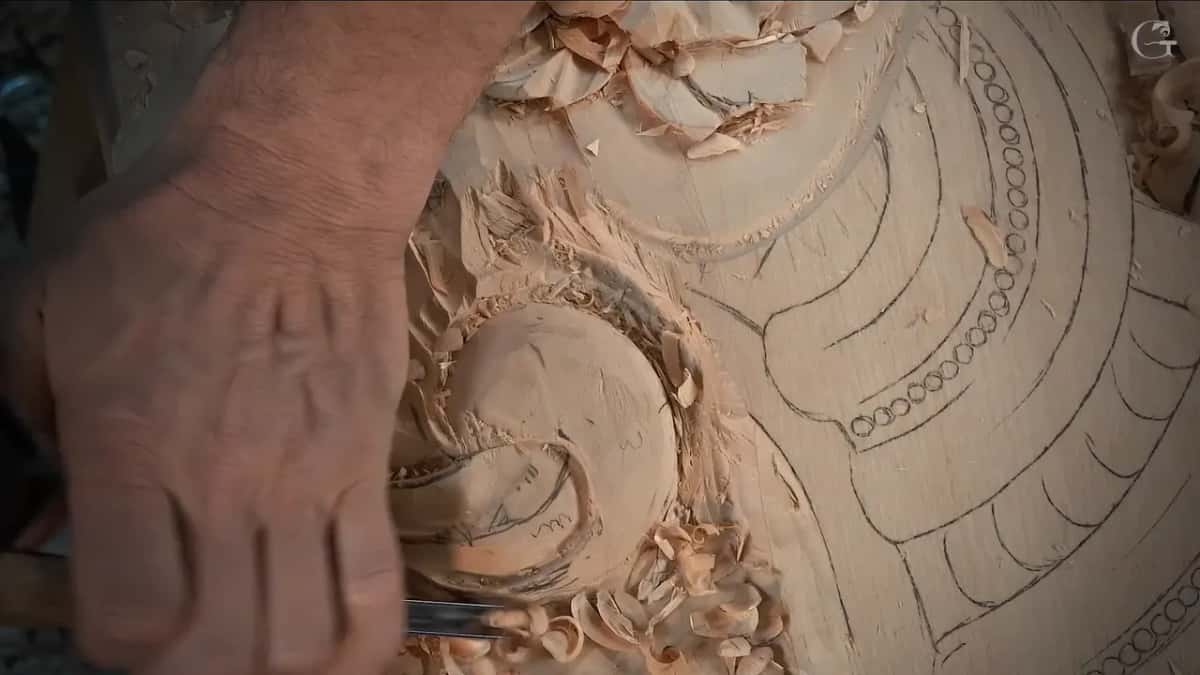
Other days it was only an option. A spot in workshop 73 of the Venice Room had me say I could give a small chamfer if I wanted to, which was really common also. By workshop 82 I was still deciding: "I have to probably roll it and create a chamfer cut or a fillet cut or roll this way because it's a part of a pipe." What I wanted gone was plain enough. "So I don't want to see a sharp ridge." One side and then the other side, I said, were going to have the same thing happen to them.
On the butterfly plate, lesson 9, I created a chamfer cut in another chamfer cut, chamfer number one and chamfer number two, and said it made some kind of filleting effect.

Where I chamfered, and what with
| Lesson | Ridge | Tool |
|---|---|---|
| This lesson, 118 | One ridge, just before my second concave | The number three |
| Lily box 6 | Volute side, kept as a straight chamfer | Flat, concave opposite it |
| Venice Room 83 | A convex shaped to match the opposite side | Number three, many times |
| Furniture panel 23 | Part of the bouquet, a little lower there | Number two, flatter |
| Furniture panel 20 | A side there that had to slope downhill | A knife, I said |
| Venice Room 75 | Ridge of a shell that was not carved yet | Wood kept back first |
The sixth, in workshop 75, was still only wood kept back for later.

Where can you watch these chamfers?
You will find lesson 118 in Part 10 of the Venice Room, right after workshop 116 and workshop 117, on the same Venetian relief panel of acanthus and flowers that runs through Part 10. Every lesson named on this page opens with full access to the school.
Can you picture a leaf or a molding with one ridge still hard and sharp? Can you picture a small flat along it? That is the chamfer cut, and a number three is what carved the one in lesson 118.
How it's done
- Look at the ridge first. Workshop 118 found me stopping between the two concaves, since that ridge was not rolling yet.
- Pick up a flatter tool. A number three did it there. On other lessons I took a number two of 12 mm, or said a knife would work.
- Hold close to the edge. Hold as close as you can to the tool's edge and keep the part on some support, the way I did on the Roman acanthus.
- Start almost flat. The first chamfer on a furniture panel flower was almost flat and not big, and the next went below it.
- Let the tool work. Don't push too hard or it breaks, and make sure the tool is sharp.
- Decide flat or round. Leave a straight chamfer where the flat is the detail, as on the lily box volute, or keep adding flats until it rolls.
Frequently asked questions
Is a chamfer the same as a bevel?
On a Roman acanthus lesson I used both words for one pass, a bevel, or chamfer if you like that word better. Chamfer cut, I added, is also the proper name. I was taking a little bit of ridge off at the time, holding the part on a support.
What angle is a chamfer on a carving?
Forty-five degrees is the angle I named for it, in the third lily box lesson, as a plain flat that leaves an edge. Later in that same lesson a knife carried the edge on toward a round.
What tool do you use to chamfer a carved edge by hand?
A flatter tool does most of it. My number three took the ridge in workshop 118, a flat number two, 12 mm wide, went on a furniture panel bouquet, and on two other lessons I said a knife would do the same job.
What to carve next