
Alexander Grabovetskiy, woodcarver, School of Woodcarving · Published 2021
What is a shell movement in Rococo wood carving?
Quick answer: A shell movement is the stretch of an ornament I carve as a shell, sitting next to an acanthus or under it. During workshop 116 of the Venice Room I planned one on the side of a long leaf line, lowered that wood first, only a little, and meant to redraw it before any shell work began.
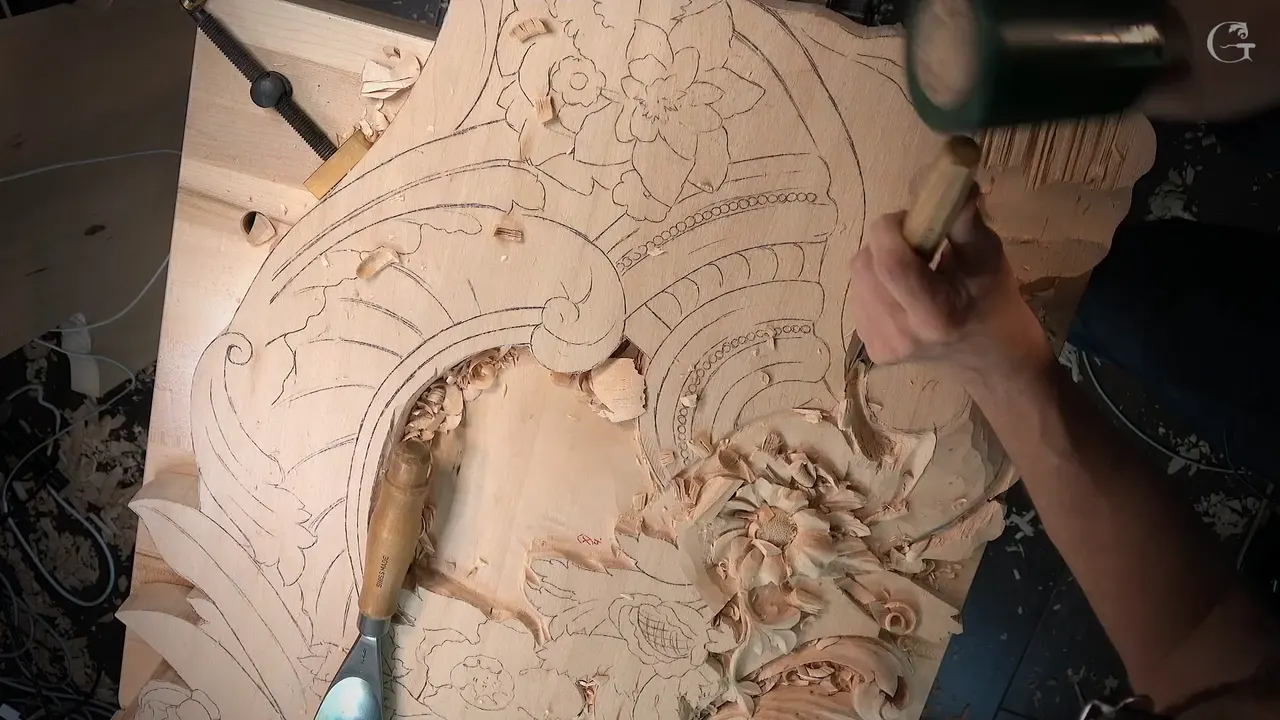
A shell movement is a part of the ornament that turns into a shell, set beside an acanthus or tucked under it. That is how I use the words. Rococo wood carving is known for shells, and in workshop 116 of the Venice Room one line ran all the way as an acanthus movement while I said, "But right here, I'm going to have a shell movement right on the side." So that wood had to go down first.
Have you ever drawn two shapes side by side and wondered which one gets carved first? Did you ever lower a spot and find it deeper than the next part could stand? Plan the shell before the leaf beside it is finished.
Room for something you have not carved yet is hard to picture. I know. This page starts with workshop 116, then gives the lines I said about shells in other workshops of the Venetian room and on my floral panel with a molding, each one linked so you can watch it.
What a shell movement asks of the wood
It is a stretch of ornament that becomes a shell, set next to an acanthus movement or under it.
Its wood goes down early.
Lower it a little, and keep wood in reserve for the shell itself.
Over it, in these lessons, runs the acanthus.
The drawing comes back once the wood is down.
My own opinion, said on camera, is that those shells are why Rococo is better than Baroque.
What did I plan beside the acanthus in workshop 116?
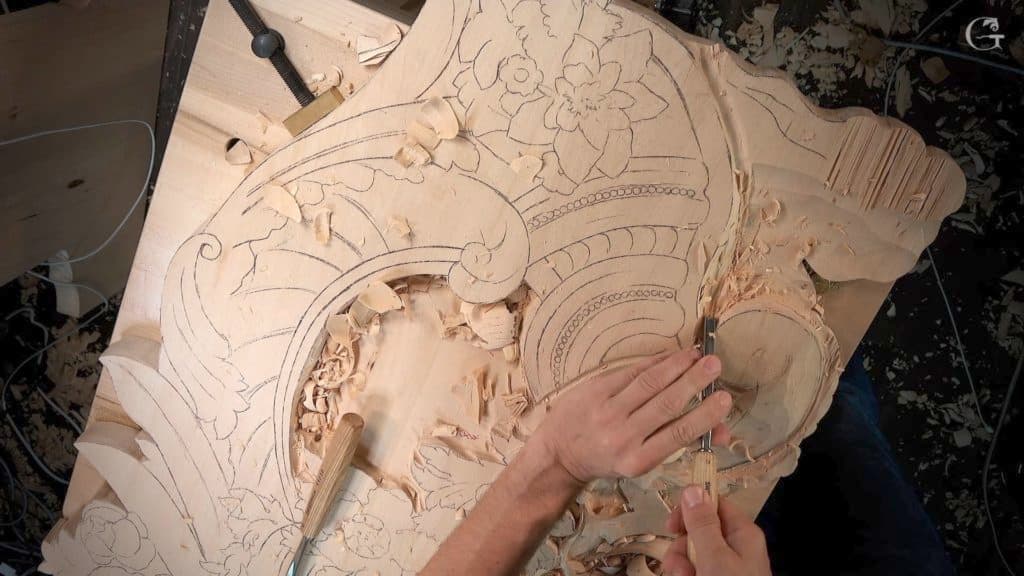
One shell movement on the side of a long acanthus line, planned while the flower next to it still looked rough. Workshop 116 is three short parts, each a little over seven minutes, on the same relief panel as the rest of Part 10.
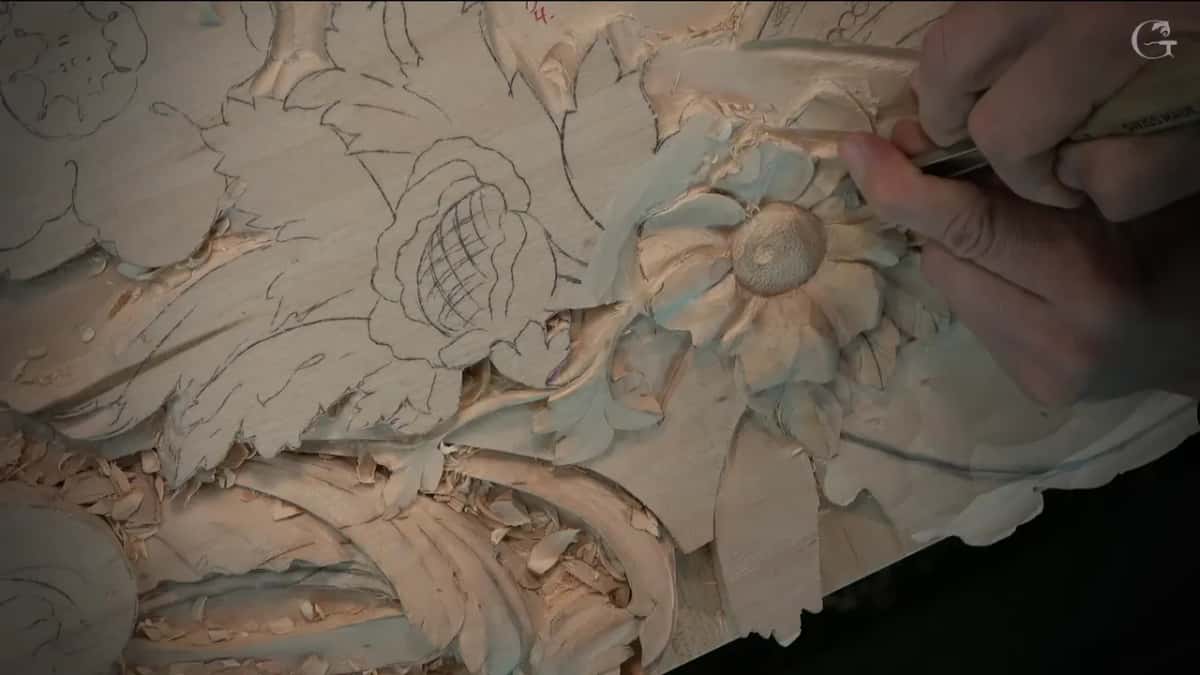
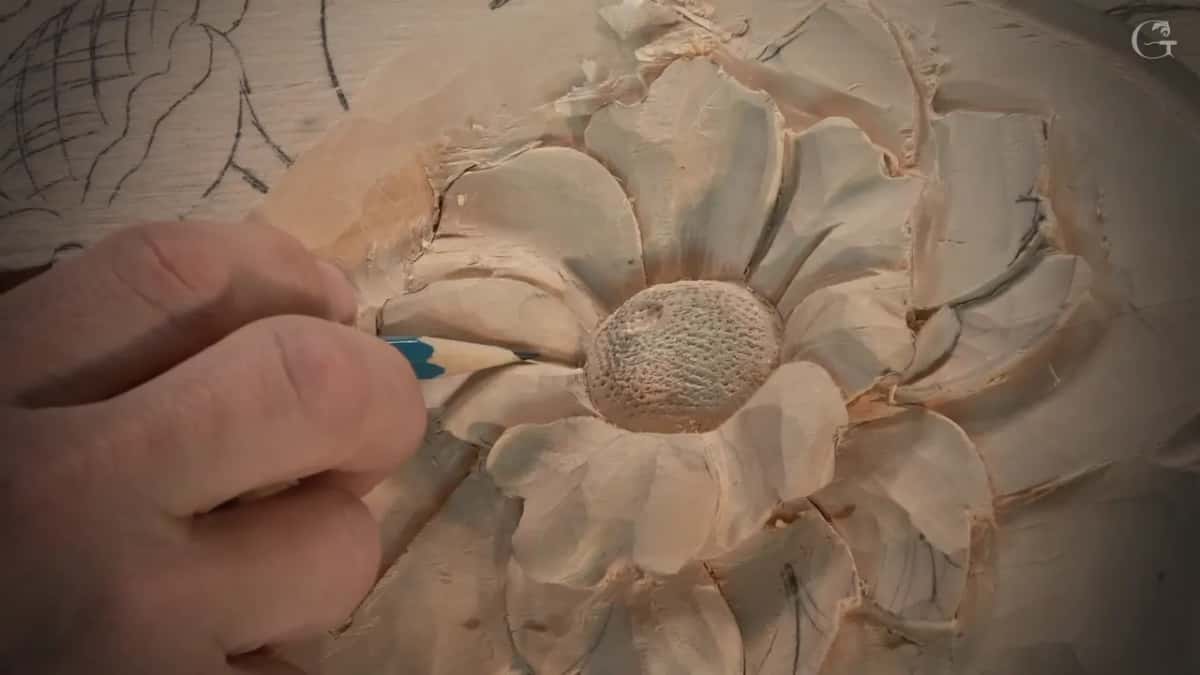
Part one finishes a few petals. Inside some of them I put a second concave with the same gouge I always use, just the #11, in this case 7 mm, a little bigger than a quarter of an inch, and then a small #8 inside those. It doesn't have to be a number eight, I said. It could be a #11 of 2 mm (1/16 in) instead. Some of the leaves got small concaves on their outside from a #11 of 5 mm (3/16 in), for a really good twist to the edge, not on every one.
Then I left the mess. "Don't pay attention to this mess yet," I told you, and I jumped on the acanthus, because that way you see a much better overall picture and the cleaning gets easier once the movement is set.
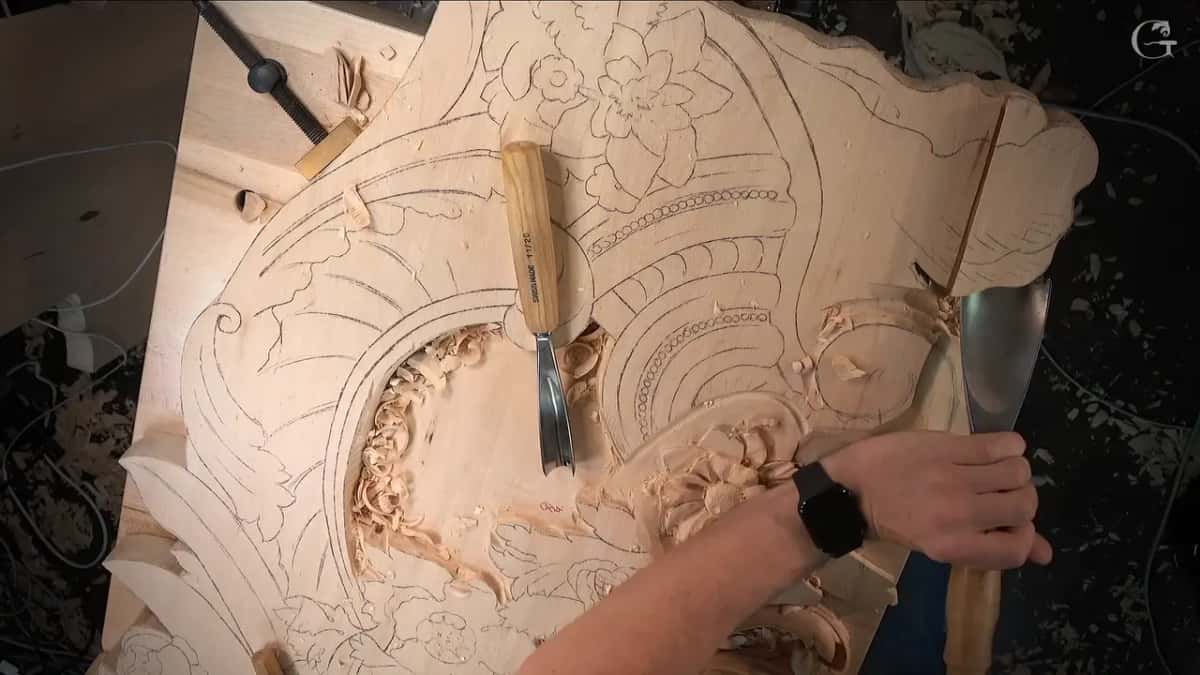
The outline went in with a #11 of 20 mm, three quarters of an inch, and I said I could use a little bigger. My first pass sat on the line itself. A deeper one followed, about an eighth of an inch (3 mm) away. That whole area would end up much, much lower, so I was not afraid to lower it right away with a #7 three inches (about 75 mm) wide and get rid of the junk I didn't need. A dog was at my workbench too, which meant being careful.
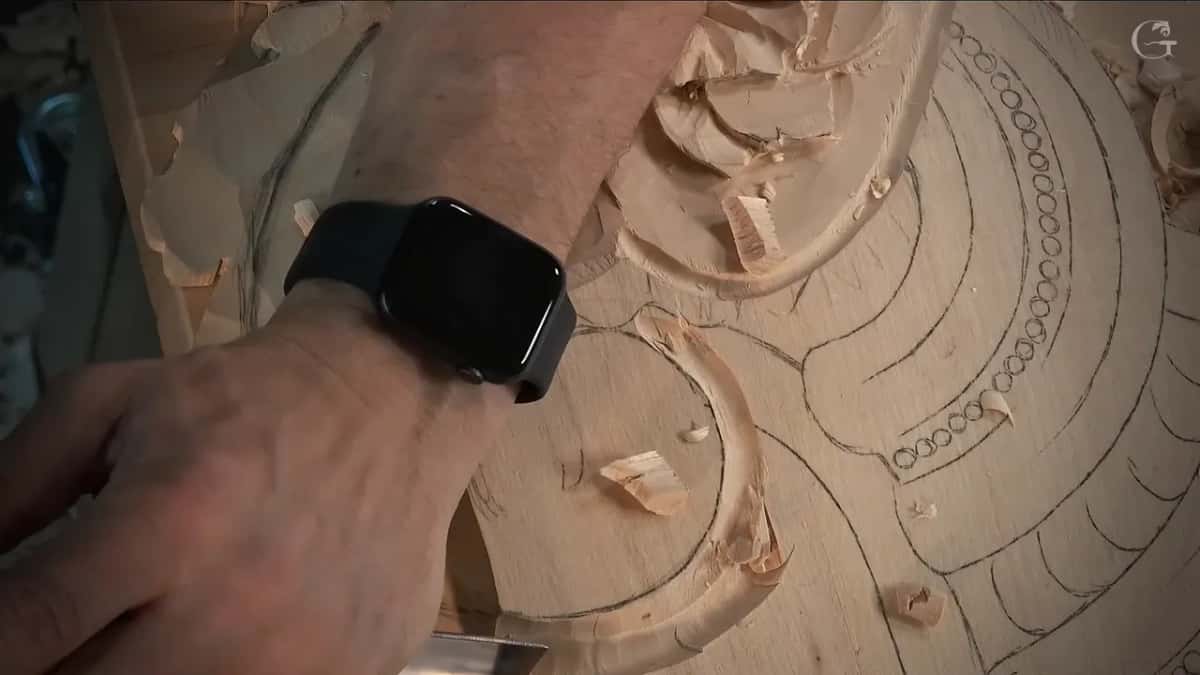
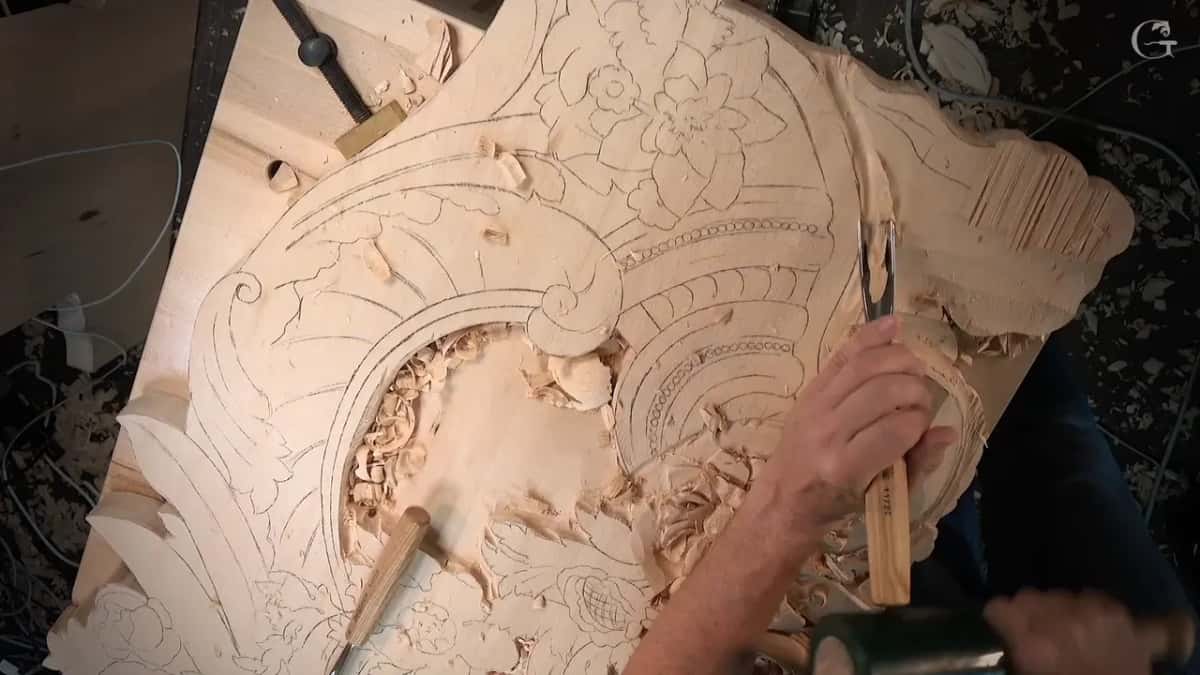
Then came the moment this page is about. I showed you a line that runs all the way and said that part is going to be an acanthus movement. Right beside it, a shell movement. I think it's going to look really awesome, I said, and in the same breath I told you I still had to remove that part and make it a little lower, otherwise it would not look as nice. And then recreate the drawing.
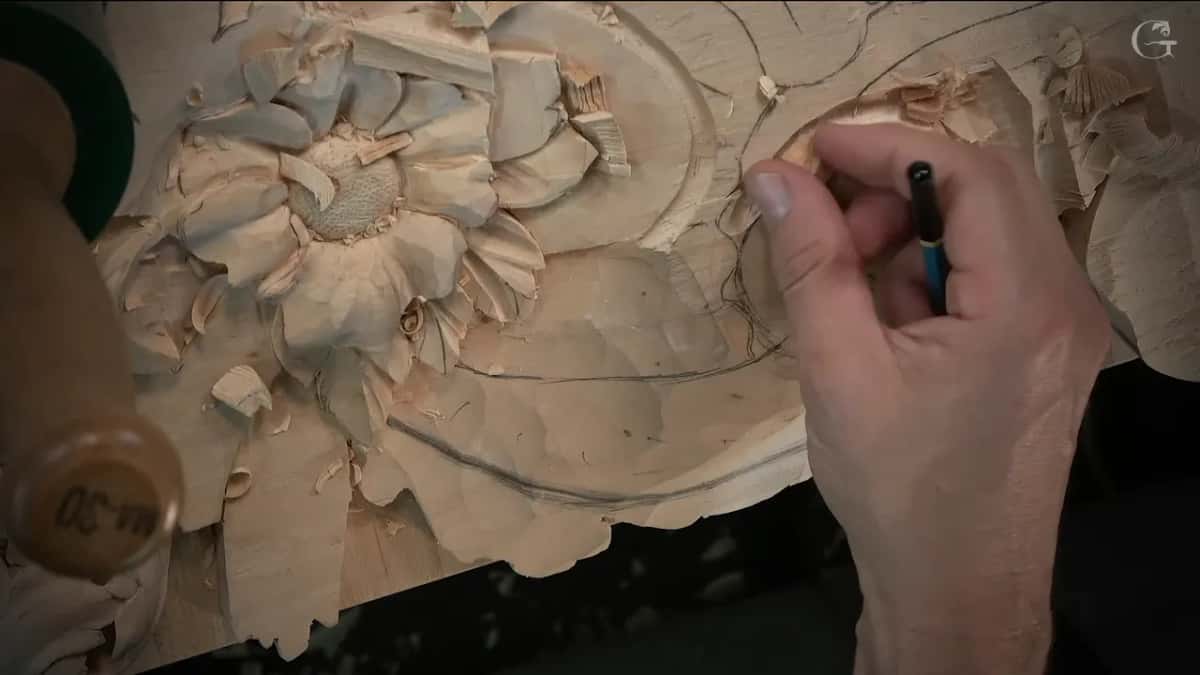
Little lower, I said, but not too low, and the last three words came twice.

Why does the shell part go down first?
Lowering it first is what makes it look nice later, and it makes the work next to it easier. Those are the two reasons I gave on camera, one in workshop 116 and one on the floral panel.
The panel's third workshop starts the same way. A volute there has a really interesting twist, with a flower right on the side, but first I had to lower down the shell part, a small detail. I put it plainly. I'm not going to create the shell itself, but I have to lower that down. I measured it, too, going by the old piece I had carved before, found the highest spot of its shell and double checked it.
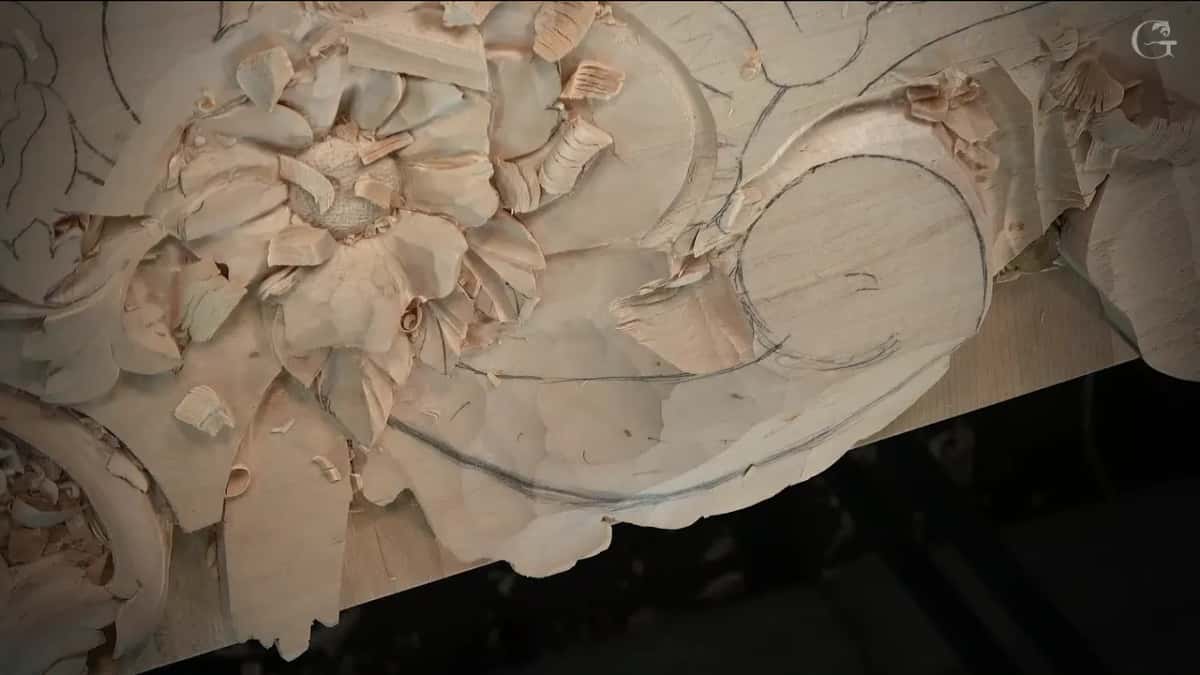
Later in that workshop I took the tool 90 degrees down and called it what it was. Just the highest surface of the shell, not really the shell itself, only setting that detail in. Future detail.
One workshop later I chose to concentrate first on the part with some shell movement, next to a small volute. Lowering the shell part, I said, would make it a lot easier to work on the molding beside it.
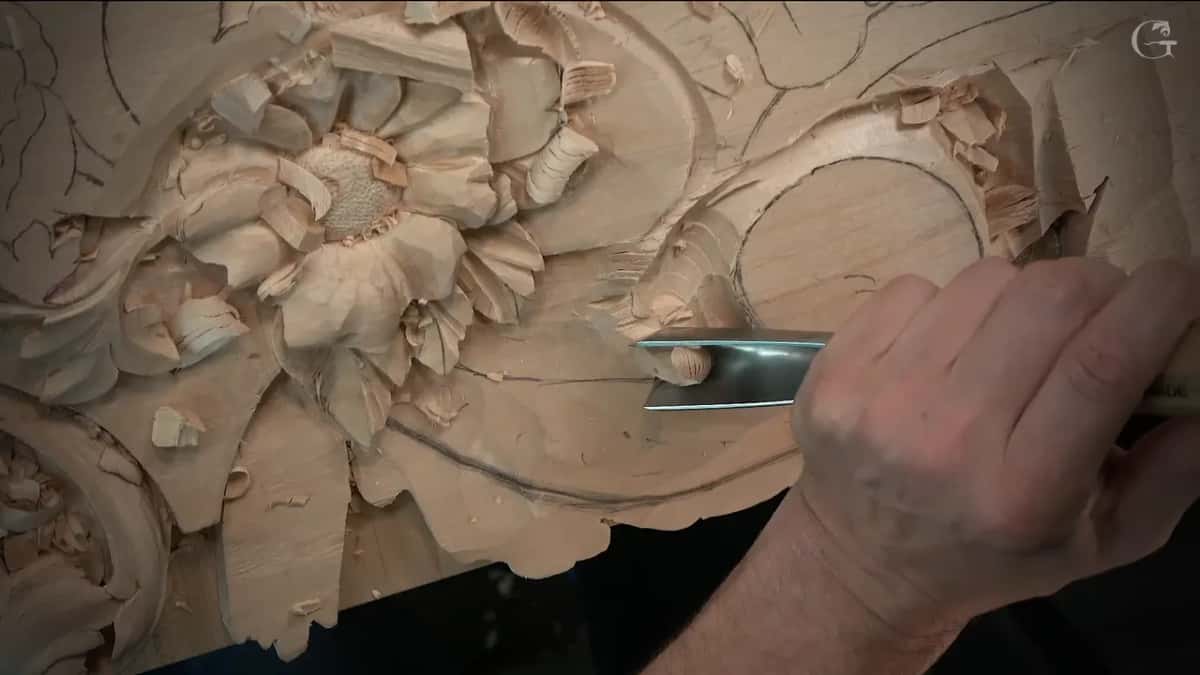
How low can the wood go under a future shell?
Lower than the parts around it, and not so low that the shell runs out of wood. Five workshops give a version of that.
Take workshop 97 of the Venice Room, where a shell would sit right underneath some leaves. I didn't want to dig too deep and create a problem for myself later. Go too deep, I said, and I'm not going to have enough material for my shell movement, or that area gets hard to reach at all. After that I worked the stem side with a number three.
The question came out loud in workshop 60. Deep excavation, but how deep? I could not forget there would be a shell sticking out from underneath, at least that was my original idea, so I didn't want to get too crazy about excavating. Too deep, and making the shell movement becomes a problem.
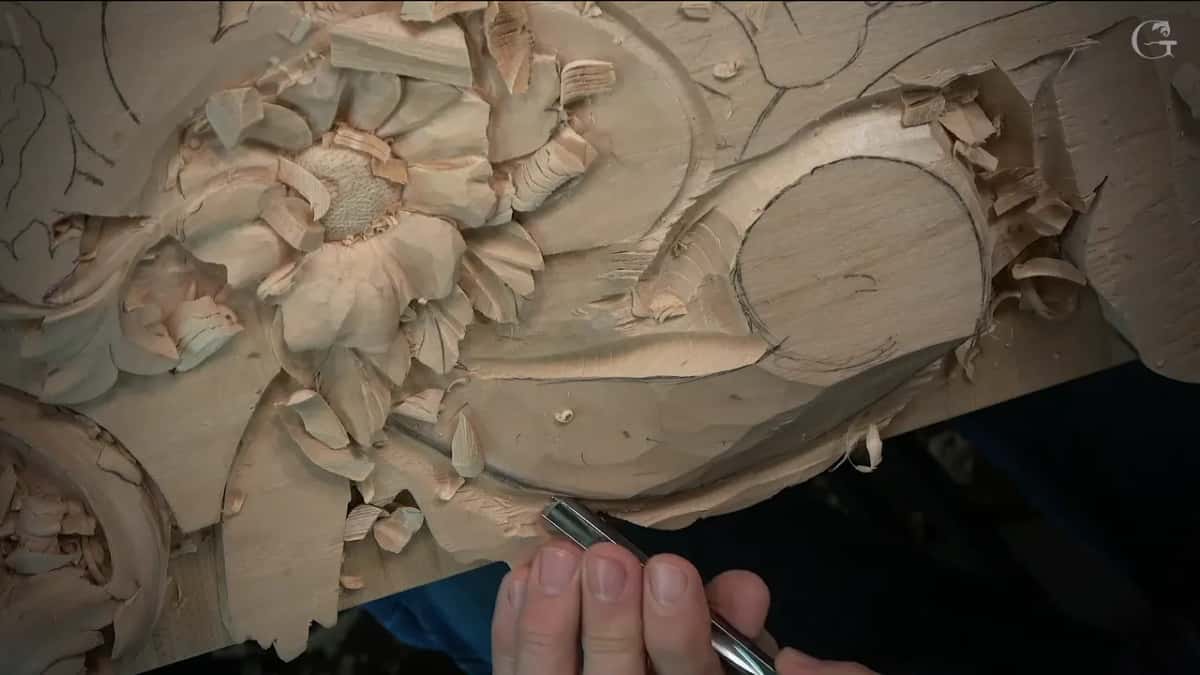
The workshop before it had less wood to spend. I took a #11 of about 7 mm (1/4 in) and got some of it out, but not too deep, because another leaf still had to come and another shell movement later on. I've got only two inches (about 50 mm), I said, so I have to be really wise how deep I go.
The floral panel adds the part that breaks. In its workshop 14 I checked the end of the part I was slicing, where it connects to my shell. That connecting point has to have some meat, otherwise it's too weak, and with the grain running that way it becomes a really, really weak point. So I made sure it was not too low.
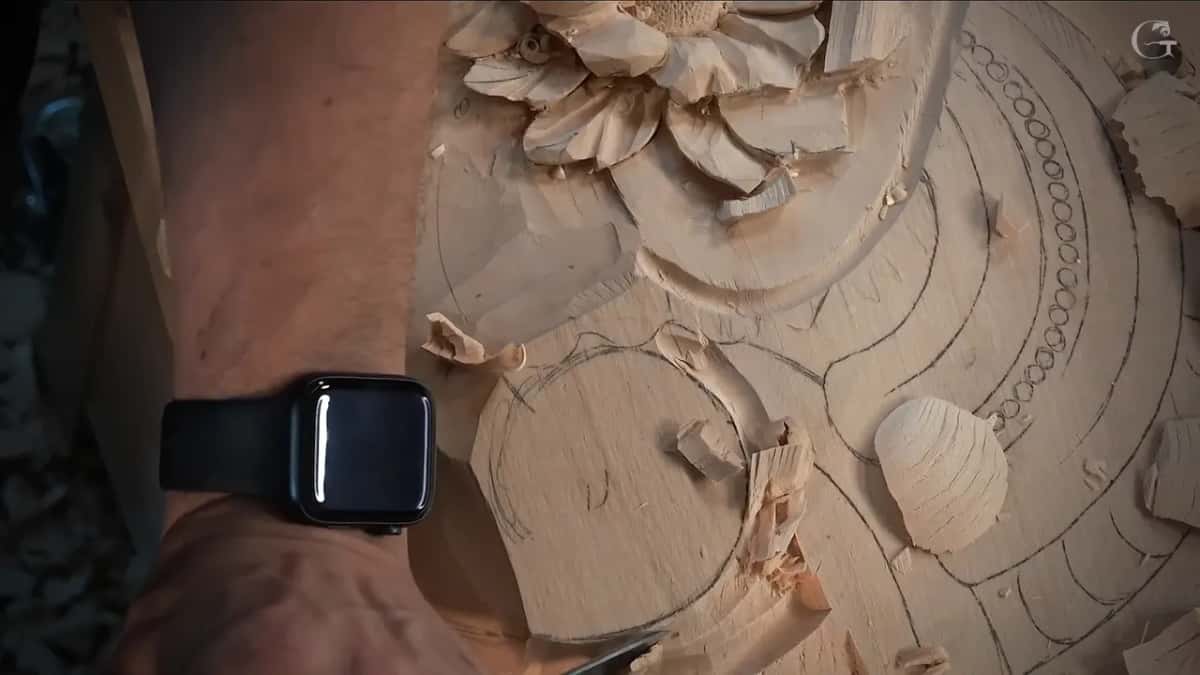
Too high happens as well. On the tenth lesson of that panel I had excavated underneath a thin part, told you it was really easy to break and not to overdo it, then attacked from the other side and said that shell part was a little too high. So I excavated a little more.
Which one sits on top, the acanthus or the shell?
In the lessons on this page the acanthus runs over the shell, and I said so three times on the floral panel. That acanthus movement goes right on top of the shell, I told you in its workshop 11, and I called that the main idea. I did not show the shell on that side, because I had shown you how on another side already.
The next workshop, number 12, came back to it while I shaped a part with a spoon. That part is supposed to grow from underneath, wrap around that side of the molding and go over my future shell. Partially done, I said. Underneath, not yet. And no need to overdo it.
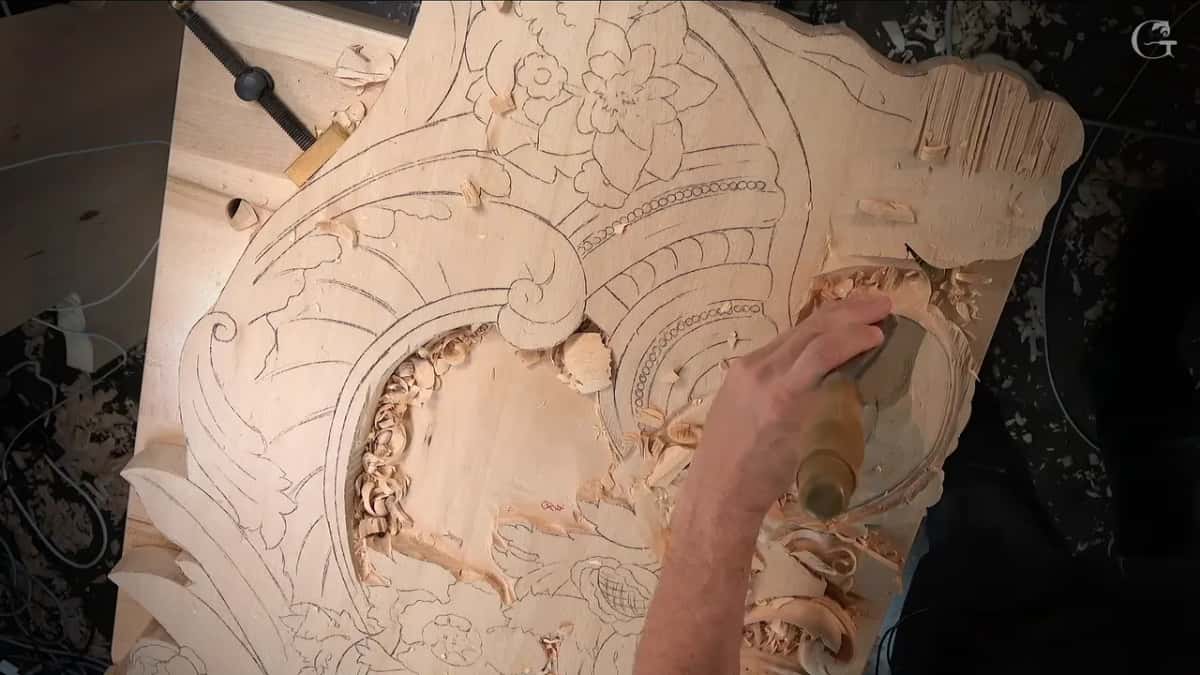
Even the very first workshop of that panel planned for it. In workshop 1 I said I would stay away from the volutes, and from the sections that would lie right on top of that shell, while the majority of the material could come out. The shell did not exist yet.
Why do I rank Rococo above Baroque in wood carving?
Those shell movements. I told you so in workshop 54 of the Venice Room, and I said first that it was my own opinion.
There was still a shell to come on that board, and I told you it would give the ornament an extra level of shadow. That's why I love the 15th century design, I said. I can put shells anywhere. Then I thought of one of my listeners who plays Baroque style music and loves that period. I love it too, and I love Baroque also, but I think Rococo is better because of those shell movements. This movement is a shell.
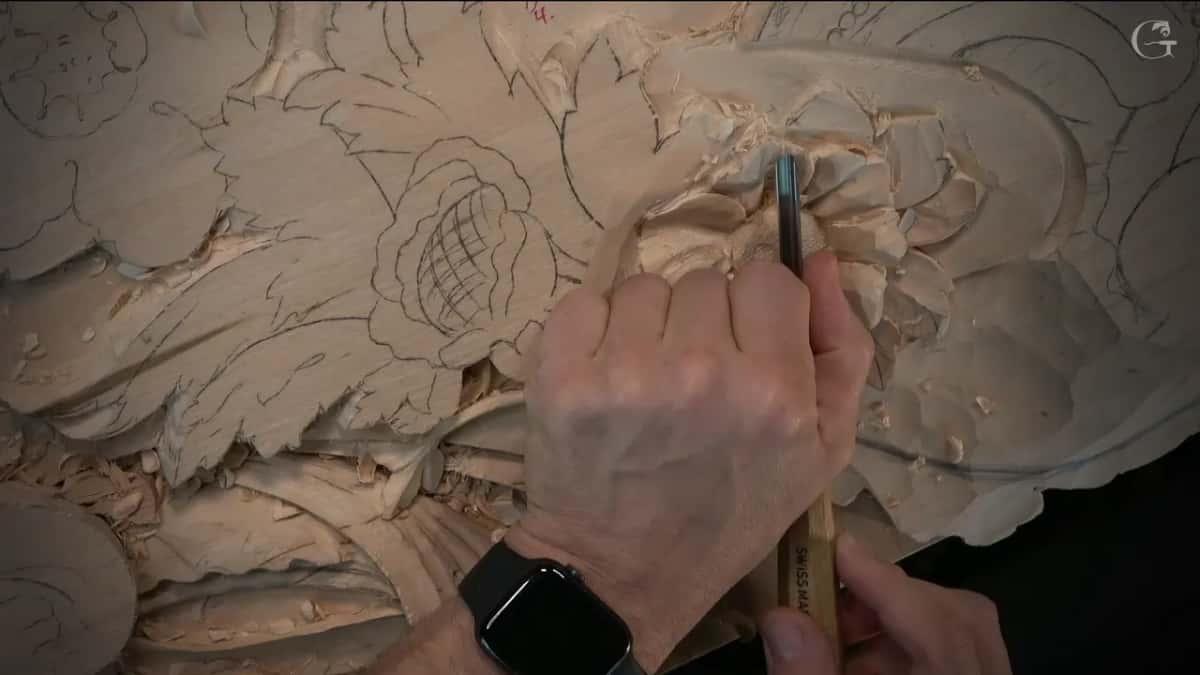
Rococo came out of France in the 1730s, and one of its motifs weaves seashells and acanthus leaves together. On my bench the pairing is a matter of where the wood sits. In workshop 54 I took a #11 veiner of 5 mm (3/16 in) to start a little undercutting underneath that movement, said it has to be deep excavation, and said I would take it to the hole.
Does a shell movement have a direction?
One did in workshop 55, and I said which way while I was still deciding. I kind of liked the shape. It needed some logic behind it, though, and I said it's going to be a shell movement, but the shell is going to move that direction. After that I thought I could excavate a little deeper underneath and find my point.

Direction can come from the neighbors too. On the last workshop of the first block I almost talked myself out of a concave, afraid I would lose the overall feel. A little flipping in one direction, I saw, would pretty much repeat the shell movements beside it and give a more interesting detail. If I don't like it, I can always redo it, I said. Right away I admitted I was not sure I could, and I tried it anyway.
What stays untouched until the shell is ready?
A little of the wood around it, on purpose, and workshop 71 is where I said it most clearly. Later on I'll be able to undercut it, but for now I don't have to, until I establish my shell movement, so I wanted to keep some of the material untouched. At least I could see the main movement I had done.

Back in the third workshop of the floral panel I looked at a part from the side, liked it, and told you not to worry about that future shell. The overall movement there still did not make me happy, so I went slightly deeper and drew it again.
Part three of workshop 116 carried on without the shell. A #11 of 10 mm (3/8 in) went closer and deeper, attacking from both sides because of the grain. The big gouge went straight down again, and a #3 of maybe 20 mm (3/4 in) continued those straight down passes. I moved my workbench so you could see, and while the three inch #7 took the mess away I stopped to make sure the bench was stable.

In between I outlined one more line and said the area would sit a little lower than the future parts. Outline first, straight down second, then level it to the level I need. Last, a small #11 cleaned inside. The spot will be worked again anyway, I said, but it looks nicer and there is less chance to catch a sharp splinter.
Where the shell came up, lesson by lesson
| Lesson | Said | Wood | Next |
|---|---|---|---|
| Venice Room 116 | One shell movement planned beside the acanthus | Lowered first | and later I would redraw it |
| Venice workshop 97 | Too deep leaves no material for it | Held back | a number three for the stem |
| Workshop 60, Venice | Deep excavation, but I asked how deep | Watched depth | since a shell sticks out underneath |
| Then workshop 59 | Only two inches of board to spend | Really wise | with another leaf still to carve |
| Floral panel 3 | Lowered the shell part, not the shell | Measured first | from the old piece's highest spot |
| Panel workshop 14 | The joint to my shell needs meat | Left meat | because the grain makes it weak |
| Back in 54 | Rococo beats Baroque for these shell movements | My opinion | then a small number 11 underneath |
What can you take to your own panel?
Find the place for the shell while the acanthus beside it is still only an outline. That is what I did in workshop 116, showing you the leaf line and the spot beside it before the wood went down. I measured the highest spot of the shell first on the floral panel.
Keep some material the shell will need. I kept warning about going too deep, in 116, in 97, in 60 and in 59, and the floral panel got meat left at the joint because of the grain. Without that wood, as workshop 97 shows, the shell movement comes up short of material.
How I carve a shell rib by rib is its own lesson in the Venice Room, and it belongs to that page. This one stays with the room a shell needs beside an acanthus.
Every lesson named here opens with full access to the school. Part 10 of the Venice Room holds workshop 116, between workshop 115 and workshop 117, and the whole floral panel with a molding is its own course, fourteen workshops of carving on one panel.
Is there a spot on your drawing where two shapes meet? Could one of them sit a little lower? Lower that one first, and keep some wood for it.
How it's done
- Find the shell's place. I showed the acanthus line and the spot for the shell on its side in workshop 116, before lowering anything.
- Lower that part first. I removed that wood and made it a little lower while the acanthus there was still only outlined.
- Watch the depth. Digging too deep near a future shell leaves it too little material, as I warned in workshop 97.
- Bring the drawing back. After lowering, recreate the drawing, as I told you I would in workshop 116.
- Leave some wood untouched. Keep some material untouched while the shell movement has yet to come, the way workshop 71 shows.
Frequently asked questions
Is a shell movement the same thing as a carved shell?
In my lessons the movement is the stretch of ornament that will become a shell, planned next to the leaf long before any rib exists. I lowered that section of the floral panel and said plainly I was not creating the shell itself yet, only setting the detail in.
Why is Rococo known for shells?
Rococo began in France in the 1730s, and one motif of the style mixes seashells with acanthus leaves. I said on camera in workshop 54 that the shells make Rococo better than Baroque, as my opinion, and I love Baroque too.
How deep should you lower the wood under a shell?
Deep enough to give the shell its own level, and not so deep that it runs out of wood. My warning in workshop 97 was that too deep a pass would leave the shell movement without enough material, and in workshop 59 I had just two inches (about 50 mm) of board to work with.
What to carve next