
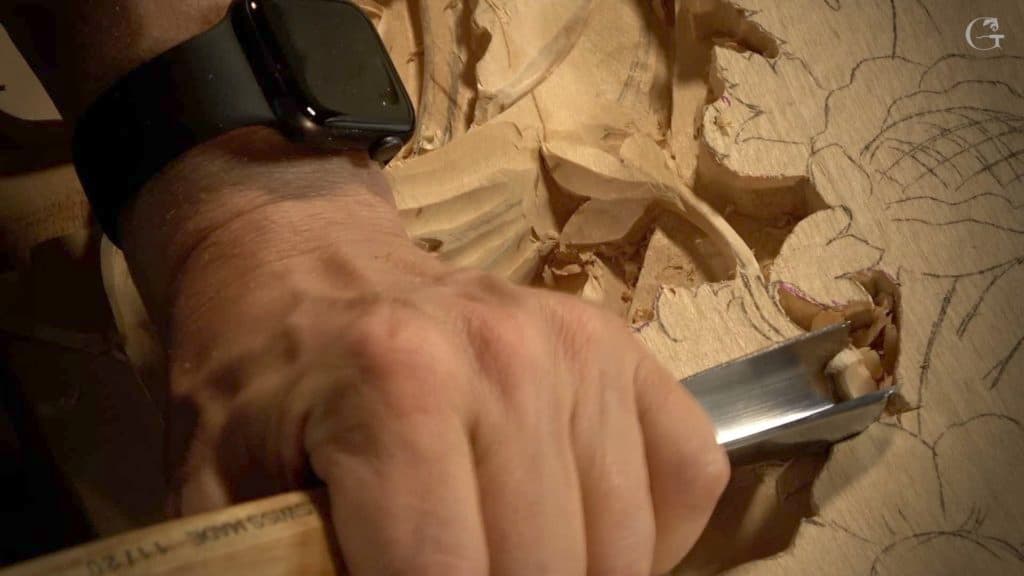
Alexander Grabovetskiy, woodcarver, School of Woodcarving · Published 2021
What is the difference between a spoon gouge and a spoon veiner?
Quick answer: Spoon veiners are spoon gouges with a number 11 edge, the U, on a bent blade. Other spoon gouges carry other sweeps. In workshop 112 of the Venice Room I took a 2 mm one beneath the acanthus scroll and met the opening from the far side.
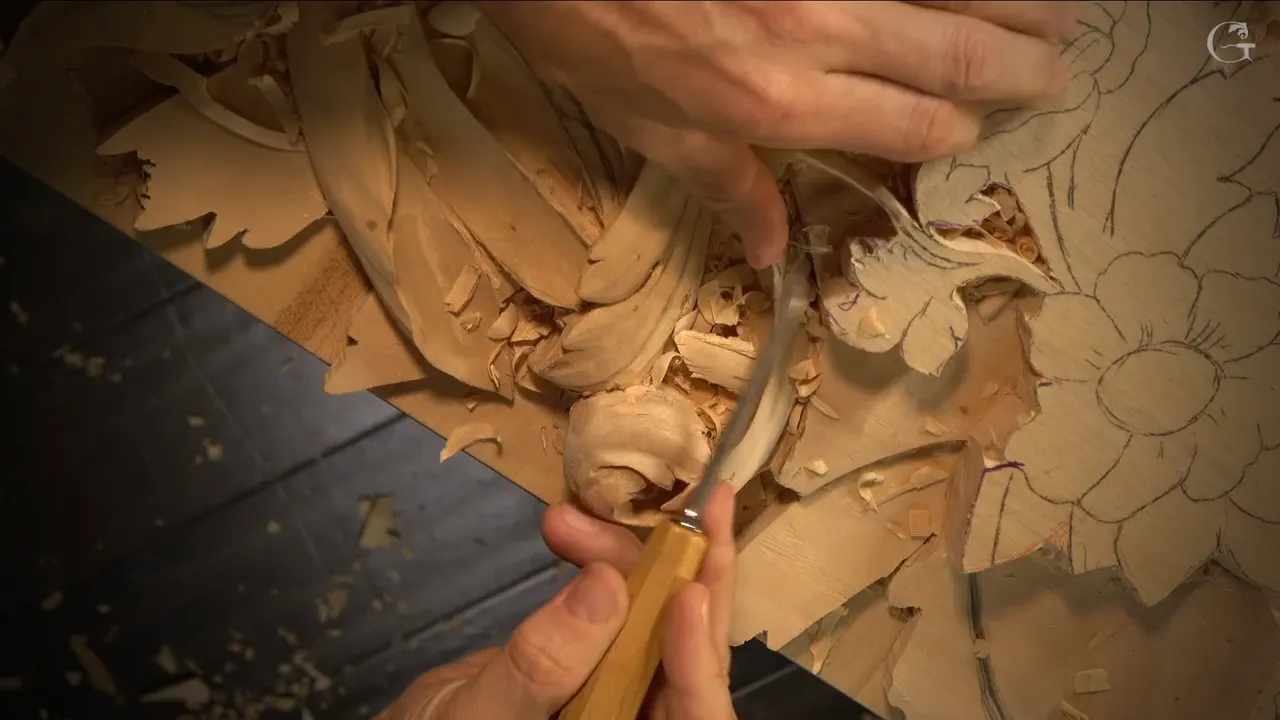
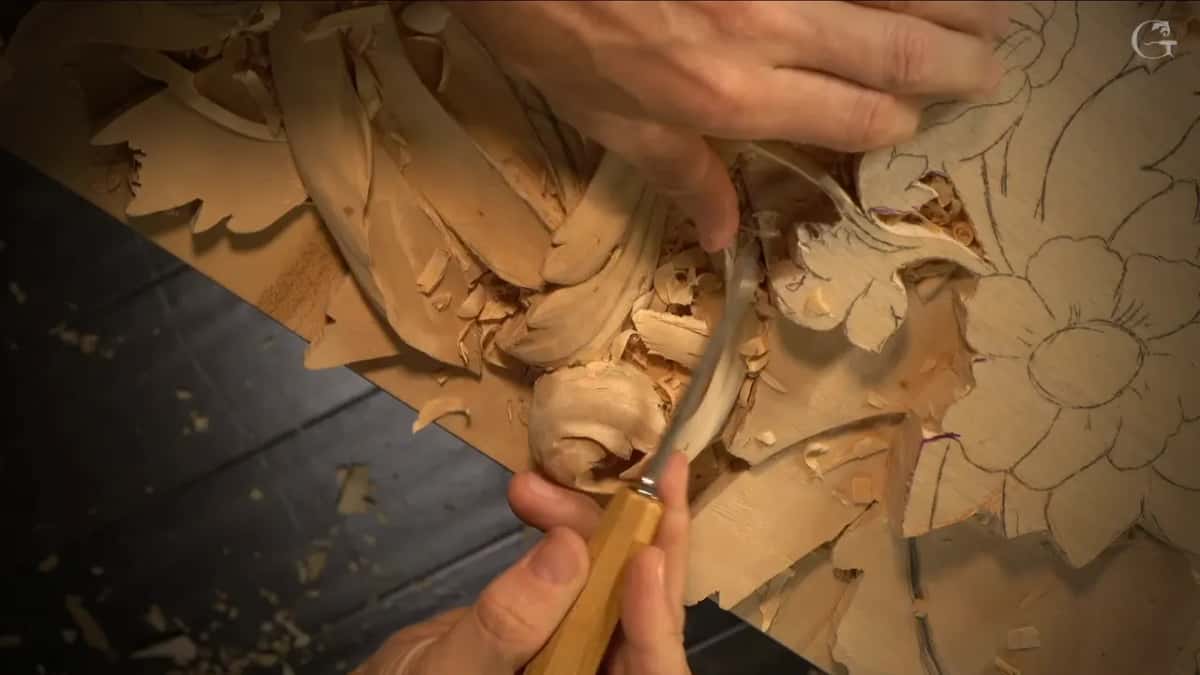
A spoon veiner is a spoon gouge with a number 11 edge, the U shaped veiner, and its blade is bent so the edge can go where a straight tool can't get in. In workshop 112 of the Venice Room I used a 2 mm (about 5/64 in) one to carve under a part of the acanthus and come out the other side. On this page the word spoon means that bent carving tool. Nobody is carving a kitchen spoon here.
I mix up the two names myself. Watch enough of my lessons and you will hear me say spoon gouge, stop, and fix it to spoon veiner.
Would you like the inside of an undercut to come out clean? Would you like to know which bent tool I took under that scroll, and what size it was? Then listen to what I said at the bench.
Workshop 112 comes first, since this page belongs to it. After that come eleven other workshops of wood carving where I talked about the spoon, each with a link, so you can go and watch the moment yourself.
What the two spoon names come down to
Mine in workshop 112 was a 2 mm veiner on a bent blade, and it went under that scroll and out the far side.
Again and again in these lessons I said spoon gouge first and then corrected it to spoon veiner.
Either works, I said more than once.
On camera I picked up spoon veiners of 2, 5 and 7 mm.
The spoon comes out once a straight tool stops reaching.
After the spoon had gone through, a flatter gouge, something like a number 3, cleaned the mess left underneath.
What did I take under the acanthus in workshop 112?
My 2 mm number 11 spoon, about four minutes into the third part of that lesson.
Just before it, I had wanted to create an open spot underneath one part. The grain of the wood ran along that part, and along the grain, I said, it should not be as fragile. What I would do if it got weak anyway, and the whole story of opening a panel right through, is on the page for Part 10 of the Venice Room.

Then I said: let me get a spoon veiner. And I stopped for a second to ask myself which one I should take. Two millimeters, probably. Number 11, 2 millimeters.
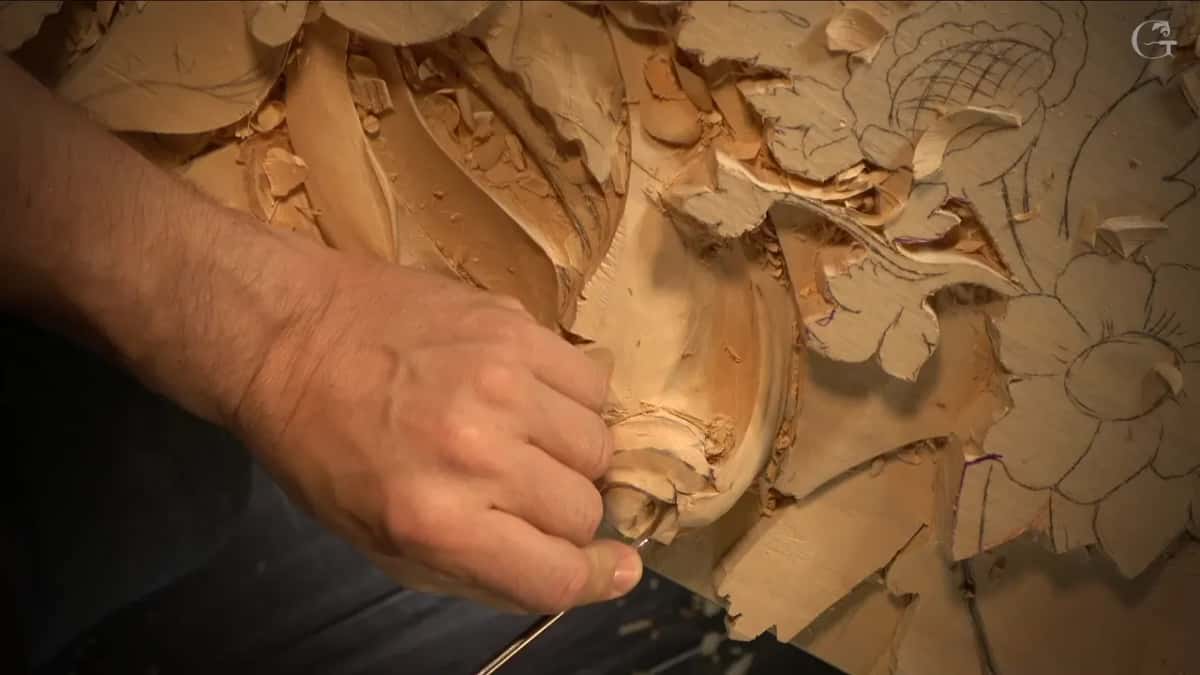
It went in under the part, and after a while I said I think I'm almost all the way through. It's going to be airborne. That is how I put it.
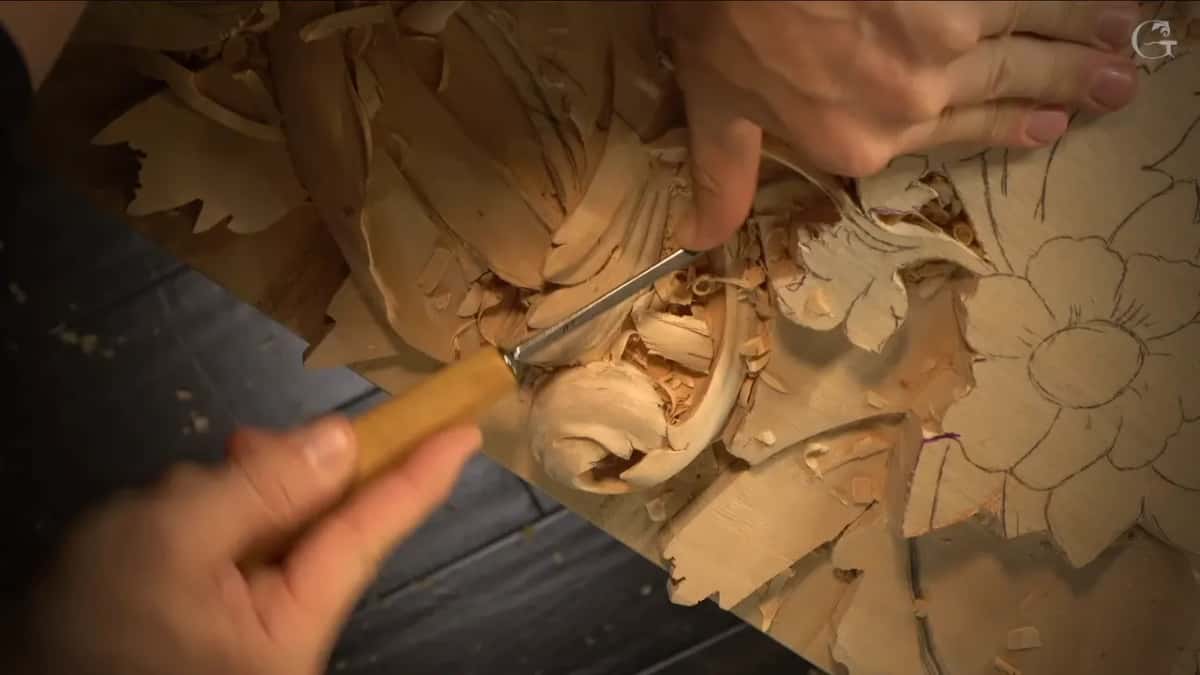
So I came at it from the opposite side. Back toward the opening I had made, until I was through right there, and I showed it to the camera.
Next I needed a flatter gouge, something like a number 3, to clean all that mess underneath. Last came the 1 mm, just to put a small shadow in that section.
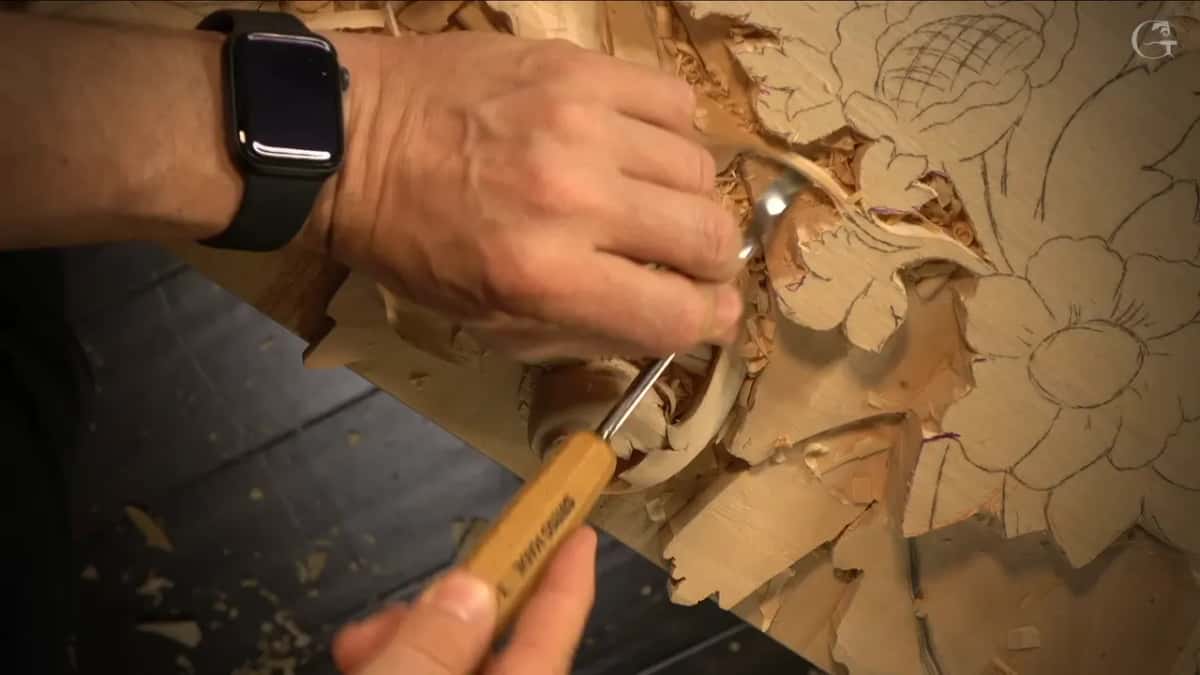
How hard do you push a spoon veiner?
Hardly at all, going by workshop 23.
I changed position there, attacked from another side, and said I got to be careful. Working that spot, I said I'm not pressing on anything. Almost no pressure whatsoever. I let the tool do the work, I let my tool do all the heavy lifting.
Before the spoon came out in workshop 20, the number 11 I had was going in little by little, without forcing. I film all this partly for myself, too. Looking at the screen while I edit, I sometimes see a mistake I made.
Watch my hand in workshop 62. I asked you to pay attention to how I held the five millimeter number 11 I had just picked up. Just two fingers, and it lays like a pencil, with the thumb of my left hand pushing it. Those two fingers create a leveraging point for me. And in Modern Acanthus, right after the spoon, I talked about the hand again: placed really solid, and just the fingers on the tool.
Is a spoon veiner just a spoon gouge with a U?
It looks pretty much the same. But it is a different tool, and you can hear me work that out on camera.
I reached for a spoon in workshop 42 to clean one spot and said: spoon gouge, of course. Not the gouge, spoon veiner. That's what I'm going to use. Number 11.

The fix came in one breath once. I wanted to create a separation cut, said the number 11 spoon gouge, then went straight on: spoon veiner, I should say, number 11, and that will be 2 millimeters, but it's a spoon. That was in workshop 76 of the Venice Room.
Listen to the order of that last line. The number and the size come first, and the spoon comes last, as the shape of the blade. If the number 11 itself is new to you, the straight veiner has its own page in Part 3 of the Venice Room.
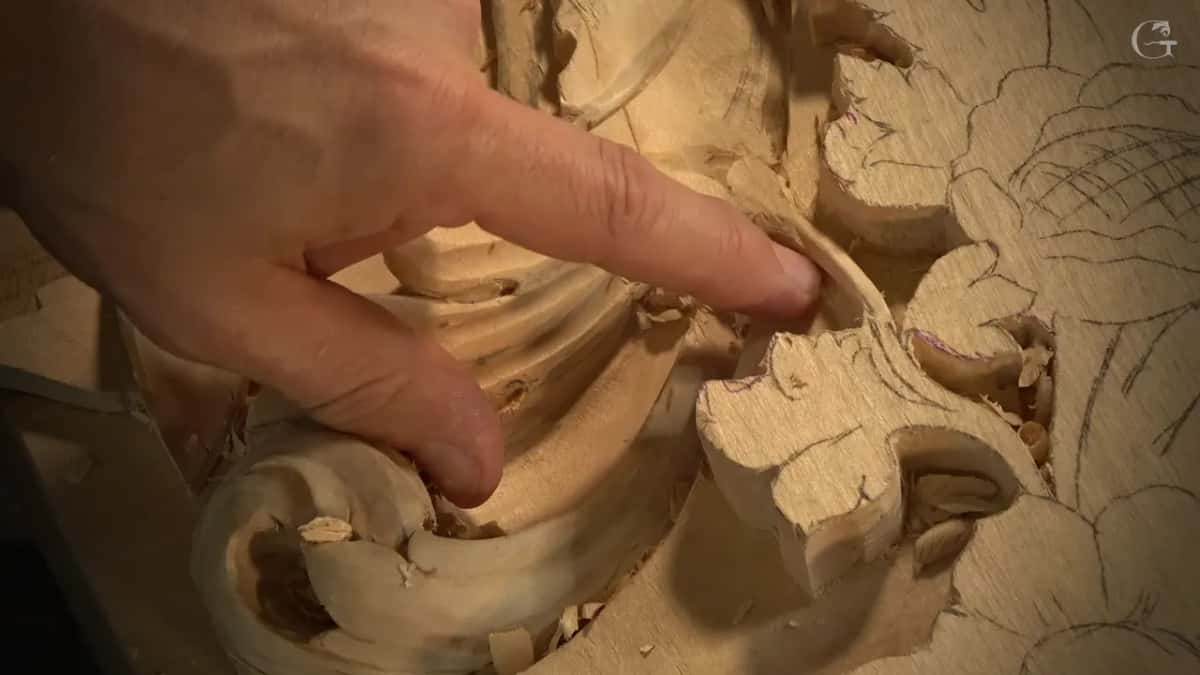
How many times did I correct myself?
Many times, in the lessons I went back through for this page.
My words in workshop 20 were that I probably should use a spoon already, a spoon gouge or a spoon veiner, I should call it. It happened once in 23 and twice in 42. Just before the spoon in workshop 62 I said I don't want to split, and then: let me get a spoon gouge, not the gouge, the spoon veiner.
Each of workshop 63 and workshop 81 got an I should say. In 81 I even said the word twice. Veiner.

Then there is the Modern Acanthus course, carved from a 1903 design. In its third lesson I told you that you do have a spoon gouge, and then: or spoon veiner in my case. Halfway through that moment I asked whether the camera could even see it, and said I need another camera. The same words came out again in the fourth lesson.
I won't hand you a rule, though. Workshop 22 went the other way, and there I told you spoon gouge or spoon veiner will work the same. After that I picked up a seven millimeter veiner, number 11, and made my first pass. A little later I wanted to fix the side of a pipe and give it a little deeper shadow, and thought maybe a smaller one, maybe five millimeters.
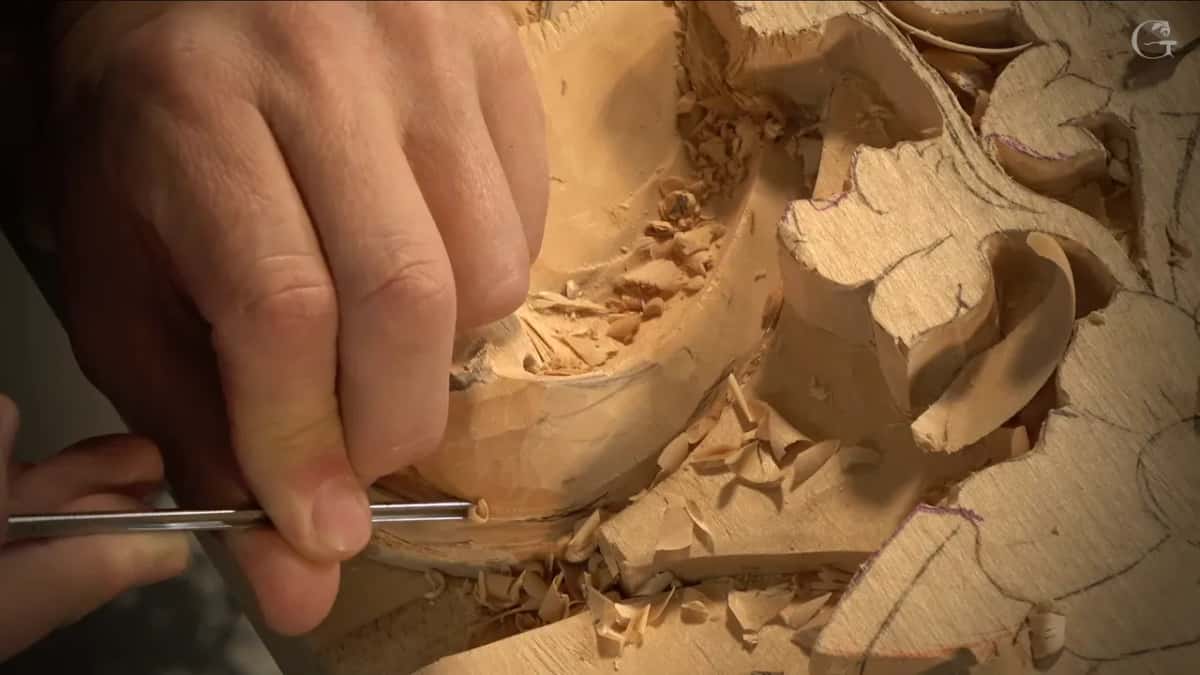
When does a straight tool stop reaching?
At a certain point it can't get in, and that's when the spoon comes off the bench.
Those are close to my words in workshop 23. The one in my hand was a little too small, so I used the 2 mm, because I really needed a smooth transition from the sides and also the back of it. I did not want to see any roughness inside, since it would be visible from the bottom. That would be a mistake for me.
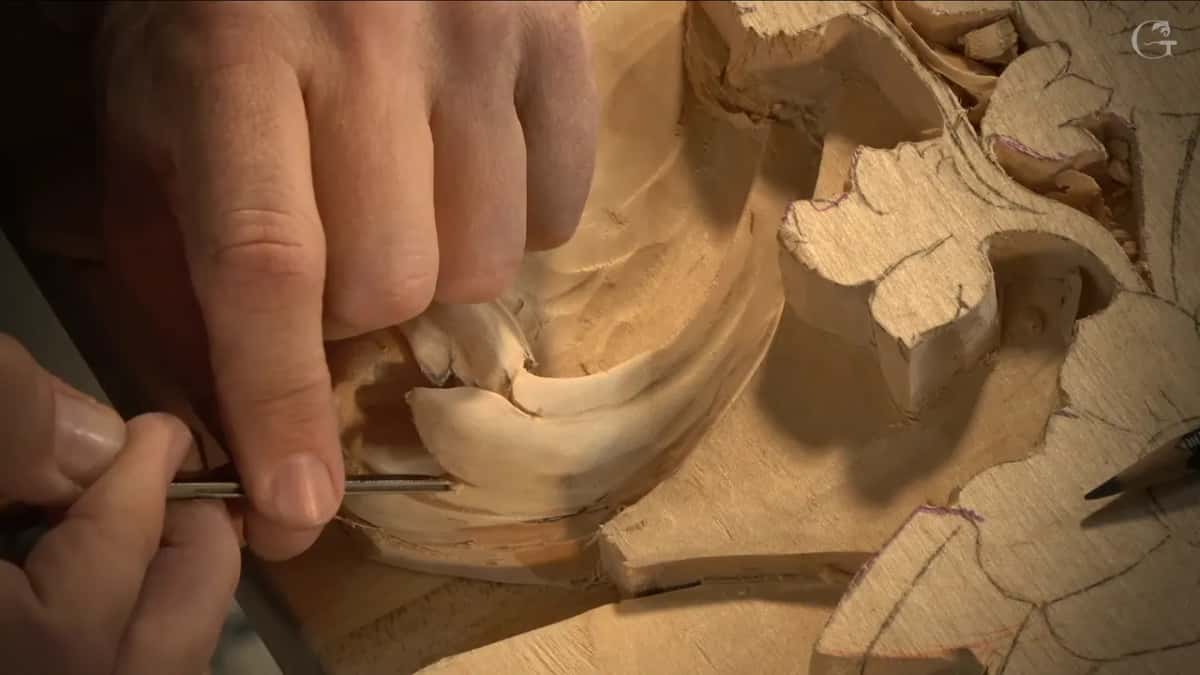
Over in workshop 22 the reason was shorter. Everything is in my way, I said, so maybe a spoon.
Spoon gouges can carry other sweeps, and the moment a straight handle hits the carving is its own story. That story is told in workshop 71, where I also named a spoon gouge number nine.
What size spoon veiner came out most?
Two millimeters. It comes up in four of these lessons, once as a maybe.
| Lesson | What the spoon was doing there | Size | My words |
|---|---|---|---|
| Workshop 112 itself | Went under the scroll until fully through | 2 mm | Airborne, I said it twice there |
| Venice Room 23 | Chosen for a smooth side and back | Same 2 mm | I really need the smooth transition |
| Venice Room 76 | Began my first separation cut with it | Also two millimeters | 2 millimeters, but it's a spoon |
| Same room, 81 | To get rid of material, from two sides | Five millimeters | Veiner. Maybe use five millimeters again |
| Modern Acanthus 3 | For a problem area like that one | Seven millimeters | I need another camera, I said |
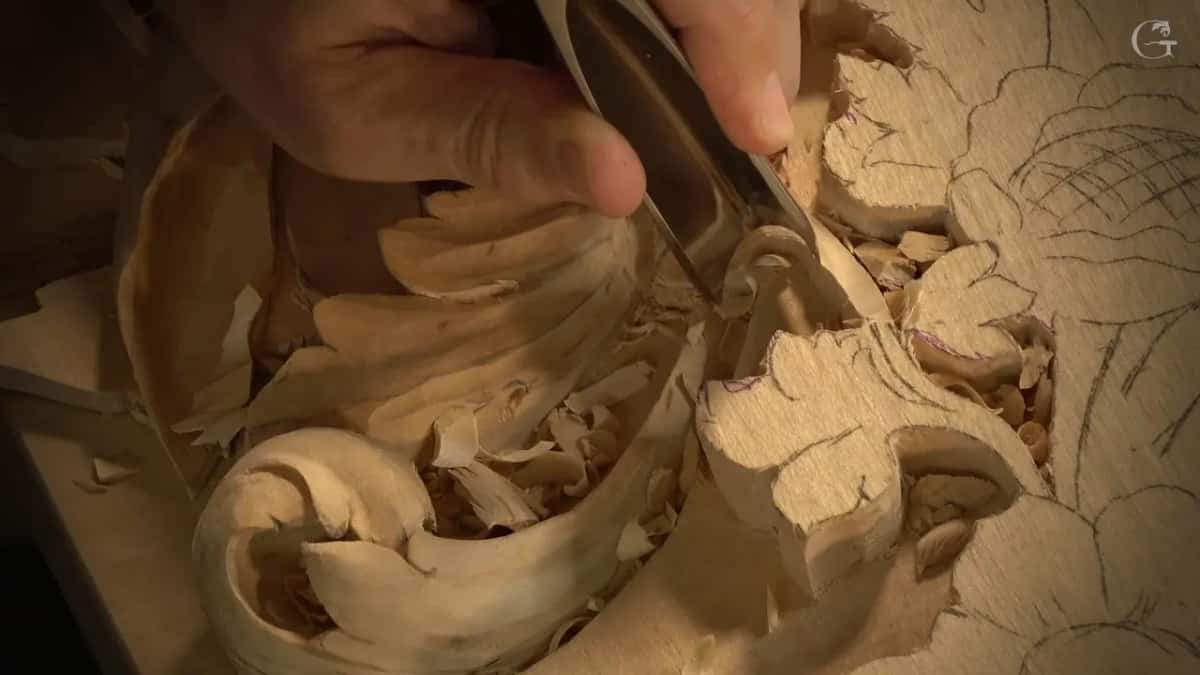
Five came up in workshop 81. The first tool I picked up in workshop 62 was a little too big, and I went down to a five millimeter number 11 to excavate a little deeper. Seven millimeters was the size of my spoon veiner in Modern Acanthus, and I told you there that if you do have a 10 mm, you can always use a spoon.
Keeping a bent edge sharp is a different lesson, and it lives in the sharpening course.
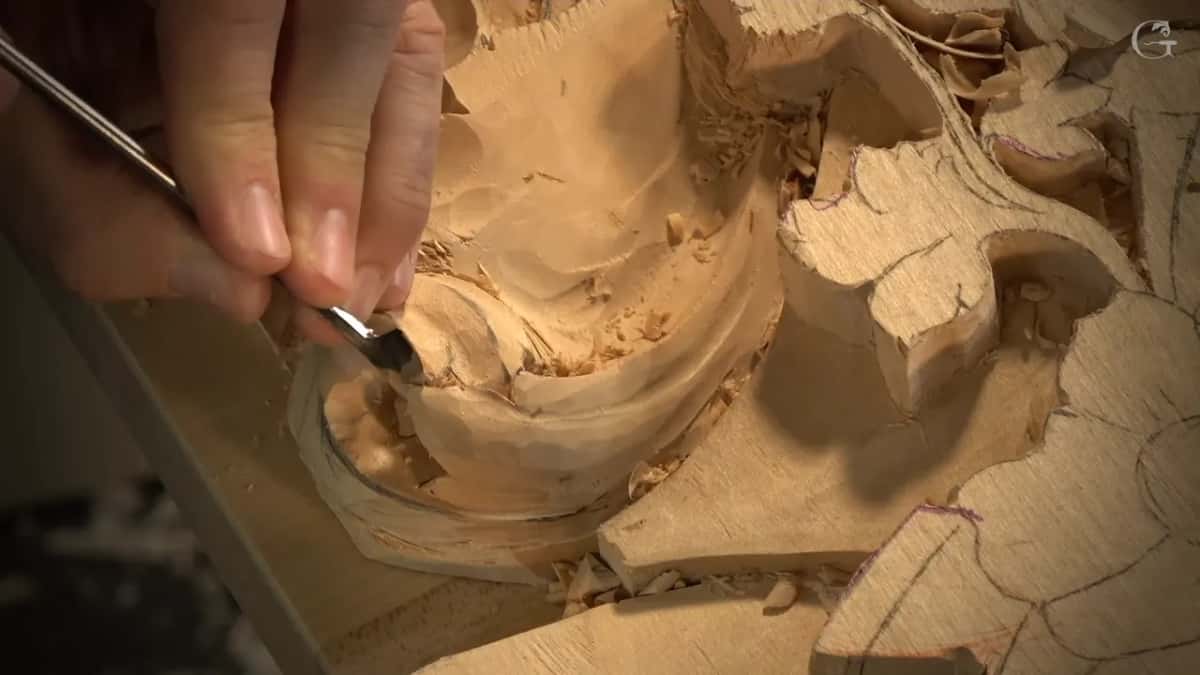
What does the spoon do once it is under a part?
Mostly it cleans and digs, and more than once I worked it from both sides.
Attacking that from both sides, I said in workshop 42. With the smaller one I could get even more inside, which I don't have to do right now. Not at this point, anyway.
Later in 42 the spoon had to go uphill, and I said that part was going to be a little bit tricky. I wanted to make sure I was not doing the wrong thing. There would be a really deep excavation there, but it had to feel like it's growing from underneath, and I did not want to lose the feel of the overall movement.
The plan in 81 was the same. Get rid of some of the material with the spoon veiner, then attack it from two sides. Right after, I said I'm not undercutting really deep yet. I don't really need it, not yet at least, and later on I absolutely will fix this shape.
I thought it more logical, in workshop 76, to take one part and go underneath that way. That's kind of a challenging area, I said, and switched to a number four.

I was about to take a 2 mm spoon veiner to clean even better during workshop 63, then saw I still had some material right there. No problem, I said, and took a number nine of about five millimeters. Once it was clean I told you to try to sand that, if you wish to use sandpaper. It's impossible.
Holding back shows up too, in workshop 20. I did not go right into one section, since I would still have a chance to work on it when I did the head of the acanthus. I just wanted it to be distinguishable.
Modern Acanthus gave me a mess to look at. What am I going to do with this mess, I asked, and said I could take a spoon and kind of clean this out, slightly. I didn't want to go too deep, because I don't want to lose my future development. One lesson earlier I just told you to spoon this out. Of course, I said, you have to take it from the side the grain feels right, logically, and I was attacking from the other side only because of the camera. A minute before, I had been joking that less is more, then that more is more.
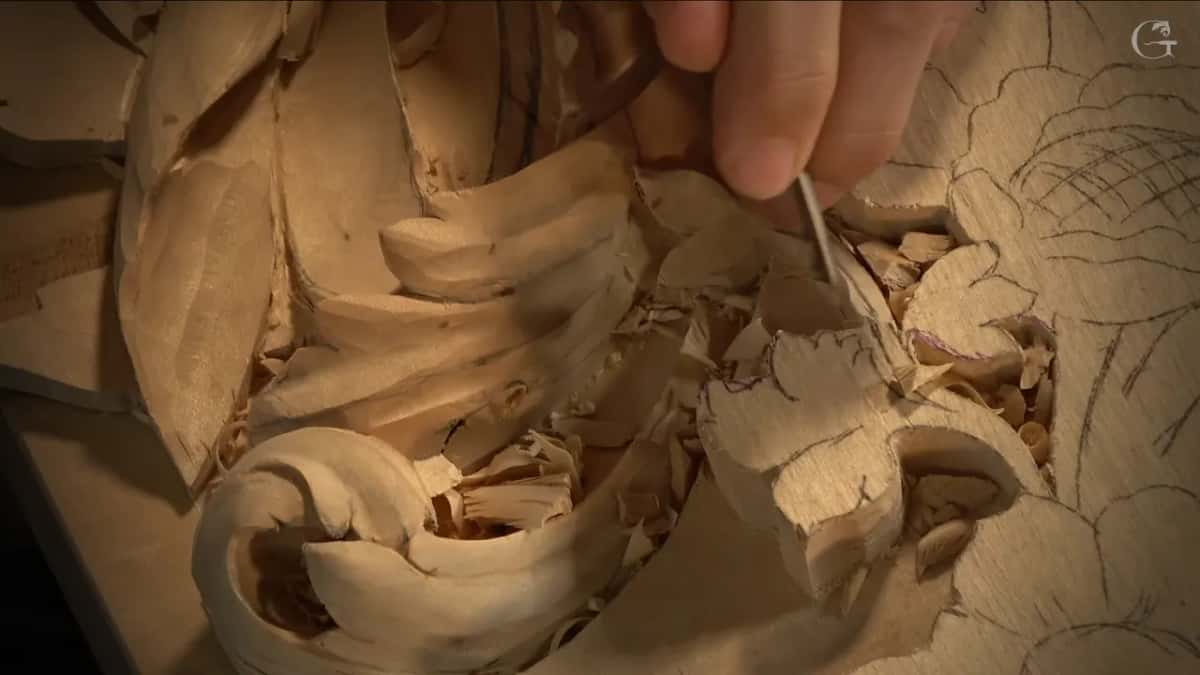
Does the spoon do most of the carving in 112?
Far from it.
Most of that lesson ran on straight tools. Early in the first part a number 11 of 7 mm was a bit too big, so I grabbed a 4 mm, then a 2 mm, then a 1 mm that was really unnecessary there but only takes a couple seconds. One section sat really high and did not look right, so a 14 mm number 7 lowered it.
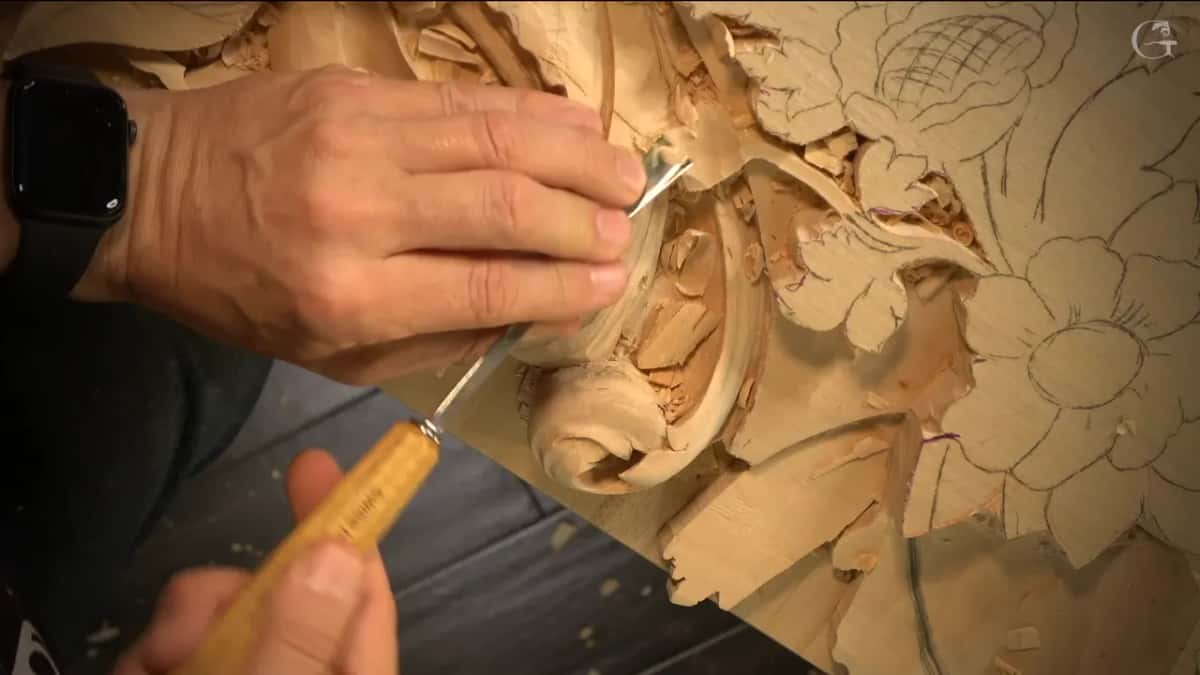
The second part started with a little more prolonging, everywhere I saw a separation. Then I took a number 7 to create a separation in one spot. One section got some waviness, so it looks like it goes downhill and then uphill again. I called it just some kind of leaf edge, not a canvas, so I can be somewhat free with the design. A number 7 gave it some movement one direction and some the opposite way. At the end came a letter S curvature.
Back in the first part, wherever I found a separation or a triangle edge, a 1 mm veiner prolonged it slightly. Not much. Just a little bit, to give a little more pop to that detail. I had cleaned inside a little more by then, and you could see the light going through.
A 20 mm number 11, the big one, did an excavation where I didn't want to hit the edge. It was really important for me to keep that line. The spoon came in late, for one job, and before the lesson closed a number 1 chisel came out for the next section, which goes down from underneath the flower.
That is the whole story of the bent tool in this workshop. A minute or two under one part of a relief panel, in the style of the woodwork of Venice, and then back to the straight ones.
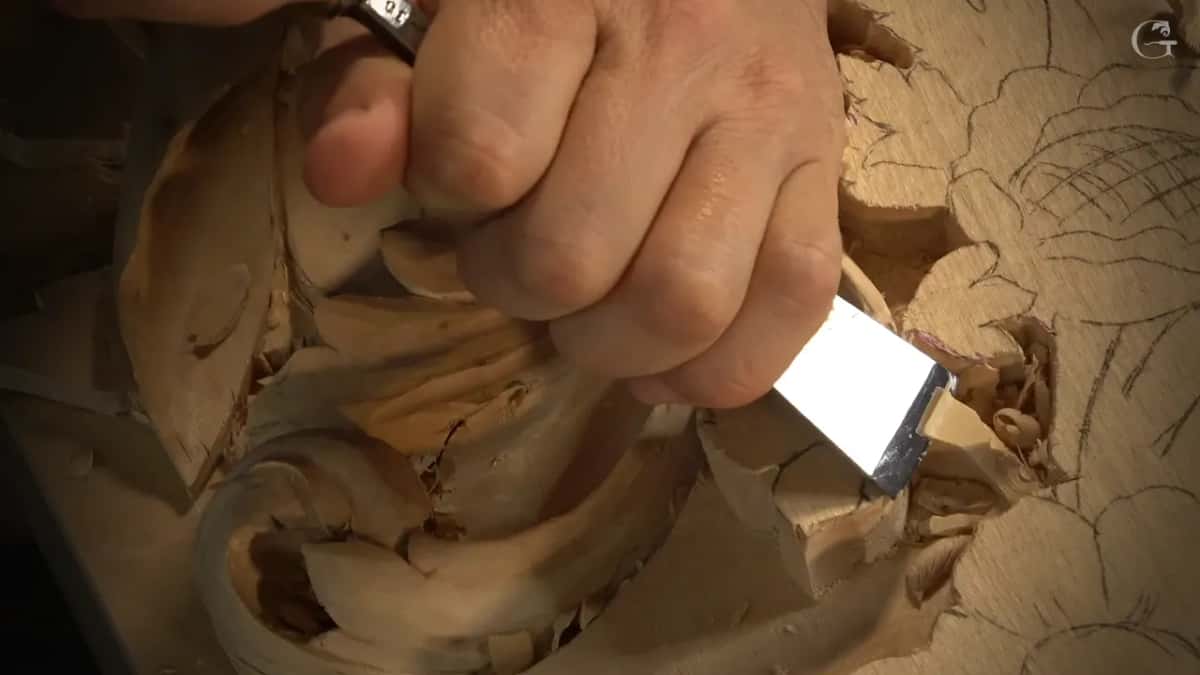
Where can you watch the spoon go under?
Right in workshop 112, the lesson this page belongs to, about four minutes into its third part.
It sits between workshop 111 and workshop 113.
Want to see that blade go under and come out the other side? Then come to the bench with me. Every workshop I named here opens with full access to the school, and most of it sits inside the ornament of one carved room.
How it's done
- Pick the size first. Stop and think which spoon to take. I settled on a 2 mm spoon veiner.
- Go in underneath. Carve under it with the spoon until you are almost through.
- Come back from the opposite side. Turn to the other side and carve back toward your opening until you break into it.
- Clean underneath with something flatter. Switch to about a number 3 and clean the mess left below.
- Finish with a small shadow. Take the 1 millimeter and put one small shadow in that section.
Frequently asked questions
Is a spoon veiner the same thing as a spoon gouge?
Close, with one difference in the edge. On a spoon veiner the bent blade carries the number 11 U, while spoon gouges also come in other sweeps, like the number nine spoon gouge I named in workshop 71. On camera I tend to say gouge and then correct myself.
What size spoon veiner is used in the Venice Room?
Most often it is 2 mm, beneath the scroll in workshop 112 and for a smooth transition in workshop 23. Five came out in workshop 81. For Modern Acanthus mine was seven, and I mentioned a ten as well.
Why pick a spoon veiner over a straight veiner?
A straight one stops getting in at a certain point, and that is when I switch. For workshop 23 I also wanted the inside smooth, since any roughness there would be visible from the bottom.
What to carve next