
Alexander Grabovetskiy, woodcarver, School of Woodcarving · Published 2021
Do you have to carve every small detail all the way?
Quick answer: Indicating a small detail is carving only a hint of it, one light touch that lets the eye find the shape, and then stopping. Workshop 110 has me doing that to little concaves with a 14 mm #7 and a #9 fishtail. One curl, where I wanted real shadow, got a 4 mm #11 run edge to edge.
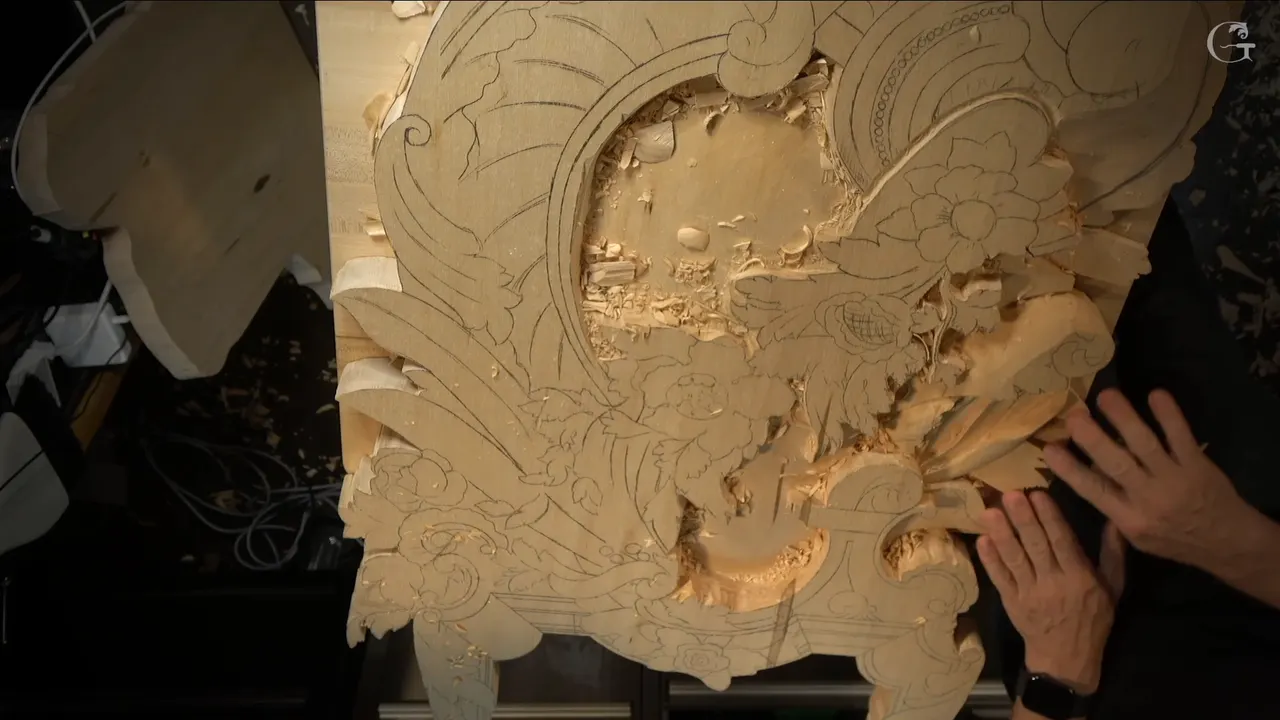
An indication is a small shape carved just deep enough for the eye to catch it, and then left alone. Do you want to know how to carve small details in wood without spending a whole day on each one? In workshop 110 of the Venice Room I gave the little concaves on the frame around the big flowers nothing more than a light touch of a 14 mm (9/16 in) #7, and I said so out loud while I worked. One curl was different. I wanted to exaggerate it, so a veiner of 4 mm went under the full curl.
Is there a carving on your bench with a dozen small spots still waiting for you? Did you ever wonder which of them can stay light? In that workshop a lot of mine were left as a hint.
It is easy to think every mark has to be finished before a piece is done. I understand that. You will see which marks I left light in workshop 110, the one I took across, and my words on the same thing in three later workshops of this room.
What I left light and what I finished in workshop 110
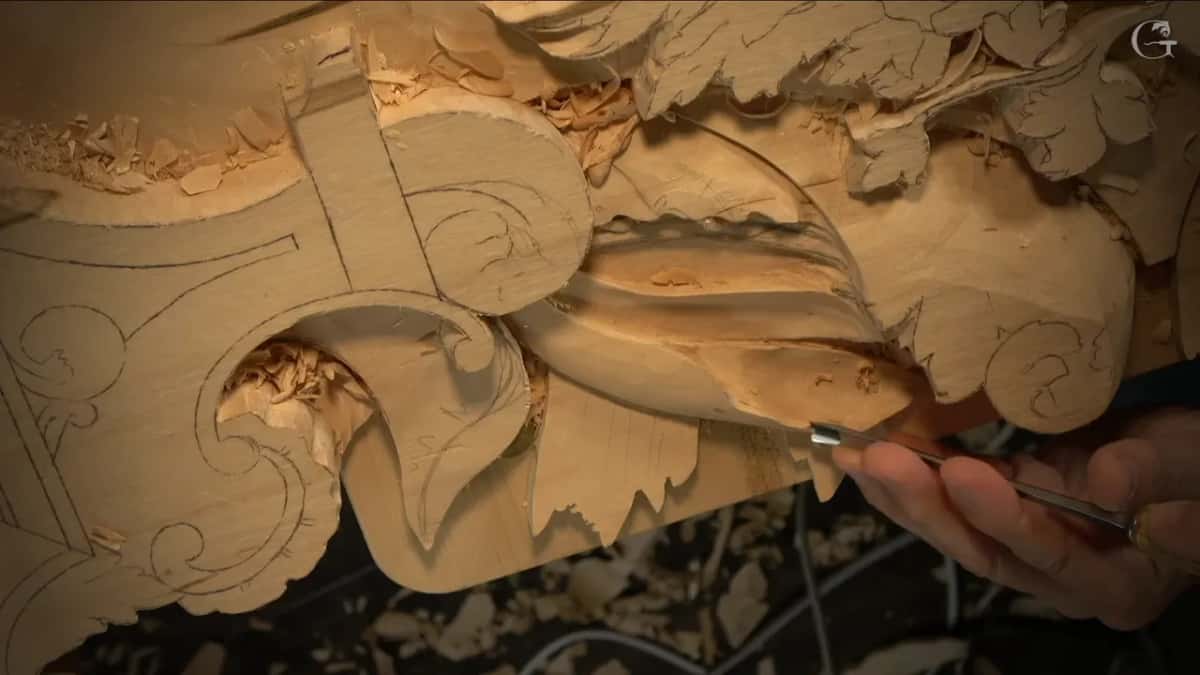
Little concaves beside the flowers got a light touch of the #7, 14 mm wide, and I stopped there.
One Ashley Iles #9 fishtail stroke stayed a hint.
Ridges left behind went away under a flatter #2 of 12 mm, which I blended into the curvature before going on.
The 4 mm veiner went under one curl, end to end.
Two spots were started and left for later, both beside acanthus still to be carved.
A 1 mm #11 and a spoon added extras I told the camera were not needed.
What does it mean to indicate a detail in wood carving?
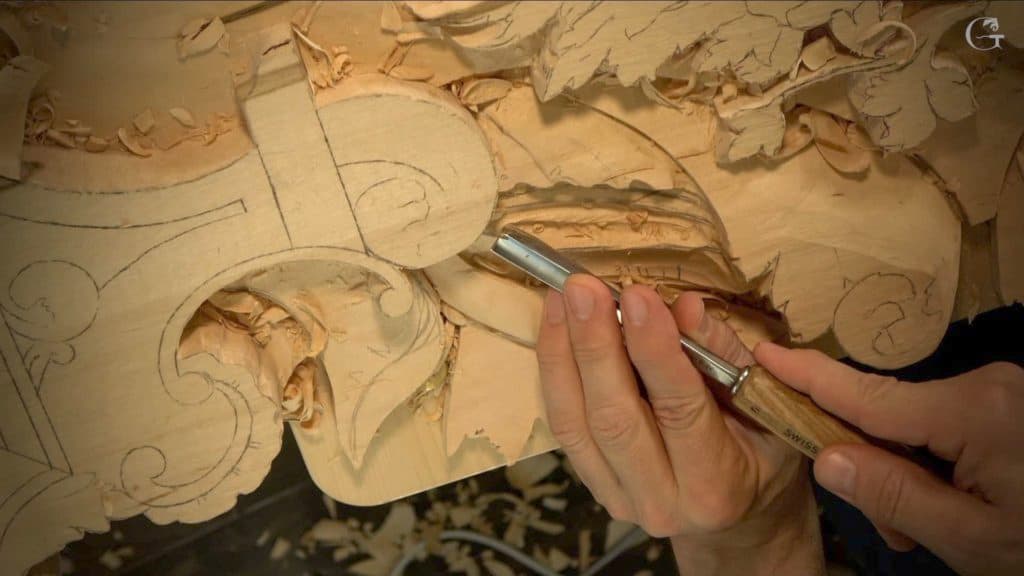
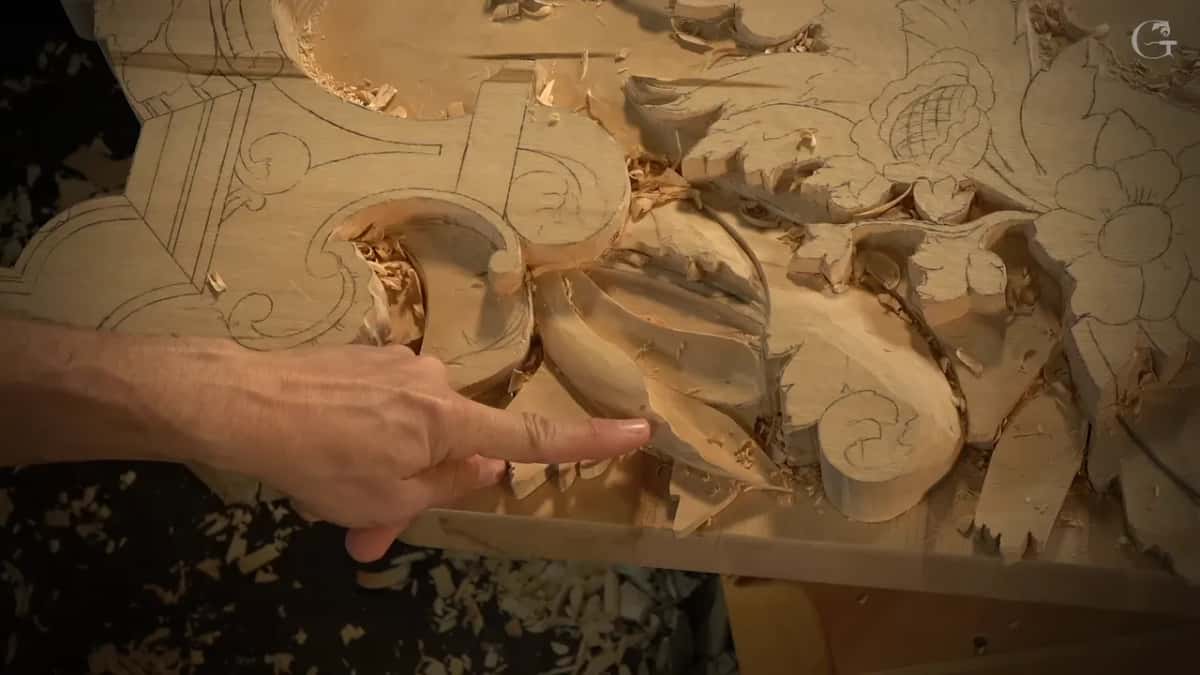
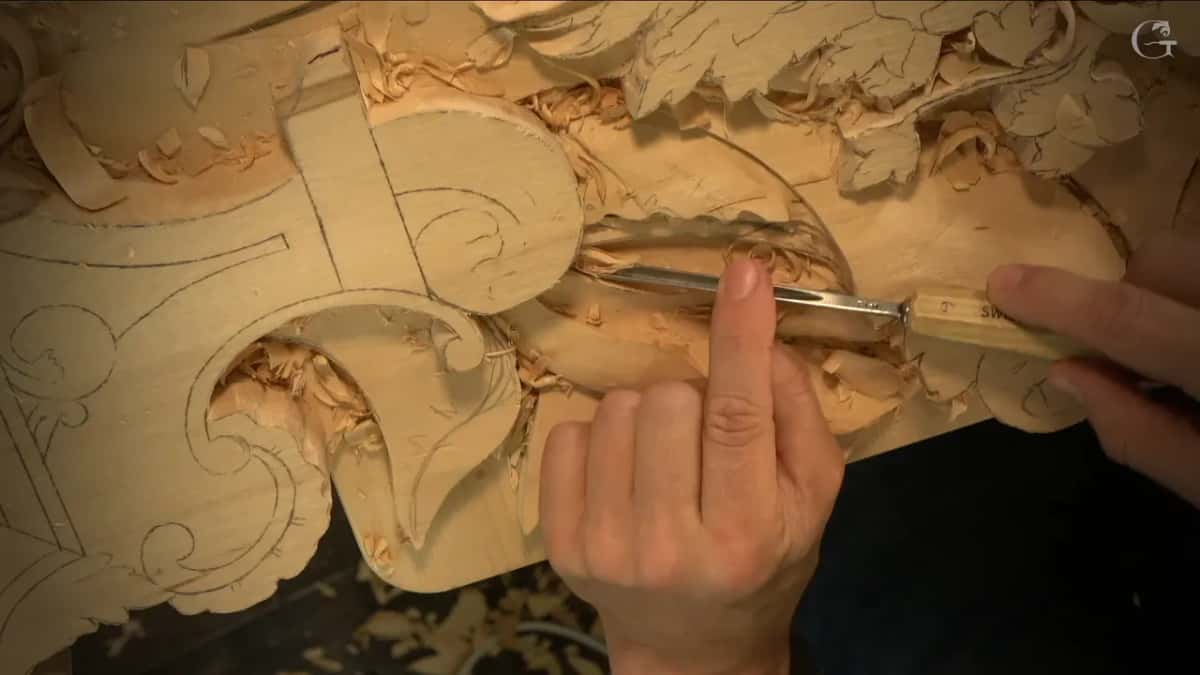
Indicating is my word for carving a shape only far enough to be seen. In the third part of workshop 110 I wanted some concaves on the side of a couple of areas. Not big ones, but still visible. I picked up a #7 of 14 mm, and before I touched the wood I stopped to think first which ones to do.
I told the camera what they would be. "Just indication of those concaves. Okay? So not much." I said I was not going to carry them further and that I did not really need them. One little concave I made cleaner, because I thought it would add some more interest.

Then a ridge I no longer wanted had to go, so I blended it and made it softer. I thought it looked much better that way. You could see it cast a slight shadow.
Every one of those small things sat on the frame around the flowers.
Which small detail got carried across for shadow?
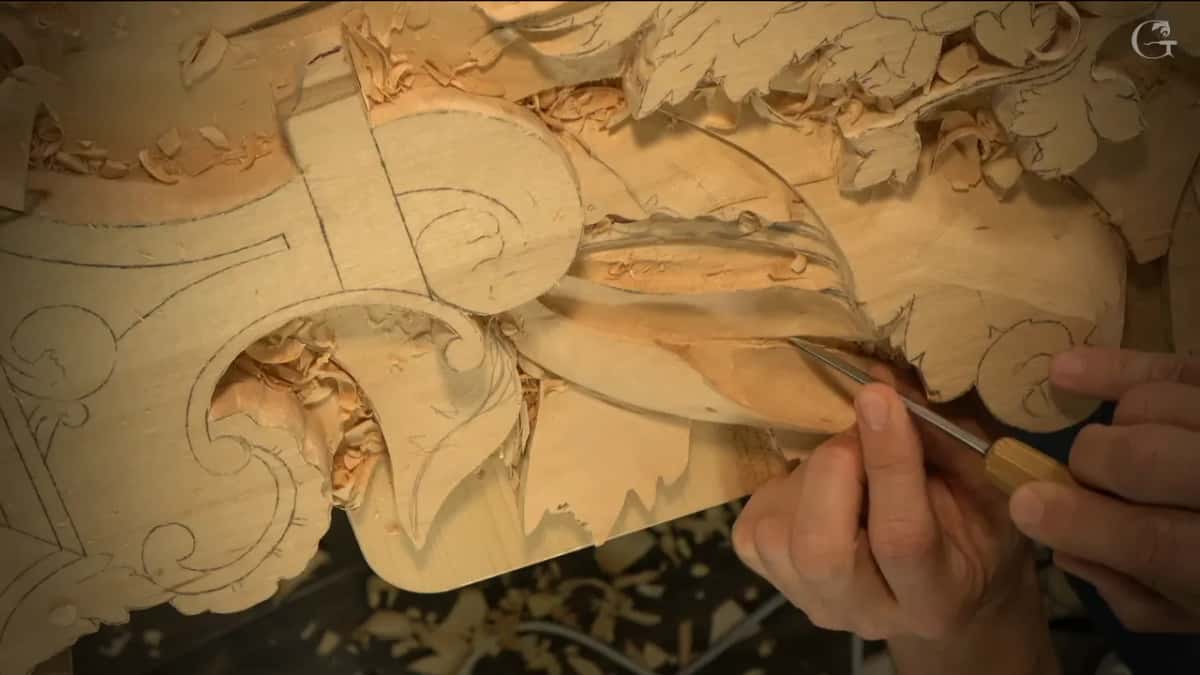
It was the curl. Right after those concaves I wanted one piece to curl up slightly, with a concave on its side, and I thought it would look more interesting. I asked myself on camera if it was important. "I don't really think so. It's not really important." I could just leave it like it is, I said, but every little detail helps.
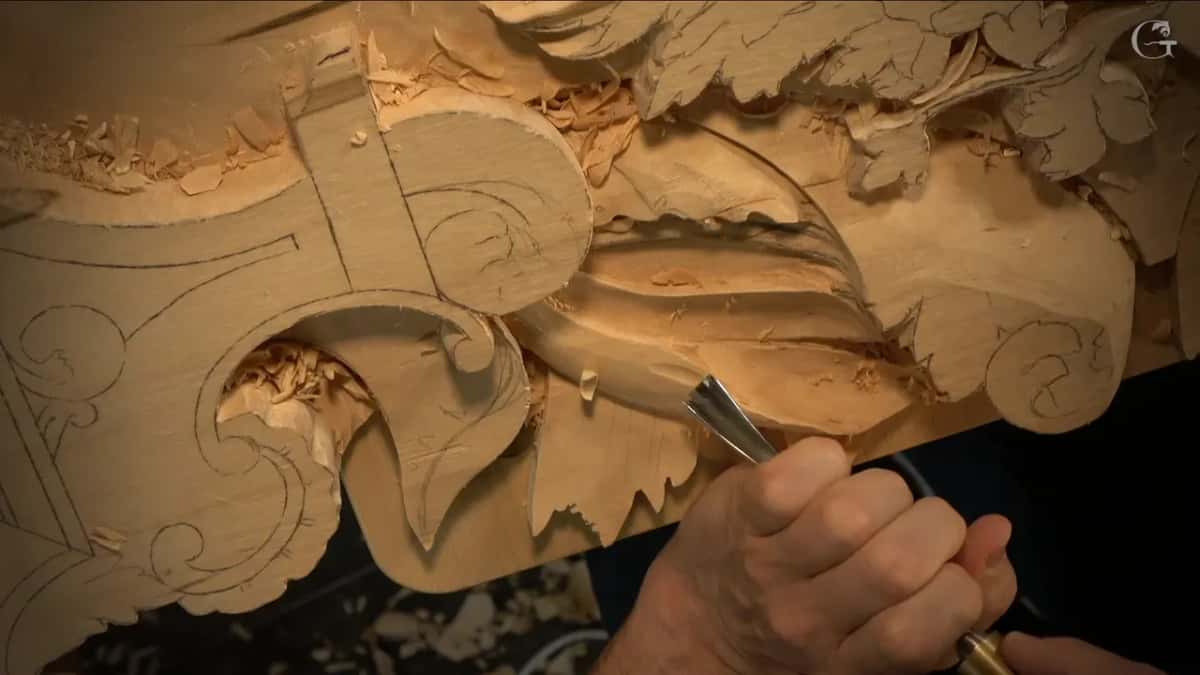
Later in the part I came back to it. To exaggerate that curl I took a number 11 of 4 mm, a little bigger than an eighth of an inch, and undercut it for shadow. That veiner had to escape on one side and escape again on the other. So pretty much edge to edge.
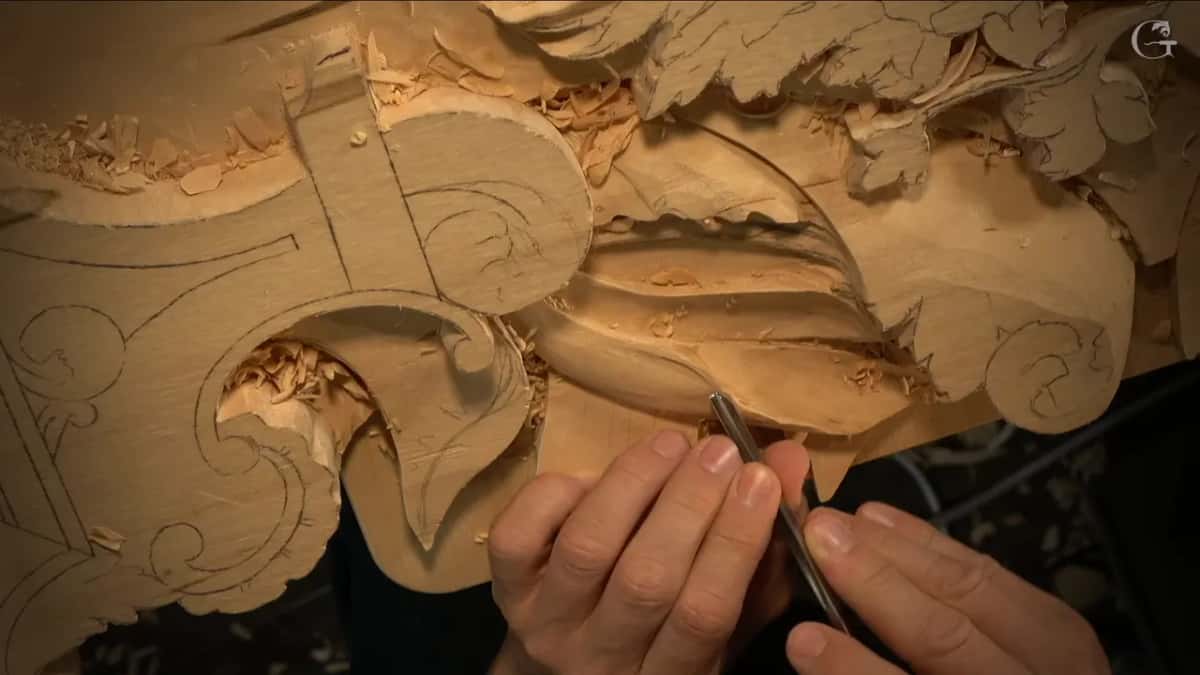
"But see how nice that shadow I just created?" That was me, pleased with a tiny spot. I think it's gorgeous.
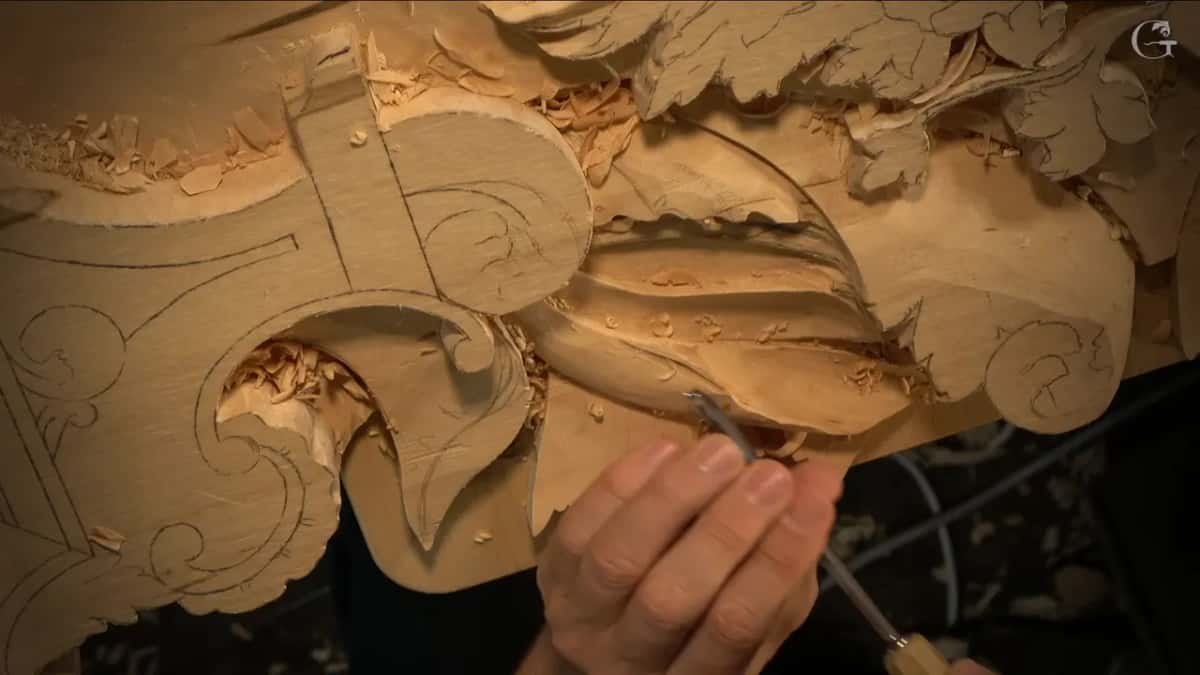
Those two sit side by side on the board. The concaves got a hint from a gouge. Of those two, only the curl got a veiner the full way along, and a shadow I called gorgeous. If you want to see how a curl gets chosen in the first place, that question has its own page.
How to carve small details in wood and blend what they leave behind
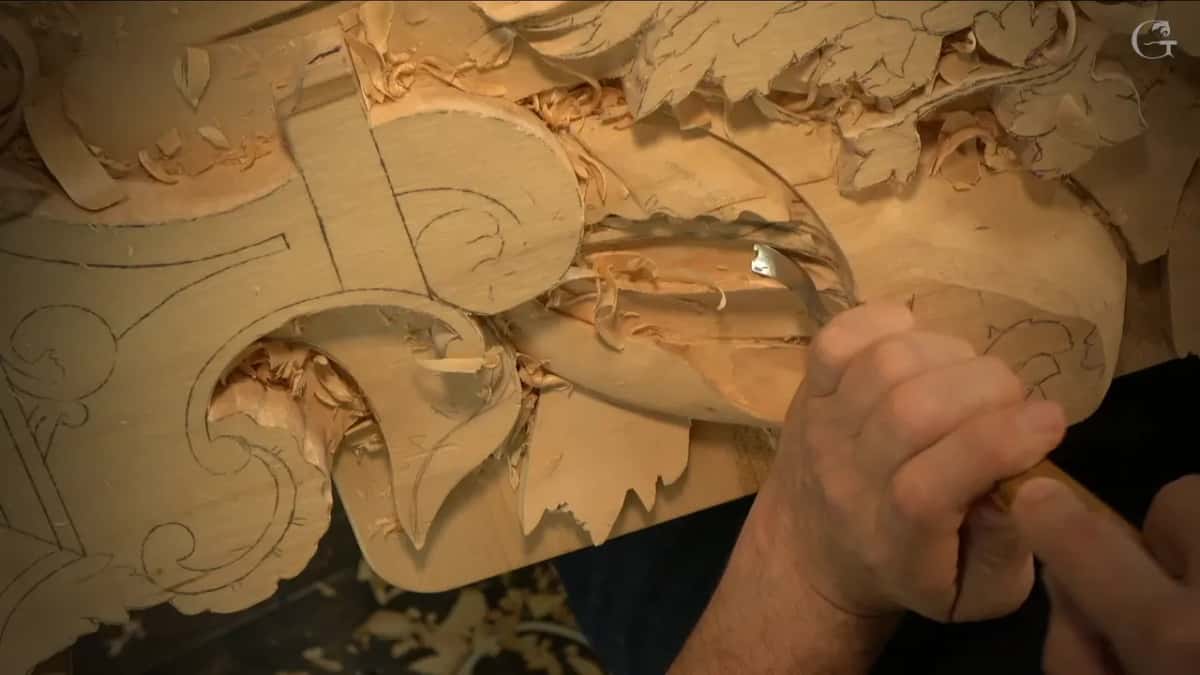
Three times in the last part of workshop 110 a ridge had to go, and three times I blended it away. One came after a #9 fishtail by Ashley Iles, about half an inch (13 mm) wide. I set it on the wood and went only a little bit, not much, and called that one an indication too.
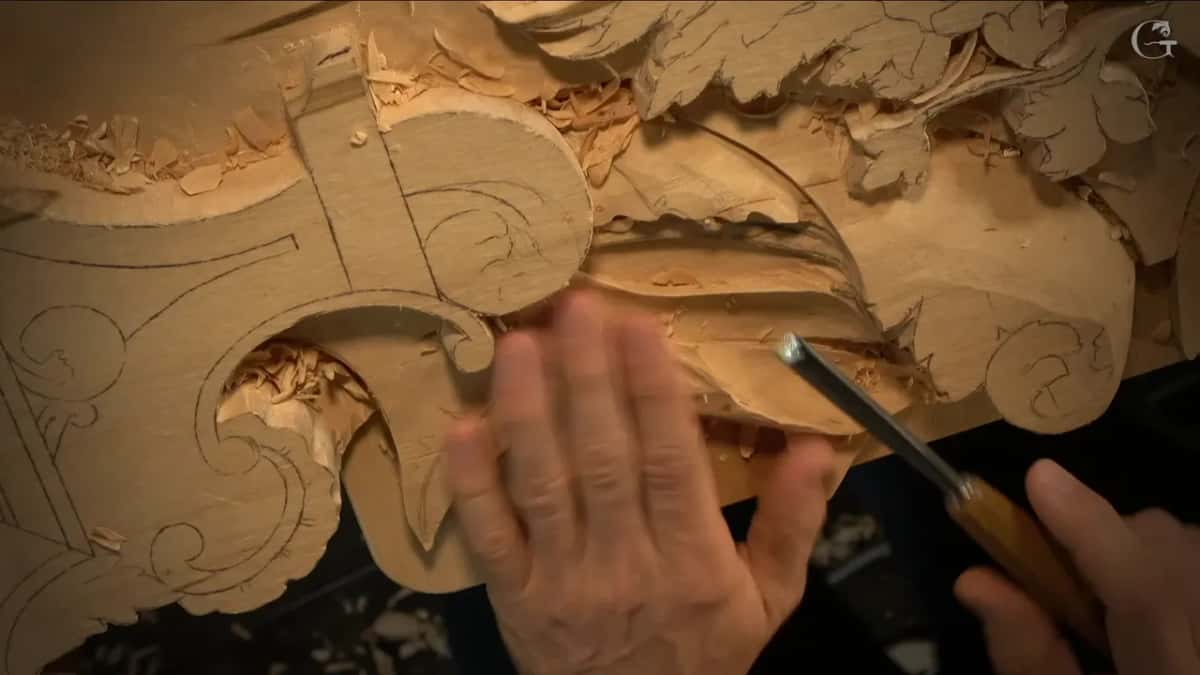
A flatter gouge came next, like a number 2, because I didn't want to leave those ridges. I blended it toward the curve. My #2 there was 12 mm, about half an inch or so.
After the curl was undercut, the #2 came back. I need to blend this ridge, I said, I don't need that. Next I wanted to curl it this way, whatever that word is, and the same #2 did it. A little detail, and to me it looks awesome. Smoothing a surface with a wide chisel is a different job, and blending ridges with other tools has its own page as well.
Why would you start a detail and leave it half done?
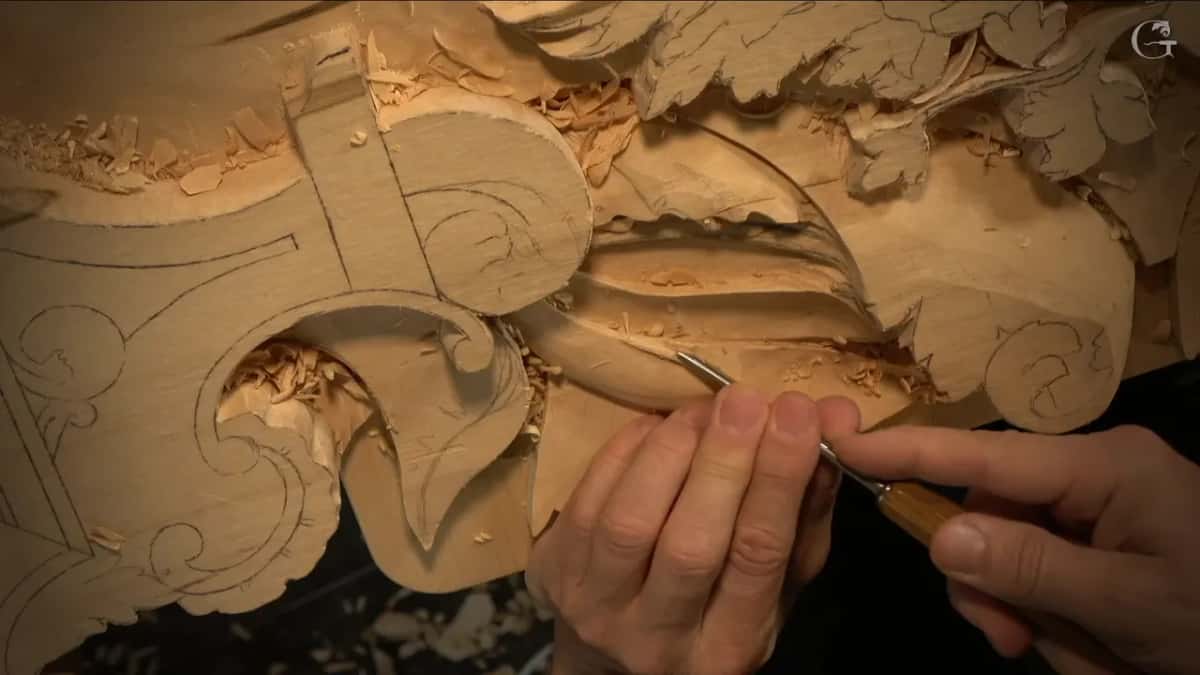
Twice in this workshop a detail had to wait for its neighbour. In the first part there was going to be some kind of stem, just to give a little more detail, and I began it with a 7 mm (about 9/32 in) #11. A concave inside it meant a much, much better shadow spot, I said.
For that concave I took a big #7, about an inch (25 mm), because it gives a wider pass and a cleaner look. But I stopped short. "I'm going to carry that detail a little later underneath of that acanthus movement." For now, a cleaner look inside.

The surface that big #7 left was smooth, really nice, just from the tool. I found a couple of rough spots, went over them, and then I said, "Nothing even I need to clean after. Just pretty much out of the tool, out of the chisel, how some people say it."
Then a 1 mm #11 made a cleaner undercut, a spoon #3 cleaned up to it, and the 1 mm came back to get rid of the fuss I had just made. One spot still bothered me. I picked up the same number 7 but a smaller one. Not the same tool, but same sweep.

The last thing in that part was a pass right where this part belongs to a ray, and that ray continues underneath. I took a 4 mm tool first to see if it would be enough, then a 2 mm (about 5/64 in). The undercut underneath would come later, I said, because I still had to develop that acanthus. Workshop 111 is the next one in this part.
Is a tiny extra detail worth the time?
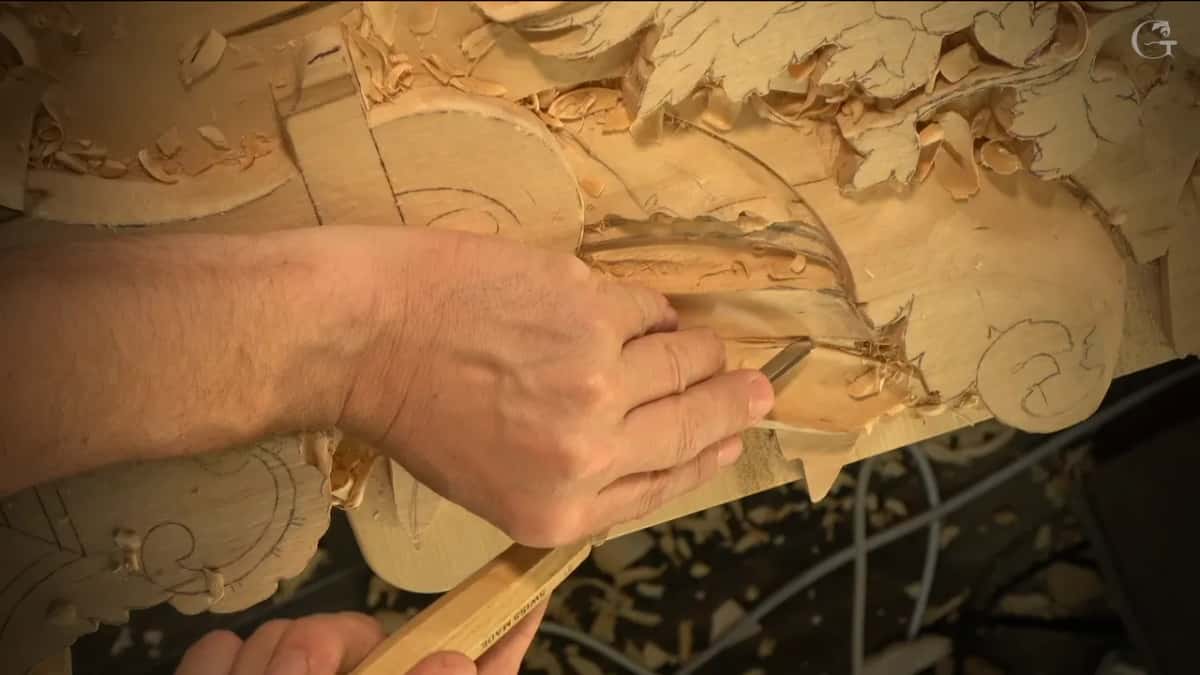
More than once on camera I said I did not need a detail and carved it anyway. At the start of part two I undercut a little more on one side with a 1 mm (about 1/32 in) #11, carefully, to get an even deeper shadow. "Do I need it? Not really, but every little bit helps."
I also said sorry for covering the spot with my hand, and that I had to. Then came a small spoon #3 of 5 mm, 3/16 of an inch, and the 1 mm again to grab the chip and hook it.
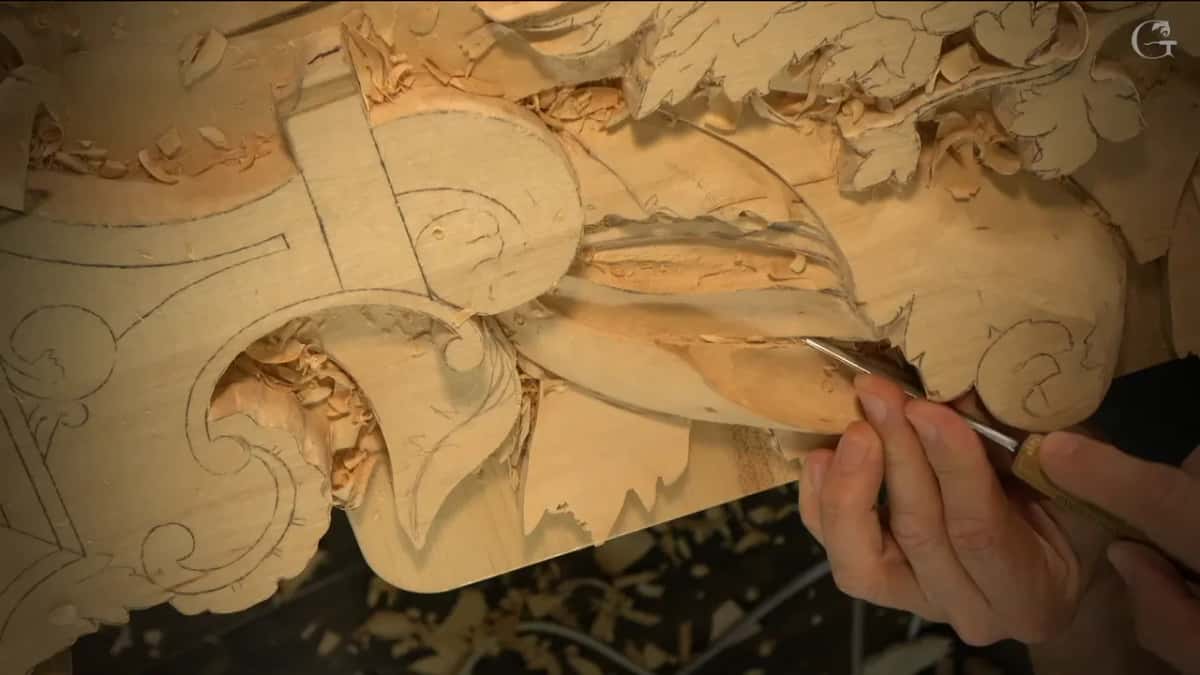
Next I used that 1 mm to exaggerate a separation, one way and maybe the opposite way too. A spoon came after that, and I said, I really don't need to do that, but I think it's going to look better. Okay, wonderful.
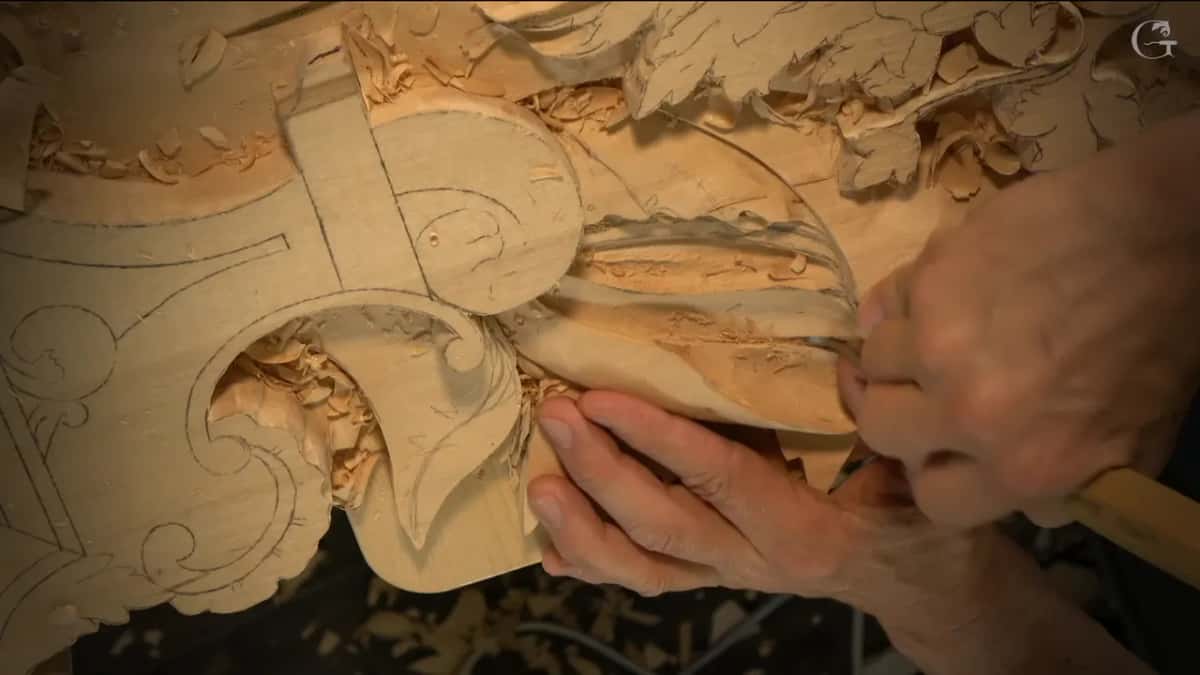
Later I undercut the future stem slightly, 4 mm this time, for an extra shadow spot, and right after it I mentioned the landscapers again. Near the very end of the workshop I said, "Yeah, I know it's a tiny spot, but still, I think it just worth it." In part one I had told you that maybe you don't see as much, but I think it looks awesome. Personally, of course.
If you are curious about fine details on a big carving, that page follows one small gouge at a time.
How far did each small detail go?
Here is the whole lesson in one table, the light touches and the one shadow I carried across.
| Detail | The tool I picked up | How far |
|---|---|---|
| Concaves beside flowers | Light touch each from my #7, 14 mm (9/16 in) | Only a hint, ridge softened |
| Inside the stem | Big #7, about an inch or 25 mm, wide pass | Smooth, finished later on |
| Stroke near curl | Fishtail #9 first, then the flatter 12 mm #2 | Blended after the hint |
| Curl's shadow line | Veiner, #11, a bit over 1/8 in wide | Carried over for a dark line |
| Ray running under | A 4 mm first, and then a 2 mm one | Waits for the acanthus |
How close to nature does carved ornament have to be?
Only close enough to spice it. After the curl I called the spot closer to the nature, I would say. Then I corrected myself. I really don't have to be really close to nature, because it is ornamental carving or architectural carving. Some details are there just to spice it.
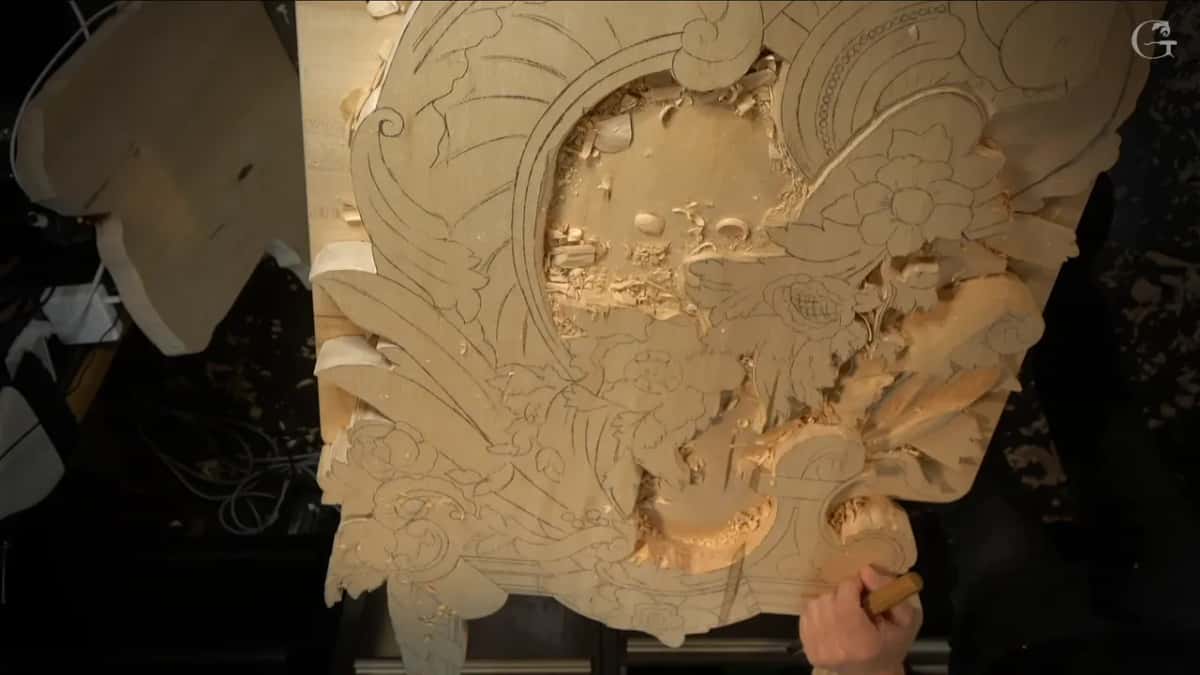
Those flowers are the big idea on this part of the Venice room, and everything small I carved in workshop 110 works as a frame around them. Where detail belongs across the whole panel is covered on the page for Part 10, so here I will only add my words about that frame nine workshops later.
A pencil came out in workshop 119, and I drew a simple acanthus movement to complement the curves around a flower, and I said it again. It's just like a frame, okay? Overall, what's going to be detectable is pretty much the edge of that acanthus, and I hoped the movement would look more organic. At least I hope it's going to look organic, I said. So we'll see.

What did I say about indications in the workshops after 110?
Workshop 117 had me on the main movement of an acanthus, a 10 mm #11 to outline it and then a 20 mm (about 3/4 in) tool (the lesson is here). After that I said I could take one even bigger, a 30 mm #11 (1 3/16 in), because it gives a really beautiful smooth pass and later there is less to clean. The board there has an inch and a half of thickness (38 mm), and I said I was still kind of worrying about going too low.
An undercut there would create a flipping effect later on. For now it was good. "I can probably indicate that I can do undercut with the number 11 and 12 millimeters or so." A bigger tool could blend it together later, I said. "But now it's just the indication."
Leaves and flowers were my work in workshop 115, with straight down passes with a #5, separations with a #3, then a 20 mm #11 for a big concave where I had plenty of depth. So it is just overall shape yet, I said. We still have to work on some details later. The middle ridge and the movement already showed, and that was going to give a shadow.
Waviness on those leaves could come too, or whatever I decide, I said. But for now, it is good. A little after that I looked at another spot and said that's all I need to do in this case. Just a concave.
Back in workshop 119 a flatter #3 took off some marks I didn't want to see, and I said a bigger veiner would come later for concaves and convexes. I'm not going to do anything complicated right here, just clean up and round up. It's not the main details, so I don't need to spend too much time here, but we'll see.
Then came a curl I did not have to make. I really don't have to do a curling backward like this, I said, although it could look really good. Why not? I could actually do just a small leaf there, and it could become part of a flower. Let me think what I want to do, I said, and I went back to refining the line first.
What can you take to your own bench from workshop 110?
Look at what I did there, in order, starting with a pause to think about which spots to carve. The little concaves stayed light. I blended the ridges those passes left with a flatter #2, and the curl, a spot where I wanted a dark line under the edge, got a veiner the whole way along. Two spots waited for the acanthus beside them, still uncarved in that relief.
On this carving I decide it spot by spot, and on camera I say which one I am doing. Every workshop named here opens with full access to the school, and Part 9 of the room comes right before this one.
Would you like a curl with a shadow you can see from the doorway? Or would you rather leave the rest as a quiet hint? Pick the spot that has to be dark, and carve that one fully.
How it's done
- Choose the spots first. With the gouge already in hand, think about which ones you are going to do before the edge touches the wood.
- Give most of them a hint. Keep it light. I used the 14 mm, not much, and stopped.
- Blend the ridge. A flatter gouge takes away what the pass left. Mine was the 12 mm #2, worked along the curve.
- Carry one spot fully. Where you want real shadow, like my curl, undercut with a small veiner, 4 mm in my case, and let it escape at both ends.
- Blend again. Bring the #2 back over the new ridge.
- Wait for the neighbour. If the acanthus next to a detail is not developed yet, leave the undercut underneath for later, as I did at the ray.
Frequently asked questions
What gouge did you use to indicate the concaves in workshop 110?
A #7 of 14 mm, roughly nine sixteenths of an inch, gave those little hollows a light touch each. Later in the same part a fishtail #9, the Ashley Iles one and roughly 13 mm across, made one more stroke I called just indication, and a flatter #2 blended it in.
When do you carry a small detail the whole way?
Workshop 110 did it on a curl I wanted to exaggerate. A veiner of 4 mm, slightly wider than an eighth of an inch, went under it and had to escape at both ends. The groove ran nearly its full length and left a dark line I liked a lot.
Can you leave a detail unfinished and come back to it?
Twice in that lesson I did exactly that. A stem detail would be carried later under the acanthus movement beside it, and the spot where the part meets a ray waited too, because I still had to develop that acanthus before undercutting underneath.
What to carve next