
Alexander Grabovetskiy, woodcarver, School of Woodcarving · Published 2021
How deep do you carve the hollows on a carved flower's petals?
Quick answer: Petal hollow depth on my simple Venice Room flower is extreme on purpose. A 20 mm (3/4 in) number 11 ran a hollow from almost nothing until it nearly met my surface. The side across from a raised part went lower, the ridge between got softened, and I stopped once I was really deep.
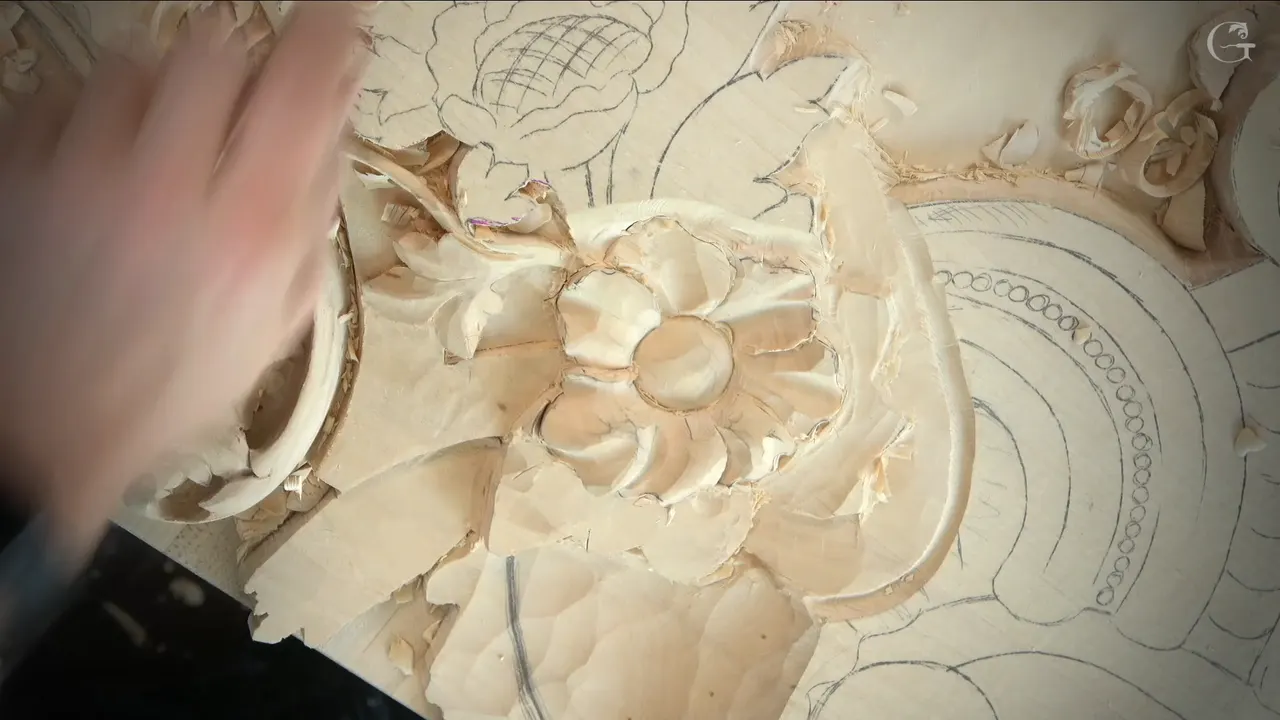
The petal hollows on the simple relief carving flower in workshop 114 of the Venice Room go extreme, and I mean that. I took a number 11 gouge, 20 mm (3/4 in) wide, and ran one hollow that starts at almost nothing and comes almost down to my surface. Where one part stood raised, the opposite side went lower. Later a ridge got softened.
Have you ever looked at a real flower up close? Did you see that the petals are not flat, that some of them sink in the middle and fold over? Then a carved one can take that hollow too, and a little more than nature gives it.
Here is how deep each hollow went on this one flower, which gouge made it, and where I stopped.
Six facts about these petal hollows
The huge one came from that same big number 11 and nearly reached my surface.
Across from a raised part, the opposite side dropped lower.
The 14 mm (9/16 in) number 7 gave a sharp shadow, while a 7/8 inch number 5, about 22 mm, gave roundness.
I softened a ridge on the flower.
In workshop 115, kind of really deep already, I went no deeper.
Smaller hollows went inside the big ones on a couple of petals in workshop 116.
How deep does a hollow go on a relief carving flower?
On this flower the biggest hollow ran almost down to my surface. It sits in the middle of one petal, about halfway through the third part of the lesson.
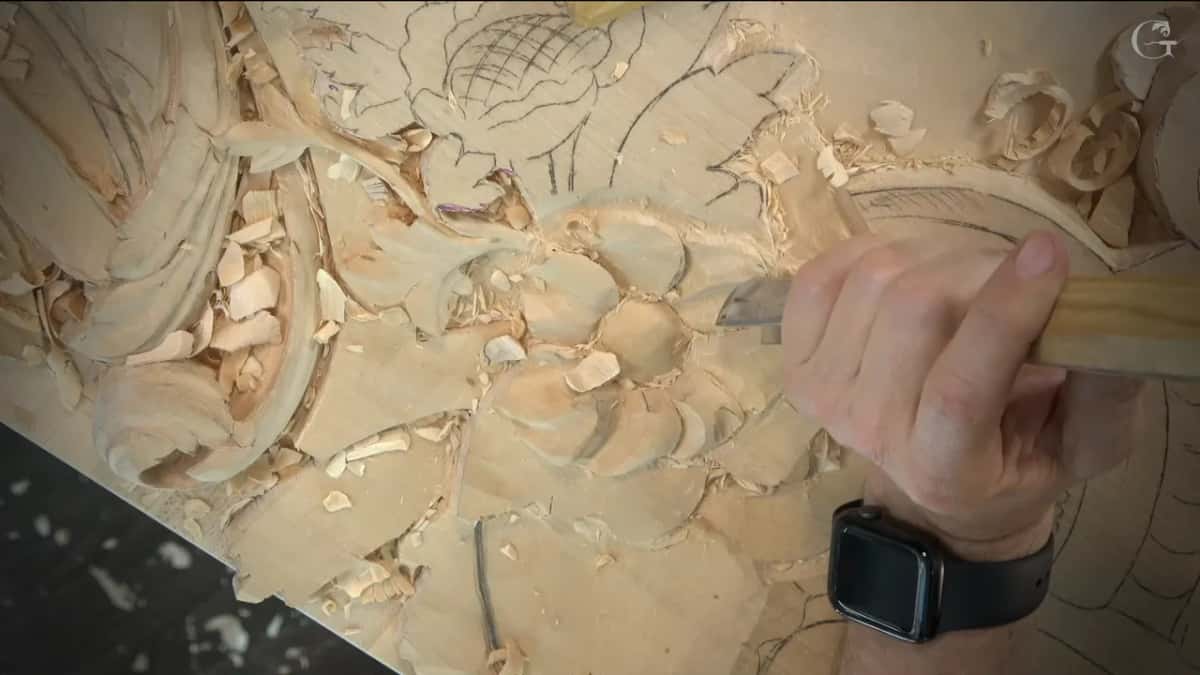
I said it out loud, why don't we give a concave right in the middle of this one? Then I took the big one again, 20 millimeters, number 11, and gave it a huge hollow, from nothing, almost nothing, to that surface. And I could just indicate movement toward the center.
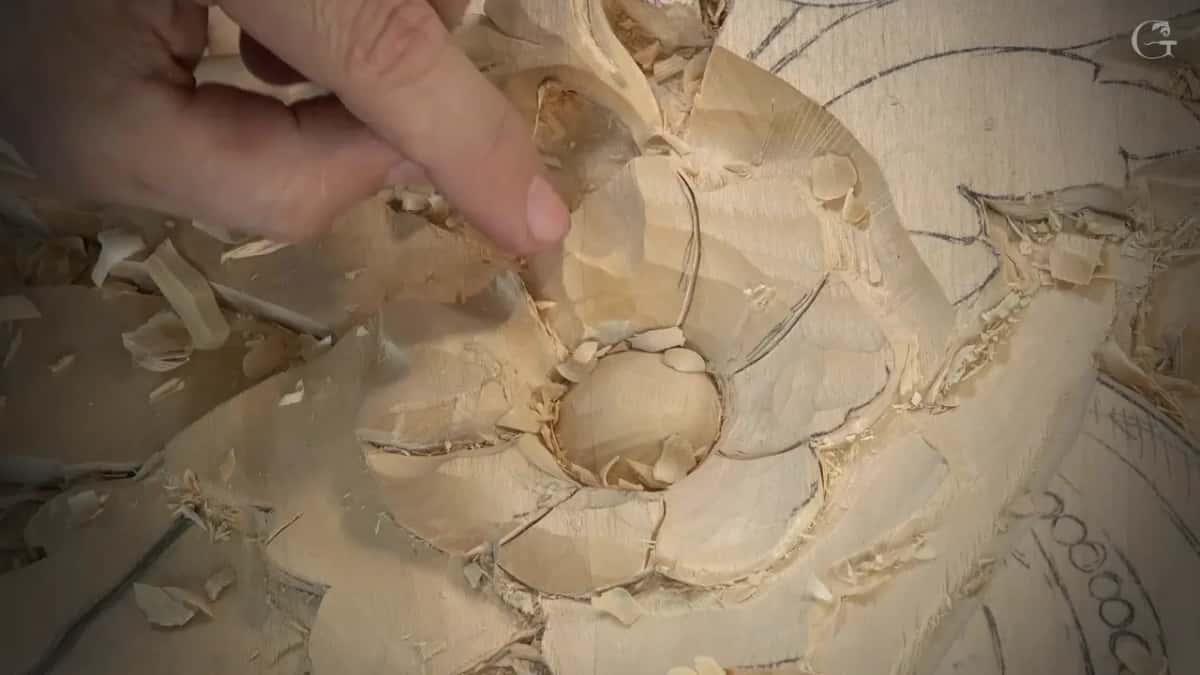
I give no depth in millimeters for any of these petal hollows. What you hear is where a hollow begins and ends. It begins as almost nothing, and by the far end it is huge.
The first hollow of that part used the same tool. So what I'm talking about, extreme, I said, 20 millimeters, number 11, of course. Extreme was my word for the concaves and convexes on this flower, and I said it before the first one went in.

What happens to the petals before the deep hollows go in?
The petals get their levels first. Before that, a number 11 at 7 mm went around the flower, and that pass was only preliminary. I can make it much deeper, of course, I said, but at that point I needed to create the dome on the inside.
Early in workshop 114, a lesson in Venice Room Part 10, I marked roughly where my petals would be and how I would shape them. Then some wood came out, so they would not all sit at the same level.
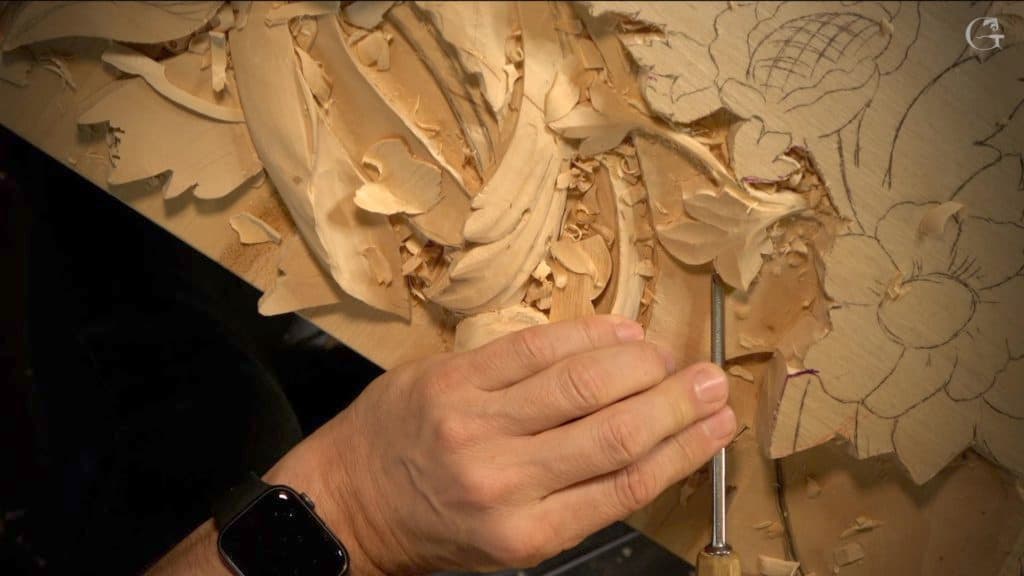
A big number 7 did the chopping. Next I wanted something flatter, a number 5. That one was a little too small, so I grabbed a bigger one and got that baby around.
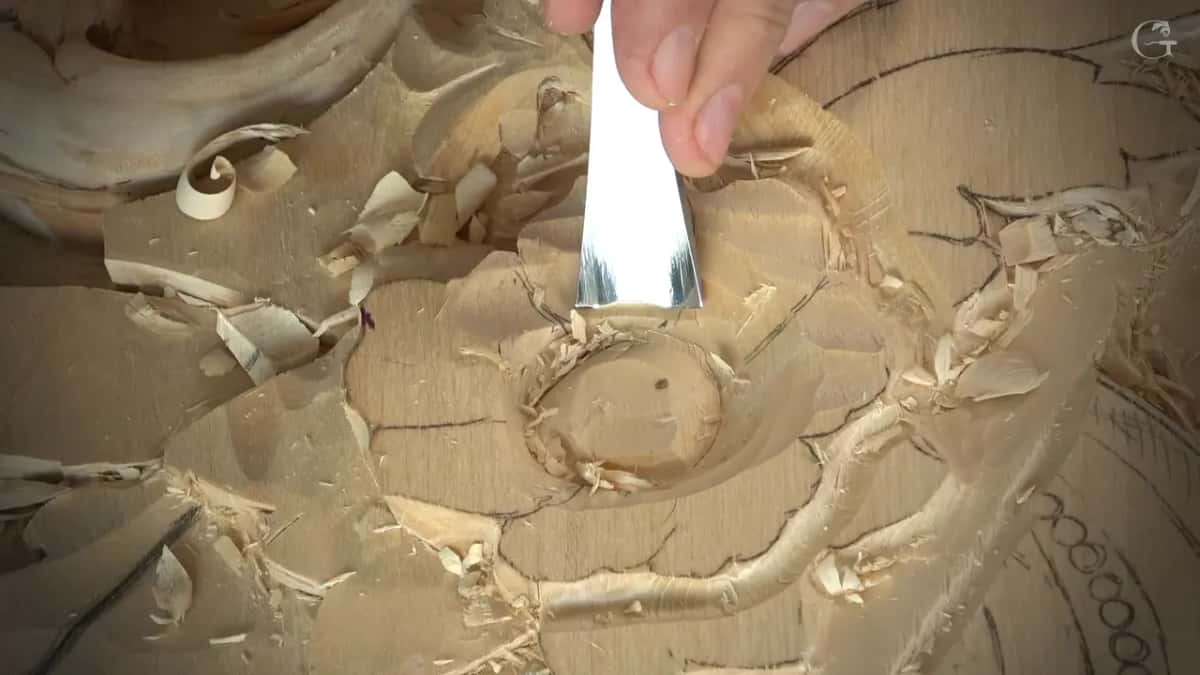
One part I sent downhill. I wanted it to go from inside, up and down, and then maybe a little concave on the back. I was not worried about losing the overall picture, and I said so. Just indicate it. In the second part I said one of the petals can go a little more upward instead.
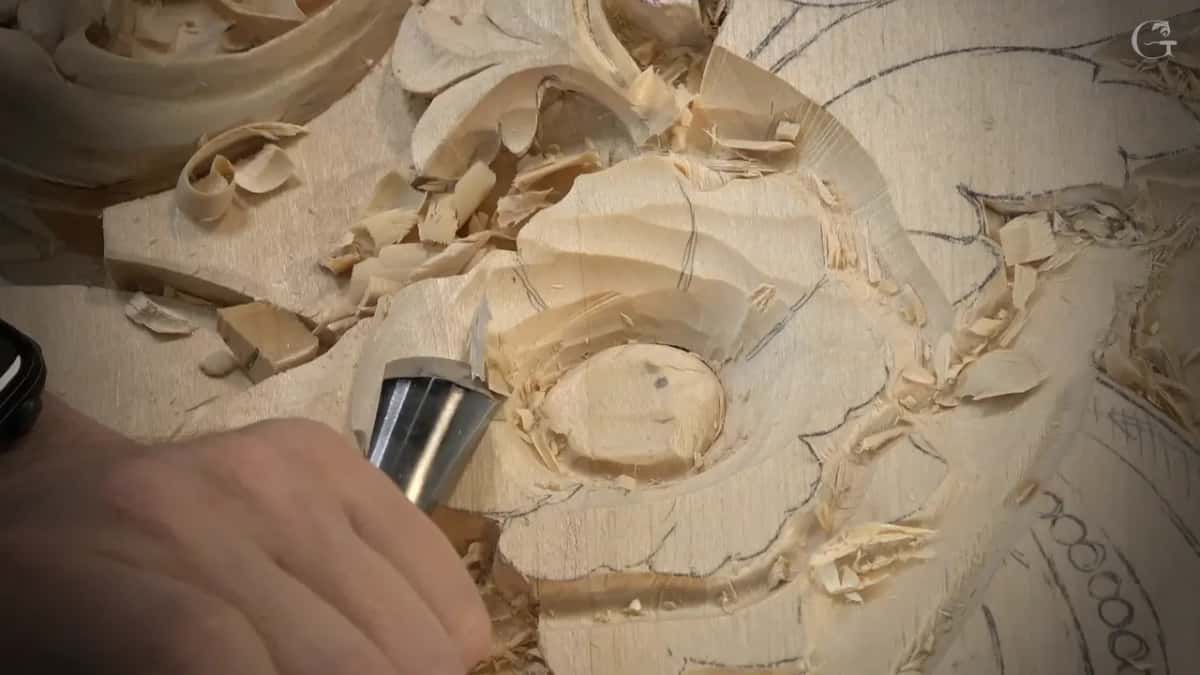
Which gouge gives a sharp shadow, and which one gives a round?
A number 7 gave the sharp shadow and a number 5 gave the round. For the shadow I went to a smaller gouge, the number 7 at 14 mm, about 9/16 of an inch. I get really a sharp shadow. That's what I'm after.
For the round it was a number 5 at 7/8 of an inch, about 22 mm. Just give some roundness. That was all I said about it.
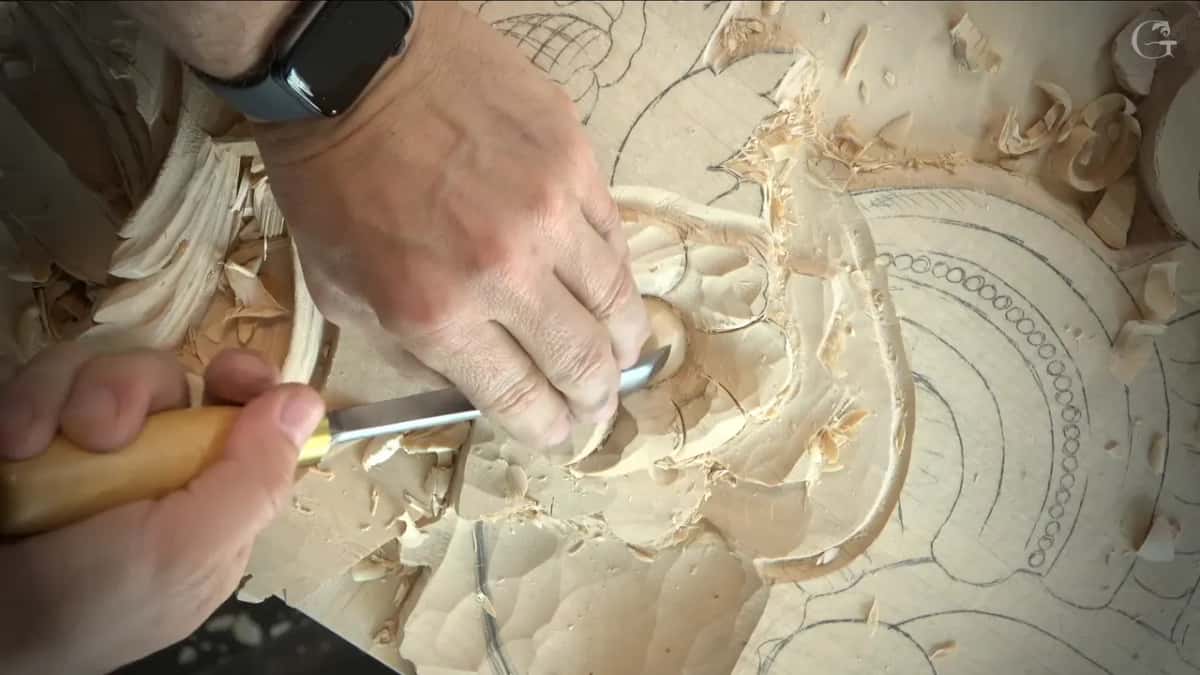
After that I showed it from above. You can see it is already getting some shadows, and from that point of view I had absolutely no problem seeing it. It is a simple flower. But still I want to make it look really nice.
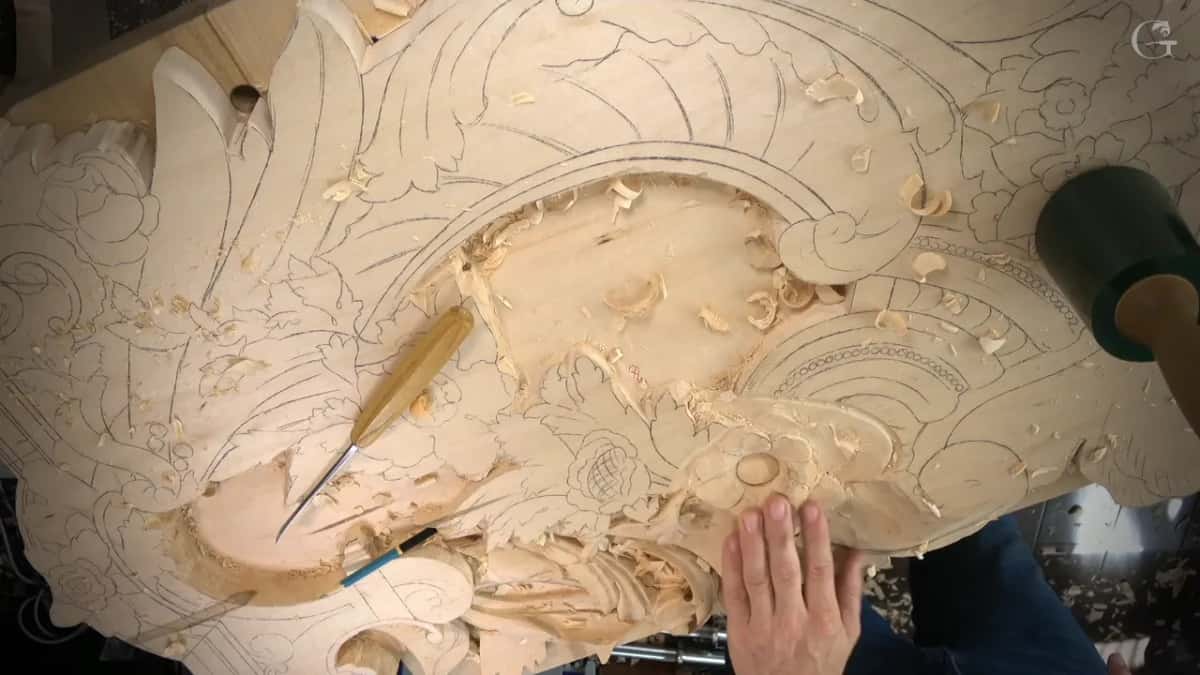
Why go that deep at all?
Extreme concaves and convexes give this flower almost like a life look, and that was my reason in workshop 114. That line came at the start of the third part, before the first hollow of that part went in.
One petal would get a concave. I could add a secondary concave and point it one way, and that gives me beautiful movements.
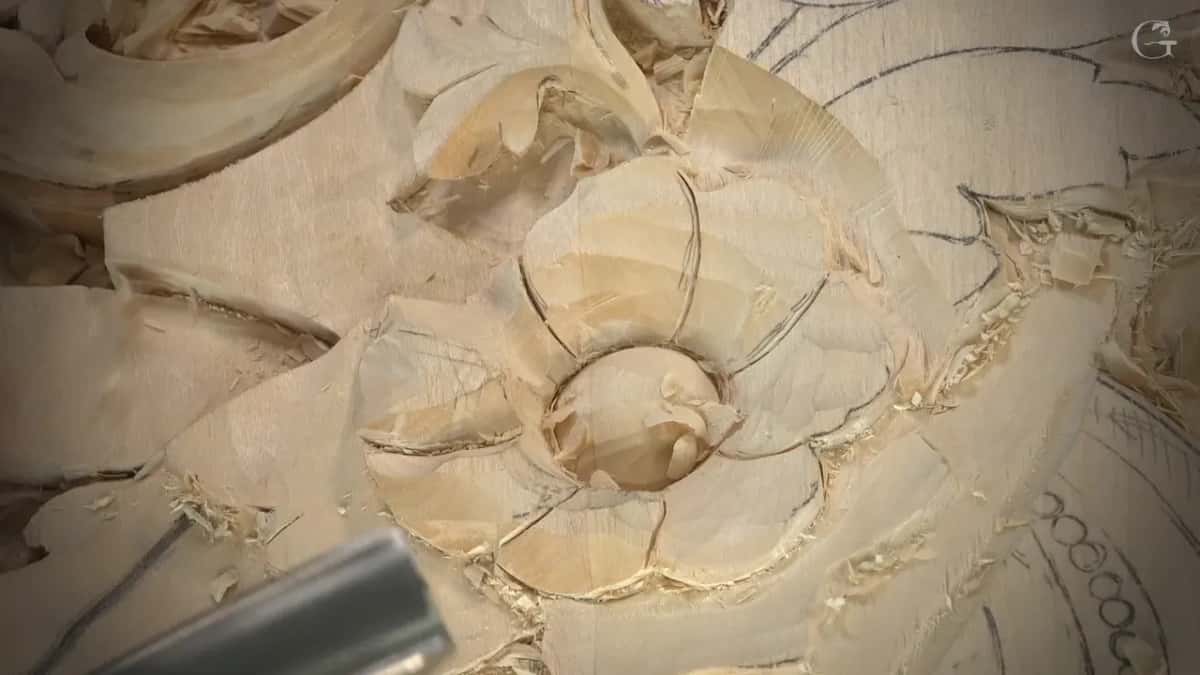
A minute and a half later I said, you know what, why don't I exaggerate that right away? A good opportunity, I said. One of the deep ones, kind of folding. Just go right underneath of this moment.
In the next lesson, Venice Room 115, I picked up the 20 mm number 11 again to make a deep concave and give some more dimension. That stretch was all about the shadows, I said, the light and dark of the piece.

Why does the opposite side go lower?
Once one part of the flower is raised, the opposite side is supposed to go lower. That way it looks more appealing, I would say. The number 7 did that job.
A little undercut came next, and I checked that edge, because otherwise it does not look so good. The next part went underneath too. The number 5 I used before came back for the undercut, and I removed wood until it was kind of deep. I worked the opposite direction on the next spot.
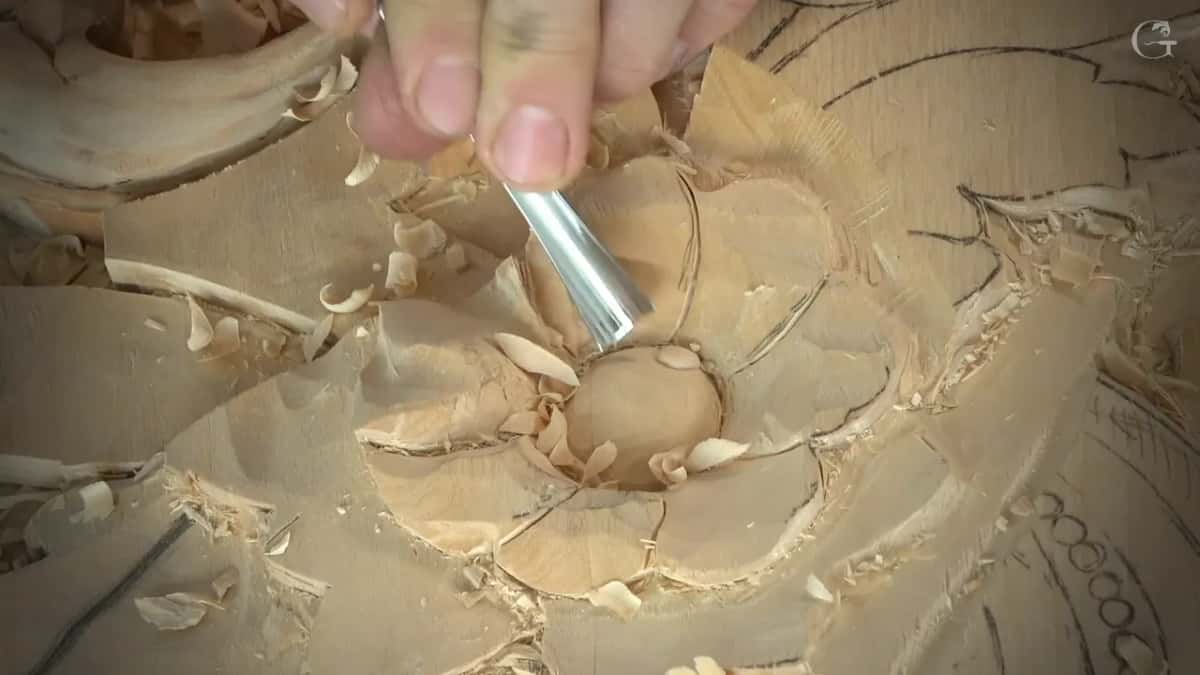
In that part I told you I needed to get a little closer, but getting closer would cover the camera, and I don't want to do that. A few minutes later I covered it anyway and said sorry.
Should the ridge on a petal stay sharp?
I softened the ridge on this flower. It does not have to be that sharp, I said, and then once more, really doesn't have to be that sharp.
For one more area I named an upside down number 7 for the softening. And nothing wrong with a little downhill pass there either.

Lesson 115 had another ridge, and I said I was going to get rid of it, so convex it.
Sharp is a funny word on this flower. In part two, with the 14 mm number 7, a sharp shadow was exactly what I wanted. By part three, a sharp ridge was what I wanted gone. Those are two different spots.
In Venice Room 116 I came back to a few petals and showed a concave right in the middle. This one is a little too sharp, I said, and half a minute later, let me widen this one a little bit.

When do you stop digging deeper?
I stopped once I was already kind of really deep. In workshop 115 I had too much mess going on around it, which was okay, but I said I cannot go deeper. I was pretty close to the final depth.
Earlier in that lesson I wanted to catch how some of the ridges look. Then came a partial concave, starting at one spot and going out.
The middle hollow in that lesson made me pause. I took a few moments to think about it, because I really don't want to mess up. And I almost messed up.
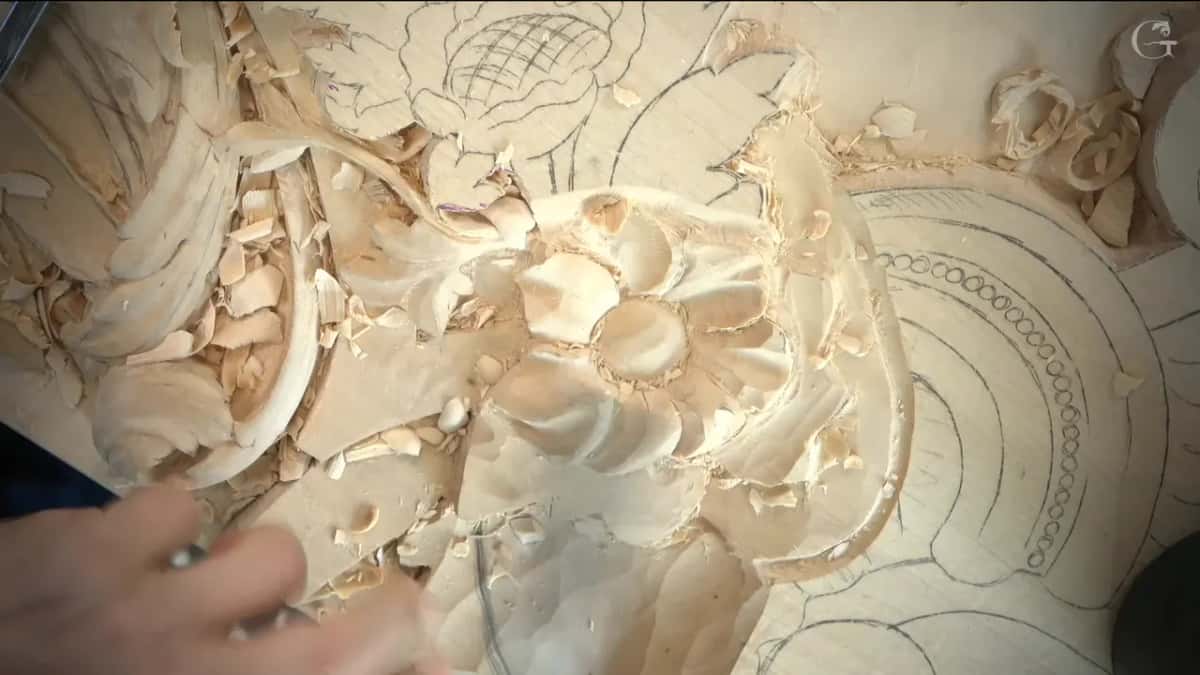
At the very start of that part I said I must be careful how I approach it, about one whole section that was going to be a concave. Careful came up again on the lily, as you will see.
Can you carve a hollow inside a hollow?
I did, on a couple of petals in workshop 116, and it gives a little more shadow right on the inside. It looks like the petal is going to the center. I like that technique, so you can use it also.
To widen one I used the same tool I always use, the number 11, this time 7 millimeters, a little bigger than a quarter of an inch. You blend it with the side of the tool. I like to see that extra shadow.
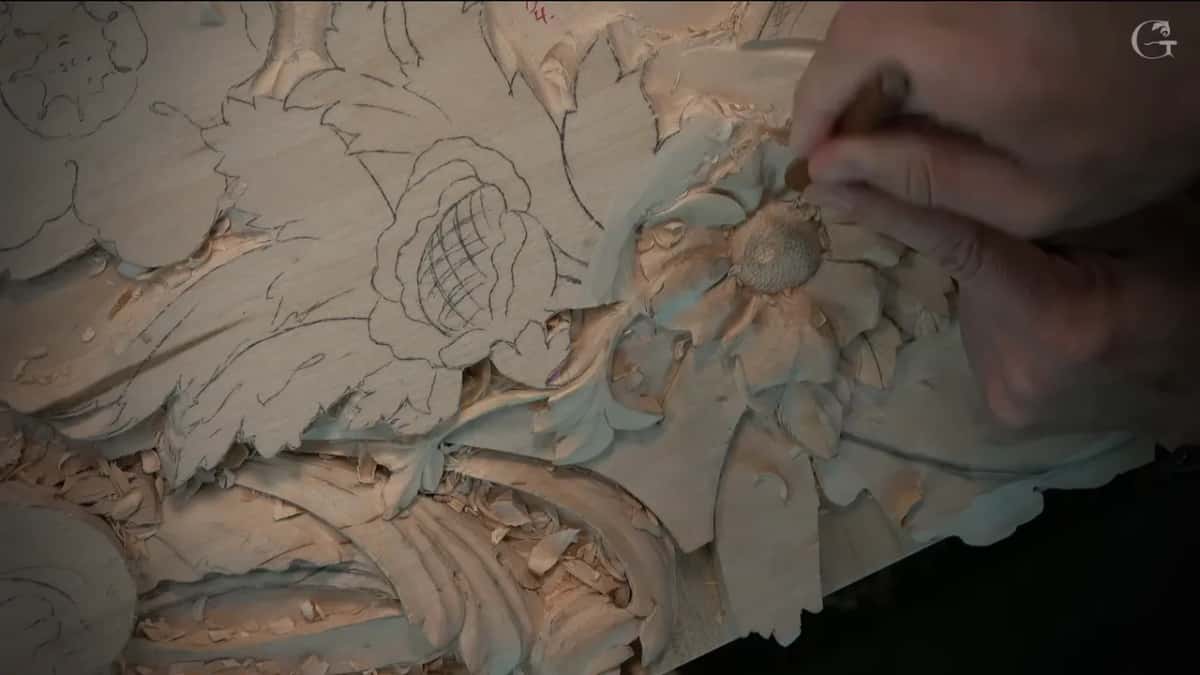
Right inside the bigger concaves I took a small number 8 and made another concave. You are not stuck with a number 8, though. It could be a number 11 at, let's say, 2 millimeters, about 5/64 of an inch.
Don't pay attention to this mess yet, I told you, I still have to take care of it a little later. The small hollows are only there to add some dimension to that flower.
After that it is all about blending to make it smoother. I said I could even use a rasp, and that it is good for this type of flower.
What changes when the flower is a thin slab?
On the lily the limit was the slab itself. The lily on my Lily Box is only 5/8 of an inch thick, about 16 millimeters, and I still wanted to trick the eye and make it look much deeper.
In Lily Box 11 I said I must be really careful because I don't have much material left. But this concave got to be kind of deep. I started with a number 8 at one eighth of an inch, about 3 mm, then went down to 3/32 of an inch, about 2.4 mm, and got even deeper with 1.5 mm, about 1/16 of an inch.
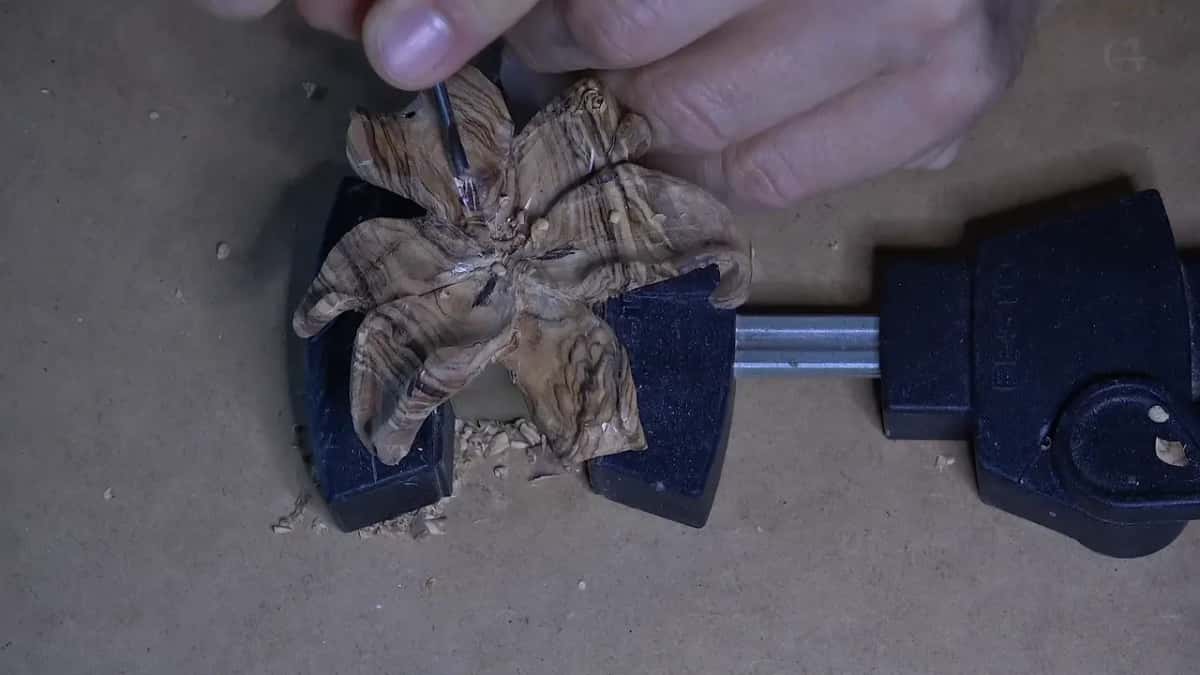
I have to keep an eye on how deep I am going. I had about the same depth in two places, and I was pretty close, so I did not want to overdo it. On the next one I found I do have some thickness, so I could start that extreme concave about 18 or 19 millimeters away from the center, maybe three quarters of an inch. I thought I had a good amount of material on the backside, enough to go even more extreme. But I still need to leave some for the final detail on the inside.
One sound tells you something there. At the start you heard a sound like a cranking, because I was using the tool without any slicing motion. If you start closer to the center and move outward while you slice, you should get rid of that sound. Sometimes you cannot, because inside a concave the other side is in your way.
That extreme concave on the inside just makes the whole world of a difference, I said. My plan was to connect the lily to the main lid with a dowel and hide that under the separate center piece.
Every hollow in these workshops and the tool behind it
Which hollow, where | Tool and size, and what I did | Which workshop | What that hollow gave the flower |
|---|---|---|---|
First extreme concave | Number 11, three quarter inch, 20 mm | Workshop 114 | Beautiful movements, almost a life look |
Opposite raised side | Took a 7, so that side drops | Same workshop | Looks more appealing, I would say |
Sharp shadow spot | Smaller number 7, 14 mm (9/16 in) | Part two | A sharp shadow, what I'm after |
Rounding one petal | Gouge 5 at 7/8 in (22 mm) | Lesson 114 | Just some roundness on that petal |
Middle of petal | The big one again, number 11, huge | Part three | Almost nothing at one end, deep |
Ridge on petal | Softened it, then the upside down 7 | Still 114 | Softened, since sharp was not needed |
Next lesson's concave | Same big veiner again, already very deep | Next lesson | More dimension, and then I stopped |
Hollow inside hollow | Small gouge 8, inside the bigger concaves | Venice 116 | A little more shadow on inside |
Lily on slab | 1/8 in (3 mm) number 8 first | Lily Box | Deeper look out of thin slab |
Where to watch the rest of this flower
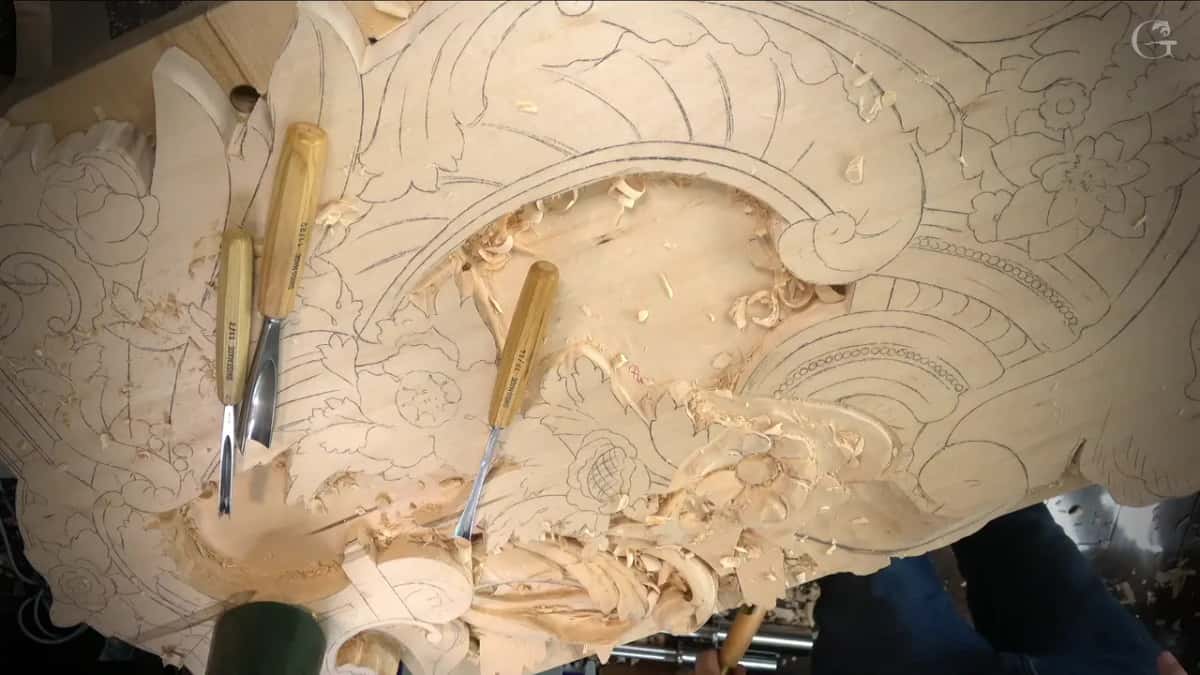
The flower was outlined at the end of Venice Room 113 with a 10 mm (3/8 in) number 11, which I called not a really complicated flower. Where the hollows go on a petal is the question of the Venice Room 135 page. Hollows on an acanthus leaf follow other limits, and Venice Room 22 is the place for that.
Early in the second part of 114 I said it straight, you know what, I need to sharpen my tool, and the carving tool sharpening course covers that side of the work.
Each video carries the title Venetian style wood carving. These workshops all work on one relief panel, and Venice Room 117 and Venice Room 120 carry on with it. If you want to carve along with every one of them, Tuition and Access opens the whole room.
Pick up a number 11, find a petal, and see how far that hollow can go before you call it done.
How it's done
- Set the petals at different levels. Chop some wood off with a big number 7 so the petals are not all one level. One petal can go a little more upward.
- Get a sharp shadow, then a round. Use a 14 mm number 7, a bit over half an inch, for that sharp shadow. Then a number 5 seven eighths of an inch wide (22 mm) for some roundness.
- Run the extreme hollows. Take the big number 11, 20 mm, or 3/4 inch, and carve hollows and rounds across the petals. Make one of them a deep, folding one.
- Drop the opposite side. Use a number 7 on the opposite side to take it lower, undercut a little, and check that edge.
- Soften the ridge. Soften more of the area, a number 7 held upside down.
- Stop when you are really deep, then nest smaller hollows. Stop there. Later, set a small concave inside some of the big ones using a number 11 of 7 mm, a bit more than 1/4 in, or a little gouge 8. Blend with the tool's side.
Frequently asked questions
What gouge carves the deepest hollow on a flower petal?
On my Venice Room flower it was a number 11, three quarters of an inch wide (20 mm), in workshop 114 and again in 115. Later, a 7 mm (just over 1/4 in) veiner widened one and a number 8 dug inside, though a 2 mm (5/64 in) number 11 would do that inner job as well.
Should the ridge on a carved petal be sharp?
Mine got softened, since I said a ridge like that need not be so sharp, and I named an upside down number 7 for one more area. A sharp shadow is another matter, and a 9/16 inch number 7 made one on purpose in the part before.
Can a second hollow go inside the first one on a petal?
I widened one with the 7 mm veiner, then put a smaller one inside a few of the bigger concaves using a number 8. Each adds a bit more shadow on the inside and makes the petal look like it runs toward the center. That technique is one I like, and you can use it too.
What to carve next