
Alexander Grabovetskiy, woodcarver, School of Woodcarving · Published 2021
What is a shadow spot in wood carving?
Quick answer: A shadow spot is a small hole carved deeper than the wood around it, so it stays dark and the shape beside it stands out. Venice Room lesson 120 has me digging several with narrow number 11 veiners, matching each depth to the wood beside it and stopping at enough.
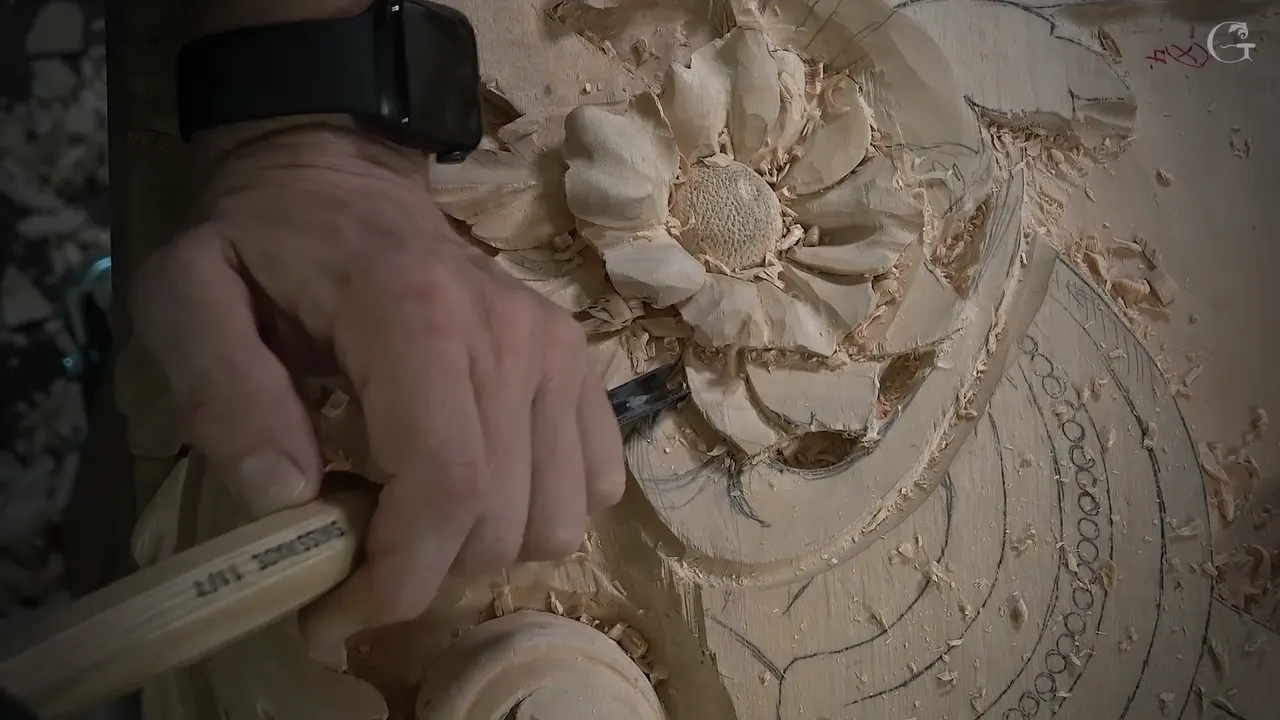
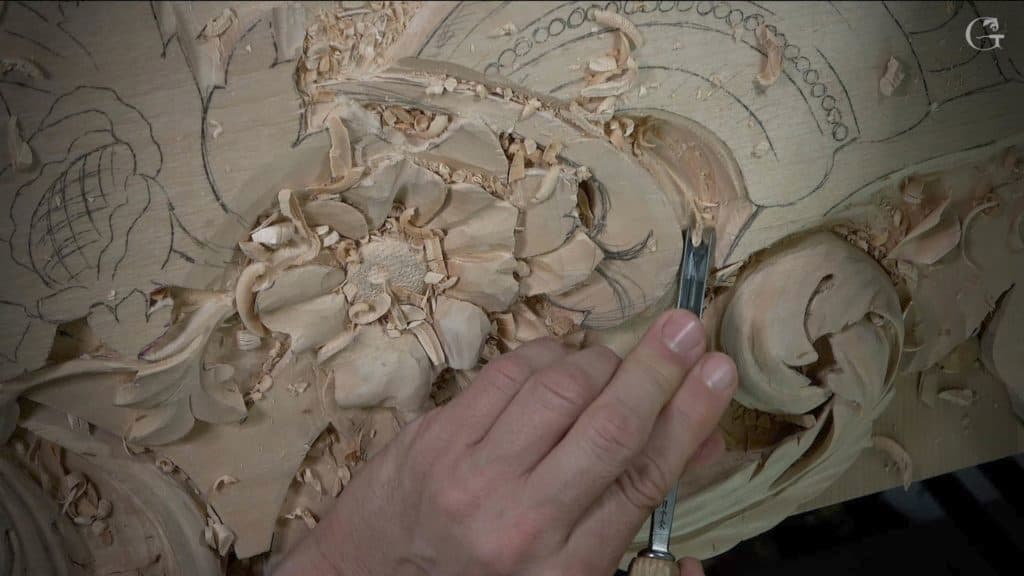
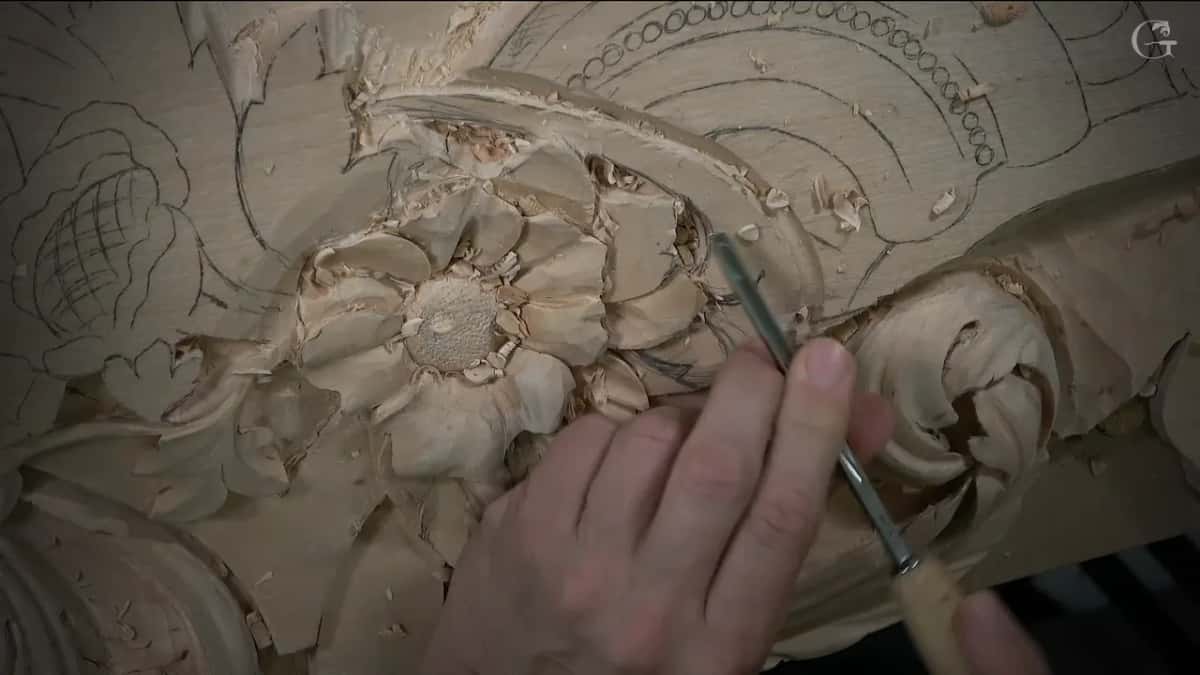
A shadow spot is a small place I dig deeper on purpose, so it reads dark next to the wood around it. In lesson 120 of the Venice Room I stopped over one of them and said it out loud: "And that is also going to be a shadow spot, and I like that shadow spot." This is wood carving shading done with a gouge, where all the dark comes from how much wood is gone.
Have you seen a carved panel from across a room and noticed its dark places before anything else? Have you watched one small hole make the leaf beside it look sharper? Those dark places are dug one at a time, and each one is a choice.
Shading on wood can also mean burning, called pyrography. This page stays with wood carving depth only. You will read where I put a spot in workshop 120, how deep I took it, what it cost me, and where I said I did not have to bother. After that come my own words about shadow spots from five other lessons, each one linked for you to go and watch.
Six short lines about shadow spots
It is a small hole dug deep enough to hold a shadow.
Contrast is what makes it read.
One of mine had two jobs at once.
Its depth followed the part beside it, and went a little deeper where the wood ran downhill.
Small veiners did most of the digging.
It can cost you some inner detail, and I said more than once that not every area needs one.
What did I carve as a shadow spot in lesson 120?
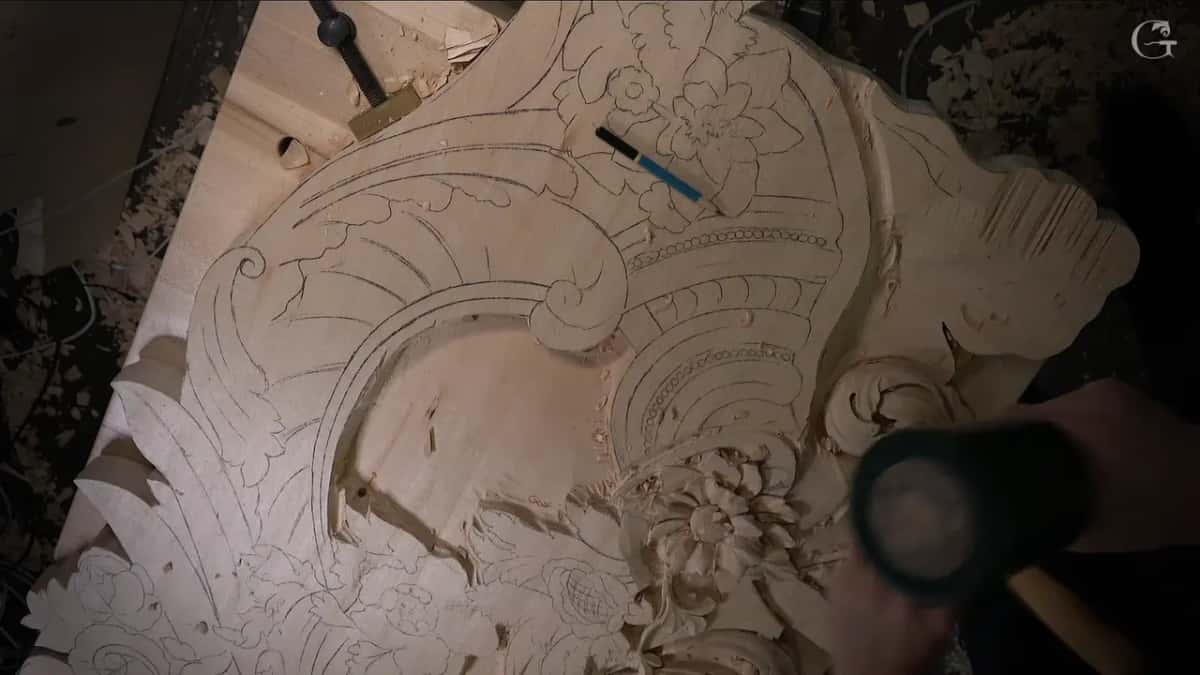
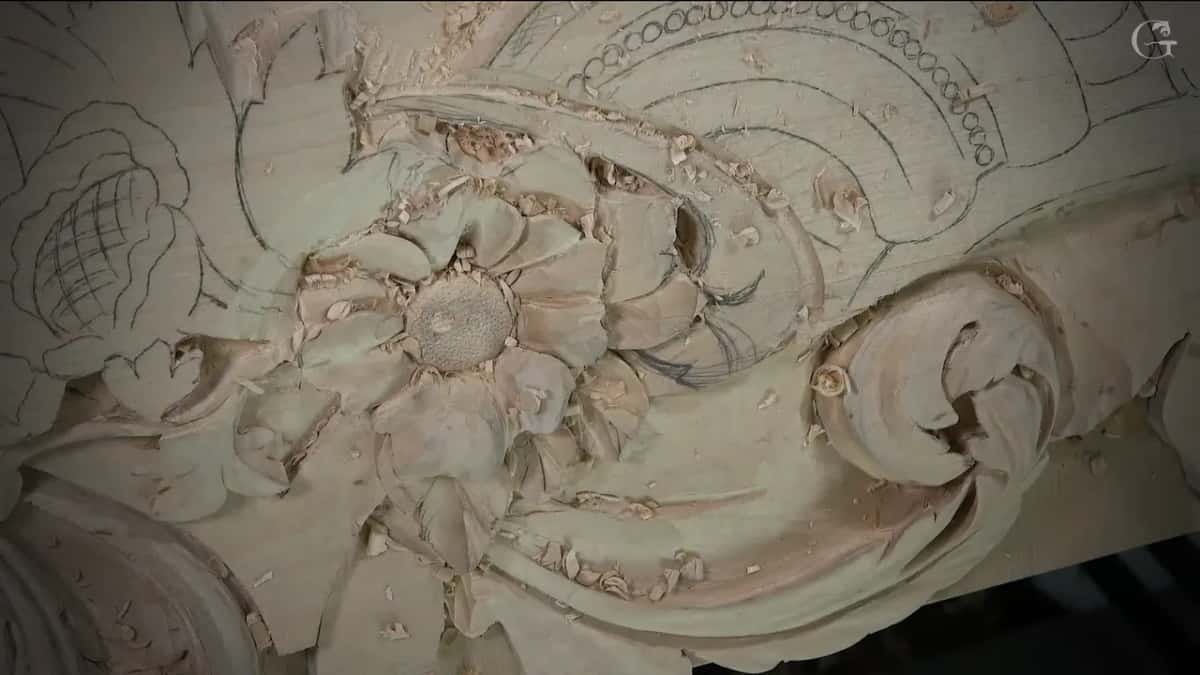
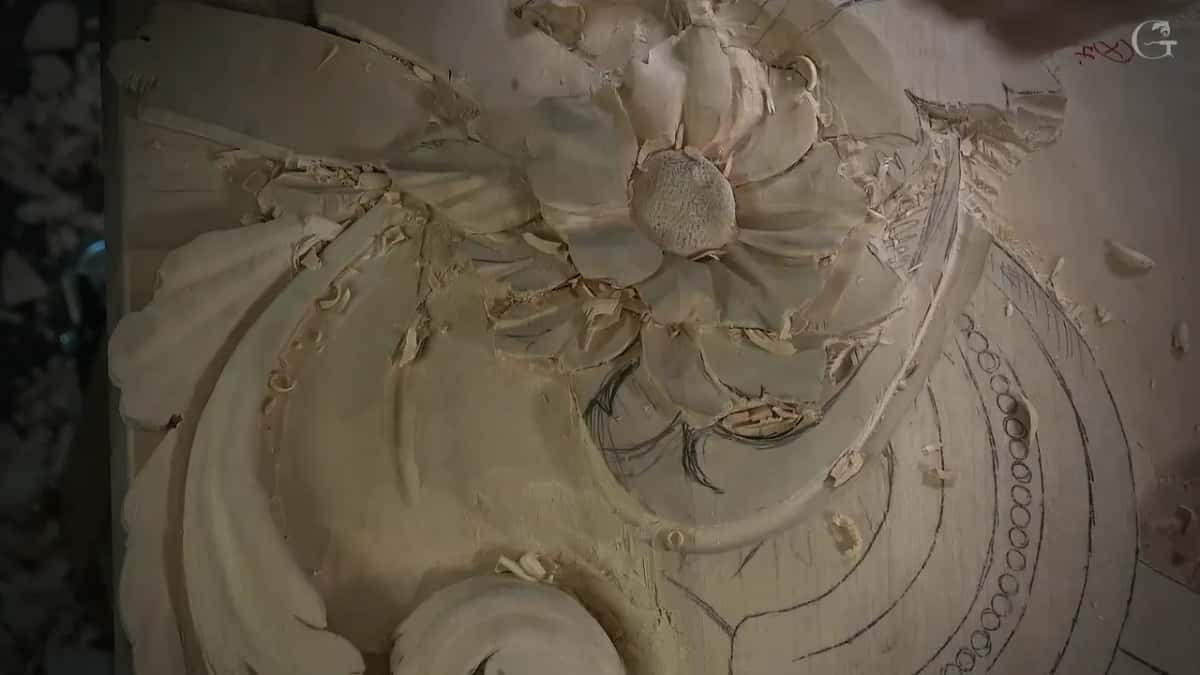
A dark place across from a movement I had just shown you, near the start of part one. Workshop 120 is short, three parts of about seven and a half minutes each. Before I dug I pulled up my drawing to check what I had planned for that section, and the pillar page for Part 10 tells that story, so I will leave it there.
My next words were that I would need the smaller number 11, and I took one of 3 mm (1/8 in). With it I meant to excavate, outline it, and make that spot a dark spot. "So we are creating shadow. It's really important."

Bulk came out fast after that. Actually, you know what, I said, I can hit like this, and I knocked some excess out right away. A number 7 was in my hand for the next part. I admitted on camera that I did not have to use it, because a number 9 would be a much better tool in that spot. Removing a couple of plugs, I added, would help me.
Can one dark spot do two jobs?
This one did. I said it had a double purpose. First, it would repeat the movement I had just shown you on the opposite side, and I called that a complementary movement. Second, it would make a really dark shadow.
The same hole belongs to the design and to the shading at once. I also planned an undercut in one direction, and told you that you would be able to see that shadow a little later. That was all I said about the undercut in that spot.
Lesson 117, three workshops earlier, dealt with a different worry, a carving that looks heavy, and the page on why a wood carving looks heavy stays with that.
How deep should a shadow spot go?
As deep as the part next to it, give or take a little. That is what workshop 120 shows, twice.
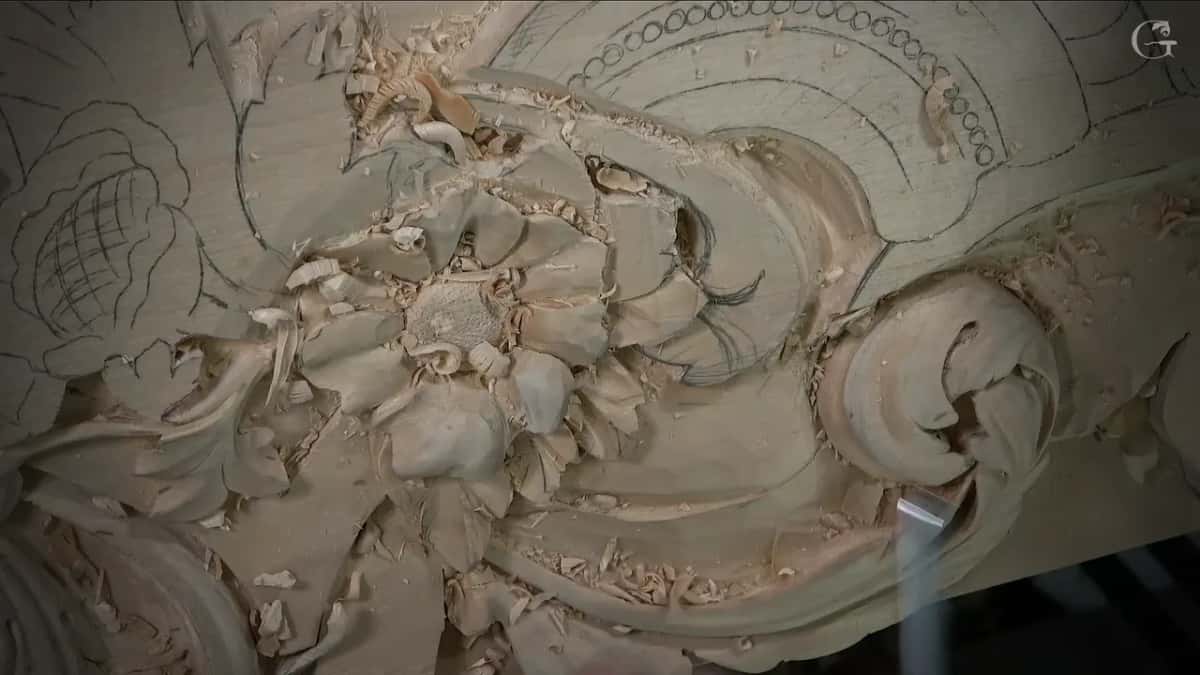
Part one had a slope running downhill on one side, so I said I could go even deeper there and make an even deeper shadow. Every little bit helps. A few seconds later I looked at it and said, all right, it is enough.

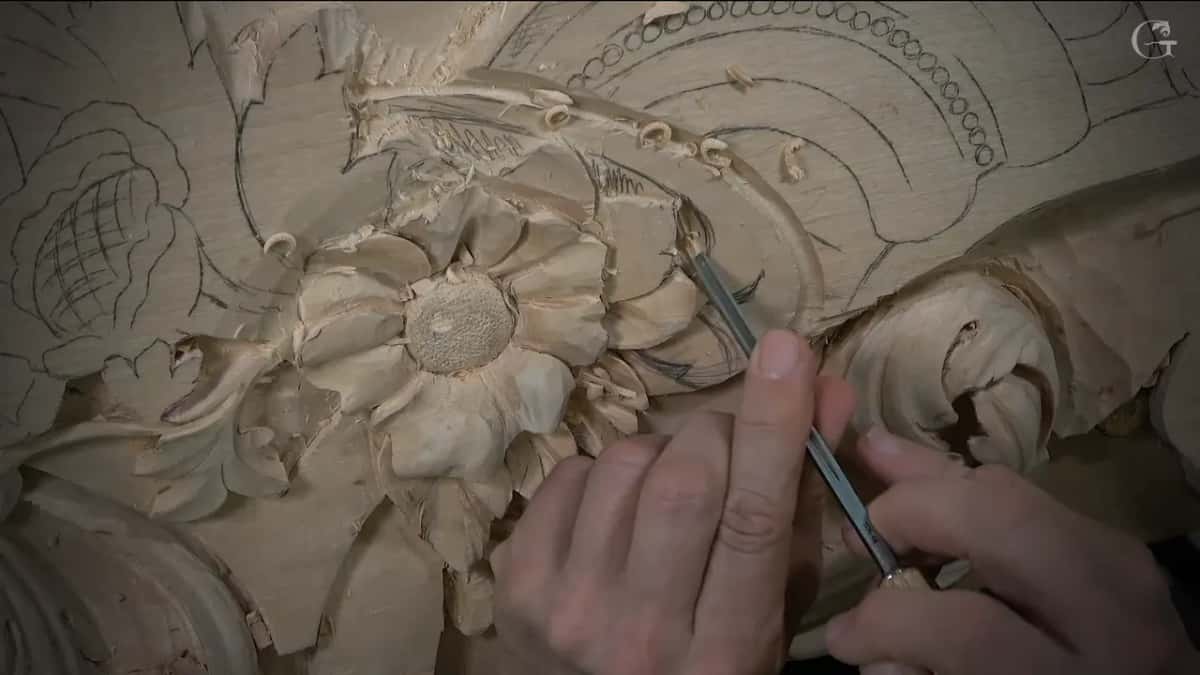
Then a 4 mm (5/32 in) number 11 went on with the same idea, just straight down passes. Right there, though, I could not go deeper than what you see on the opposite side. It had to be about the same, maybe a little deeper, because there was a high spot and it went downhill that way. "So I have to be mindful and don't want to make mistake."
The same decision came up in plain words later on: now I have to decide how deep I really want to go. I looked at the part beside it, which was already deep, and said that logically I could go almost as deep right there. When I thought it was enough, I stopped.
During a livestream in April 2020 the question came up of how I decide the depth of my shadows, and I said both. It is intuition, and you also have to be really consistent with the depth of other areas. The thickness of wood left mattered too, I said. That piece was six inches (152 mm) thick at one point and had only about three inches (76 mm) left in another, and I went with my shadows at least one inch, about 25 millimeters.
Wood carving shading that comes from depth alone
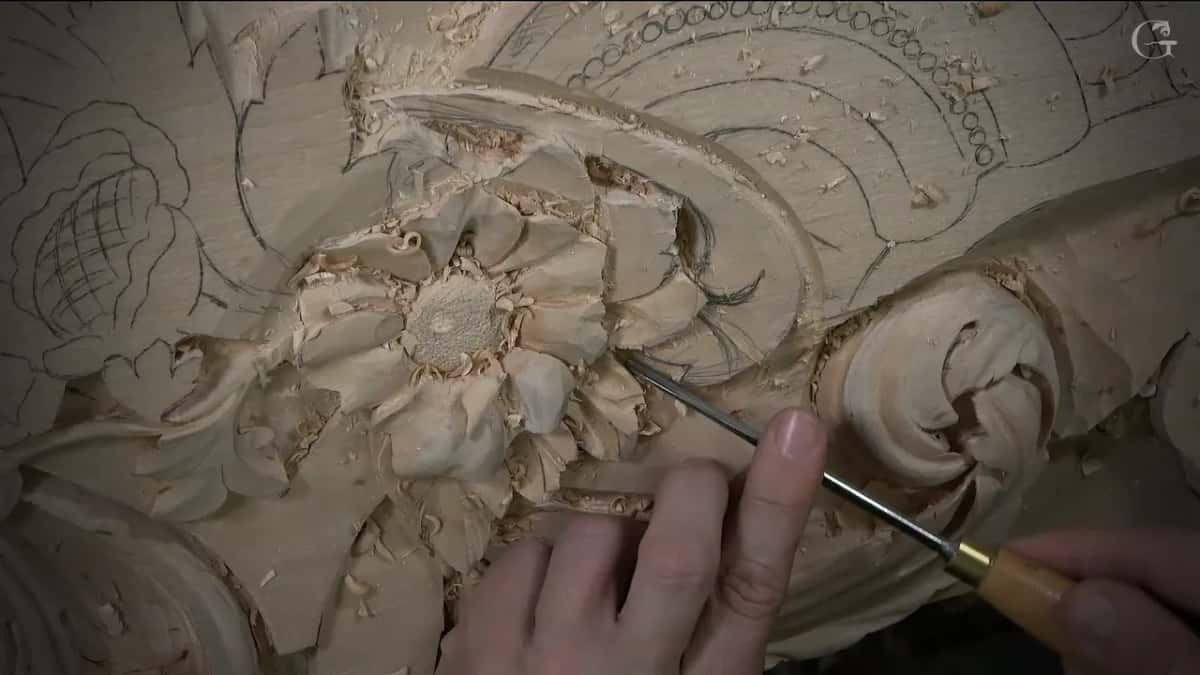
The last part of workshop 120 is the clearest place to watch it happen on this relief. Smaller tools, probably, were what I wanted for this operation, and I picked a 7 mm number 11, just 1 millimeter bigger than a quarter of an inch. My first pass went right on the line. Somewhere in there I took my watch off, because, as I put it, I did not want to distract.
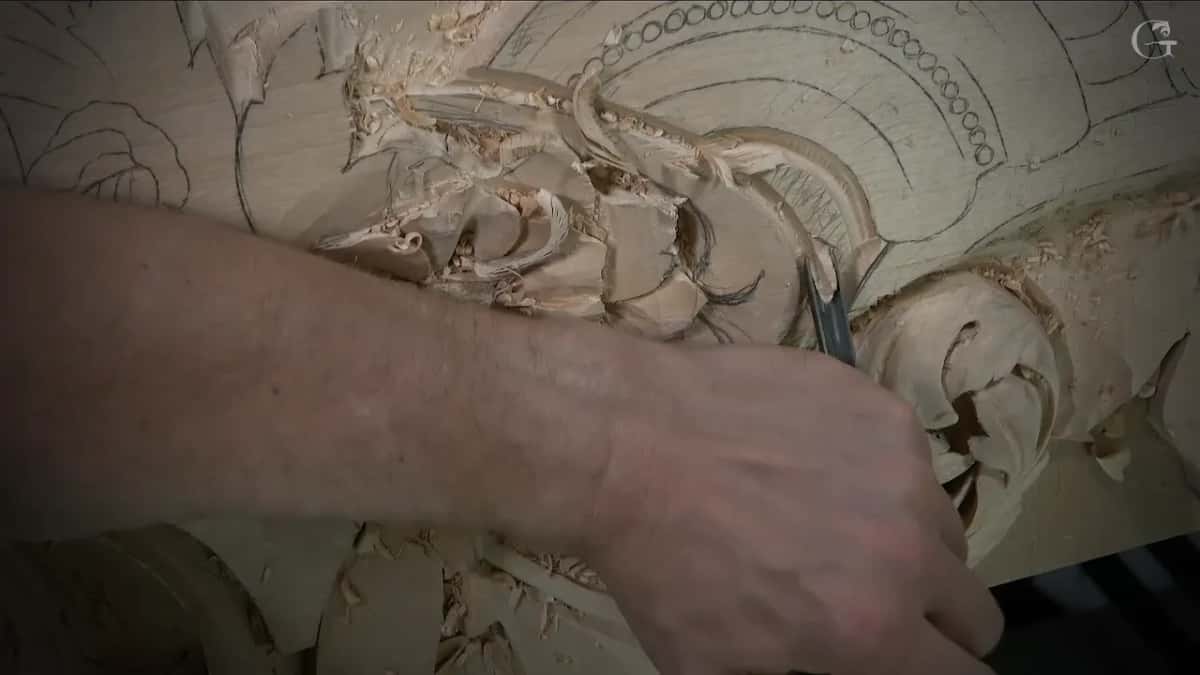
The second pass stayed about one eighth of an inch (3 mm) away from the edge, so you can see that ridge, and with the smaller tool that ridge is more obvious. Then the depth question again. I wanted it 3D, I said, and it has to look like a 3D movement.
A minute later the detail I was outlining was popping. It was dull before, I told the camera, and it looks much better now.
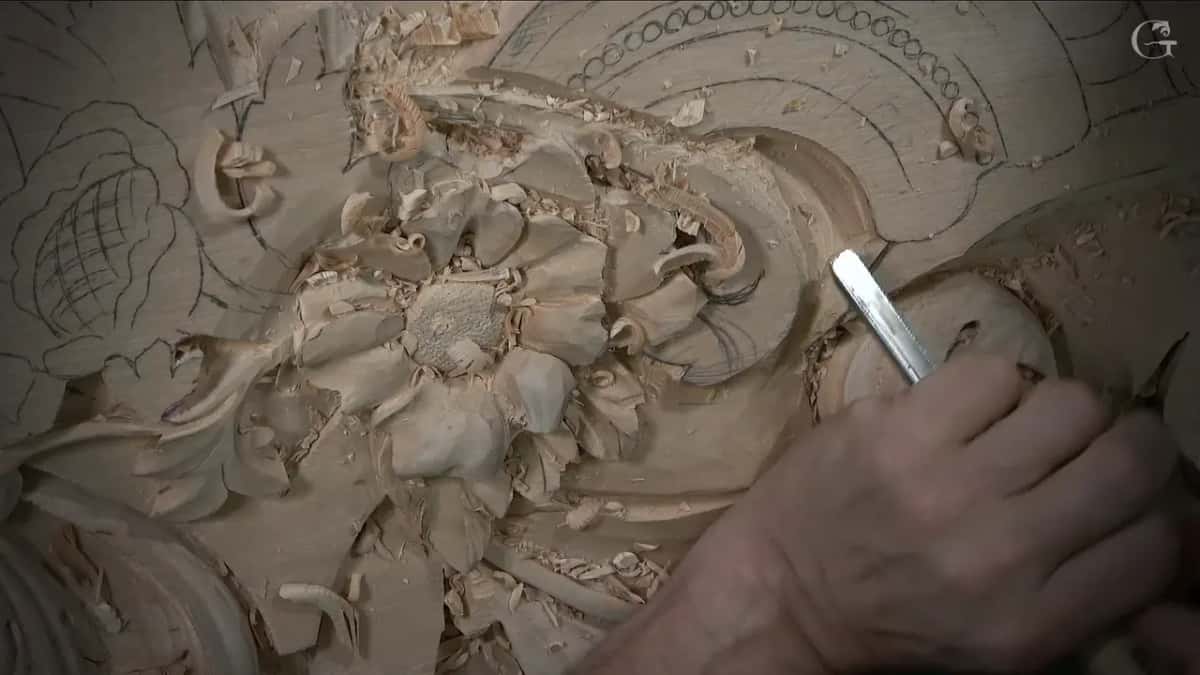
The livestream puts it another way. I asked the people watching whether they could already see that shadow, because before, it was just a little too dull. Everything there, I said, was going to come to that same level.
| Place | What happened | Tool |
|---|---|---|
| The first spot | A dark place across from a movement in part one | A 3 mm #11 |
| Its bulk | Knocked loose at once, though I said a #9 was better | Number 7 |
| Its walls | Straight down, matched to the other side | The 4 mm veiner |
| Inside the mess | Went in, broke an edge, then switched to a smaller tool | Two millimeters |
| Under the leaf | Dug beneath a future leaf that had no details yet | A small #9 |
| Part three | First pass on the line, the second one staying back | 7 mm, #11 |
What does a shadow spot cost you?
Inner detail, now and then. Late in the lesson I said I would really like to see a much deeper shadow, even if I have to lose some inner details inside, because I still want to see a shadow spot. That is the whole trade in one sentence of mine.
Part two had another price. Around one shape I wanted a really deep shadow, so a piece of wood needed to be gone, and the part next to it might have to come down a little later. That was fine with me, I said.

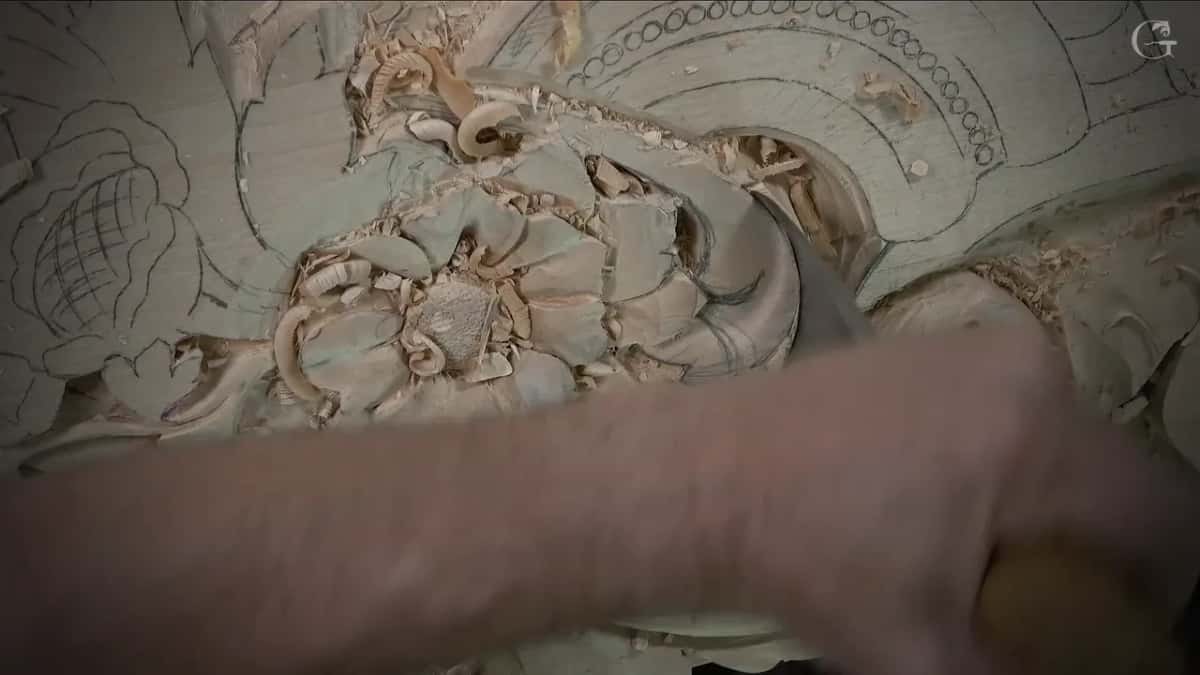
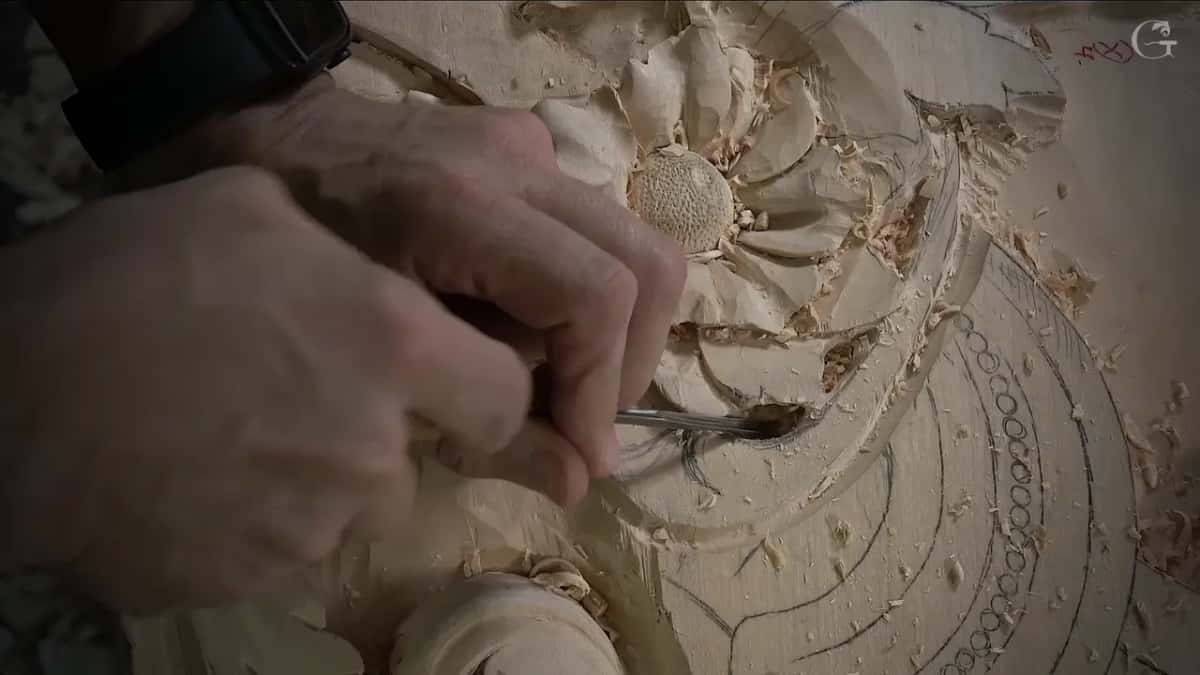
And sometimes the price is an accident. Clearing the mess inside with the 4 mm veiner, I went in and broke the edge, because I wasn't too careful. Okay in this case, I said, but in another case it would be really bad. That tool was a little too big for the spot, so I went down to 2 mm (5/64 in) and dug a little deeper to make sure there was a deep shadow.
On the livestream I went further. I really needed that shadow, and I said I would recreate the piece above it if I destroyed it. It was just a little too dull as it was.

Does every part of a carving need a shadow spot?
Only where it adds something. Early in part two I said it plainly: I really don't have to do it in all of the areas, but I think it just adds some more interest. That one I carved from both sides.
A small filler flower in my lily box, filmed for Carving Lily Box 12, gave me one more spot. Plenty of material was left there, and if I hit it with the gouge I could cast an even deeper shadow. Maybe with a smaller one, I said. Every little thing helps.
After that I talked straight to you. If you don't feel like doing it, just don't do it, and it is still going to look good. But there is a huge difference, I said, between looking good and looking excellent or great.
How a handful of small dark spots makes a whole panel look complex is its own page, from class 16 of my course in Maine, where the class works from a Grinling Gibbons original, and I will not repeat it here.
What does a finished shadow spot look like?
Dark enough that I stopped to show you. Near the end of part one, after the 4 mm tool and a quick clean, I asked you to look: see how deep shadow it creates? Just awesome, I said, and moved on to a small number 9 for the wood under a future leaf.
That hole went all the way through, and holes like it belong to the Part 10 course page. Part two opened with a short question to myself, how about shadows, and right away I carved the same kind of spot from both sides. It did not look too appealing at the beginning, but once everything was cleaned and the extra material removed, I told you it was going to look awesome.
Where else did I dig a shadow spot?
One was on a grape onlay, in Carving Grape Onlay 11. One little section still had some material in it, and I had two choices. I could excavate it and create a really dark spot, which probably makes sense right there, or I could make a small branch, which probably makes no sense. I went with the spot.
The tool was a number 11 of two and a half millimeters, smaller than one eighth of an inch, because it was a narrow spot and I needed to get in. Looking at it from above afterward, I said I thought I made the right decision, even though I did not like how one grape looked.
Two lessons earlier, in Carving Grape Onlay 9, the spot was tiny. What I did, I told you, was create an extra little shadow spot. Right after it a small number 11, about one millimeter, started undercutting, so you can detect the separation.
In workshop 64 of the Venice Room, filmed for Advanced Carving: Venice Room 64, I was not going to make a really deep eye on that acanthus. I still needed some dark spot and some shadow, though. So I took a half millimeter number 11 (about 1/50 in).
If you would ask me whether that makes a big difference, I said I know for a fact it will. Without making the eye any wider, I got a really dark spot. See how dark it is? Isn't it beautiful?
Which tools dug these shadow spots?
Small veiners, mostly. Lesson 120 took the number 11 out at 3, 4, 7 and 2 mm, and the other lessons add 2.5 mm, about one millimeter and half a millimeter. For bulk I had a number 7 in part one while saying the 9 was the better tool, a small number 9 went under a future leaf, and part two took a number 9 again for a plug cut underneath one area.
Part one also has me saying it was probably better to use just the rubber mallet. Once the spot in part three was deep enough, a big number 7, three inches (76 mm) wide, made the straight-down pass for that movement. A number 2 came next, where I said a number 3 would also work, and I called it perfect. At the very end a Henry Taylor number 3 of about three-quarters of an inch (19 mm) matched a line, picked just for variation of tools.
Lessons 119 and 121 carry on in the same room, and the April 2020 livestreams are where I talked through shadows while people asked questions. Every lesson here is open with tuition, and Part 10, with its acanthus and the rest of the Venice Room ornament, sits on the Venice Room Part 10 course page. Watch the 3 mm veiner go into that first spot.
How it's done
- Check your drawing. Before digging the first spot of lesson 120, I looked at my drawing to make sure I was not making a mistake.
- Outline with a small veiner. A 3 mm veiner excavated and outlined it.
- Take out the bulk. Take some excess off right away, which I did with the number 7 that was already in my hand.
- Match the depth beside it. Match what you see on the opposite side, and add a bit more depth at a high spot that runs downhill.
- Stop at enough. Watch the detail beside the spot, and once it pops, that is enough for me.
- Go smaller when the tool is too big. My 4 mm broke an edge, so a 2 mm took over.
Frequently asked questions
Why dig a shadow spot into a carving?
Mine give the eye a dark place right beside a shape, so the shape beside it pops. Workshop 120 had one spot doing two jobs at once. It repeated a movement from the opposite side, which I called a complementary movement, and it made a really dark shadow.
How deep do you carve a shadow into wood?
Roughly level with its neighbor, in workshop 120, and a little deeper at a high spot that ran downhill. On a livestream I said I decide by intuition and by staying consistent with the depth of other areas, while watching how much wood is left.
Which gouge makes a small shadow spot?
Mostly a number 11, the small ones. Lesson 120 used veiners of 3, 4, 7 and 2 mm, a grape onlay took 2.5 mm, and one eye on an acanthus in the Venice Room got half a millimeter, about 1/50 in.
What to carve next