
Alexander Grabovetskiy, woodcarver, School of Woodcarving · Published 2019
How do you carve the background on a low relief panel?
Quick answer: Carving the background on a low relief panel is three moves repeated. Go straight down on the line at ninety degrees, take the waste away across the grain with a big gouge, then bring the whole ground to one depth with a router plane. On this walnut that depth is an eighth of an inch.
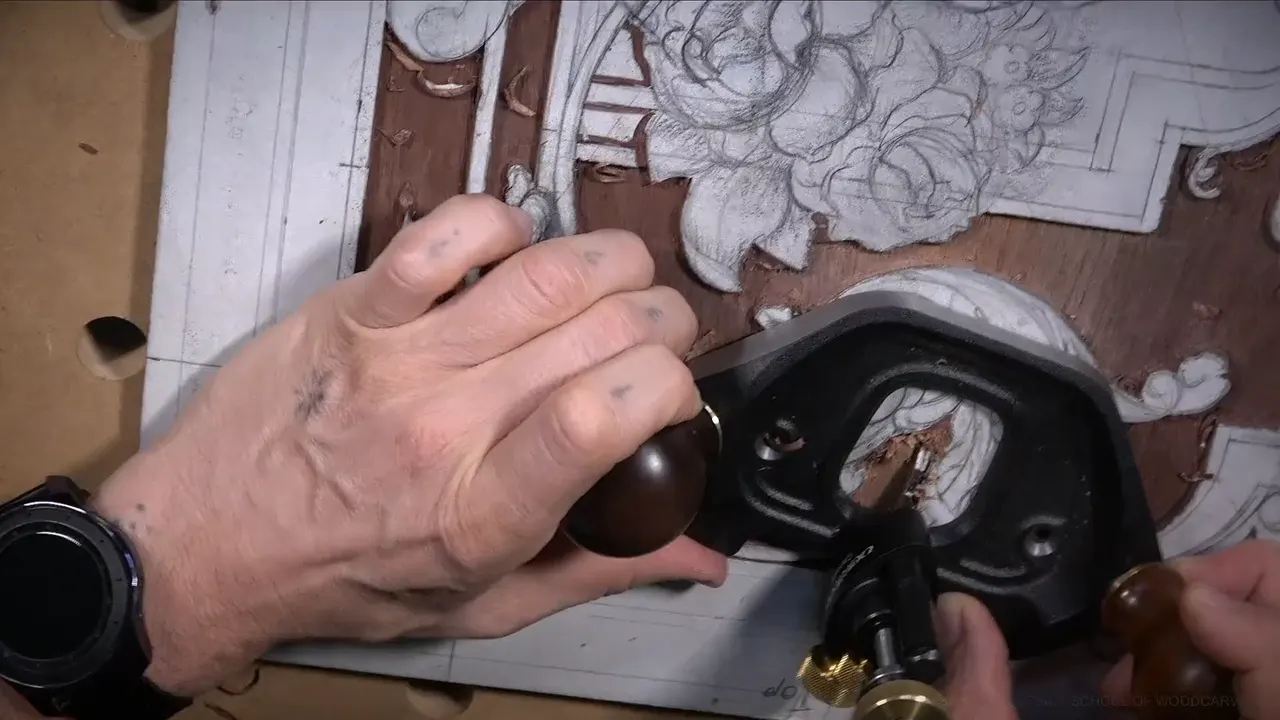
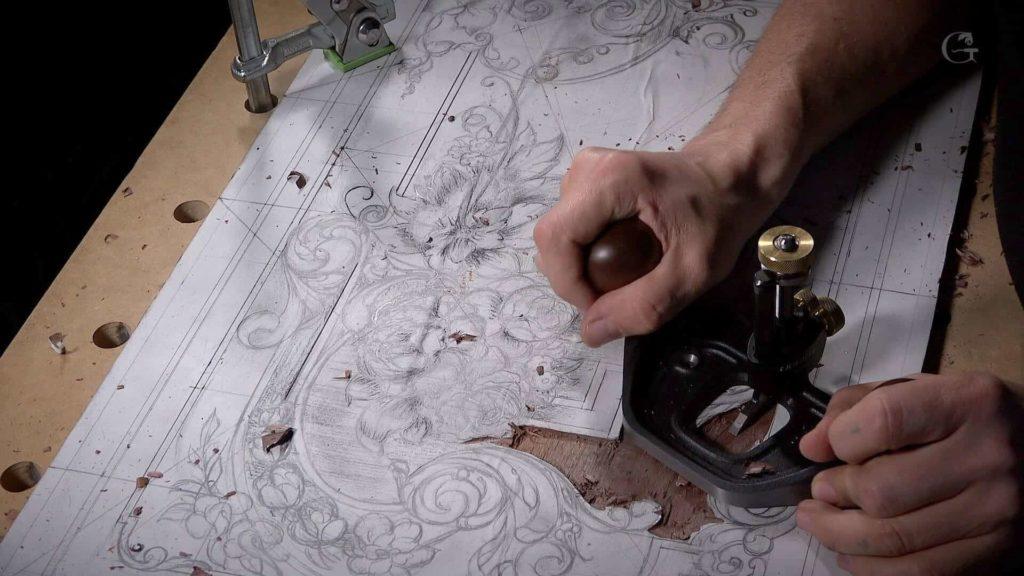
The knife goes in straight down, dead upright, right on the line. Everything after that is repetition. Waste comes away crosswise with a big gouge, the whole ground gets brought to one level with a router plane, and on this panel that level is 3 millimeters. Nothing here plugs into a wall.
Fourteen sessions of drawing, then this one landed five days later, on 28 October 2019. Board clamped down, paper glued on, and the first wood came away. If you have carved figures or panels before, some of this will look familiar and some of it will not, because a furniture panel brings two tools that most carvers never own.
What the first session actually decides
- Straight down and vertical, right on the line, with no undercutting yet.
- Waste comes off crosswise, which gives far more control than following the run of the wood.
- Go 3 millimeters down and no further, until the final depth gets chosen.
- Leave the high ground beside your lines alone, since the router plane has to ride on it.
- Rushing costs time.
- Two specialty tools help here, and you can finish the panel without owning either of them.
Which tools does a furniture panel need that other carving does not?
A marking gauge and a router plane. Furniture makers know both. Most carvers have never touched either, and you can do this whole panel without them using gouges, chisels and veiners, so treat what follows as useful rather than required.
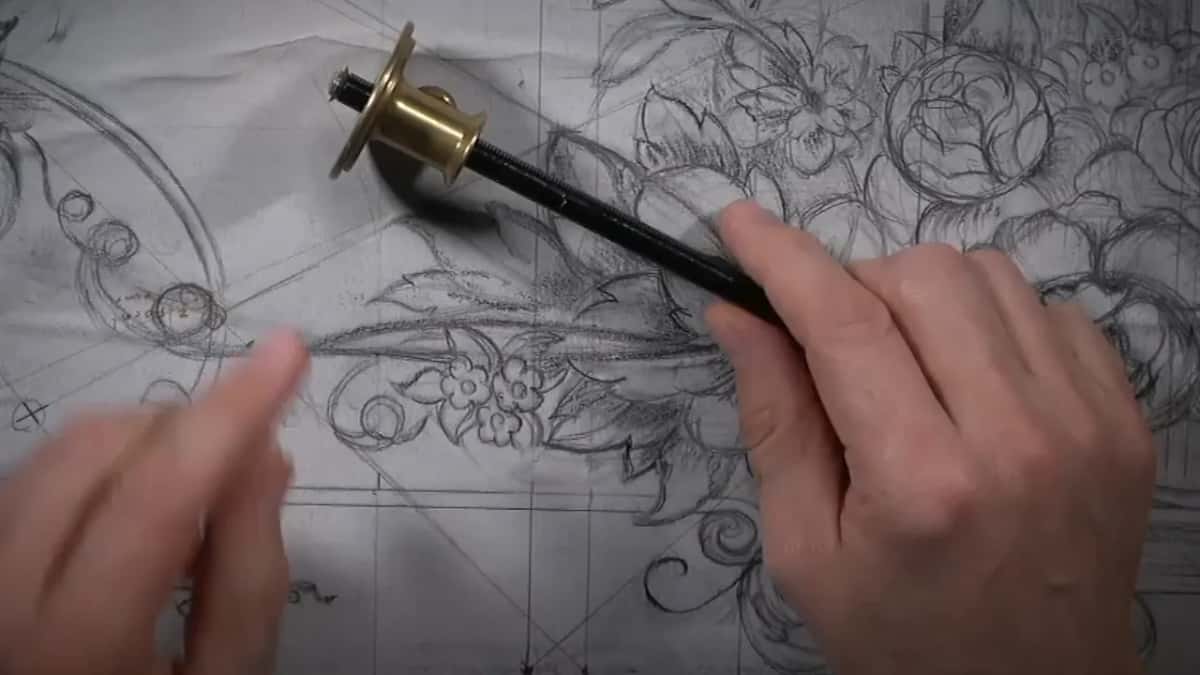
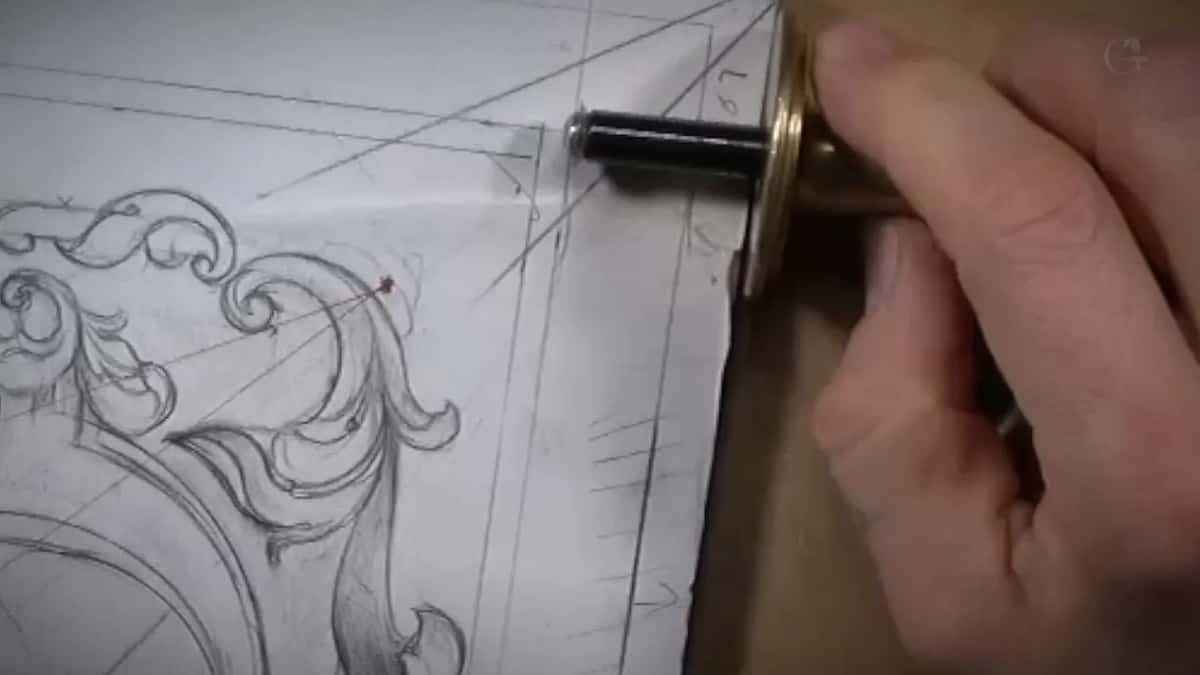
Tool number one is the gauge, because the border lines on a panel have to be dead straight and no hand is that steady. Mine is nothing special. A decent one does the job, and the better versions hide the locking screw inside the blade so it stays out of your way, which mine does not.
Two things will ruin a gauge line. The fence follows the edge of your board, so anything on that edge, a bump, a run of dried glue, will throw the line off. I rubbed my way around all four edges and found one spot of glue. Second, put a small starting nick in the wood where the knife lands, so it catches there every time you reset.
My router plane is a Veritas, made in Canada. Blades run from a sixteenth of an inch up to three quarters, around 19 or 20 millimeters, and the narrow ones reach spots nothing else will. I like the Lie-Nielsen more for its build and its old fashioned look, and I said so on the video, but the last time I checked their blade range it did not go that small.

There is a small one as well, and it earns its keep on a panel this size.

Holding the board down took longer than I expected. My bench holes are exactly 20 millimeters and very tight, and the first thing I clamped under the panel fought me, so I turned it around and used the other side. That spacer is a board from a weekend class I taught at the Marc Adams School of Woodworking back in May 2019, Viking style carving, and it has been kicking around the shop ever since. A couple of clamps, placed clear of my hands but tight enough that the panel cannot shift, and that is the setup.
Where does the first knife go?
Straight down on the line, pulled toward you, with both hands on the handle. I use a number 3 to start. My favorite is a number 12, and it gives exactly the same result. Any knife will work here. Two hands are for control, not strength.
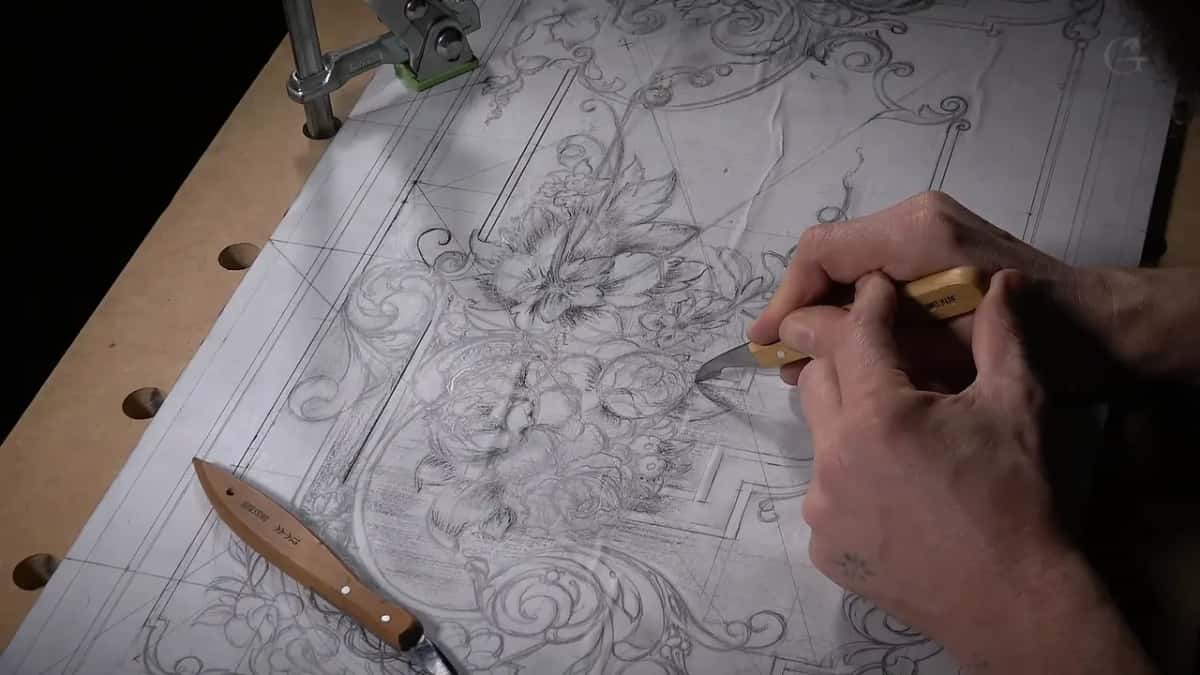
Square to the surface, as close to it as you can hold. No undercut, and no leaning the other way either. Those molding lines have to stay high and true, and there is no fixing them later, so this is the one place on the panel where slow is genuinely faster.
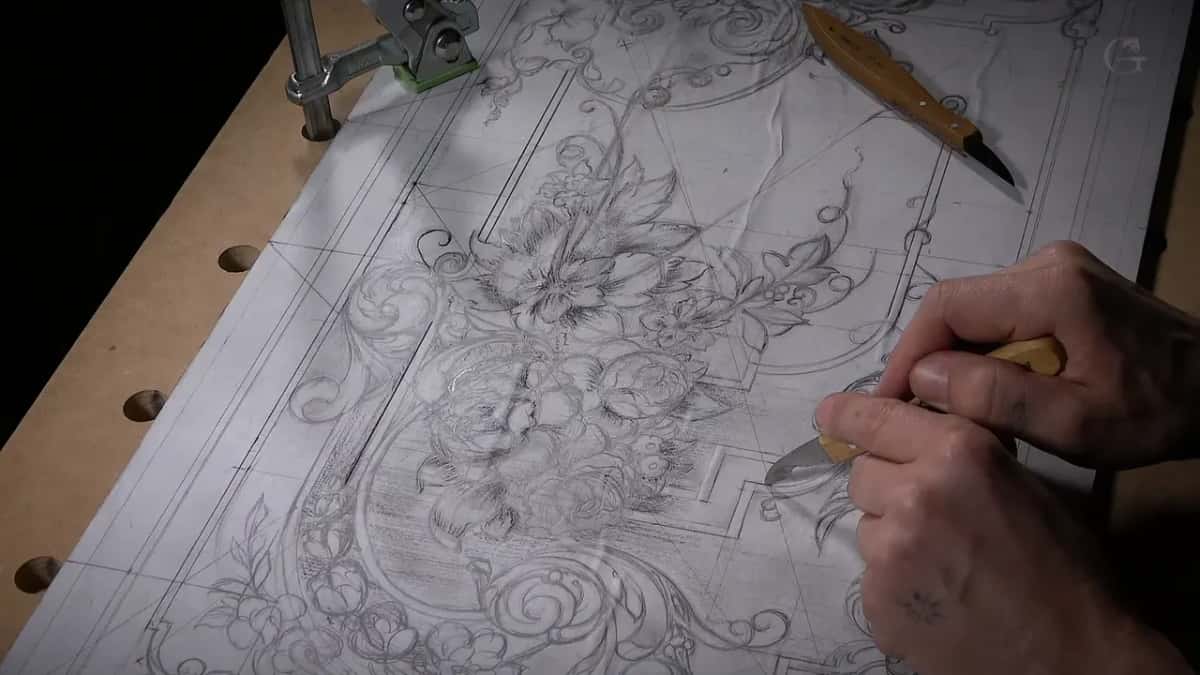
Do not rush. Rush and you make a mistake, and fixing a mistake takes far longer than doing the thing right the first time. I have said that to students for years. They nod. Then they hurry anyway.
Around the ornament itself I stay with the knife rather than switching to a veiner. The number 11 in 3 millimeters will follow a design fine, but on a board carrying this many lines it becomes hard to see which one you are on. The knife gives me a flowing movement, and I can feel exactly where I am on the board without looking twice.

A gouge whose sweep matches the curve is the other option, and I use it constantly. Number 8 in 10 millimeters for one arc, number 7 in 14 where the curve flattens out. Whatever fits the line without forcing it.
How deep does the background go?
Three millimeters to start, and not a shaving more. An eighth of an inch, near enough. The final depth gets decided later, once I can see how the design sits, and being consistent now matters far more than being deep.

My panel is only 10 millimeters thick, so there is not much room to be brave. Press too hard with a mallet and you can start micro cracks under the design, invisible now, and a piece breaks off later. Undercutting comes at the end, and it will cast the extra shadow that makes low relief look deeper than it is. Plenty of furniture makers skip undercutting altogether. I think the shadow is worth the risk.

| Tool | What it does here | Required? | What I use instead when I do not reach for it |
|---|---|---|---|
| Marking gauge | Dead straight border lines | Nearly | A straightedge and a knife, slower and much less certain |
| Router plane | One depth across the whole ground, every single time | No | Gouges and patience |
| Number 23 | A wall standing square on both sides | No | The 11 veiner, or a small 9 |
| Carving knife | Outlining, and everything the gouges cannot reach | Yes | Nothing comes close |
Why work across the grain?
Control. When the ground is coming down and the grain runs one way, I drive the gouge at right angles to it, and the wood stops trying to steer me. Follow the fibers instead and they split ahead of your edge, taking a piece of the design with them.

The same logic decides which ornament I attack first. Flowers get outlined, the volutes wait, because their movement will be developed properly later and there is no sense committing to a shape I might change. We build those spirals from scratch in the 1903 acanthus course, and the panel version turns up again in the floral and molding course.
Bigger tools first. A number 9 in 10 or 14 millimeters moves material fast, and I zigzag my way across an area rather than chasing the outline. Getting close to a line is not the same as touching it, and touching it early is how people lose the high ground the router plane needs.
One more thing about this particular board. It is walnut, harder than basswood, and that works in my favor, because the knife will not sink too deep even when I lean on it. On basswood the same pressure would bury the blade.

Look at the color coming up under the paper as it comes away. Not ordinary walnut at all, almost purple in places. Gorgeous board. I said so out loud on camera.
What is a number 23, and do you need one?
A grounding tool, flat across the bottom with a wall standing at ninety degrees on each side. Furniture makers own them and almost nobody else does. The one on my bench is a Pfeil in 6 millimeters, with an 8 and a 12 beside it, and owning the sizes matters more than owning the brand.
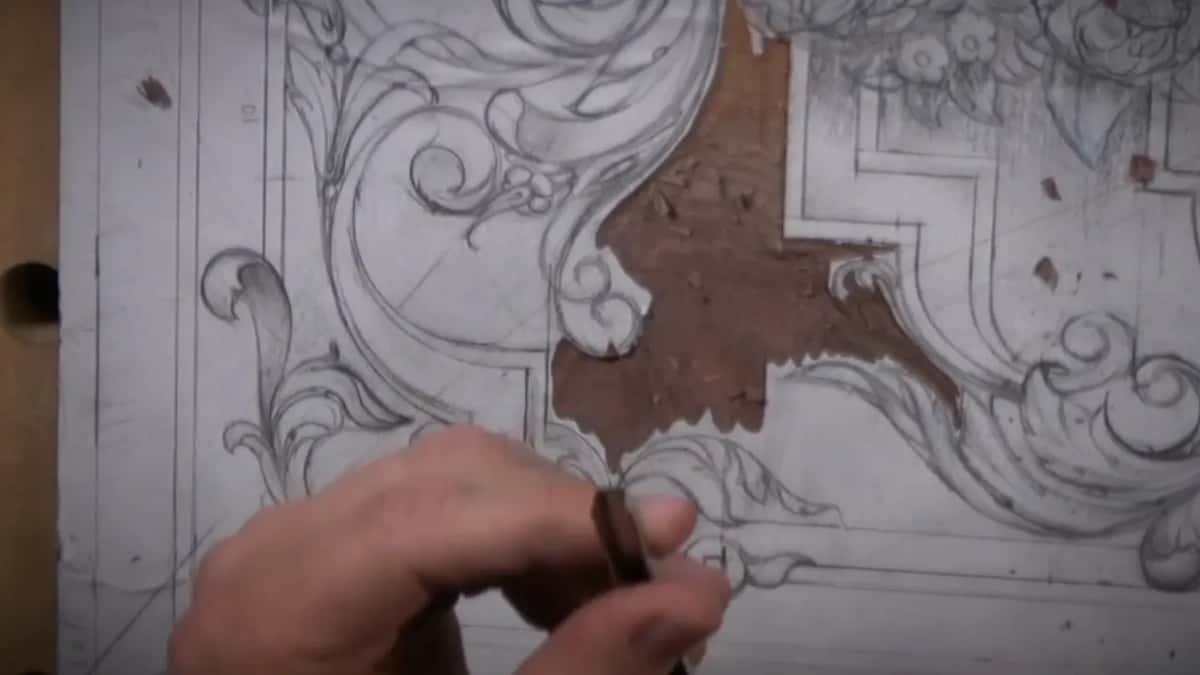
What it buys you is the corner. It walks right up against a vertical wall and leaves that wall alone, which is exactly what you want beside a molding line you spent an hour getting straight. Tapped with a small brass mallet, it gives a flat and consistent ground without the router plane ever leaving the shelf.
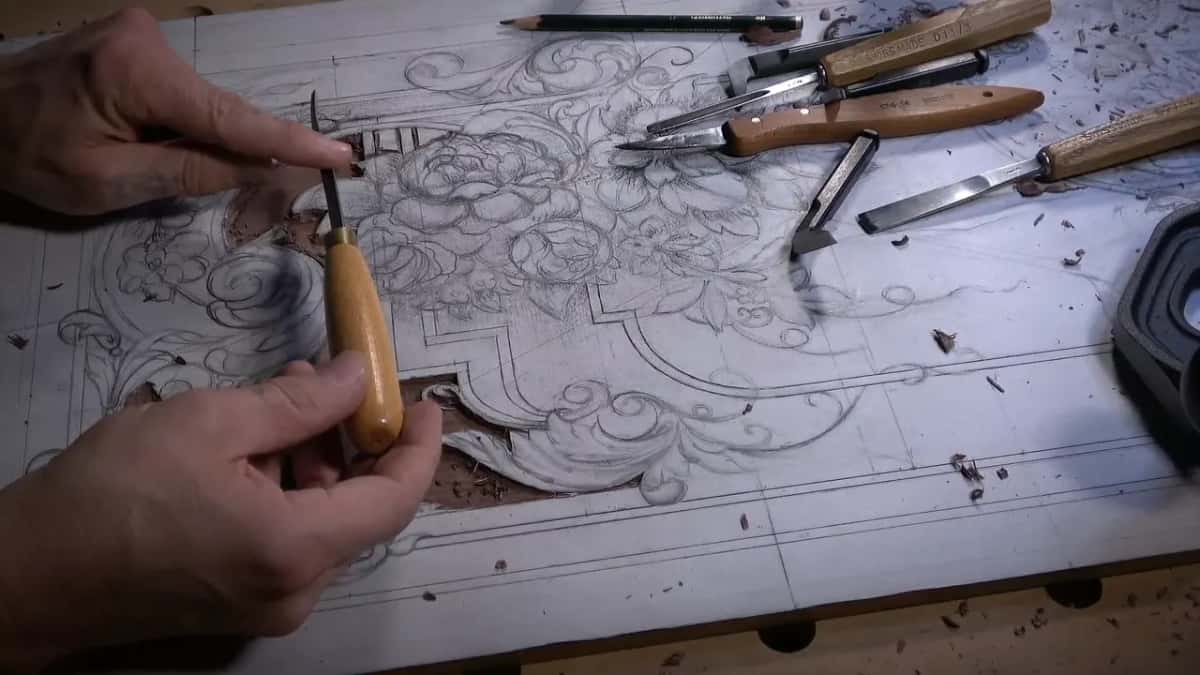
Now the honest part. You do not need it. An 11 veiner at 3 millimeters does the same operation and gives the same control, and a small 9 will get you there too. There are more ways to do one operation than people think, and that is the real lesson, not the tool number.

Something else worth stealing. Chop a row of straight down stops close to the line with a number 8 or 9, without touching the line itself, and the waste between them lifts out on its own. That relieves the whole area and makes the final approach much easier, particularly where the grain runs toward the design and the edge is fragile.


Two small warnings before the plane comes out. Your blade has to be genuinely sharp, and I mean the iron in the router plane as much as the gouges, because a dull edge in end grain crushes fibers instead of slicing them. And do not clear chips away with bare fingers. A splinter off a freshly carved wall goes in deep and sideways, and I have picked more than one out at this bench.
How does a router plane actually work?
Rest one side of the sole on ground you have already levelled, then rotate the tool toward you and let it take a shaving. Do not push. Some woodworkers would not approve of how I hold it, and I know that, and this is still the method that has served me best on ornament.

Find your lowest spot first, set the blade to it, lock it, and work outward from there. When the direction fights you, turn around and come at it the other way. A three sixteenths blade suits most of this panel, and swapping to a three thirty seconds takes seconds because the height setting stays put.

Eighty percent of the ground at a consistent depth is enough from this tool. The rest I finish with a gouge or a knife. Chasing the last corners with a plane blade is how you end up leaning on it, and leaning on it is how the blade dives with the grain and takes a bite you did not want.

Why not just run a power router over it?
You could. A machine and a straight bit would hog this ground out in an afternoon, and the result would be flat, and nobody looking at the finished panel could tell from six feet away. I do it by hand because I want to feel what they felt.
Same process, same mindset, near enough the same tools. Their router plane had a body of wood rather than a casting, and the idea behind it has not moved. That connection is most of why I carve this way instead of the fast way.
What do you do when a maker sends you free tools?
Judge them the same as anything you paid for. A European company based in Ukraine, Beaver Craft, sent me four knives and a set of gouges, unasked, with a thick piece of leather for stropping, green paste, and a packet of bandages. First time anyone has put bandages in the box. Thoughtful.

Free tools do not buy a good review from me, and they do not buy a bad one either. Straight out of the roll, unsharpened, the knives are built for small work in the round rather than for digging into a panel, and the steel is thicker than I want for this operation. The gouges need sharpening and their bevel sits too high, which every brand does on a new tool and I regrind anyway.
The size, though, I like straight away. True European length, shorter than the London pattern, so it gets close to the detail and still takes a mallet. Too early to give you a verdict. Ask me again in a few lessons.
The ground on this section is flat and even now, and the next lesson carries on with it, which you can follow through lesson 16 and lesson 17 and the rest of the carving course. The drawing that got us here was finished in lesson 14, and shaded in the lesson before that, both of them part of the design course. If the tools are what you are stuck on, there is a whole course about them, and Acanthus over Moldings covers the shapes we are about to carve.
If you want someone beside you the first time you take a knife to a panel like this, that is what the school is for.
How it's done
- Clean the board edges, then run the gauge. Rub your hand around all four edges and take off any bump or dried glue, because the fence rides that edge. Put a small starting nick where the knife lands so it catches in the same place every reset.
- Clamp so the panel cannot shift. Two clamps, placed clear of where your hands and mallet need to travel. A panel that moves under a knife will hand you a line you did not intend.
- Outline straight down, blade vertical. Pull the knife toward you with both hands on the handle. Stay on the line and hold the blade upright, since the molding edges have to stay high and true and nothing later will fix them.
- Chop stops beside the fragile edges. Where the grain runs toward the design, chop a row of vertical stops near the line without touching it. The waste between them lifts out and the final approach gets far easier.
- Take the ground down crosswise. Work a number 9 in 10 or 14 millimeters at right angles to the grain rather than along it, zigzagging over the area. Stop 3 millimeters down and leave the high ground beside your lines untouched.
- Level everything with the router plane. Find the lowest spot, set the blade to it, then rest one side of the sole on levelled ground and rotate the tool toward you. Eighty percent of the area at one depth is plenty; finish the corners with a gouge.
Frequently asked questions
Do you need a router plane to carve a panel background?
Gouges will get you there. A router plane simply guarantees one true depth over the whole area, which is hard to hold by eye across a board this size. Number 2 and number 3 chisels clean the tight spots either way.
How deep should a low relief background be?
Around 3 millimeters here, on a board only 10 millimeters thick. Depth gets settled late, once the design can be judged properly. Consistency matters far more than going deep.
Why carve crosswise instead of along the grain?
Control, mostly. Driving a gouge along the run of the wood lets the fibers split ahead of the edge, and a split running into your ornament takes part of the design with it.
What to carve next