

Alexander Grabovetskiy, woodcarver, School of Woodcarving · Published 2019
How do you carve the eye and the pipe on an acanthus leaf?
Quick answer: An acanthus eye is the wound heart of a leaf movement, and its pipe is the ridge travelling away from it. Neither one gets raised. Set the eye down before shaping anything else, then scoop the wood along both flanks of the pipe line, and the ridge left in the middle is your pipe.
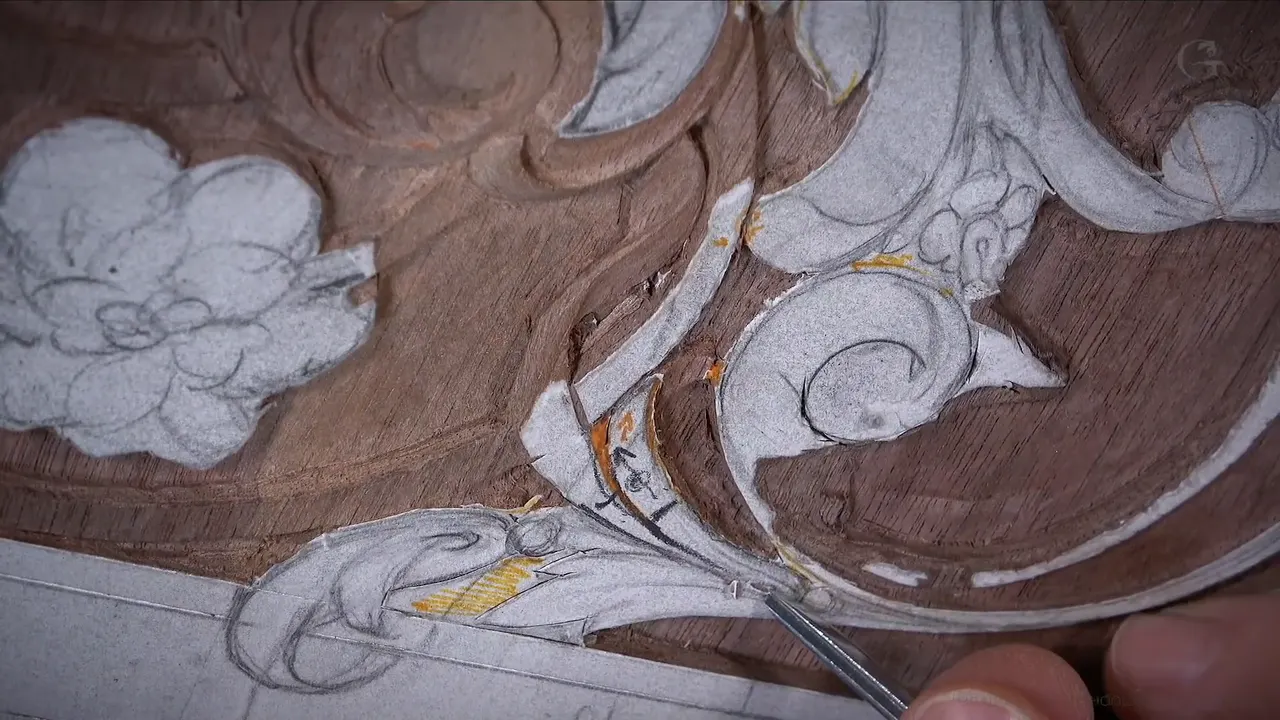
An acanthus eye is the small hollow that a leaf movement turns around, and its pipe is the raised ridge travelling out of it. The eye gets marked before any shaping happens. Nothing about the pipe is carved by raising it, though. You scoop the wood along both sides of where the ridge belongs, and whatever stands between those hollows becomes the pipe.
Most people carve an acanthus by copying its outline and wonder later why the leaf looks like a paper cutout. The anatomy is what they skipped. This upper corner of the panel is where I build that anatomy at a size I can only describe as jewelry, about a millimetre tall and a millimetre wide, and where a piece breaks off and gets glued back on camera.
What separates a carved acanthus from its outline
- The eye goes down first.
- A pipe is made by cutting either side of it, never by lifting the ridge itself.
- Stop every stab cut a whisker above the background, call it 1/64 in.
- When the waste chip refuses to fly out, that is the proof your depth is right, and an escaping chip means you went too far down.
- Growing one leaf from under another is a lowering job.
- Undercut for shadow, then stop, because this is furniture and it has to survive being used.
Where does the eye go, and when?
First, before anything is shaped. I put the eye of a movement down at the very start, and even on a detail this small it is a real eye with a real centre, not a dot. Everything that follows leans on where I put it.

Acanthus anatomy, the eyes and the pipes and how they connect, runs through the acanthus lessons in far more depth than one corner of one panel can hold. What matters here is that this board is full of these movements, so the vocabulary earns its keep quickly.
What actually makes a pipe stand up?
Two hollows, cut either side of it. Nobody ever raised that ridge, and nobody could on stock this thin. It simply survived, and once the wood beside it dropped away the light began hitting it differently, which is the entire illusion.
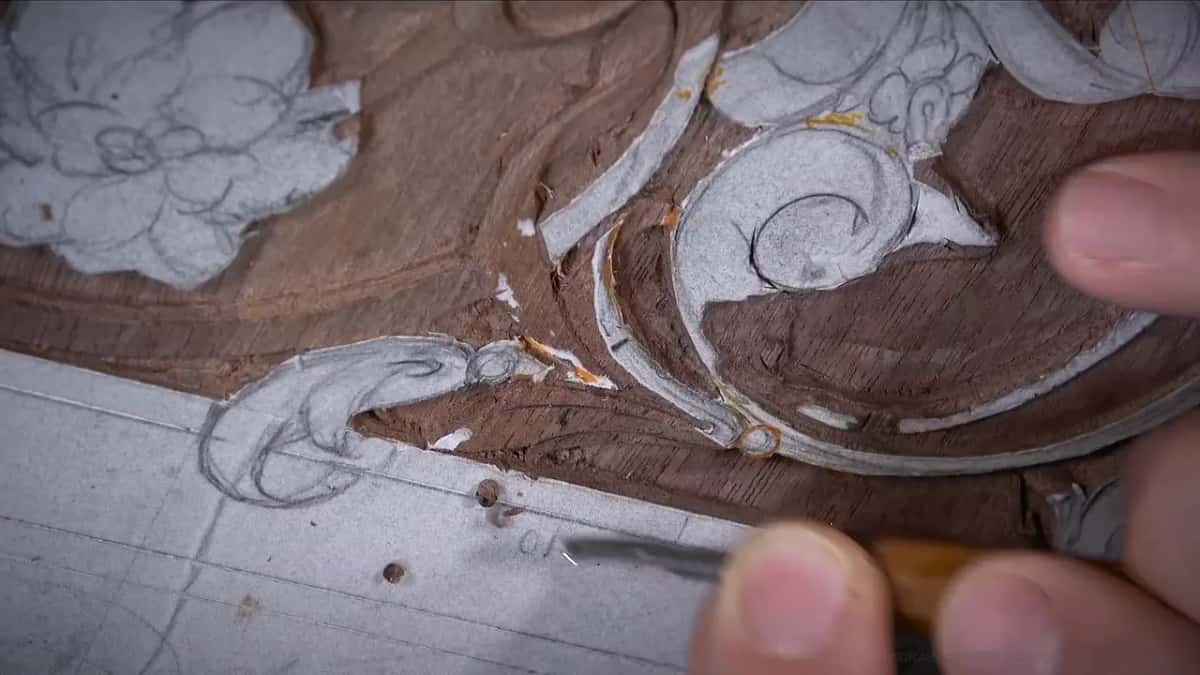
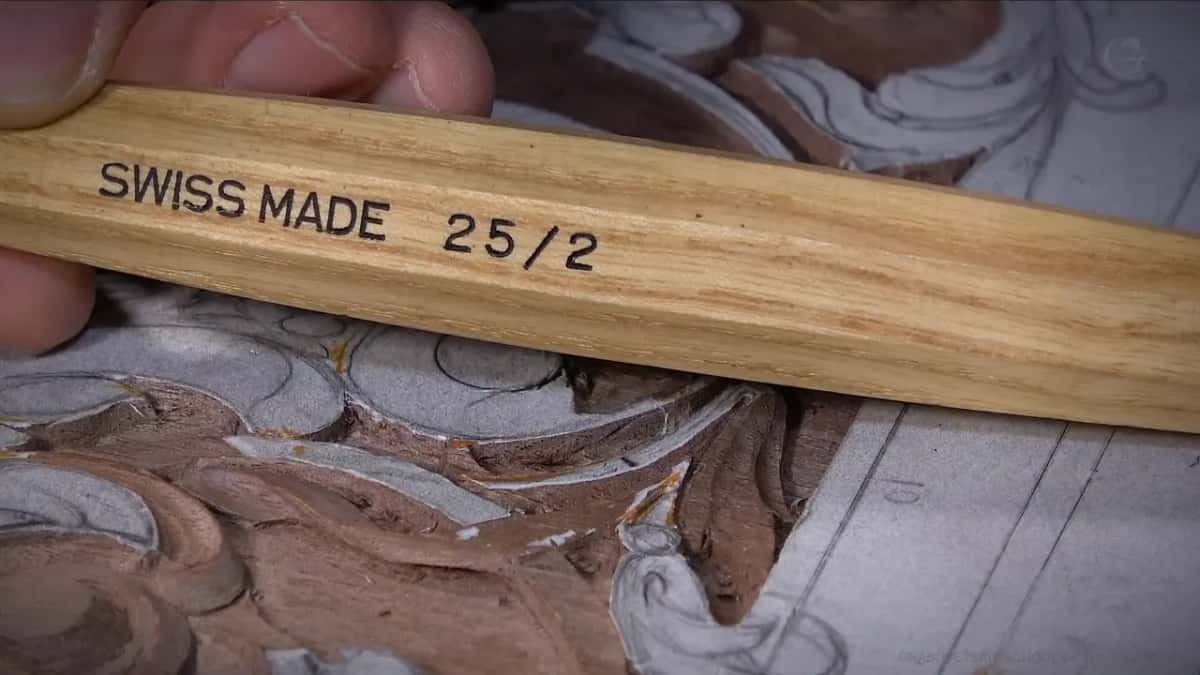
Where a straight tool cannot get down into the hollow, a back bent goes in instead. Mine is a number 25 back bent, and there are shapes on this panel I could not reach at all without one.
How far down should a stab cut go?
Never all the way. I stop a whisker above the background on every vertical cut, and I keep saying it because the temptation runs the other way. Meeting the ground with a stab leaves a tool mark that will still be there when the light comes across the panel.

There is a test for this, and it is a negative one, which is why it gets missed. Watch the waste as you ground out beside a wall. The chip should stay put rather than popping free. A chip that flies out cleanly is telling you that your stab went to the bottom.
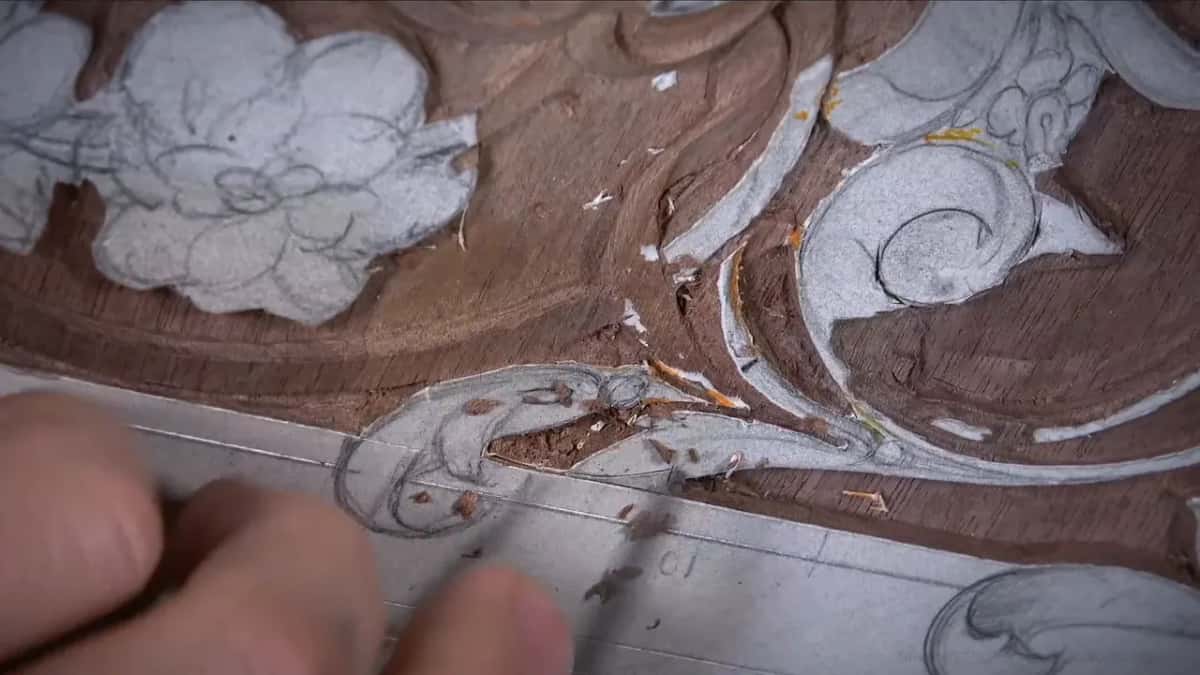
The ground under all of this sits at 3 mm, an eighth, and the finished elements stand about one millimetre proud of it. Nothing is left over to give back.
Why is one leaf lowered instead of the other being raised?
Room. Making one movement appear to grow from under its neighbour is a lowering operation on the piece that goes underneath, since raising the top piece would need thickness this panel has never had. Drop the lower one, undercut where the two meet, and the shadow does the announcing.
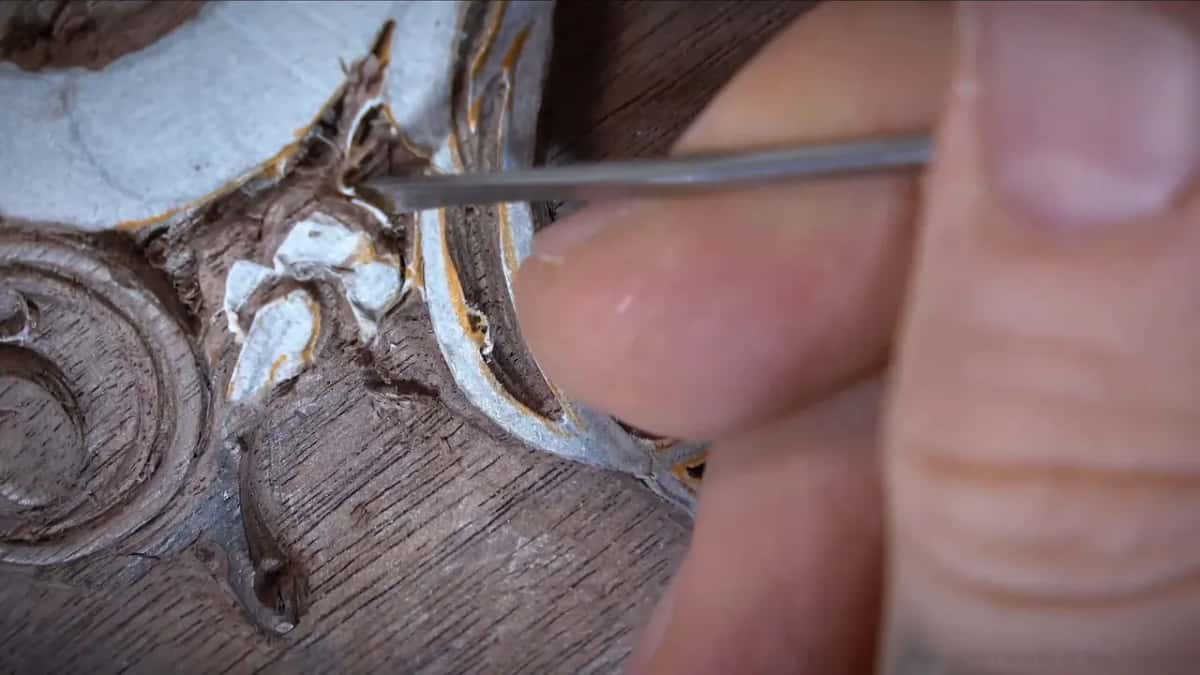
I changed my mind about that twice in this lesson. A planned eye and pipe came out of the design because I did not think they would look right, which then forced the movement to grow from underneath instead. Later on a flower got re-rooted for the same reason.
How much undercutting is too much?
Enough for a shadow, then stop. There is a version I call extreme undercutting, where the veiner travels a long way in under a flip, and it looks wonderful from the second camera angle.

Remember what this board is for, though. Furniture gets handled, moved, dusted and bumped for a couple of centuries if you did your job, so an element left too weak is a failure no matter how good its shadow was. I start the work with the half millimetre veiner and keep the depth honest.


One flip I finished early in the session was already throwing a beautiful shadow before I had done anything else to it. That is the feedback loop you want.
A piece broke off. What now?
Glue it back and keep going. What happened here is what should not happen, and it happens to everybody who carves small. I put a little polyurethane glue underneath with a toothpick and pushed the piece home.

Then I hit the same spot again before it had set, which was my own fault, and the honest answer was to walk away from that corner and work somewhere else until it dried. It was still not dry when I checked. I am not the only carver who has to deal with this.
The mistake I made on camera, and what it turned into
I cut before deciding. My rule is that the slope gets decided first and the tool goes in second, and in this lesson I made a preliminary cut while I was still thinking about how the movement should fall. The tool mark from it stayed visible for the rest of the session.
My repair was to attack the scar and turn it into a small concave inside the shape, which now reads as something I meant. Nobody is going to know it was a mistake, apart from me and now you.

A second problem that day was rhythm, and that one is a design fault rather than a tool fault. Two of my volutes came out about the same size as each other, which is never good. The fix was to make one of them smaller and give it a secondary bevel, and the panel is better for the accident.
| Name of the part | What it actually is when you look at a leaf | Cut | How I make it on this panel |
|---|---|---|---|
| Eye | the hollow centre of a movement, marked before any shaping starts | first | a micro gouge, straight in |
| Pipe | the raised ridge leaving that centre | by subtraction | hollow both sides, and the ridge is simply what survives |
| Flip | where a leaf turns over on itself and passes above its neighbour | last | undercut |
| Ground | the flat behind everything | 3 mm, which is an eighth | stab it, ground it out, and then always stop a whisker high |
Does a big gouge belong on a small detail?
Often it does. People find that hard to believe until they try it. A long, gentle line wants a tool whose curve matches it, so I reached for an inch and a half number 7 on a movement you could cover with a thumbnail, and one clean sweep beat six careful little ones.
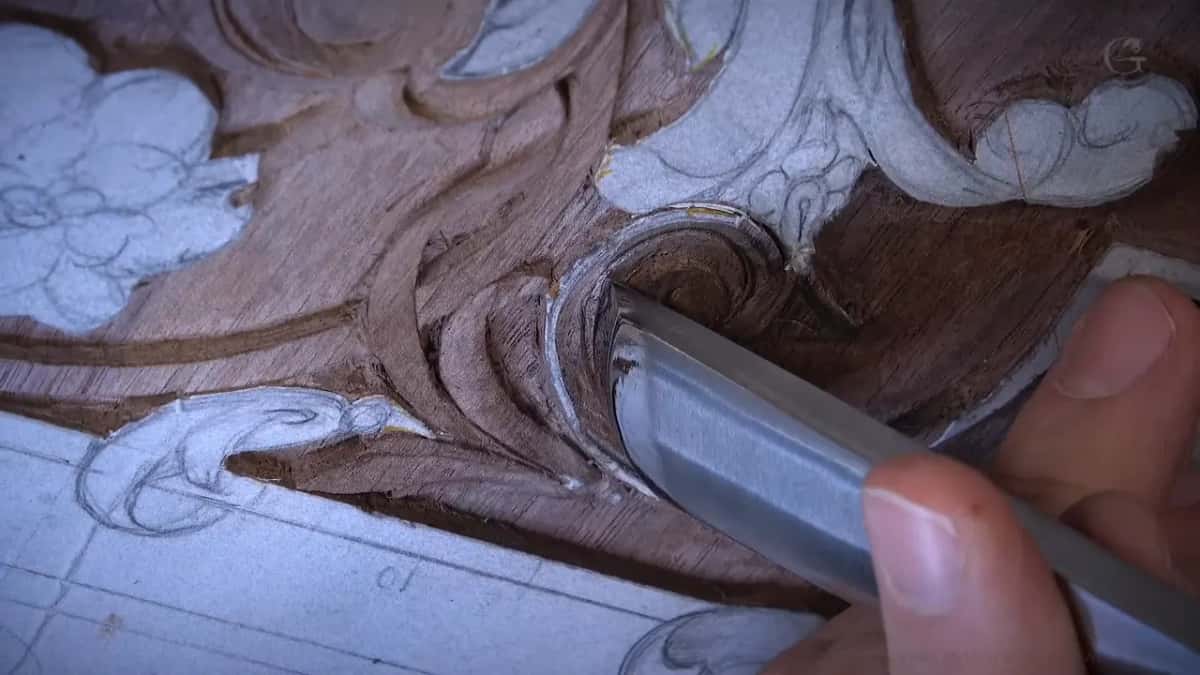
Twenty millimetres of number 7 did another of these in a single pass. Matching the sweep to the drawn line carries most of the skill, and reaching for the smallest tool in the tray is usually the beginner instinct.

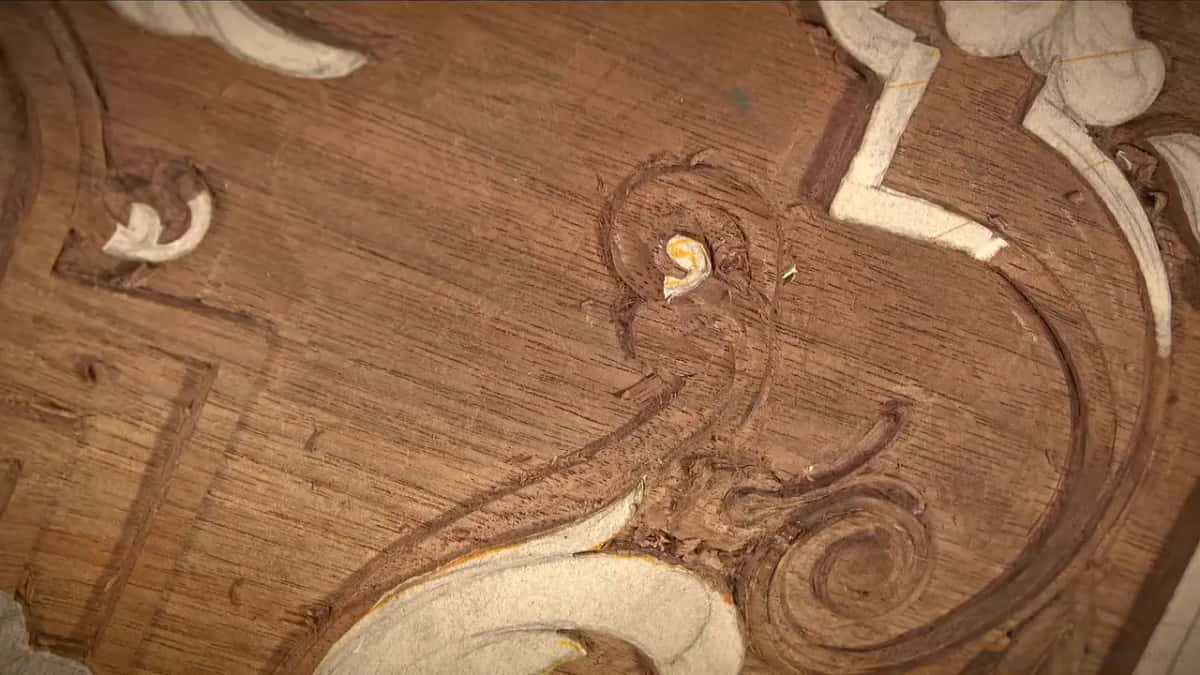
For the swirl movements I took a number 5, twenty millimetres, three quarters of an inch, with the mallet. And for the overall movement I disliked, the one that kept bothering me, a number 23 finally sorted it.
What do you call those little swirls?
Honestly, I do not know. They behave like volutes and they are not volutes, and I have never found the proper word for them. Tell me the word if you know it. Forty years at this bench and I still describe them by waving my hand.

How do you work on something a millimetre wide?
Let the tool do the work and wiggle it. A jeweller taught me that motion years ago, a small side to side travel while the edge advances, and it is the difference between a clean cut and a crushed one in wood this fragile. Not every carver approves of it.


I cut a chamfer first on anything this fine, which gets me close to the final line while the material is still solid enough to take the pressure. Corner of the tool down, then step. Corner, then step.


An inward curl gets a bigger number 8 rolled into it rather than a small one dug into it. Same principle as the long line. Fit the tool to the shape.
Why does a clean line look rough the next morning?
Crushed fibres. A cut that looked perfect at five in the afternoon can show a ragged edge when you come back to it, because the tool pressed the fibres over rather than severing them, and overnight they lift again. On a leaf a millimetre wide that ruins the line.
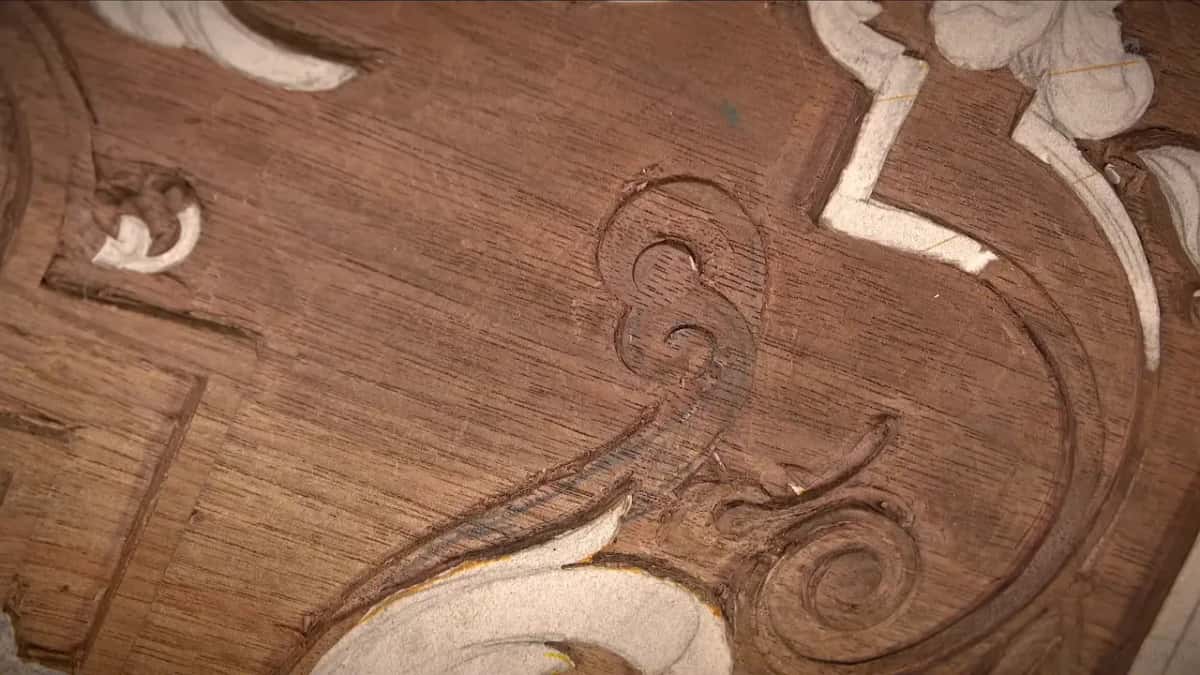
My guard against it is a preliminary relief cut. Before the shaping pass I take a light cut on the waste side, which gives the fibres somewhere to go and lets the real cut sever instead of crush. It costs one extra pass and saves a morning of repair.
Sharpness is the other half of the same answer, and there is no trick that substitutes for it. A tool that crushes is a tool that needs stropping, whatever your technique looks like.
Where does the router plane come back in?
At the end, on the moldings. Once the small work is done I bring the plane across to put every molding back at one height, with the blade micro adjusted until it just kisses the surface rather than biting it.
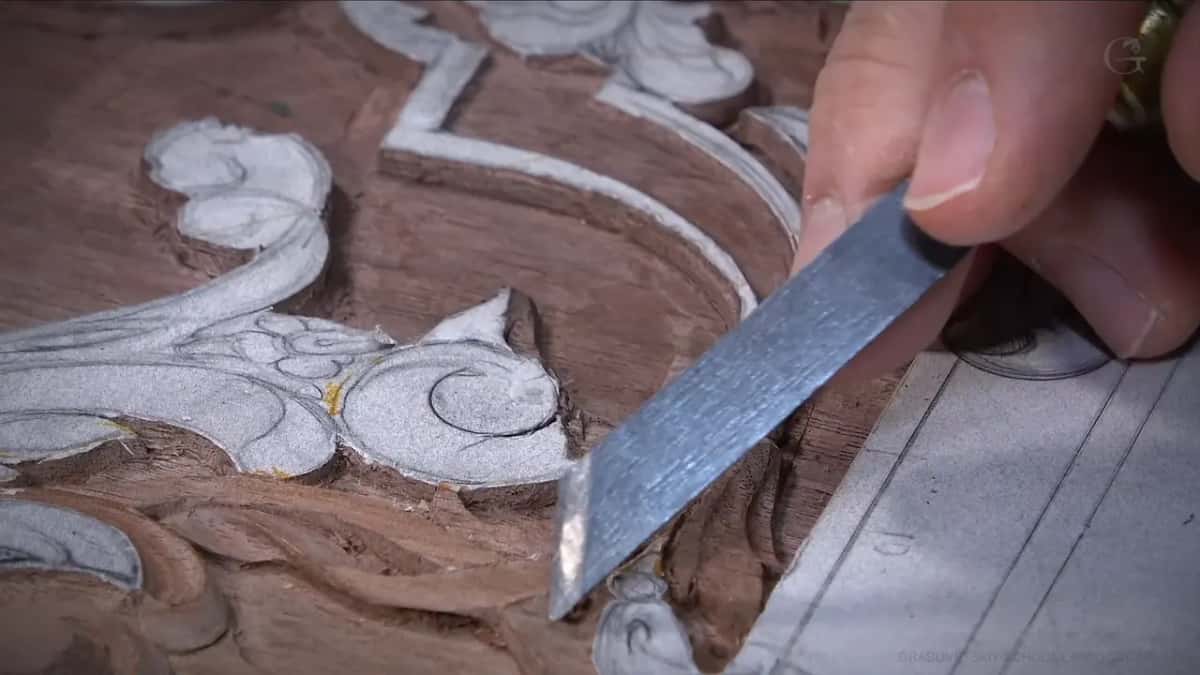

The transition from a flat into a concave is the part that has to be invisible. Get it right and the eye never notices where one becomes the other.


Most of the micro work here runs on one small gouge, an eighth of an inch number 8. Dockyard made mine, and the brand matters far less than the size.
What does the finished corner look like?
Better from above than from the front. I turn the panel and look straight down at the end of every session, because that view shows the movements as a pattern rather than as a set of separate cuts, and mistakes in rhythm jump out immediately.
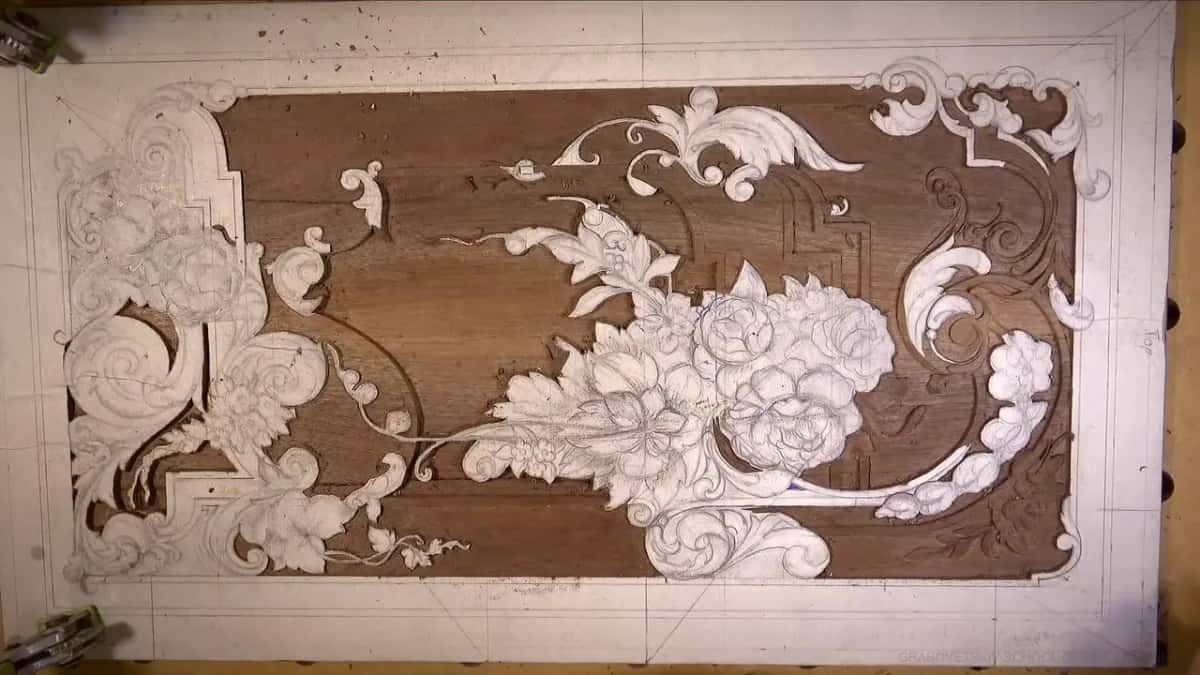
The main acanthus movement on this corner is still untouched. I left it that way on purpose, and it gets built next time.
Two more confessions before I close this one. Somewhere in the middle of the session I lost five or ten minutes of footage to a video glitch, so if the corner jumps forward on you, that is why rather than me skipping a step. And after warning you all lesson long about tool marks in a background, I looked down and found one of my own sitting in mine. I have no defence. I said it many times and then I did it anyway, which is roughly how carving goes on a real day rather than in a book.
Design drifts too, and I let it. The board now carries something a little different from what I drew, and that suits me, because I change things as I go and the ornament usually improves for it.
I came to this lesson straight off a class in Tampa, Florida, and I will say plainly that teaching in a room changes me. You get a different side of me there than you get on video. Some of you have taken classes with me at Marc Adams School of Woodworking and in Tampa, and the in person classes are listed on the site, alongside the workshops themselves. I do not sell those tickets myself, so you deal with the schools directly.
The ornament here is acanthus, the oldest leaf in European decoration, and the same movements are built from scratch in Acanthus over Moldings and again in the modern acanthus course. The ground beneath this corner was levelled in lesson 17 and lesson 18, the shadow method came out of lesson 19, and the flowers beside it were carved in lesson 20. The whole board, from the first drawing, is the design course, and the tools themselves have a course of their own.
Carvers have been cutting eyes and pipes into this leaf since the Corinthian capitals, through Grinling Gibbons and every carved cabinet worth stopping for. The vocabulary is old and it still works, and you can learn it on a corner the size of a playing card.
If you want somebody beside you while you cut your first eye, that is what the school is for.
How it's done
- Put the eye down before you shape anything. Drop the centre of the movement in first with a micro gouge, straight down. Even a tiny one is a real eye with a real middle, and every cut afterwards takes its bearing from where you put it.
- Draw the pipe, then carve beside it. Decide where the ridge travels away from the eye. Scoop out both flanks with a gouge matched to the curve, and your pipe appears without the tool ever touching the top of it.
- Stop every stab cut short of the ground. Leave a whisker of wood below your vertical cuts. Driving one to the ground prints a tool mark into the flat, and that mark shows up the moment light crosses a finished panel.
- Read the waste, not the wall. Work the ground beside your cut and watch the chip as it comes. Waste that stays put means the stab stopped where it should. A chip lifting out clean and free is telling you the stab reached bottom.
- Lower the leaf that goes underneath. Make one movement pass beneath another by dropping the lower piece rather than lifting the upper one. A panel this thin has no spare height, so every overlap is bought by taking material away.
- Undercut for the shadow, then leave it alone. Start with a half millimetre veiner under the edges that need a dark line. Furniture gets handled for generations, so an element left too fragile is a failure whatever its shadow looked like on the day.
Frequently asked questions
What is the eye of an acanthus leaf?
The hollow that sits dead in the middle of a leaf movement. Carvers set it down before shaping begins, since everything nearby gets positioned relative to that point. Even at a millimetre across it needs a genuine middle, not a poked dot.
Why should a stab cut stop short of the background?
Meeting the ground prints a tool mark into the flat, and flats are exactly where raking light exposes every defect. Stopping just high of it keeps your wall clean and leaves the grounding tool a little material to shave away.
What does it mean when the waste chip flies out cleanly?
Your stab went all the way down. Waste that lifts free is telling you the vertical cut reached the background, while waste that stays stubbornly in place is the sign you wanted. Negative proof, and easy to miss if nobody points it out.
What to carve next