

Alexander Grabovetskiy, woodcarver, School of Woodcarving · Published 2020
Why does furniture carving avoid sharp edges?
Quick answer: A sharp edge on carved furniture is asking to be broken. These panels get touched, wiped and shifted about for decades, so a ridge finished to a knife point loses a chip the first time a hand passes across it. Carvers run a small chamfer along the top instead, which takes the handling and still throws its line of shadow.
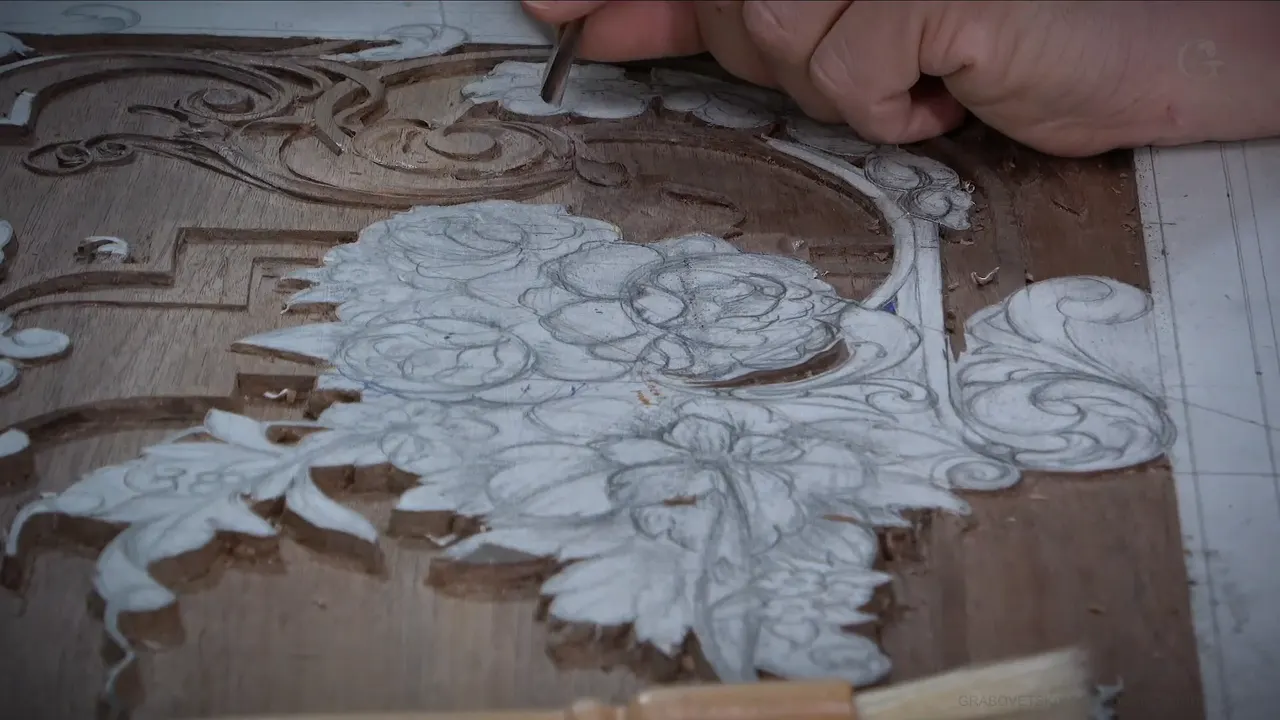
A crisp ridge on carved furniture is a break waiting to happen. Panels get handled, dusted and knocked about for generations, so an edge left properly sharp will chip the first time somebody runs a hand across it. What goes on instead is a small chamfer, which survives being touched and still catches light along its length.
Nobody warns beginners about this. You spend a week getting an edge crisp, you are proud of it, and a cabinetmaker picks the panel up and your best ridge is gone under his thumb. Wall carving and furniture carving part company right here, and this corner of the panel is where I work to the furniture rule instead of the sculpture one.
What changes once a carving becomes furniture
- Sharp is wrong here.
- The board itself is ten millimetres.
- Outline with a veiner when you want the three dimensional feel, with a knife when you want speed.
- A scrap of pattern paper surviving on a ridge is the only gauge that tells you the truth about height.
- Relieve a triangle before you cut it, or you will tear the wood beside it.
- Furniture makers look closely. Perfectionists among them look closer still.
What happens to a crisp ridge in a room full of people?
It chips. Furniture gets used every day, and a ridge carved to a knife edge will catch on a sleeve or a hand and break away, taking a piece of your ornament with it. Somebody runs a palm across a carved apron without thinking, and there it goes.
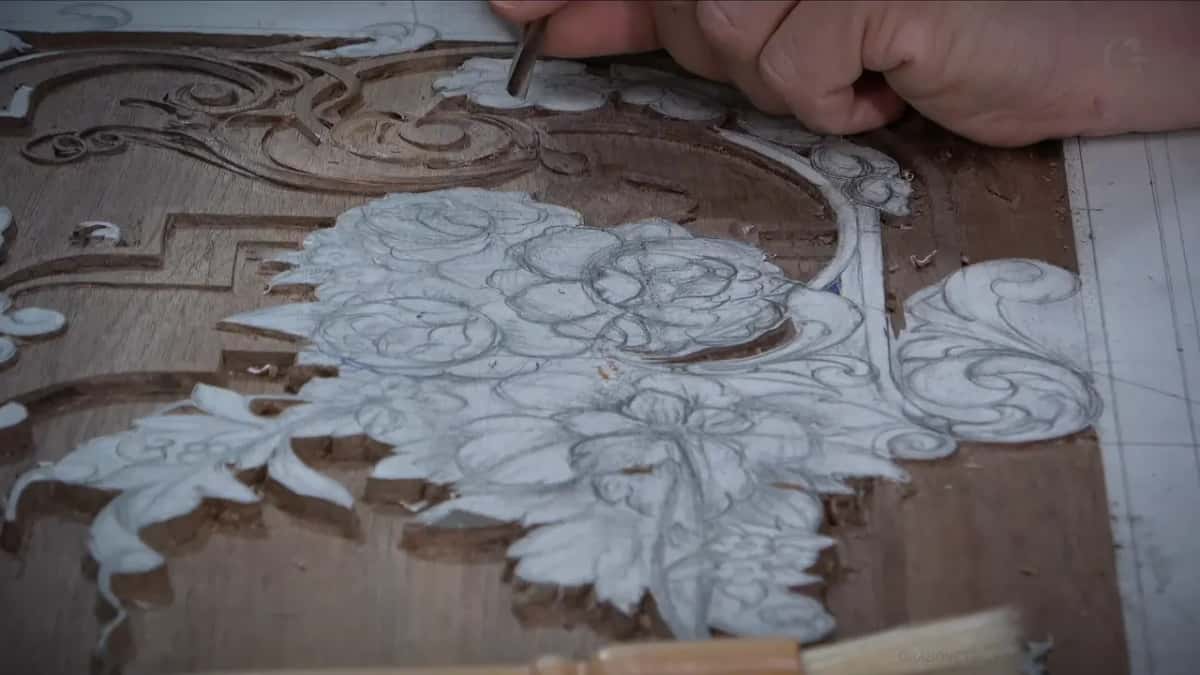
My answer is a narrow bevel run along the top of that edge, or a fillet if the shape suits one. Partly safety, since people touch this work, and partly because it looks better anyway once the light gets at it.
How thick is this panel, really?
Ten millimetres. Nothing more than that in total, and it governs every decision on the panel, because a cut that feels safe on a thick carving will come through the back of a panel this thin.

Where the ground is already deep I can drop a quarter inch, six millimetres, without worry. Beside a molding I cannot, and going deep there would be a real mistake. Same panel, different rules a thumb apart.
Should you outline a flower with a knife or a veiner?
Both work and they buy different things. A knife is the fast route, and mine is a number 12, Swiss made, one of my favourites. Lean it inward as you go and you get an undercut from the first pass, then drop the handle lower and shave in further.

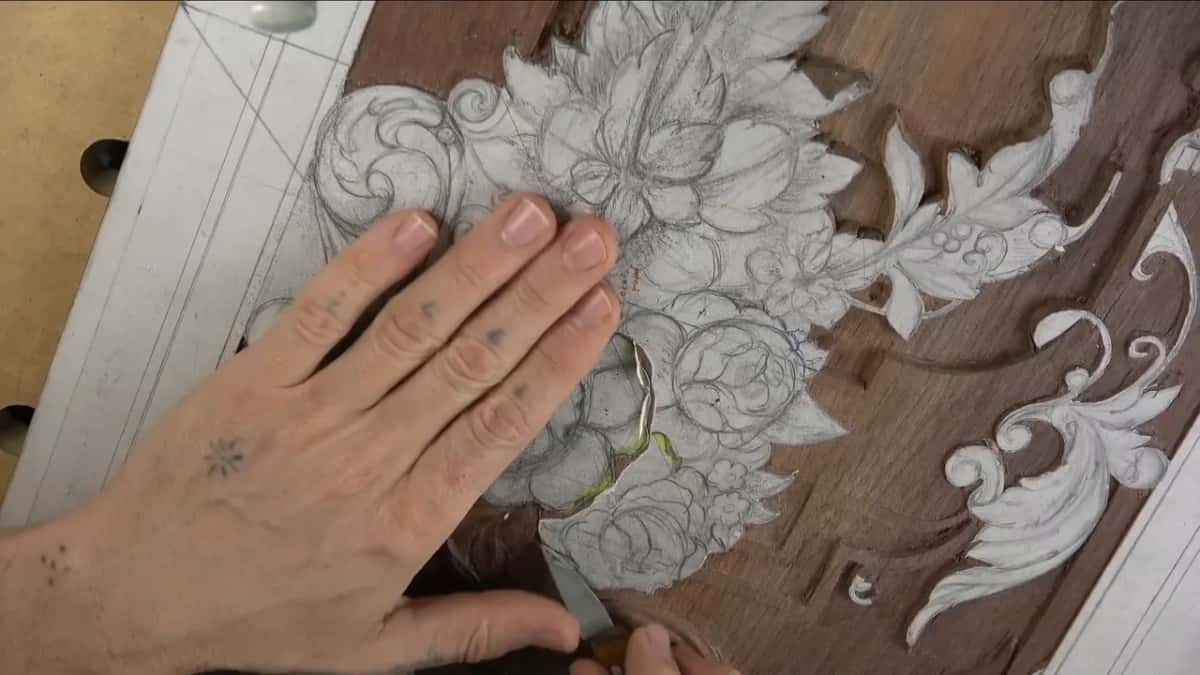
The limit shows up underneath. The point of a knife reaches only so far under an edge, and if it touches the ground below it leaves a tool mark you will be looking at forever. About a thirty-second of an inch in, and the knife has said everything it can say.
| Tool | What it is good for | Limit | Where I use it on this panel |
|---|---|---|---|
| Number 12 knife | speed, and a crisp outside edge straight away | the point marks the background, and the undercut runs out at about 1/32 in | outside edges |
| Number 11 veiner, 3 mm | outlining | slower, and it asks for a second pass | everywhere the shape has to read as three dimensional |
| Number 11, 1 mm | separations, eyes, and the first undercut | fragile | fine work |
| Number 11, half a millimetre | the shadow line | almost no reach at all under an edge | last of all |
For furniture work the veiner wins. Speed and a sharp edge are what a knife hands you, and it never hands you that true three dimensional feel, and on a panel people will hold in their hands the feel is the point.
Which side of a gouge cuts clean?
One side. Learn the anatomy of your gouge and you will know which, because a single pass cuts with the grain on one flank and against it on the other, so one side comes away clean and the other comes away furry.

Watch which side is doing what, and when the bad side matters, turn the board and come at it from the opposite direction. Where an element lies along the grain I attack across the grain instead, because cutting straight along it can split the wood and take your carving with it.

Sharp tools help enormously here. So does a number 9 in a quarter inch, which is the sweep that fits most of these hollows. Mine is by Auriou.

Why chamfer first and round afterwards?
Control. Rounding an edge in one sweep is guesswork, so I put a flat on it, then another flat below that, then another, and only then do I round the flats into a fillet. Chamfer by chamfer, and the curve arrives where I meant it to.
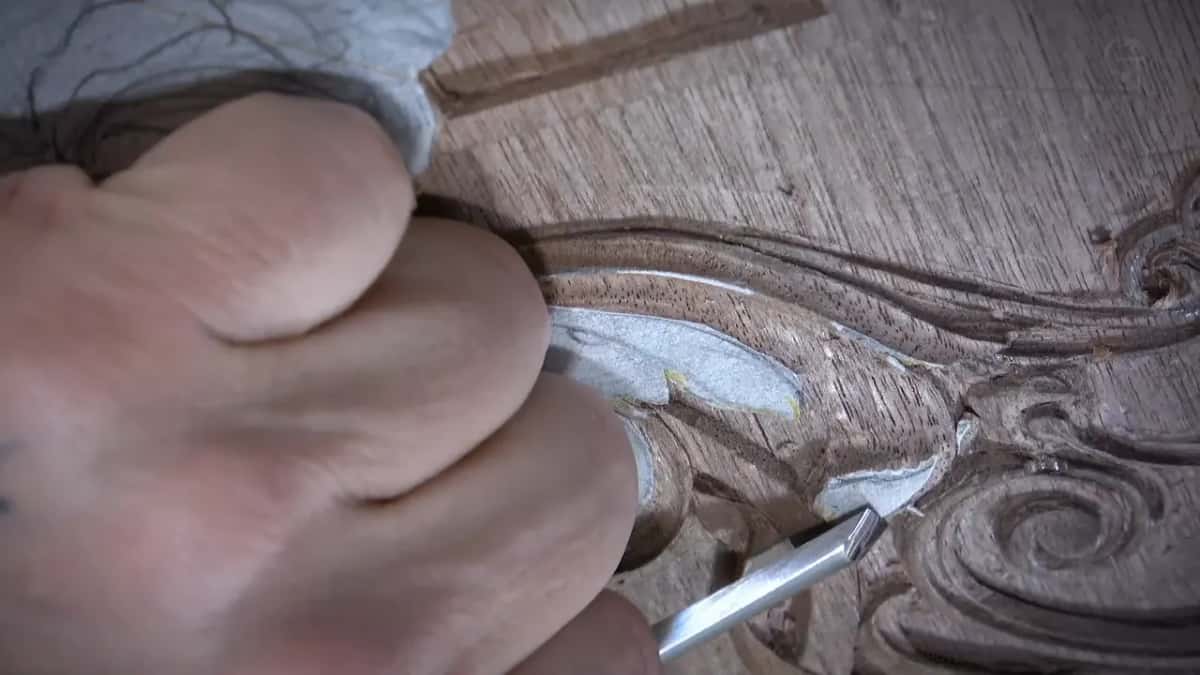
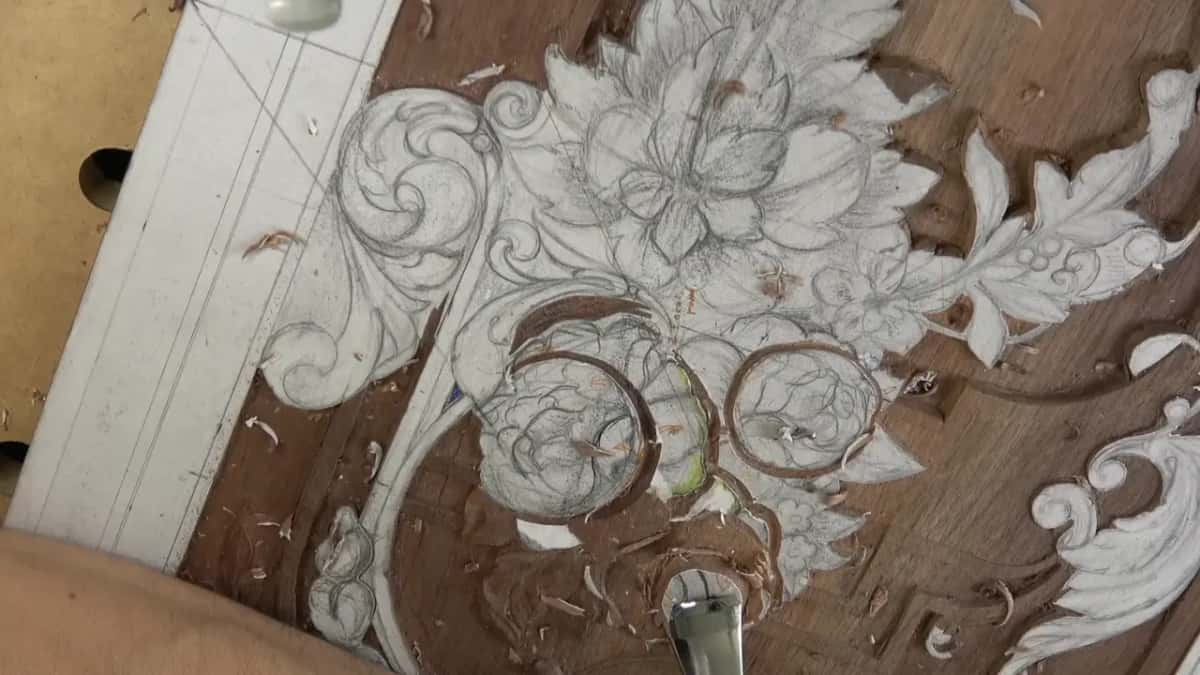
A big tool speeds this up when you have one. A one inch number 5 laid on and swept outward gives roundness almost instantly, and a number 6 fitted the curve here perfectly after the 5 and the 7 both came out wrong.
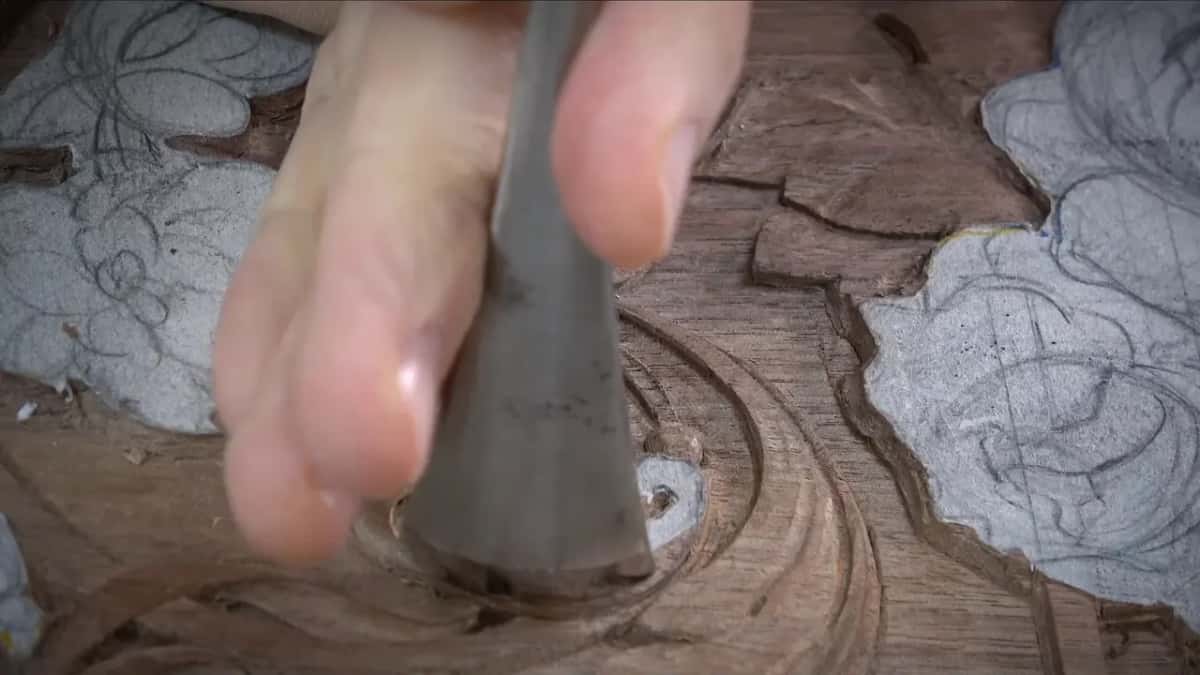
Why is there still paper glued on the ridge?
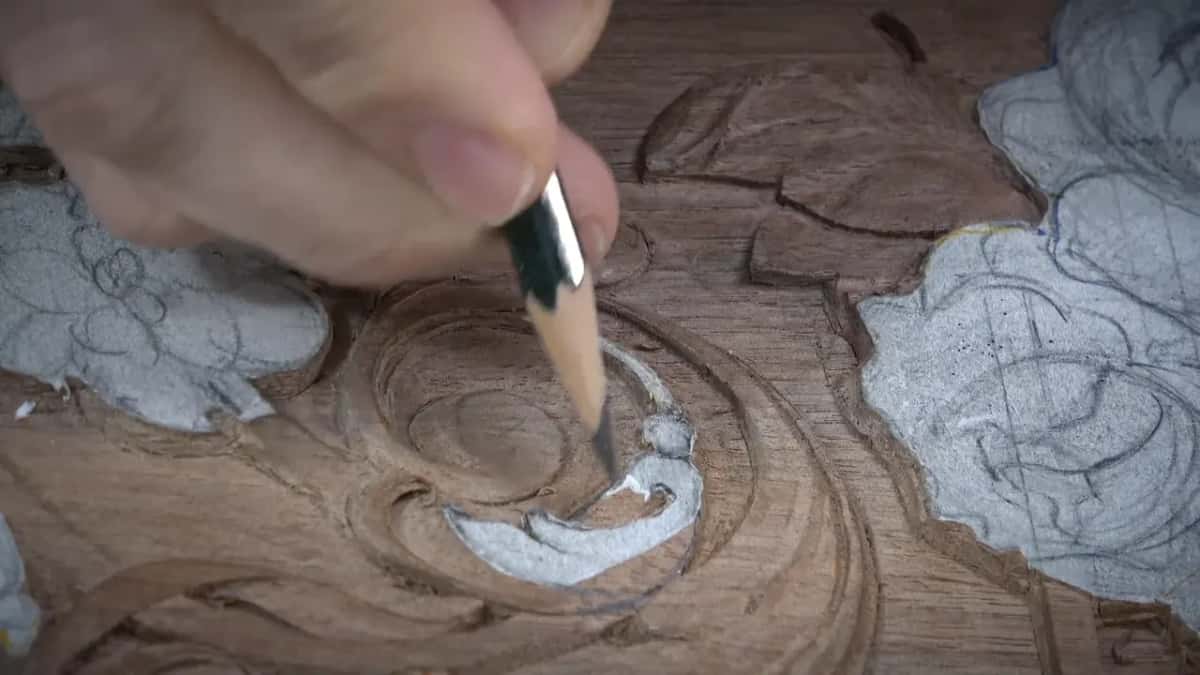
As a gauge. The pattern paper stays on the high spots until the very end, and once only a sliver of it survives along a ridge I know I have not dropped below my own ceiling anywhere on that shape.

Take the paper off early and you lose the only reference you had. Nothing else on the bench tells you that.
What do you do after you nearly ruin your own work?
Rebuild it and say so. I came in too close to an edge on this lesson and almost destroyed a ridge I had spent real time on, which is not the end of the world, though it did cost me the afternoon.
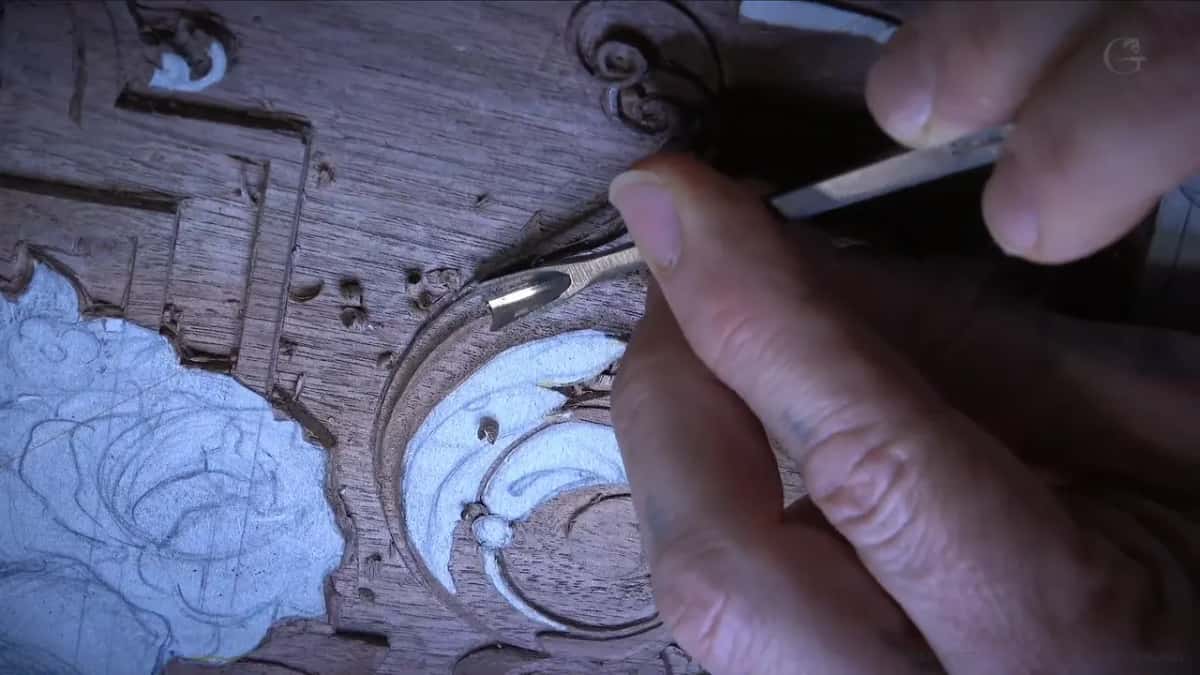
The repair was a little sanding to blend the damage, then attacking the same spot from the opposite side to recreate the ridge I had lost. Stuff like that happens. It happened again in the same session when a piece I had glued back in an earlier lesson turned out not to have held at all, so I lowered it and blended it in rather than fighting it.

What is a relief cut, and why before the triangle?
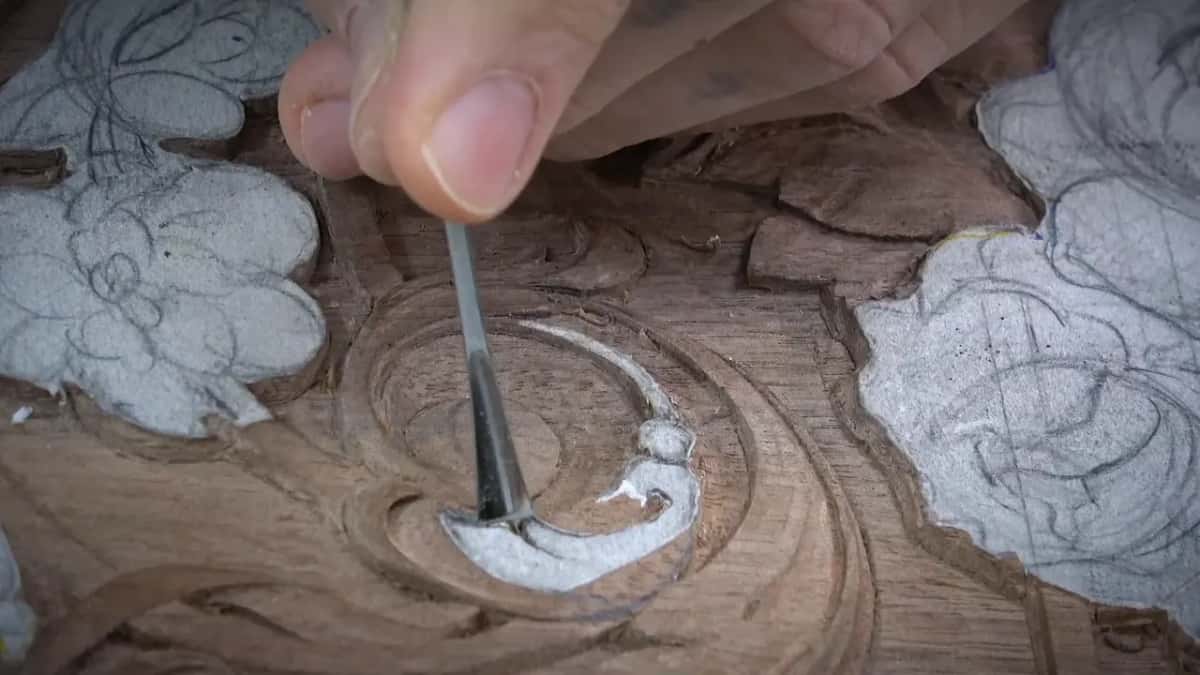
Insurance. Meet a narrow triangle, drop a matching gouge into it from one side and then the other, and you risk damaging everything around it. The safer order is to relieve the waste first with one quick pass of a 1 mm veiner.
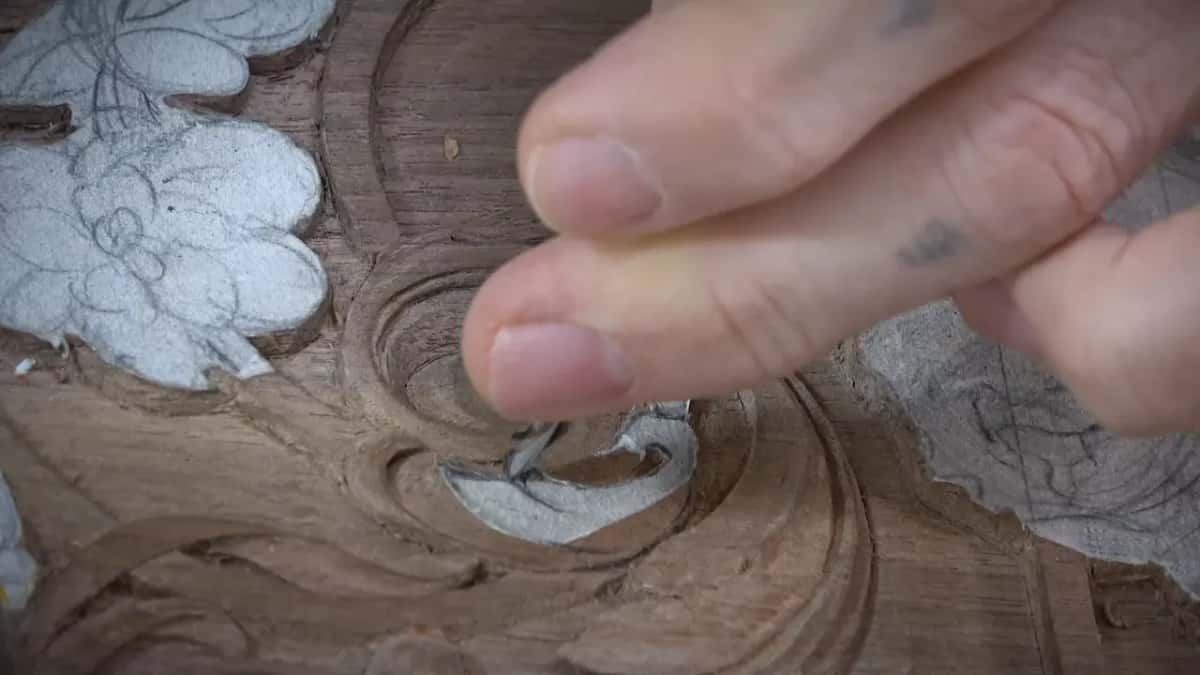
One cut. Maybe two. After that a quarter inch number 7 goes straight down, flips, and cuts back the other way, and the shape that comes out reads like the letter S.
What did the old carvers actually own?
Veiners and gouges, and not many of either. The men who cut this ornament originally worked all day with a small handful of tools, using the same one over and over for jobs a modern carver would reach for three different sweeps to do.
Knowing that takes the pressure off a beginner's tool list. My grounding tool is an eighth of an inch, which is the same thing as a number 3 from Ashley Iles or a number 2 from Pfeil, and the numbering differs between makers, so read the shape rather than the stamp.
Here is the decision that actually runs this whole panel, and it is smaller than any tool question. Every cut is either a concave or a convex. You stand there and choose which the next one will be, and sometimes either would serve, in which case pick whichever carries more light. Deeper and more exaggerated is usually my answer.
One more habit worth stealing. I wiggle a micro tool sideways as it goes in, which plenty of carvers will tell you is wrong, and it gives me far more control in wood this fragile. A mallet with a rubber head lets me tap even a half millimetre veiner without hurting it.
Why does a straight line next to a curve look wrong?
Repetition, or the lack of it. When a curve on one element sits beside a straight line on the next, nothing repeats and the eye reads the pair as an accident, so I break my own design rules the moment I let it stand.
Carving is where you catch these. A drawing can hide a fault that jumps out once the shape has depth, and you have hours at the bench to look at it, so fix it there rather than living with it.
Is micro-slicing actually worth it?
The finish says yes. Instead of pushing a tool through the wood I move it sideways as it travels, a slicing action so small it is almost invisible, and it severs the fibres rather than crushing them, and the cut comes out cleaner than any push will give you.
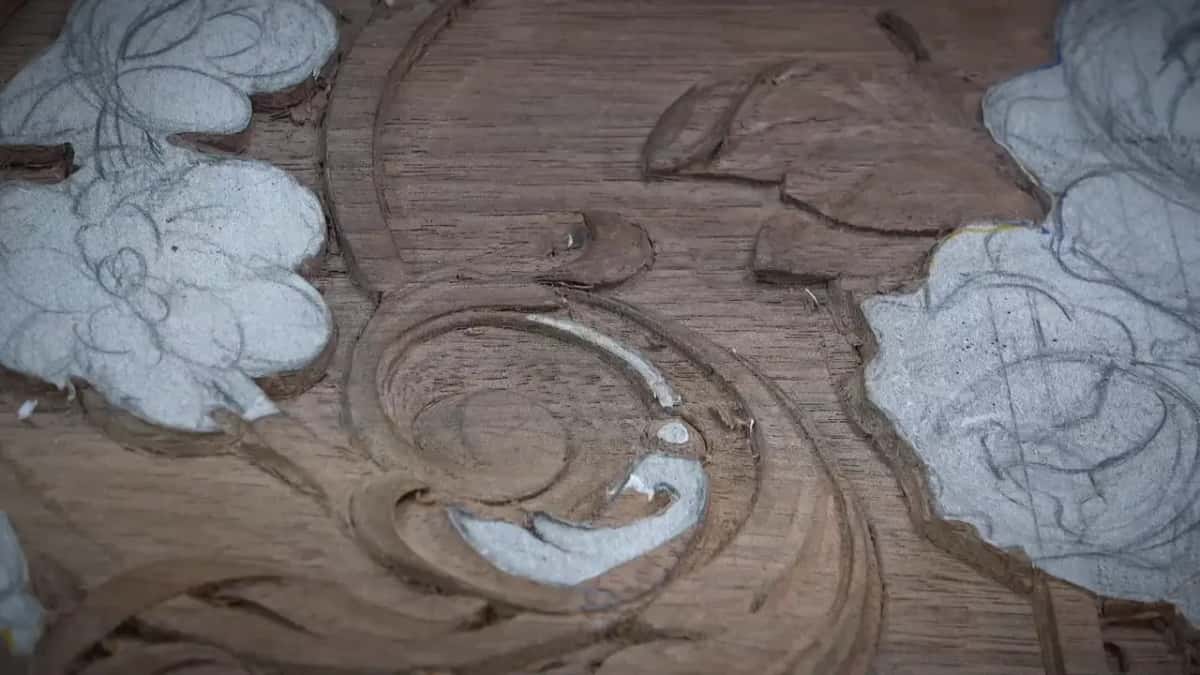
Slow beats fast. Be careful when the grain runs the wrong way, because pushing there snaps the fibres instead of severing them.
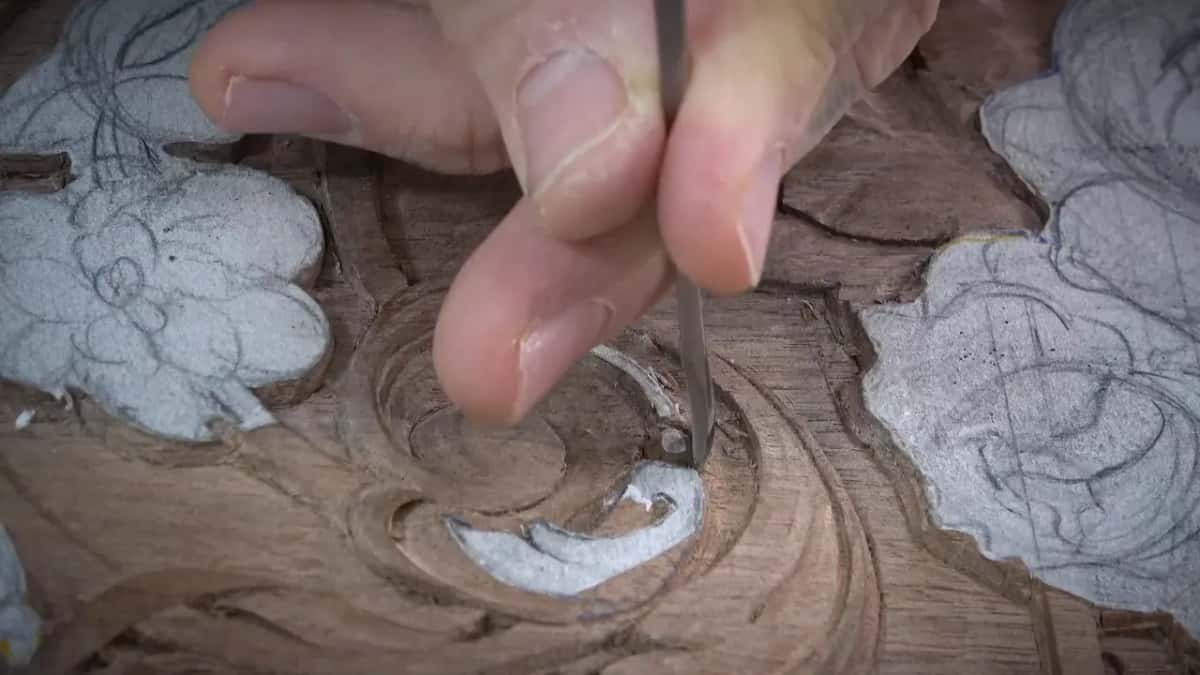
That same technique does bead molding with multiple parts, and done properly nobody believes it was cut by hand. They look at the regularity and assume a machine made it.
Can you clear the background with a router instead?
Of course you can. Somebody in the school asked me exactly that, and there is nothing wrong with it. A machine clears that waste faster than I ever will, and I have used one myself on plenty of paying jobs.
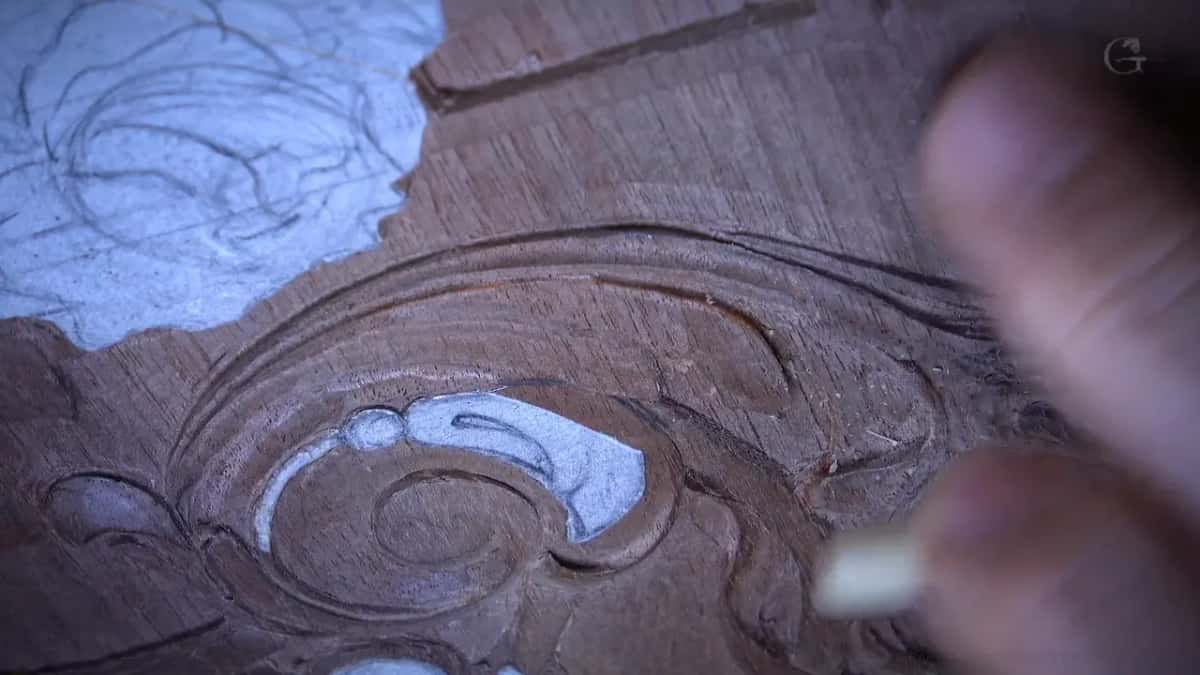
My reason for not doing it here is narrow. This whole project exists to show the authentic way, the way it was done back then, and some of you in the school care a great deal about how authentic a reproduction really is. So the background comes out by hand, and the surface gets reed rush rather than sandpaper.


Why spend this long on details nobody notices?
They will bug me for years otherwise, and that is the honest answer rather than a noble one. A fault I leave today is one I will see every time I look at the panel, and fixing it now costs an hour instead of a lifetime.

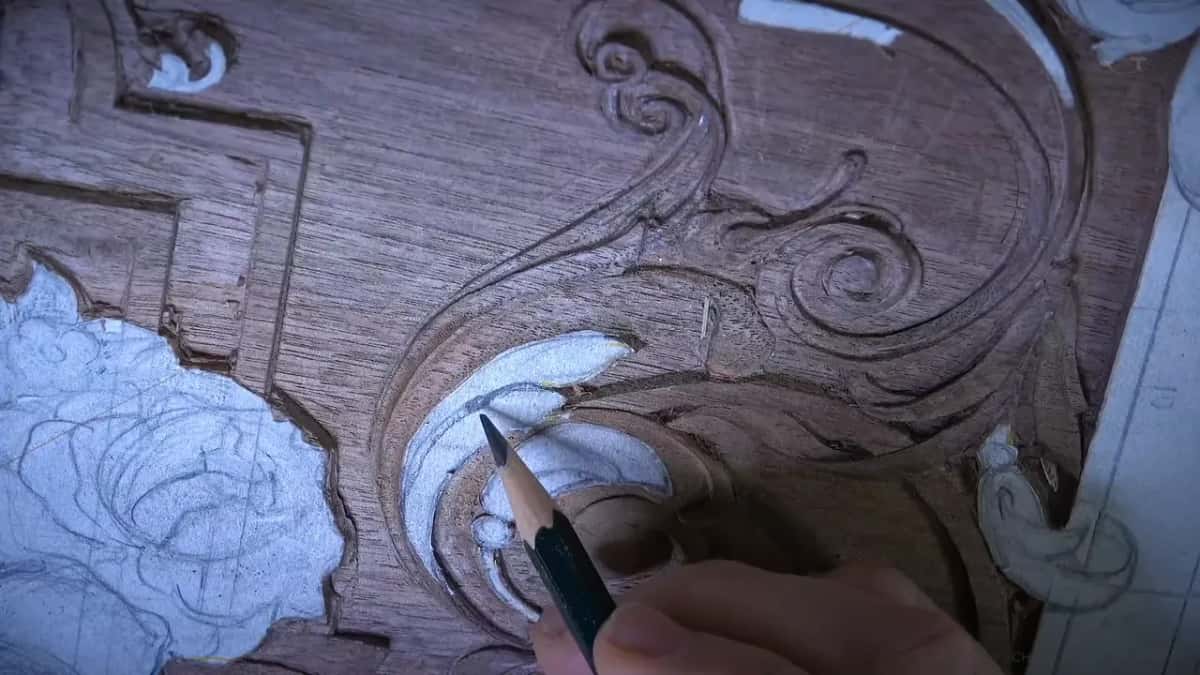
Look at who is going to see this. Furniture makers. Not production shops, but the men who spend months on a single piece, and some of them are perfectionists. People are not stupid. They will see every imperfection, and they will see it faster when you claim the work is authentic.

We are trying to make a real piece of art here, and I do not use that phrase loosely.
Where does all this leave the flowers?
Waiting, and they are the focal point. The big flowers are what the eye lands on when this panel hangs on a piece of furniture, so before touching them I settle which sits highest and which sits lowest, and only then start.

Petals grow toward the centre of a flower from one point, and the outer petals grow away from that same point, so the deep cut goes around the middle and everything else refers back to it.

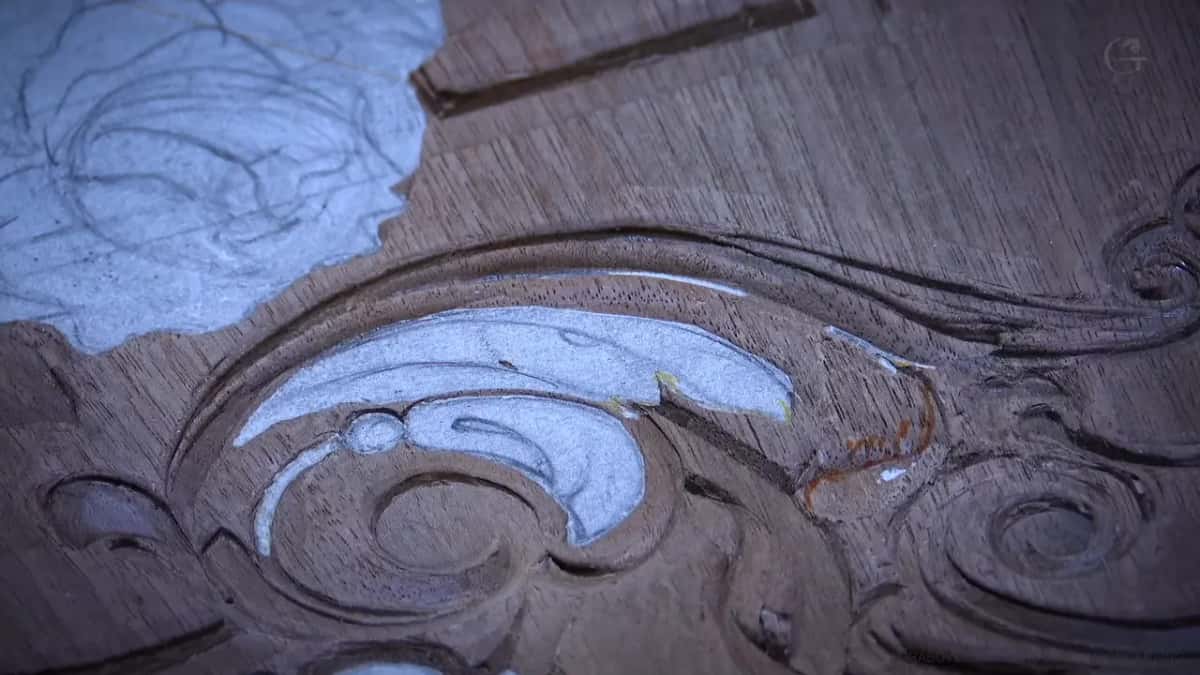
Some of you sent me photographs of your own panels this month, and I want to say plainly that it meant a lot. It tells me I am not doing this in vain. It also tells me you have found out that this is nowhere near as simple as it looks, and that the thing it really trains is control of a very small cut.
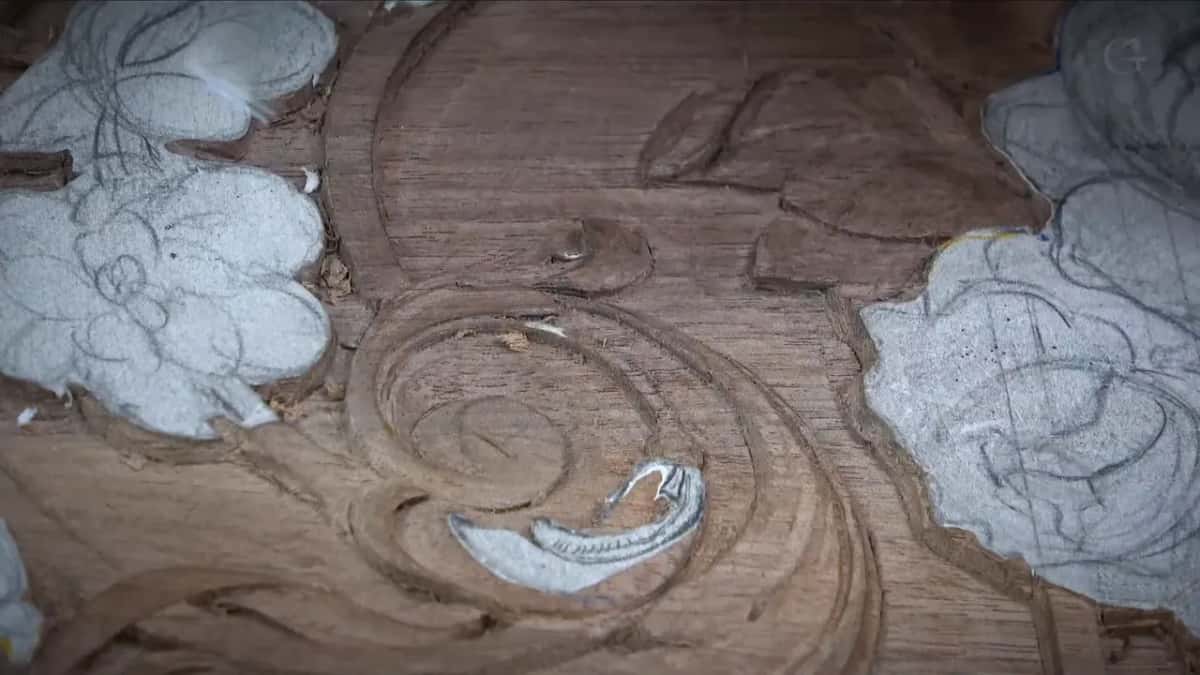
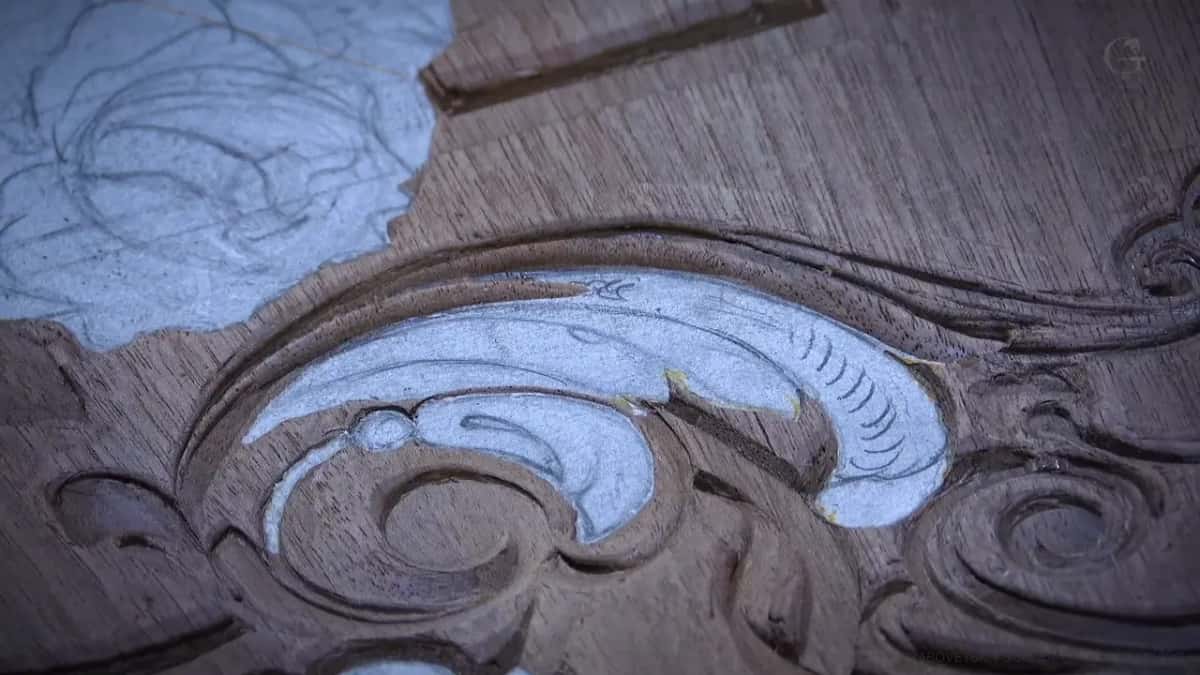
The ground under all of this was levelled across lesson 17 and lesson 18, the shadow method came out of lesson 19, the small flowers beside this corner were carved in lesson 20, and the acanthus anatomy was opened in lesson 21. The main bouquet starts in lesson 23. If you want the whole board from its first drawing, that is Part 1, the tools have a course of their own, and the same leaf movements get built from scratch in Acanthus over Moldings and the modern acanthus course.
Carved furniture has been made to this standard since long before any of us. Go and look at a piece of Baroque furniture in a museum, or at what Chippendale let out of his workshop, and run your eye along the ridges. Not one of them is a knife edge. Those men knew their work was going to be lived with.
If you want somebody beside you while you learn where to stop, that is what the school is for.
How it's done
- Decide what the piece will actually live through. A wall panel and a chair rail need different edges. Anything a hand will reach gets softened, and anything behind glass can stay crisp. That single question settles half the finishing decisions on a carving.
- Outline with a veiner where the form matters. A number 11 at three millimetres goes round the shape first. Reach for a knife instead when speed matters more than depth, knowing its point will mark the ground below and its undercut stops at roughly a thirty-second of an inch.
- Read the grain before each pass. One flank of a gouge cuts with the grain and the other against it, so one side leaves a clean wall and the other leaves fuzz. Turn the board and come from the other direction rather than forcing the bad side.
- Stack chamfers, then round them. Put one flat on the edge, then a second below it, then a third, and only then blend the flats into a fillet. Rounding in one sweep is guesswork, and guesswork on a ten millimetre panel costs you the element.
- Leave the pattern paper on the high spots. Keep carving until only a sliver of paper survives along each ridge. That surviving scrap proves you have not dropped below the original surface anywhere, and nothing else on the bench will tell you.
- Soften every edge a hand can find. Break the top of each ridge with a narrow bevel at the end, or a fillet where the shape suits one. Reed rush does the same job more gently, and neither leaves grit behind in the fibres.
Frequently asked questions
Does a carved edge really break that easily?
Given a few years of ordinary use, yes. Furniture gets handled daily, and a ridge taken to a knife point catches on a sleeve or a palm and lifts away, carrying part of the ornament with it. Softening the top costs a minute and removes the risk.
How thick is a typical carved furniture panel?
The board in this course runs ten millimetres, which is thinner than most people picture. Depth you believe you have near a molding often is not there, and a cut that would be safe in the middle of the panel comes through the back at its edge.
Is a carving knife faster than a gouge for outlining?
Considerably faster, and that is its whole argument. Lean the blade inward and you get a crisp outside edge plus a small undercut in one pass. What you lose is reach underneath and a clean background, since the point marks whatever it touches.
What to carve next