

Alexander Grabovetskiy, woodcarver, School of Woodcarving · Published 2020
What is a filler flower in wood carving?
Quick answer: A filler flower is a small carved bloom used to occupy an empty space in an ornamental design. No panel gets built around one. It sits between the larger flowers and leaves, it suits almost any pattern, and its shape is normally a raised centre ringed by a handful of petals.
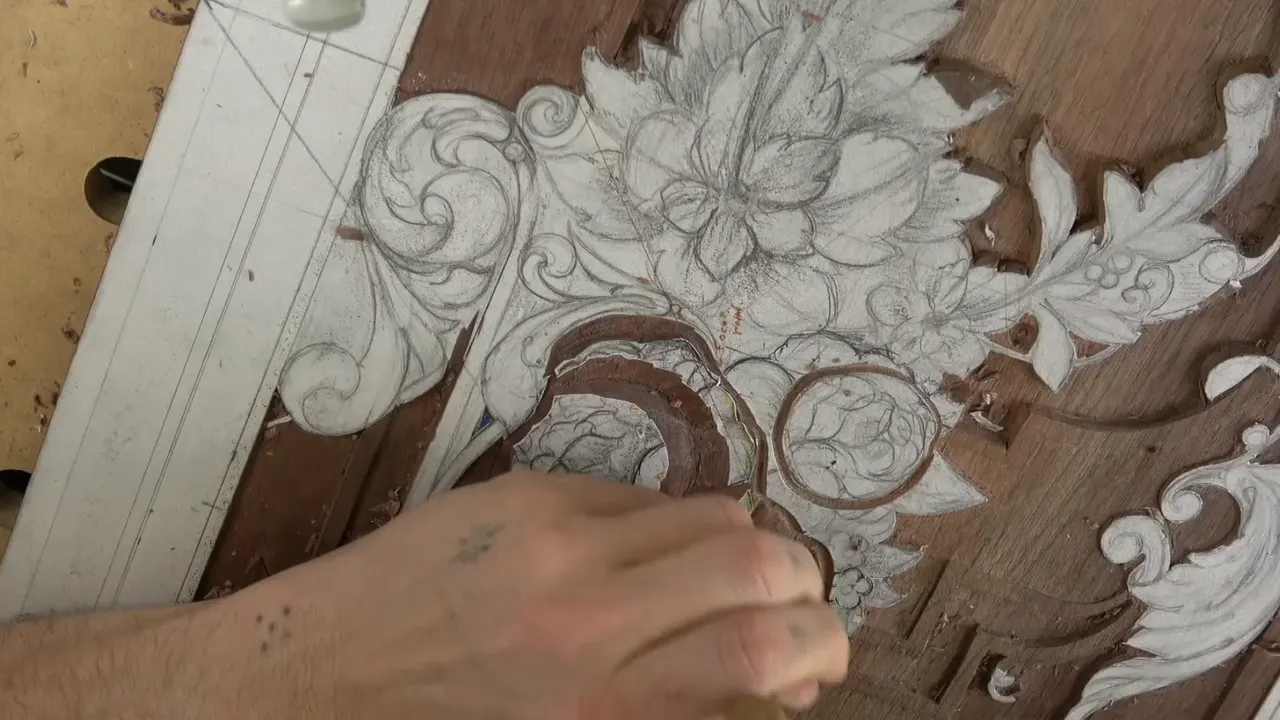
A filler flower is a small bloom carvers drop into the empty places of a design. Nobody builds a panel around one. Its job is to occupy a gap between the larger flowers and the leaves, it suits almost any pattern, and the whole thing is usually a raised dome ringed by a few petals.
Look at any old carved panel and you will find them scattered through the corners, and most people never notice. Carvers notice. We call them fillers because that is exactly what they do, and once you can cut one in ten minutes you have solved the problem of what to put in an awkward space for the rest of your working life.
What makes a small flower worth learning
- Fillers go anywhere.
- How you treat the middle is the whole design decision.
- One small cut off to the side tells the eye which way the flower faces.
- Every petal on the bigger flowers aims at one point, and the moment one of them stops aiming there the flower dies.
- Roll a petal down no more than a millimetre and a half.
- Sharp facets look wrong on a flower, even though facets themselves are fine.
Where does a filler flower actually go?
The gap is where it belongs, and every design has gaps. Wherever a drawing leaves an awkward space between two larger elements, one of these drops in and the composition stops looking empty, which is the whole reason carvers keep a few shapes like this in their heads.

Easy to cut, and there are several ways to do it. That is the useful part: the same little flower can be treated three different ways depending on how much light you want off it.
How do you carve the middle?
Two ways, and the quick one comes first. Place a small gouge inside the middle, turn it a few times, and pop the waste out, which leaves a neat excavated centre in seconds and looks perfectly good.

My own preference goes the other way. Rather than hollowing the middle I leave it standing and cut everything around it away. Then I shape what survives, working from outside inward with the same tool until that centre reads as half a sphere from any direction.
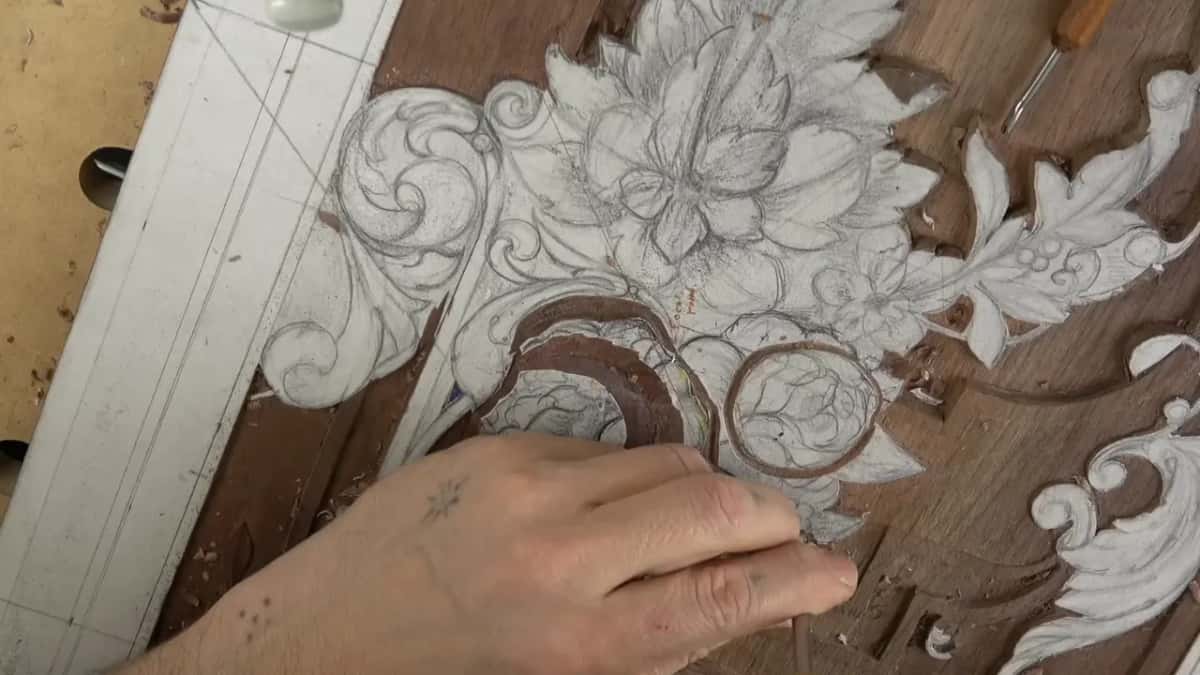
Careful about depth while you work round it. Dig too far and the middle loses its footing.
| Treatment | How the cut actually goes | Result | When |
|---|---|---|---|
| Excavated centre | a small gouge placed in the middle, rotated a few turns, waste popped out | quick | a run of fillers where speed matters |
| Raised dome | cut everything around it away, then shape the survivor | a half sphere that reads from every angle, and far more light | most of the time |
| Dome with a side cut | as above, plus one small excavation off centre | direction | whenever the flower should face somewhere |
| Deep version | those cuts again, taken much further down | beautiful, and far too fragile here | never |
What does the small cut off to one side do?
That cut gives the flower a direction. One extra excavation on a single side of the dome gives the whole thing a direction, so it stops being a bump and starts being a bloom that faces somewhere.
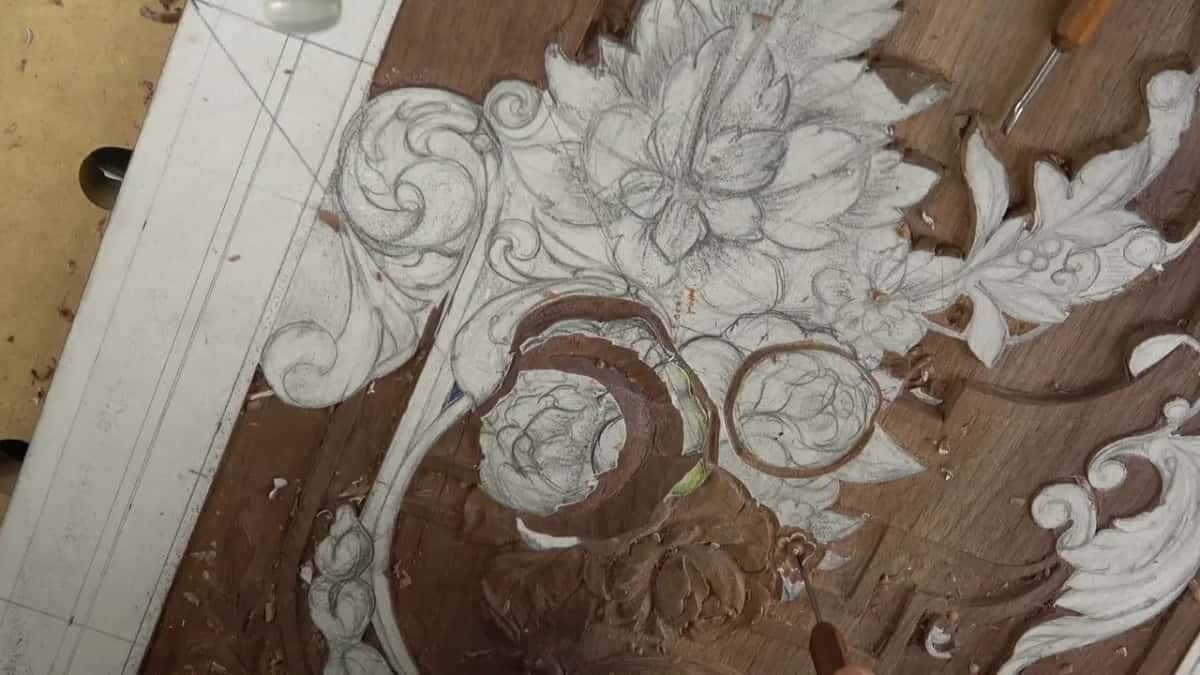
Tiny detail. It is also the one people remember, and it costs a single cut with a one millimetre gouge.
Do you need big gouges for small flowers?
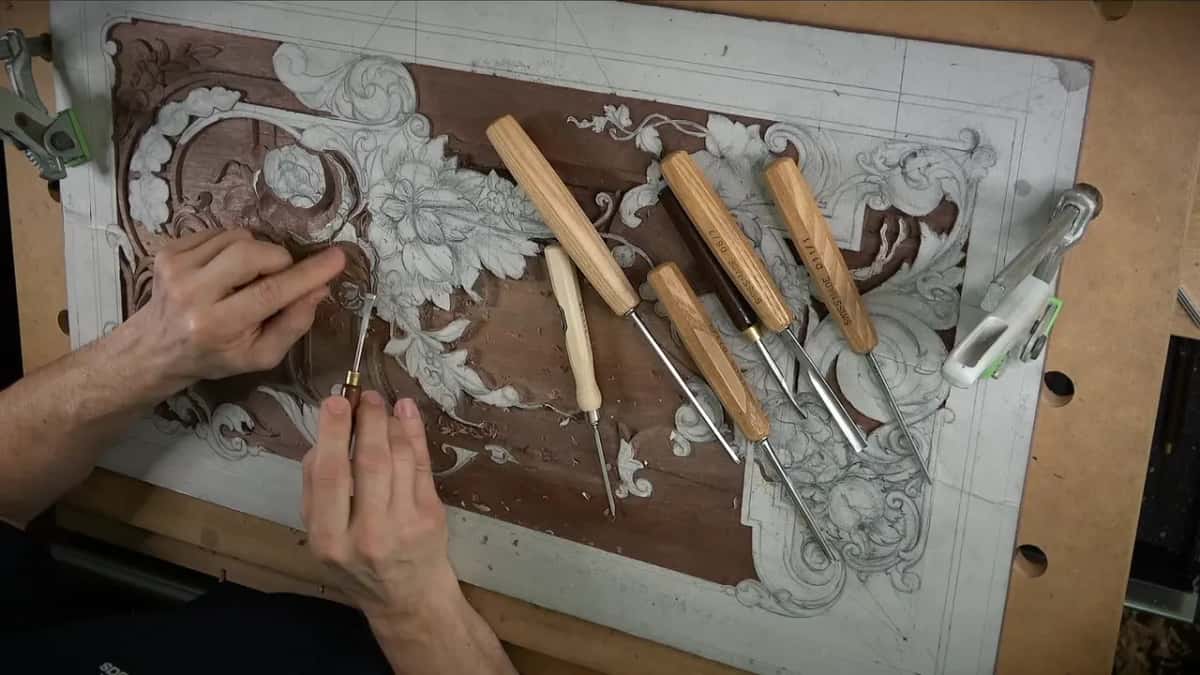
Big tools help more than beginners expect, and no, you do not have to buy them. A one inch number 6 gouge takes waste out around a flower far quicker than any small tool, and a bigger tool can always do a small tool's work while the reverse is not true.
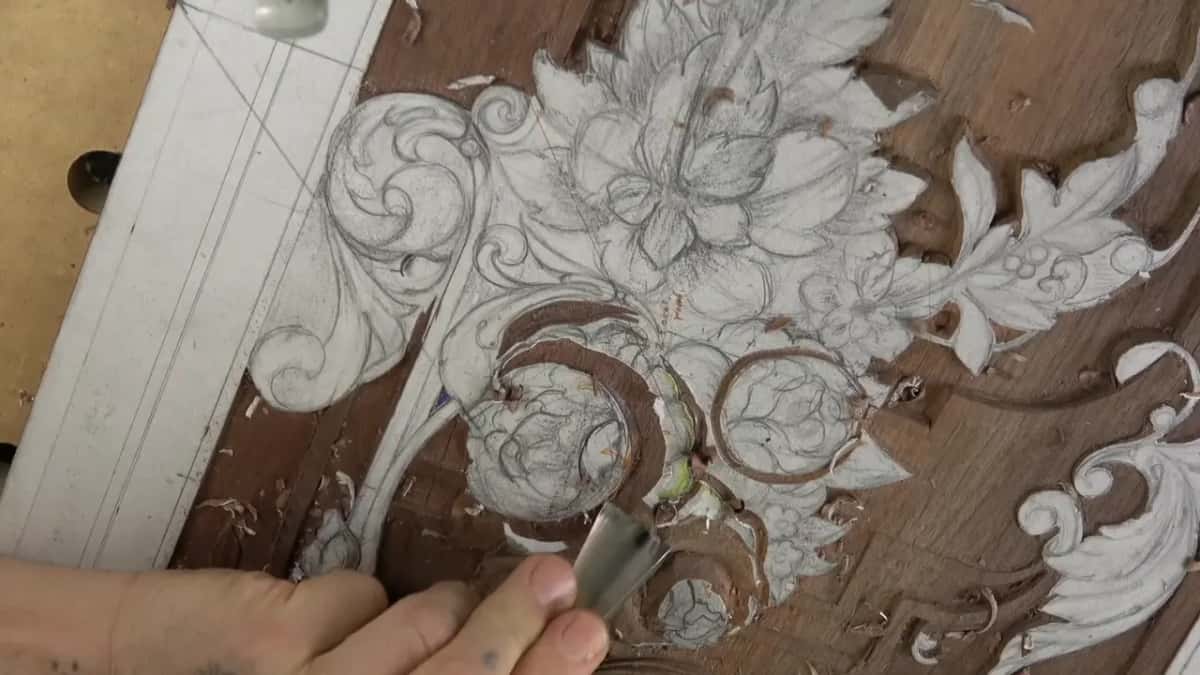
Please do not panic about the tool list, though. Any gouge will do this. If you own the big ones it is a plus, and if you do not, the small ones reach the same result with more passes.
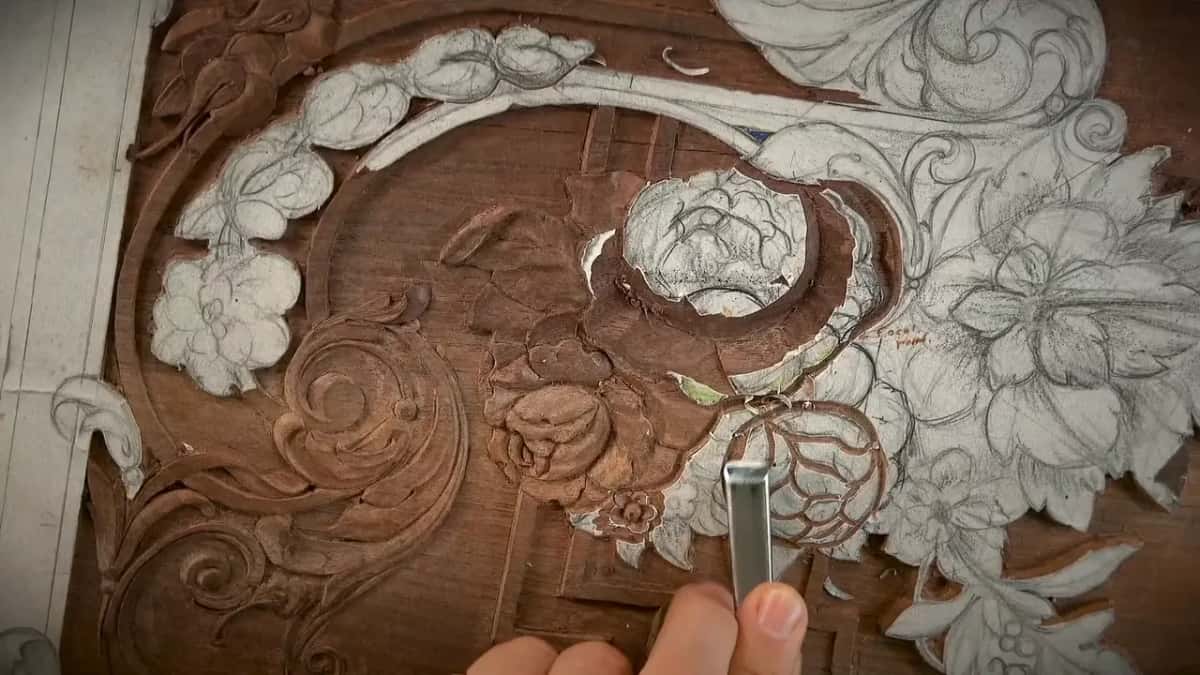
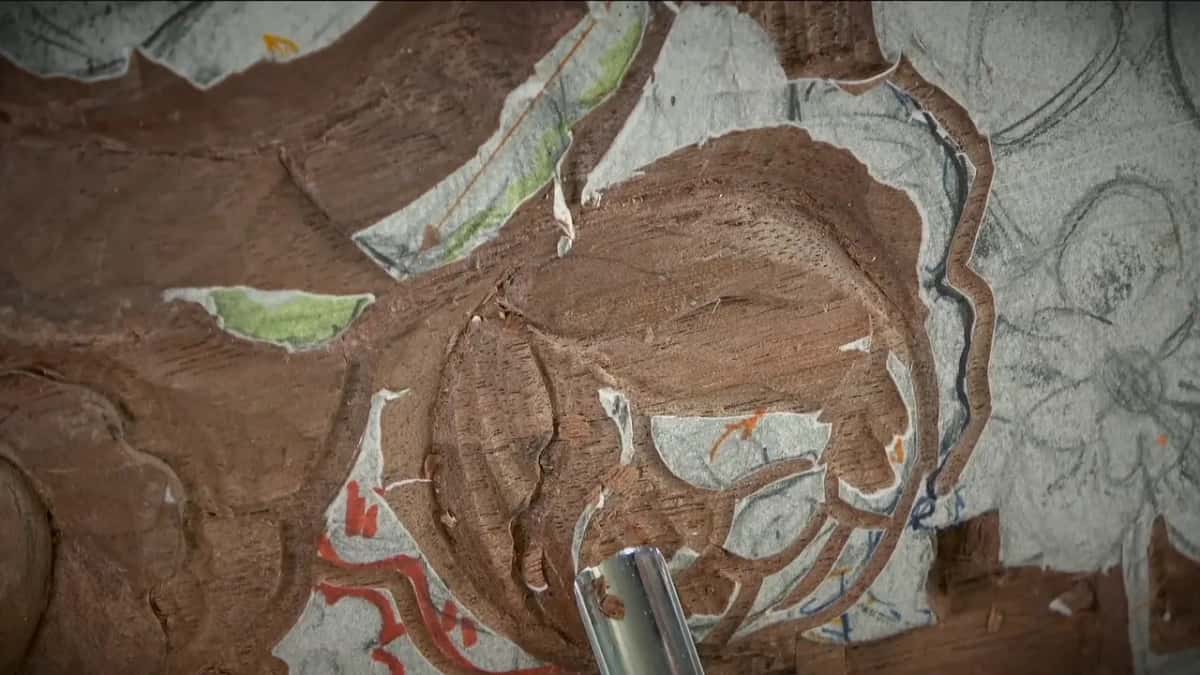
A flat number 2 at twelve millimetres does the chamfering on these bigger blooms, sliced rather than pushed. Turn that same cut upside down and the outer petals look as though they grow from underneath, the way the leaves do in the floral and molding course.
Why does every petal aim at the same point?
Real flowers do it, and carved ones borrow the habit. Every concave I cut runs toward the centre of the bloom, and the instant one of them wanders off in its own direction the whole thing stops looking like a flower and turns into a pile of shapes.


The rule holds at every scale on this panel. Petals grow from one point outward, the outer ones grow away from that same point, and the separations between them all converge there too.
What gives a carved flower that curly look?
Concaves, and rather larger ones than you would guess. A generous hollow across a petal produces far more movement than a timid one, and that is the grammar of relief work. Stack several along an edge and the flower begins to look as though it curls rather than sits flat.


A backward cut shaped like the letter S does the same work along an edge. Then comes the blending, because a hollow left with a hard rim next to it is worse than no hollow at all.
How far down do you roll a petal?
Barely at all, and much less than instinct tells you. A sixteenth of an inch is plenty, often only one millimetre, to make one side of a flower roll away from you while the other rolls toward you.

Remember what we are doing here. There is no real depth on this board, so the roundness is an illusion built out of hollows and shadow, and the job is to trick the human eye into seeing dimension in a place that has almost none.

Why relieve a triangle before cutting it?
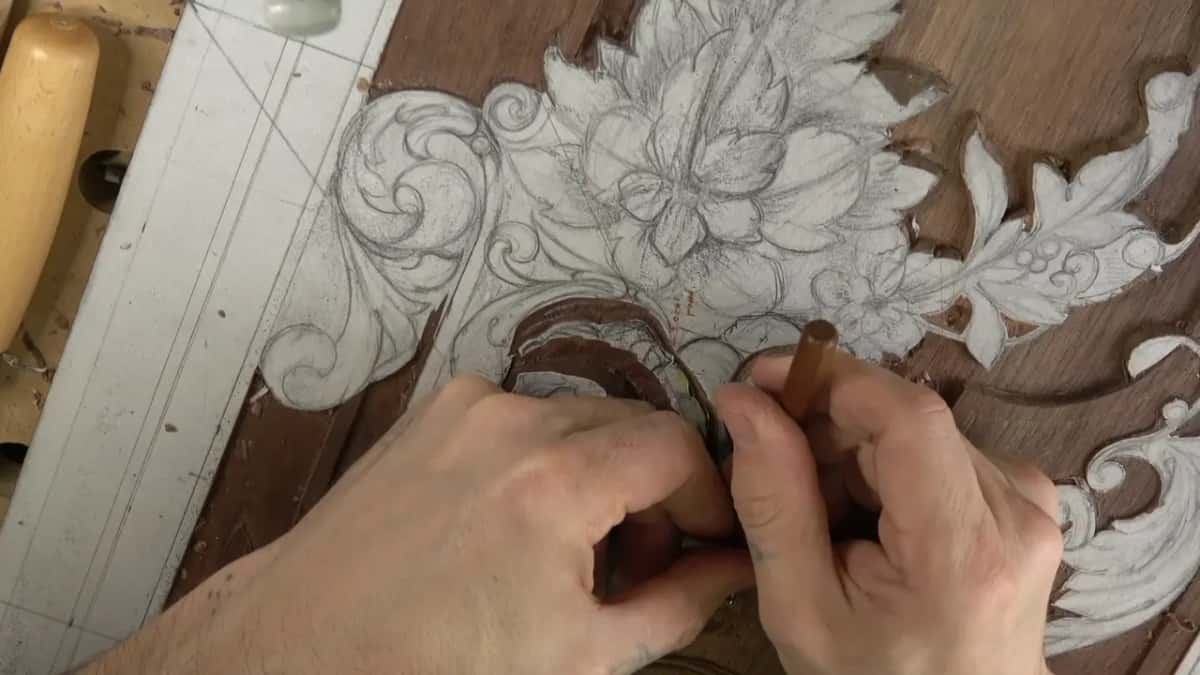
Relief cuts matter more than they look. Any tight triangle between two elements gets one quick pass before I shape anything near it, and that pass gives the waste somewhere to go instead of tearing out sideways.


On the sticking-out leaf beside these flowers I put in two of them, then set the middle line off centre so one division came out smaller than the other, and ran an S curve through the whole shape.
My facet came out too sharp. What now?
Knock it down with something flat. A number 1 will do it, or a number 3, and the aim is not to erase the facet but to take the edge off it, since facets are part of how this work looks.
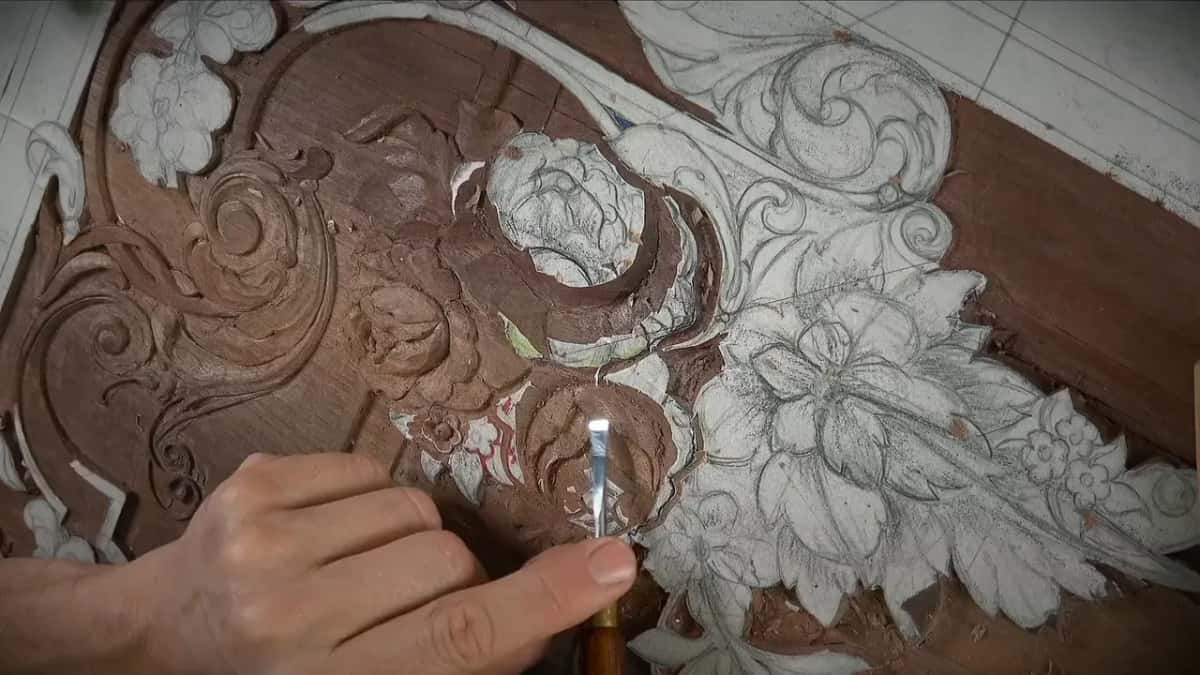
Sharp ridges on a flower read as metal rather than as petals. Leave them slightly detectable and no more.


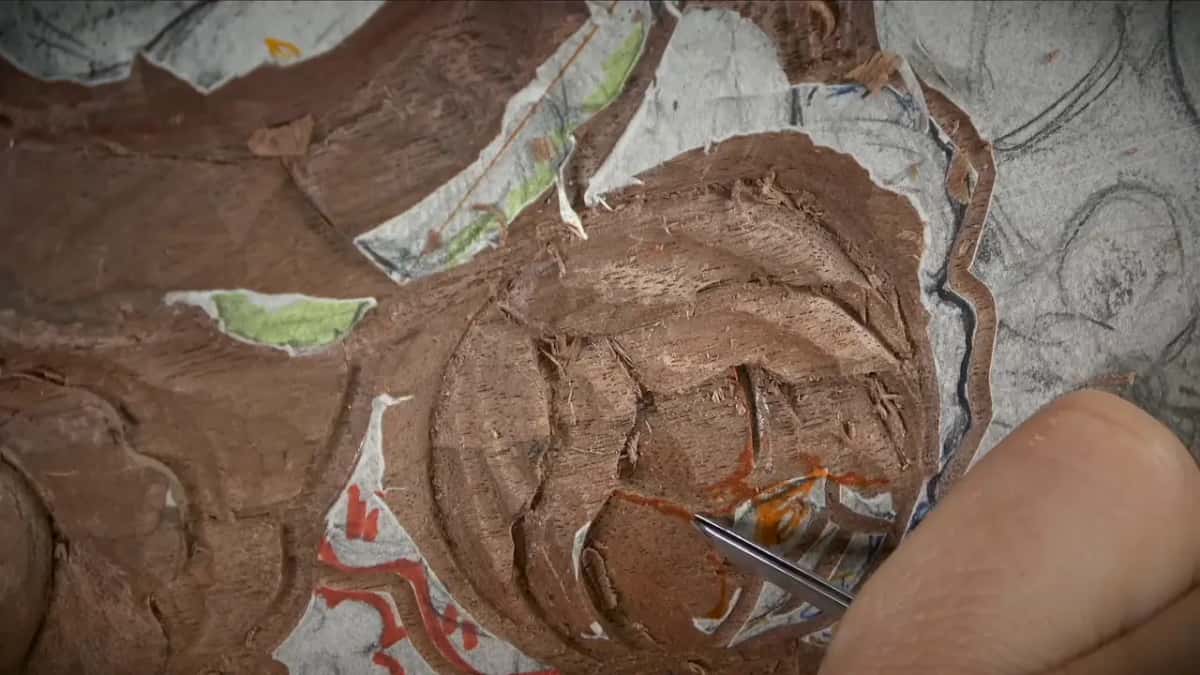
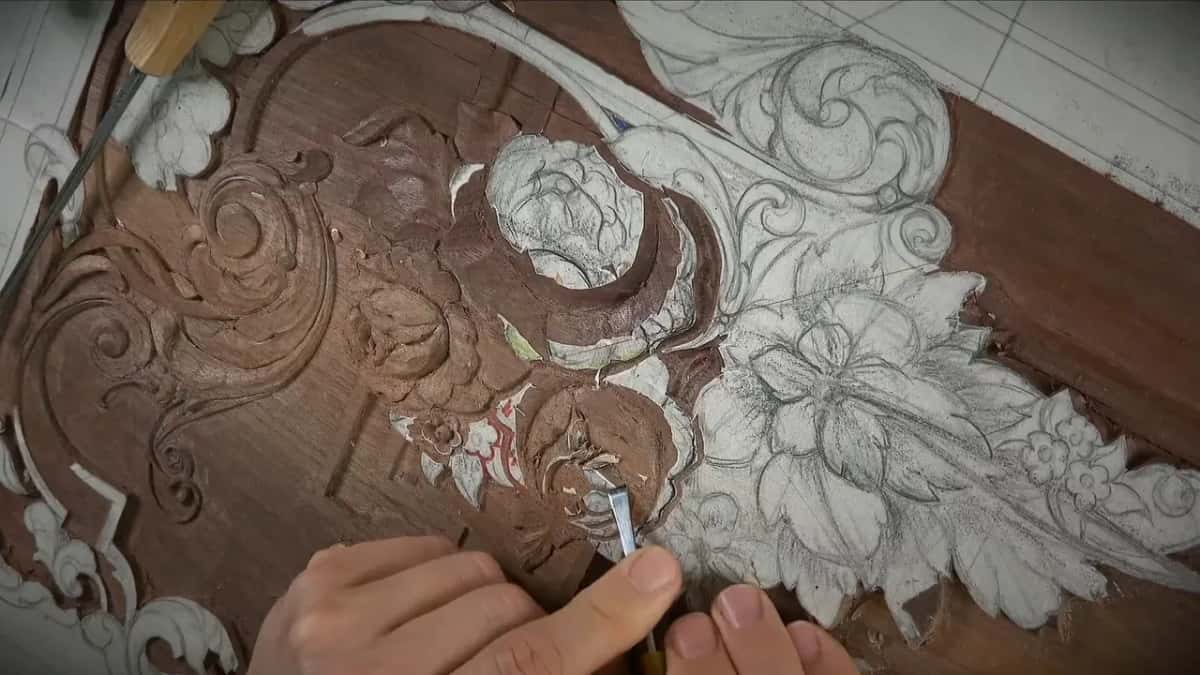
For the deep undercuts under these blooms I bring in a mallet, and I will keep repeating that a mallet is a control tool. Tapping gives a cleaner cut than pushing does, and on a half millimetre veiner it also stops me snapping the tool.
What happens when an undercut goes too deep?
Occasionally nothing bad at all. I went too far under one petal in this lesson and it created an extra movement I had not planned, and since those flowers needed more movement anyway, I kept it.
Without that kind of variation the flowers look dull. Not appealing, as I kept saying to the camera, and a dull flower on a focal point is worse than a slightly wrong one.
Why does it look worse up close than from across the room?
Low relief was always built to be seen from a few paces. Put your nose against this flower while it is half carved and it looks rough and unconvincing, and step back two paces and it reads beautifully, because the shadows do their work at a viewing distance rather than under your eyebrows.
That difference misleads beginners badly. People give up on a shape that was going to be fine, or they fuss a passage to death because it looked wrong from four inches away.
My own habit is to leave the insides alone until late. Whatever mess sits down in a hollow can be cleaned with a number 11 in five minutes at the end, so I would rather spend the hour establishing movements that read from a distance than polishing a corner nobody sees.
How do you make one petal pass under another?
The gouge goes over onto its back. A number 3 held upside down and worked along the joint lowers the petal that goes underneath, and the one above keeps its height, and there is the entire trick of overlapping in a panel with no depth to spare.
The decision comes first, though. On the middle of a big flower I marked three divisions, worked out which line sits above which, and only then started cutting. One petal flips above its neighbour, and part of the centre grows out from beneath, so my tool turns to the right for one and to the left for the next.
Whatever is left in the middle I call the barrel, for want of a better word. It gets a bevel running the opposite way from the petals around it, and that opposition is what stops the centre from looking like a button somebody glued on.
Micro separations matter here too. Without a few tiny cuts dividing the centre, the whole middle reads as one lump, and a lump in the focal point of a panel is the thing your eye lands on first.
What does wrapping around mean on a flat board?
One element appears to bend around another. A petal that wraps looks as though it curves behind its neighbour and comes out the far side, and on a panel with a millimetre of relief that effect is built entirely from a hollow, an undercut and the shadow they make together.
Describing it is hopeless. Carve one and you will know exactly what I mean within about ten minutes, which is roughly how long it took me to stop thinking about it and start seeing it.
The sequence that produces it is short. Excavate along the joint with a 3 mm veiner so the lower element drops, undercut the upper one with a sixteenth of an inch, then take the narrowest veiner you own in under that same edge and let the shadow close the gap. Each of those three cuts is small and none of them alone does anything convincing.
Then keep going round. That wrap has to appear on the far edge of the flower or the eye catches the asymmetry, and a secondary separation between two petals reads as a third layer even though nothing is there.
What did the Tampa class carve?
A far simpler panel, and it is worth seeing. I came to this lesson straight from Florida School of Woodwork in Tampa. A great group of people there, several of them furniture makers who knew exactly what they were doing, carved low relief with me, which is the kind of thing my in person classes run on.

That panel runs about 1.5 mm deep, same as this one, and the difference is that its background is incised rather than cut away. Far less complicated than the board in this course, and a genuinely good project to start on.

Why is this panel taking so long?
My schedule is the reason, not the design. I still carve for a living, and the main part of my day goes to work for clients, so this board moves forward in the hours that are left rather than the hours it deserves.
The design itself is not the slow part. A more complicated panel was a deliberate choice because there is more to teach on it, and I would rather show you something difficult slowly than something easy quickly.
Everything here sits on work done earlier. The ground was levelled across lesson 17 and lesson 18, the shadow method came out of lesson 19, the corner flowers were carved in lesson 20, the acanthus anatomy in lesson 21, and the furniture edge rule in lesson 22. The bouquet continues in lesson 24. For the drawing behind all of it there is Part 1, and the tools have a course of their own.
Small flowers like these turn up on Rococo furniture, on carved cabinets across Europe, and in the Gibbons workshop by the hundred. Nobody was showing off with them. They were filling a space beautifully, which is a skill of its own.
If you want somebody beside you while you cut your first dome, that is what the school is for.
How it's done
- Clear the ground around the shape first. Take the waste away with whatever gouge is biggest and still fits. A one inch number 6 moves material faster than a small tool, and a large gouge will always do a small one's job while the reverse never works.
- Choose what the middle will be. Either hollow the centre or raise it. Rotating a small gouge in the middle and popping the waste out is quick, while leaving the centre standing and cutting round it gives a dome that catches far more light.
- Shape the dome from outside inward. Work round the raised middle with the same tool until it reads as half a sphere from any direction you look at it. Watch your depth throughout, because digging too far around the base leaves the centre nothing to stand on.
- Give the bloom a direction. Cut one small hollow beside the raised centre, using a millimetre gouge. That single cut stops the flower being a bump and turns it into something facing a particular way, which is what the eye picks up.
- Aim every petal at the same point. Run each concave toward the centre of the bloom and let the outer petals grow away from that same spot. One petal wandering off on its own line is enough to kill the whole flower.
- Take the edge off the facets. Knock the sharp tops down at the end, using a number 1 or a flat number 3. Facets belong in this work and sharp ridges do not, so leave them just detectable and stop there.
Frequently asked questions
Where do carvers put filler flowers?
Into awkward gaps. Any design leaves spaces between its larger elements that would look empty if nothing filled them, and a small bloom of this kind drops into one without competing for attention. Old panels are full of them and almost nobody notices.
How deep should a small carved flower be?
Barely deep at all. On this panel a bloom stands about a millimetre and a half proud of its ground, sometimes only one millimetre, and everything that reads as roundness comes from hollows and shadow rather than from actual depth.
Do you need big gouges to carve small flowers?
Owning them helps and nothing stops you without them. A large gouge clears waste faster and can always do the work of a smaller one, while a small gouge simply takes more passes to reach the same result. Buy them when the money is there, and not one day sooner.
What to carve next