

Alexander Grabovetskiy, woodcarver, School of Woodcarving · Published 2019
What is a multi level background on a carved panel?
Quick answer: A multi level background is a panel carved to more than one ground depth. Mine runs three of them. The outer band goes down barely a millimeter and a half, the ground over the main design sits at 3 millimeters, and the middle drops to five. Eighteenth century panels do this constantly.
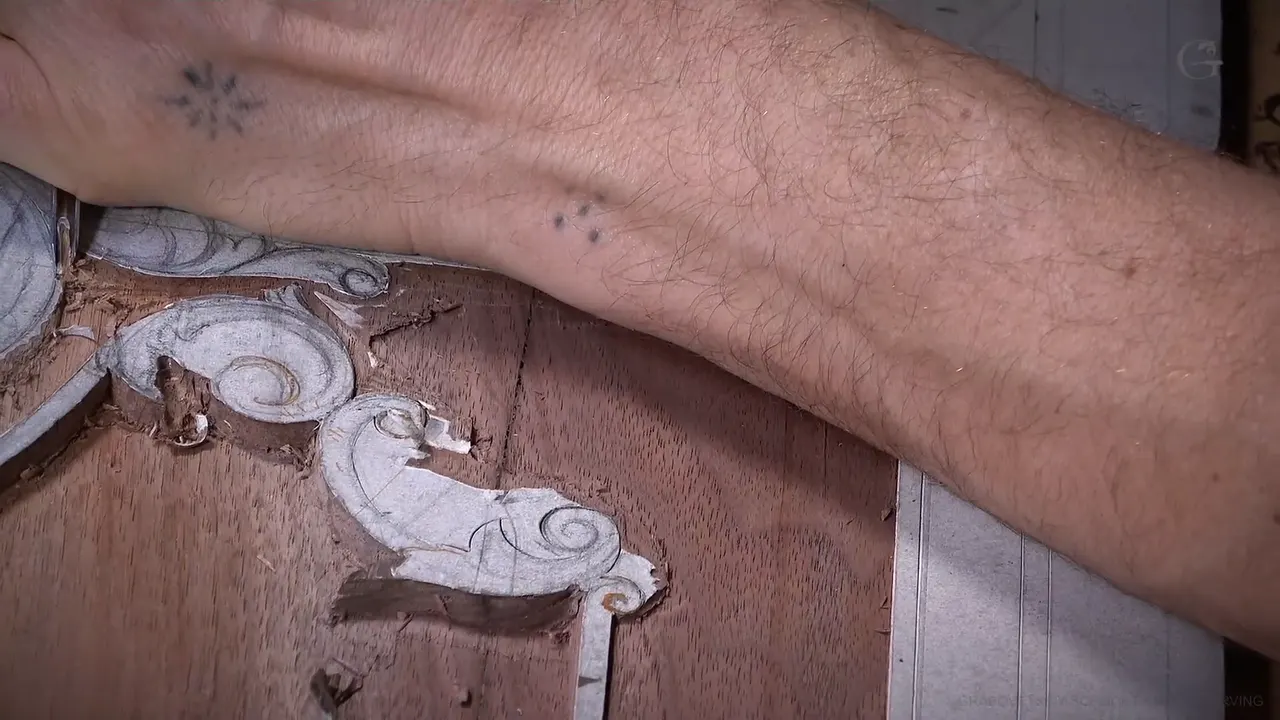
This panel has three different background depths, and the shallowest one is the hardest to carve. A band only 1.5 millimeters deep runs right round the edge of the board. Above the main design the ground sits at an eighth. In the middle it drops to three sixteenths, five millimeters, half the thickness of the board. Nothing about that is decoration.
People assume shallow means easy. Then they take that little off a wide area, look at it in raking light, and see hills and valleys. Depth that small gives you almost no margin, and a gouge that dips half a millimeter too far has doubled your error. I would rather work the deep pocket all day.
What the three levels are doing
- The outer band drops about a millimeter and a half, no further.
- Higher up the ground rests at 3 millimeters, which is where most of the panel sits.
- Five millimeters hollows the middle and takes half the board.
- Eighteenth century panels vary their ground constantly, and copying that is exactly the point.
- Shallow ground demands more control than deep ground, not less.
- Keep about two millimeters of wood beside each line, to be cleaned off last.
Where do the three depths go?
Outer band first, at a sixteenth of an inch. Exactly, that figure is 1.5875 millimeters, and I say the whole number on camera because many of my students work in metric and the rounding matters when the area is this thin. That band goes all the way round.

Higher again it steps to 3 millimeters, where most of this panel already sits. Then it drops again to three sixteenths, and that is half the panel gone in one area of a board only 10 millimeters thick.
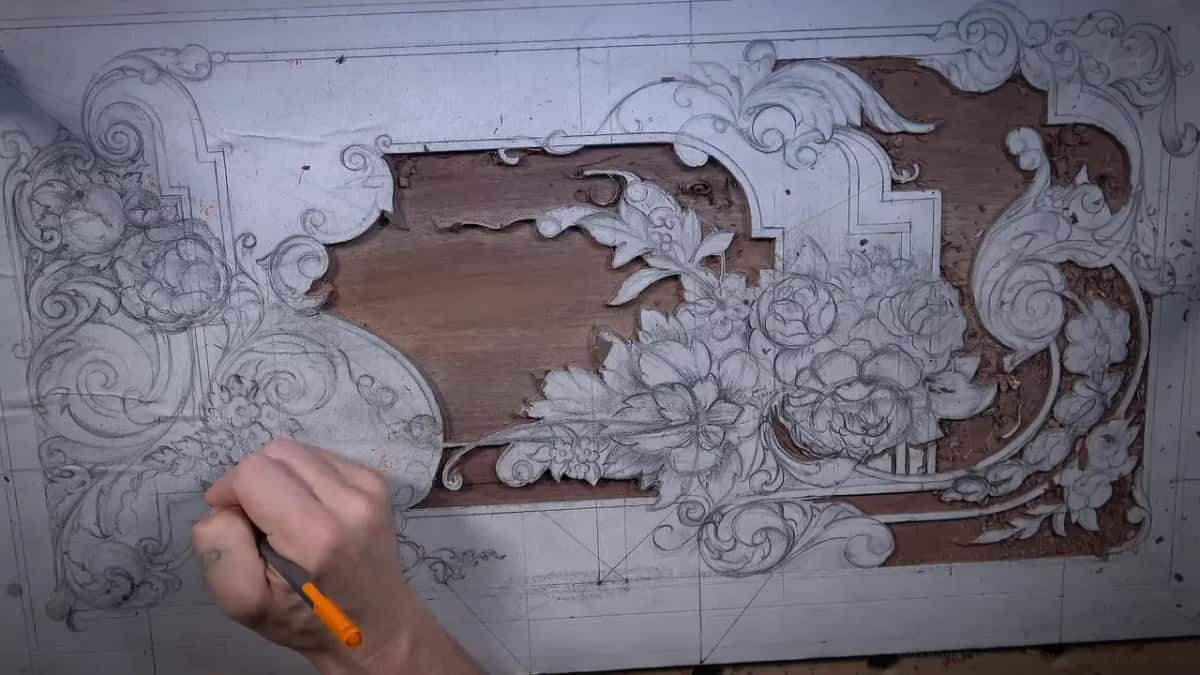
Ask me why and the answer is authenticity. Look at eighteenth century furniture and you will see different depths in different areas over and over. A single flat ground is a modern habit, mostly because a machine makes one easily and a hand does not.

Before any of it I wiped out a detail I had drawn earlier. I looked at the design again the night before and doubted it, and on camera I said so and rubbed it off. It was there to run parallel to one of the diagonals, and parallel is not always organic. The diagonal still exists further along. That element simply stops now, and it is better.


Why is a shallow ground harder than a deep one?
Control, and nothing else. On a band that thin, a tool wandering a few tenths throws the depth off by a third, and that shows. Down in the deep pocket the same wander is invisible. Low relief is not the easy end of this craft.
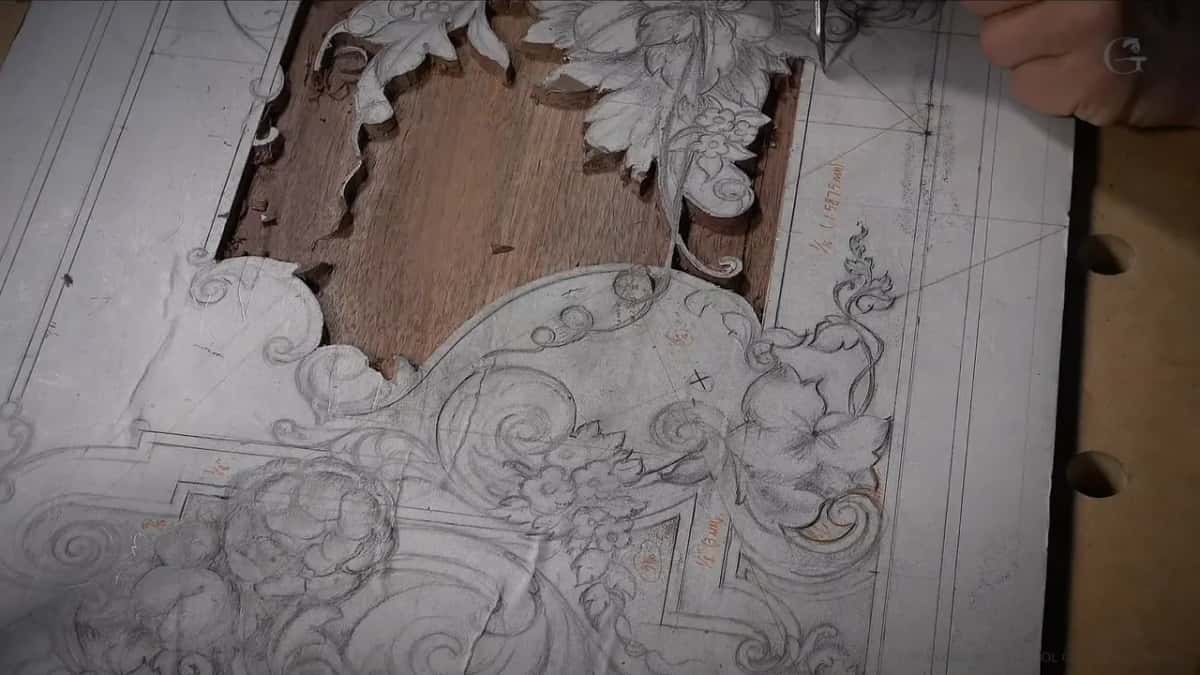
Time is the other surprise. Shallow work does not go faster. Measured against a square centimeter of ground, or half an inch if you think in imperial, the thin band takes about as long as a deep pocket, and sometimes longer, because every pass has to be watched. People hear shallow and picture a quiet afternoon of easy work. Wrong on both counts.

Which changes how the tool gets worked. My pass here takes off half the total depth, which means two goes rather than one. The hand holding the tool sits flat on the board the whole time, which is where the control actually comes from, and I move that hand rather than changing my grip.

None of this is guesswork either. A straightedge laid across the ground settles in a second what your eye will argue about, and on a band this thin the straightedge wins.
Why not carve a channel along the outline?
Carving a channel leaves a scratch inside the wall, and that scratch does not go away. Plenty of carvers do it. Run a gouge around the design a shade under a millimeter deep, and now you can see exactly where to stop, which is a real advantage and I understand why people like it.
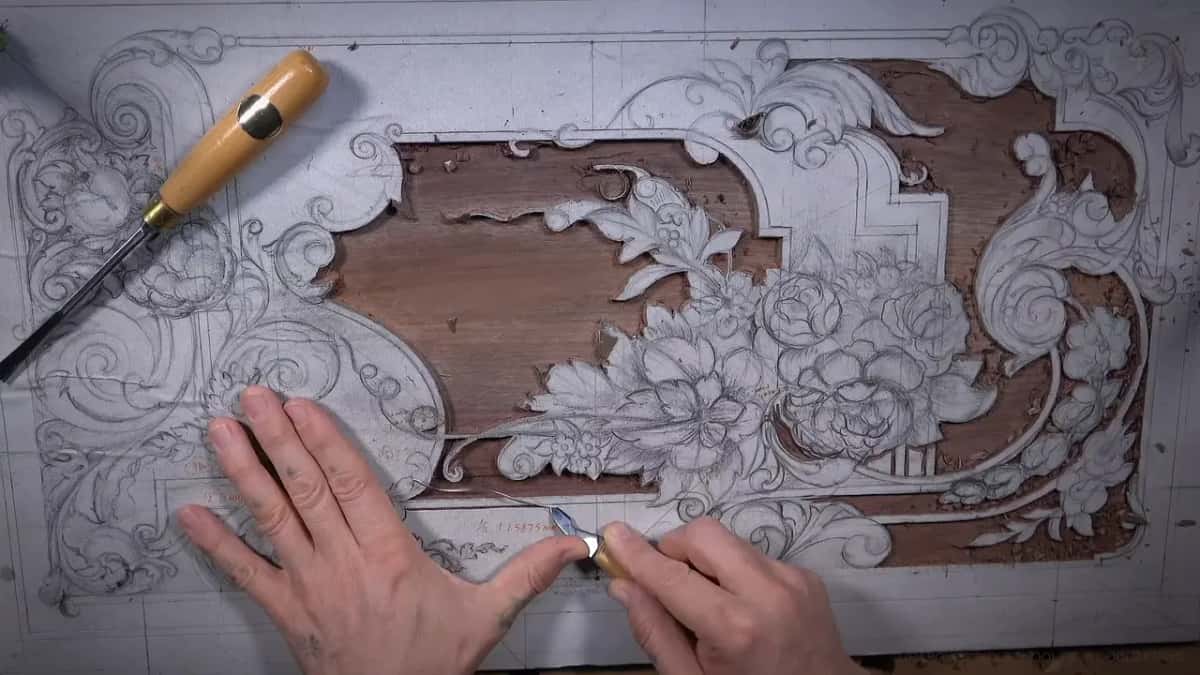
My objection is what happens to the wall. Digging into it that way leaves a tool mark down the face, and if the finished ground never reaches that depth, the mark stays visible forever. The wall stops reading as one solid face, and that face is what people look at on furniture.
My way is to step back a millimeter or two and work toward the line. Before the tool arrives I stop and escape upward, so the edge rises clear rather than running into the wall. Then the next pass starts halfway across the last one.


| Area | How deep the ground goes | Metric | What makes it awkward |
|---|---|---|---|
| The band running right round the edge | A sixteenth | 1.5875 mm | Almost no margin, and every pass shows |
| Over the main design | An eighth of an inch | 3 mm | Comfortable, as long as it stays even |
| The middle | Three sixteenths, the deepest ground on this board | 5 mm | Half the panel gone in one area |
| The wood left standing beside every line | Left standing | 1.5 to 2 mm | Cleaned last with the smallest tools on the bench |
How do you take that little off without going through it?
Halves, with a mallet, watching. A mallet is more controllable than hand pressure, which sounds backwards until you have used one. A tap delivers a known amount of force. A push delivers whatever your shoulder decides.
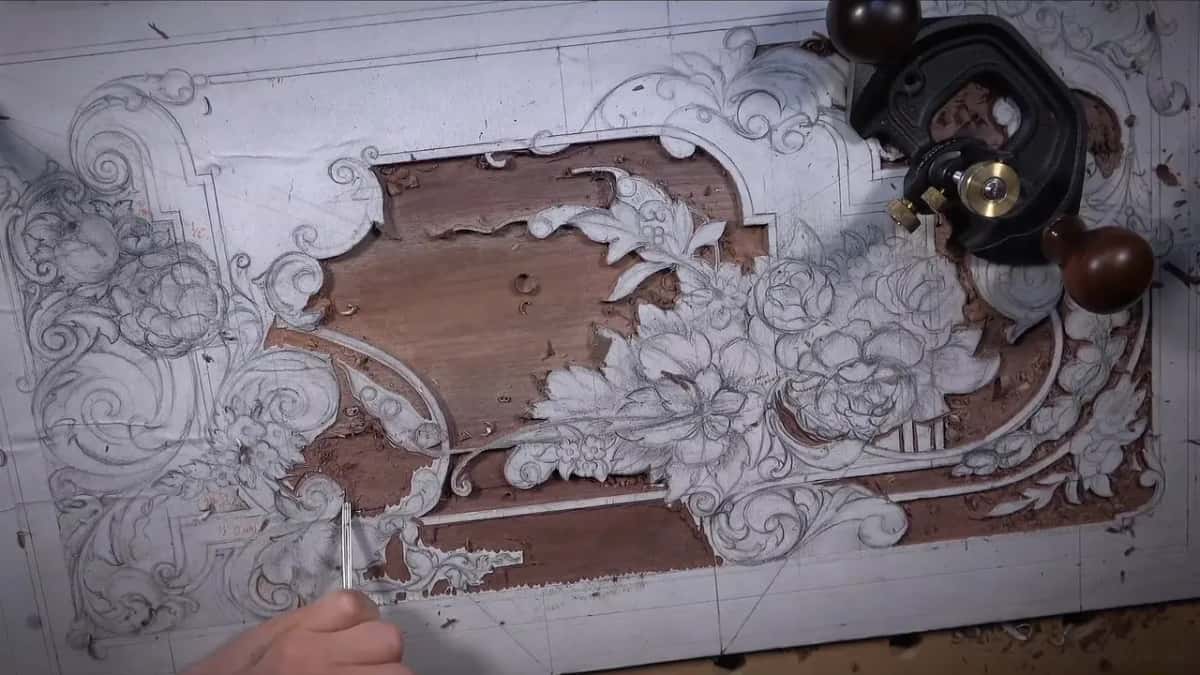
Even with a number 7 I keep the rotation going through the pass, slicing rather than shoving, and I aim to stop a hair short of final depth every time. Here I ended up at about 1.3 millimeters instead of 1.5, deliberately so there is room for one clean pass later.


The knife does the outlining first, and on this section I used a small number 3 by Pfeil. Not a deep line. What matters to me there is that the line runs fluid, because a choppy outline turns into a choppy wall, and although I can repair it later, the first pass may as well be right.

One small habit I barely notice myself doing. My finger presses on one side of the blade while my thumb presses on the other, equal pressure both ways, and that is how the blade stays at ninety degrees without me thinking about it. Not critical at this stage. A habit worth building early, though, because it costs you nothing.

Why clear a triangle straight away?
Readability, mostly. Wherever two lines close on each other they leave a small triangle of waste, and while those triangles sit there the panel reads as a diagram instead of a carving. Getting them out early means I can step back and still see the design I am working toward.

The tool always rises upward as it leaves. Escaping, not digging, is how I say it to students, and the difference is whether the edge leaves the wood by rising through the shaving or by burying itself where the stroke finishes. A buried edge tears the fibers under it and leaves a mark you meet again during finishing.
Which brings me to the only advice that actually matters here. Take time. Removing a little at a time and stopping to look beats rushing and then repairing, and repairing shallow ground is the worst job on the whole panel, since the only honest repair is to lower everything around it. Carefully is the key word, and I say it about nine times in this session.
What is the heel of a gouge doing to your pass?
Lifting the edge clear of the wood without telling you. Once a gouge has travelled a little way, it starts riding on its heel, and the heel sits higher than the edge. Carry on the same way and you pass over ground you believe is already carved, removing nothing.
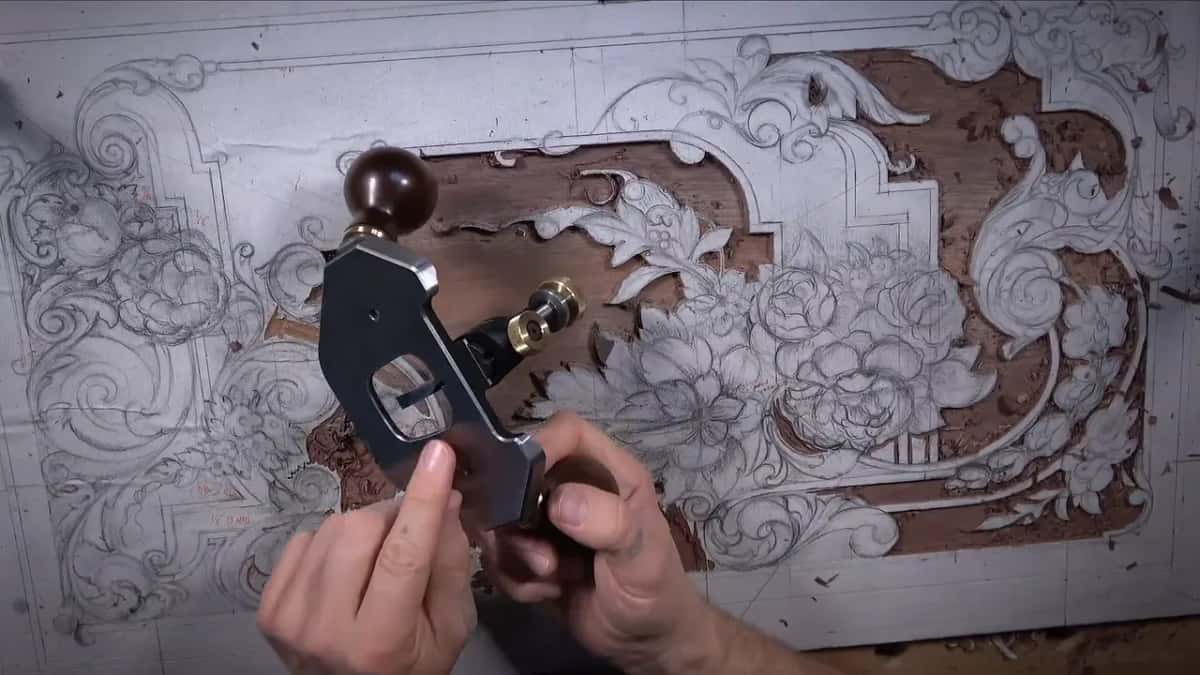
So change the tool position. Work both ways, away from yourself and back toward yourself. A student called Sergio sent me a link about grinding the heel to an angle so it stops fighting you, and that is exactly what the more advanced woodworkers do. Not all of them. In my case grinding alone would not be enough, since my blades would need reshaping entirely until only a small spot does the carving.

Order matters as much as technique. The middle of this panel can wait. What I worry about at this stage is the main areas and their boundaries, and the fine ends of elements get a plain straight chop for now because they get shaped properly much later. Marking a couple of indication passes is enough to stop me forgetting where something was meant to go.
Do you need the big router plane?
A small one works. The blades on a mini router plane do not come in widths the way the big ones do, but you can buy spares and regrind them narrow yourself, and the operation is identical. I keep a small one on the bench permanently for rosettes.

What the big body buys is reference. A longer sole spans further across the panel, so it bridges hollows a short one drops into, and on a board this size that matters more than blade width. I set one edge of the sole on finished ground, then work toward myself in shallow steps instead of forcing a pass.

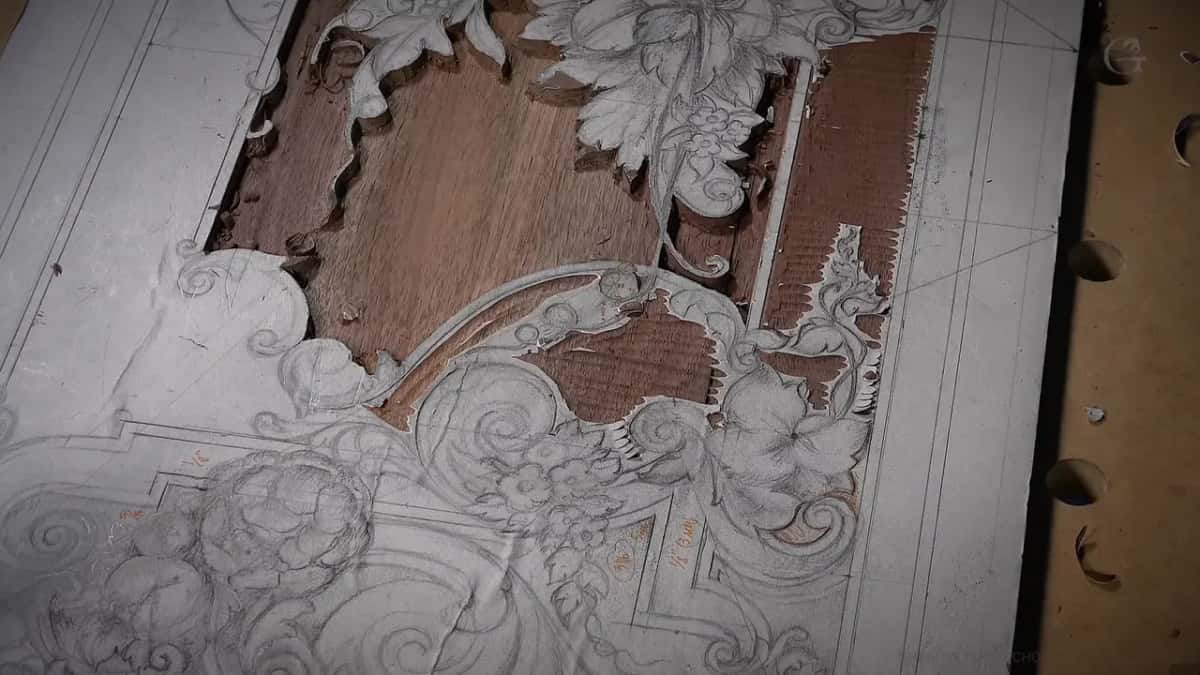
Sharpness decides how much of this is even possible. An edge that slices leaves a wall you can live with; an edge that scrapes leaves fuzz and forces a second pass you did not budget for, and on walnut the difference shows immediately. Sharpening is the skill that quietly governs every other one, and the bevel angle you settle on changes how the tool behaves in a shallow pass more than the maker's name on the handle ever will.
Changing to a shallower area does not lose the deeper work either. Those depths are still cut, so the plane can be referenced back against them whenever I return, and resetting takes almost no effort. Watch the grain as you go, because a straight push will split it where an angled, referenced pass will not.

The wall itself gets its own attention later. Right now these ends are chopped square because a square end is easy to refine and an over-refined one is not, and the same thinking applies to every element I have deliberately left thick. Nothing on this side is finished. All of it is close enough that the finishing will be pleasant rather than a rescue.
When is a carved curve right?
Your eye tells you, and it is merciless. A line I carve here has to continue into the one beyond it as a single run, and where two curves meet they have to be tangent, even when the meeting point is invisible under ornament. The human eye catches an inconsistent curve long before the mind works out why something looks wrong.
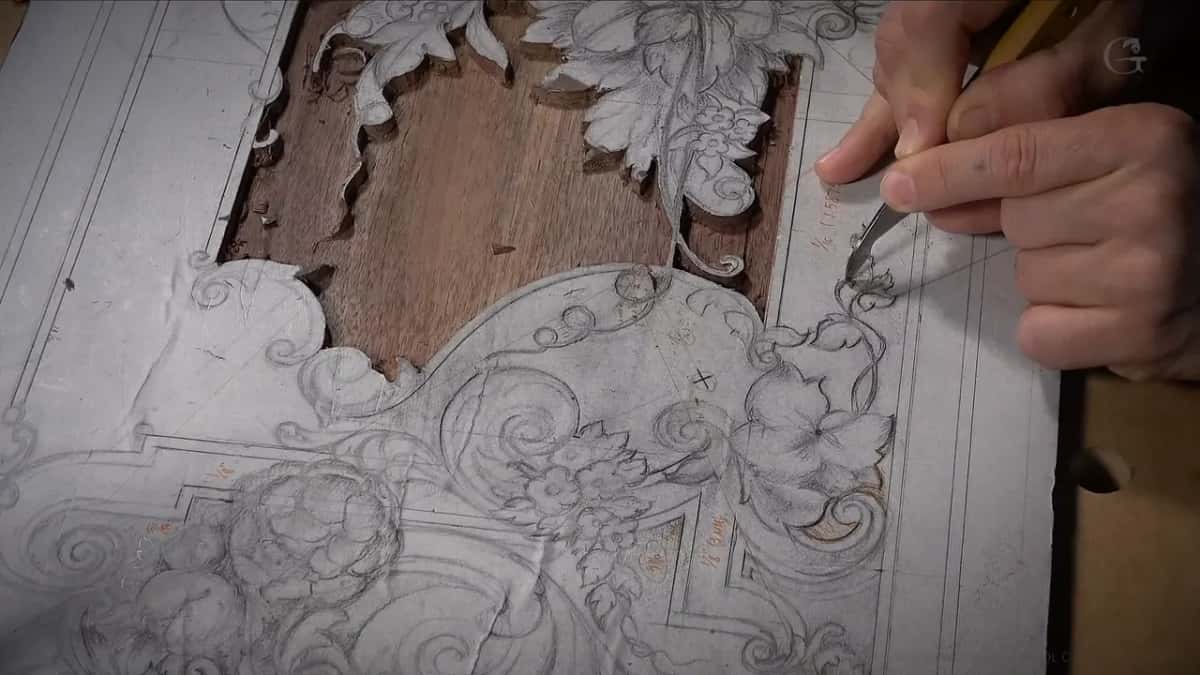
That is a design law rather than a carving one, which is why the fourteen drawing sessions in the design course were not wasted time. By the time lesson 14 closed, every tangent on this board was already decided.
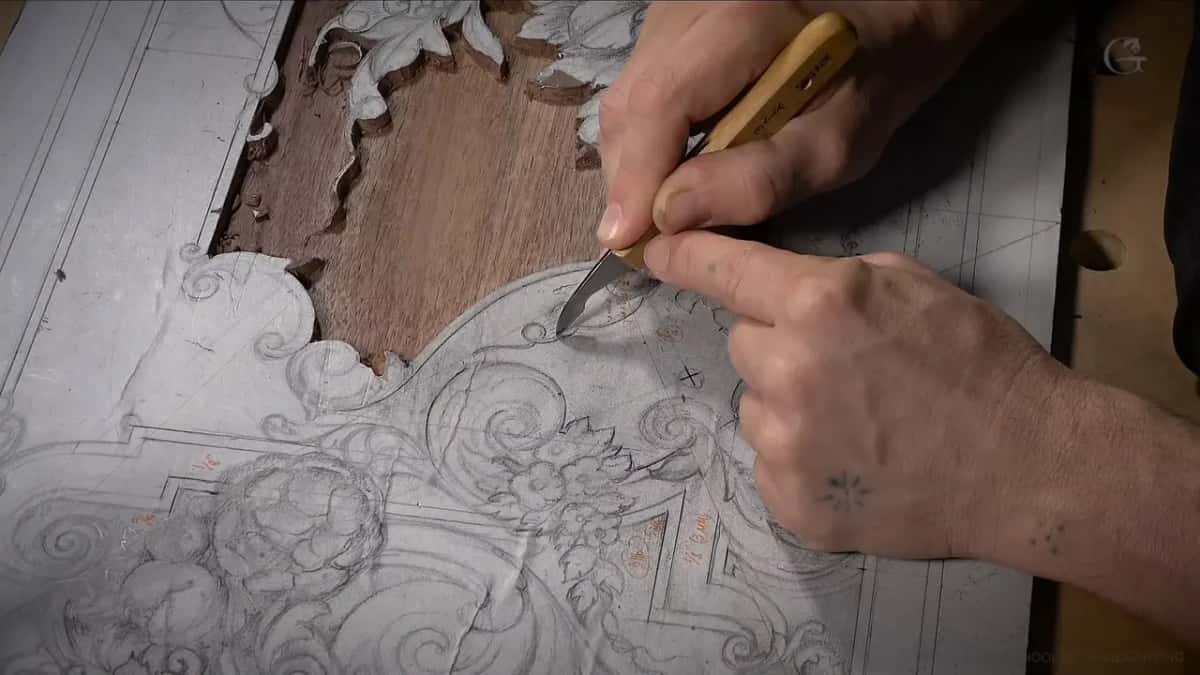
How close is too close? Even on ground this thin I stay off the final line, because a shallow ground is still dangerous ground, and a slip there lands on the design rather than on waste. At one point in this session I was down to about a sixty fourth of an inch of remaining material in the main area and stopped there deliberately, since hand work gives you exactly one chance to be wrong.


And leave wood beside your lines. Two millimeters or so between the final line and the leaf, cleaned out last with the plane, a grounding tool, or a one millimeter gouge. You can always take less. Taking more back is not on offer.

All three levels are cut on this side now, and the next session runs into a knot and breaks a rule or two, which is lesson 18. The island that made the deep middle possible was lesson 16, and the very first pass with the knife was lesson 15. Everything from the blank board onward lives in this course. Stuck on the tools? There is a course on those. The 1903 acanthus course runs the same depths on a different board, and the ornament waiting here gets built from scratch in Acanthus over Moldings and in the floral and molding course.
If you want someone beside you the first time you try a ground this shallow, that is what the school is for.
How it's done
- Decide every depth before you start. Walk the panel and name each area out loud. A sixteenth of an inch here, an eighth there, three sixteenths in the middle. Changing your mind halfway through means lowering everything you already did.
- Outline with the knife, fluid rather than deep. A shallow line is enough. What matters is that the curve runs smoothly, because a choppy outline turns into a choppy wall and the wall is what people look at.
- Step back from the line before you carve. Begin your pass a millimeter or so away from the boundary and work toward it. Stop before the tool arrives and lift the edge upward, clear of the wood.
- Overlap every pass. Begin each new pass halfway across the last one. Take roughly half the total depth at a time on shallow ground, so two passes finish it.
- Change the tool position, not just the direction. A gouge starts riding on its heel partway through a stroke and stops removing anything. Turn the tool, work away from yourself and toward yourself, and the ground comes level.
- Stop a hair short of the final depth. Leave around a fifth of a millimeter for one clean pass later, and keep a couple of millimeters of wood beside each line for the smallest tools to take off last.
Frequently asked questions
Is shallow relief easier to carve than deep relief?
Harder, in the ways that matter. On a band that thin, a tool that wanders a few tenths of a millimeter has thrown the depth off by a third, and it shows. The same wander down in the deep pocket is invisible.
Does shallow carving go faster?
Measured against a square centimeter of ground, no. Every pass on a shallow area has to be watched, so the hours land in roughly the same place and sometimes higher than a deep pocket would cost.
Why not carve a channel along the outline?
Digging a groove beside the design leaves a tool mark down the face of the wall. Where the finished ground never reaches that depth, the mark stays visible forever and the wall stops reading as one solid face.
What to carve next