

Alexander Grabovetskiy, woodcarver, School of Woodcarving · Published 2020
Why should carved petals not be perfect?
Quick answer: Carved petals are left uneven on purpose. Cut five of them to matching widths and identical curves and the bloom reads as something pressed out by a machine, while small differences in size, depth and direction are what the eye accepts as growth. The irregularity is the craft, not a failure of it.
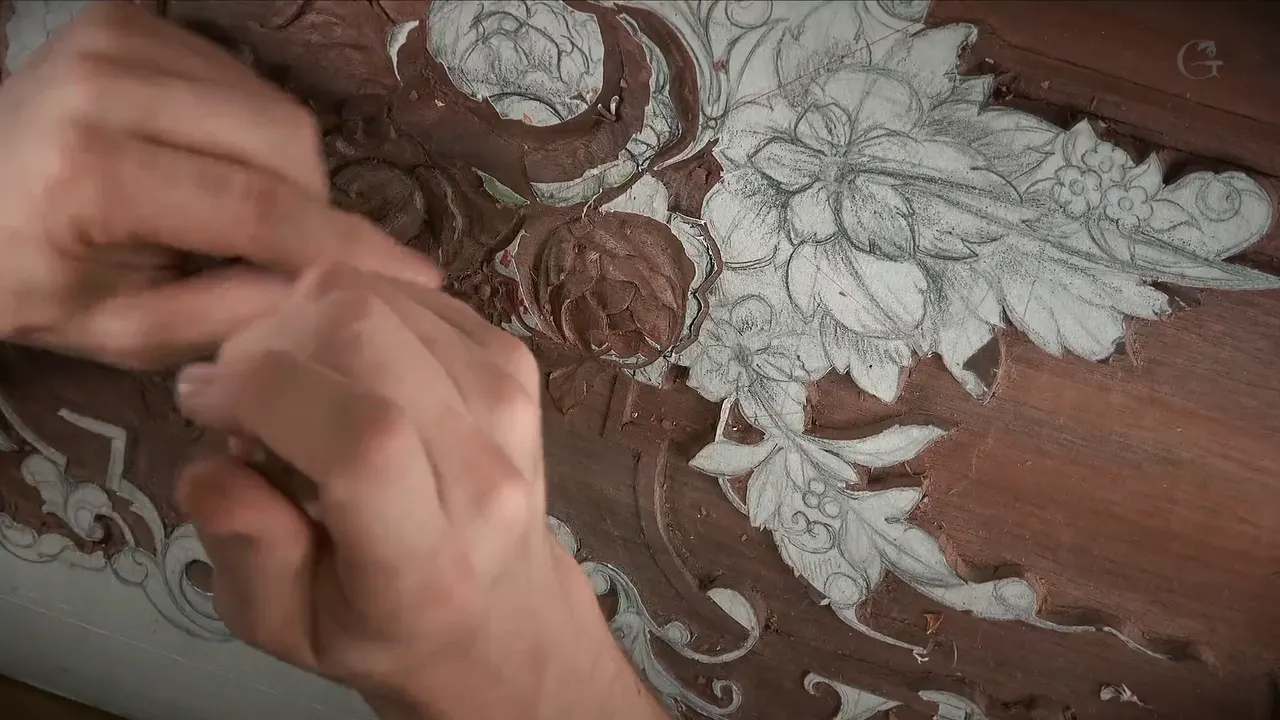
Carved petals are left deliberately uneven. Cut them to matching widths and identical curves and the flower stops looking like a flower and starts looking manufactured, so the small differences in size, depth and direction are the work itself, never a failure of it. Nature does not repeat, and a carving that repeats announces the machine.
Almost every beginner gets this backwards. You work hard to make five petals match, you succeed, and the result looks stamped out. I spent this whole session on a handful of tiny flowers, and the decisions that mattered were all about where to let them be irregular.
What separates a carved flower from a pressed one
- Perfect is wrong.
- The centre of a small flower belongs slightly off centre, pointing somewhere.
- Outline before you shape. Never open with a stab cut.
- A millimetre separates the highest point on this section from the lowest, so every decision is a small one and there is nothing underneath to correct a mistake with.
- Turn the gouge upside down when you want an edge to curl rather than fall away.
- On dark wood a flower is only visible if its shadows are good, so the shadow is not decoration.
What happens if you carve every petal the same?
The flower goes dead. Petals that match each other read as artificial the moment anybody looks, and the eye is very good at catching repetition it did not expect in something organic.
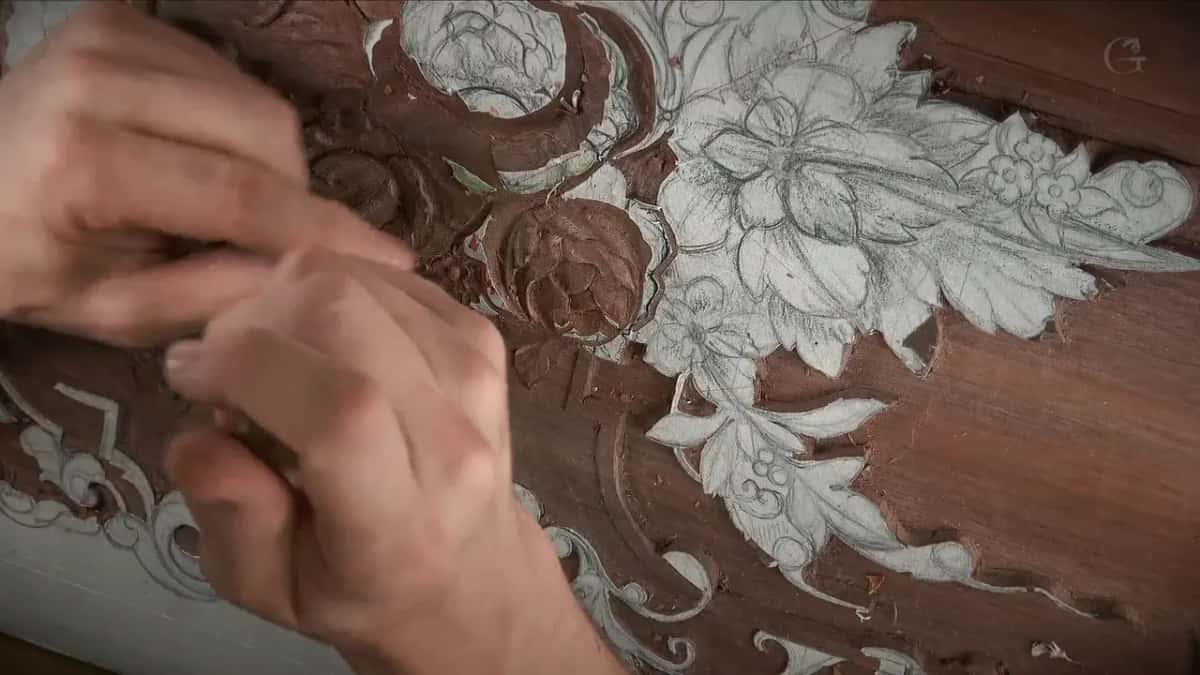
My petals on this little bloom are not perfect, and that is exactly what I am after. One sits a fraction wider, another dips slightly lower, and a third takes its concave at a different angle from its neighbours.
| The habit | How it reads to a viewer | What I do | What that choice actually costs me at the bench |
|---|---|---|---|
| Five petals matching exactly | pressed out by a machine, which is what a viewer concludes | vary them | nothing, and it takes no extra time |
| Centre dead middle | a button sewn on a coat rather than a flower | push the eye off centre | one cut with a millimetre gouge, and it changes the whole corner |
| Stabbing down | quick, and hard on the fibres underneath it | outline with a veiner | one extra pass, and that is the entire price |
| Sharp even ridges | metal rather than wood, to anybody looking | soften them | a few minutes under a flat gouge at the end |
Should you stab straight down, or outline first?
Outline first, nearly always. A stab cut works and plenty of carvers use it: drop a gouge vertically and walk it round the shape. Genuinely quick, too.

Look at what it does to the wood, though. Driving a blade straight down spreads the fibres in both directions at once, which is a lot of stress on a small element and not good for the material.
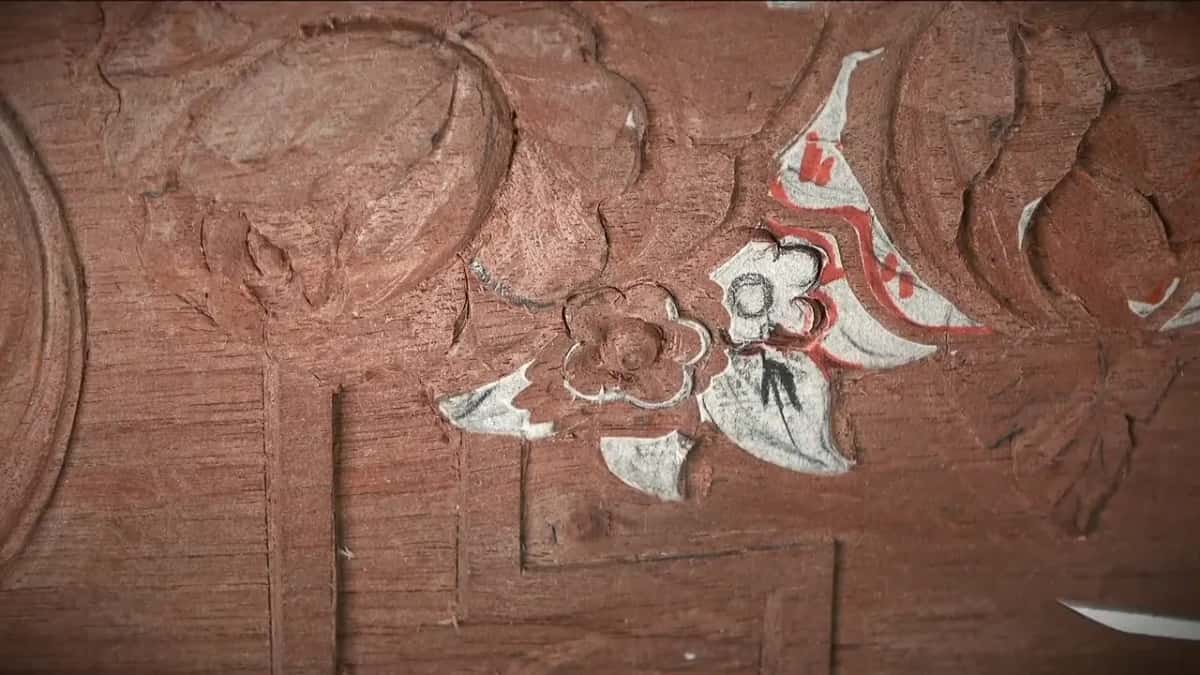
My preference is to outline with a veiner, then take a second tool underneath and work beside that line, which leaves the ridge standing a little higher and puts no pressure into the piece you want to keep. Choose the stab when speed genuinely matters. Just know what you traded.
Are you pushing the tool or slicing with it?
Slicing, always, even when it looks like a push. As the edge travels forward I rotate it very slightly, counter clockwise in this case though either direction serves, and the cut comes away cleanly instead of crushing its way through.
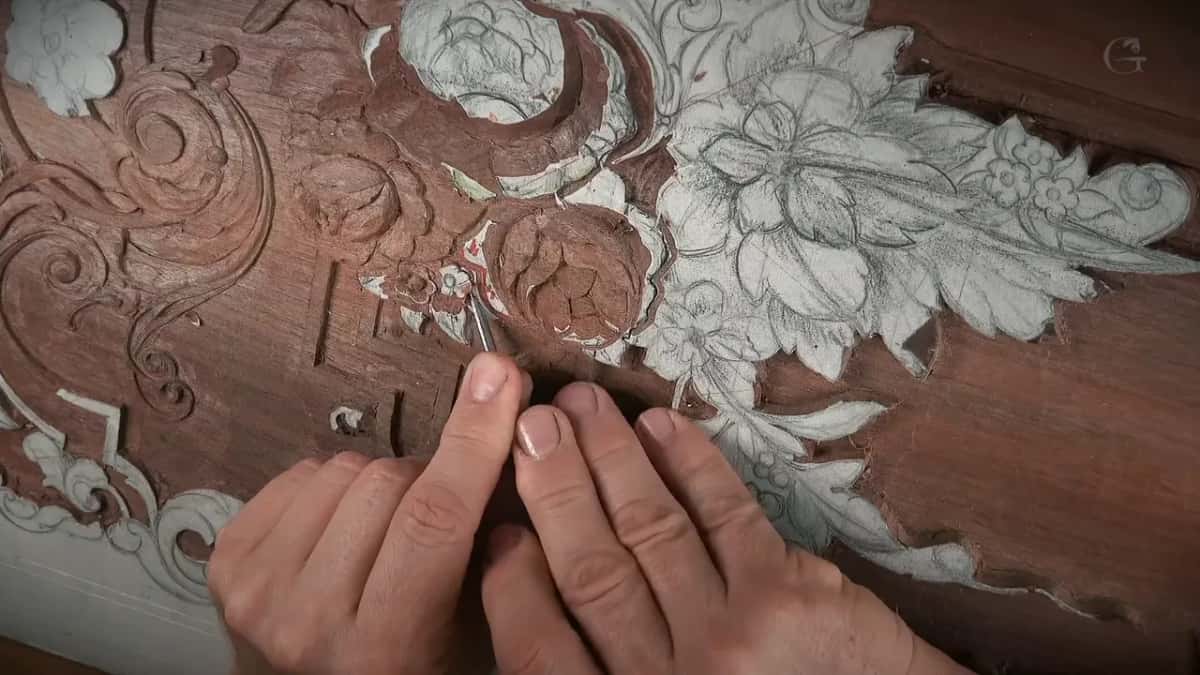
Impossible to see on video when the cut happens fast. The surface it leaves is the proof, and you can feel the difference with a thumb.
How big is one of these flowers?
Ten millimetres across, about three eighths of an inch point to point. That is the entire bloom, petals included, which is why every cut on it is a careful one and why a slip takes the whole flower instead of a corner.
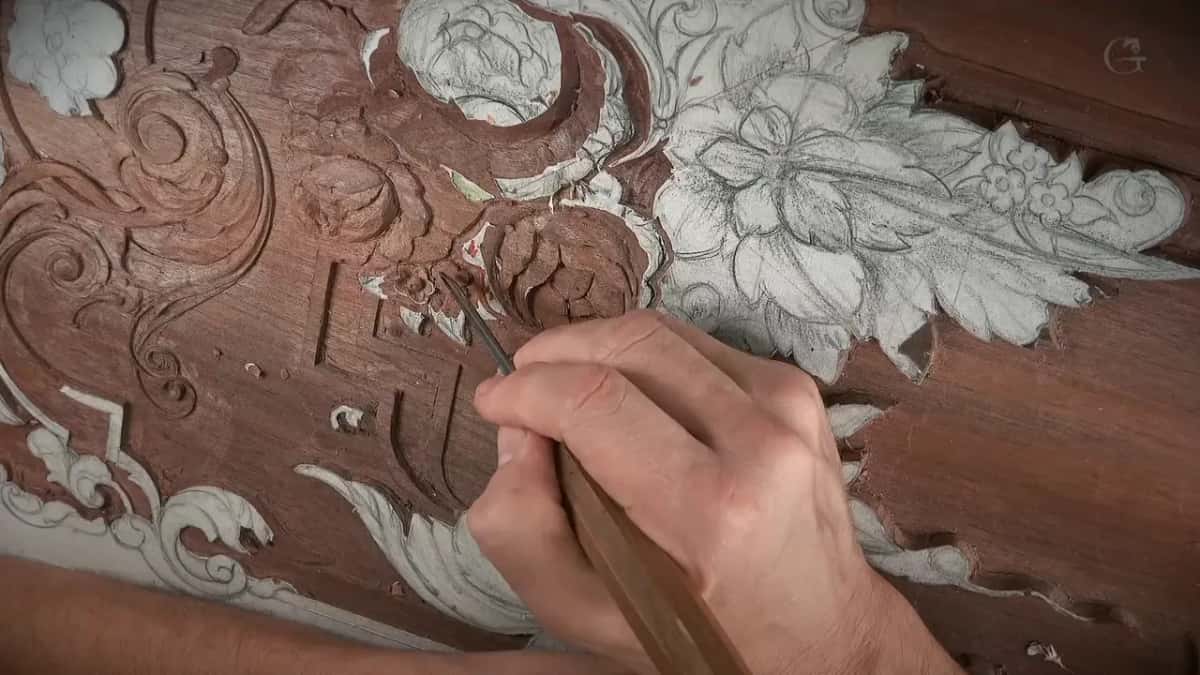
The centre gets raised as a half sphere, a dome, cut by working inward from all around it with the same gouge. Take care carving toward that middle along the grain, because pushing too hard there snaps the dome clean out and no repair looks right afterwards.

Why put the centre off to one side?
Direction. A dome with its eye dead in the middle is a button, and a dome whose centre sits slightly off to one side is a flower facing somewhere, which changes how the whole corner of the panel reads.


One millimetre of cut does it. Between the five petals I run a micro separation with a half millimetre veiner pushed toward the centre, and in the middle a one millimetre Dockyard number 8 takes out a small off-centre hollow. Every cut makes a huge difference at this size, and that is my honest opinion, not a slogan.
How deep is this carving, really?
About a millimetre. Between the highest spot and the lowest on this section the difference runs a millimetre, maybe a thirty-second of an inch, which is far shallower than the camera makes it look.
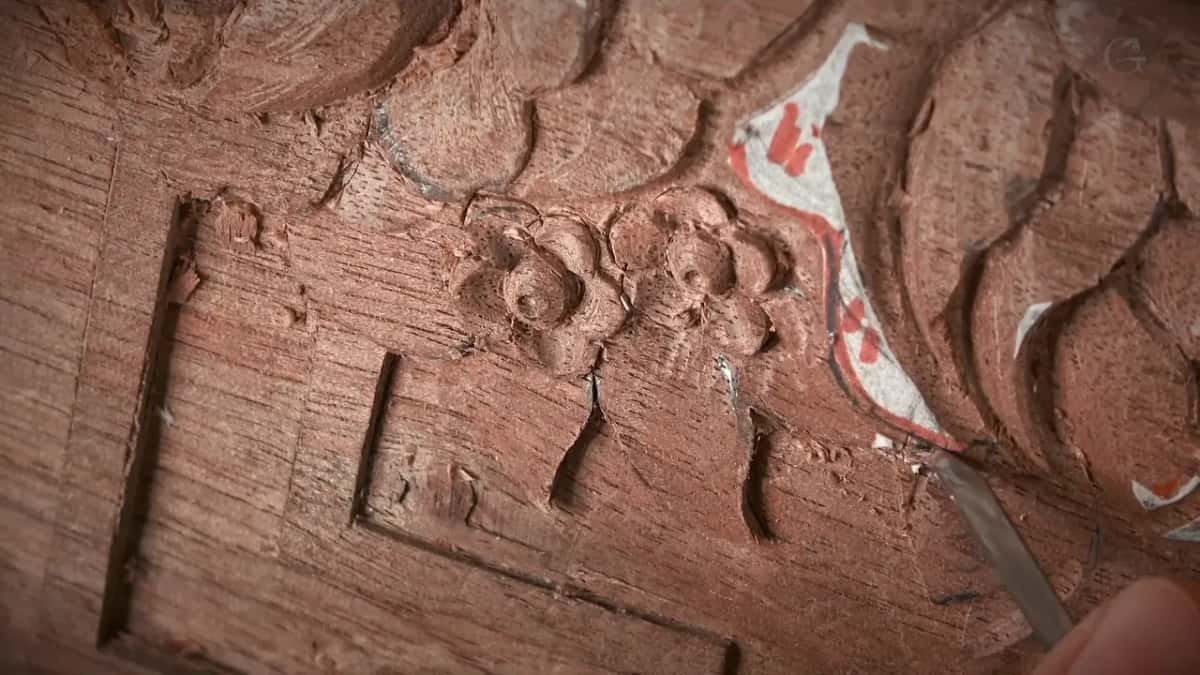
What you see on screen is enormously magnified. In life this is a shallow carving, genuinely shallow, and that is why I keep saying to be careful rather than bold. There is nothing underneath to correct a mistake with.
Why is there still paper on top?
Height reference. The pattern paper stays glued to the high spots, and while a scrap of it survives on a ridge I know that ridge is still level with the original face of the board.

Nice and sharp underneath, paper still on top. That combination tells me the undercut went where I wanted and the height did not move.
Why does the gouge go upside down?
To make an edge curl. Held the usual way a gouge scoops a hollow, and turned over onto its back it rolls the edge of a petal down and under, which is how a flat board produces something that reads as sculpture.

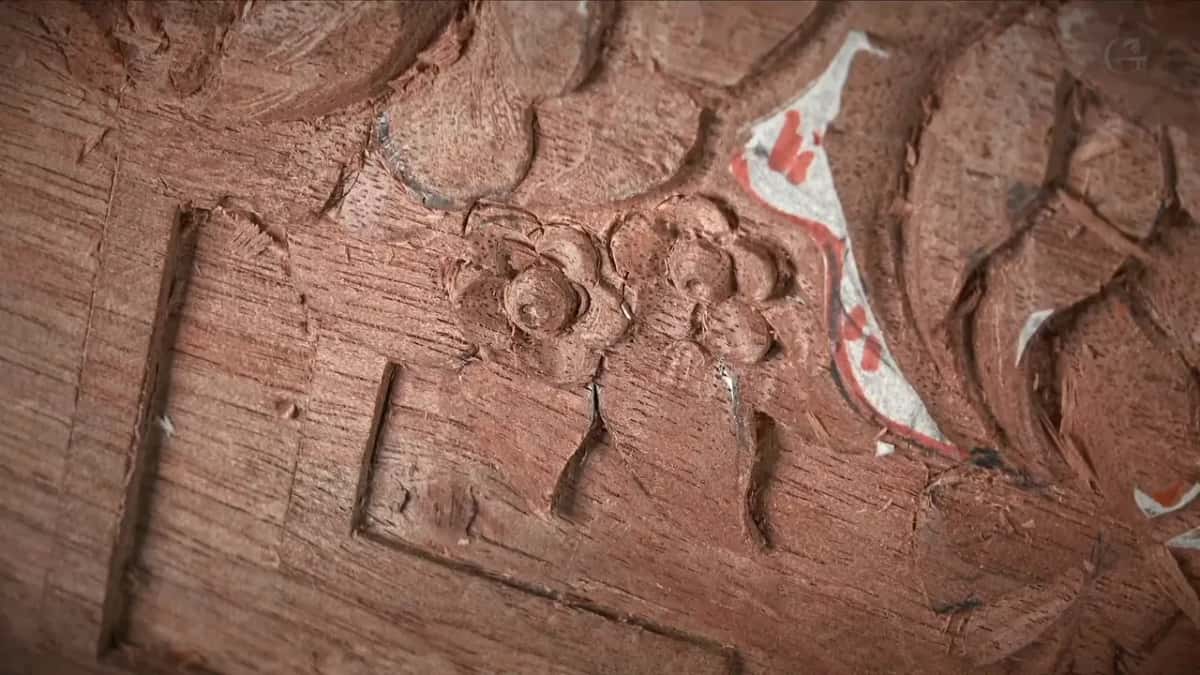
Corners want a small tool. A big gouge cannot reach into the inside angle where two petals meet, and a little one hooks the waste straight out.
What does a mallet add on a cut this small?
Control, not force. Tapping the narrowest veiner with a mallet across the grain gives a far cleaner cut than pushing it, and the taps are light enough that people watching always think I am doing something else.

Position the tool right at the edge, roll it leftward to about forty five degrees or a shade lower, then make the first pass. Then the same on the other side, with the mallet where the grain runs across.


Three brands live on my bench in this lesson alone. A number 3 at ten millimetres by Henry Taylor, a number 3 at three millimetres by Ashley Iles, and a number 1 chisel at a sixteenth of an inch by Dockyard. The maker matters far less than the sweep and the width.
Do you clean as you go, or leave it to the end?
Both, and knowing which is half the skill. Some passages are worth cleaning the moment you cut them, since you will have to clean them eventually anyway and doing it now means never revisiting that corner.
Other places are not worth a minute yet. A hollow whose final shape is still undecided will be recut three times before the panel is done, so polishing it today throws the work away twice.
My rule is simple enough. Clean what is finished, leave what is still moving, and accept that patience is most of this job. Patience, patience and more patience, and I say that as somebody who has been impatient at this bench for forty years.
What if a section could belong to two different things?
You choose, and either choice can be right. One piece of this corner could read as part of the big flower or as a continuation of the straight molding running beside it, and both readings are legitimate ornament.
I stayed with the original drawing and made it part of the flower. Not because the other option was wrong, but because the design had already answered the question once and second-guessing a drawing mid-carve is how panels lose their coherence.
Then the leaf beside it goes underneath. I brought it under with a number 3 held over, refused to force the cut when the waste would not release, and took the fuzz off with a half millimetre veiner instead. Forcing it there catches the edge of the flower, and a broken petal on a focal point is not a repair anybody enjoys.
How do you make a flower visible on dark wood?
Shadow, and nothing else will do it. Walnut this colour swallows shape, and a carving with weak shadows simply disappears into the board when the light is ordinary rather than studio bright.
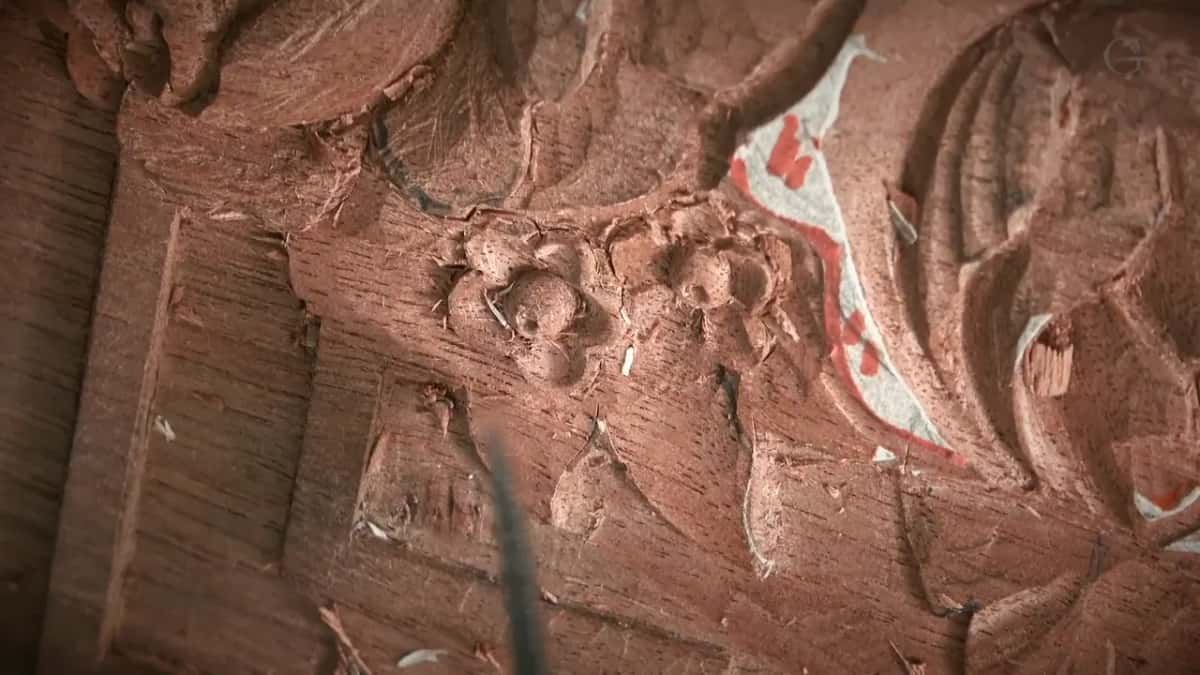
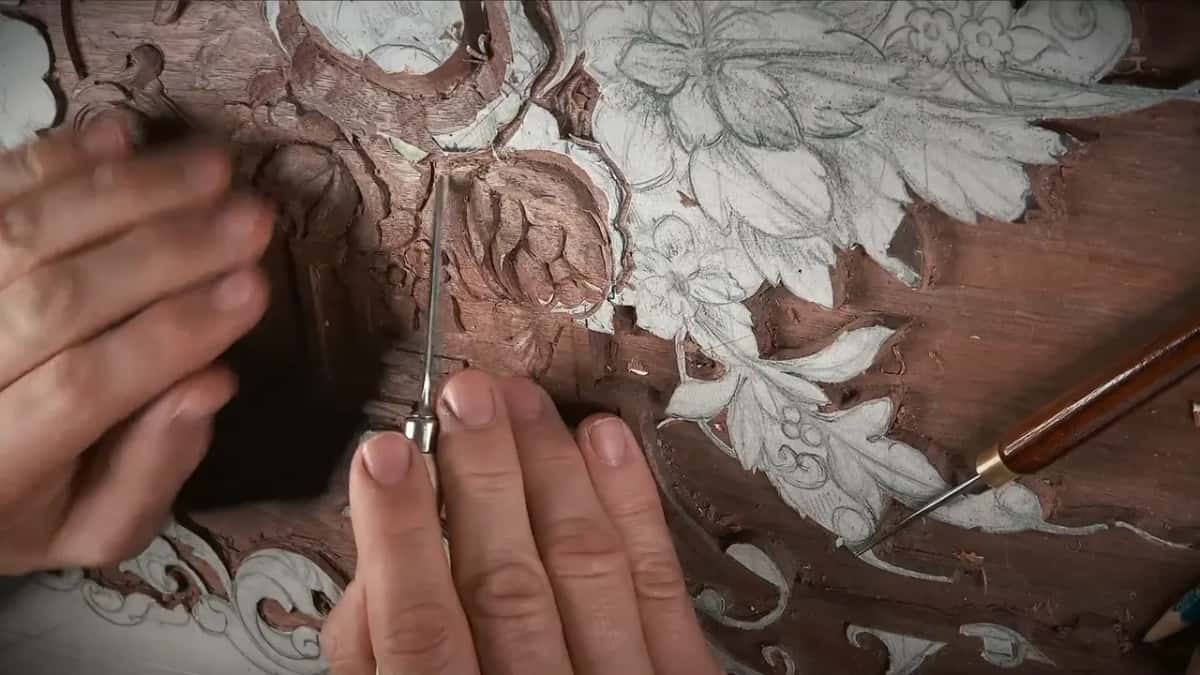
Switching one of my two lamps off is how I check. With light coming from both sides you see almost nothing, and the moment one goes out the shadows arrive and I can finally judge what I actually cut.
What is a channel, and why not leave one?
A groove running between two elements that should read as one. Leave a channel between a leaf and its neighbour and the eye sees a trench rather than one form passing under another, so I work that whole section until it reads as one piece sliding beneath the flower.
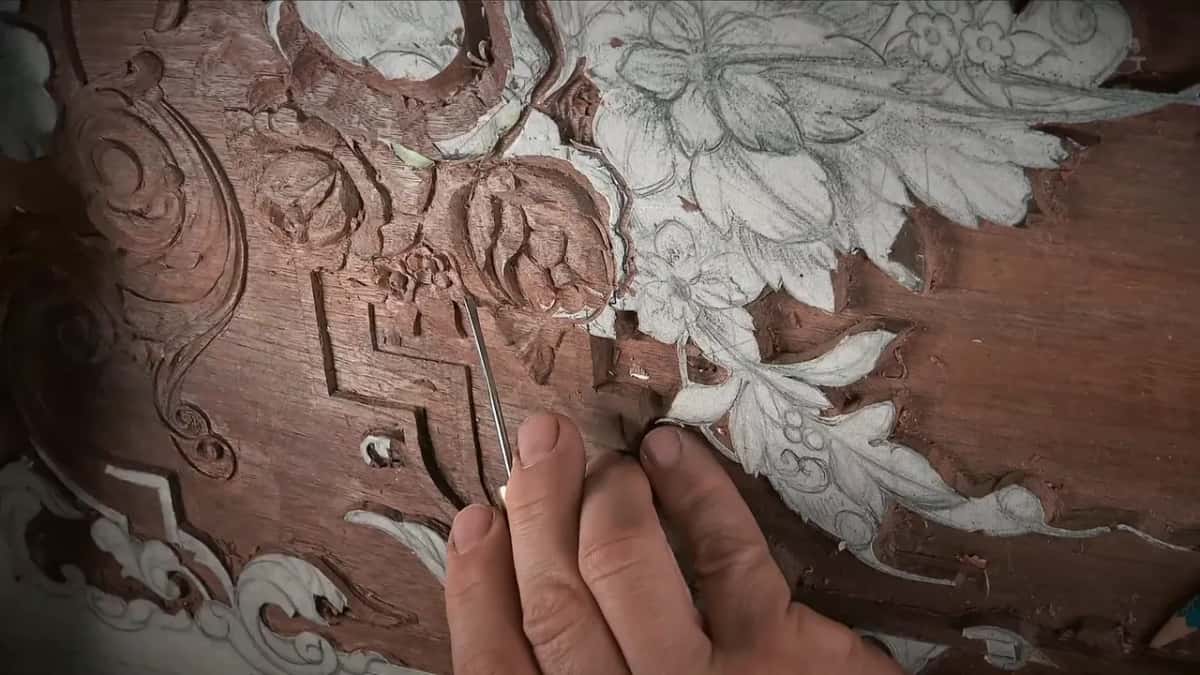

Little by little. Cut by cut. The gouge goes upside down again at a slant, comes in from one side, then flips and comes in from the other, and I never force it, because forcing catches the edge of the flower and breaks it.
Separating two leaves that touch
Drop one of them. A straight cut goes down between the pair, then the smaller leaf gets lowered on its own side, and the larger one keeps its height, which is enough to read as an overlap even at this scale.
Not much, though. The board itself will not let me take one leaf far below another, and the same goes for the flower petal that slides under the big leaf beside it. A fraction of a millimetre is all there is to give.
Leave the edge rough at first. I come back to it later with the gouge held over, roll the edge under, and only then does the join look finished. Working that edge twice is faster than trying to get it right in one pass and breaking it.
Is the flower finished?
Not by a long way, and I am not happy with it. Too much ridge left standing on that bloom, which is easy enough to fix and does not take long, but it is sitting there in the video for anybody to see.

The good surprise came from the concaves. Running them outward from the centre produced curliness along the petal edges that I never deliberately cut. A natural sort of curl, arriving on its own. That only happens when you work the way the material wants to be worked.
What happens to this panel at the end?
Stain, then antiquing. Once the carving is done the whole board gets coloured and then antiqued, and that process settles darker pigment into every hollow and undercut on the panel.

All those shadows pop. Every half millimetre undercut I have argued for across these lessons pays out at that moment, and a panel that looked subtle in raw walnut turns into something you can read from the other side of a room. It is going to be gorgeous.
This corner rests on everything before it. The ground was levelled across lesson 17 and lesson 18. The shadow method arrived in lesson 19 and the corner flowers were cut in lesson 20. Acanthus anatomy came in lesson 21, the furniture edge rule in lesson 22, and filler flowers were named in lesson 23. The drawing behind all of it is Part 1, the tools have a course of their own, and the same flowers are built from nothing in the floral and molding course.
Look at real Rococo carving in a museum and count the petals on one flower. They will not match. The men who cut them were not being careless, and three hundred years later their flowers still look alive while a machine-cut copy from last year already looks dead.
If you want somebody beside you while you learn where to stop being neat, that is what the school is for.
How it's done
- Outline the shape before you shape it. Run a veiner round the flower first, then work beside that line with a second tool. Dropping a gouge vertically to mark that outline is faster and spreads the fibres both ways, which no small element enjoys.
- Raise the centre rather than hollowing it. Cut the ground away around the middle and leave it standing, then shape what survives into a dome. Work carefully along the grain toward that centre, because pushing hard there snaps the whole thing out.
- Put the eye off centre. Take one small hollow out of the dome to one side with a millimetre gouge. Dead centre gives you a button. Slightly off gives you a flower facing somewhere, which is what a viewer actually reads.
- Cut the petals unequal on purpose. Vary the width of one, the depth of another, the angle of a third. Petals that match look stamped, and the eye catches that repetition at once in something that ought to have grown.
- Undercut with a mallet where the grain runs across. Set the narrowest veiner at the edge, roll it to roughly forty five, and tap instead of pushing. Tapping gives a cleaner cut on this scale, and pushing across the grain is how fine elements break.
- Check the work under one light. Switch one lamp off and look again. Even lighting from two sides hides the shadows you spent the session cutting, and on dark wood those shadows are the only thing making the flower visible at all.
Frequently asked questions
Do carved petals really look better uneven?
Petals cut to match each other read as manufactured. Vary width, depth and angle instead and the bloom looks grown rather than pressed, which is the difference between ornament somebody carved and ornament somebody stamped.
Is a stab cut bad for the wood?
Driving a blade straight down spreads fibres in both directions at once. That is a great deal of stress for a small element to absorb, and it shows up later as a ragged edge. Outlining first puts no pressure into the piece you want to keep.
How big are the small flowers on a carved panel?
Around ten millimetres across on this board, roughly three eighths of an inch from point to point. Everything on one of them is a careful cut, and a slip takes the whole bloom.
What to carve next