

Alexander Grabovetskiy, woodcarver, School of Woodcarving · Published 2019
How do you carve around a knot in wood?
Quick answer: Carving beside a knot is mostly about what you do not do. Wood swings out around one and splits far more easily, so the router plane comes off the job there and a narrow gouge takes over, working from the quiet side. Slow beats clever every time in that square inch.
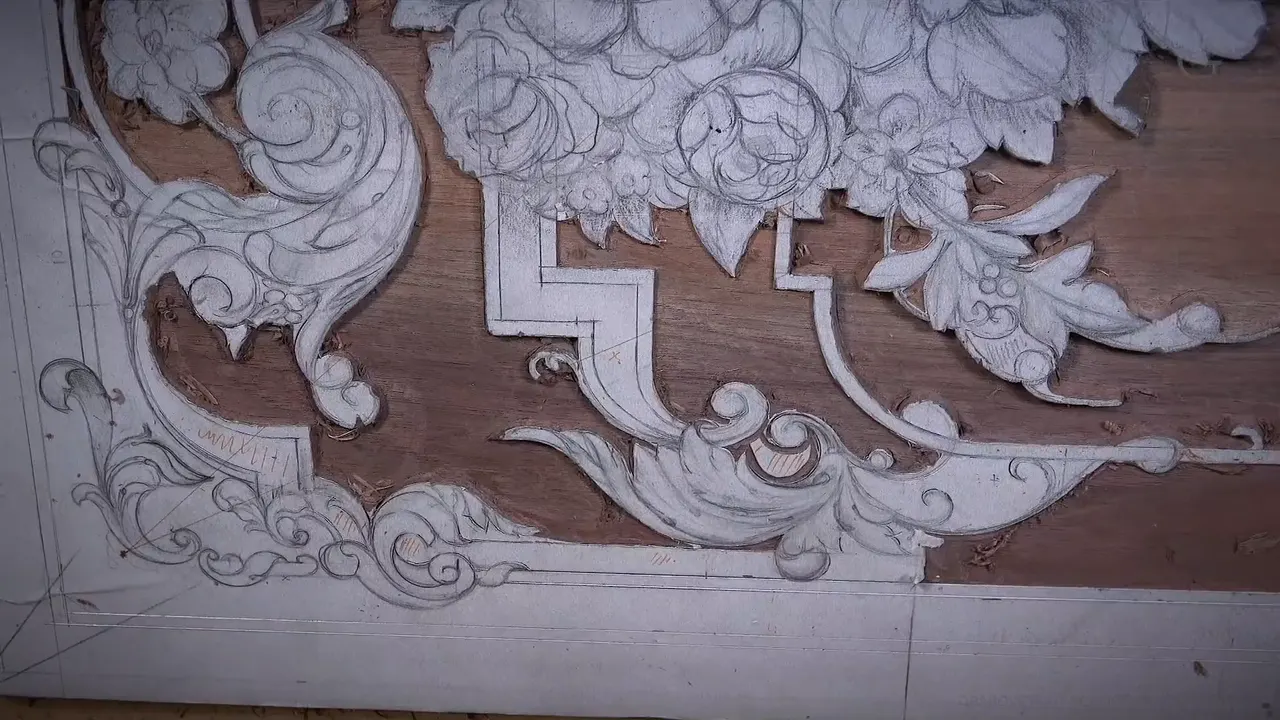
Near a knot the job is mostly deciding what not to do. The wood there runs every which way and splits far more easily than anywhere else on the board, so the router plane came off this corner entirely and a narrow gouge finished it from the quiet side. Slow beats clever in that one square inch.
You will meet one eventually. A board looks clean, the ground comes down beautifully, and then the plane starts wandering under your hands and a shaving tears instead of lifting. The knot is talking to you. I hit one on this side of the panel and it changed how I worked that whole corner.
What this corner taught me about the ground
- Grain beside a knot runs in directions it has no business running in.
- A sharp edge lets you break the grain rule on purpose. A dull one does not.
- One pass that goes too deep means lowering the entire background to match.
- Work from outside toward the design, never the other way.
- Leave elements thicker than the finished size, so tool marks land on waste.
- Multiple ground levels inside one panel are worth the trouble.
What does a knot do to the wood around it?
The fibers swing out around it, sometimes sharply, and that makes splitting far more likely. A knot is where a branch once left the trunk, so the wood has to flow around the branch rather than run straight, and your tool meets three directions in the space of a thumbnail.

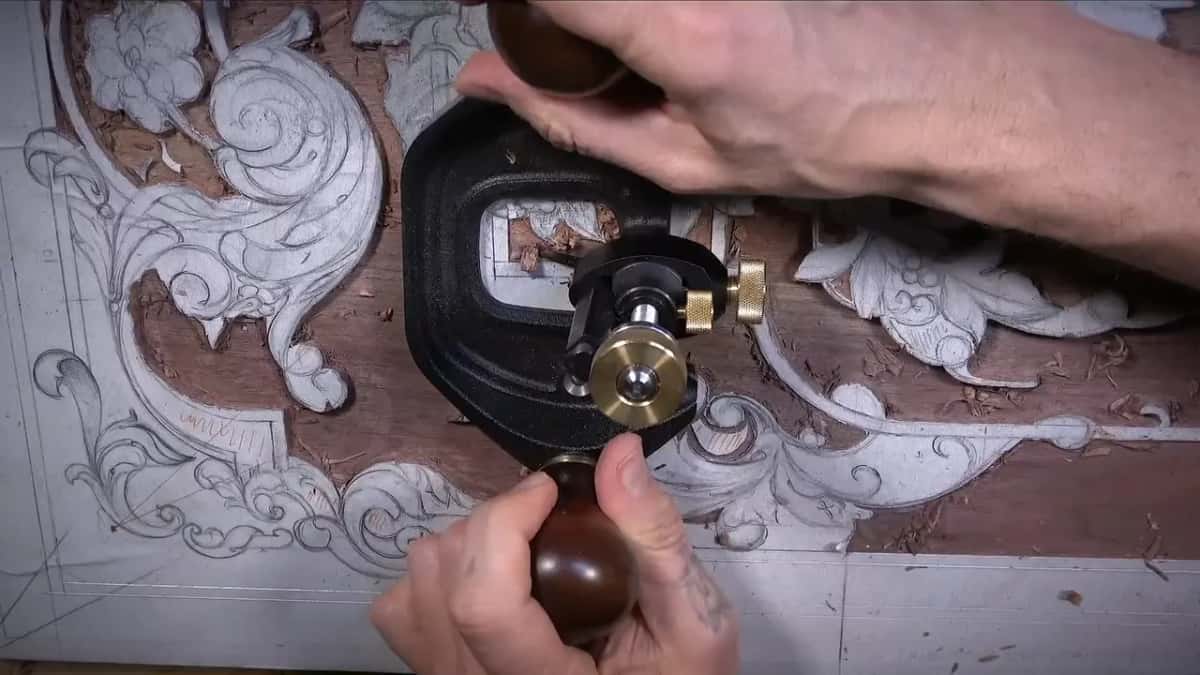
My first move was to keep the router plane away and take material off with a small number 23, coming in from behind. Then I tried the plane again with a narrower blade, a thirty second of an inch, and it was better but still catching. The tool wiggled where the knot sat, and that wiggle is the warning.


At that point I stopped. No more risk with the plane in that spot. The rest came off across the grain with a gouge, and only once the area was close did the plane come back for a careful shave. It worked, and nothing tore, and that is what I was after.

When can you carve against the grain on purpose?
When the edge is genuinely sharp. I broke that rule twice on this side and said so out loud, because rules in this craft are guidance rather than law, and a properly sharp tool will take a clean shaving in a direction a dull one would tear. Sharpening is what buys you the freedom.

Working sideways to the grain remains the safest route and still what I do across the open ground. The point is that safest is not the same as only. Once you understand why the rule exists, you can judge when the risk is worth taking, and a well honed number 7 in walnut is a very low risk.

Walnut helps enormously here. It is a forgiving wood, hard to make a real mistake in, and I said as much on camera. I love this material. A softer board punishes exactly the liberties this one tolerates, which is worth remembering before you copy anything I do here onto basswood.

What does one careless pass cost?
Every other pass on the panel. Bury a tool too far anywhere on the ground and the background is no longer consistent, and the only honest repair is to lower the whole thing to match the deepest point you made by accident.
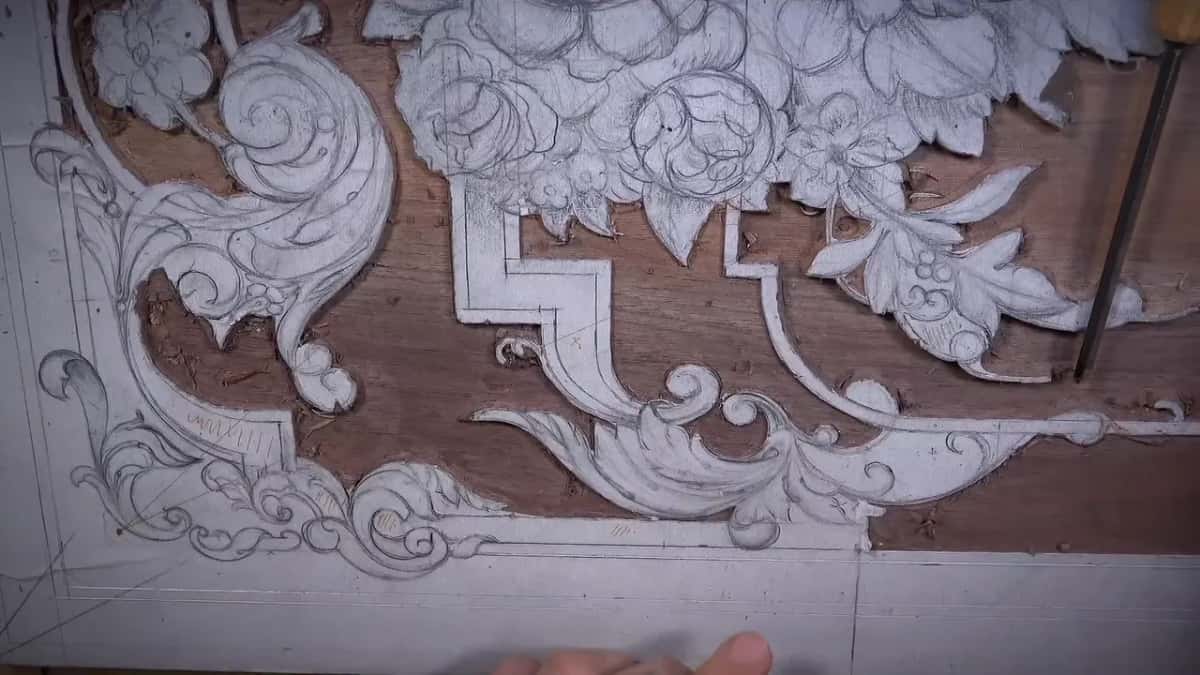
On a single panel you can live with that. Annoying, not fatal. On a set of panels for a piece of furniture, where every one has to match its neighbors, it is a different matter entirely, since now the fix spreads to boards you already finished. Which is the real reason I keep saying take your time. The cost of a slip is not local.
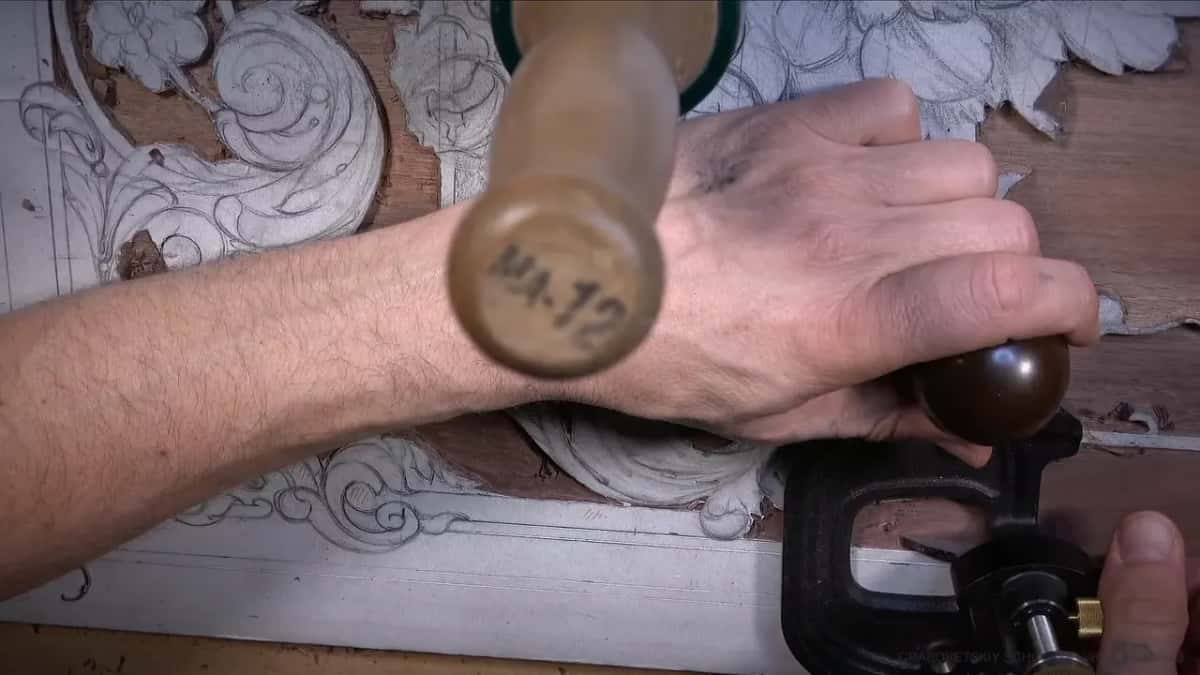
I was a little aggressive in places here and admitted it on camera. Take smaller bites if that suits you. You lose an hour, and nothing else at all.
| Situation | What I reach for | Why | What I refuse to do |
|---|---|---|---|
| Open ground with clean grain running through it | Number 7, then the router plane | Fast, and the plane guarantees one level across the whole area | Force a wide blade |
| Wherever a knot has turned the grain around on itself | Number 23 and the small gouges | Controllable where the grain misbehaves | Let the plane wander through that spot on its own |
| A sharp corner | Number 1, 8 mm and 16 mm | A flat edge is the only thing that leaves a genuinely clean line | Round it with a curved sweep |
| A deep pocket | Number 11, down to half a millimeter | Nothing else enters | Widen a pocket to suit whatever tool is in my hand |
Which tool do you actually reach for most?
The number 11 veiner, 3 millimeters wide. It outlines, it excavates, it cleans a pass, and it has been in my hand more than anything else across this whole panel. When people ask which single tool to buy first for ornament like this, that is my answer, and it costs less than most of the specialty tools I have shown you.
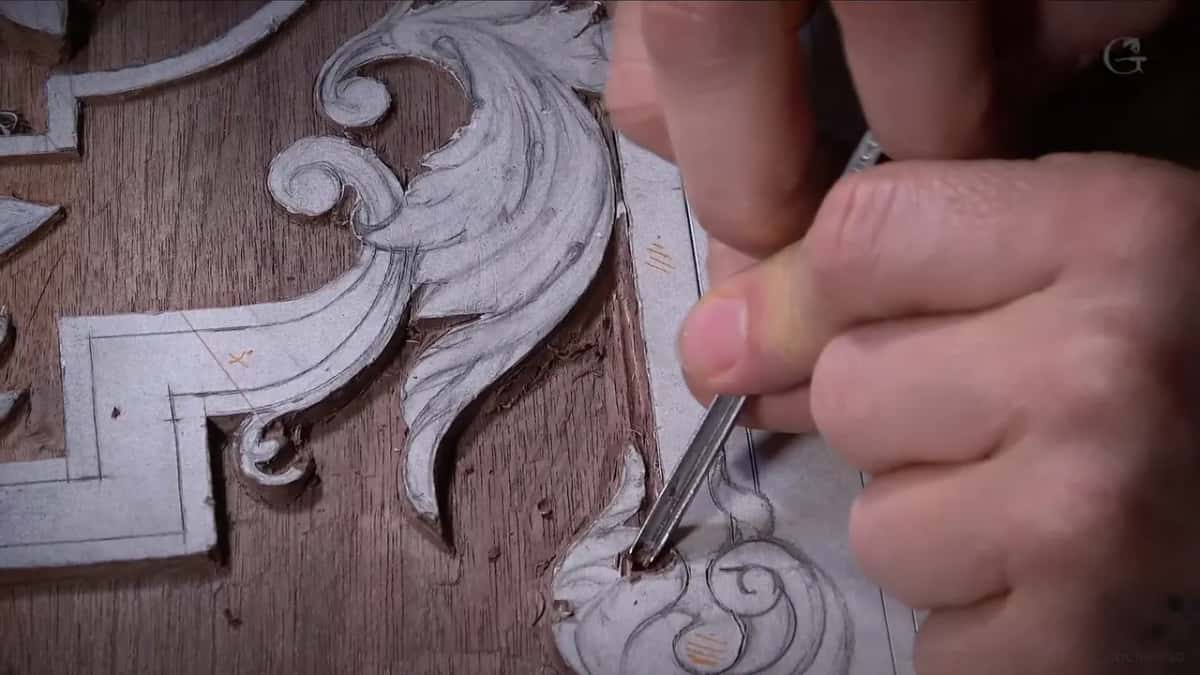
Half the time I use it simply because it is already in my hand. That is not laziness, it is how real bench work goes. Swapping tools costs seconds and breaks concentration, and a tool that will do the job acceptably right now beats the perfect tool sitting two feet away on the rack.

Why does the number 23 keep coming out?
The wall it leaves. That tool has a flat bottom and a face standing square on either side, so it shaves rubbish off the foot of a wall without rounding the wall itself. Furniture makers call the family macaroni and fluteroni, and almost nobody outside furniture owns one.

Beside it lives the number 1, which is effectively a flat chisel in carving numbering. An 8 millimeter one goes into a corner I want crisp, and a 5 eighths, 16 millimeters, catches a longer straight line in a single tap. Sharp corners are what separate furniture carving from most other relief work, and they come from flat tools rather than from patience.

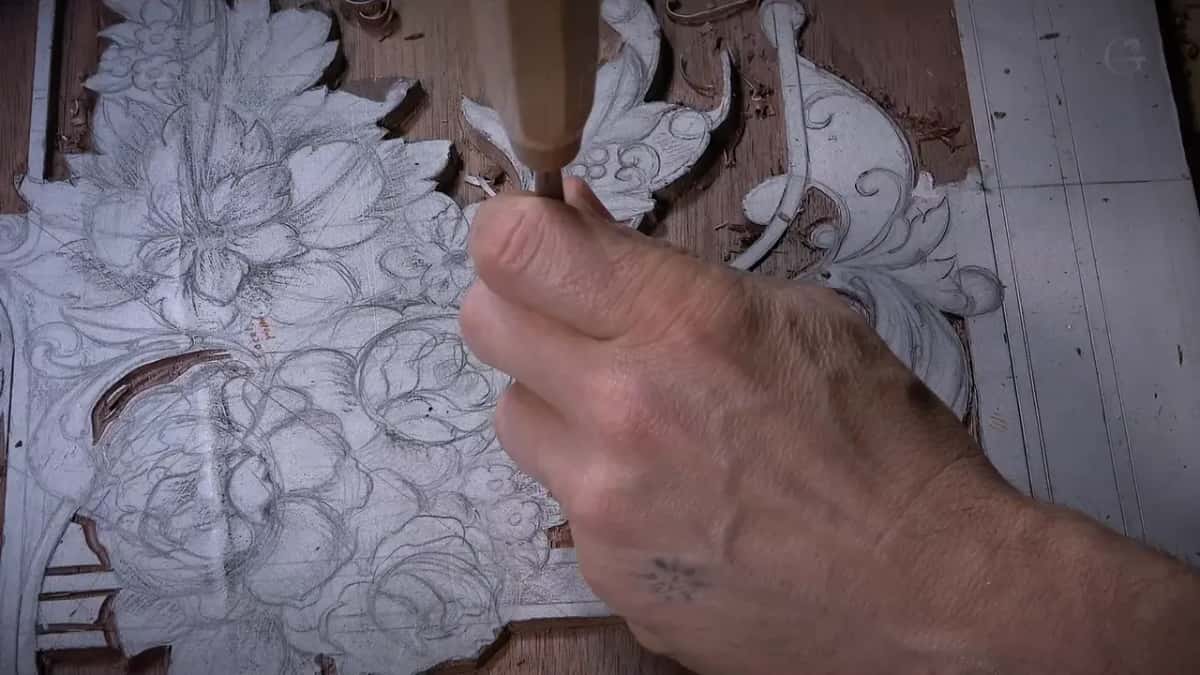
Where two lines converge they leave a triangle, and a triangle has to be attacked from the inside out. Come at it from the wrong side and the point breaks off, and a broken point is visible from across the room forever.
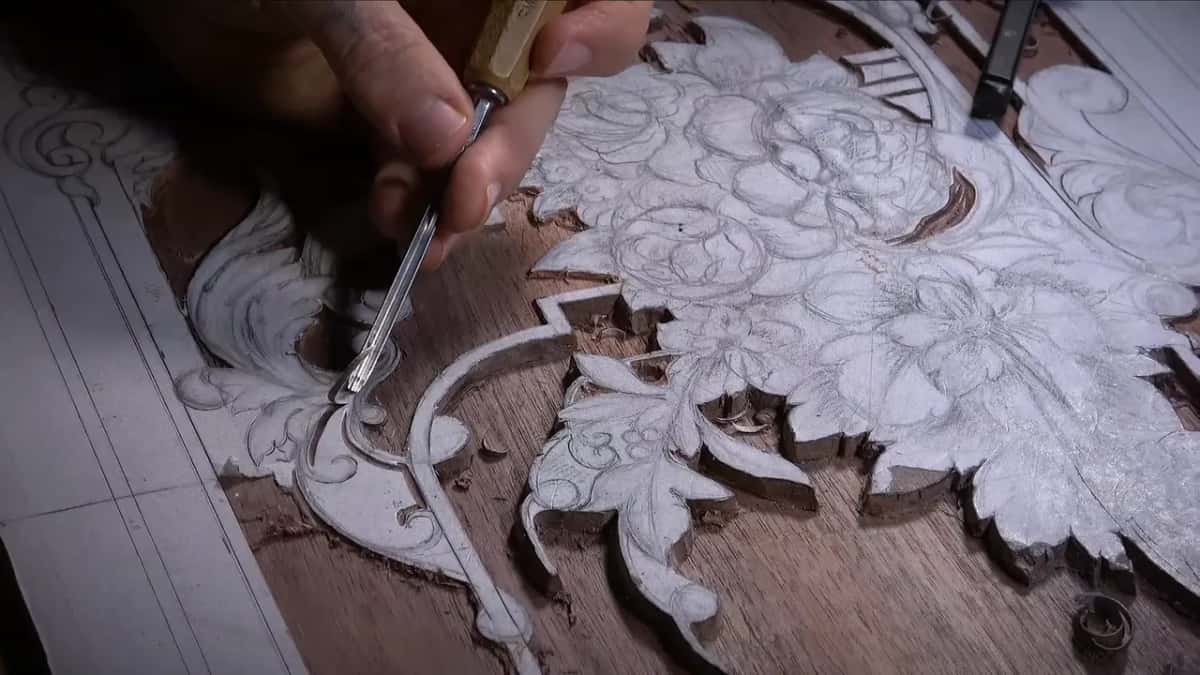
A word about what you cannot see on camera. My hand covers the work sometimes, and it is never on purpose, and I apologize for it in the middle of the session, as I do. Filming a carving with the tool, the hand and the lens all wanting the same six inches of space is a problem nobody has solved.
How do you knock waste out cleanly?
Pick the sweep that matches the curve, set it on the line, and give it one tap. The waste between your straight down passes should fly out on its own and leave a wall behind it, and if it does not, your relieving passes were too far apart rather than too shallow.

Light taps only. Drive that matching gouge deep and you have printed its curve into the background, and background marks are the ones people notice under a raking light in a hallway. Some of them can be planed away later. Some cannot, and those are the ones that teach you.

Why carve a panel at several levels?
Ground carved to more than one depth inside a single panel. I am fond of the idea and I say so, even in low relief furniture work where the whole board is only 10 millimeters thick. Detail sitting inside detail, each at its own level, and in my opinion it looks awesome. You do not have to agree with me.
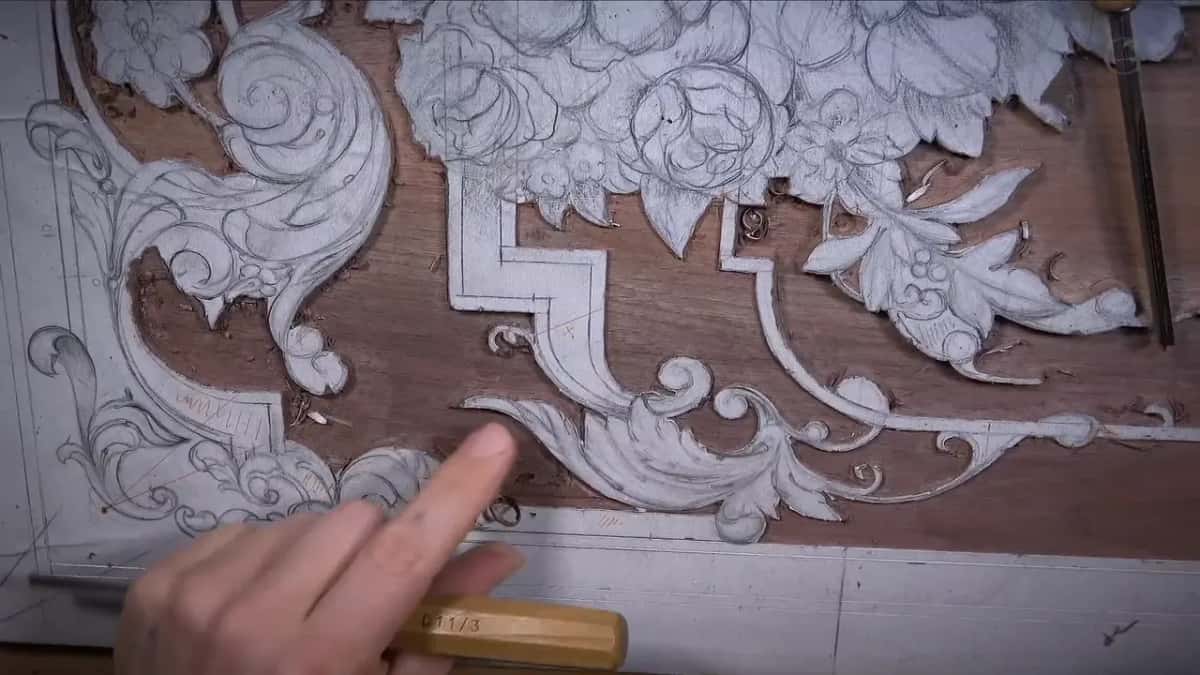
One small pocket on this side goes deep while everything around it stays where it was, and getting into it meant the 3 millimeter veiner, then a 1 millimeter, then half a millimeter for the last pass. The deeper a pocket goes the narrower its floor gets, which is a geometry problem the tool catalogue solves for you if you own enough sizes.

Coming at that pocket from the far side with a number 9 in 10 millimeters moved material much faster than picking at it from one direction. Whenever an area fights you, walk around it.
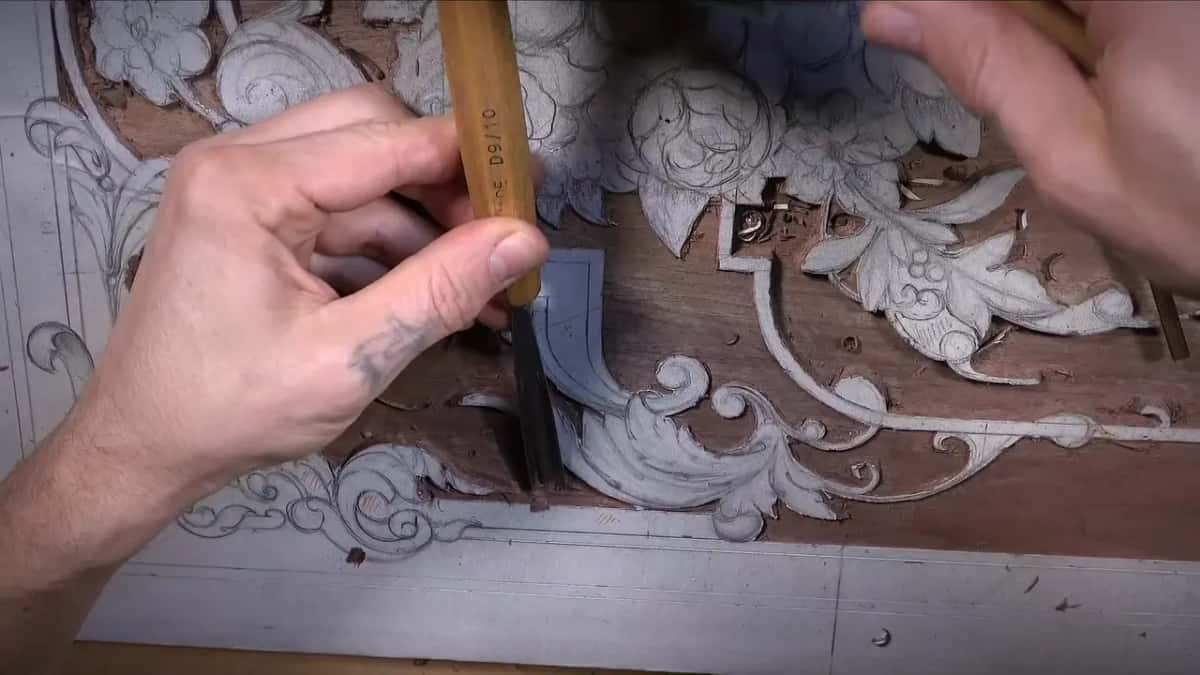
Why work from the outside in?
Edges break. Travelling in over the design, a tool carries its force into waste and stops before the line. Going the other way, that force lands on the edge you are trying to keep. Come in from the waste side, and stop short, always.

I did not follow my own advice perfectly here, and the reason was the cameras. Logically that section should have been attacked from the opposite side, which meant rotating the whole board, and rotating the board would have put my hands between the lens and the work. So I took the slightly worse angle knowingly. Nothing broke.
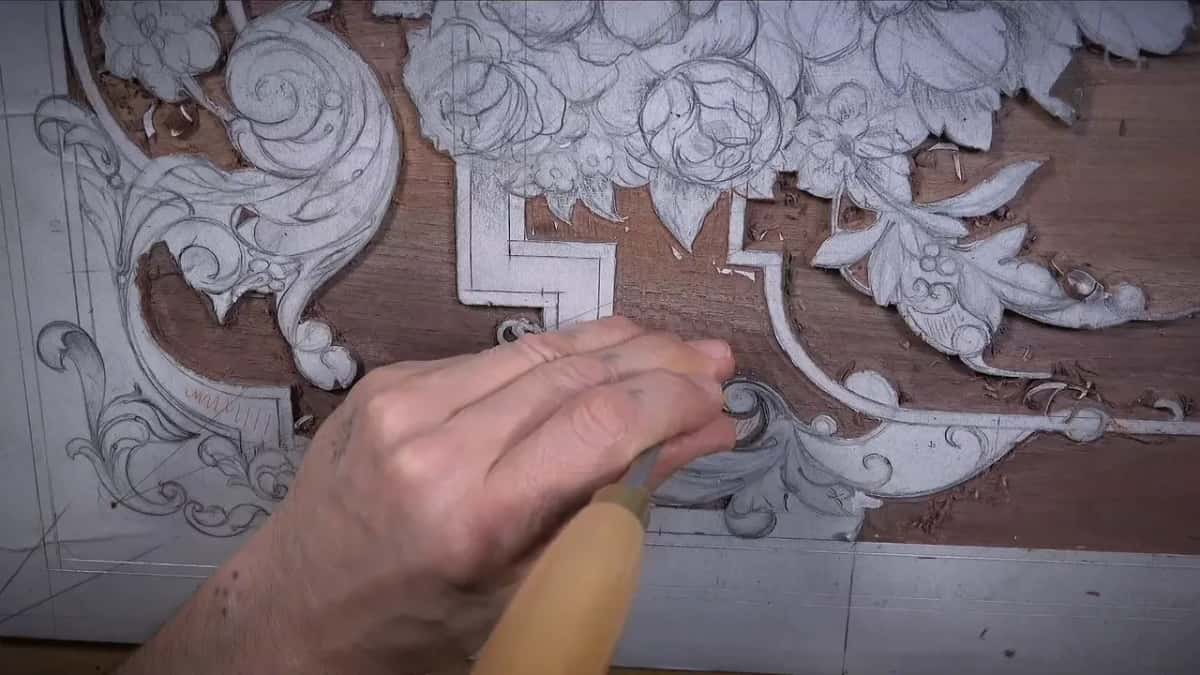
The router plane still does the finishing in these pockets wherever it physically fits, and it fits in surprisingly small ones. Even a tiny section took it, referenced one way and then the other, and the result was a floor at exactly the level of its neighbor. What it cannot enter, a plane of any kind never will, and that is where the small gouges earn their keep.
How much do you leave for later?
More than feels right. Every element on this panel is currently thicker than its finished size, deliberately, and the design slims down considerably once I come back to shape it.
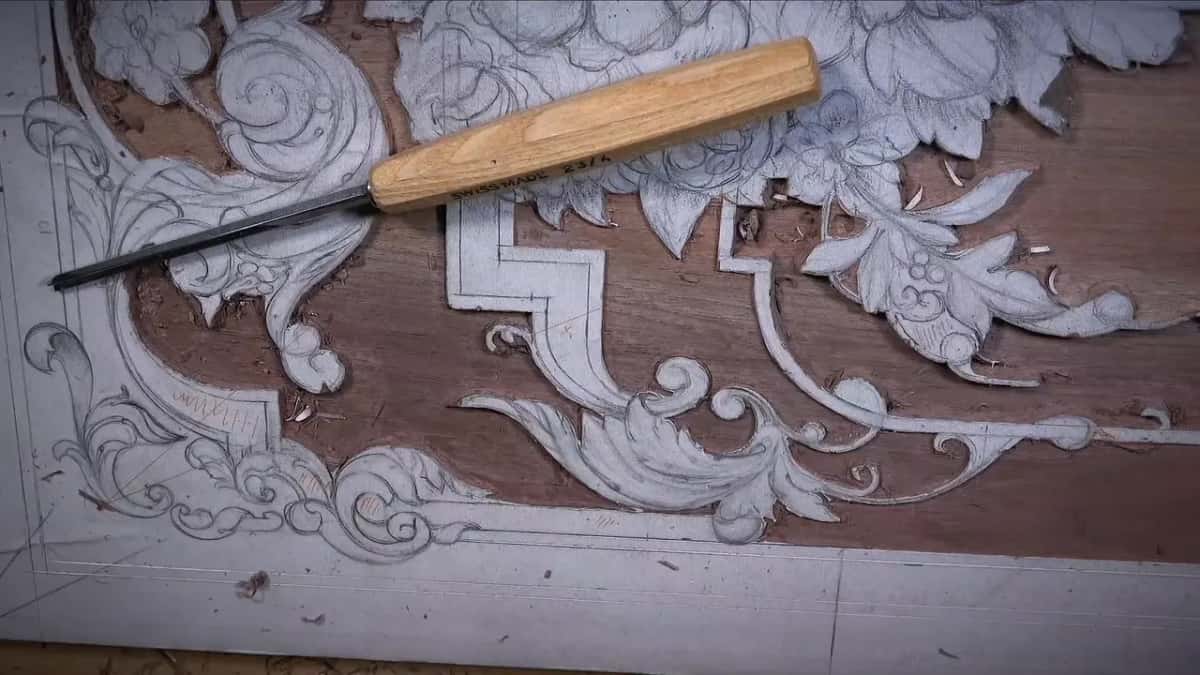
That extra thickness does a second job nobody mentions. A heavy tap against an element now may leave a mark at the foot of the wall, and that mark disappears when the element gets narrower, because the wall moves inward past it. Do the same to a finished element and the mark is permanent. So I keep the taps light and let the waste absorb my mistakes.

Depth gets checked constantly rather than at the end. I raise the blade, take a pass, look, and lower it a fraction, which is almost a micro adjustment by the last few passes. Checking costs seconds. Not checking costs the whole background.
Detail work is a later project anyway. The aim of a session like this is a background at the right level, boundaries I can trust, and no damage, and the flowers can wait for a day when the whole panel is flat enough to think on.
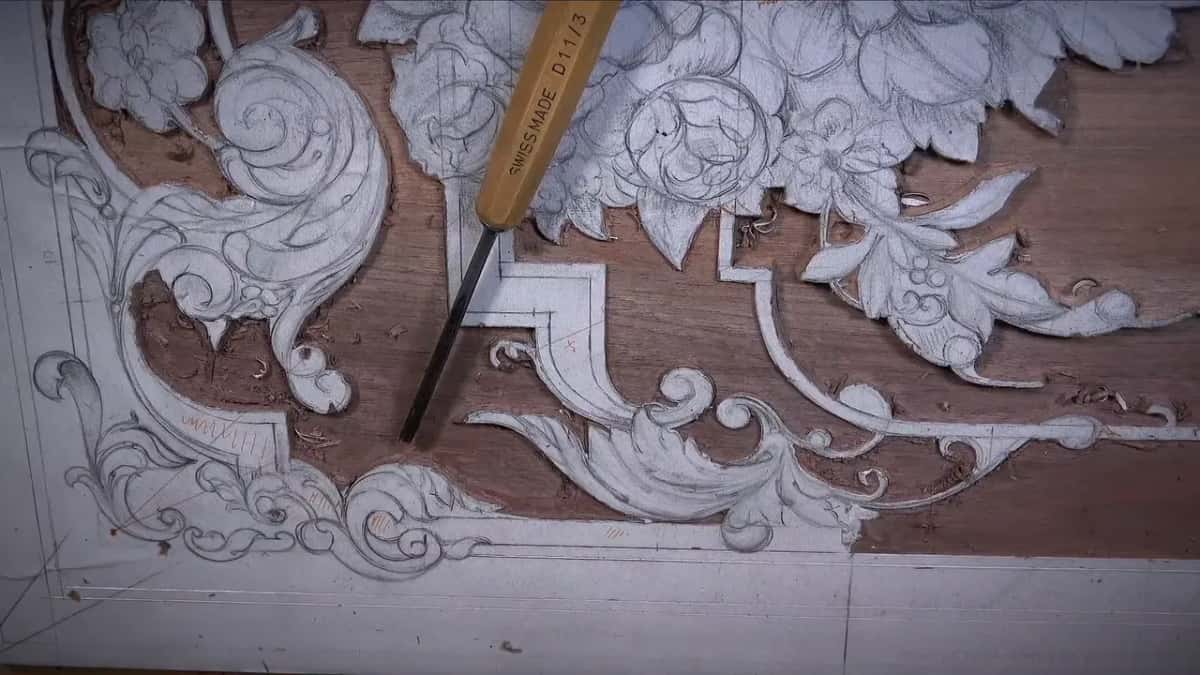
One offcut went into the box rather than the bin during this session, purely on the chance I might want it. Carvers do that. Ask any of us what is under the bench and you will hear a list of pieces kept for reasons nobody can defend, and now and then one of them turns out to be exactly the right patch for something later.
The aim at the end of a session like this is a simple thing. No damage. The background at the level I chose, the boundaries intact, and the walnut showing that deep reddish color where the paper has cleared. Getting through a session without hurting the panel counts as a good day.

My bench is a disgrace by the end of this one. Too many tools accumulated on it, which is not good, and I noticed on camera without doing anything about it. I also lost about five minutes of filming at the start of the session and told you rather than pretending the footage was complete.
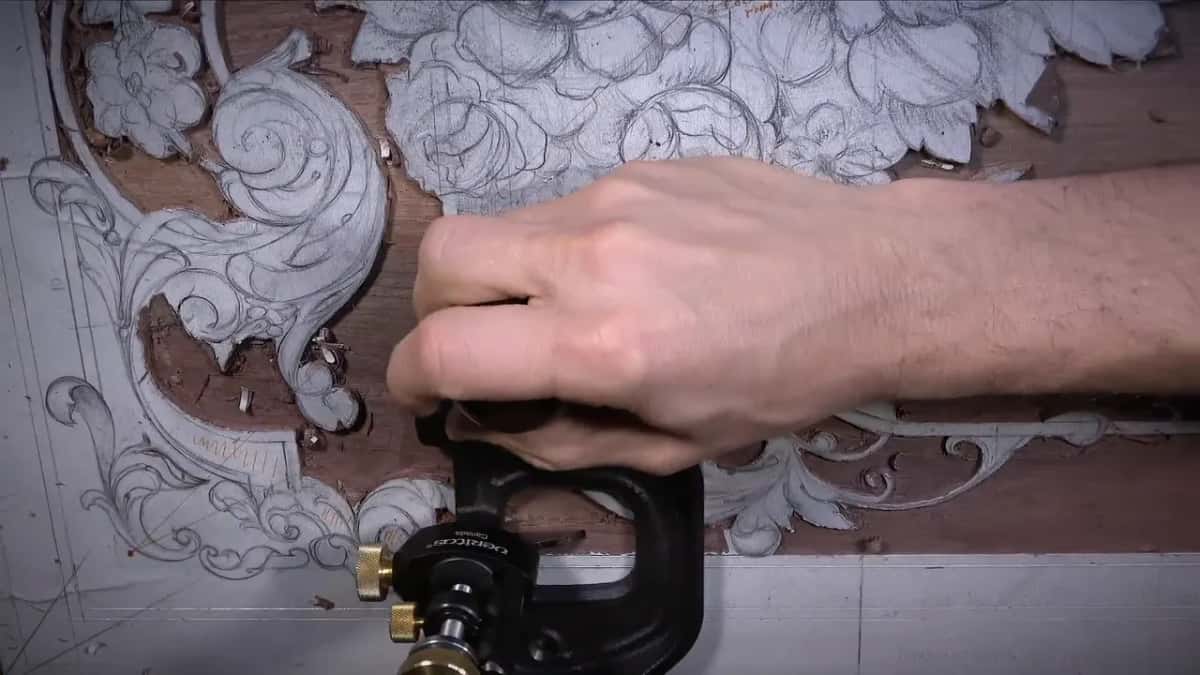

This side is level now, boundaries and all, and the sessions before it are worth seeing in order. Three depths went in during lesson 17, the island that made the deep middle possible was lesson 16, and the very first knife line was lesson 15. The whole carving stage sits in this course, and the drawing that came before it finished in lesson 14 of the design course. For the tools themselves there is a course on those, while the floral and molding course and the 1903 acanthus course take the same techniques onto different panels, and the ornament still waiting on this board is built from scratch in Acanthus over Moldings.
If you want someone beside you the first time a knot turns up in the wrong place, that is what the school is for.
How it's done
- Find the knot before the tool does. Look along the board in raking light once the ground starts clearing. A knot shows as a darker swirl, with the wood curving out and back rather than running straight.
- Take the plane off that spot. Work the area with a small grounding tool or a gouge from the opposite side instead. A plane that wanders under your hands there is about to tear a shaving out of your background.
- Come back with a narrow blade only when it is close. Once a gouge has brought the area near its final level, a narrow iron can take one careful shave. Stop at the first sign of catching rather than pushing through it.
- Work from outside toward the design. Drive the tool in from the waste side and stop short of the line. Going the other way carries its force into the edge you are trying to keep, and edges break.
- Knock the waste out with a matching sweep. Find the gouge whose curve fits the line, set it on the boundary and give it one light tap. Waste between your vertical passes lifts away and leaves a clean wall behind it.
- Leave every element thicker than its finished size. The design gets slimmer later, so any mark your tool leaves at the base of a wall now disappears when the wall moves inward. Tap hard against a finished element and the mark is permanent.
Frequently asked questions
Why is a knot dangerous for a carver?
Fibers swing wide around it instead of running straight, so a tool meets several grain directions inside a small area. Splitting becomes far more likely, and a split that runs into ornament takes the ornament with it.
Can you carve against the grain?
With a genuinely sharp edge, yes, and I do it deliberately. A honed tool slices where a dull one would tear. Sideways to the grain remains the safest route for most of the background all the same.
What happens if one pass goes too deep?
The only honest repair is lowering the whole background to match. Annoying on one panel and serious on a set, because every board in a piece of furniture has to finish at one depth with its neighbors.
What to carve next