
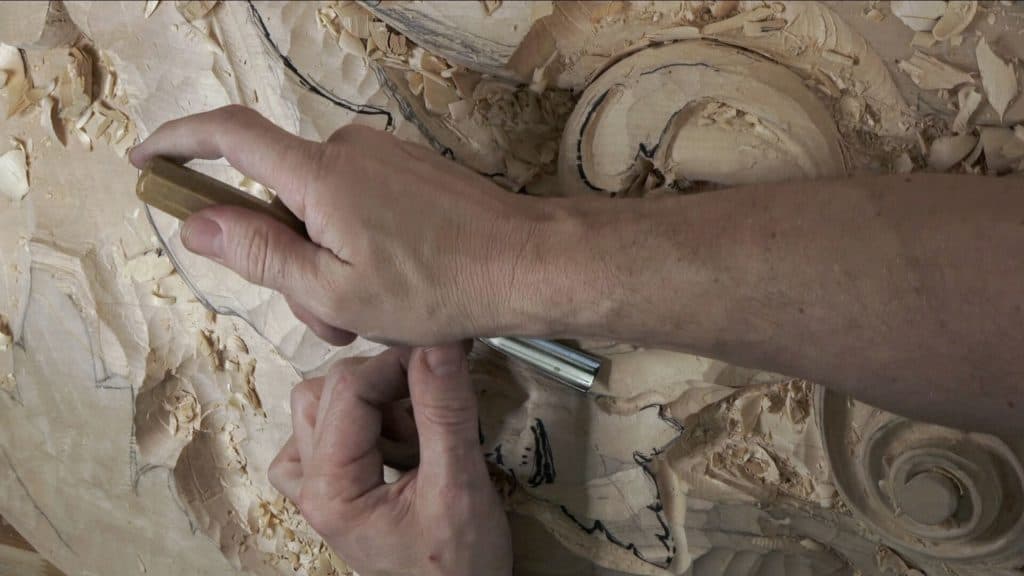
Alexander Grabovetskiy, woodcarver, School of Woodcarving · Published 2020
How do you transfer a carving pattern back onto wood you have already carved?
Quick answer: Transferring a carving pattern back onto carved wood is done with the drawing you kept on clear plastic, carbon paper, a ball pen and push pins. Where the wood is already sloped, the traced line lands a little off, and you move it over by eye before you carve to it.
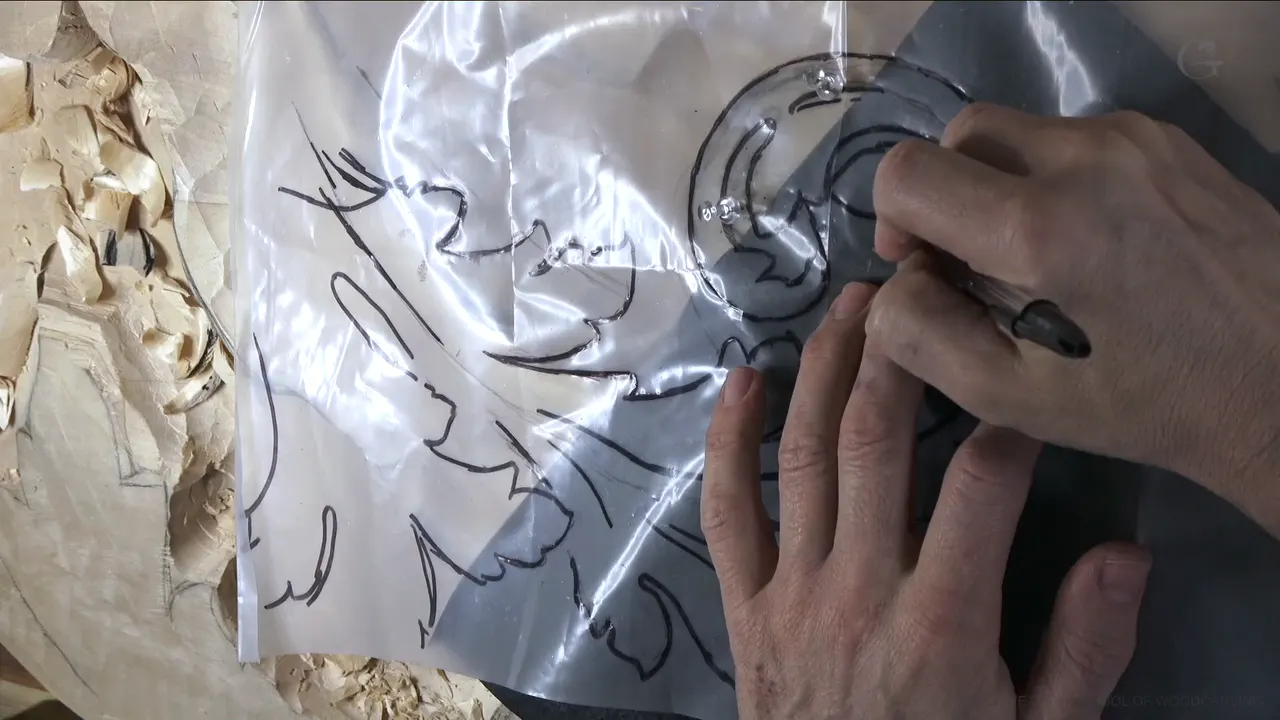
Putting a pattern back on wood you have already carved is a simple trick, and all it takes is carbon paper, a couple of push pins, a ball pen and the drawing you made on clear plastic. Most advice on how to transfer a pattern to wood is about day one, with a flat block and a fresh drawing. I needed my carbon paper for wood carving in the middle of the job.
In workshop 39 I started a new acanthus head on this ceiling board, over a spot where a shell is still to come. The big gouges took the waste off fast, and the lines I needed went with it.
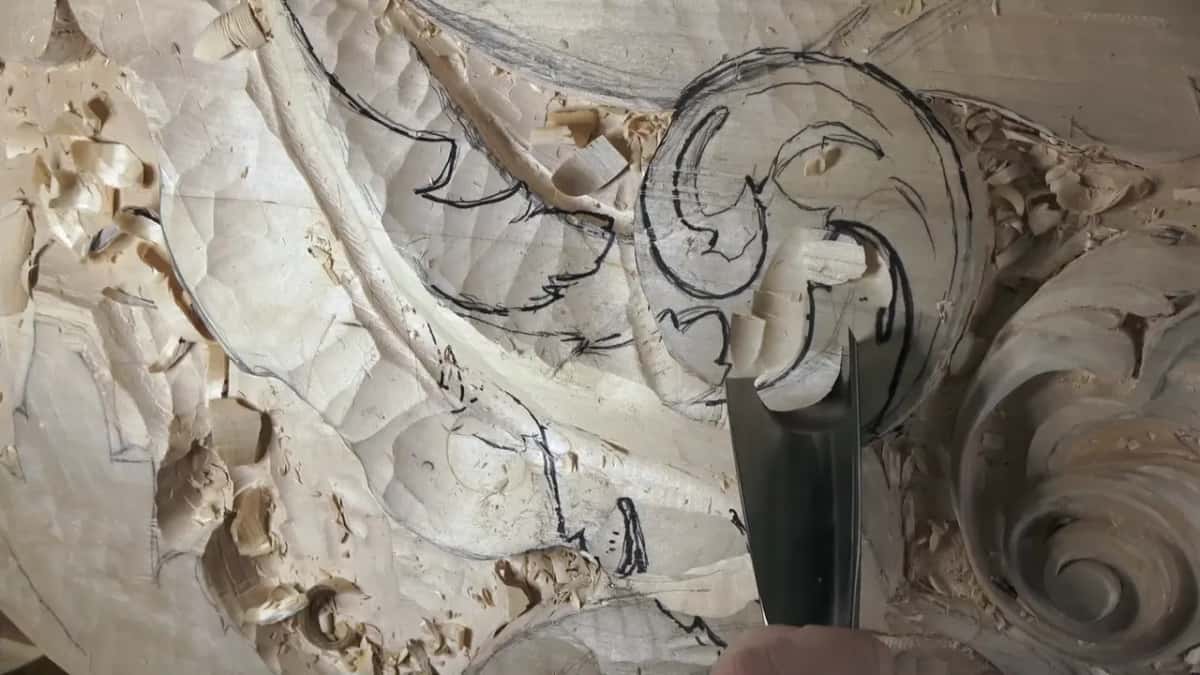
A pattern drawn on wood doesn't last long once the gouge starts. That's fine. I'll tell you how I put mine back halfway through without starting over, and why the traced line still landed a little off wherever I'd sloped the wood first.
What workshop 39 shows about putting a pattern back
Big gouges take the lines off fast, so save the outline you can't lose with a couple of extra passes.
A marker drawing on clear plastic goes back down, or flips over.
With carbon paper under the plastic, two push pins through it and a ball pen, my lines came back on wood that was already half carved.
Sloped wood throws the traced line a little off.
Move it by eye, then outline it right away with a small number 11.
What happens to a carving pattern once the big gouges start?
It disappears, and it doesn't take long. This time I took the waste off the head with much bigger gouges on purpose, and a job of 20 minutes took me a couple of minutes.
I knew a detail was coming in one spot, and I still took the whole area downhill first, planning to develop it again after. Once I said oops and changed direction, because a movement that rises a little was about to go.
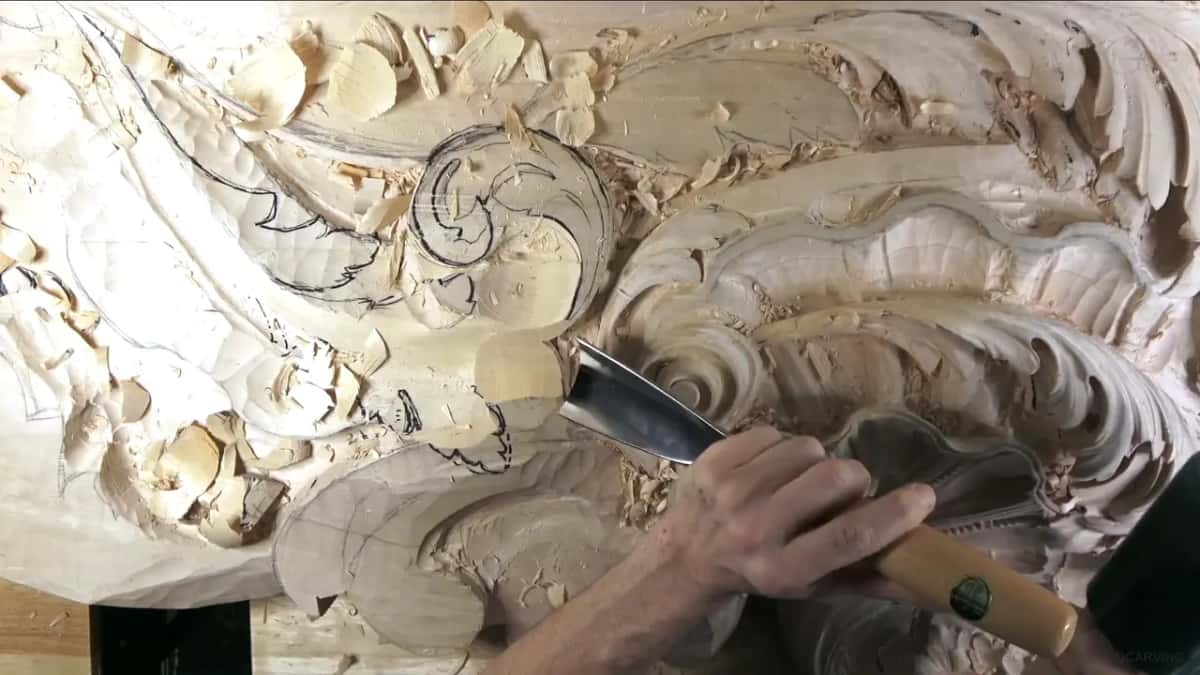
The drawing paid for that. Earlier in the same workshop I had to clean up an edge before I could even see it, and on the new head the boundary I wanted was gone.
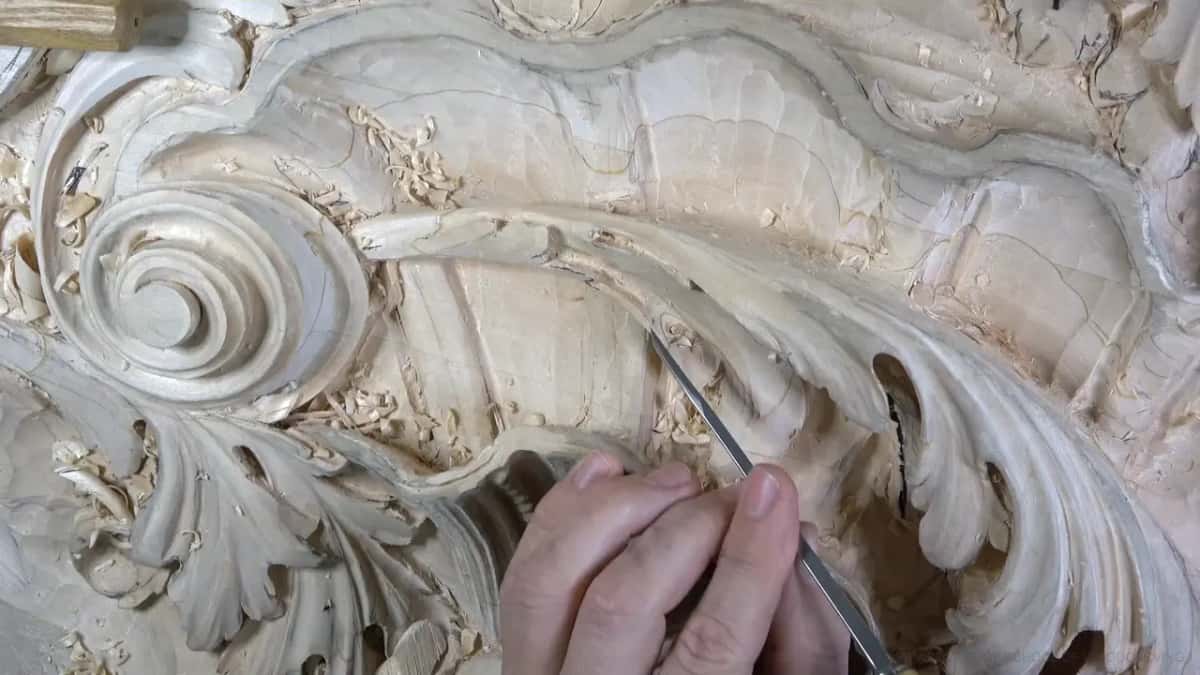
So before a line goes, I save the one I can't live without. Around this head I took a number 11 for its U shape, since I didn't know yet how I wanted that part to go and I wanted to keep the wood. With the U shape I can go much deeper without going too far. I thought about going even bigger, a 30 mm (1 3/16 in), just to outline around it without taking too much.
Around one part I went a little deeper, just for myself, so I wouldn't lose the outline. Losing it would have been okay. I could put it back with no problem, and saving it only takes a couple of passes.
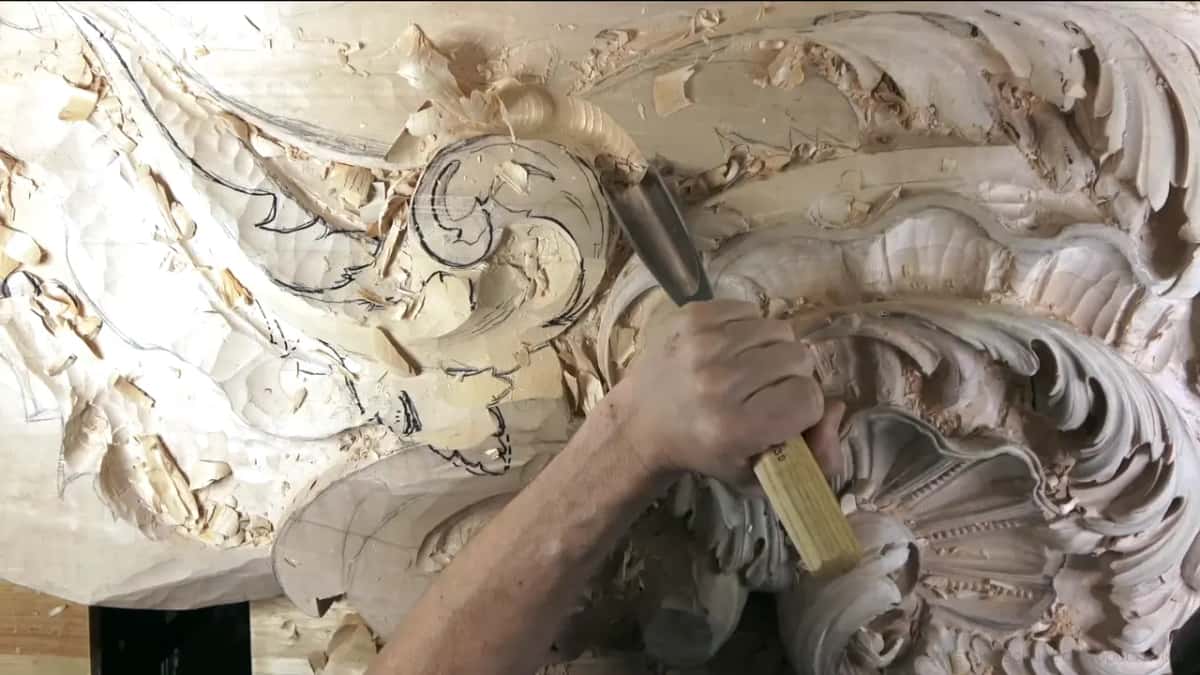
That outline is what makes the redraw easy. A little later I said I wasn't afraid of losing a detail, because I could always redraw it as long as the preliminary outline was still there.
Why keep the pattern on clear plastic?
One drawing on a sheet of clear plastic can be used again. When I was working out what this detail should be, I drew it with a marker on plastic, and I use that trick a lot.
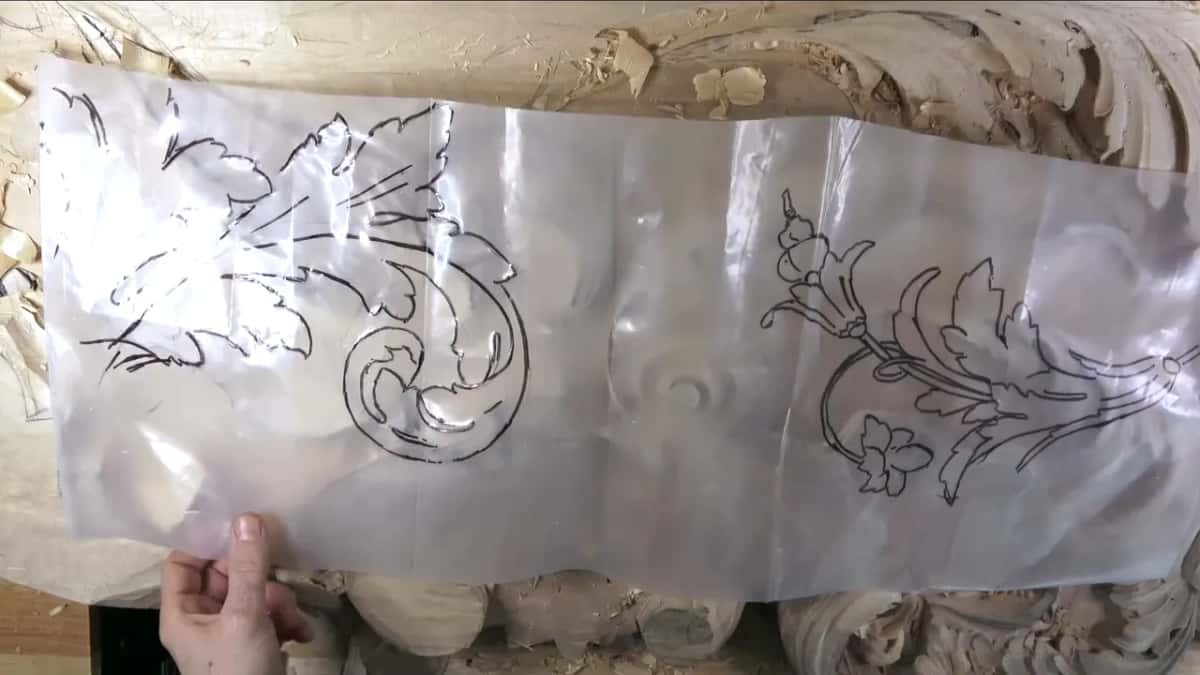
My reason is plain. If the same detail belongs in a different spot of the same design, I can flip the sheet over and use it there, as a mirror image of the first. The sheet has a spray of flowers on it too. Flowers are coming to this part of the board later, and they'll hide part of this leaf, though you'll still see it from the side.
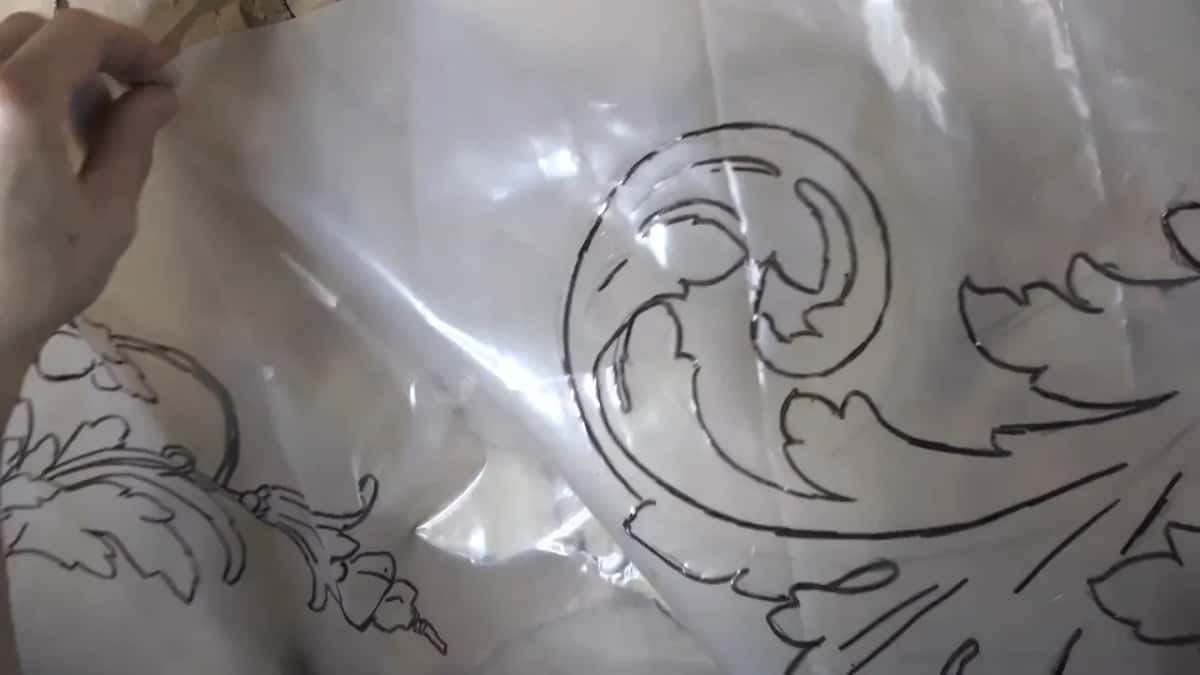
It's an easy, simple trick, and it helps a lot. During part three I held the plastic up, I could see pretty much what was going on, and I redrew the lines by hand, in marker, right on the carved surface. Partway through I swapped to a nicer marker. Back came the plan, a lower part that runs downhill and a point that goes all the way down, rises up and curls.

Even then I said carbon paper was an option. It wasn't needed yet. For a middle line marked straight onto the wood, see workshop 33, and if a drawing has to change size before any of this, that's a job for SketchUp for wood carving.
Does carbon paper for wood carving work on a half carved board?
It works, if you take the line for what it is, an idea of where everything is supposed to go.
Then, in the fourth part, I stopped to double check the head. The main ridge was fine, and anything wrong with it could be fixed with no problem, but a separation beside it was another thing, and I wasn't going to lose that one. Something still didn't look right to me, not at all.
That's when the carbon paper I hadn't needed before finally came out. You can buy it on Amazon. Besides the carbon you need a couple of push pins and a ball pen, plus the drawing you already have.
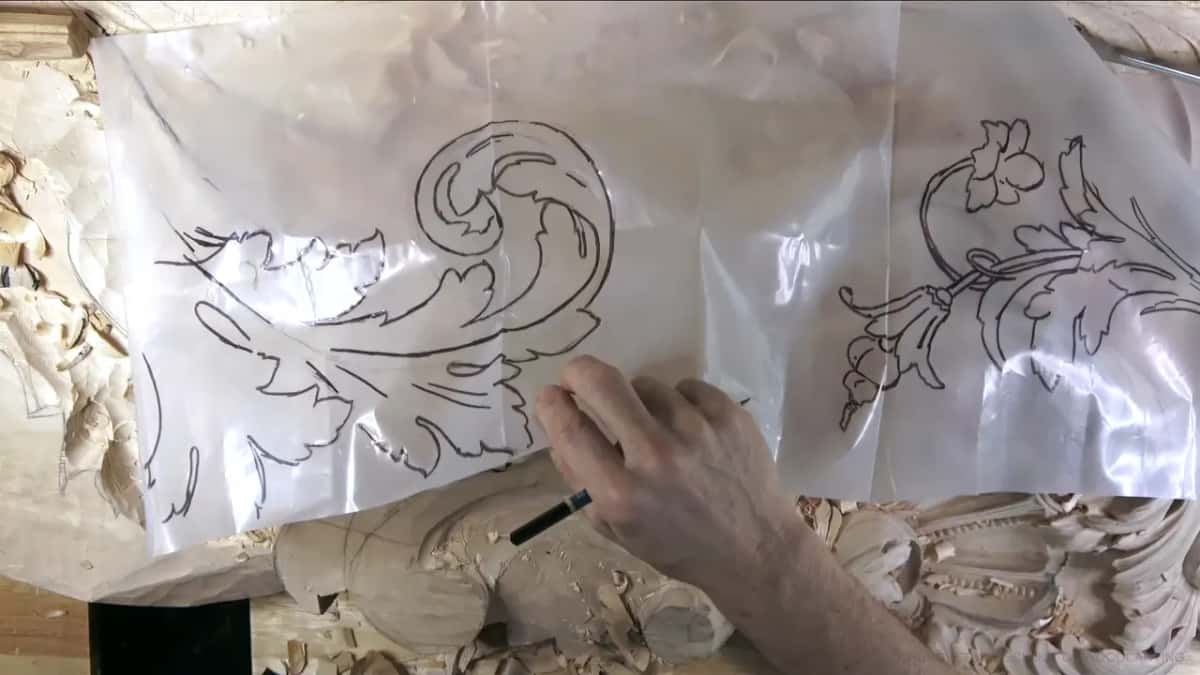
The carbon went in under my plastic drawing, and two clear pins went through near the top of the scroll.
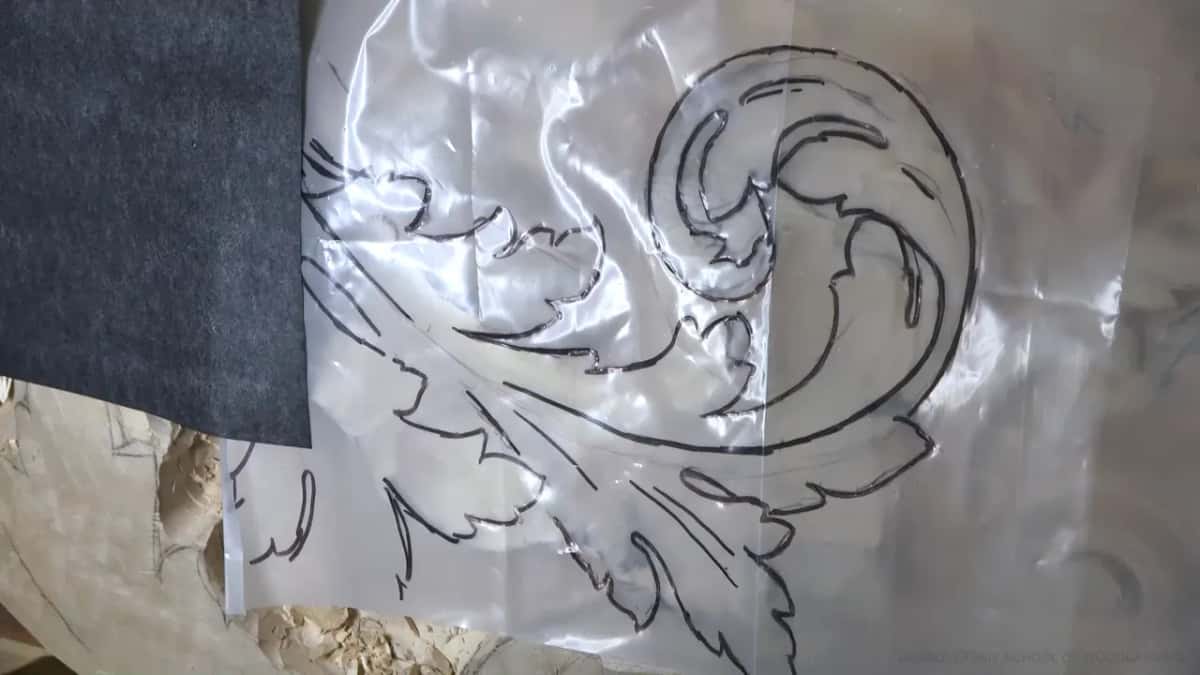
Then you push in and draw whatever you need, whatever movement you want back. I pressed along the lines with the pen, and what came through on the wood gave me back the idea I started with, the eye included. One of the methods, I called it.

Four things put lines back on this head in workshop 39.
| What I used | When it came out in workshop 39 | What it gave back to me |
|---|---|---|
| My pencil | Working out a movement, and later the center line of one part | A line I could judge by eye |
| Marker on clear plastic | When I first worked out the detail, then again whenever I lost it | The same drawing, or its mirror |
| Carbon paper under the drawing, with two push pins and a pen | When the head stopped looking right | An idea of where everything goes, eye included |
| A couple of extra passes | Before the outline could disappear under the roughing | An outline to redraw from |
Why does the traced line land in the wrong place?
In my case I had already sloped that part of the head. When the carbon line showed up, I could see clearly that I was way off, and then I looked again and it wasn't really way off at all.
I just had to move it over a little in one direction. Another spot needed the same, for the same reason, since that part was sloping too.
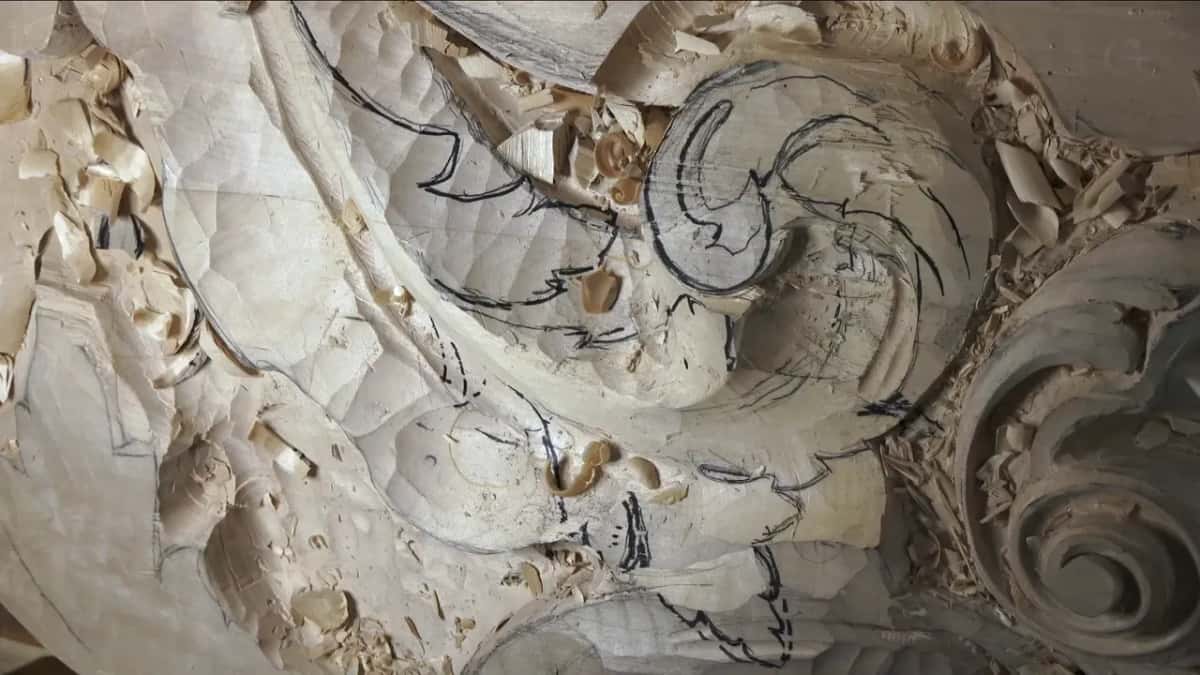
Once the lines were back I dug a little deeper inside to get a better movement in that section. I even put back a part on the other side that I'd only had on one side. I didn't have to. I thought it would give me something better.
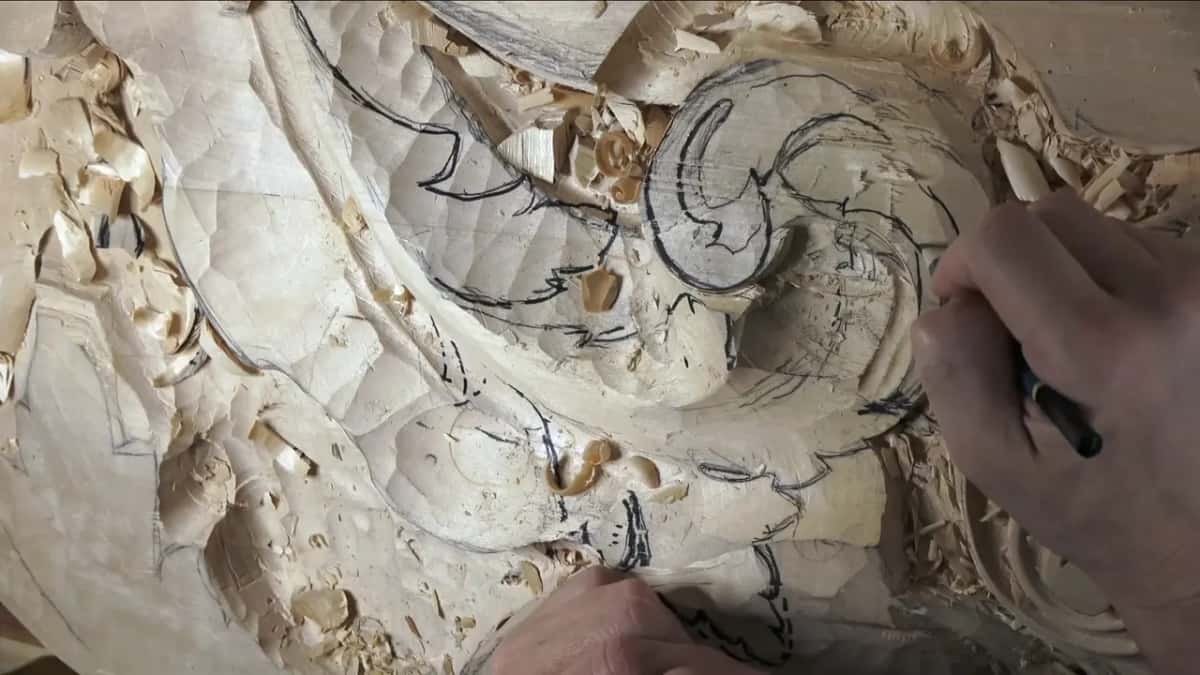
A line can also look wrong and be right. Once I said a movement didn't look too good, then took it back, because it wasn't developed yet. Earlier in the workshop a line I had planned didn't look right from above, design-wise, and it only looked wrong until you understood that the part would rise up. How the whole board reads from underneath is covered in workshop 29.
Whether you have to follow a carving pattern exactly at all is a question for the second workshop of this room. Here the traced line was a guide, and my eye did the rest. If you'd like to watch this head come back, carbon, pins and all, it's in the full workshop with access to the school.
What goes back on the wood first?
The eye. An eye was coming on this head, and I did not want to lose it, because it would carry the main movement. Another eye sat on the inside, and that one could wait until a little later.
Once the carbon came off, the eye was there, the way I first had it. More eyes turned up as the head took shape. One I set right away, because I didn't think anything stopped me. Another one turned the wood right beside it into a really high ridge, and I kept that edge on purpose. Near a third I didn't take much wood, since one more eye was coming there.
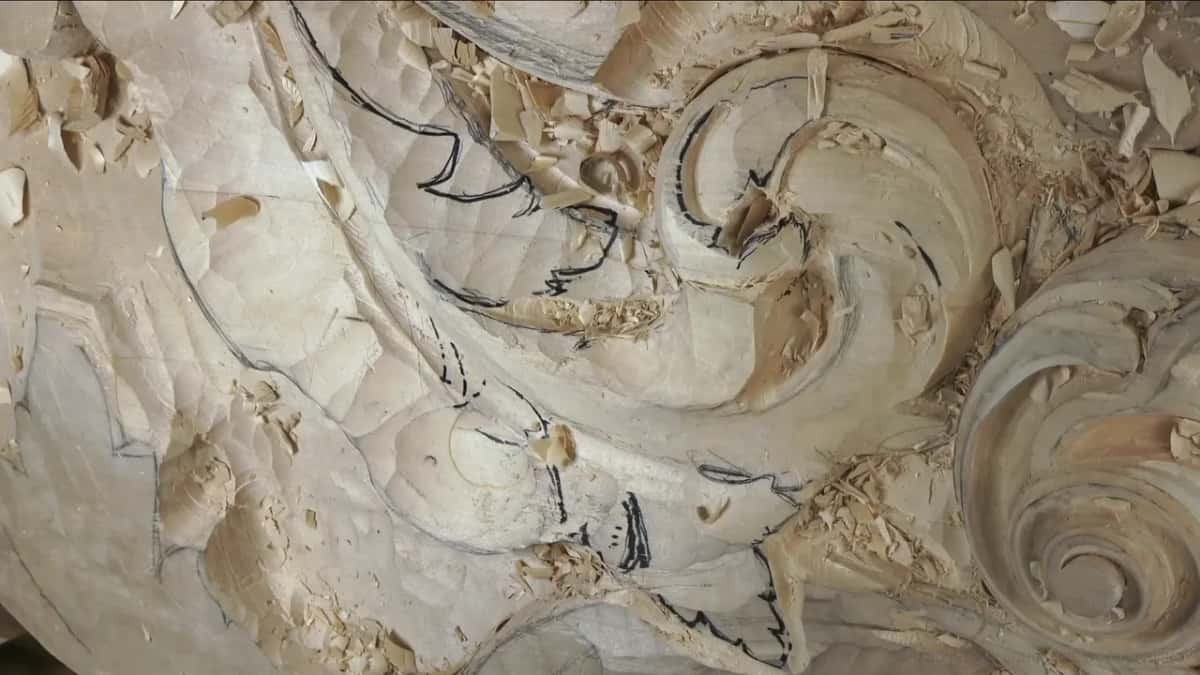
Later I gave one eye about 3/16 of an inch, roughly 5 mm, with the same number 11 I had used for the outline, and that one goes deeper. Somewhere in the middle of all this I caught myself saying I was shaping my head, and I had to fix it. Not my head, the head I'm working on.
When is a pencil enough?
A pencil is for working a line out on the wood. The first time a boundary had to come back, I thought about a pencil before I reached for the plastic. Seven parts into the workshop I took one to figure out what an area needed, and then I went back to my plastic to check it. It showed a part that goes kind of underneath, and I corrected myself on camera, not kind of, just underneath.
The center line got a pencil too. I set it a little off center, at about six parts out of ten, which is the golden ratio by eye. I'm not going to measure 62 out of 100, only get close. The golden ratio in a carving design has a lesson of its own in the design course.
I also watched how that line should end. It could have ended one way, but that wasn't going to look nice, so it goes uphill, and that part could take a little letter S.
Why leave the next leaf alone until this one is shaped?
Carving it early means carving it twice. Next to this head sat another leaf, and I hadn't touched it.
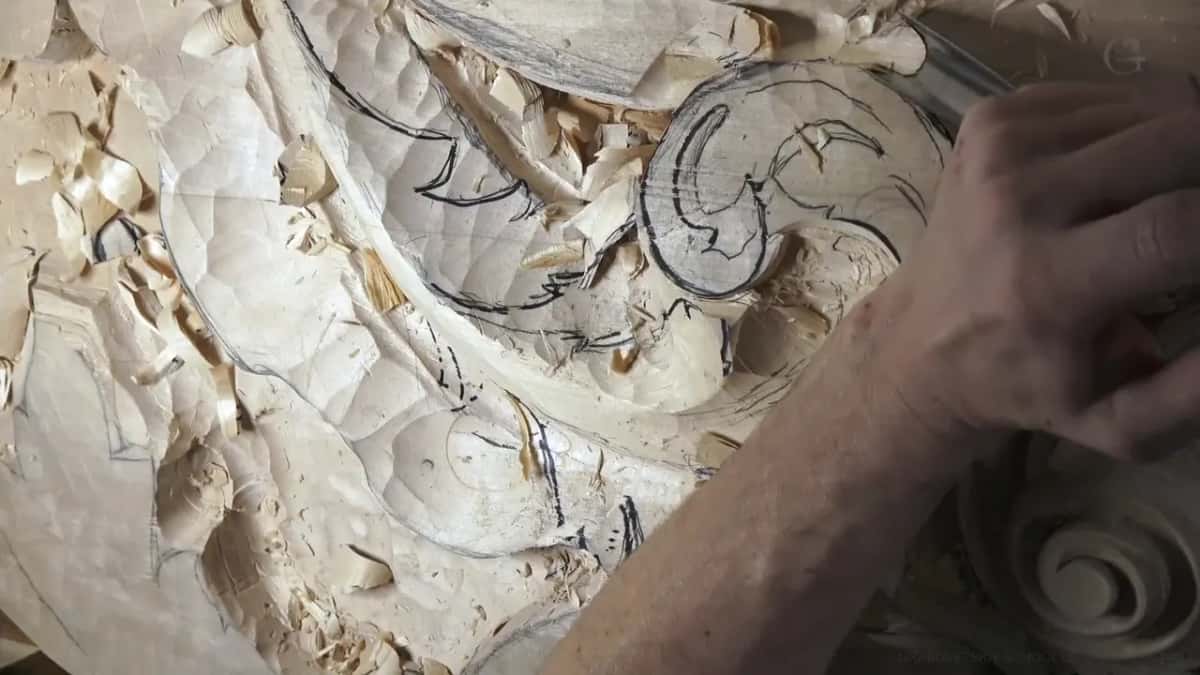
I was about to dig a deep groove around the head with a 20 mm (3/4 in) number 9, because a head of acanthus has to have some depth. Anything I had already shaped beside it would have been lost and redone. That would be extra work, and I really don't want extra work if I don't have to do it. The sides of the head waited for the same reason. I still had to work around them, and in one spot I stopped on purpose, because I could develop it a little later.
What do you carve right after the line comes back?
The outline, right away. A 7 mm (9/32 in) number 11 went around it first. When that looked a little too big for the spot, I dropped to a 5 mm (3/16 in), and where the opening was too tight for the tool, I chopped a bit off the side so it would fit. Rather than force it, I made room. Opened up that way, the side let the number 11 back in, and I could go deeper.
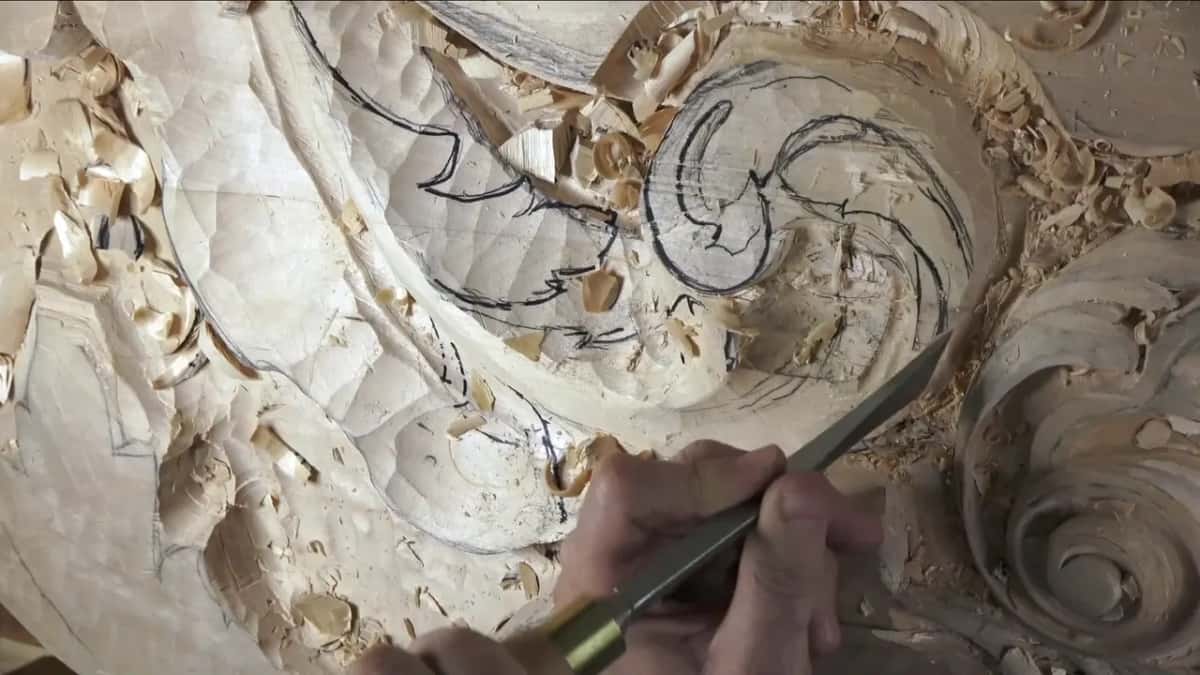
Sometimes a flat tool comes next. After the first redraw I took a chisel instead of a flatter gouge and knocked one part down, careful not to lose the detail I had just drawn. The skew came out after the carbon, and one chip I didn't mind losing at all, since that part still had to go down below the detail beside it.
I cleaned up as I went, too. A board full of chips and rough marks is like clutter in a house or in your shop, and sometimes clutter just doesn't feel right and you can't get anything done. Two parts later, the old marks that kept showing up were gone.
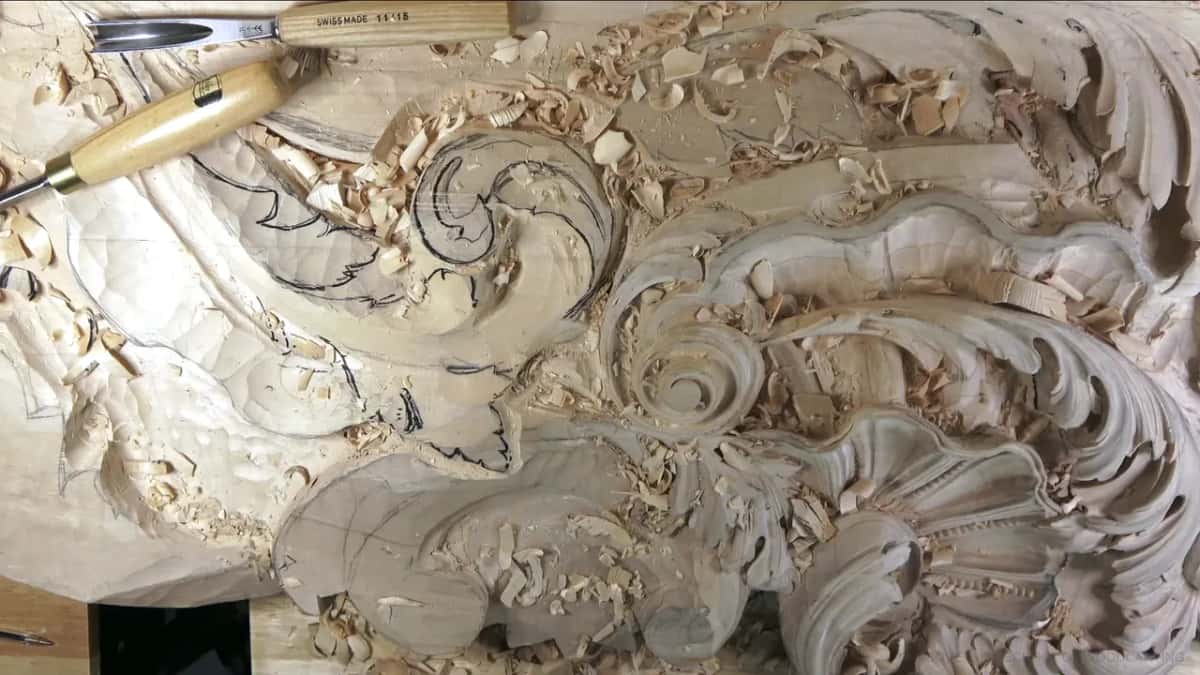
Near the end of the workshop I said the same thing again, another way. Outline it before you go too far. There was a small detail going down, and I didn't want to lose it, so the 5 mm went straight down twice to make it visible.
How much should you trust a traced line?
As far as the idea goes, and no further. Carbon told me where things belonged, and everything after that got carved and checked on the wood itself.
Other lessons take other roads to the same trouble. There's getting back a line you already carved away and keeping a relief from losing its design in the Roman acanthus course, and refining an outline after roughing in the Greek one.
Workshop 39 sits between workshop 38 and workshop 40. The rest of part 4 runs through workshop 49, part 3 covers workshops 26 through 37 in the same room, and the lessons map shows where everything else fits.
In this one the plastic came out three times, and the carbon only once, when my eye said something was wrong. Keep your plastic drawings. Mine came back out again later in this same workshop.
How it's done
- Save the outline first. Before big gouges clear the waste, go a little deeper around any edge you can't lose. Two passes will do.
- Keep the drawing on plastic. Draw the detail on clear plastic in marker when you first work it out.
- Flip it for a mirrored spot. Turned over, the sheet gives you the mirror image.
- Pin the carbon underneath. Slide the carbon in beneath it and push two pins through at the top.
- Trace with a ball pen. Draw over every line you need from the drawing.
- Check it against the slope. On sloped wood the line lands off. Nudge it over where your eye says, and outline it with a narrow number 11 right away.
Frequently asked questions
How do you use carbon paper on wood?
Lay the carbon paper on the wood with your drawing over it, pin both down, and press along every line with a ball pen. On a half carved board the line can land a little off wherever the surface slopes. Shift it over to match what you see, then carve.
Why would you draw a carving pattern on plastic?
A drawing on clear plastic can go down again whenever the lines get carved away. Flip the sheet and the same detail fits a second spot, facing the other way. Mine was drawn in marker as I worked the detail out.
Where do you get carbon paper?
Amazon sells it, and that's what I told people in workshop 39. The rest is a ball pen, a few pins and the drawing you already made on clear plastic, since every line comes from that sheet. Mine got used more than once in that one workshop.
What to carve next