
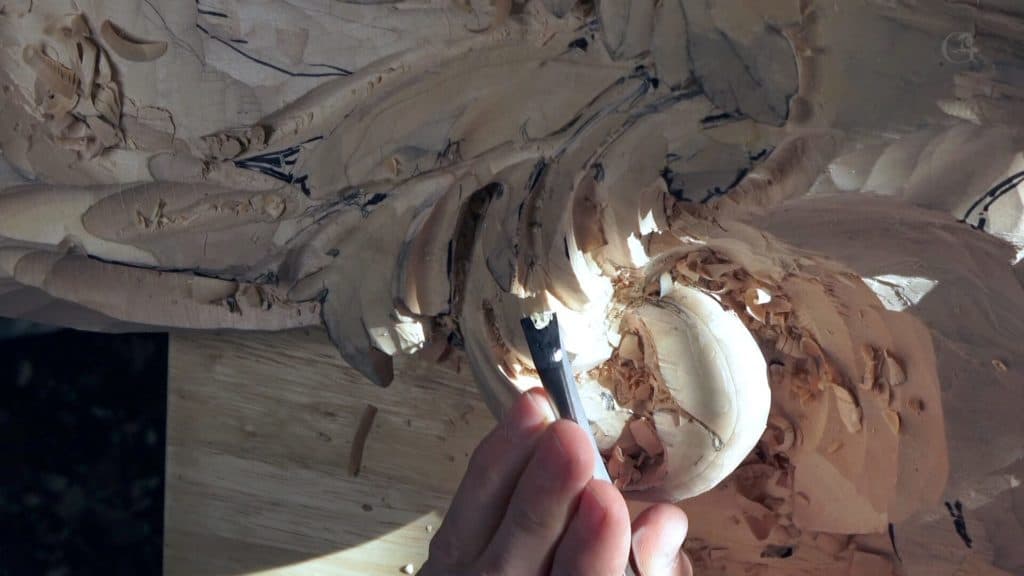
Alexander Grabovetskiy, woodcarver, School of Woodcarving · Published 2020
How do you know what to carve next on a wood carving?
Quick answer: Knowing the next cut is a matter of reading what the last one left on the wood. On a Venetian acanthus panel, each shape set the next job: an eye called for a pipe, a pipe that had to keep going called for digging underneath, and a rolling lobe needed a deeper cut beside it.
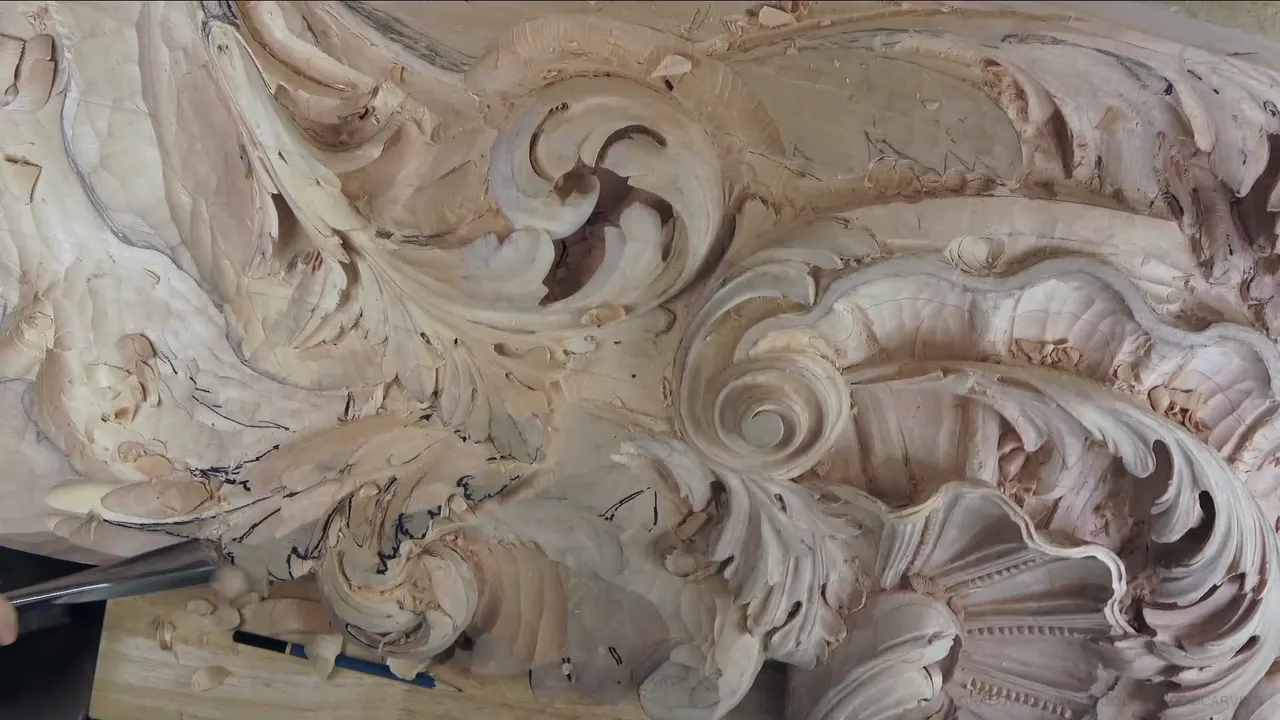
The next cut on a carving is the one your last cut asks for. Search for the wood carving process and the top answers give you a list of stages: design, roughing out, shaping, detail, finish. Those names are fine. What they leave out is the moment you are standing over the wood with one cut just finished and the gouge still in your hand.
Have you ever stood there with the tool in the air, not sure where it should go? Did the next move feel like a guess? Read what the last cut left on the wood, and the guess becomes a plain next step.
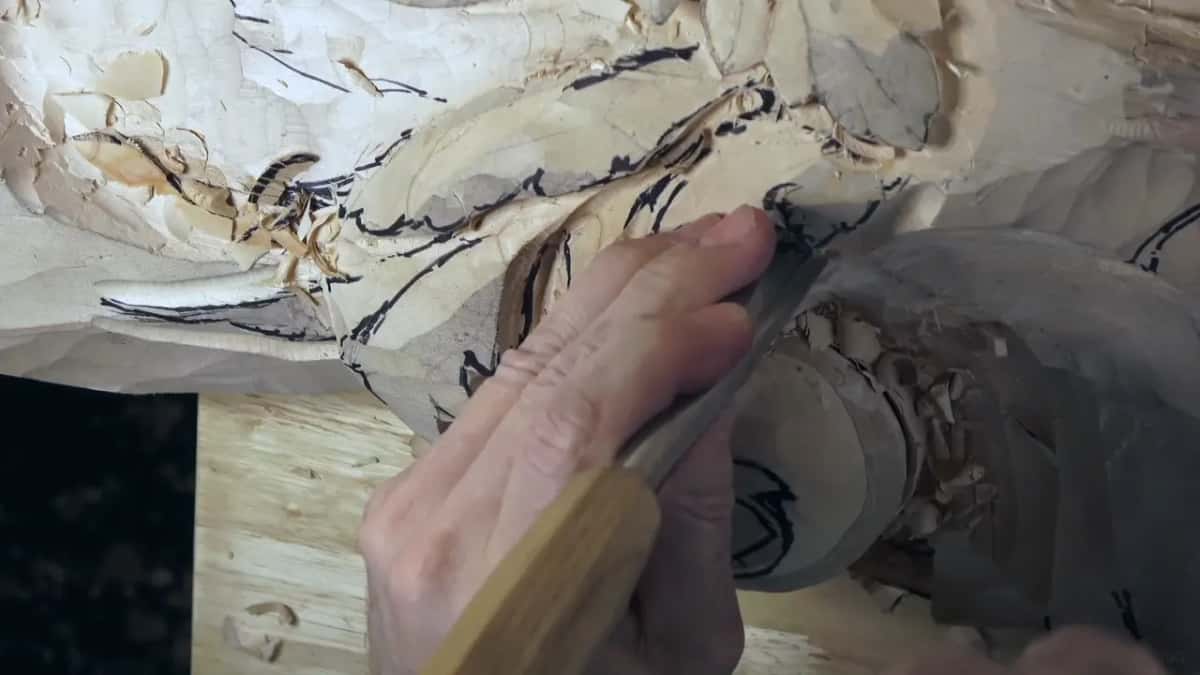
The ornament in workshop 44 is an acanthus on a Venetian ceiling board, and before the next cut I kept saying two words out loud. Which means. A pipe in part 9 had to run on, which means one of the concaves was supposed to go all the way. The chains I followed are below, with the gouges and the sizes, and the habit works on any board you carve.
Six chains from workshop 44
Eyes ask for pipes, and in part 12 I said the pipe would come a little later.
When a pipe has to keep going, whatever sits across its path gets dug out from underneath right away, while a #11 still fits.
Rolling a long lobe meant a much deeper cut on its side.
A second eye turned the tool around and changed which way the movement ran.
Good cuts leave room for the job after them, a spot for a division or space for a pipe.
Some chains are only habits, and I refused one because the leaf would have looked worse.
What does the usual wood carving process leave out?
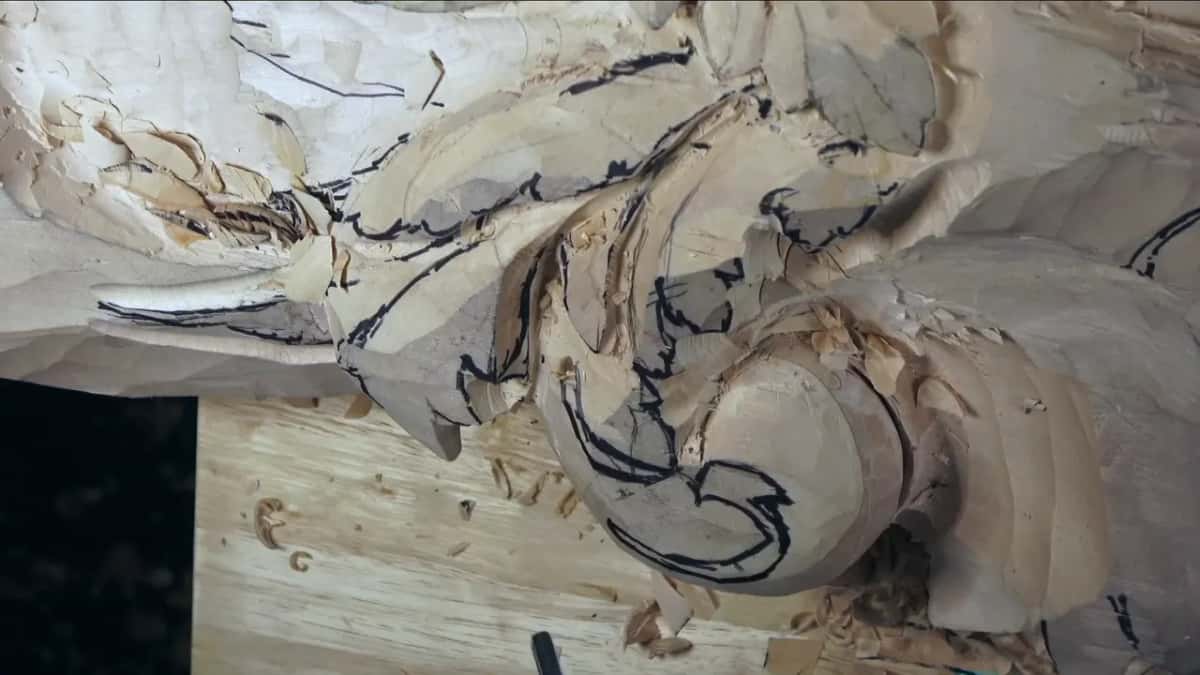
The middle of it. A stage lasts a long time, and you make a great many cuts inside one, every one of them a small choice.
I use those stage names myself. Of course that's rough, I told the camera in part 1, and a little later I hit an edge and said it was okay, because it was not the final cut yet. But part 7 had me shaping and dividing within the same few minutes, and I said it plainly: I'm after shape at first, but nothing stops me from actually making the divisions.
The big order of carving has its own lessons here: the boasting stage, when every movement gets shaped before any detail, the question of whether the main subject goes first or last, and why I would not finish one area before the rest.
None of those can give you the next cut, though. That comes out of the wood. On an acanthus relief nothing stands alone, and in part 9 I said why it matters: it has to tie together with the overall movement, or it won't make sense. Back in part 2 I called the movement of this acanthus the letter S.
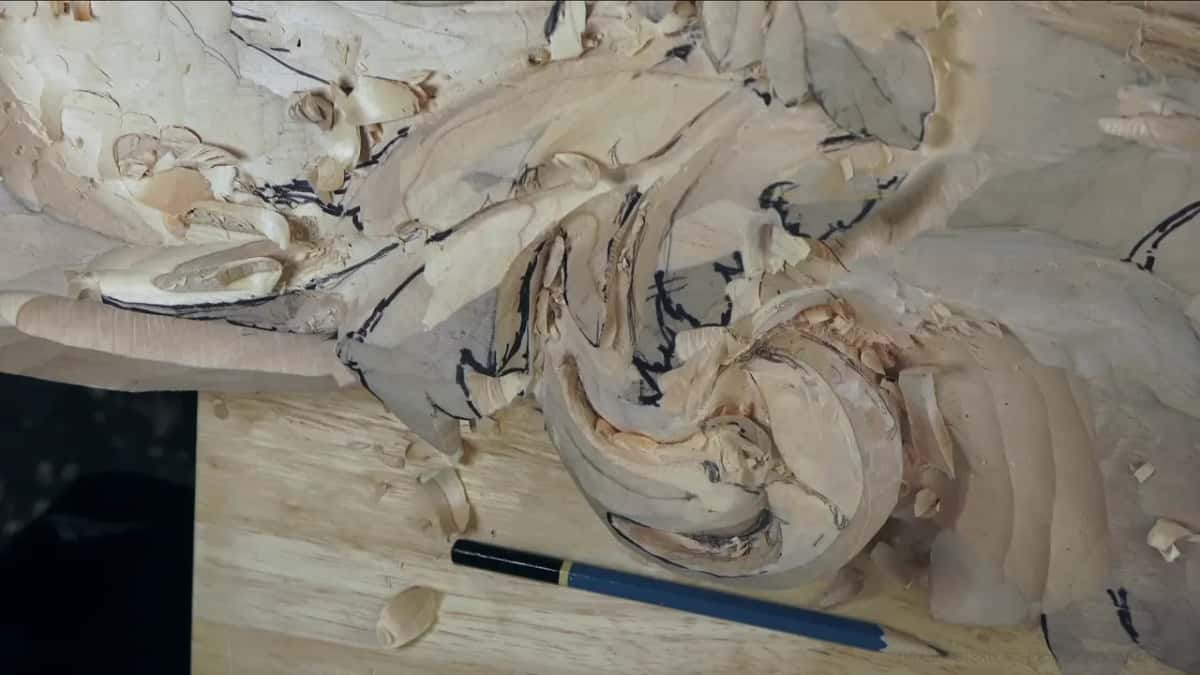
Why does an eye call for a pipe?
An eye starts a movement, and something has to carry that movement away from it. In the last part I said it in one breath: because there's an eye, logically, I'm going to have to create a pipe a little later. The pipe is the raised channel that runs on from the eye. Where the eye itself should sit is a separate question, and I worked through it on a Venice head in workshop 19.
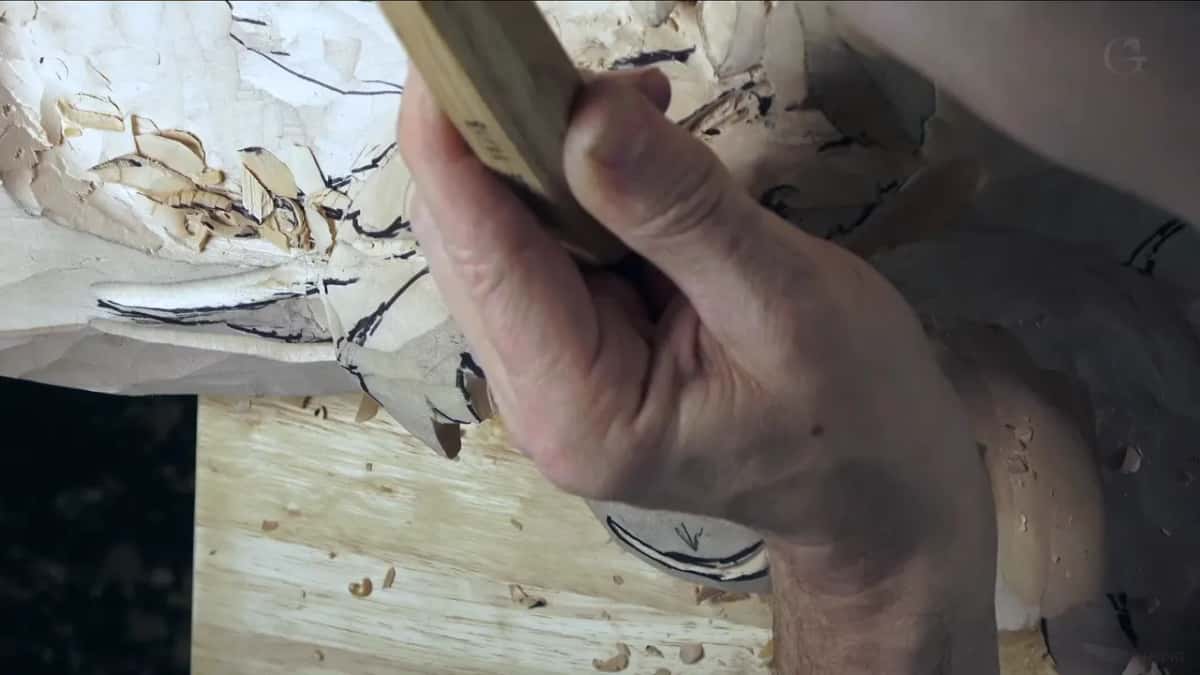
Sometimes an eye asks for more than a pipe. The movement beside an eye had to go downhill a little in part 8, so the part would feel like it was growing from underneath. Then I added the honest bit. It doesn't have to be, I said, it's not always the case, but here it gave me a really nice movement. For that I took a #11 of 7 mm (9/32 in), then one of about 5 mm (3/16 of an inch), and got deeper.
The eye in part 9 got a plug. I took a #8 and made a plug cut, then cleaned the mess out with a smaller tool.
What happens when a pipe keeps going?
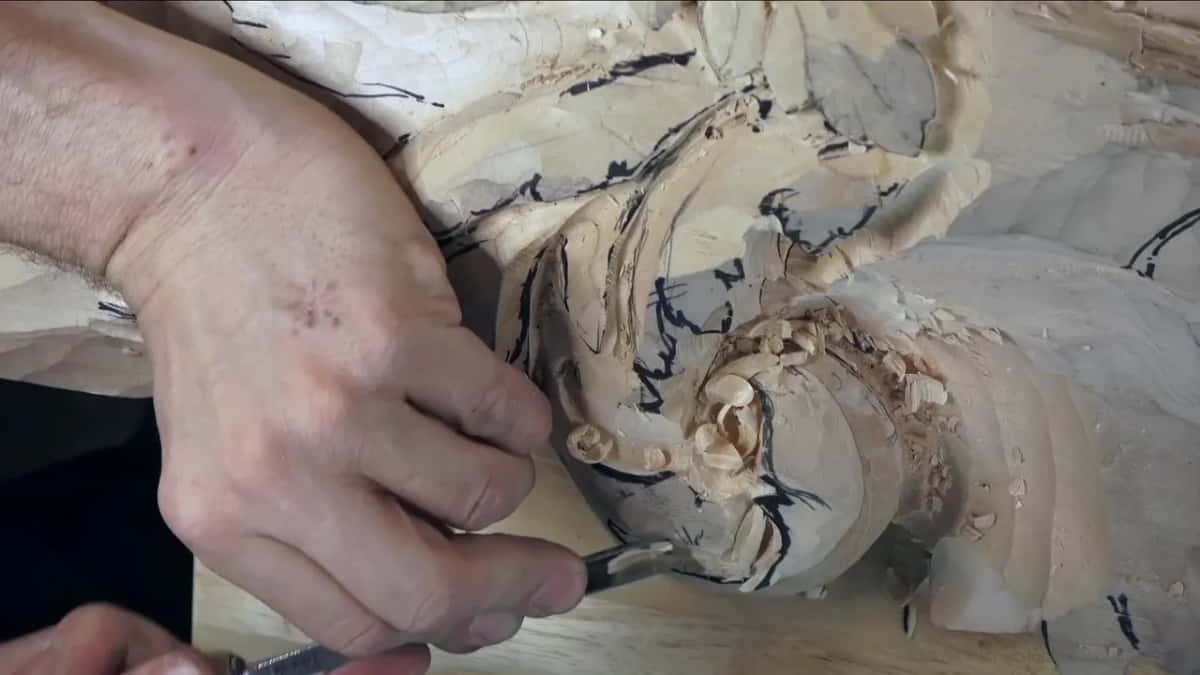
Whatever sits in its way gets hollowed from below. Another pipe came up in part 8, and logically it was supposed to go one direction. The movement had to continue, which means I need to excavate underneath and go below that movement, I said, and the only tool that fit was a #11 used on its side.
I undercut right away. The 4 mm (5/32 in) #11 was a little too big there, so I went to 3 mm (1/8 in), then 2 mm (5/64 in), and went even deeper for a more pronounced shadow. Earlier, in part 3, I had said the only reason I dig a spot like that is to see shadow play, light and a shadow.
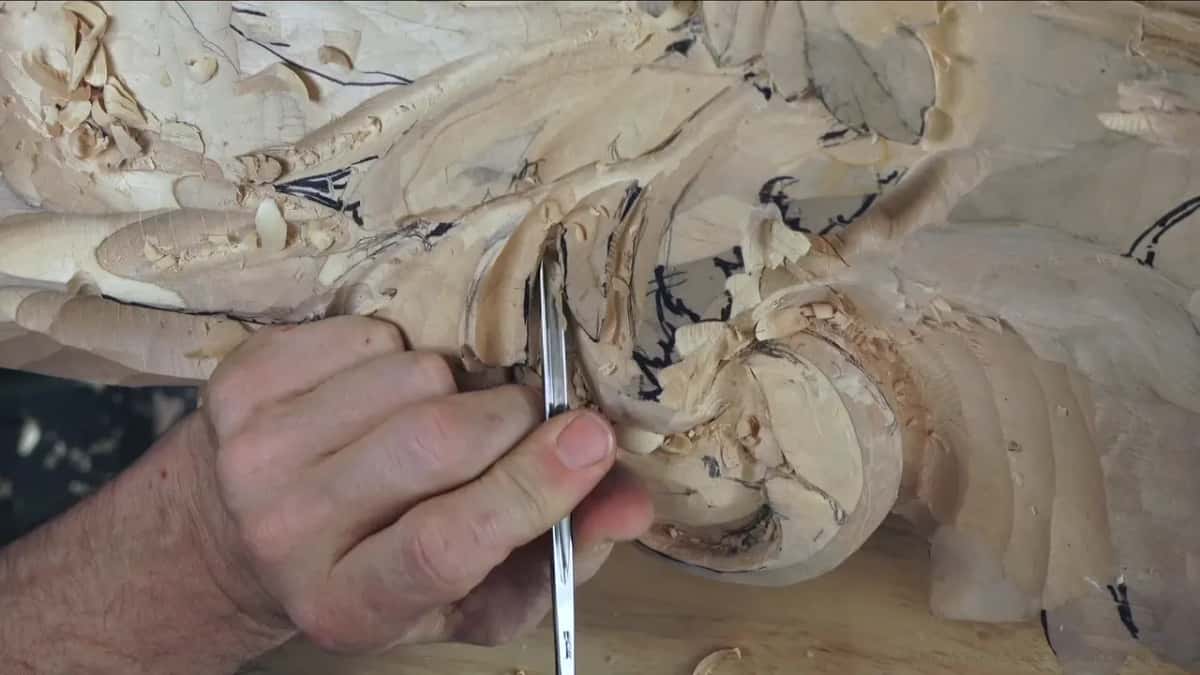
Part 9 brought the same problem back. I could push the pipe more at its beginning, but closer to one spot the tool would not fit. Oh, actually, I said, I need to undercut pretty much right away, otherwise I'm not going to be able to do that pipe.
Right away is not the same as fast. The final part let me undercut at once, but the position of that detail and the grain meant that too much would chip out the whole thing, so I took my time with a gradual removal.
Some undercuts do wait. One edge in part 8 only got cleaned a little, and I said I would undercut it later, because first I had to be sure I was looking at the right movement. Why a pipe has to keep going at all, even into wood not yet carved, is a lesson from workshop 26 in this room.
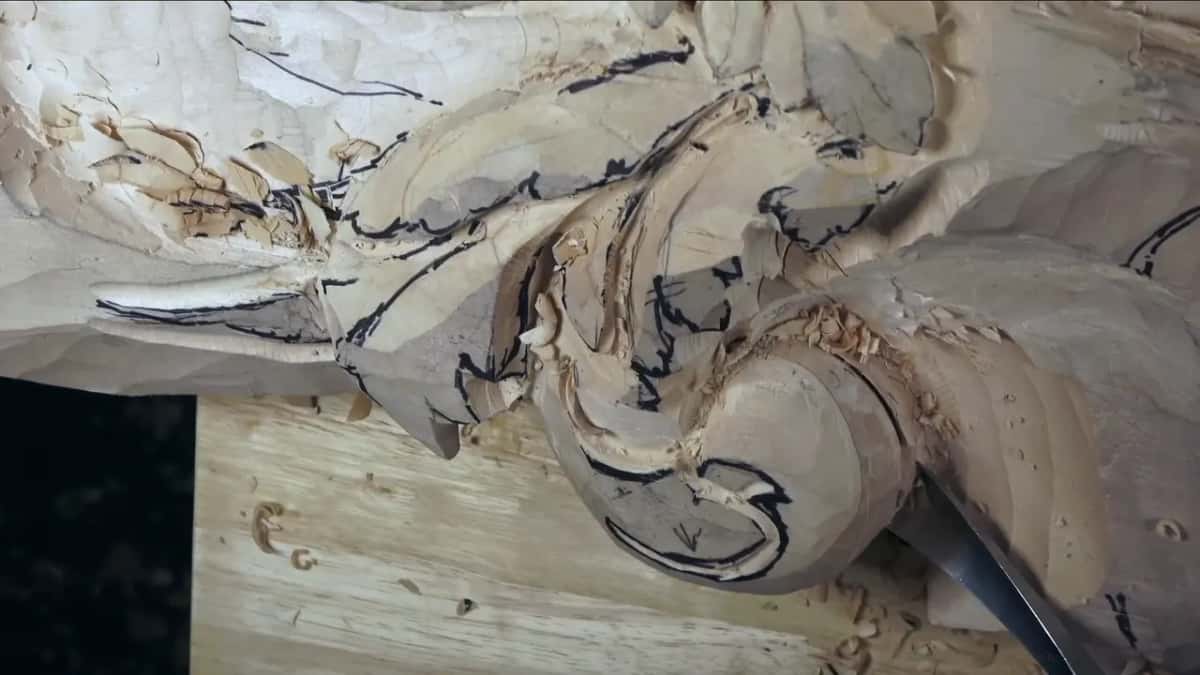
When it works, one part goes underneath and another sticks out from under it, and it all blends together. That is the look of the Venetian carvers, and near the end of the workshop I said they had a lot of excavations like that.
Does a rolling lobe change the next cut?
It changes the cut beside it. One lobe in part 5 needed to be long, and I wanted it to roll. Which means I have to create a much deeper cut on the side, I said. The roll also opened that side to view, and that gave me a chance to reduce the thickness of a chunk that was just too thick. Love it, I said.
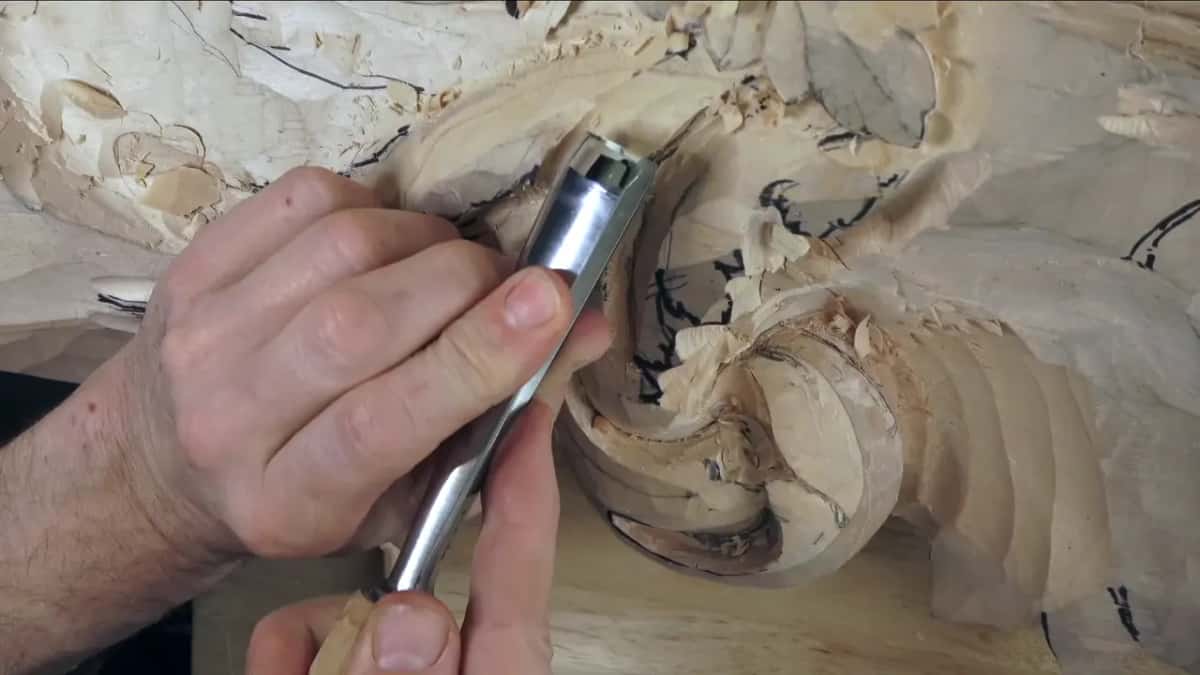
For that side I wanted something big, about 30 mm (1 3/16 in), and then I went quiet and carved for about a minute. After it I said, see what I mean, it gives a beautiful movement on the side.
I stopped short of the extreme, because that part still needed developing, and until I make my final decision how a piece will look, I have to stop somewhere. At the lowest point I left about 20 mm (3/4 in) of wood.
A smaller roll came up in part 4. Only one part of that shape rolls, a little, not much, and for it I took a bigger #11, 20 mm (3/4 in) wide. After that I cleaned from the opposite direction and made the whole thing more gradual.
Where does a second eye send the tool?
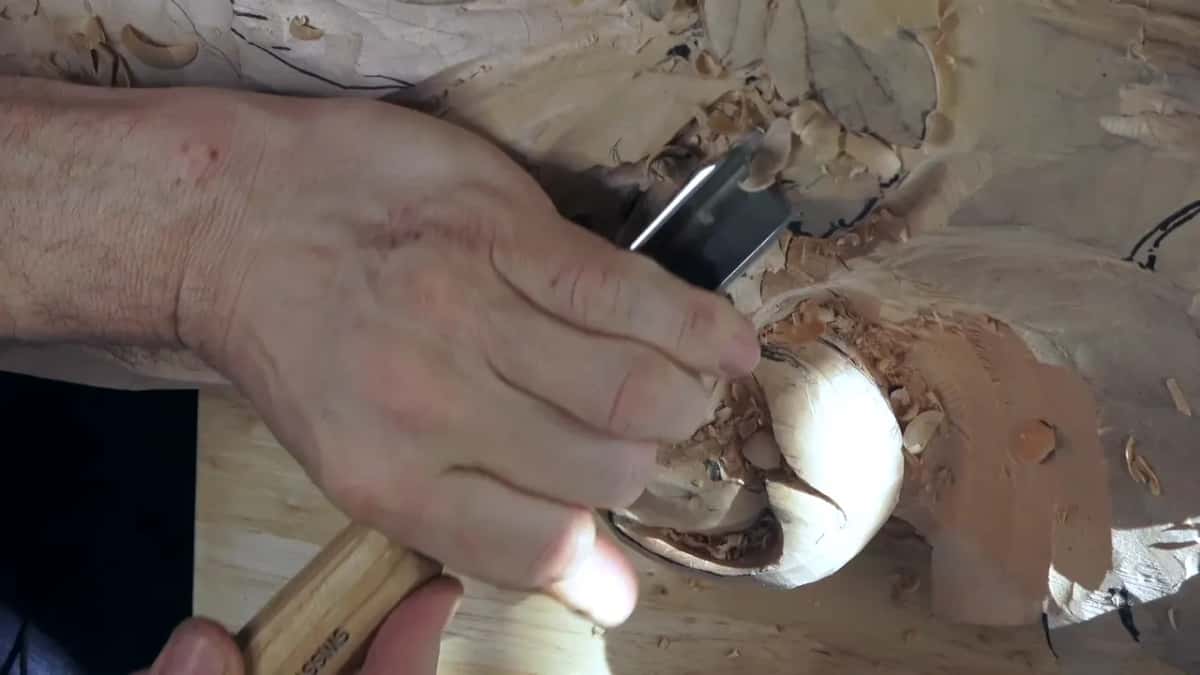
Around, and then off in a new direction. I wanted another eye there, in part 6, because it would give me more movement, more interesting movement. I took a #11 of 15 mm (5/8 in), and with that second eye in place I had to make the rotation with my tool somehow, go around, and change the direction of the movement.
Next I pushed that movement a little further with a small inward cut, but not too much toward the pipe. I didn't want to undercut beneath that pipe. Because the pipe was there, the wood beside it had to come down, and gradually, again.
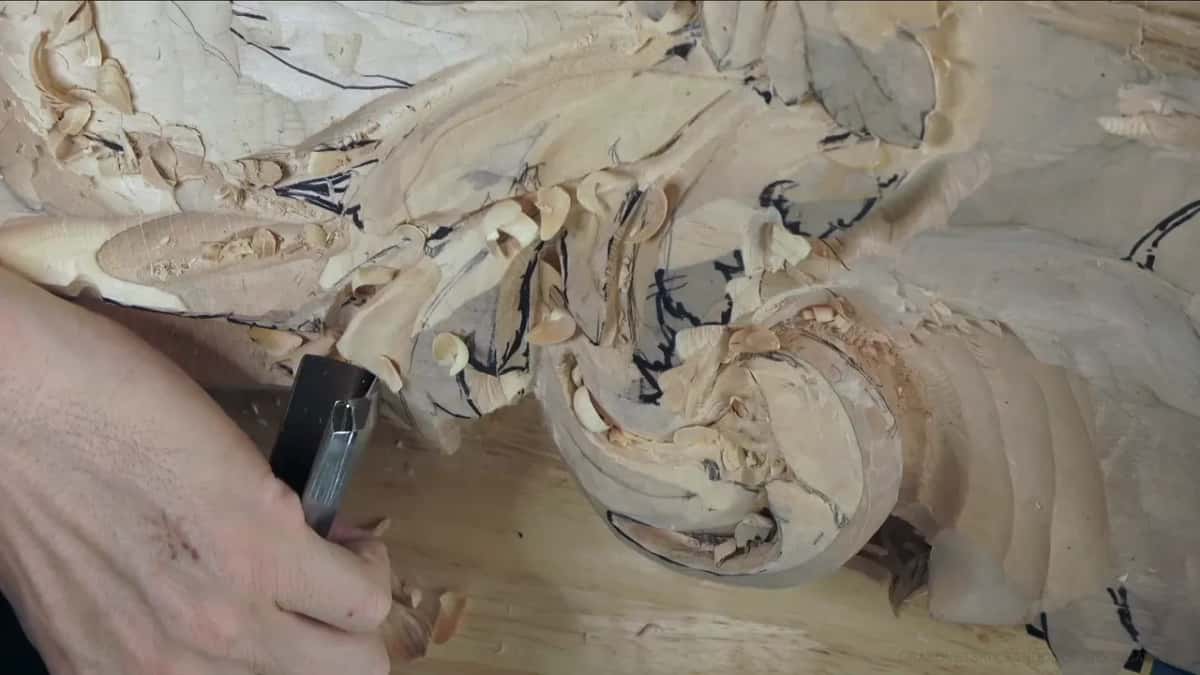
The chain ran the other way round in part 10. To make one part logical I needed an eye, but one eye was already right there, so I made a secondary eye and went in on the inside. That one went much deeper, because it will be seen from the bottom, which is a subject of its own, the ceiling people look up at.
How do you leave room for the cut after next?
By stopping where the next job will need wood, or by making a space for it on purpose. With a 2 mm #11 I cut one spot even deeper in part 8, and then I said out loud what I had done. I created for myself an extra spot for the division, one that would run downhill.
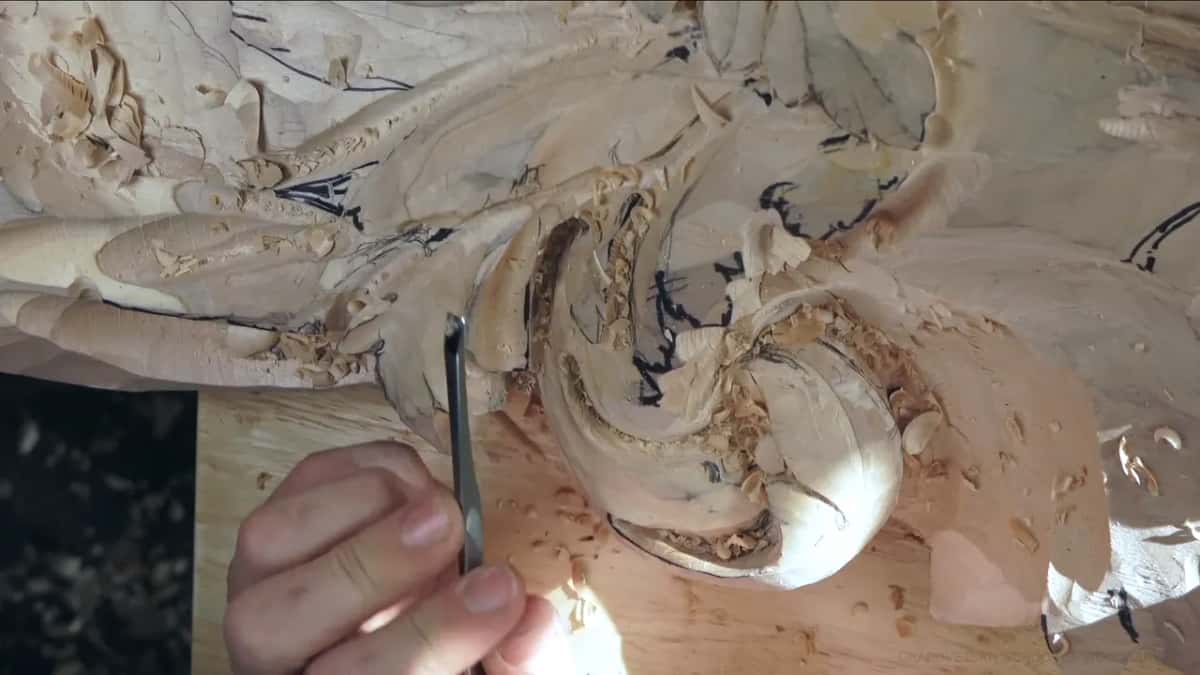
Part 9 made room another way. The side there was already undercut, so a small #3 spoon was enough; it didn't have to be an 11. A #8 or a #9 is always a good idea for the middle, I said, and I had to tell the plug, come on, get out. Then a 2 mm #11 cleaned up to that cut, and then I said it: now I've got space for the pipe.
Room can be wood you keep, too. Back in part 3 I didn't want to take too much, because I still had to make concaves and convexes, and an edge should not get too weak too early. A separation in part 4 sat a little too far over, so I moved it, and that let me put another one on the inside with no problem.
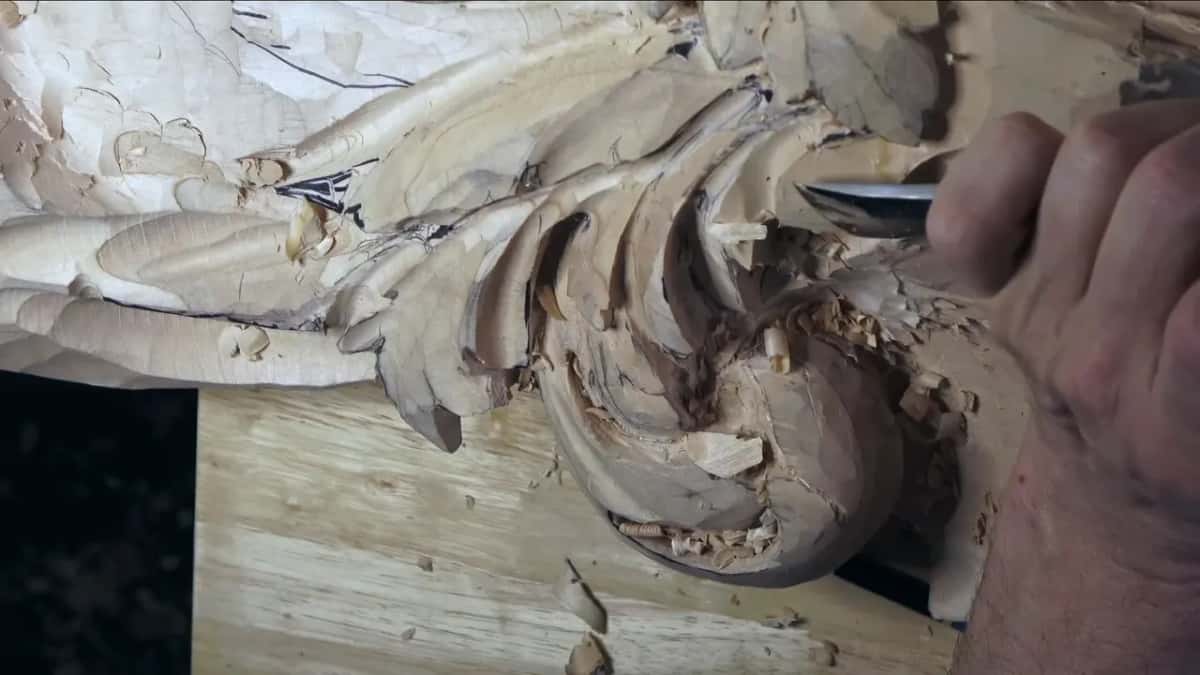
Not every job came from the leaf. Near the end I really liked how high one part stood, and I would most likely keep it that way, but I was right on the glue line between two layers of the board. At least that had to go.
Which chains are not rules?
The ones that would make the leaf look worse. A chain showed itself in part 7: I could take this pipe a little lower, and then that part has to go lower too. But no, it would not look good, and I kept the shape I had.

The downhill movement in part 8 was the same kind of habit, and I said so on camera. The drawing is no law either. One eye in part 3 had looked tiny and small on the flat drawing, and now in the wood it was bigger, and I could exaggerate it if I wanted to. The pattern bends on this board, and there is a whole lesson on how far it bends.
Order is a choice as well. Earlier, in part 5, I saw a few ways to develop one piece, and I said I don't want to do everything the same. At the end I could have used the same idea as before, this one below that one. The piece sat above and much higher, though, so I asked myself why not the opposite, and put it underneath.
When I really don't know which way to go, that is doubt, and doubt needs a different habit, the one I used in workshop 42.
Can the chain pick the gouge too?
Often it does, because the job decides what has to fit. The first part had me choosing between a #7 and a #3, and I said let me do the preliminary with a #3 and just chop down this direction. A skew gave one piece its preliminary shape in part 5, and for roundness on a pipe in part 9 I turned a #3 upside down.
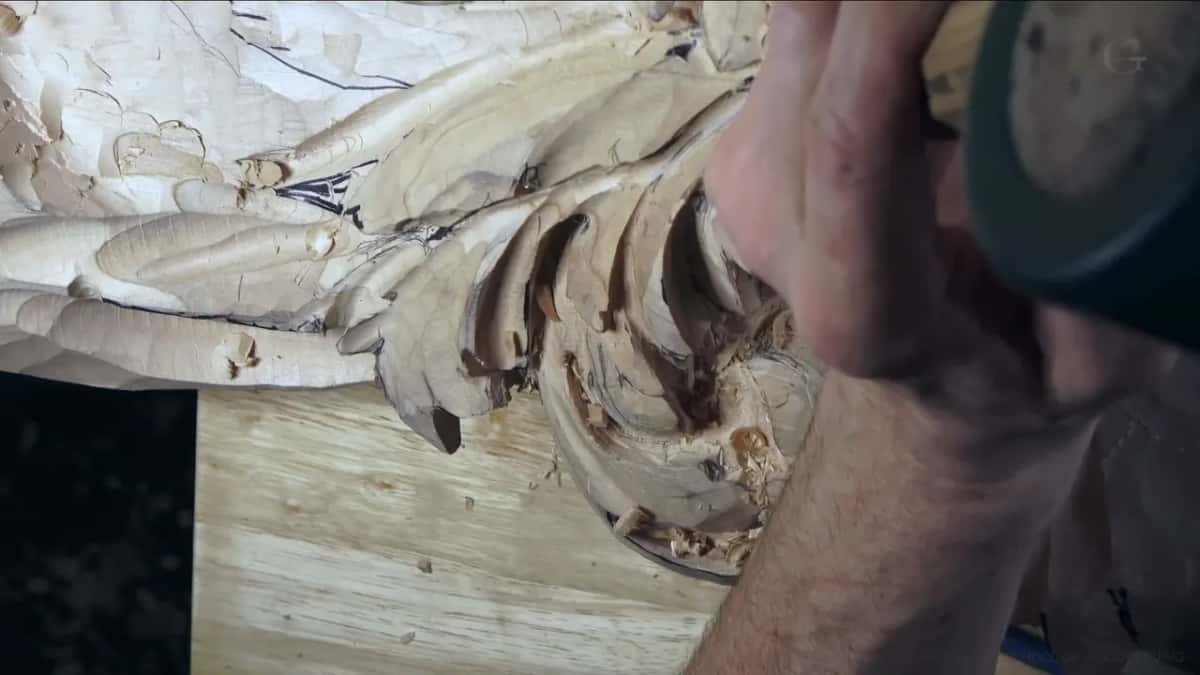
Late in the last part I took the bigger #11, because with it I can make a cleaner and a faster cut. Then I picked up the mallet, because with the mallet I'm always gaining a lot more control. The table puts the chains of workshop 44 next to the tools, one clue per row, in the order the wood asked for them.
| Clue | Consequence | Tool |
|---|---|---|
| A long lobe rolls | Carve much deeper on its side and thin the chunk | big tool, about 30 mm (1 3/16 in) |
| Second eye goes in | Rotate the tool, go around, and change the movement's direction | a wider #11 gouge, 15 mm (5/8 in) |
| Another pipe keeps going | Dig out underneath the movement across its path, right away | #11 on its side, 2 mm (5/64 in) |
| One eye sits there | Take the next movement downhill, so it grows from underneath | #11 at 7 mm (9/32 in), then smaller |
| The side is undercut | Lift a plug out so the pipe gets its space | a small #3 spoon, then #8 or #9 |
Why carve landmarks early?
Landmarks survive the next pass, and a lost one takes the overall picture with it. I outlined all around in part 1, because otherwise you're going to lose the overall picture, and I do not want to lose it. I popped one eye right away for the same reason.
A separation in part 12 went in more or less finalized. It's not final, I said, but at least I'm not going to lose it. Even a landmark can move. I called one line my future middle line in part 10, which I do not want to lose, and moments later I said that's not right and moved it.
Keeping and redrawing lines is a craft of its own, and workshop 39 covers it with a marker, clear plastic and carbon paper, while the Roman acanthus lessons show how a design gets lost in the first place.
Where should a beginner start?
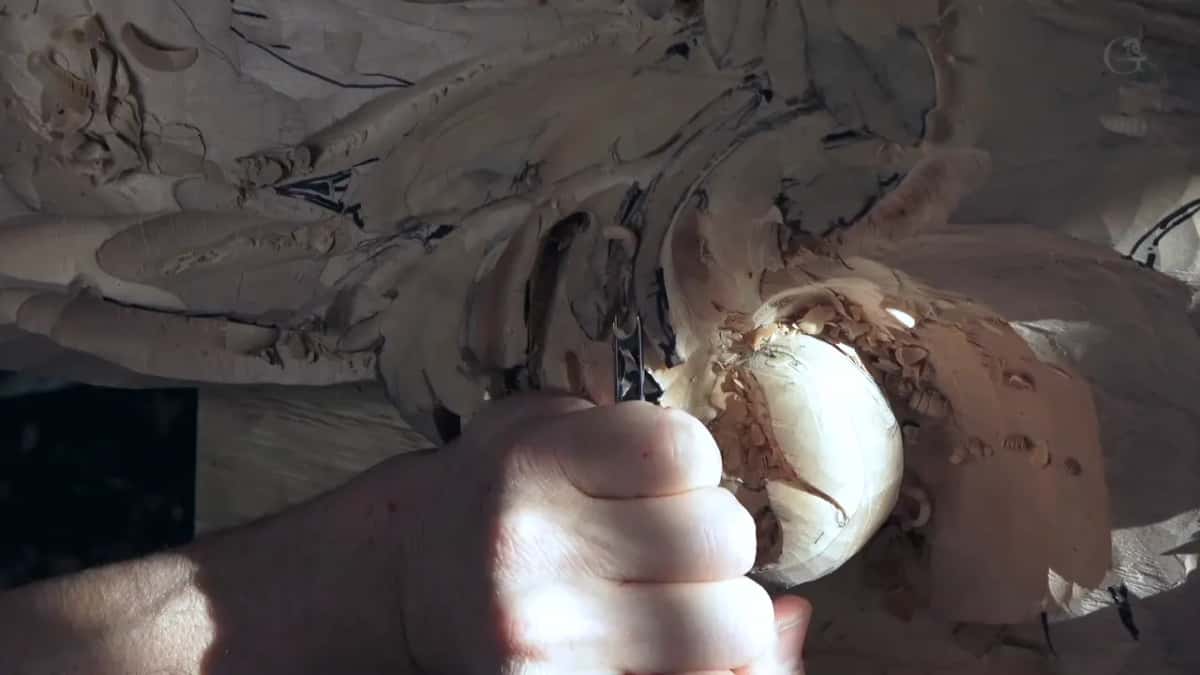
A single eye, carved into a scrap, and then a pause before the next cut. Stop with the gouge out of the wood and finish one sentence out loud: there is an eye, which means what? Then carve what the answer asks for, and after that, ask again.
I think out loud on camera, and in part 11 I owned up to it: and yes, I am thinking out loud. Say yours out loud too, even alone at the bench.
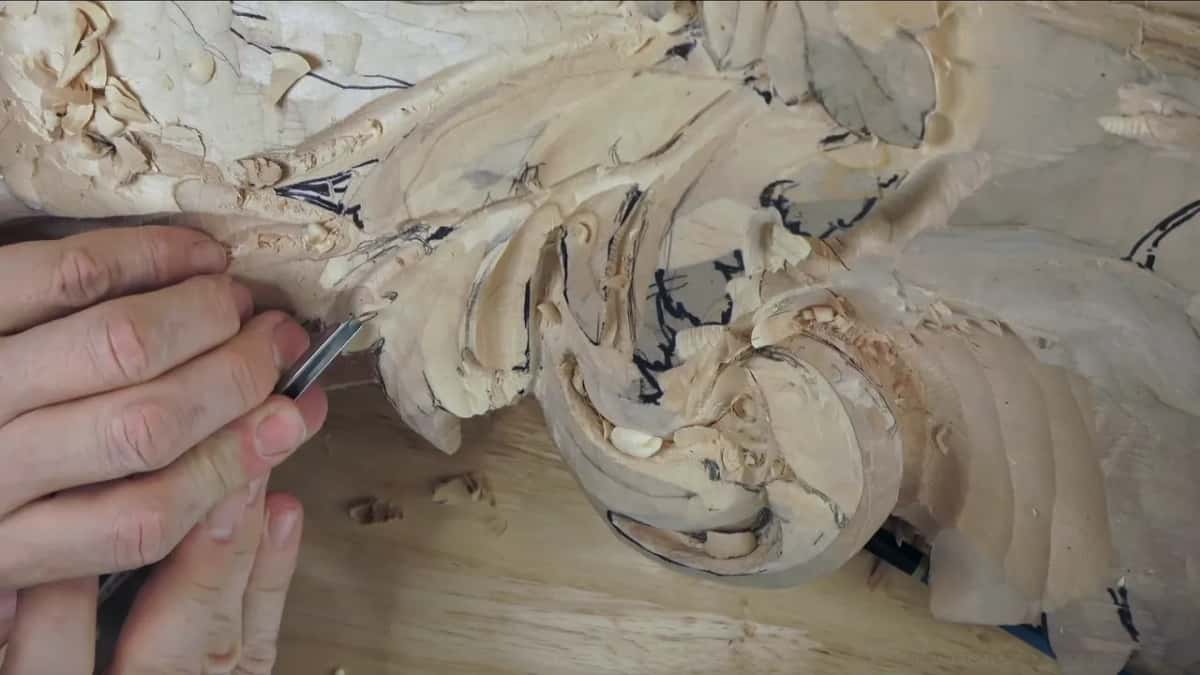
Every cut on this page happened in the twelve parts of workshop 44, and the tuition opens the whole room, the workshops before it and the ones after. Workshop 43 comes right before this one and workshop 45 right after, if you want to see where the chains began and where they went next.
Want to find out what one eye asks for? Carve one into a scrap of basswood, and let it tell you the next cut.
How it's done
- Study the fresh cut. Look at the shape before the tool moves again.
- Follow where it leads. On my board an eye answered with a pipe, and a rolling lobe answered with a deeper cut at its side.
- Look along the path. Follow the way the movement wants to travel, and anything lying across it gets dug out from underneath while a gouge still reaches in.
- Take the tool that fits. Near a tight spot, go narrow, as narrow as 2 mm if the gap asks for it.
- Keep wood for the job after. Stop where the next division or pipe will need material, and leave thin edges thick until their turn comes.
- Refuse a chain that spoils the leaf. If the next move would make the whole thing look worse, leave it.
Frequently asked questions
Do you plan every cut before you start carving?
Only the big decisions, and even those move. Early in workshop 44 I had to decide where the point of one lobe would land, about an inch and a quarter down, 30 or 35 mm. That one choice set up the next cut, because a side had to be removed and its inner part would show.
Which comes first on an acanthus leaf, the eye or the pipe?
The eye, on this Venetian board, with the pipe after it. Another lesson in this school goes the same way, setting the eye down before shaping anything else. In the first part I popped the very first eye right away and worked out the movement around it afterwards.
What do you do with a side you are not ready to carve?
Leave it for later. In workshop 44 I told the camera I would not do too much to one side yet. On another side I kept material to take care of a little later, because until I know how a piece will look, I need wood to decide with.
What to carve next