

Alexander Grabovetskiy, woodcarver, School of Woodcarving · Published 2020
How do you carve a smooth transition from one curve into the next?
Quick answer: A smooth transition in wood carving is a change of curve that leaves no line, ridge or high spot where two shapes meet. I got mine on a Venice room acanthus head with the gouge itself, taking a wider eleven for the change, a big number 7 for a high spot and a number 5 for a sharp ridge.
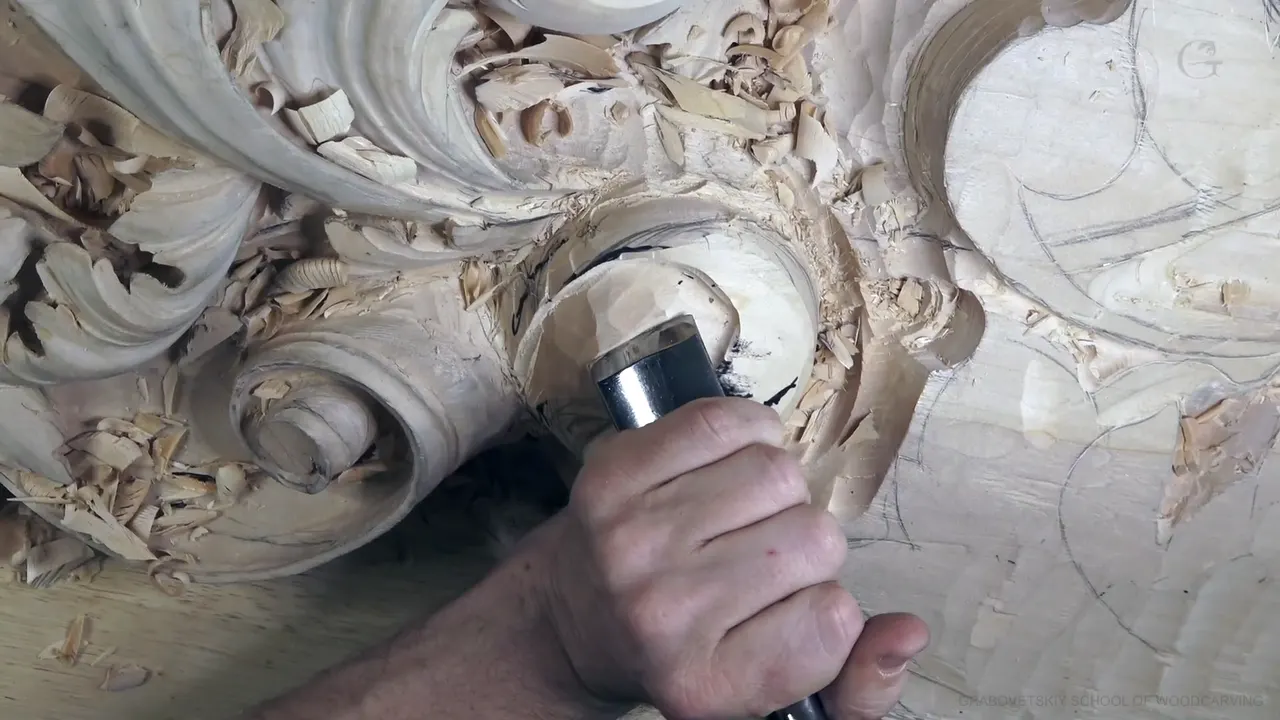
A smooth transition is the stretch where one curve turns into the next so gradually that the eye can't find the seam. Ask me how to make wood carving smooth, and I'll tell you this ceiling needs no sandpaper. Here, on an acanthus head in workshop 48 of the Venice room, the gouge did that job, and where the change itself was the job I went up a size, not down.
Have you seen an old carved leaf where every hollow runs on into another and you can't say where one stops? Have you noticed how one hard edge can make a whole shape look stiff? That hard edge is what a transition fixes. You'll see which gouge went in at each seam of this head, where a smaller one still earned its place, and why I let one hollow stay a little exaggerated.
What this acanthus head needed at every seam
A high spot came off a rolling curve with my big 7, and the curve went gradual.
The transition got a wider gouge.
A 10 mm (3/8 in) eleven gave way to a 20 mm (about 3/4 in) one, and then an eleven wider still knocked one side down so it could run smooth.
My number 5 turned a sharp ridge into a soft convex.
Blending stopped short of the hollow beside it.
When one blend flattened a concave anyway, I changed tools and got it back, because people see that hollow from below and I wanted it pronounced.
Near the end, I said the surface for a pipe needed smaller tools, and so did one last line.
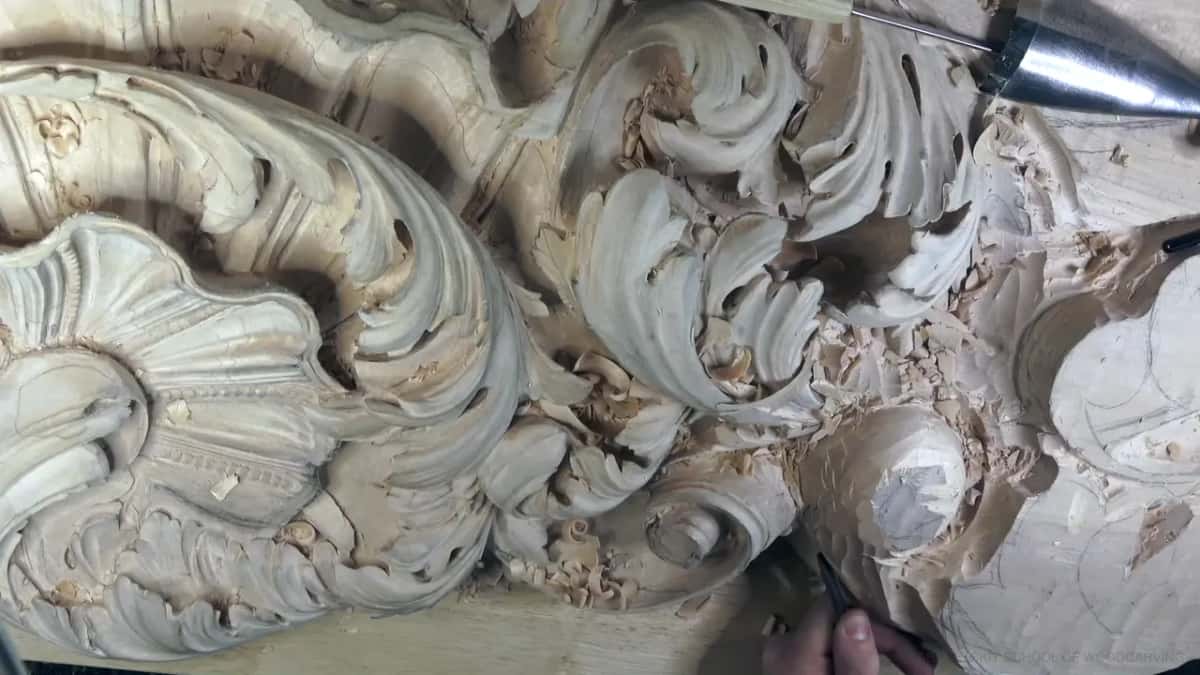
What does a smooth transition look like on a leaf?
One surface, with no seam in it. Your eye rides up out of a hollow, over the round and down the far side without catching on anything. On a ceiling you check that from below, the way people will see it, and on this head I kept looking for the places where it still caught.
Gradual was the word I kept coming back to in this workshop. The ridges got that word, and so did a concave that has to blend with the convex next to it.
At the bottom of the head I left about 10 mm (3/8 in) from the outside and drew a line, so the movement could go logically up, higher and higher, and then just roll. The first pass there came from an 18 mm (about 11/16 in) eleven, and I told the camera it wasn't undercutting, only a first try at the movement. That roll is one way to finish the bottom of a piece, I said, or the top, on a bedroom set or something like that.
Where two curves meet well, the curvature changes a little at a time instead of all at once, and people who draw curves for a living call that geometric continuity.
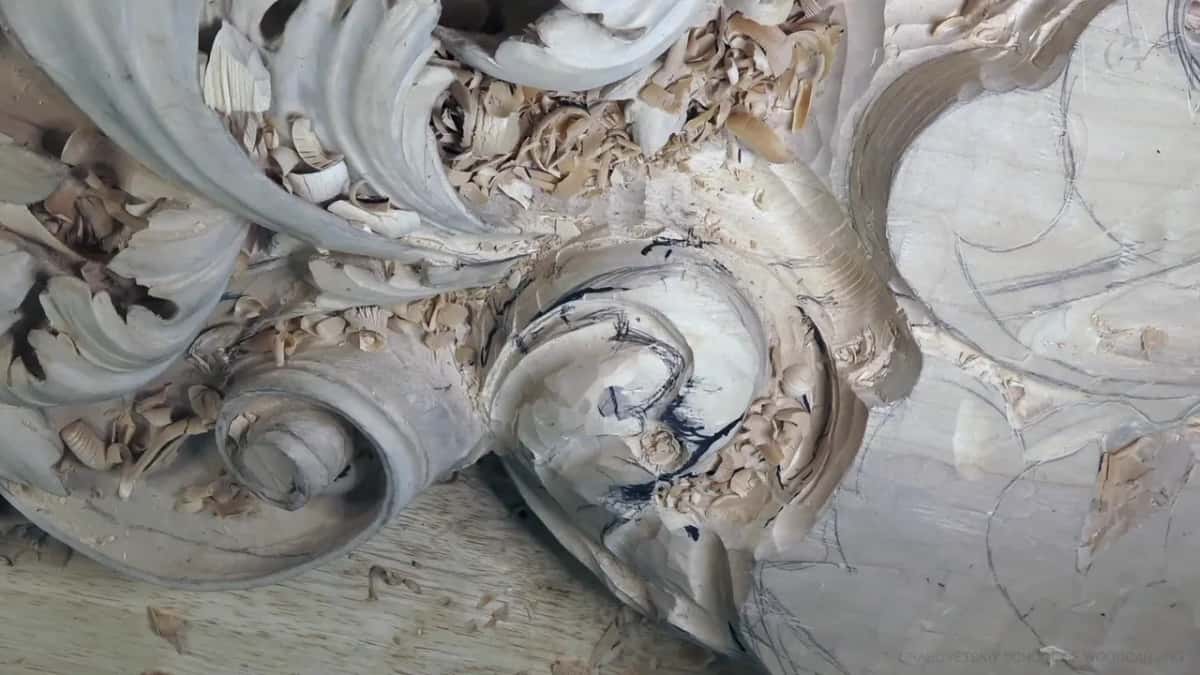
How to make wood carving smooth with the gouge in your hand
Pick the gouge whose curve sits nearest the round you want, and carry that round through the seam. I put it plainly in this workshop. You can just find the closest matching gouges and just create that roundness everywhere.
Whatever tool fits. Twice in a row I said it early on, right after a number 5 gave way to an eleven that was still a bit too big. I changed tools constantly on this head. Elevens in seven widths went through my hands, along with a skew and a spoon, and number 1, 3 and 5 gouges besides the big 7.
Sandpaper, scrapers and razor blades are other roads, and each one is covered elsewhere. Scrapers have a lesson in the tools course, and a razor blade on the ridges a gouge leaves has one in the furniture panel course. What I'm talking about here comes before any of that, the shape itself.
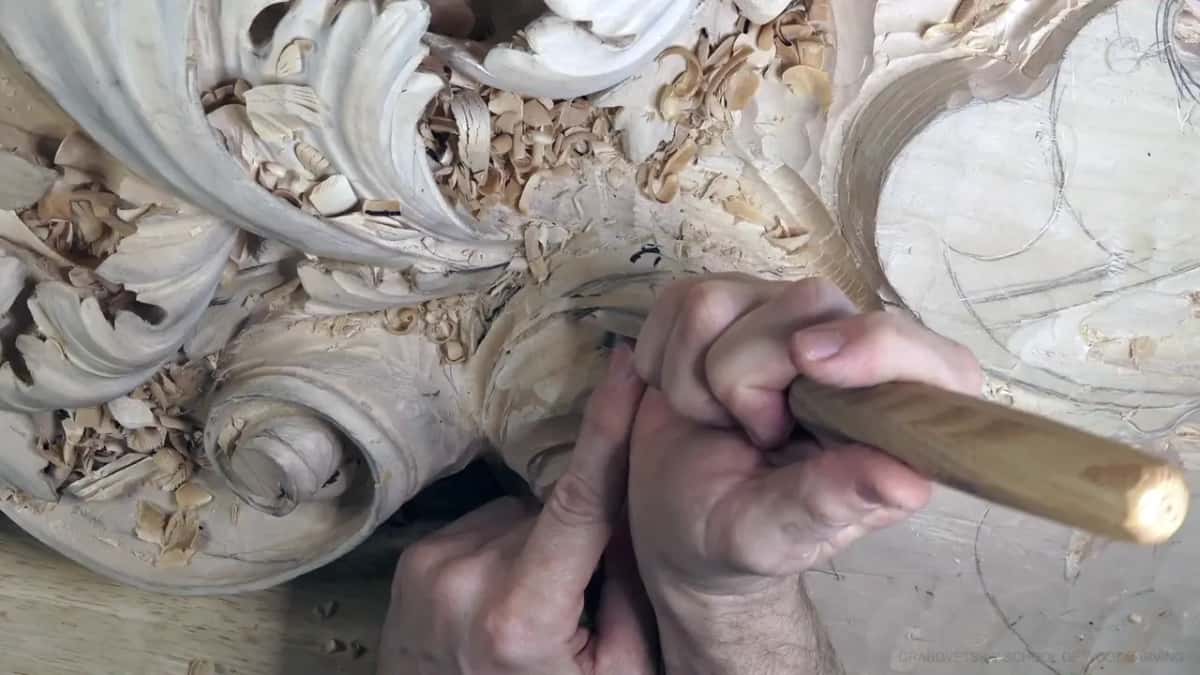
When did a bigger gouge beat a smaller one?
Wherever the job was the transition itself. I had a 10 mm eleven in my hand under one movement, and my first thought was a smaller tool. Then I stopped. I could have used the same 10 mm, and I said so, but I wanted a really nice transition there, so maybe even bigger, not smaller.
So I took a 20 mm eleven, about three quarters of an inch wide. That spot needed excavating underneath too.
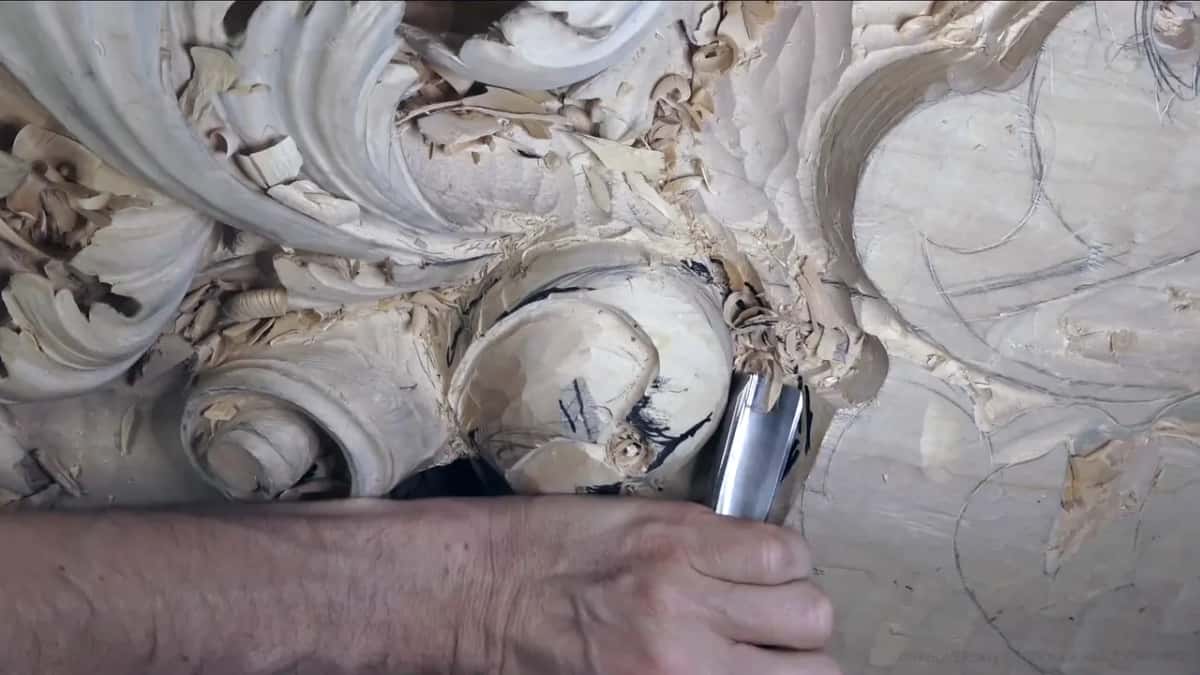
A couple of minutes later I was worried about how one area would go. Because of that I knocked a little off that side, since it had to have a nice and smooth transition, if you wish, and I reached for an even bigger eleven, like maybe 30 mm (about 1 3/16 in).
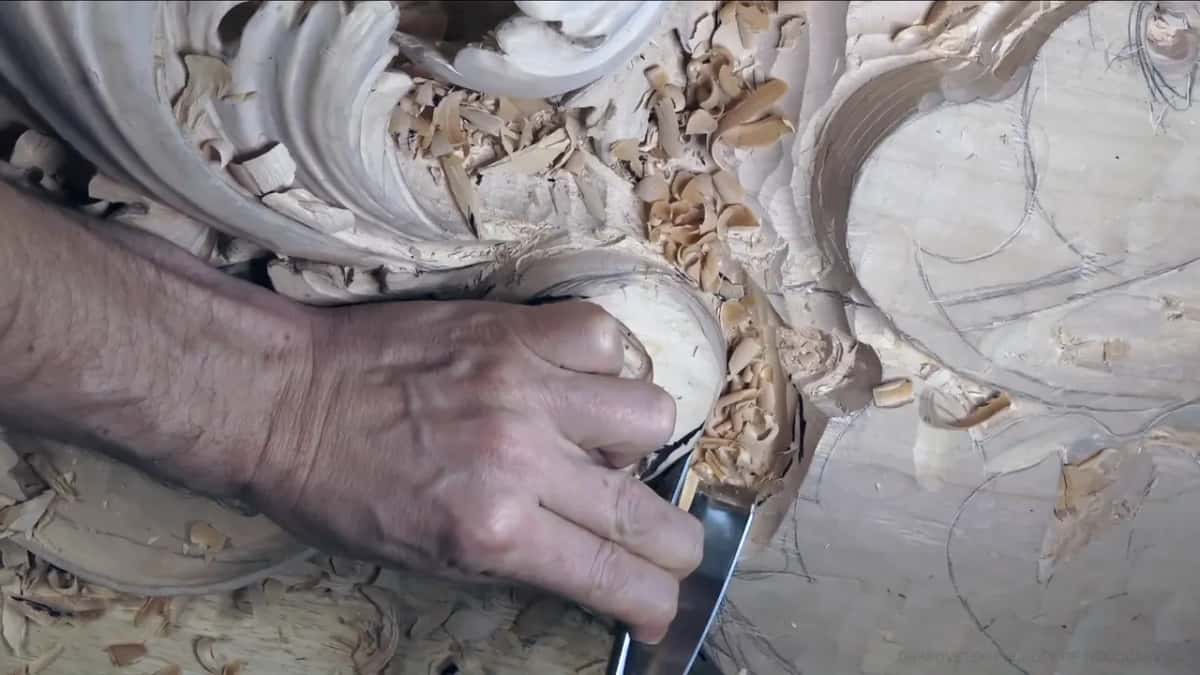
A bigger tool doesn't fit everywhere, of course. Right after that, something was in my way, and I switched to a spoon. A number 8 spoon was too wide for that spot and wouldn't work, so I thought smaller and went to an eleven.
Turning a gouge upside down for a gradual blend is another road, and workshop 40 took it on a hump. The change on this head came from width.
Isn't that the same as picking a size for each cut?
Close, but it runs the other way. Picking a gouge size one cut at a time on a Venetian head has its own page, from workshop 18 in part 2, and there I dropped a size when a tool was too wide for the opening. Workshop 48 adds one narrow thing to it. When the job in front of you is the transition itself, the size can go up.
It doesn't always go up, and I won't pretend it does. Once I went to a smaller eleven on purpose, because I really liked the overall feel of that piece and didn't want to lose it. Near the end my tool was a little too big for the surface where a pipe had to run, so I said I needed smaller ones, and the last line I found in this workshop needed a smaller tool as well.
Which gouge takes a high spot off a curve?
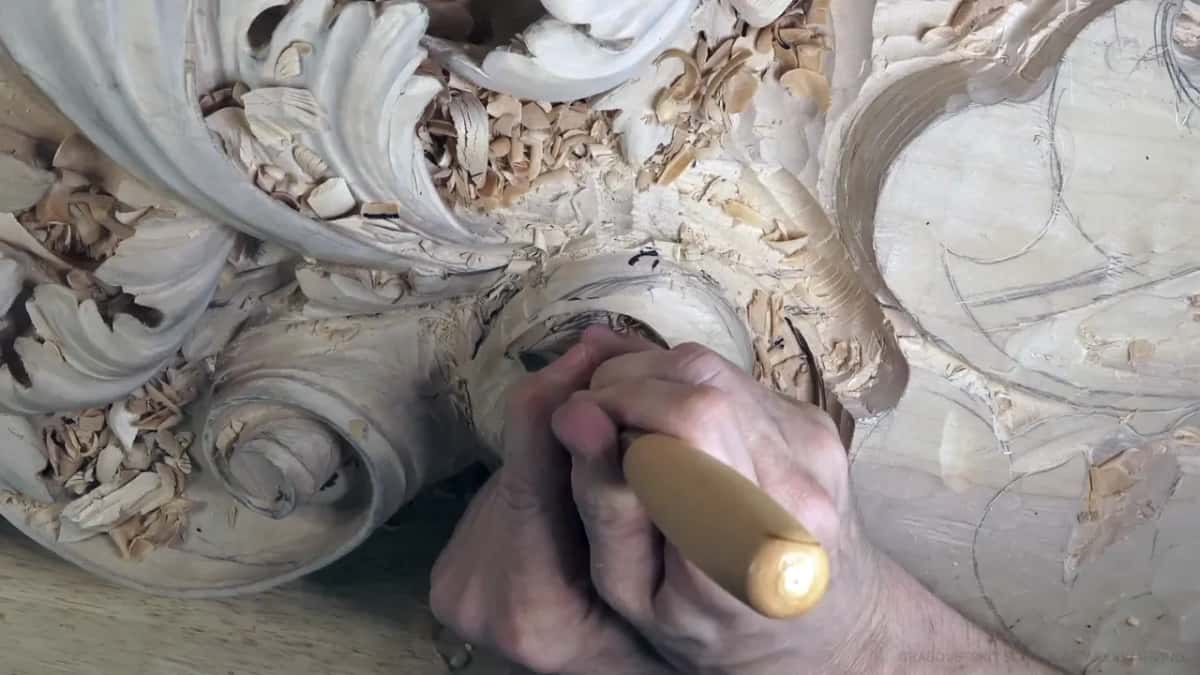
A big number 7, on this head. I was rolling one part of the leaf under another so it would feel like it was wrapping, and there was a high spot there I didn't like.
The 7 took it down, and right after, I said now it's more gradual. I told the camera not to worry about a little uncleanness, since that part was still going to be developed. What I was after was a really nice gradual roundness, if I can even say that.
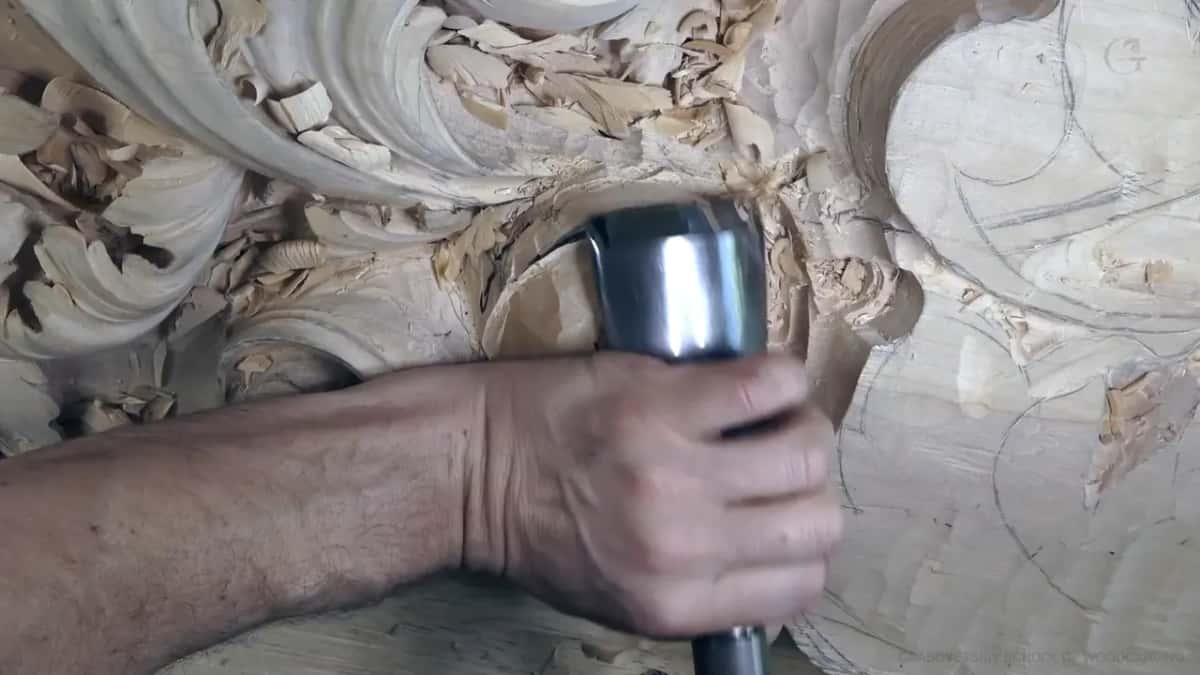
Earlier in the workshop I picked up a big 7 and wasn't sure it would fit where the head's first movements were going. It fit. It gave me a really nice movement right away.
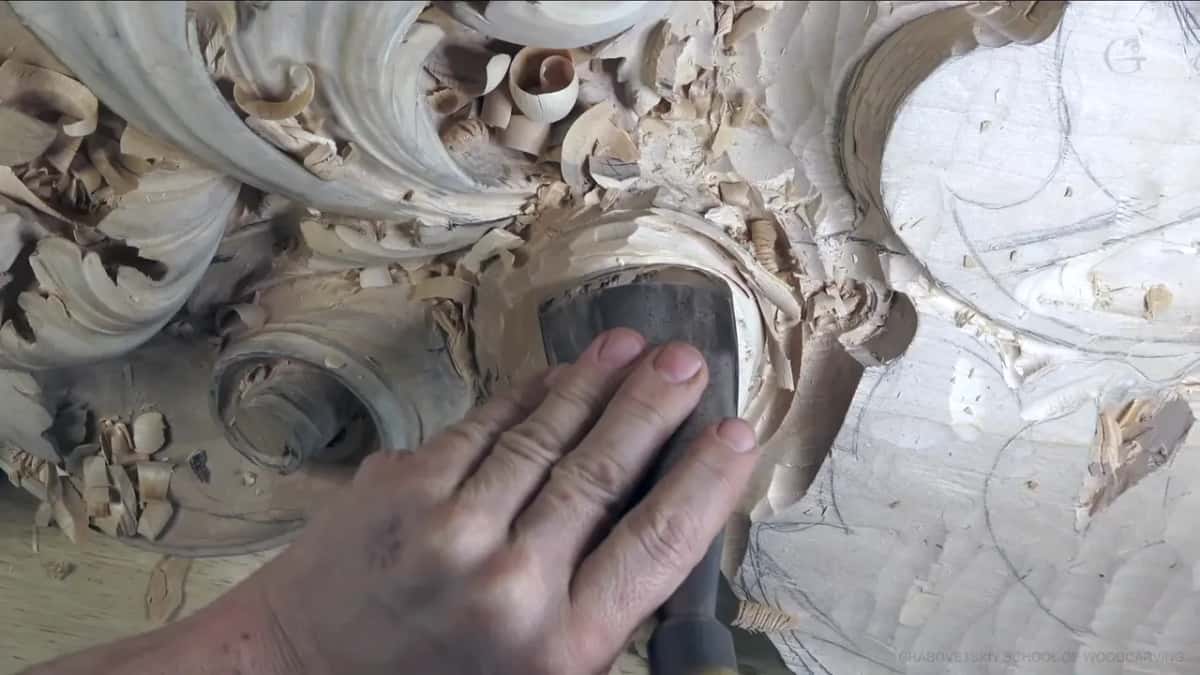
The number 7 has a page of its own from workshop 43. What mattered for the high spot was that its curve sat nearest the round I wanted, which is why I talk about matching gouges.
How do you soften a ridge without sinking the concave?
With a flatter gouge, a number 5 on this head, and by stopping before it cuts deep into the hollow beside it.
I had just gone uphill with a spoon, about 15 mm (roughly 5/8 in), on both sides of the middle. In the Venetian acanthus I'm following, a convex in the middle with a concave on each side is really common, so that side was supposed to go up anyway. I could have used a straight tool there, but I didn't. The spoon cuts left a really pronounced ridge, and I don't need that.
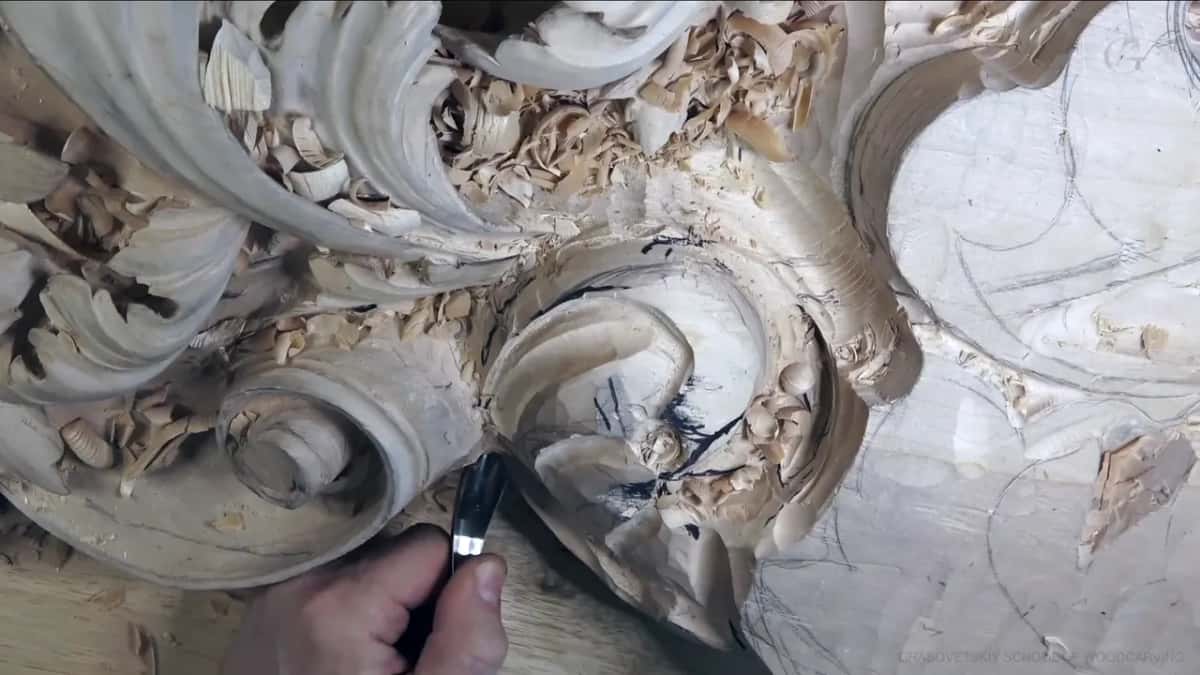
I weighed a 6 against a 5 and tried the 5 first, because I needed convex. Then I thought about a different 5, a smaller one, and said no. I wanted to blend, but I didn't want to create too deep cuts inside of the concave.

At the end, a number 3 did that job on the ridge edges. Before I raised one ridge a little more, I wanted the ones I had gradual and nice. Even if more divisions were coming, I said, everything had to be just gradual.
One point I left raised on purpose, because it still had to be blended together, and I wasn't going to touch that point yet.

How much curve should one small area carry?
A couple of gentle ones, if the spot is hard to reach. Deep under one piece early in the workshop, I said you could create a really nice concave in there, but don't get too crazy with it. A lot of concaves and convexes inside make that area much harder to work, and that's not the easiest spot.
What I wanted there was a slight concave, then a concave, then a slight convex, just enough movement for the eye. It doesn't have to be too big, and a number 5 did it.
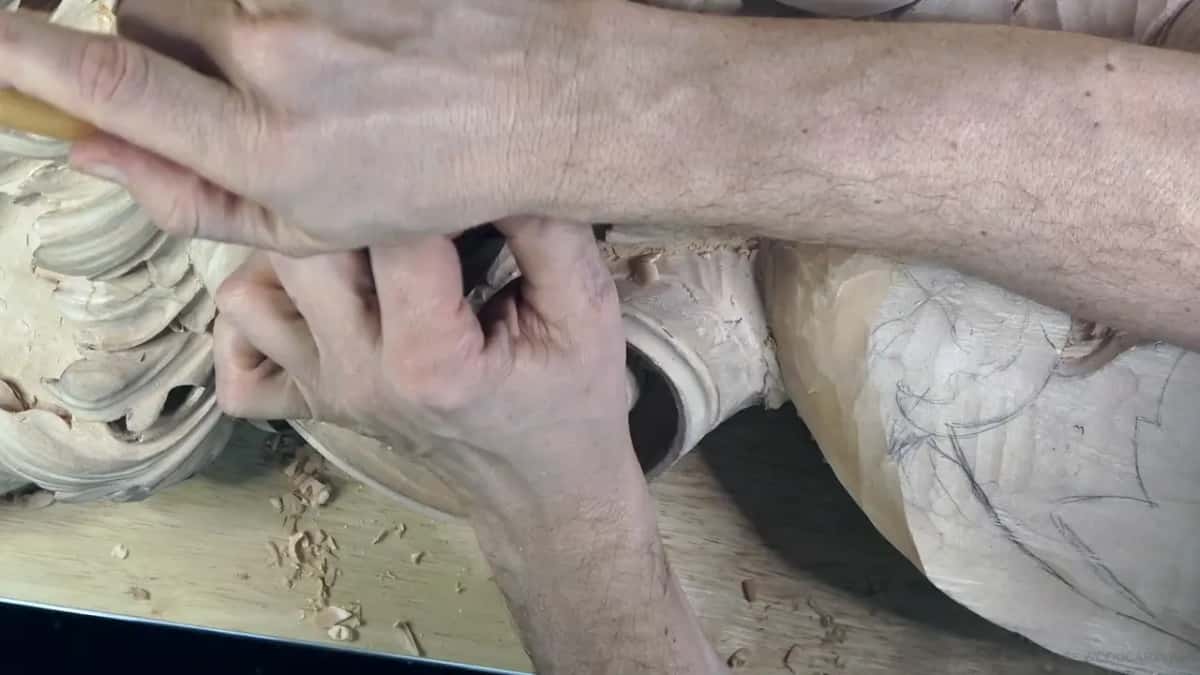
The table puts every seam on this head beside the tool that met it and what changed.
| Seam | Tool | Change |
|---|---|---|
| High spot on the wrapping part | Wide 7, the nearest match to that round | More gradual |
| Transition under one movement | Ten millimeter eleven, set aside for a 20 mm (3/4 in) | Nicer transition |
| Side knocked down | Wider still, like maybe 30 mm (1 3/16 in) | Smooth transition |
| Ridge between spoon cuts | Number 5 tried first, after weighing a 6 | Convex without deep cuts |
| Lost concave | Something else, after bringing the ridge inward | Pronounced again |
| Edges of the ridges | Flatter number 3, before more divisions went in | Gradual and nice |
| Leftover line | Smaller tool, to excavate much nicer there | Still to come |

What if the blend flattens the hollow you wanted?
Change tools and dig it back, which is what I did.
I was bringing a ridge inward. The same tool as before would do, I said, or a different one, and it's not a big deal to use maybe a number 7. But I lost the pronounced concave. I really wanted that concave pronounced, so I used something else and made it a little more of a concave.
The reason is where it's going. That hollow is going to be visible from the bottom, and I said so twice in under a minute. Maybe it came out a little exaggerated. I'm okay with that, as long as the part next to it stays really nicely raised up.
Carving for a ceiling changes a lot of choices like this one, and workshop 29 in part 3 gives the view from below a lesson of its own. Later, beside a pipe, I wanted the same thing again. It has to go underneath, I said, but still, I want to see that concave.
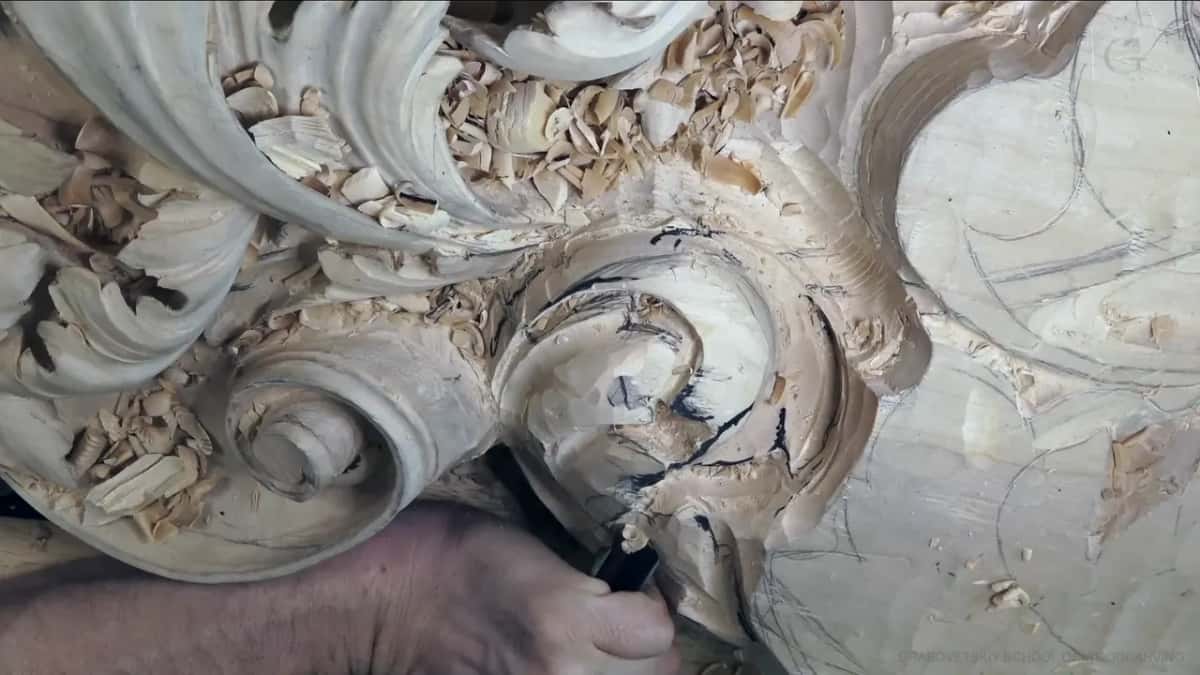
Does the rest of the design decide the transition?
It did here. One stretch looked like a straight line to me. It needed a nice shape, and more than that, it had to go with all the design together.
When the big seven cut the first movements of the head, they had to sit in line with the movements I'd carved before on this relief board, about the same. And the head as a whole had to go gradually downhill, with some of it growing above. It was a big chunk of wood, and how it would grow was, as I said then, a big question.
Right after I chopped some wood out of that chunk, what I said was more gradual movement upward. Later, one part just didn't make too much sense raised up the way it was, so I lowered it right away. It could be raised, I said, but not as much.
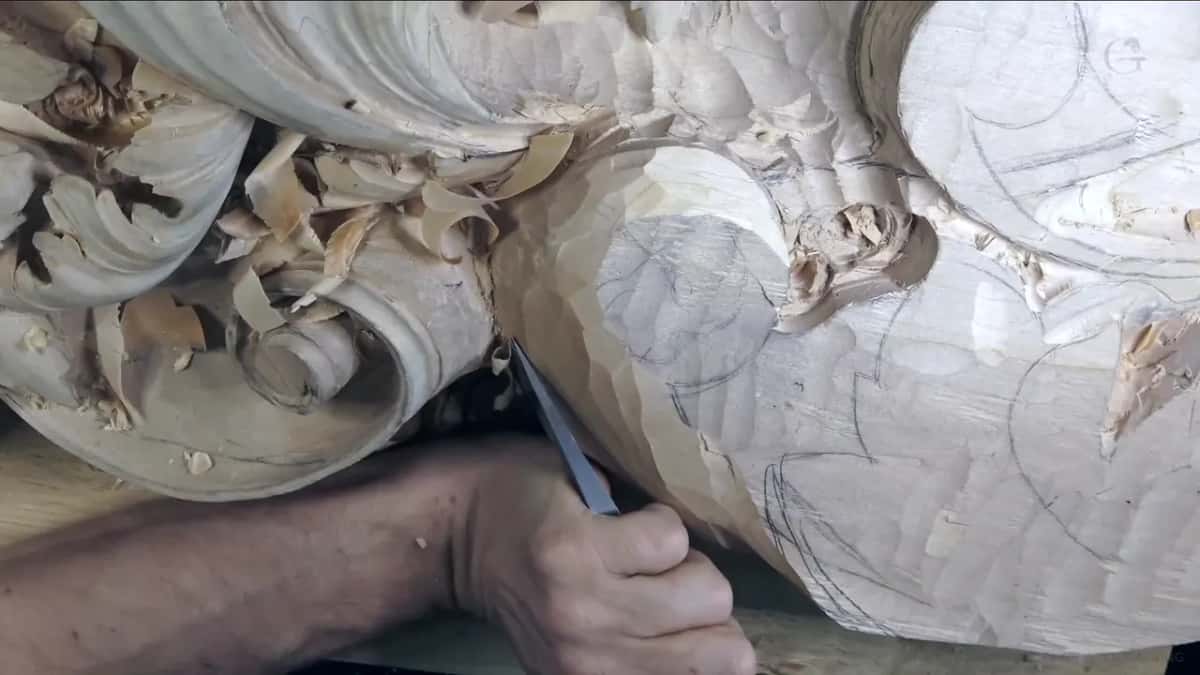
One part rolled under its neighbor, and the seam under there got blended with a skew. A gouge would probably work, I said, but the skew is also good. A few minutes later another part going under a movement needed blending better in, and I said so.
Movement is a word I use a lot in ornament, and workshop 38 is where this course explains it.
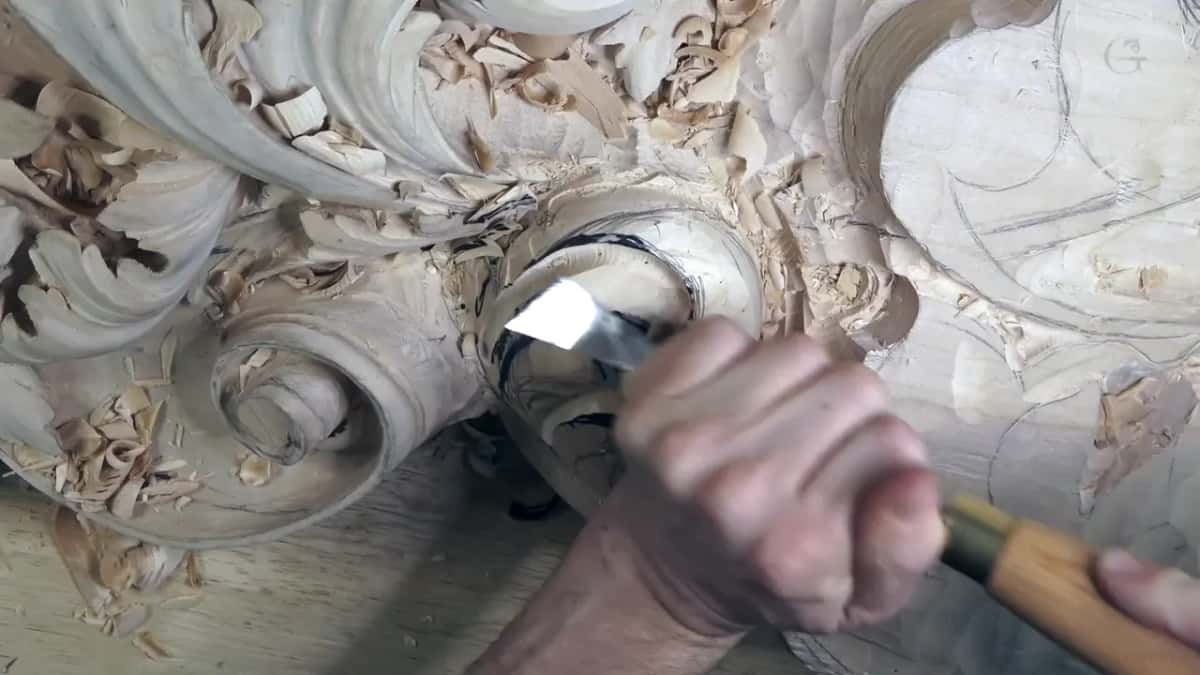
Where can you watch these transitions go in?
In workshop 48 of the Part 4 course, all twelve parts of it, on a commission for a client's ceiling. Workshop 47 comes right before it on the same board, and workshop 49 carries on after. How a Venetian acanthus head gets built from the start is covered in part 2, and the lessons map shows how all of it fits.
Can you picture a wider eleven running across a seam on a curve of your own? Pick the gouge that matches your round and start there.
If you want to watch every pass on this head, the tuition opens every workshop in this room.
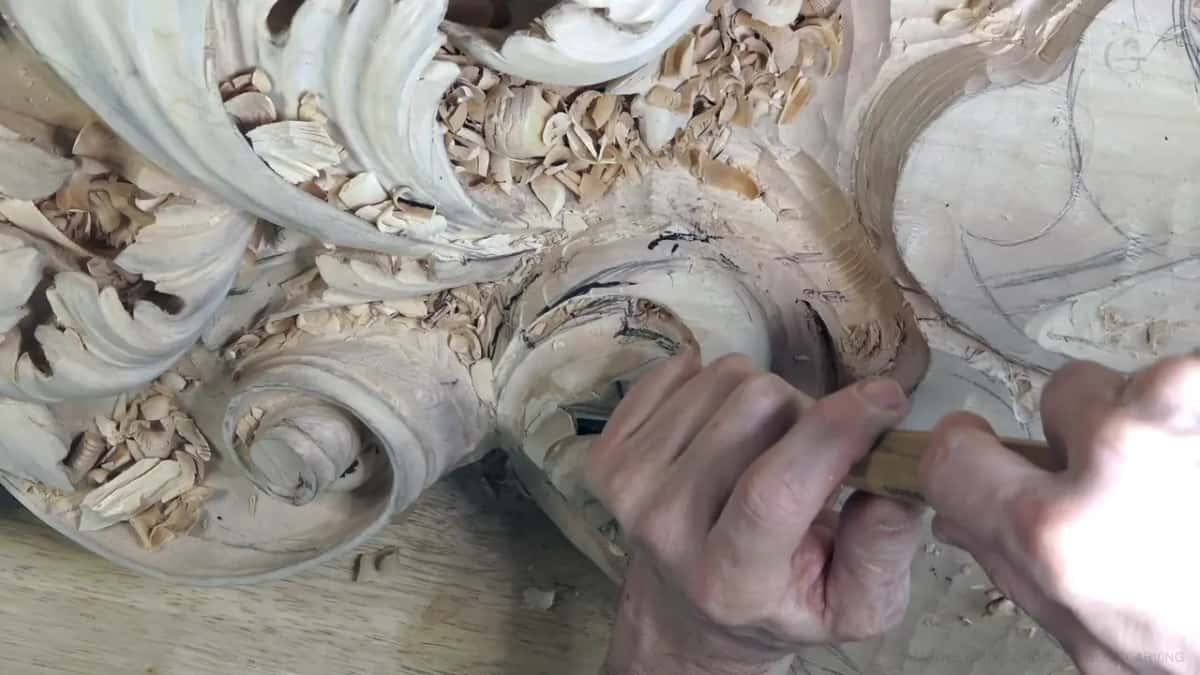
Something small from that session. In the middle of the transition work I noticed the wheels on my workbench weren't locked, said it's okay, and kept going. Later I apologized to the camera for the light.
How it's done
- Find the line or the high spot. Run your eye along the curve. Mine caught on a high spot and on one stretch that read as a straight line.
- Match the round to your sweep. The sweep nearest your round does the smoothing, and my big 7 took the high spot down.
- Go wider for the change itself. I set the 10 mm aside for a 20 mm.
- Lower the side that worries you. A bigger one again, around 30 mm, took a little off one side so the slope could run smooth.
- Turn a sharp ridge into a convex. The 5 did it here, and it stopped before it could bite into the concave beside the ridge.
- Dig a flattened hollow back out. When a blend took mine soft, I changed tools and made it a little more concave, even a bit exaggerated, since it shows from below.
- Clean the ridge edges before adding more. My number 3 cleaned an edge so the ridges stayed gradual.
Frequently asked questions
What is the best tool for smoothing wood?
Another gouge, when what you're smoothing is a carved curve. Mine was the one whose sweep matched the round I wanted, and a wider one did the transition, a 20 mm eleven instead of the 10, because I wanted a really nice transition there.
What do you do with a sharp ridge between two hollows?
Turn it into a soft convex. Spoon cuts on both sides of the middle left a really pronounced ridge on this head, so I weighed a number 6 against a 5, tried the 5 first, and blended without cutting deep into the hollows beside it.
Should you use a smaller gouge to blend a curve?
I went the other way for the transition itself. Holding a 10 mm eleven, I thought about a smaller one, then took a 20 mm, and later reached for a 30. Smaller tools came back at the very end, where one line still showed and needed cleaner work.
What to carve next