
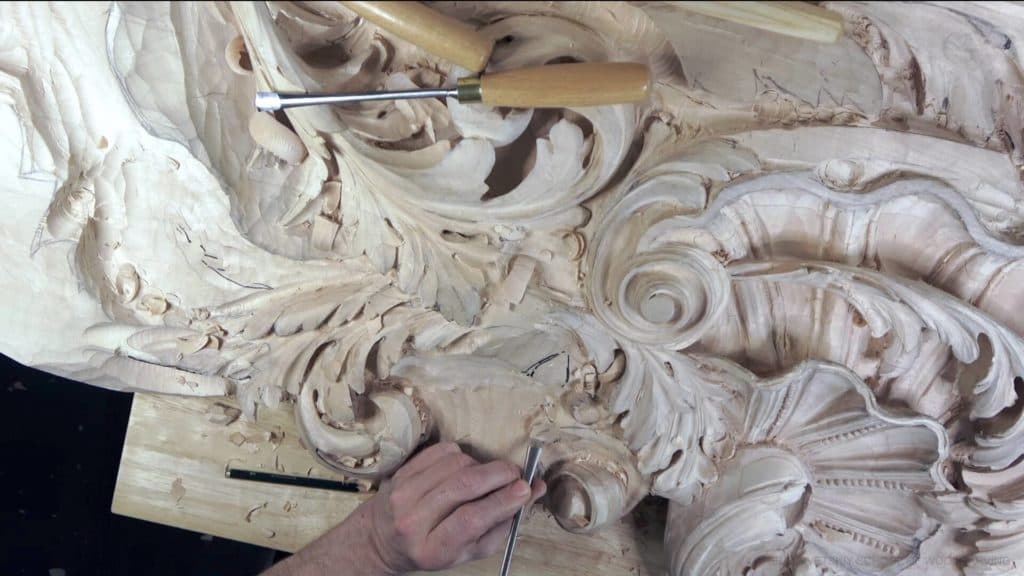
Alexander Grabovetskiy, woodcarver, School of Woodcarving · Published 2020
How do you carve the hollow inside a volute?
Quick answer: The hollow inside a volute is the wood dug out from beneath the rim of its round middle, so the inside curls back in a dome and holds a deeper shadow. On this Venice ceiling, number 11 veiners laid on their side did it, stepping down from 5 mm (3/16 in) to 2 mm (5/64 in).
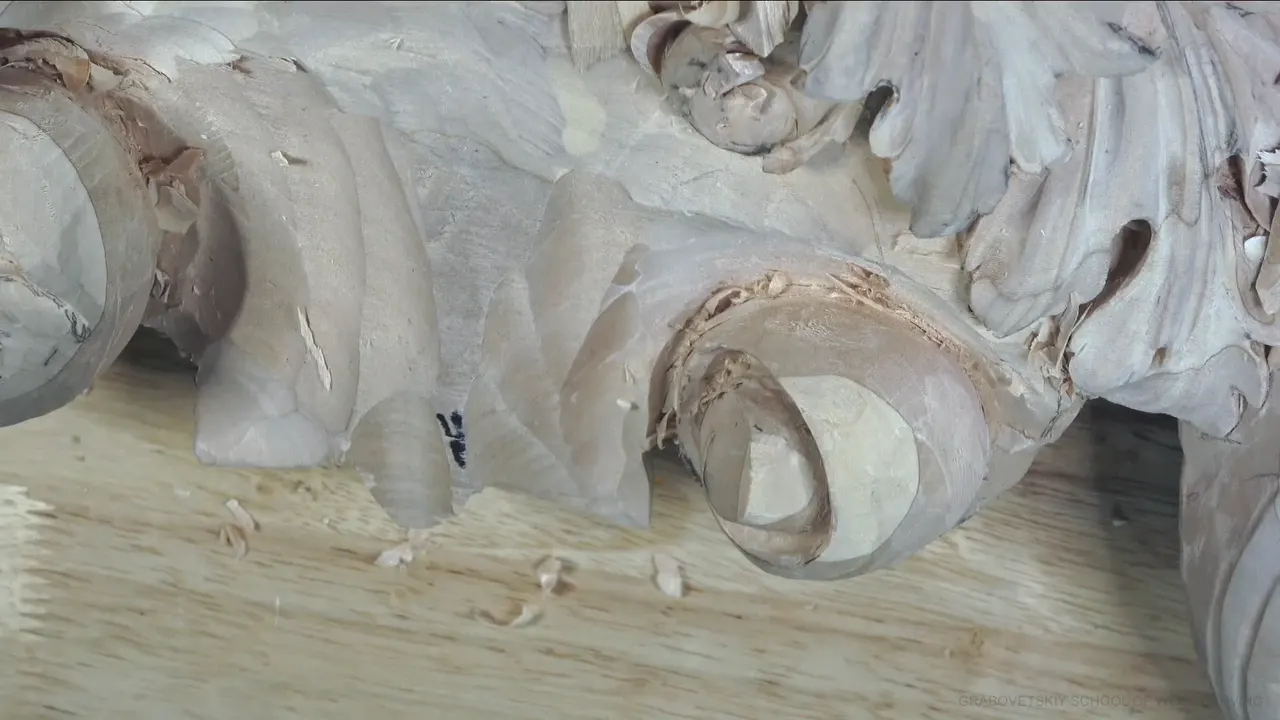
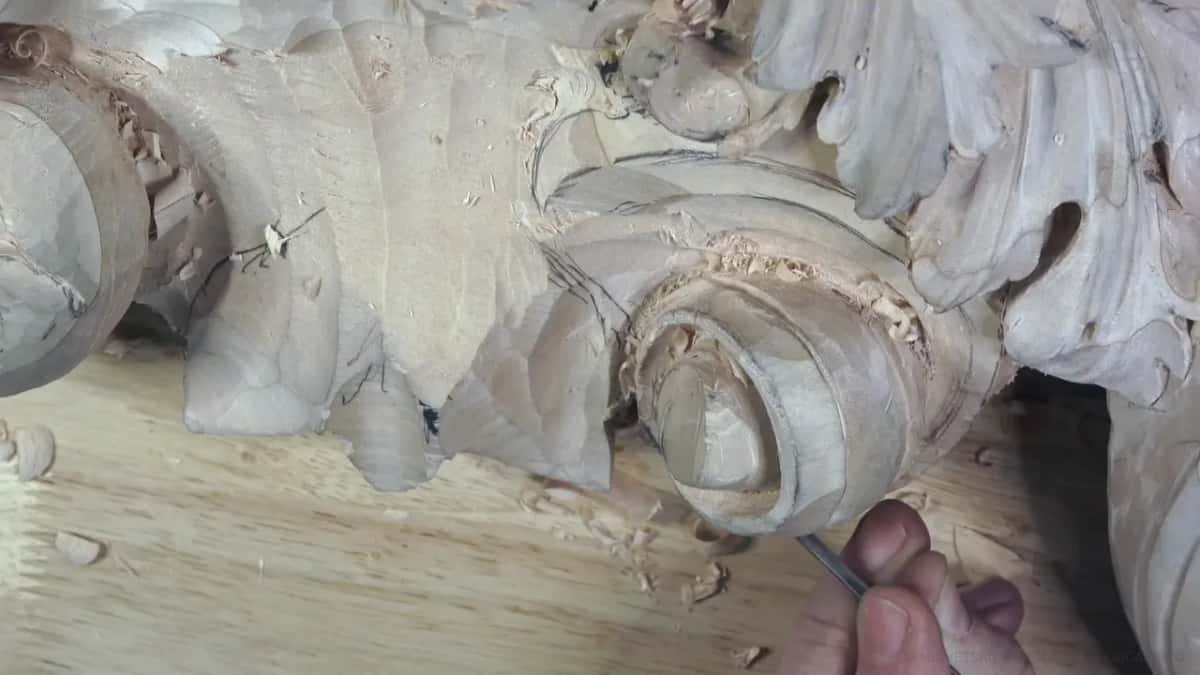
Hollowing a volute is digging out its round middle, the part I call the barrel, until the wood beneath the rim curves back like the inside of a dome. That dome holds the shadow. In wood scroll carving, this is one place where the tool you pick shows up in the shadow you get. I dug this one in workshop 46 of the Venice room, a ceiling commission for a client, with a number 11 veiner laid on its side, stepping down from 5 mm (3/16 in) to 2 mm (5/64 in).
Have you seen a scroll carved on top of an old column? Have you seen one curling on the arm of a chair, or on a clock? Then you can carve one yourself, inside and out. What made this one look deep is wood you never see, dug out from beneath its edge, and on this board a number 7 couldn't get far enough in to take it. You'll come away knowing which tool reached in there, when each size quit, and why I stopped short of the deepest pass I could have made.
What the barrel of this scroll needed
Leave a ridge around the middle before any of the digging starts.
A number 11 turned over on its side slides in under the edge, where a number 7 stops.
Under there it leaves a dome, and the dome holds the shadow.
Each size of 11 has a stopping point, so you go down a size when the one in your hand quits.
Press so lightly you barely feel it.
A 1 mm tool could go right through, and what's left of the rim would be weak.
Nothing inside gets sanded.

What is the barrel of a volute?
The barrel is only my name for the round middle of a volute, and I told the camera it isn't the technical name for it at all. Volute or voluta, whatever you call it, it's the best. A volute is the kind of curl you see at the top of an Ionic column, and on this ceiling the barrel is supposed to be complete, or almost complete, round. I didn't want to repeat the others, and that side needed a bulky look too, something much bulkier.

Before I touched the middle, I left a ridge about 3/16 inch (5 mm) wide all around it. Not a quarter inch. The edge had to be a tangent, so a number 11 cleaned it up and a skew finished it with light shaving passes. I also moved the line a little closer to my jigsaw cut and still stayed accurate.
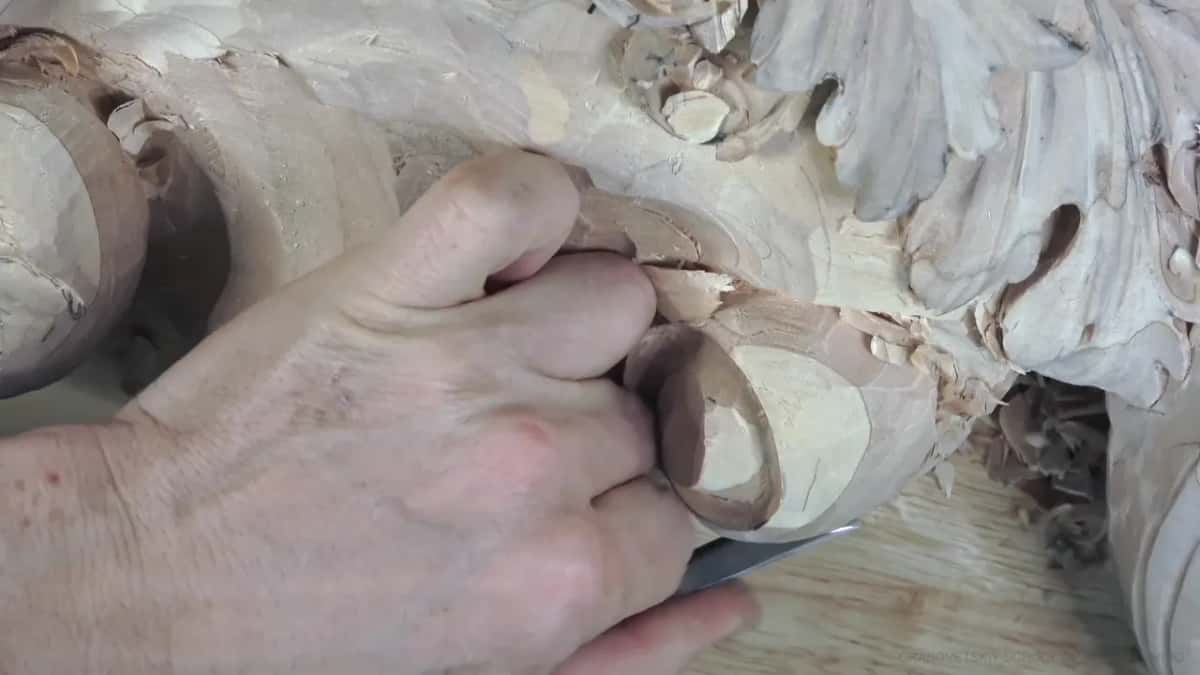
The outside of the barrel came from number 7 gouges, the first one about one inch (25 mm) wide, and later a bigger one that felt more like a number 8. Round the outside the movement just goes around and around and dies in. The only part I didn't like was one spot sticking out too much, which I fixed. Once I put a gouge back in its place and then said I'd spoken too early, since the same tool could have cleaned that spot.

One chunk beside it I could have kept and turned into some kind of design, but I didn't need it, and I thought it would look better without it. It has to go underneath to the other side anyway, which also solves how it will look from the bottom. Sizing that volute and seeing it in three dimensions was the work of workshop 45, so I won't go back over it here.
Why does a number 11 on its side dig deeper than a number 7?
Turned on its side, a number 11 can slide in behind the rim and keep going, and a number 7 can't follow it there. I've carved volutes with a 7 a lot of times. Here is how that goes. You take the 7, go in and clean the barrel, set the first pass in, then come at it from the side and remove the waste.
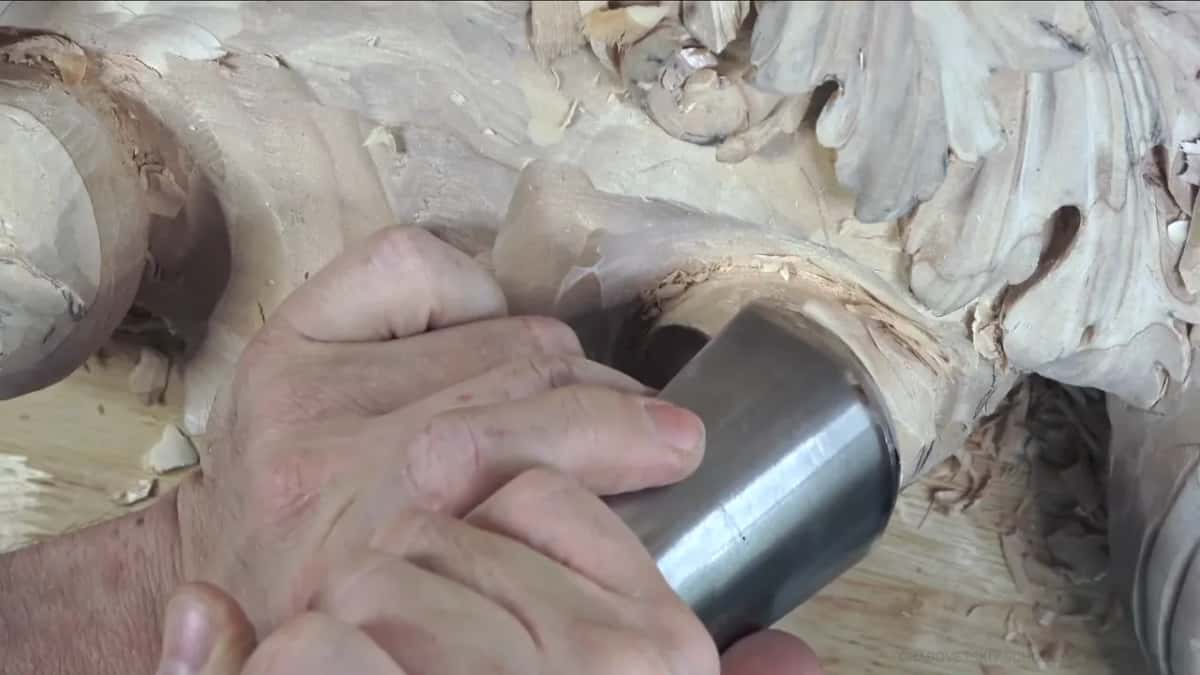
It works, and you can do it that way. With the 11, I thought I'd get a deeper pass and a deeper shadow, and much more movement in the curl. I can lay it on the side of the tool and just go in and excavate. It's not always just a number 11, either. I can take a different gouge first and outline the main form of the barrel, then go around.
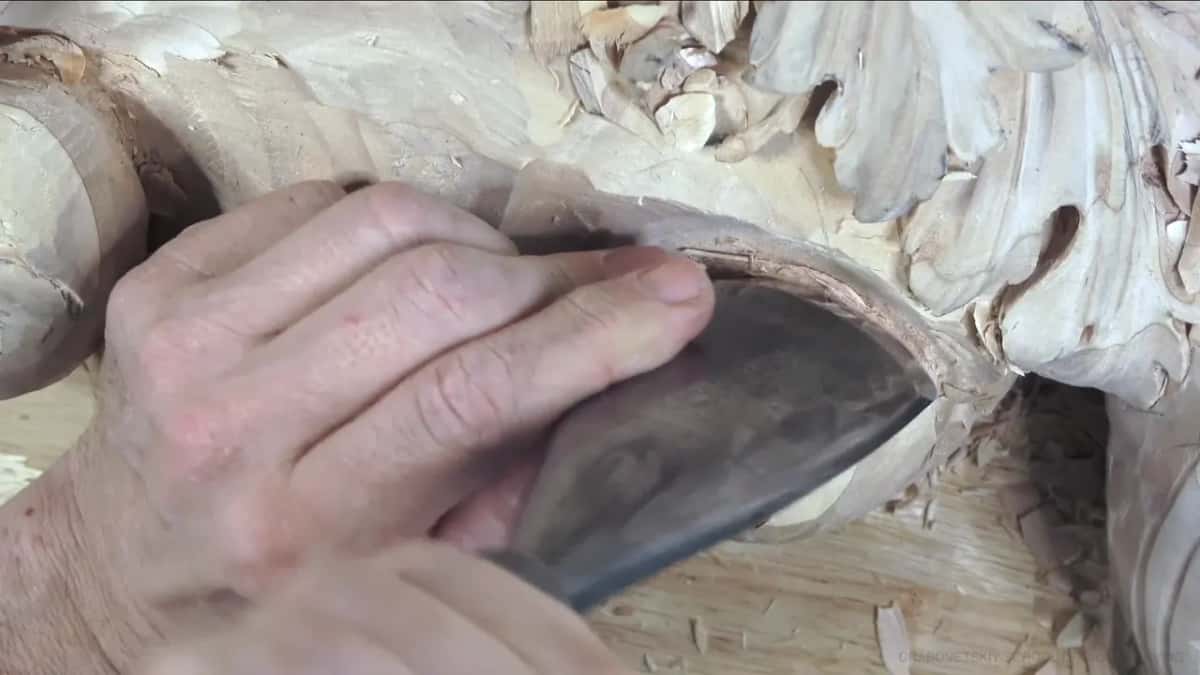
What I like about the number 11 here is that you can go really deep and still get a nice, smooth transition inside, which is better later on when you finish it. For the tool itself, how leaning it sets one edge higher than the other, see my Roman acanthus lesson. The part 3 course of this room covers the 11 as three sweeps in one.

What does the dome under the rim do?
The dome gives you a deeper shadow. Go straight in with the 7 and you can do these volutes with no problem, but the effect is going to be different. With the 7 I could get only to a certain point. That dome inside was never going to happen with it.
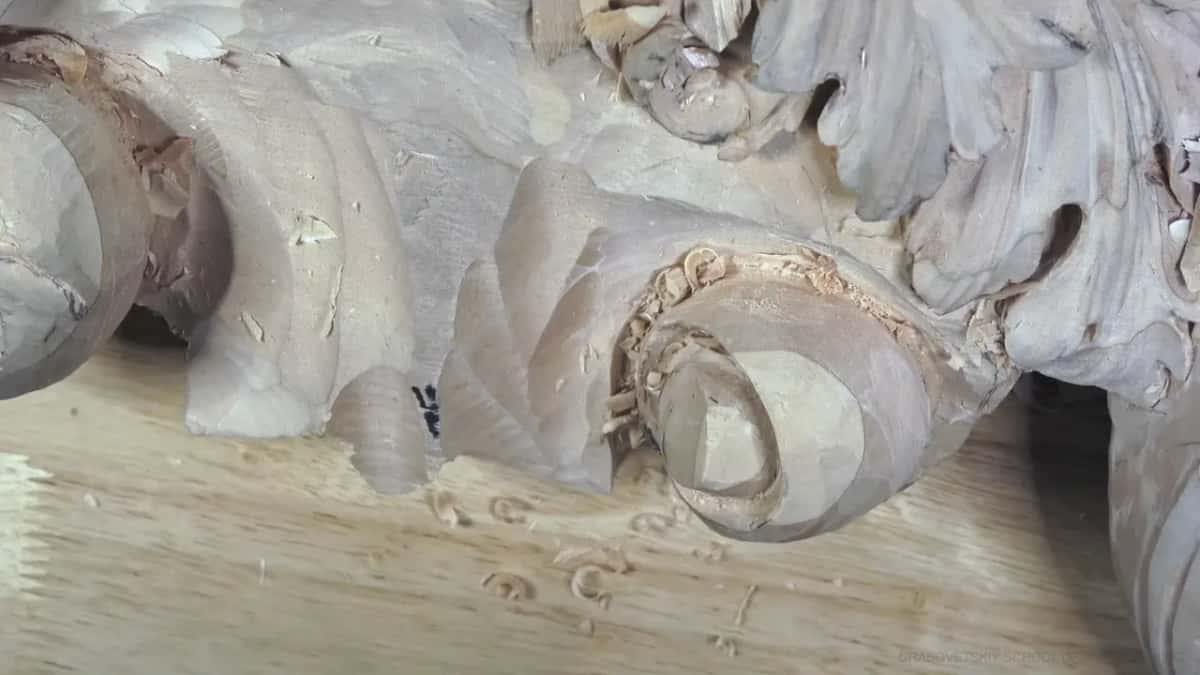
Then a number 6 took the side of that movement, and a second number 6 gave the volute itself a nicer shape. And no, I didn't sand the inside. There was no reason to. You could see the dome effect right there, and it was clean.

In some other cases the 7 is fine. Here I really liked it this way. Going up to a deeper sweep when a hollow looks flat is a different call, and I made that one back in workshop 7 of this room.
When do you switch to a smaller number 11?
Switch when the one in your hand reaches its stopping point, the place where it can't reach in any more. I started the round with the 5 mm and set my deeper grooves with it, keeping the slope, because that spot was not supposed to go deep. A 4 mm (5/32 in) carried the hollow on around until it met the point where I began. Then I dropped to 3 mm (1/8 in).
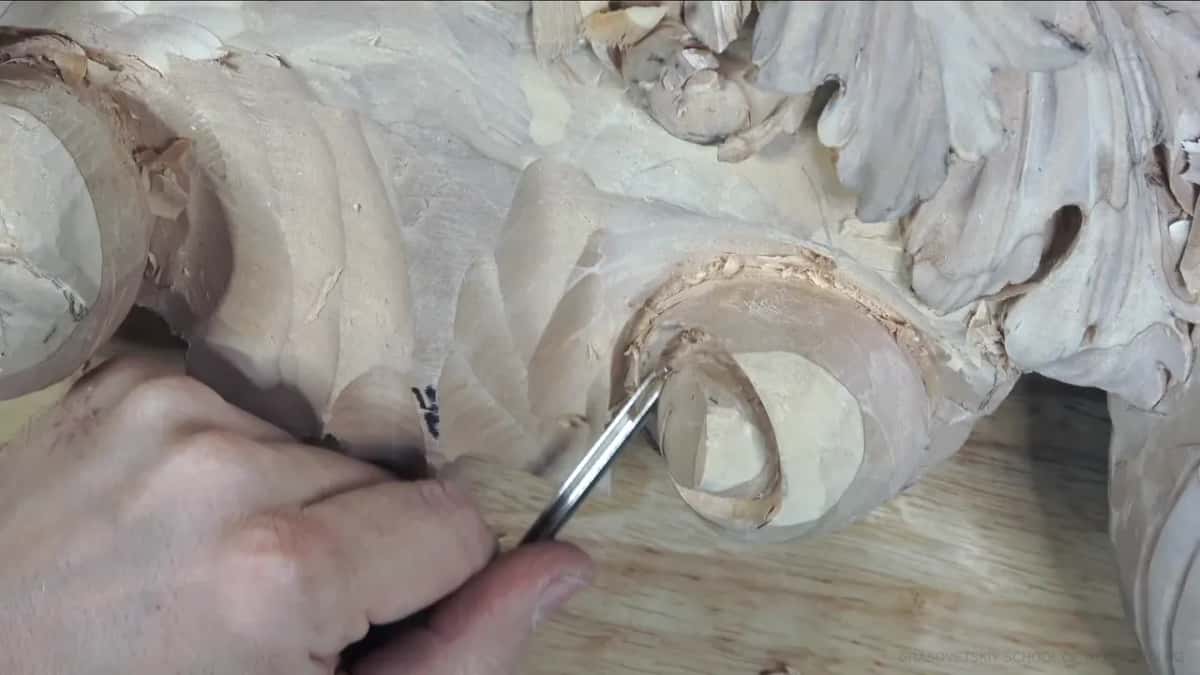
That 3 mm went as deep as it could go. What I checked was how deep the excavation was and how nice a shadow I was getting. I showed the camera the view from inside, the way you would look in there yourself, and then took the 2 mm to get deeper. The 2 mm went further, and then I stopped, because I didn't want to overdo it.
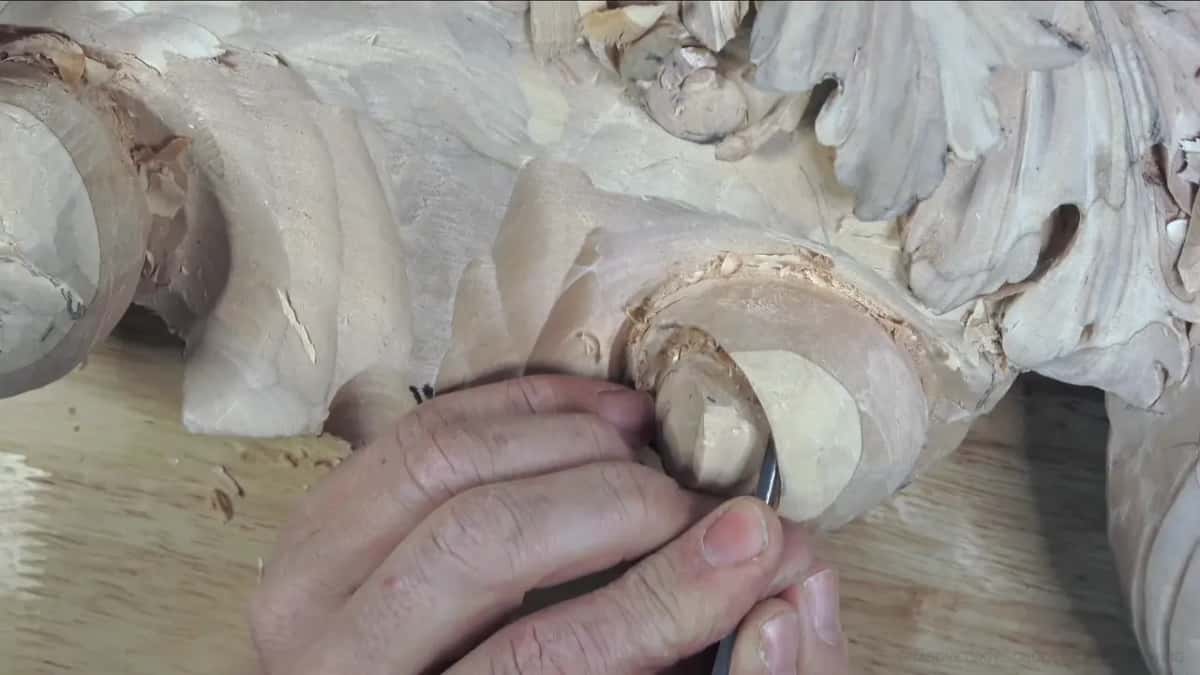
Once I blocked the view myself, and I apologized to the camera for it.
How hard can you press beside the rim?
Barely at all, and even then you're cranking against it. I kept an eye on the edge the whole time, watching whether I was pressing too hard or not, because breaking it is always a possibility. It's better to take your time and excavate little by little than to make the big mistake, press too hard, and watch all that effort go.
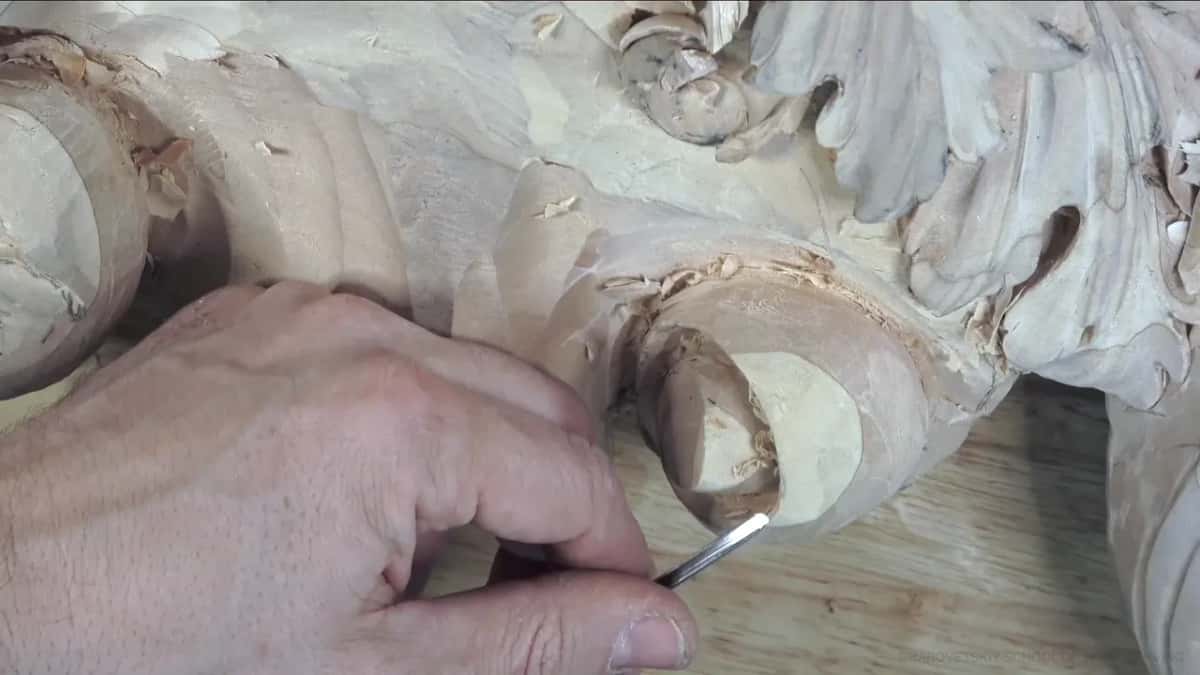
At one spot I thought the edge had gone too weak. It hadn't. So I went on in from the other side.
There's one more trap with a straight tool. Rotate it in there and it comes to what I called the power point, where you start squashing the edge. That's one of the things I watch for, and I don't do it. Undercutting a leaf lobe so it looks thin without being weak is its own lesson, back in workshop 11.
How deep do you go inside the barrel?
Go as far as the shadow needs, and stop while the rim can still stand on its own. I could have gone as deep as I wished. Even a 1 mm (about 1/32 in) tool would have taken it all the way through right there, and I'll be honest, that would have looked really nice. But the tiny movement left behind would be too weak.

So I left it. No more than that.
It's not pierced work, and I said so out loud early in the lesson. Going all the way through was never the plan. An opening right through a relief is a different question, and I weighed it on this same board in workshop 37. Driving a groove so deep the eye can't find where it ends is another trick, a vanishing point cut, and I use it on a flower.

Is there another way to hollow a scroll?
There is, and I've used it a lot of times, the number 7 way. In another course, Carving Hashemi Flowers, I carved a high volute with a different technique. I told the camera I used a number 7 there, I believe, if I'm not mistaken, and in that lesson a 14 mm (9/16 in) number 7 does round the volute. There I did one volute at the same level and a high one on another side, because there are multiple ways to do those.
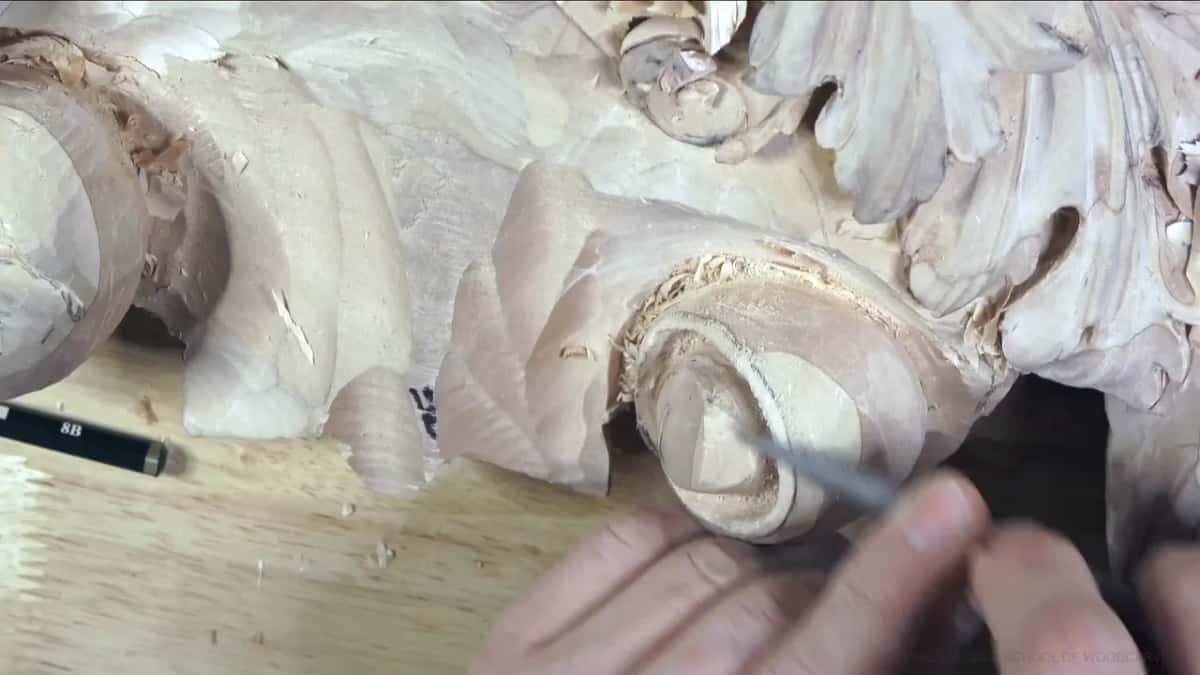
Other volutes on this site take other routes, and I'd rather send you to them than build them again here. The twisted volute in workshop 31 rose from under a leaf on this same ceiling. A volute can also be built as three curves in a row, carved in low relief with hardly any depth, or given a flat or a sloped top. And if you're starting a scroll from a drawn line, begin outside the line.
What happens on the outside once the inside is done?
The details come next, and they go on the outside. Once the inside looked really nice and clean, I set a small ridge around it, starting at 3/16 of an inch, 5 mm, in one spot and going to about an eighth, 3 mm, around the rest. And yes, I was eyeballing it. That's the ridge I'm not going to touch.
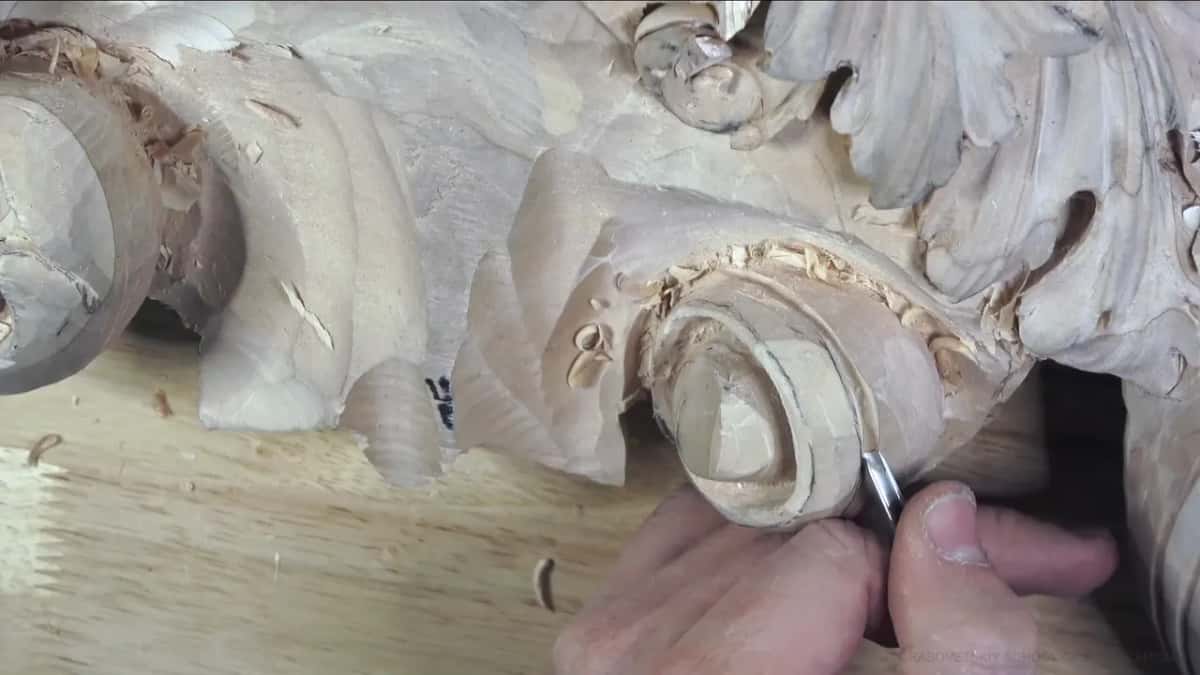
After that I found one more thing I didn't like, a spot that wasn't gradual, and for me how gradual it goes matters a lot more than keeping my pencil line, which I can always draw again. Next to the volute there was still a spot I had to fill later somehow, because you don't want to see just an empty spot there. Later in the lesson I added some kind of acanthus movement to blend two movements together.
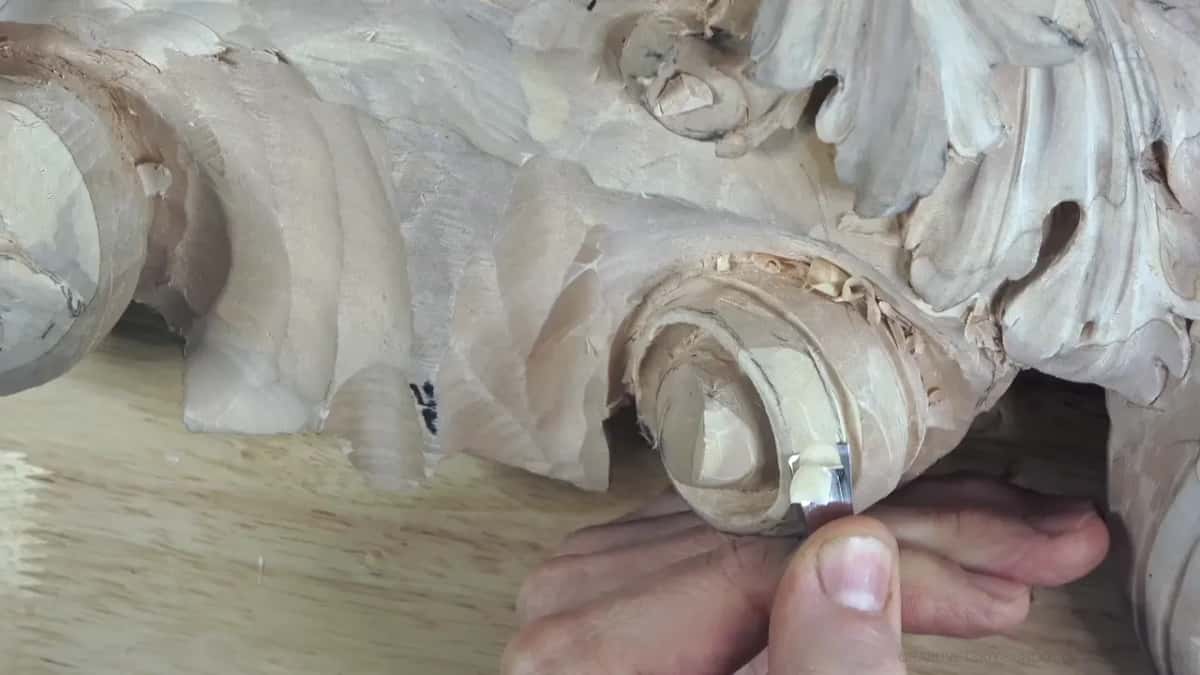
Next came a deep concave about 12 mm (1/2 in) down, right around the curl, carved with a 3 mm number 11 at least an eighth of an inch deep. You can always read the depth off the edges of the tool, and I kept it about the same everywhere. A second one went in 15 or 16 mm (5/8 in) away. Then a number 5 about 12 mm wide took the wood between the two grooves and made it a convex, the same idea as the micro pipe on a leaf.
That number 5 was going against the grain with no way to come in from the other side, so I sharpened it. A smaller, sharper number 4 would have given me about the same result, but it's always better to just sharpen the tool.

Which tools did this wood scroll carving take?
Four sizes of number 11, a pair of 6s and a skew did the work in and around the barrel, and number 7 gouges shaped its outside.
| Tool | Job | Limit |
|---|---|---|
| The first eleven, 5 mm | Went round the barrel first and set the deeper grooves | Held the slope |
| Four millimetre eleven, 5/32 in | Carried the hollow on around to the starting point | Handed over to 3 mm |
| Another 3 mm, European size | Dug in under the lip with almost no pressure | Its deepest reach |
| Two millimetre eleven | Went past the 3 mm and then cleared the chips | Enough, no overdoing it |
| Pair of number 6 gouges | Cleaned one side and gave the volute its shape | Dome showing inside |
| One millimetre tool, 1/32 in | Could have gone clean through the whole barrel | Too weak, not used |
| Number 7, for comparison | Goes in, then gets worked from beside it | Only a certain point |
Where do you start on a scroll of your own?
Start at the ridge. Keep one standing round its middle before any hollowing, then go in beneath it using a number 11 laid on its side, pressing almost nothing, and drop a size each time one stops. Then look at the scroll from the side and from inside, the way I showed the camera. Can you picture a 3 mm veiner slipping in under that ridge on a scroll of your own?
The Part 4 course has the whole board, workshop 47 carries on from this one, and the tools course covers the gouges and veiners themselves.
One small thing from that day. My own 3 mm number 11 wasn't in its place, which means I'd put it somewhere, so the middle of this dome went in with another 3 mm, still an 11 but a different one, a European size.
If you want to watch every pass of this dome go in, the tuition opens every workshop in this room.
How it's done
- Leave a ridge round the middle. A little under a quarter inch, about 5 mm, running right round it.
- Open the round with a 5 mm eleven. Keep the slope gentle and set the deeper grooves with the same tool.
- Tip the veiner over. Lay it on its side and work inward, so the hollow tucks in behind the lip.
- Drop a size each time one stalls. Four, then three, then two millimetres, each taken as far as it will go.
- Hardly lean on it. Keep your eye on the rim the whole time, since a break is always possible.
- Quit before the wall goes thin. A 1 mm tool could punch through and leave the rim fragile. Tidy the side afterwards using a number 6.
Frequently asked questions
Can you hollow a volute with a number 7 gouge?
A number 7 handles a volute with no trouble, and I've taken that road plenty of times. You push in, clear the middle, work in from beside it and lift the chips away. On a barrel like this one it just won't reach far enough beneath the edge to leave a dome.
Why does my carved scroll look flat in the middle?
A shallow middle can mean the tool stopped before it got under the edge. On my Venice ceiling a number 7 would reach only a certain point, while an 11 on its side kept going and left a dome, and that dome is what gave me a darker shadow.
What size veiner goes deepest into a scroll?
Smaller ones, one step after another. Mine went 3 mm (1/8 in) until it hit its limit, then 2 mm past that, about 5/64 of an inch. I stopped there, since a 1 mm could have broken right through and left the rim too weak.
What to carve next