

Alexander Grabovetskiy, woodcarver, School of Woodcarving · Published 2020
How do you see a wood carving in three dimensions?
Quick answer: Seeing a carving's depth is holding the whole form in your head while the wood is still a block. On one Venice ceiling volute I let the wood left under it set the size, carved a plain square first, then rounded it into the movement and checked it from the side and from below.
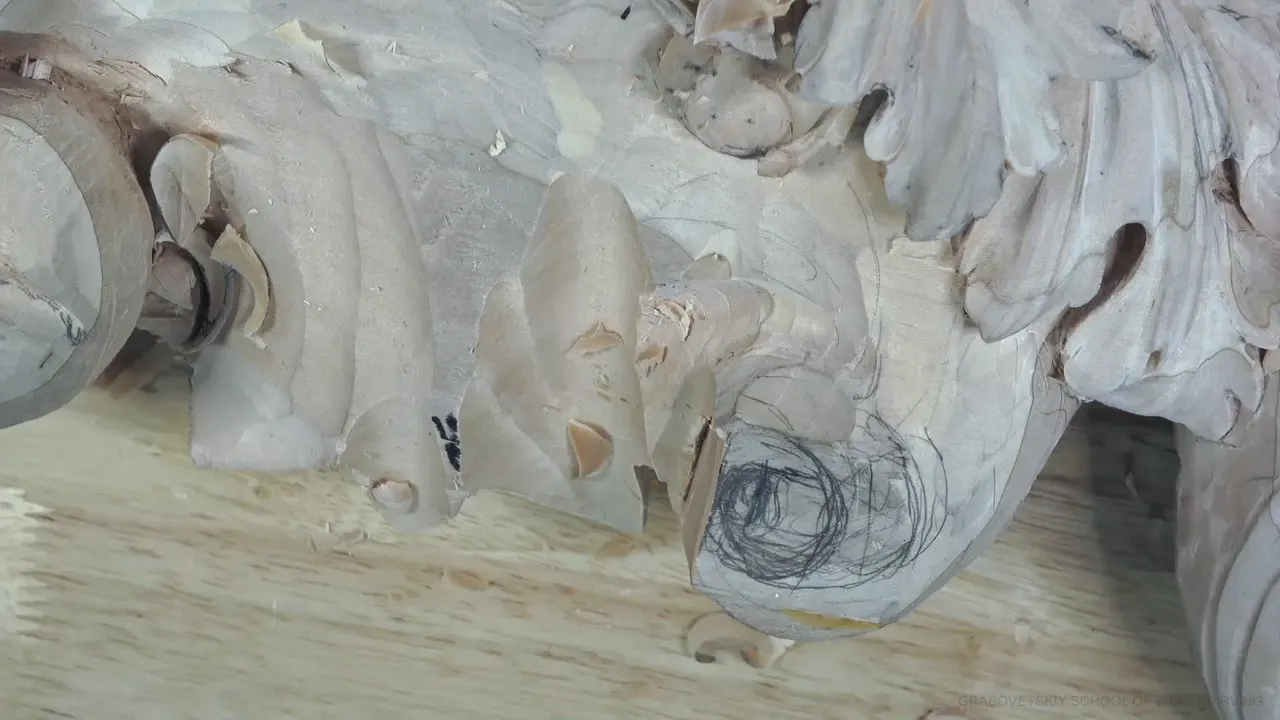
Seeing a wood carving in three dimensions is knowing where each form ends in depth before the wood shows it to you. In workshop 45 of the Venice room I did it on a side volute. I sized it from the material left beneath it, carved it as a plain block, and only then made it follow the movement. Type three dimensional wood carving into a search box and most of the top results are about machines. Mine is the other kind, done by eye and by hand on a relief panel.
Does a spoon change shape when you tip it on its side? And when you move your head, does a shadow move with you? A carver has to see that change while the wood is still a block, and on a board like this one it is the main goal.
A form can look fine from above and still be wrong seen edge on. A hollow can be two inches (50 mm) deep and look like almost nothing. While I carve toward a shape I can't see yet, I keep asking where it ends, how big the wood lets it get, what it looks like at the start, and which views I trust.
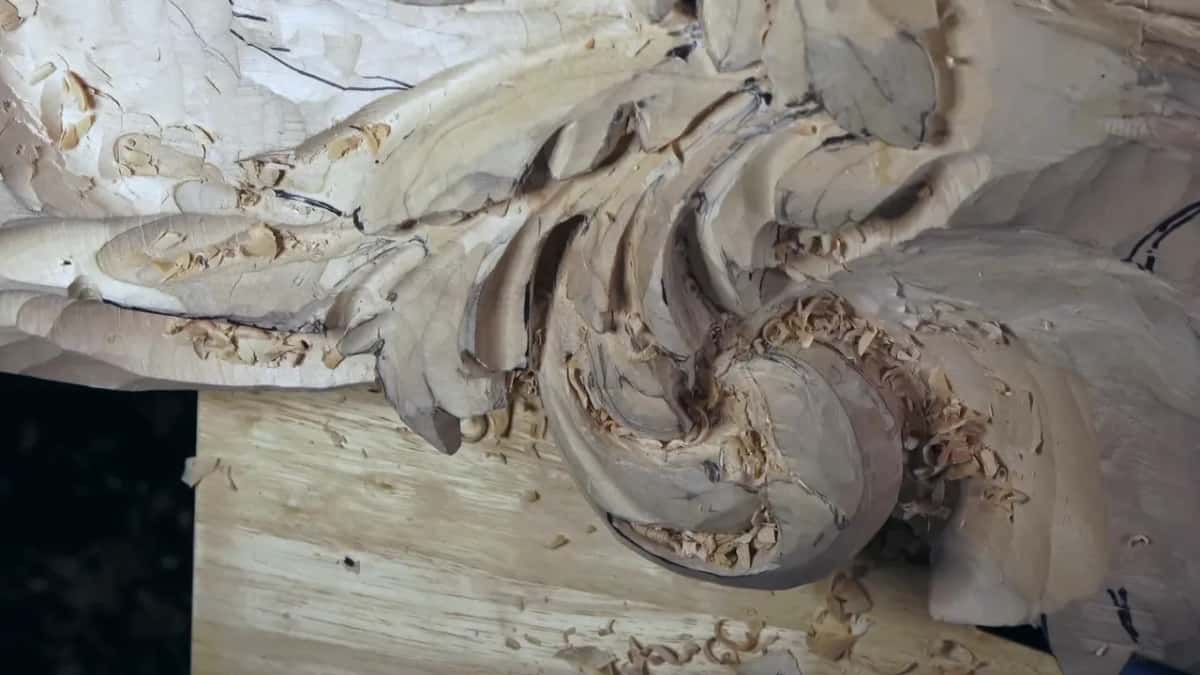
Five things I keep in my head on a form nobody can see yet
Where the form ends. I pick that spot first.
How much wood sits under it, since that is what decides the size.
A plain block before any curve.
The side and the view from underneath, as well as the one from above, because the top view can fool you about depth.
Patience in the middle, when it looks confusing for a while and then starts to make sense.
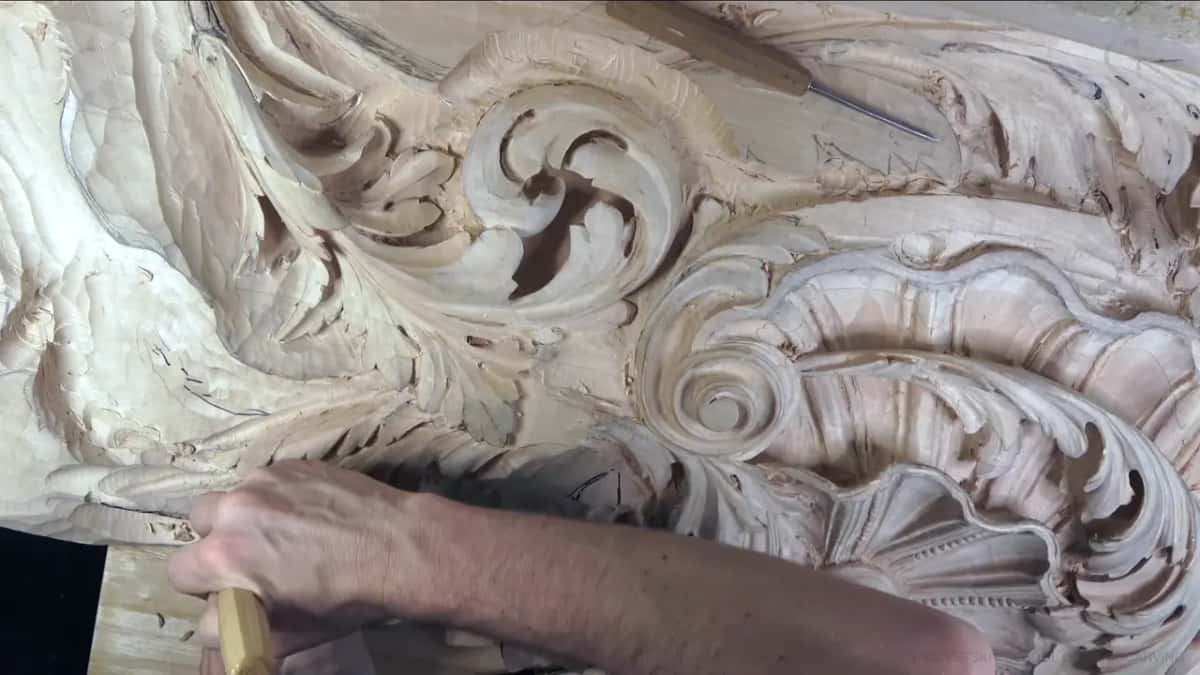
Why is seeing in three dimensions the hard part?
In my opinion it is the main problem people have with a movement like this one. Near the end of part 9 I said it straight: the goal is to see in three dimensions, that is the main goal, and if you don't see it, that could be a problem.
This volute has a double movement. It goes around, around, down and up, and then a second one goes off another way.
I have done that movement multiple times. The first time, it can feel complicated. It isn't really complicated. But I still told the camera the outline made no sense yet.

How do you decide where a carved form will end?
You pick the end first. Before the volute had any shape, I said I had to create the idea of where its top was going to end up.
Then I thought about bringing it right to one point. To do that I needed the right slope, because I wanted to see the movement from the side, so the upper part had to have some space.
There are many ways to develop a shape like this. It came up more than once. Then came where my volute goes and how I want to see it, because I really don't want it to look stupid.
The leaf works the same way. One end in part 4 was supposed to roll down later, but it was going to be the main subdivision, so I shaped it nicely along its whole length right then.

How big should a carved volute be?
As big as the wood under it allows. I made this one about 15 mm (5/8 in), and I got that number from how much material I had left to the bottom. I couldn't go too far, because some of that wood has to stay. I called it a really important decision.
Its place on the board came next. By eye it was about 15, 16, maybe 17 mm from the edges at the start, a little over half an inch, and I said out loud that it would change later. I thought I had it right on the money.
Wood can also be too thick. A big chunk of material sat at that spot in part 8, so a beveled top made more sense to me than a flat one, and I set the barrel sideways. Part of that chunk was too thick, and taking it off gave me an opportunity. If I don't like it, I'll just take it down.
What does a form look like before it follows the movement?
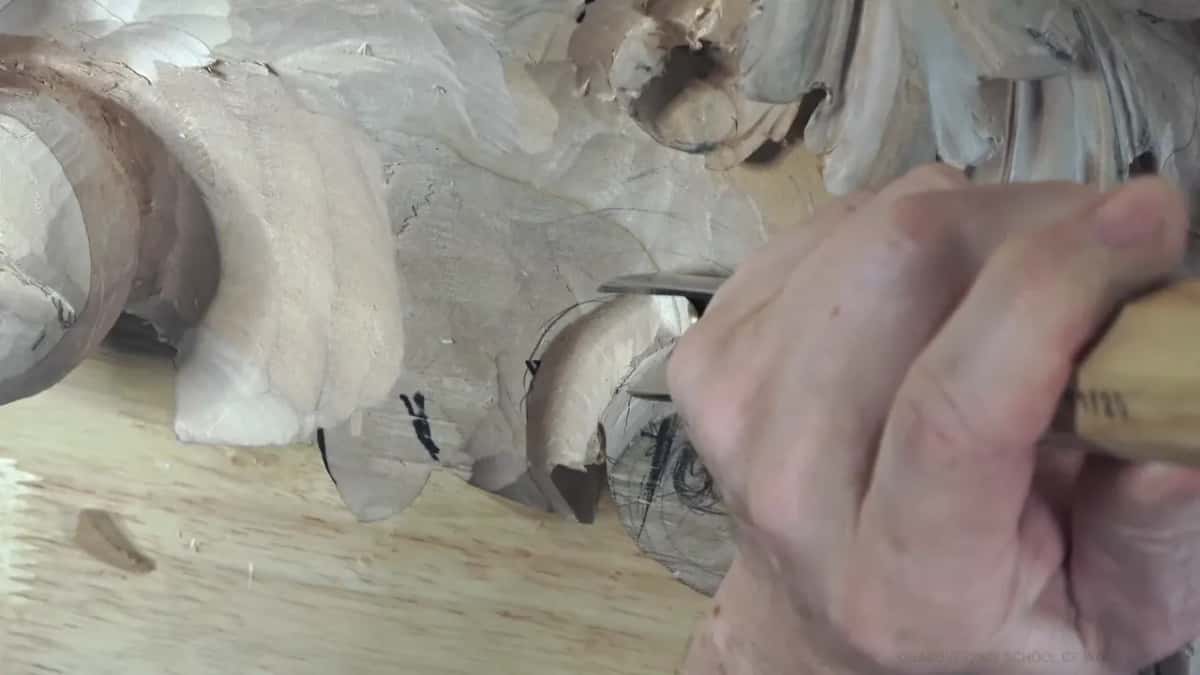
Like a square block. The barrel of this volute began that way when I first carved it, and I called it preliminary. Then it had to make sense and follow the movement, so I brought it inward.
Barrel is only my word for the rolled body. I told people it doesn't mean an actual barrel, it's just the volute.
Before any of that, I cleaned one face with the skew. That was my canvas, the working surface. A #11 then went in at 12 mm, a little under 1/2 in, to take the barrel inward. Later a 5 mm (3/16 in) #11 started the digging around it, and a three quarter inch (20 mm) #11 made it really pronounced. Near the end I used a one inch (25 mm) #3 and rolled it as it went.
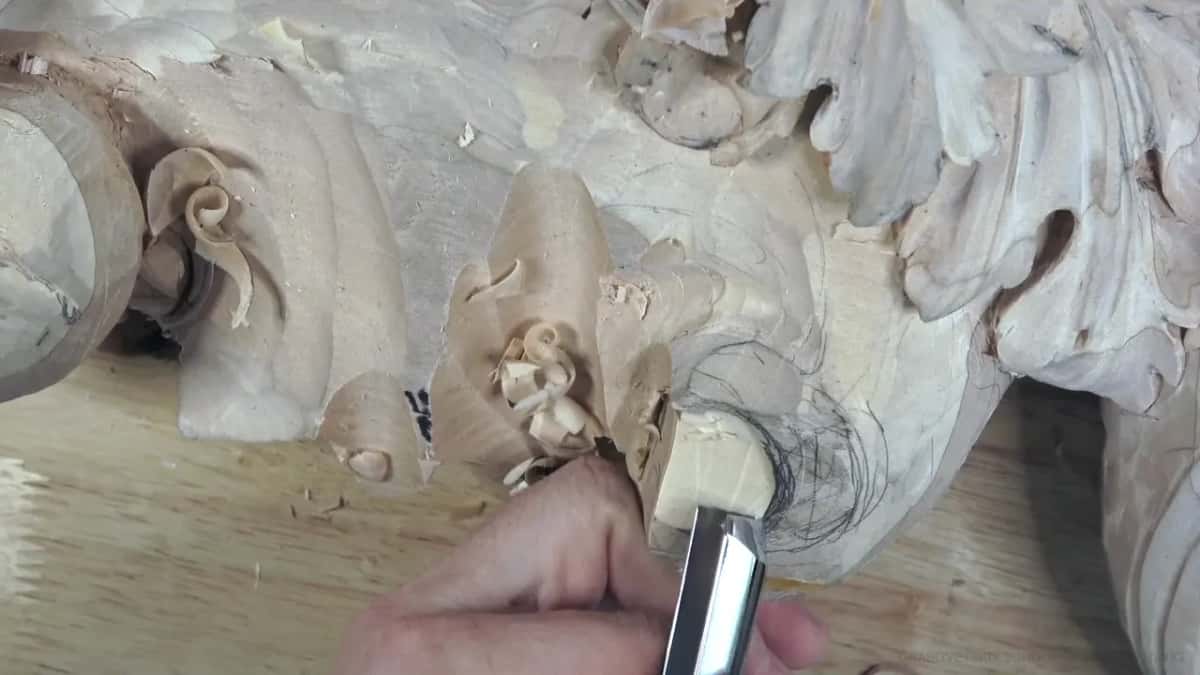
Through all of it the slope stayed the same. I only made it rounder and more logical, like a ball running around and ending up at one spot. I said it plainly on camera. It is not the final shape yet; we are just establishing it.
That whole stage, every movement first and no detail yet, has a page of its own. So does the twisted volute I carved in workshop 31 of this room, and so does the general question of how a volute gets carved. The hollow inside this one waits for workshop 46.
| What I had to settle | What settled it on this volute | Done yet? | What I said at the bench |
|---|---|---|---|
| Its overall size | The wood left underneath it, 5/8 in (15 mm) | Set early | I can't go too extreme here |
| Where it sits | By eye, 15 to 17 mm (5/8 to 11/16 in) from the edges | Will change | Later on, it will be changed |
| Flat or beveled | A big chunk of material, so beveled and set sideways | Kept it | More logical to just bevel it |
| Which way it faces | Twisted a little so the barrel looks sideways | Kept that | Much nicer this way, I think |
| How low it sits | Taken down with a 20 mm (3/4 in) #11 | Still open | Maybe that chunk is too big |

Which views show you what the top view hides?
The side and the bottom. Early in part 9 I stopped to show the block from the left side. I liked the slope of the barrel from there, and I did not want to change it.
In the next part I twisted the whole movement a little, so the barrel looks sideways and runs somewhat parallel to the side next to it. It would have looked nice if I hadn't, but I thought it would look much nicer this way.
Then there is the view from underneath. This board is for a ceiling, so people will look up at it. One small separation, I said in part 7, would look really nice from the bottom, and even as a small piece it had to be there. At the end of part 12 I was still asking how it would look to somebody lying underneath it.
The leaves on this side get the same test. Those ends will be seen from underneath the flowers I'm going to carve, so they have to reach almost down to the point.
The view from below has its own page for workshop 29, and so does judging whether a detail looks right, from workshop 12.

Can a view from above fool you about depth?
A view from straight above can hide most of it. I had one layer about two inches (50 mm) below another in part 1, and I said you almost don't see it.
Carving an eye in part 7 with a 3 mm (1/8 in) #11 veiner, I told the camera that from above you see only the stretch between two points, so don't fool yourself. Then I took a 2 mm (about 1/16 in) #11 and went all the way underneath, because I really wanted that separation back on this side.
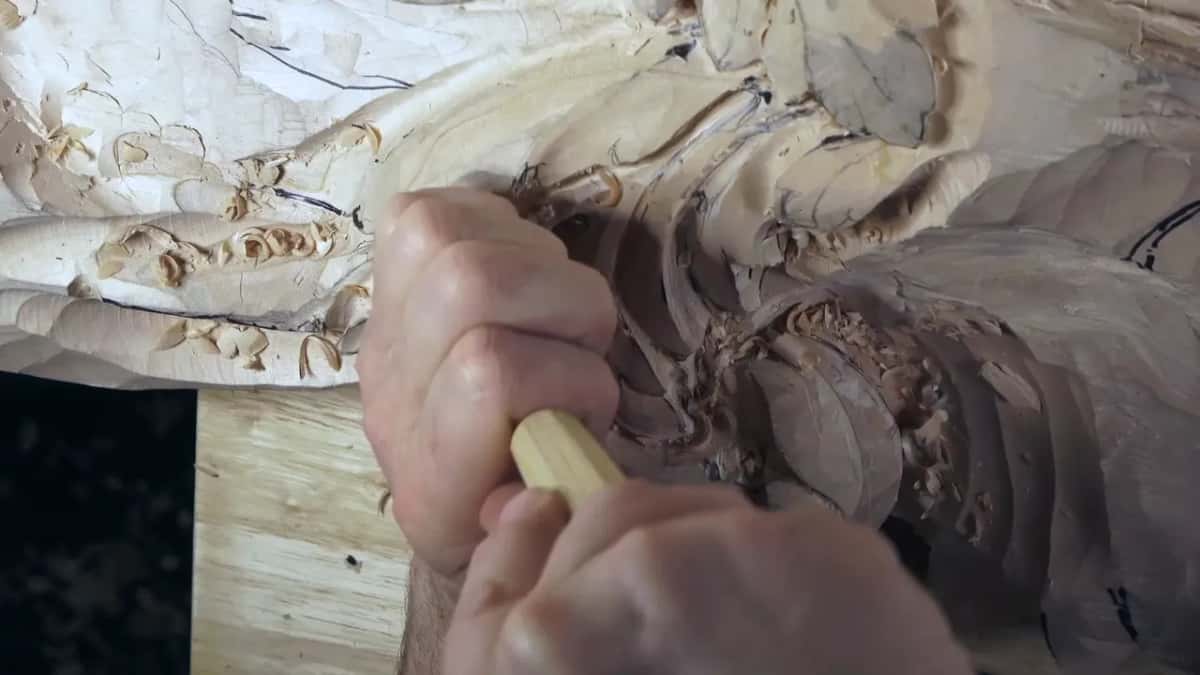
Depth shows as shadow. Earlier, in part 2, I let one part overhang, then corrected myself and said hang over. A little later I asked people to see what a beautiful shadow it casts. Making a shallow panel look three dimensional is a different question.
Some spots take a 1 mm veiner, about 1/32 in. If I don't have to, I don't. A hair dryer blew the junk out of a deep spot in part 4, and then I said I'd got a really good result.
Why does a half-carved form look confusing?
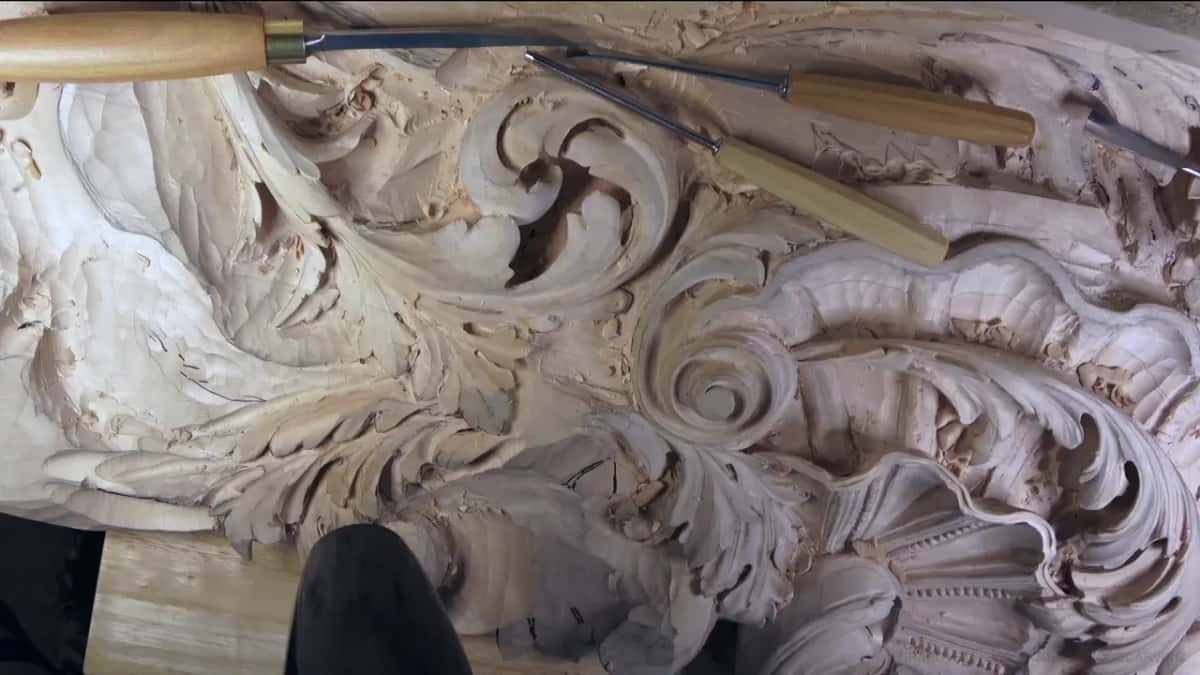
At that stage it is only a preliminary block, and the movement has not been carved into it yet. I carved the outline and said it didn't make sense yet. It will, I said.
A part later I hoped it made sense, and then told people it would, and that I knew it would. Nothing confusing, I said then, even if it looks a little confusing at the beginning.
By part 10 you should already see some of the movement. At least some of it. Two parts later I still worried out loud that people probably couldn't see it very well.
A volute in the middle stage can look like very little and still be on the right path, which is what I told people in part 10.
What do you keep while you still can't see the end?
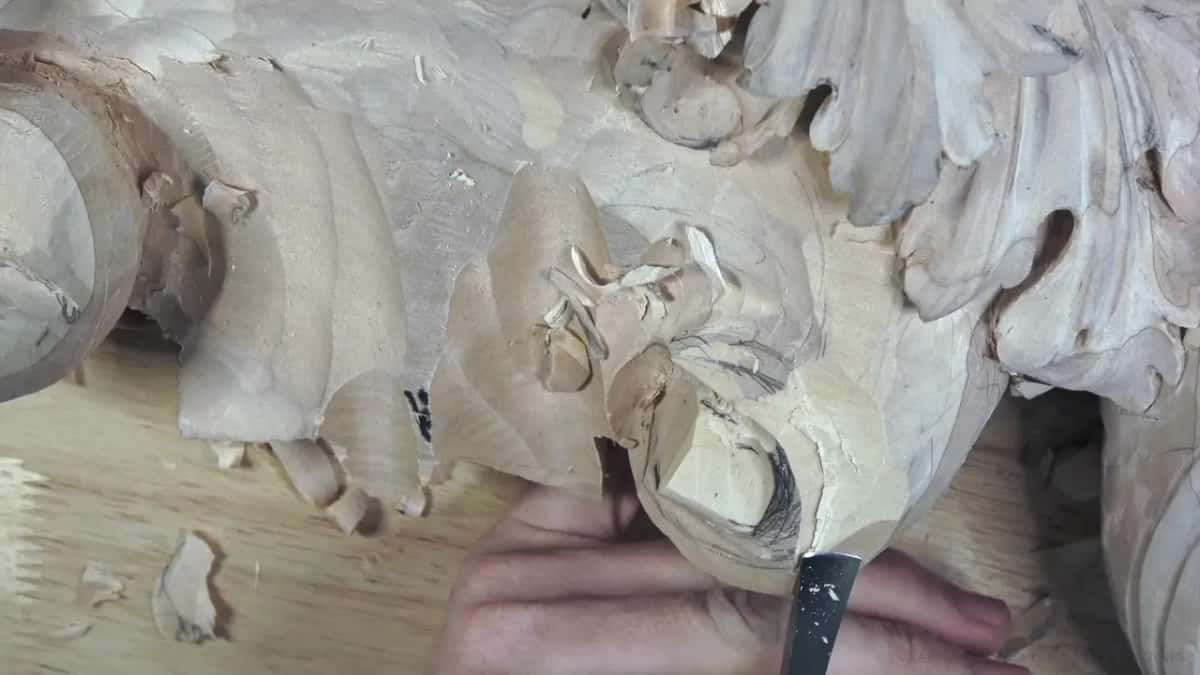
Wood, mostly at the weak ends. When I chopped the leaf ends in part 8, I kept some thickness on purpose, because if it goes too thin I can easily break it.
With the mallet and a big tool, I warned people not to go all the way to the end, because that end was weak. The way the grain ran there, it is always better to come in from the end itself. Otherwise you can break it easily, and I corrected myself right away: I can break it easily.
One side of the volute had not gone too low early on, as I said in part 11, because it gets weaker and weaker. And I found I had sawed the outline a little too close to the final line with the jigsaw. A problem, but not too big a problem. Sometimes it happens. Sawing an outline has a page too, from workshop 1 of this room.
Take your time. That's the idea, and don't rush anything. When some of the form shows, expose a little, not much, and don't get too excited. How deep to rough out a leaf is a question for another course.
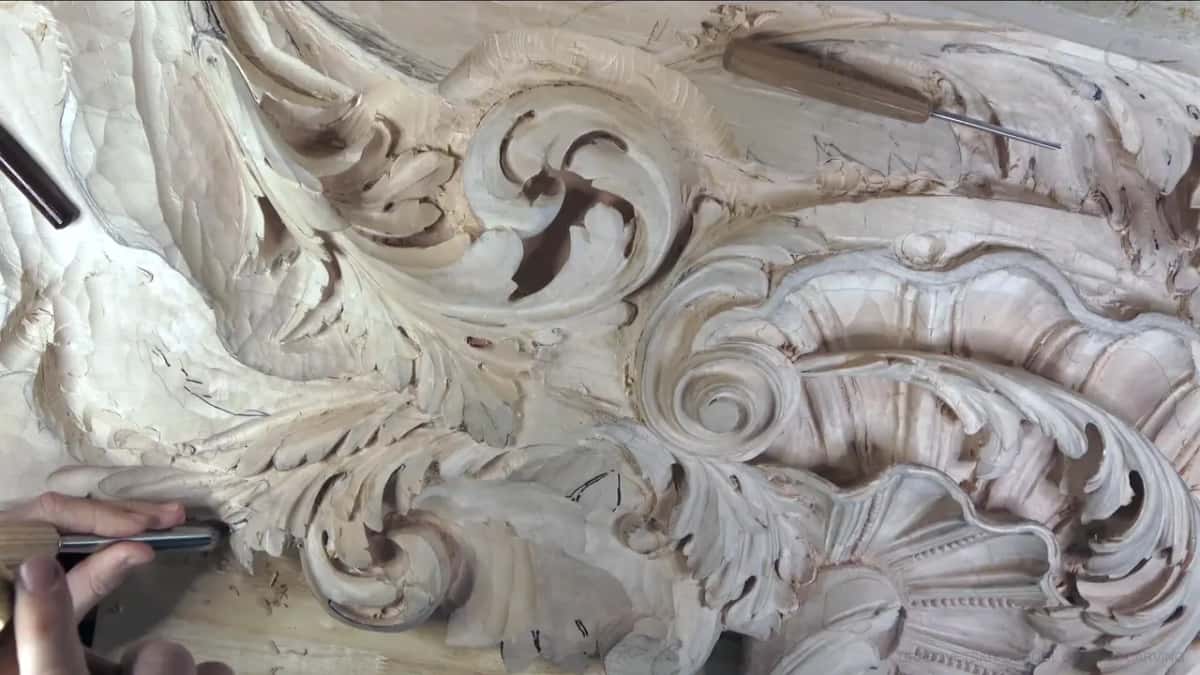
What does three dimensional wood carving look like on a leaf?
You carve toward lines that aren't there yet. One piece stuck on the same line in part 7, and I didn't like it, because it does not create the flow. Even the position of a point makes a big difference, in my opinion. So I followed an invisible arc instead, chopped that piece out, and made it slightly wider.
Another division went to a point instead of a curl, so it would carry on an invisible line and lead the human eye around.
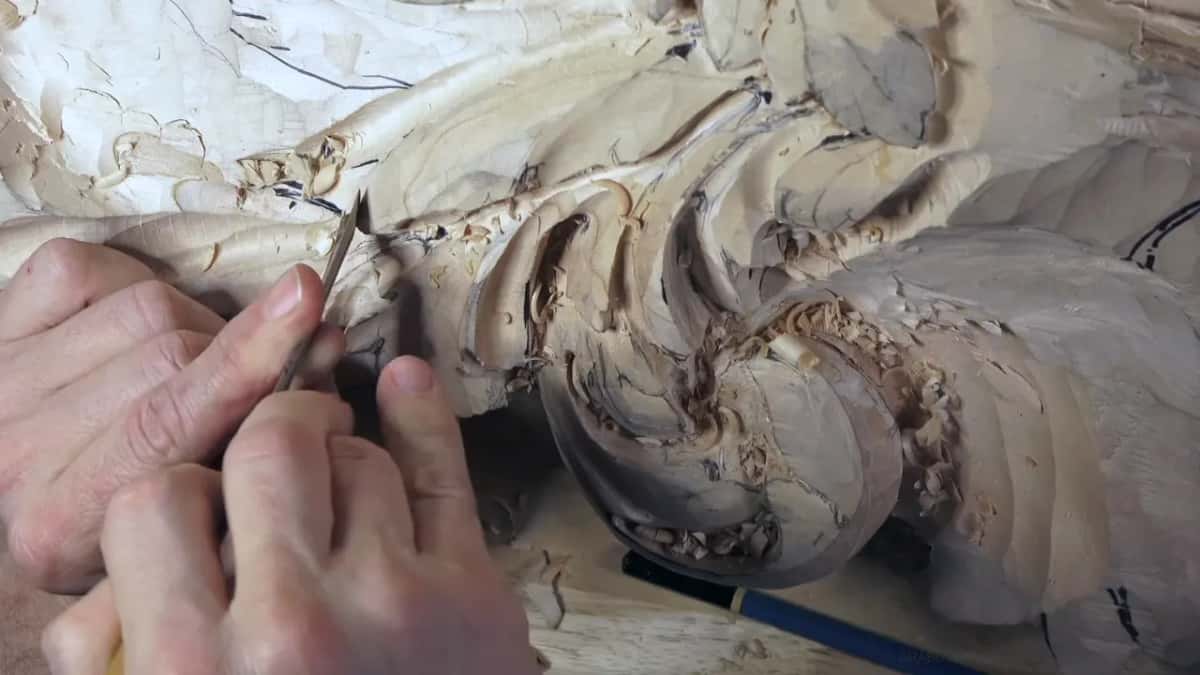
A small ridge in part 3 was almost invisible, and it still made sense to me, because it runs right to one line.
The eye of the acanthus gets placed the same way. Back in part 7 I asked myself how I wanted to carve the eye, because done one way it would let me create the detail underneath. And the pipe is supposed to run from the eye.
I read the middle line ahead too. If it goes that way, this division goes like that, the next one goes like this, and that one turns into a letter S.

Does seeing in three dimensions get easier?
Easier, yes, though not 100%. The first time you carve a movement like this is the complicated one, and I have done this one multiple times.
Even after more than forty years of carving, when I work in one detail for a while I don't see the final picture 100%. I see it, just not all of it.
So I jump around between areas. There is a saying in the Russian language for what happens when you don't: soaping the eye. Your eye gets used to one detail, and you stop seeing that you're making something wrong. That story is on the course page too.
Later I go over every edge and every point, inspect everything, and redo what I don't like. That is a normal routine.
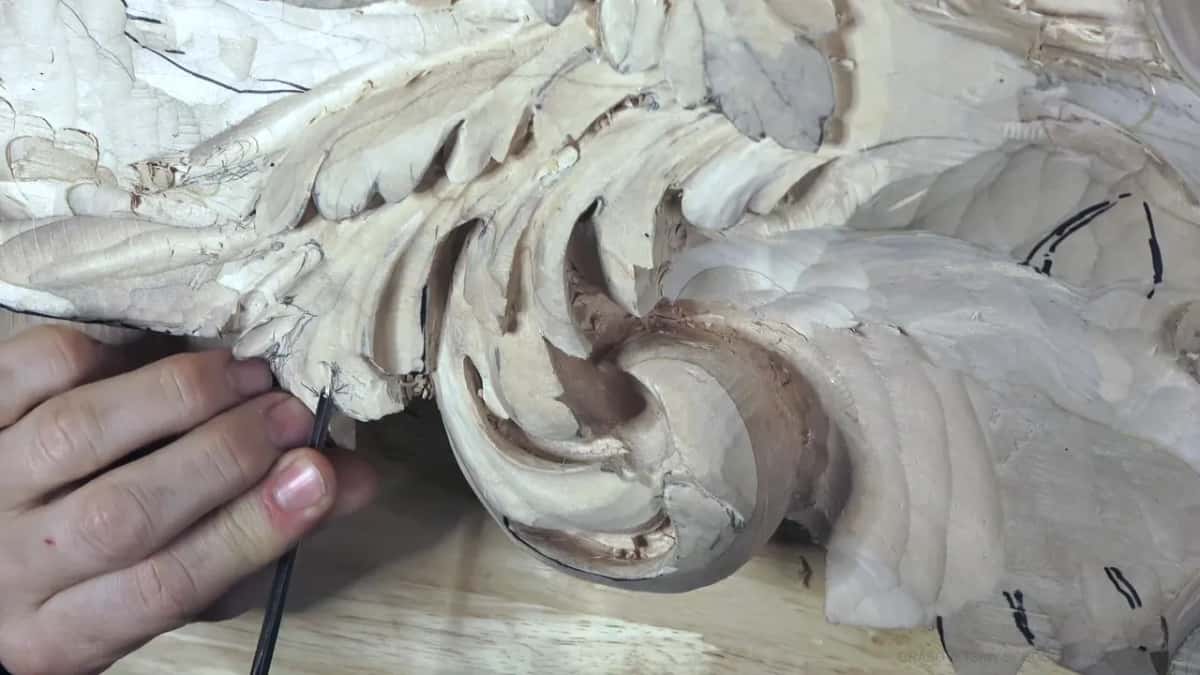
Where can you watch this volute take shape?
All twelve parts of workshop 45 sit in the Part 4 course, with the rest of the ceiling board. Workshop 44 comes right before this one, and the lessons map shows where the room sits among the other courses.
Have you turned a shell or a stone over in your hand? Did it change as it turned? Give a block of wood that same look, turning it, before the first chip comes off. If you want to carve along, the tuition opens every workshop in the room, this volute included.
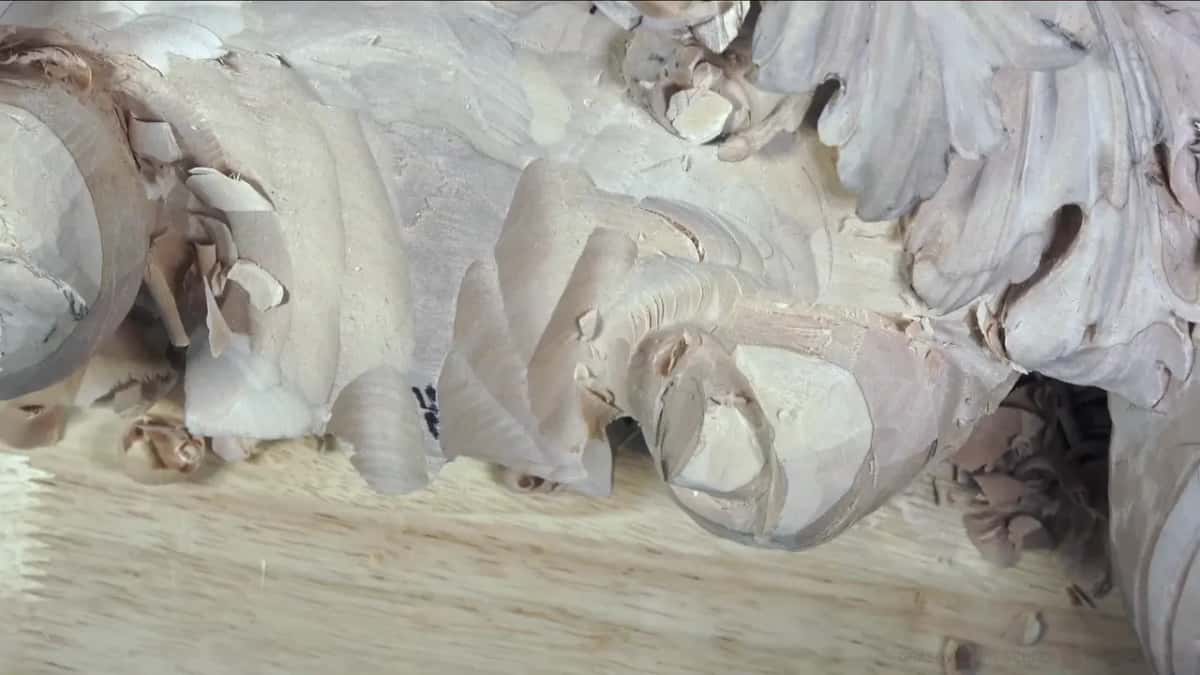
How it's done
- Pick the end point. Say where the form will finish before you carve toward it, whether that is the top of a volute or the tip of a leaf.
- Check the wood you have. Look at how much material is left to the bottom. Here that allowed about 5/8 of an inch (15 mm).
- Block it out plain. Carve a square block first, on a face you cleaned with a skew.
- Round it into the movement. Keep the same slope and bring the block inward until it follows the turn.
- Look sideways and from below. Stop and view it edge on and from underneath, where people will stand or lie.
- Leave wood at weak ends. Keep some thickness, and come in from the end itself when you use a mallet.
Frequently asked questions
What sets the size of a carved volute?
Let the material underneath decide. For this Venice ceiling board I made the volute about 15 millimeters, near 5/8 of an inch, because that much wood was all I had above the bottom, and I placed it by eye, knowing that would move later.
Why do carvers check a carving from other angles?
A view from straight above hides the slope and much of the depth. I wanted this volute's movement to read when you look at it sideways, so the upper part needed room, and I showed the block from the left side in part 9, where I liked the barrel's slope.
What is the barrel of a carved volute?
Barrel is just my shop word for the rolled body of the volute. On camera I said it doesn't mean a real barrel. Mine began as a plain square block and turned round while it kept the same slope throughout.
What to carve next