

Alexander Grabovetskiy, woodcarver, School of Woodcarving · Published 2020
What is a #7 gouge used for?
Quick answer: A #7 gouge is a gouge whose number names its sweep, a round curve that sits between the flat numbers and the half round #9. I reach for one to hollow a concave beside a pipe, to take a leaf much lower, to work where the grain turns, and to follow its own curve around a round head.
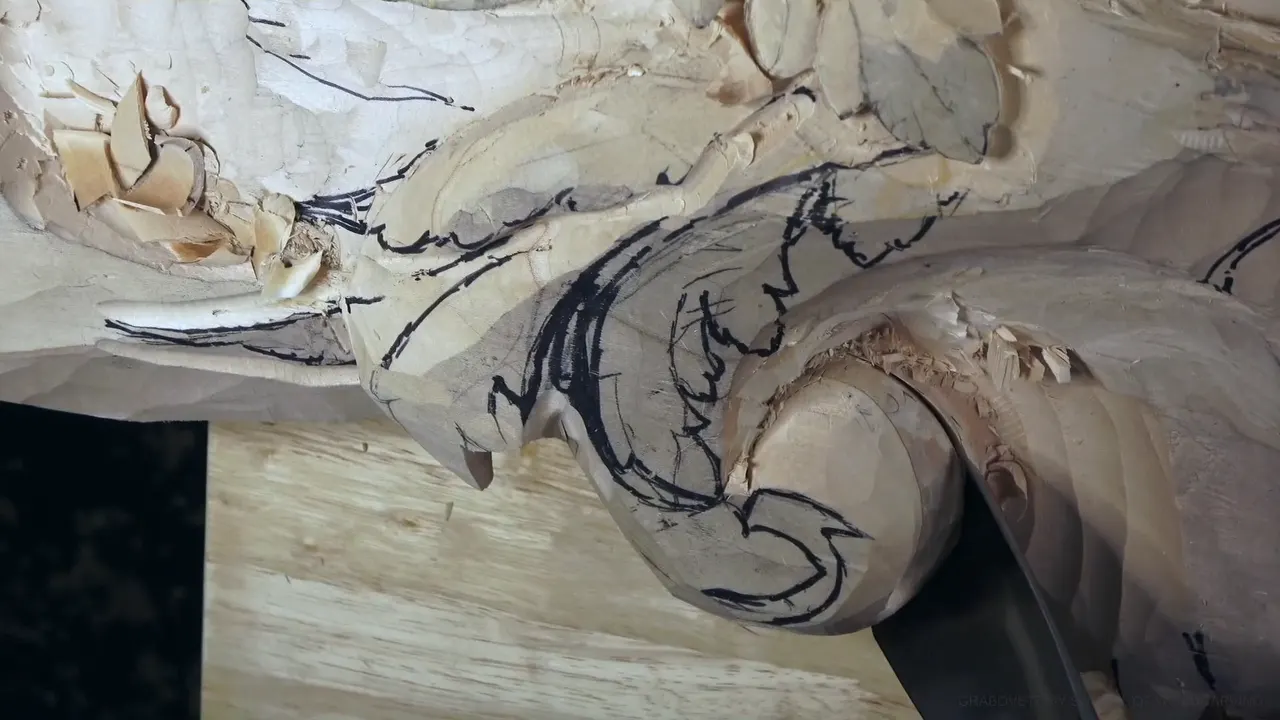
A #7 gouge is a carving gouge with a round sweep, and I use it to dig the concaves that make a carved leaf look like it moves. In workshop 43 of this Venice room, on a ceiling board carved in relief, a #7 dug in along a pipe and under a part that tucks below its neighbor. It also took a leaf almost all the way down, and it went around a round end that the tool's own sweep shaped for me. Still, the #11 did the bulk of the digging.
Have you ever scooped ice cream with a round spoon? Did the scoop come out with the curve of the spoon on it? Wood takes the same curve from a #7. You will know where one belongs on your bench, and where I put mine down for another tool.
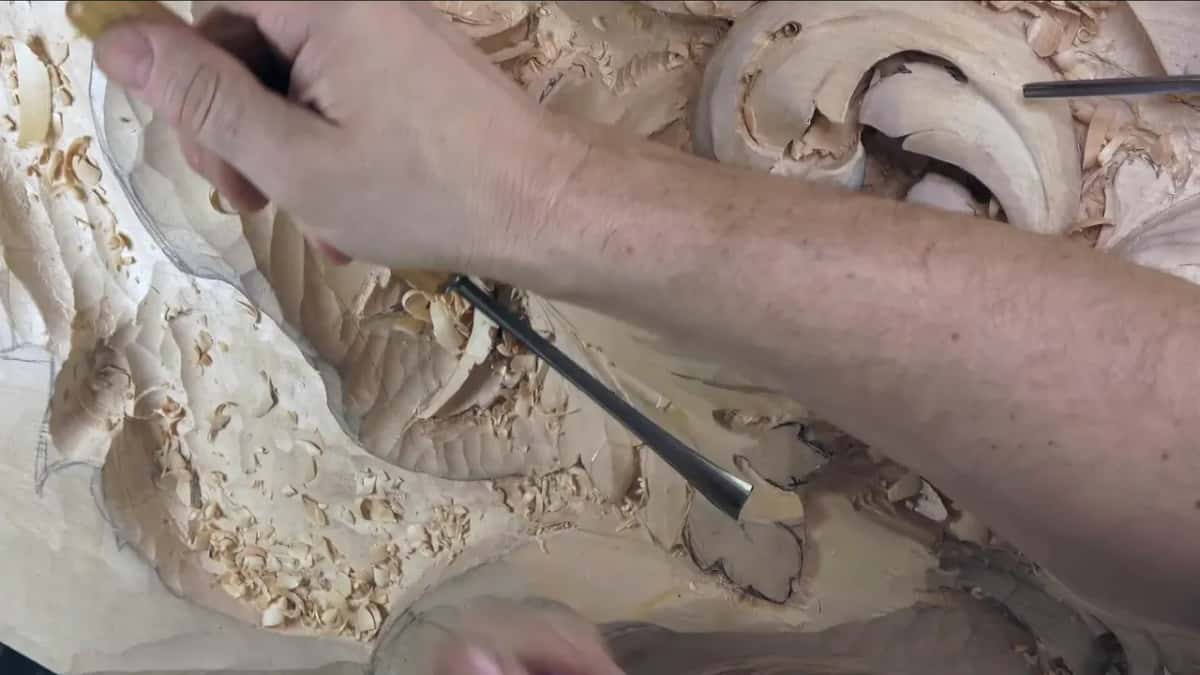
What the seven did on this ceiling board
Next to a pipe, a 4 mm #7, about 5/32 in, carved the hollow that pulls your eye along the line.
It gave me a concave under a part that tucks below its neighbor.
An inch wide, a #7 dropped one leaf.
By a scroll it cleared a tricky spot I would not trust to a back bent.
Followed around by its own sweep, a big one left a round that needed very little fixing.
Then a #3 came in behind it and blended the ridges down.

What does the 7 on a #7 gouge tell you?
That 7 on the handle names the sweep, the curve of the steel across the edge. On camera I say the radius or sweep, one right after the other.
The numbers run from flat to round. Up at #9 you get a true half round, the tool I turn in a full circle for a deep plug, and an #11 closes up into a U. My #7 sits below both of them. It is round enough to leave a real hollow and open enough that I could follow it around a whole curve.
Width is the other half of the name. I used a #7 as narrow as 4 mm and another a full inch wide, and picking the width pass by pass has its own lesson. There is a page on what the numbers on a gouge mean and one on how the Swiss stamps read.

Why put a #7 beside a pipe?
The hollow pulls attention to the line. Every eye on an acanthus leaf is supposed to have some type of pipe, the little ridge that runs from it, but I cannot break my movement to get one. I did not have to develop that leaf completely yet. I still wanted to give it some form, so I set a 4 mm #7 on the side of the pipe and went in, just like that. All I needed was to draw attention to the lines, to the movement. That was the goal.
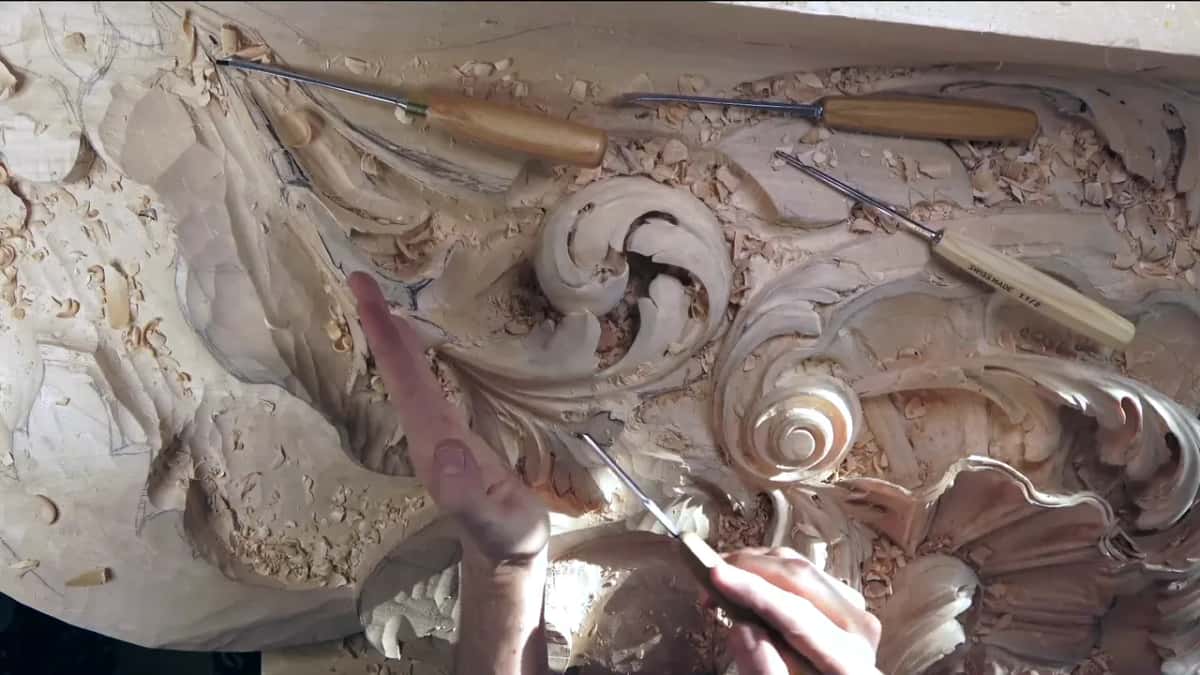
My hand went up next, to shade it. I cover the work with my hand on purpose, so I can see the shadow. Over that spot the shadow showed a really nice movement, not bad at all, and I said so before going on. A shadow lies a little, too. With a hand over a concave it looks much deeper than it really is.
Earlier, a part had to go underneath. I took a #7 there because I really wanted to see a concave in that spot. I went a little deeper after that, down inside, and the part on top came up raised. I think it's beautiful. Later, once a few divisions were in so the leaf was not too confusing, I went back to the #7 to give one of them a better shape.
Around the pipe itself I went to a smaller #7, just around that pipe, at least. The pipe I cleaned with a bigger #11 and almost no pressure, just shaving little by little. A little concave running toward the center is the same idea again, only smaller. Most people don't even know the difference, but for me it makes a big one.
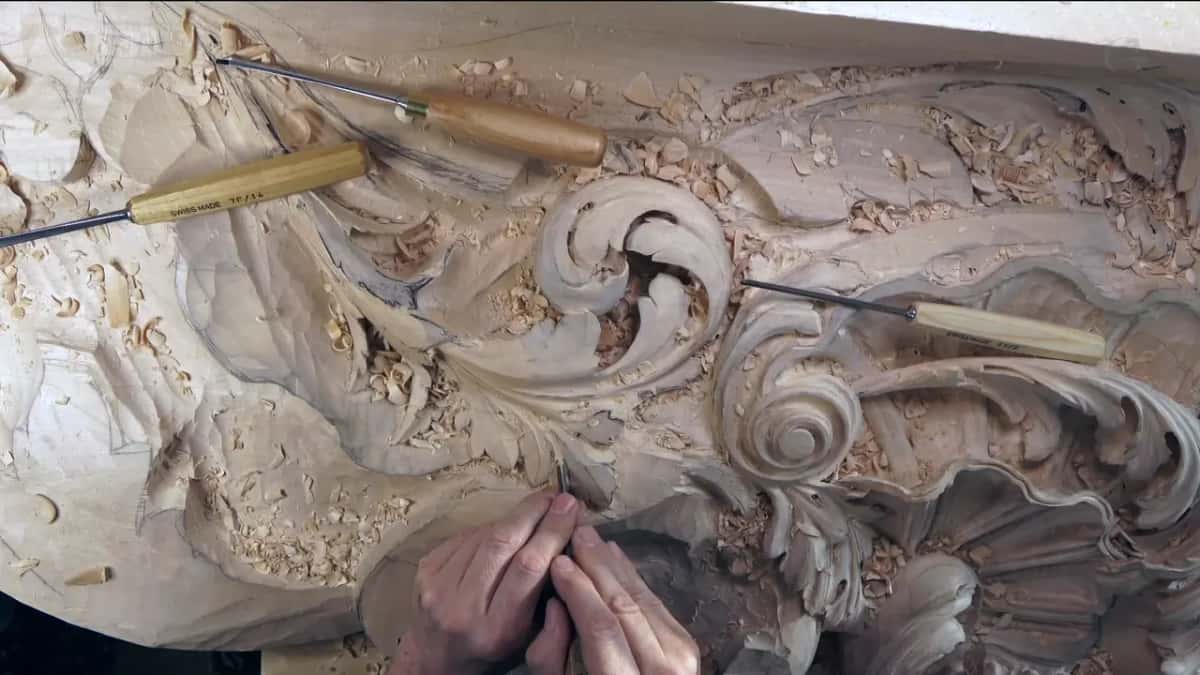
Can a one inch #7 lower a whole leaf?
It can. The new head I started late in workshop 43 began with my big one inch skew chisel, just to give it a preliminary shape. It will be seen from the bottom, so for me it was really important not to mess it up.
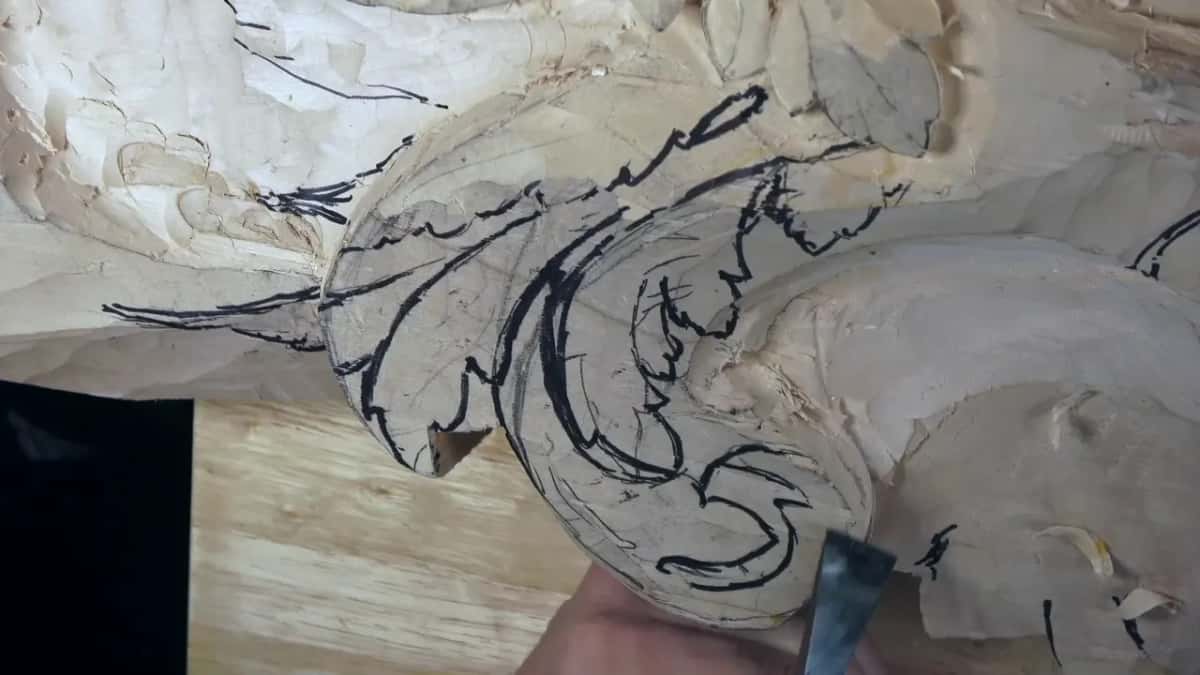
Those leaves could all go lower. Then a #7 one inch wide, about 25 mm, took one leaf much lower. Almost all the way down. I really needed to show the thickness of that leaf right there.
Around it I took a 15 mm #11, 5/8 of an inch, and went around and around. That part had to go too. I didn't need it. I know it's kind of scary when I take that much at once, but I think I know what I'm doing, and I told the camera I was not going to make any mistakes.

Next the movement had to roll inward. First a one inch #5 went in and turned the shape a little more on the inside. This head is going to be a beautiful head. I hope. Then I changed my mind, said a #7 was maybe the better idea at this head, and picked it up again.

Close to the other side I got careful. I still needed some meat there for the undercut later on. Not meat, I said, material. You know what I mean.
When is a #7 better than a back bent?
When the grain turns under you. Near the top of one scroll I thought about a back bent first. Maybe yes, maybe no. I could see the grain change direction right there, a tricky area, and a back bent would not be a good tool to use in it. I took a #7 instead and just cleared that wood out.

Once that spot was clear I could dig inside, but the overall feel had to stay. I wanted the whole thing to read like one big leaf. Like a huge leaf. Elsewhere a straight tool was not the best tool for cleaning up, and a spoon did that job.
One spot had to come down a little more before the shape would make sense. There the #7 went against the grain, and while it was in the wood I said that going that way is not always the best idea. A bigger concave in that area would let the middle part come up a little, so I used a small #7 for it. I kept off the edge, because it was becoming weak, and I had to be careful what I was doing.

Right after that I could have gone deeper. I definitely could. The question was whether I should. I made another concave beside the first one instead, because I did not want too weak a spot right there.
How does a #7 sweep gouge follow its own curve into a bowl?
You set it in one spot and follow the sweep around. On this head I took a big #7, and it just fits perfectly, I said, and I started moving inside.

I followed it, and followed it, and followed it. That was all I did. The radius of that tool gave me perfect roundness, and a perfect movement with it. This part has to be really nice, because it goes like a bowl, and people will see it from the bottom and from the sides.
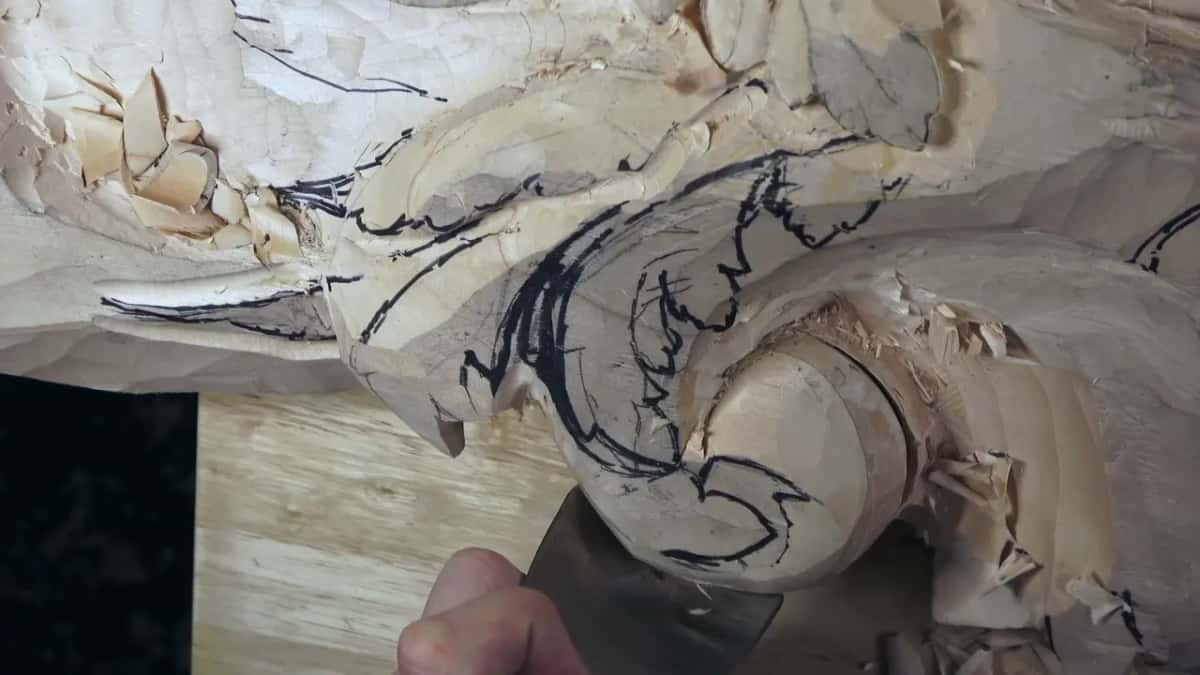
At one point it looked like I had a flat spot. I laid the tool in the curve, and there was not much at all to take out.
By the time I stopped, the surface was clean and nice. Almost a perfect sphere. Almost, because it does not need to be perfect when more is going to happen in there later. I don't worry about what goes on inside that head. Flowers are going in there, and I left that space for them on purpose. Regional people in Venice used those flowers everywhere.
I put the tool away after that and went back to my movements. Back came the 15 mm #11 for a preliminary cut, a skew started the shaping, and the movement had to be gradual. So gradual, and beautiful.
Should you draw a design to fit the gouges you own?
I do, and I said so in the middle of that round. When I designed that movement I had to keep in mind what tools I have, what I have to fit, so the curve I drew was already one my big #7 could follow.

Matching a gouge to a line you already drew is the other way round, and the rosette lesson works it that way. Draw for the steel in your own drawer. Earlier in this room I took up the question of your teacher's gouges.
I'm going to be honest with you. Not every fit is perfect. More than once on this board I said the tool in my hand was a little too big for the job, and once I let it go and said it was okay. On that same leaf I later asked out loud if I had the right tool, then went looking for a 1 mm #11, if I could find it.
What comes after the #7 on a carved leaf?
A flatter gouge. In workshop 43 it was a #3. Once one concave was deep to a certain point, I had to blend it. I have seen original work where the carvers left it like that, just the concave, as far as it went. I wasn't sure I would like that here. In went a small #3, and it blended the concave in completely.
Two concaves side by side left another lobe a little too stripey, too many ridges, and I didn't like it. I turned a #3 upside down and got a convex feel, gradual and still not flat, because a flat movement was not what I was after there. On one more lobe I planned a concave on each side and a convex in the middle. I didn't have to. I thought it would look good.
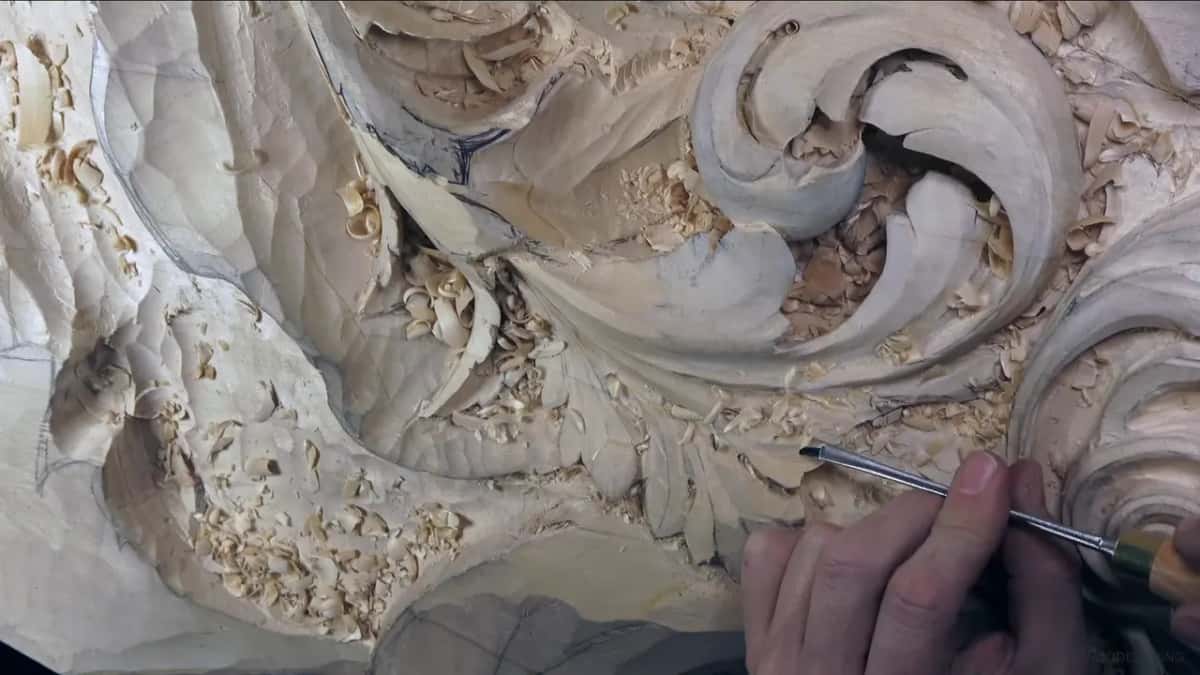
The tool I picked up after that was a little too small, so I took a bigger one. A bigger tool gives a much cleaner surface, and without one some spots just won't look good. On a big separation nothing stops me from chopping it out with the bigger tool, and my movements come out more pronounced. On the new head a #3 helped me set a nicer movement, too. Dig too deep underneath, though, and you cannot blend it nicely afterward, so there I kept moving more gradually downhill.
Where did the #7 go in workshop 43?
Six of its jobs, each one with the verdict I gave out loud at the bench.
| The seven used | What it did on the ceiling board | My verdict |
|---|---|---|
| Four millimeter #7 | Carved a concave on the pipe side | Not bad |
| Smaller #7 later | Went just around that pipe, at least | Needed blending |
| A small #7 | Opened a bigger concave, raised the middle | Edge weakening |
| #7, turning grain | Cleared wood as the grain changed direction | Tricky area |
| One inch #7 | Took one leaf down to show thickness | Much lower |
| Big #7 last | Followed its sweep into a bowl shape | Fits perfectly |
Is a #7 the right gouge for every hollow?
Far from it. Number 11s did most of the work on this job. For the outline cuts I used a 15 mm one, just to separate my idea, and a 1.5 mm one, about 1/16 of an inch, dug deeper into a small spot. You will find the #11 veiner on its own page in the part before this one.
Inside the eyes I dug with a small #8, about 2 mm (5/64 in), because I love to give those spots some depth, and it gives extra shadow. I could go as deep as I wish there, as long as no junk flies back. I don't have to do it everywhere, but sometimes I could.
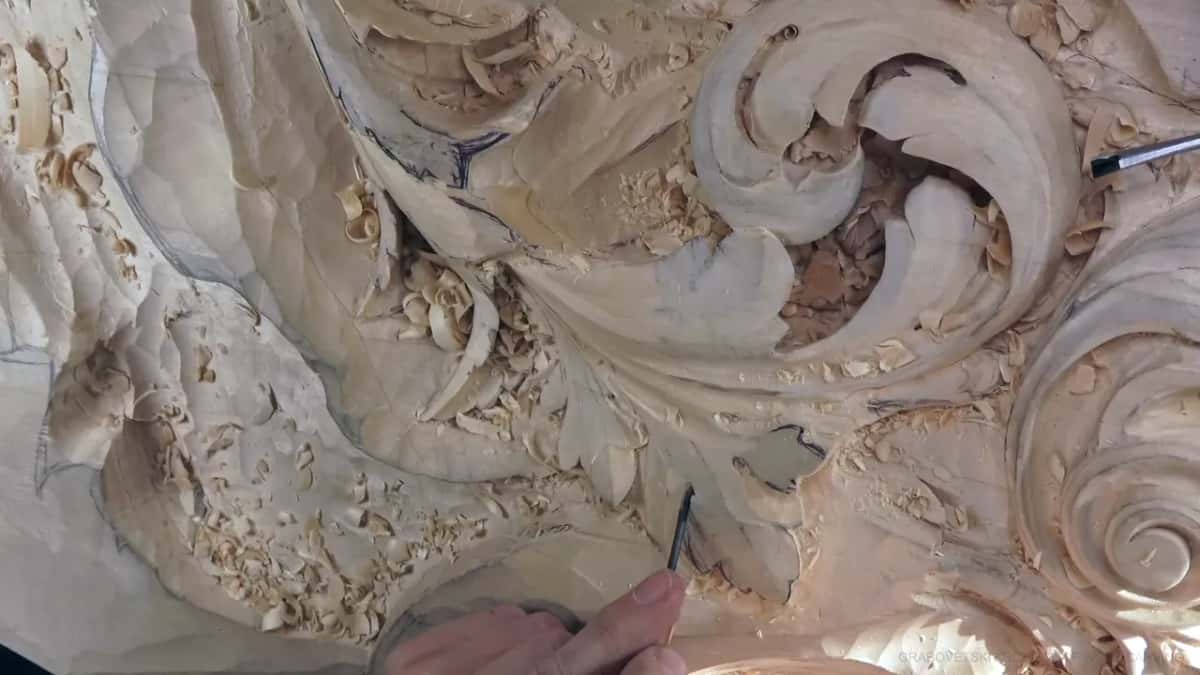
On a middle ridge where I wanted only a shallow concave, I went the other way down the numbers, a #1 in my head and then a big #3 in my hand. The first pass fooled me. It looked like I had done something, but I had only taken off the dirt that builds up on the surface. Not good. I planned to go deeper, maybe with a #7, at least at some point.
When a hollow has to go really dark, a rounder tool takes over. The undercutting page for this course turns a #9 in a full circle for exactly that, and the workshop 7 page climbs from a #7 up to a #9 for the same reason. The number turns up far from ceilings, too, all over wood carving, on a carved flower and on leaf veins in other courses.
Is there a spoon in your kitchen drawer? Then you already know what a #7 does to wood.
Workshop 43 is twelve parts on this board, with the workshop before it and the one after it carrying the same leaves along. The course for workshops 38 to 49 lists all twelve, and tuition opens every one of them, so you can watch each #7 pass go in on your own screen.
How it's done
- Pick a width that suits the job. Go narrow along a pipe, an inch across to drop a whole leaf.
- Read the grain first. Where it turns direction, a #7 can clear what a back bent should not.
- Let the sweep lead. Set the edge in and follow its curve around.
- Shade the hollow with your hand. Hold a hand over it so a shadow falls across, then study the movement that shows up.
- Blend with a flatter number. A #3 takes the ridges down, and flipped over it leaves a gentle convex behind.
- Finish with a bigger tool. More width, cleaner surface.
Frequently asked questions
What is the difference between a #7 and a #11?
Shape, mostly, and with it the job. An #11 is a U, and on this ceiling I dug with one most of the time, anywhere between 1 mm and 15 mm wide. My #7 is rounder than the flat numbers yet still open, and it went to the concaves, the lowered leaf and a round head.
Will a #7 carve against the grain?
On this board it had to, once, even though that direction is not always a good idea. I stayed off the edge, which was becoming weak, and worked with care. In a spot where the grain changed direction, a #7 did the job a back bent was not good for.
Which sizes of #7 did this ceiling need?
Four millimeters wide at the side of a pipe, a smaller one to go around it, and a small one to raise the middle of a lobe. One an inch wide, 25 mm, dropped a whole leaf. A big one shaped the round end of the new head.
What to carve next