

Alexander Grabovetskiy, woodcarver, School of Woodcarving · Published 2020
Can you use a carving gouge upside down?
Quick answer: A carving gouge turned upside down is still a gouge, only now it rounds a shape instead of hollowing it. In workshop 40 on this Venetian ceiling I flipped a #3 to bring a hump down and to run a low convex down the middle line, and a #2 of 12 mm (1/2 in) to blend.
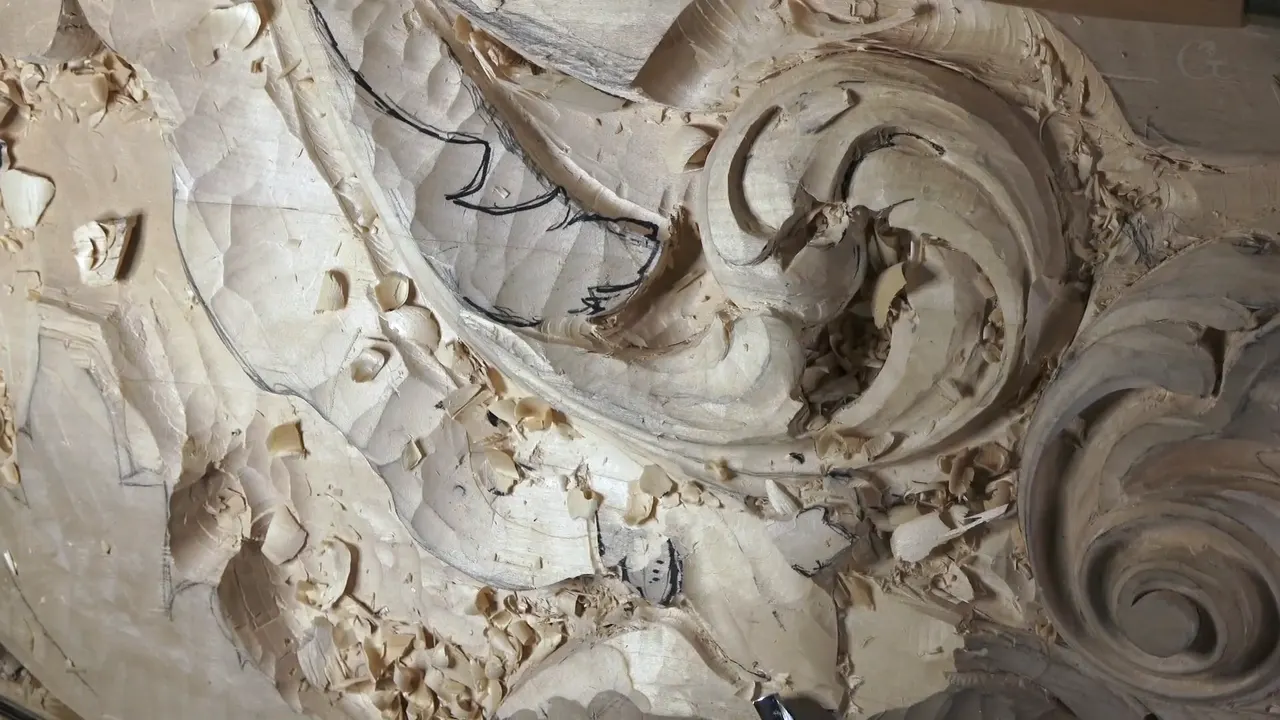
Yes, a gouge works upside down. On this Venetian ceiling in workshop 40 I turned one over three times, and each time I said out loud why I was doing it.
Does a gouge leave a hollow when you push it in the usual way? Would it help if that same tool could leave a round? Then turn it over.

When you first learn how to use wood carving tools, the gouge goes in hollow side up and digs a groove. Flip it, and the same edge leaves a round where it used to leave a hollow. That matters on an acanthus leaf like this one, where I want to see convexes and concaves side by side.
A gouge looks like a tool made for hollows. Most of the time it is one. Every flip from workshop 40 is here, with the tool I used and the reason I gave for it. You'll also see the one convex where a straight #3 was the wrong tool.
What the flipped gouge did in workshop 40
Turned over, a #3 took down a hump.
For a gradual blend next to a very small eye I flipped a #2, and I kept it gentle.
A single long stroke with the #3 upside down put a low convex along the middle line.
Turned back the right way, it dug the concave.
A straight #3 failed on one convex, and a back bent did the job.
On the next one my #5 dug in, so I went flatter.

What changes when you turn a gouge over?
The shape it leaves changes. Used the normal way, a gouge leaves a concave. Turn it over and the same pass leaves a round, and on a carving in relief you need both.
I did both on the middle line of one leaf in this workshop, first the round with a flipped #3, then the concave beside it with the tool turned back over. Even the opening minutes of workshop 40 had both shapes in them. A #5 was too big for one spot, I went down to a #3, and the surface went concave, then convex.

If the two shapes are new to you, concaves and convexes is the page to read first. A gouge has a third position too. Rolled up on its side it changes again, and at one point in this lesson I said I'd probably have to use the side of the tool. How rolling a gouge changes the cut covers that one.
Why turn a #3 over for a hump?
The hump was a little too big, and I said so as soon as I saw it. Moments earlier I had told the camera I liked how the ridge was developing. I kind of liked it, I said, then took back the "kind of", because I did like it. It was giving me more chance to develop eyes and pipes, and nothing stopped me from working on the inside now.

Inside the leaf I found the hump. I picked up a #3, turned it over, and went at it, and about half a minute later I took it in from a second direction too. Too big a hump. That was my whole reason.
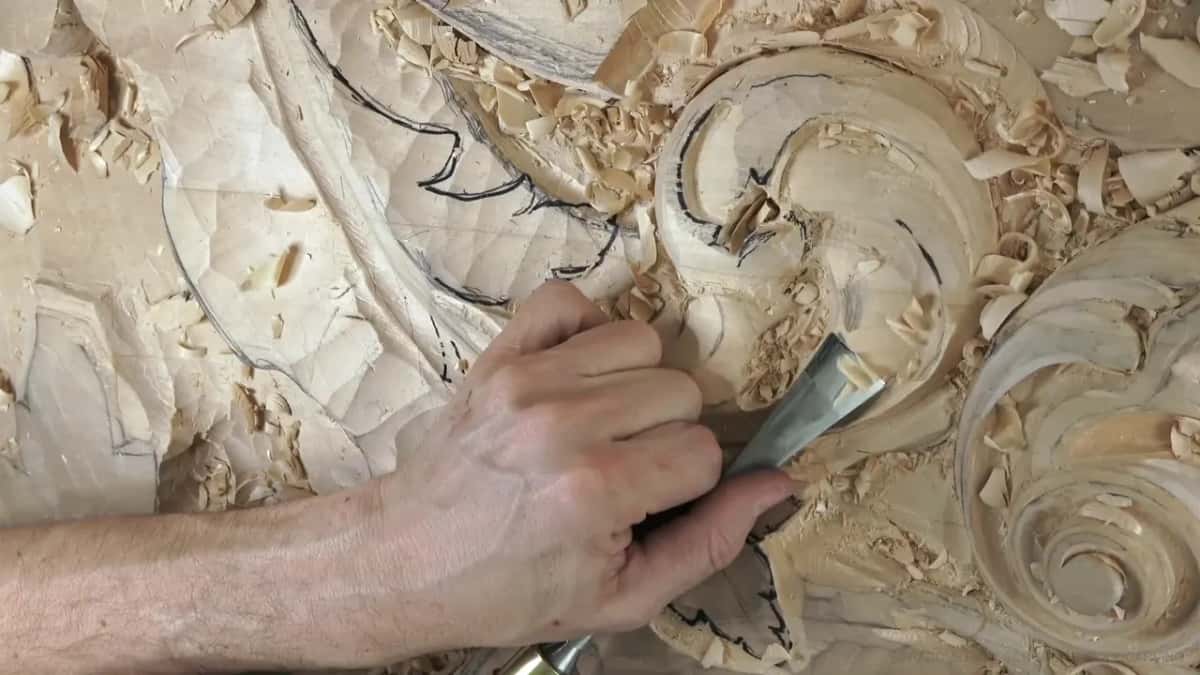
After that I moved on to the middle line and checked my original idea again. What a hump does to a curve is told in workshop 38, two lessons back.
Which gouge gives a gradual blend?
A nearly flat #2, turned over, gave me mine. I guessed it at half an inch, then checked, and it was 12 mm.
It came right after a very small eye, one or one and a half millimeters, about 1/16 in, and I said I could exaggerate it so it would read better. I still had the overall shape, and I did have a pipe. Beside the eye I made the cut down with a #8 and gave it a 1 mm (1/32 in) undercut. It looked really nice, I said, and then I added in my opinion.
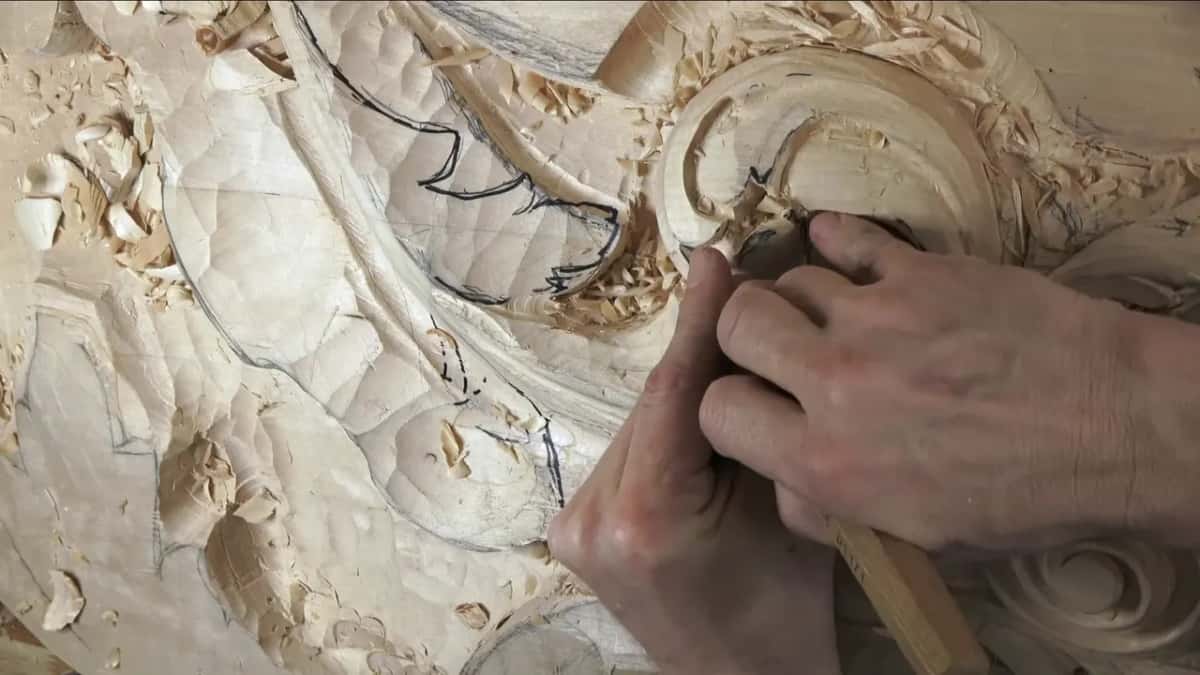
Then it needed blending, because it didn't look right yet. I didn't want to blend too much. It had to be gradual, and that was the job I gave the #2 upside down. Right after, I told the camera I did not want a big shadow there, because I didn't need one, and the spot was already nice.
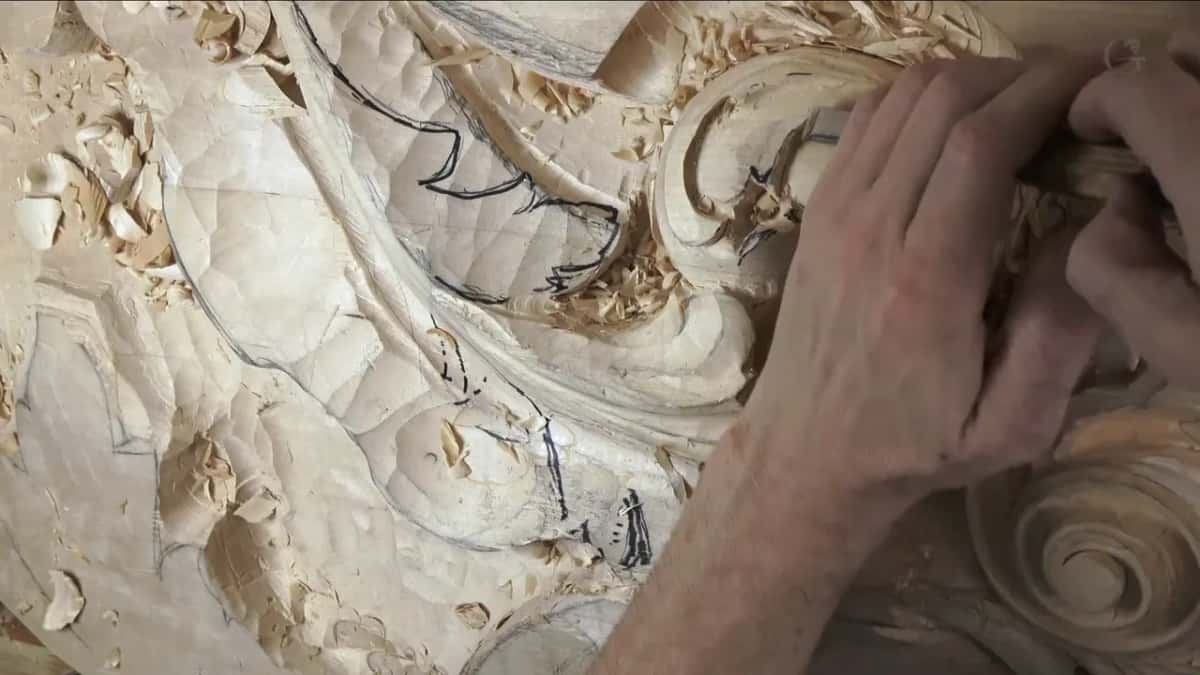
Two ways were open from there. I could give it a concave and raise the ridge a little, or take the concave a little down, which would give even more roundness, and I said I'd probably take the second. The next part opens with a #7 in my hand and me calling it a really good decision.
How do you run one long pass down the middle line?
Turn a flat gouge over, keep the pass long, and leave the pencil mark alone. The middle line was drawn and I wanted it to show. I wanted a convex along it, but not much of one, and I still wanted to see some.
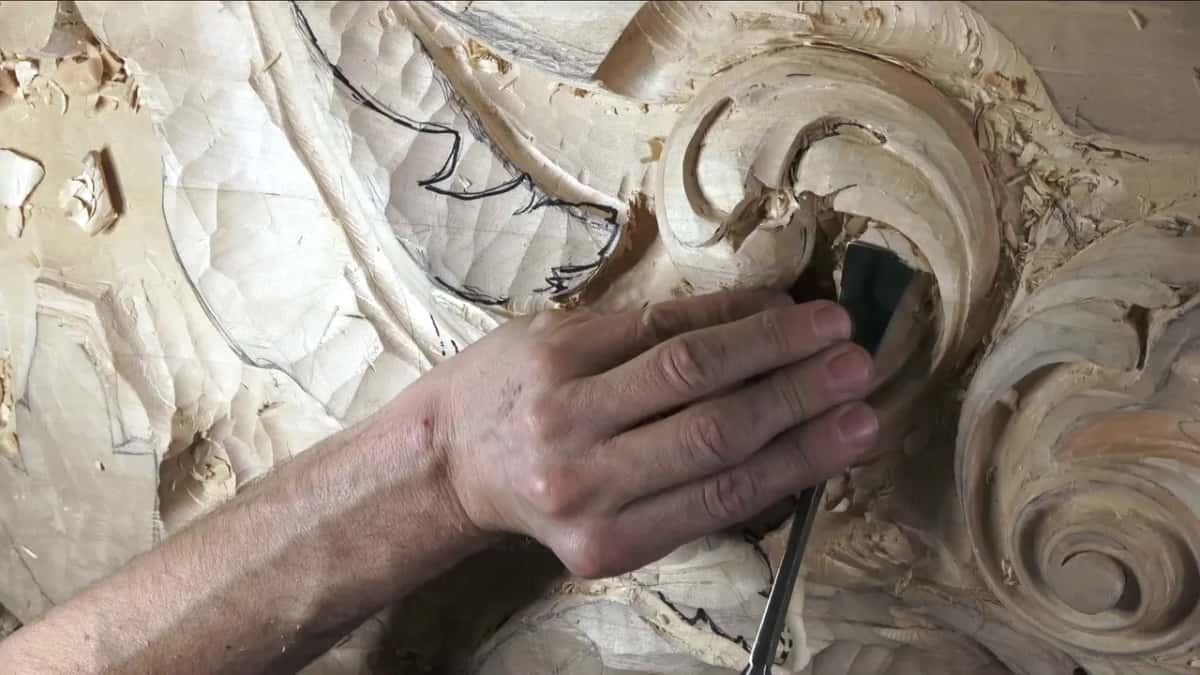
I asked myself out loud how I was going to do it. I tried the #3 again, turned over, and took a long pass. The pencil mark I kept clear of on purpose, because I really wanted that ridge.
I know it's almost invisible, I said, but it will be detectable. Earlier in the workshop I had made a smaller ridge on a pipe another way, with almost no concave on each side of it, and I said then that it was almost impossible to see.
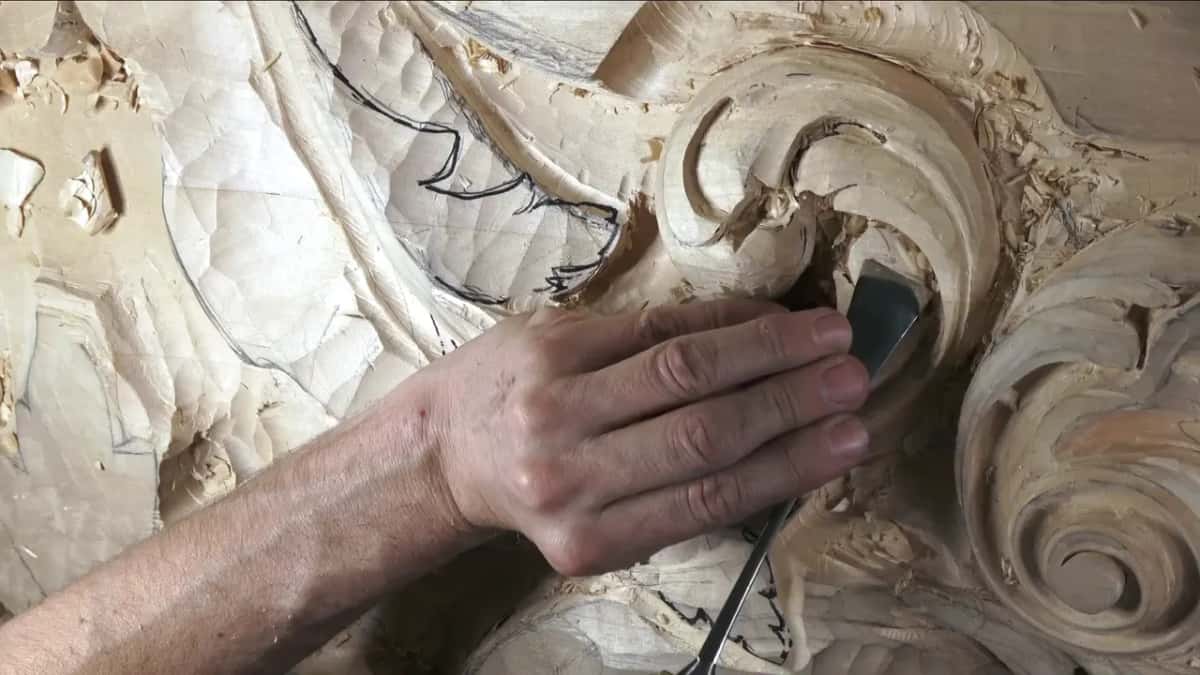
When do you turn the gouge back the right way up?
When the next shape is a hollow. On that same middle line I turned the tool back over to make a concave, and I warned myself to be really careful how I came at it. The overall shape held. What it gave me was a beautiful middle ridge, and a smaller tool got into the tight spot beside it.
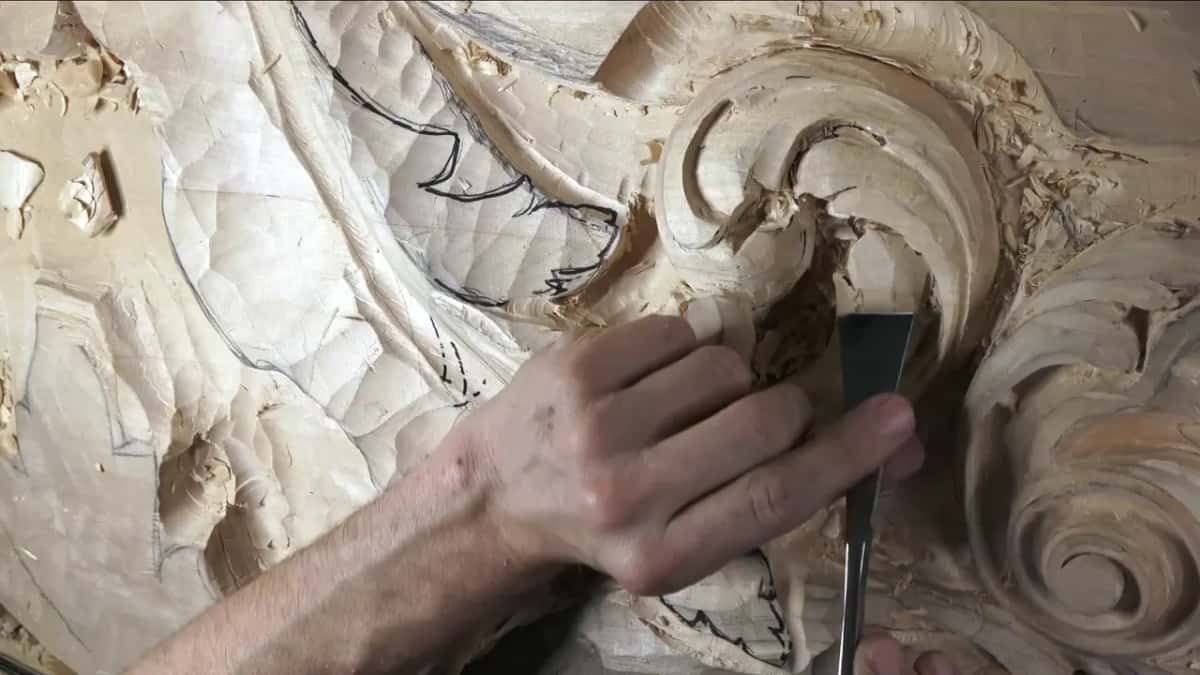
There was another way, and I named it. Flat like a chisel, a #1 ground with a double bevel could go right up close to the ridge. The #3 had already done that job. Still, it would have been another way of doing it.
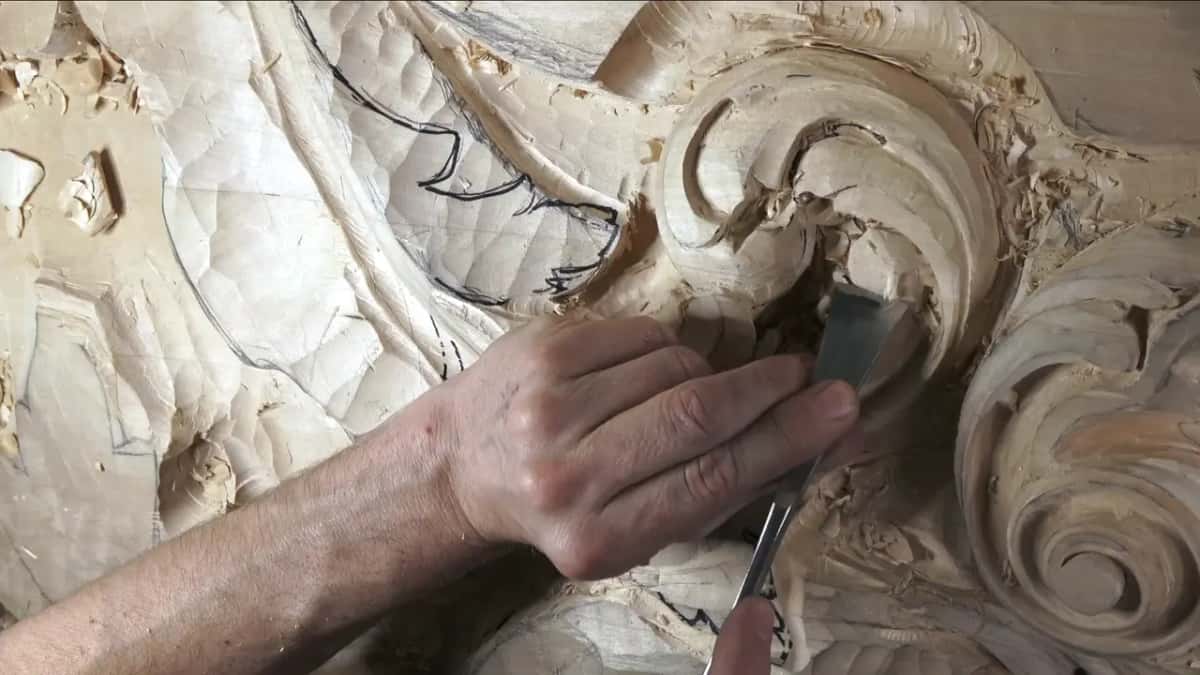
One side got a slightly deeper concave, because a pipe sat there and I needed to show that pipe anyway. My #5 went in between the two lines. Partway along I said the tool looked like it needed sharpening, then corrected myself. It wasn't a guess. I could feel it. That is looking awesome, I said, and a moment later I asked if you could see it. I was pretty sure you could. If you want to know what bevel a gouge should have, the sharpening class covers it.
Every flip and every switch from this workshop fits in one small table.
| Tool | Job | Reason |
|---|---|---|
| #3, turned over | Took down a hump inside the leaf, from two directions | Too big a hump, I said |
| #2 at 12 mm (1/2 in), flipped | A gradual blend around the tiny eye I had just undercut | Not too much |
| #3, flipped again | One long pass for a shallow convex on the middle line | Some convex, but not much |
| Hollow side up again | Dug the concave that let the middle ridge show | The next shape was hollow |
| Straight #3, then back bent | Began the convex with a #3, finished with the bent tool | The straight one was not going to cut it |
| #5, skew back bent, straight #1 | Worked the second convex beside that ridge and then blended it | The #5 felt too big |
What if a straight gouge won't make the round?
Put it down and pick up a bent one. I had a small area in workshop 40 that I could have shaped either way, and I said so. My first plan was a slight concave, since raising that area made no sense on a ceiling that will be seen from below.
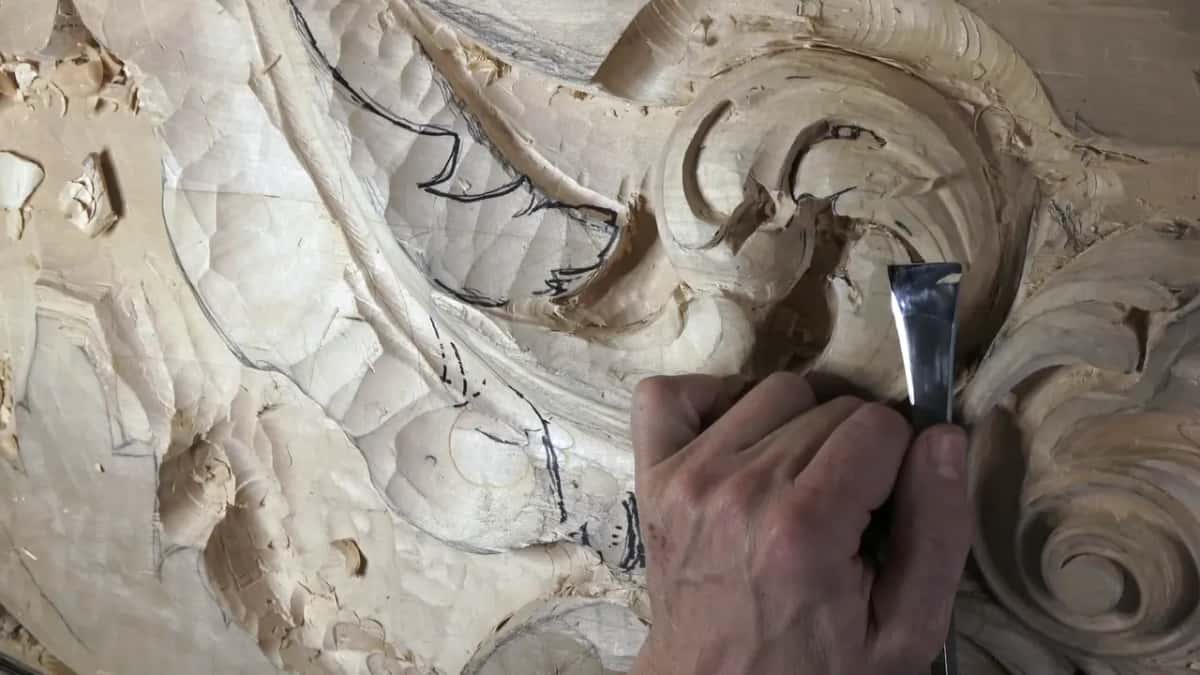
Before any of that I had to go and find a pencil. I thought again. A concave or a convex would give me the same feel there, so I tried the convex first, with a #3. The straight #3 was not going to cut it. Out loud I said so, took a back bent, and did it that way. I didn't stop to say why.

The back bent worked, and I moved on to the ridge. I ran along the side of it and rounded it down slightly, then put a second convex on the other side, and together those two gave the ridge the feel of a pipe. It's not really a pipe, I said, but it gives you the feel of one. What a back bent is for has a page of its own.
What do you do when the gouge is too round for a convex?
Go flatter. On the second convex beside that ridge the #5 in my hand was digging in, which is not so good, though it's okay. It felt a little too big, I said, and maybe I should use a flatter one, a #3.
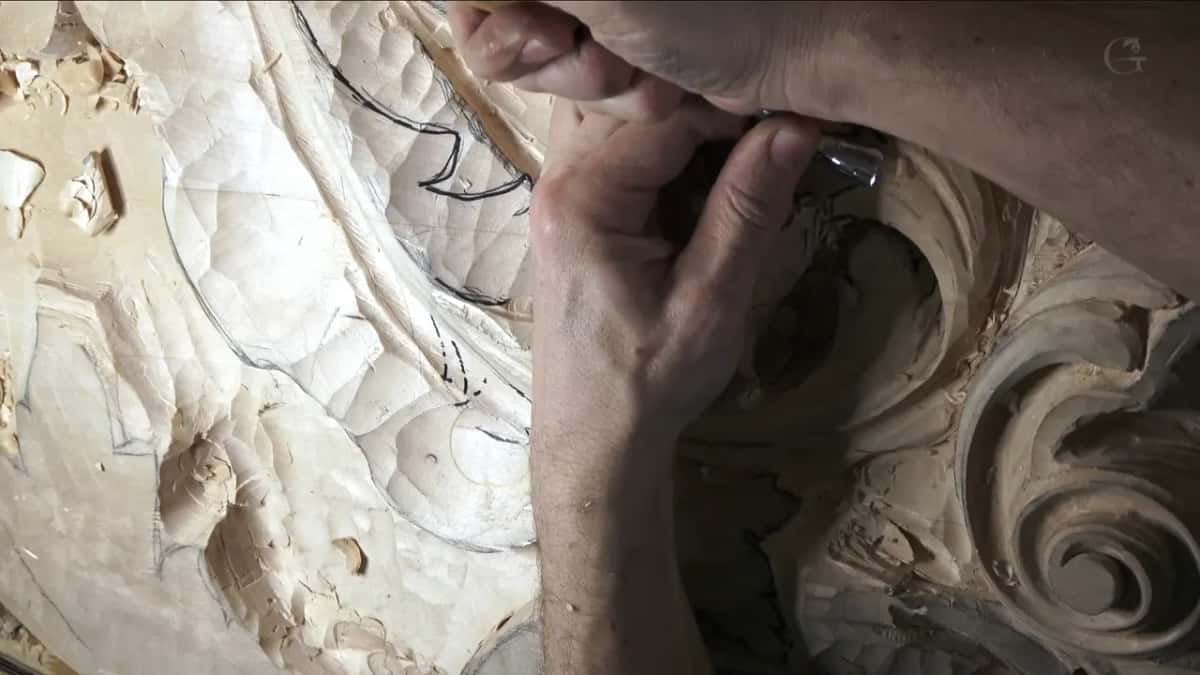
Then I changed my mind and tried a skew back bent instead. A little better. Still not exactly what I was after, so I took a straight #1 and blended it a little better.
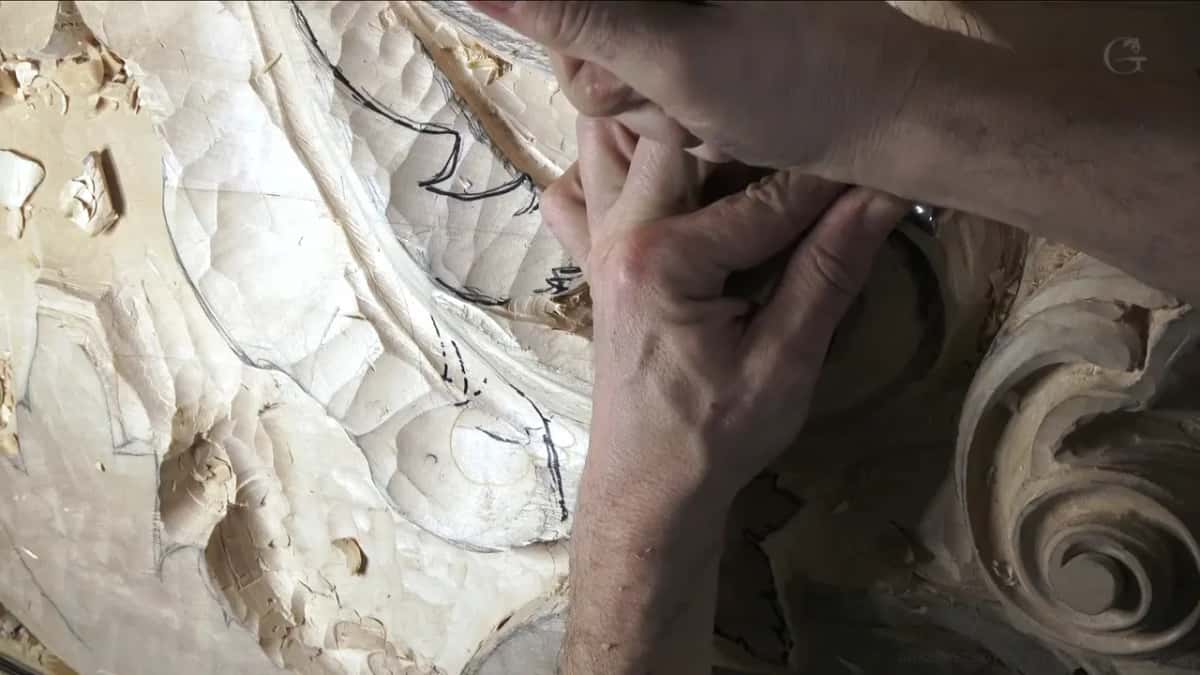
I wasn't too happy, and I could live with it. It still needed cleaning, and I promised I would do it. Then I took the convex all the way along, starting gradually, right up to the next separation. There was a deeper cut there. I'll take care of it, no problem, I said. I was after the overall look, and the overall look was wonderful. To bring out one area I used a #11 of one and a half millimeters, about 1/16 in, and got in underneath. If your gouge digs in on a round, try what I did and go flatter.
Is there another way to raise a convex?
Chop down both sides and let the convex stand between them. Late in workshop 40 I did exactly that with a #7 one inch (25 mm) wide.
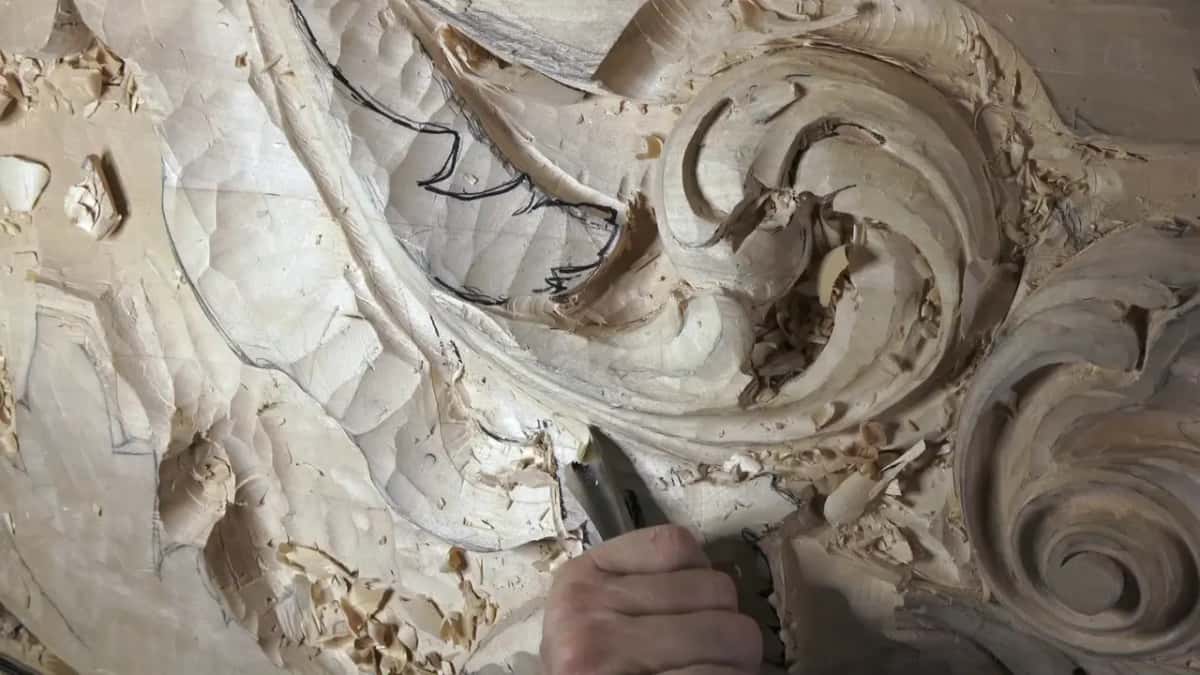
Where the middle line runs, I wanted to see a convex with concaves beside it, so I chopped one side, not much, then the other side, and that let me dig deeper still. Why don't I do it, I said. That gave the leaf a more three-dimensional shape. Then a #3 blended everything, working out from the middle ridge.
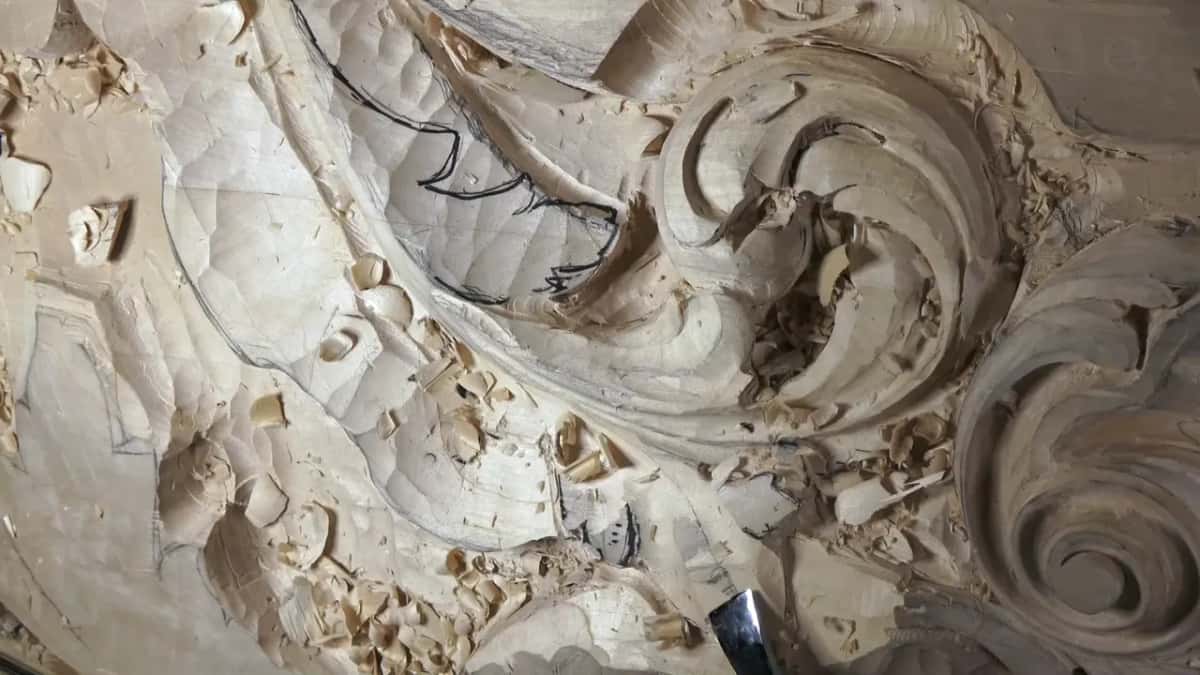
The one inch #7 didn't have enough sweep for the next part, I said, and a deeper one could work, or a smaller #7. Beautiful movement, I said a little later. For the ridge I could still see inside I settled on a #7 of 7/8 in (22 mm), and it worked really well. Workshop 20, in part 2 of this room, is a lesson built on the same idea, a convex brought back by lowering the wood around it.
How to use wood carving tools from both sides of a shape
Flipping is one change. Direction is another, and I changed it all through workshop 40. In the first part I went the opposite way on one pass and then attacked from the opposite direction again before the part ended.

With the hump, the flipped #3 went one way and then that direction too. In another spot I worked more toward myself first. Size changes the result as well. Early on I went back and forth about a bigger #11, maybe yes, maybe no, maybe yes, and the bigger one gave me a cleaner result pretty much right away. Later I reached for a 10 mm (3/8 in) one because it would make a much cleaner pass, and once I went back to a big #3 because it gives a really good clean pass along a ridge.
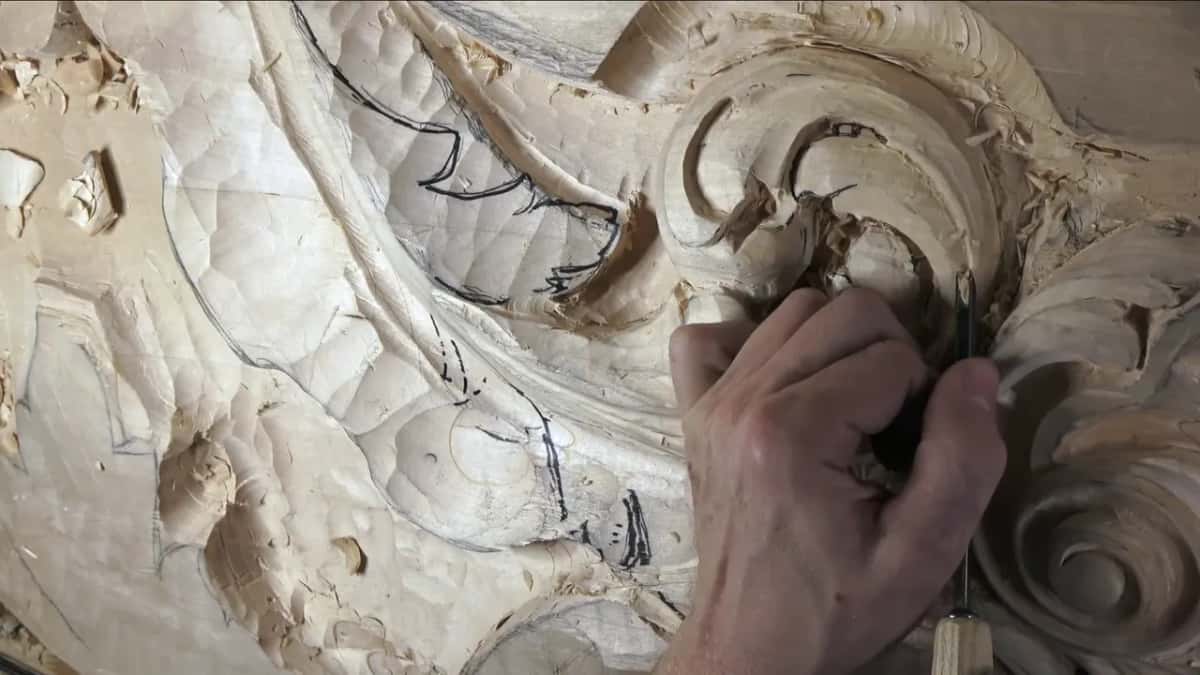
Holding the gouge is its own subject. One page covers holding a gouge so it doesn't undercut, and another covers holding a gouge for fine detail. And if one wall of a pass ever comes out rough while the other stays clean, that question has a page of its own too.
Has this room seen a flipped gouge before?
It has, thirteen workshops earlier. In workshop 27, while I was working my way in little by little and trying not to break a piece, I wanted to relieve it a bit from one side. For that I took a #5 of about 10 mm (3/8 in) and went in upside down. That lesson sits in part 3.
In a flower from the Grinling Gibbons class, a back bent goes in upside down to round the flower from the inside. The rest of this panel, and why its hollows go as deep as they do, is in part 4.

If you'd like to watch each of these flips as it happens, with the quiet stretches left in, the tuition opens this room. Workshop 39 comes before this one and workshop 41 after it.
How it's done
- Decide on a hollow or a round. Look hard at the spot first. Some areas take either one and give the same feel, and then you simply try one.
- Reach for a flat sweep. A #2 or a #3 did every flip in this lesson.
- Flip it and take a long pass. Hollow facing the wood, a long stroke, and keep clear of any pencil line you mean to keep as a ridge.
- Turn it back for the concave. Right way up again, and come in carefully.
- Swap for a bent tool. The bent tool did what my straight #3 could not. After that, flatter tools finished the other side.
- Blend gently. Gradual only, and stop before it throws a shadow you never needed.
Frequently asked questions
Does a flipped gouge leave a round instead of a hollow?
On this ceiling it did. A flat #3 with its hollow facing the wood laid a low convex along the middle line in a single long stroke, and when I turned the tool back over, the same edge made the concave right next to that convex.
Which sweeps work best turned over?
Flat ones, on this panel. I flipped a #3 twice and a #2 once. On a convex a #5 was digging in, so I tried a skew, and the flat #1 blended what was left, which I could live with.
What should you do when a straight gouge fails on a convex?
Change tools and keep going. On one convex in workshop 40 my straight #3 could not do it, so a back bent did the work, and then I rounded the ridge down slightly. The whole switch took only a few seconds on camera.
What to carve next