
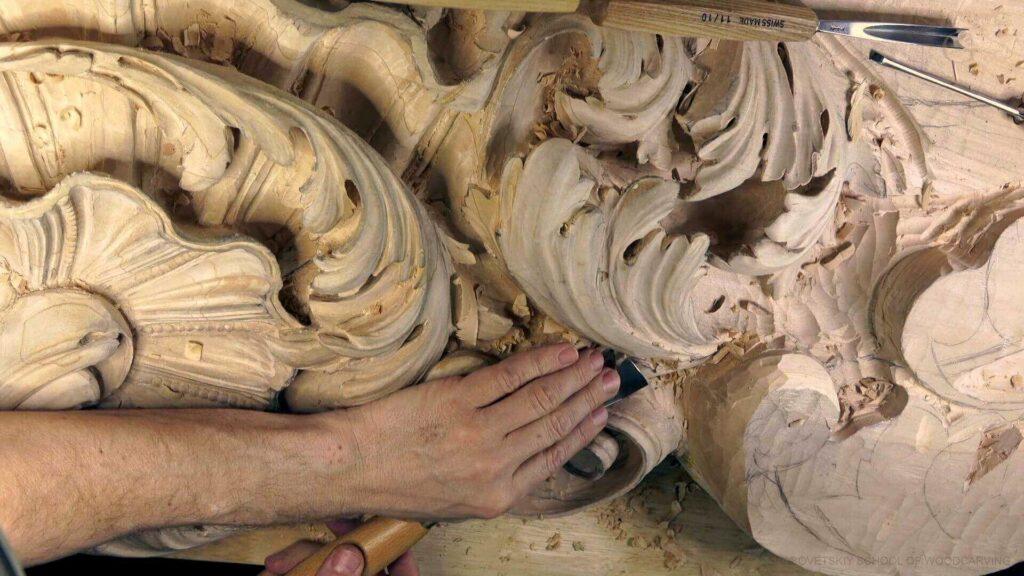
Alexander Grabovetskiy, woodcarver, School of Woodcarving · Published 2023
What does undercutting mean in wood carving?
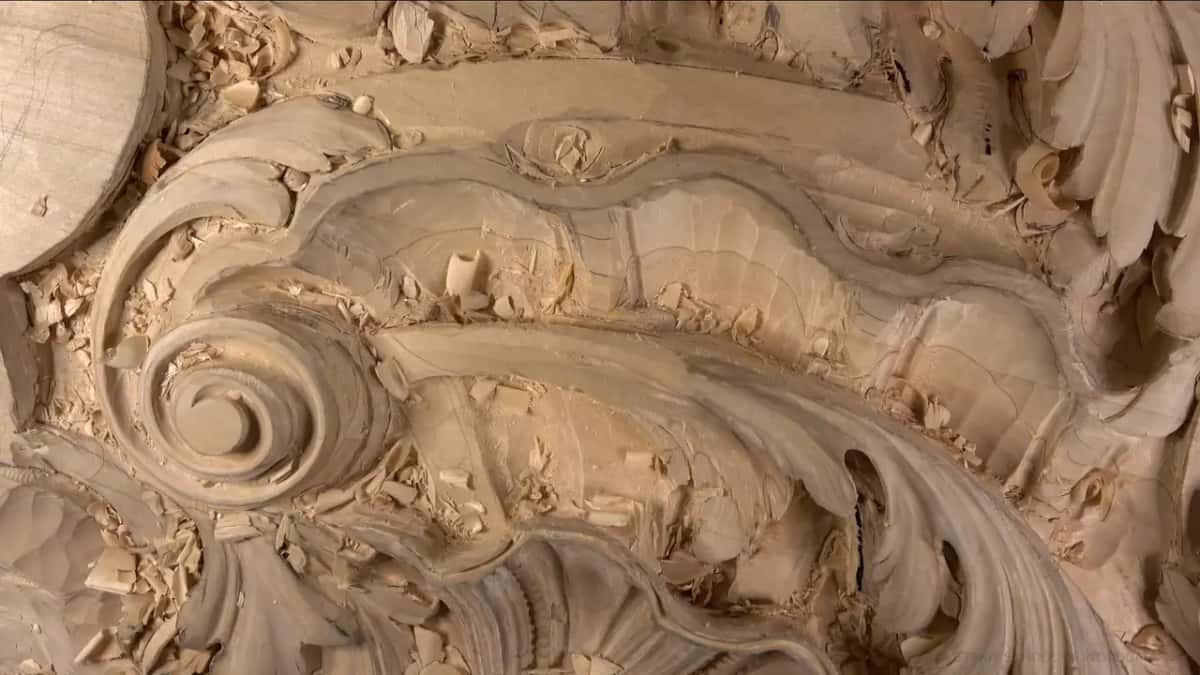
Quick answer: Undercutting is carving away the wood behind an edge so air sits under it and the edge throws a shadow. On a relief panel it is what makes a leaf look like it is lifting off the board instead of glued to it. The final undercut is always done later, once the design is settled.
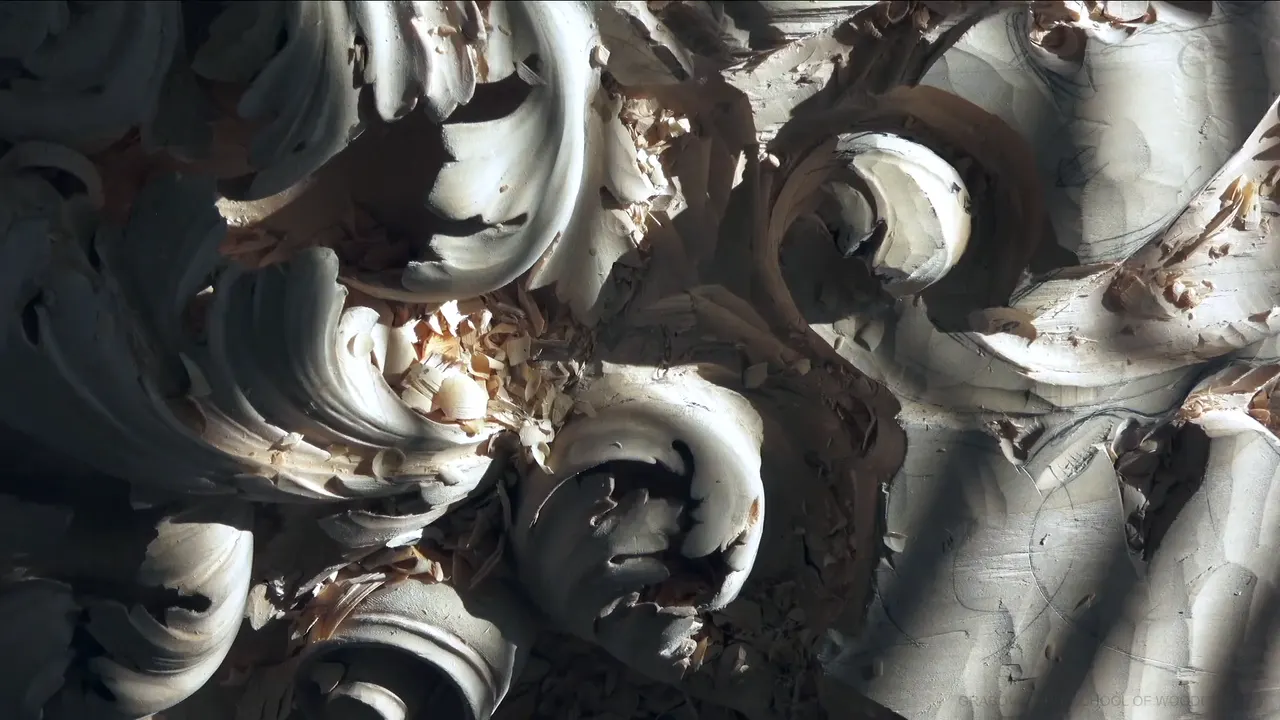
Undercutting is carving away the wood behind an edge so air sits under it and the edge throws a shadow. On a relief panel it is what makes a leaf look like it is lifting off the board instead of glued to it. I always do the final undercut later.
Have you ever looked at old carving and wondered why the leaves sit so close to their background? Does your own relief work read flat once it goes up on a wall? Workshops 38 through 49 are where this panel stops being a surface and starts having a back.
I am one of the ones who undercuts a lot. Plenty of good carvers take the other road and will not go deep at all, and I know their logic. It depends on what the piece has to survive. If a thing is going to be hit by people every day, then no, do not undercut it that deep, because it turns fragile.
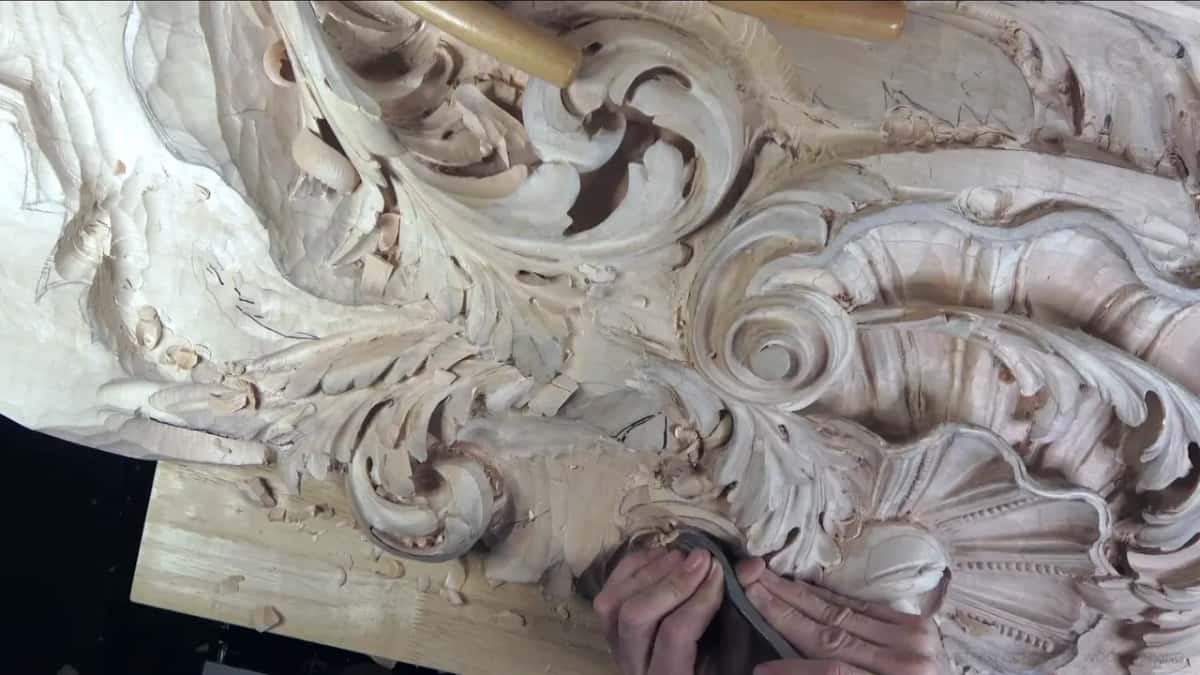
What the hollow buys, and what it costs
- Air under a rim is what throws the shadow, and even a one millimetre undercut can look really nice.
- The old carvers mostly left a wall there. I take it out, and I will tell you below why I think they left it.
- No final undercut until the whole design is settled. Semi finished is fine. Finished is too early.
- A back bent gouge is not a luxury here. In some spots no straight shank will fit at all.
- The price is grain. Once there is a ceiling of wood over your cut, you can only work one direction, and it can be the wrong one.
- Where a deep hollow changes nothing you can see, do not go deep. All it leaves is a weak spot.
Why did the old carvers leave a wall behind the leaf?
Look at original work, stone as well as wood, and you find that space still filled in. I call it the wall. A lot of carvers, stone and wood, did not go in behind the leaf, or if they did, not much. People argue about why, and one answer you hear is that leaving it was the more classical look. I doubt that. Just my opinion, and I will say why.
The wall still looks good. But it is much quicker not to go in. Stone is a separate story and a fair one, because stone gets too weak if you undercut it much. Wood lets you, and in wood an extreme hollow looks better.
Not many people carve acanthus to this degree any more, and I do not know many who still do.
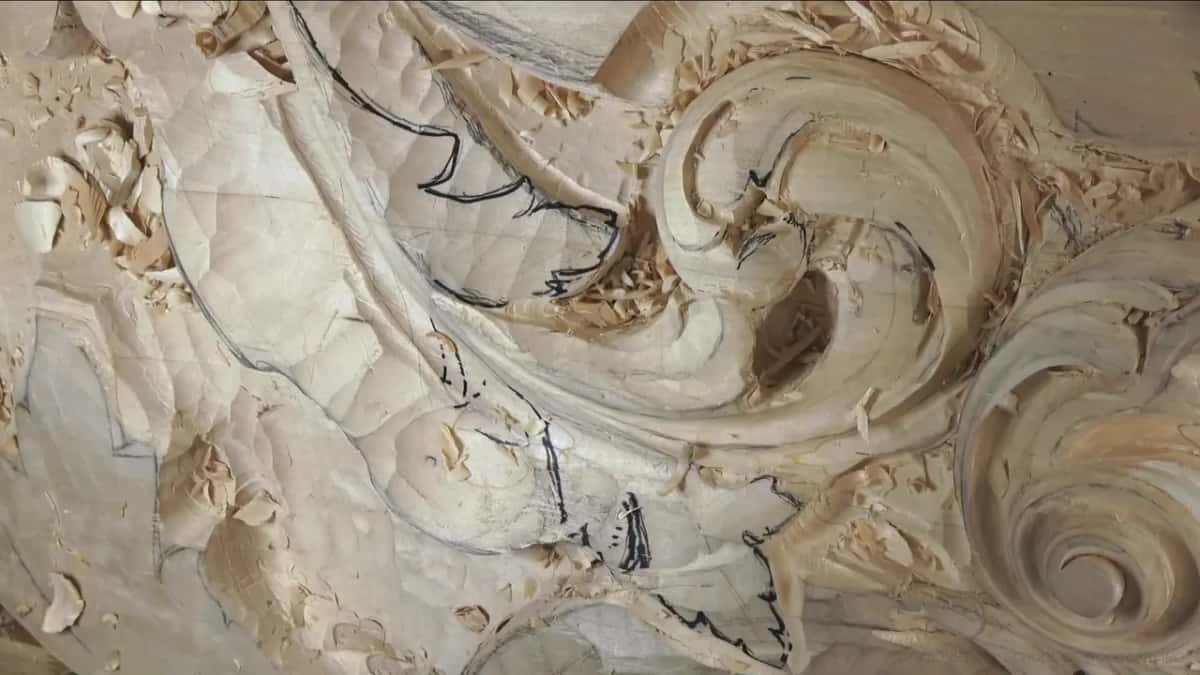
What they did love in Venice was curls. I found that while researching: those regional carvers put curls on everything, and it looks rich. Later on the same movements were picked up in France by furniture makers and architects. Started in Italy, carried into France, and the movements I am carving here are the ones that travelled.
Stone came up once before. In an earlier course I chipped the sharp points off the leaves with a gouge, and I said why. In Italy the same school did stone and wood, and marble has to be sanded smooth.
How far behind a relief carving should you go?
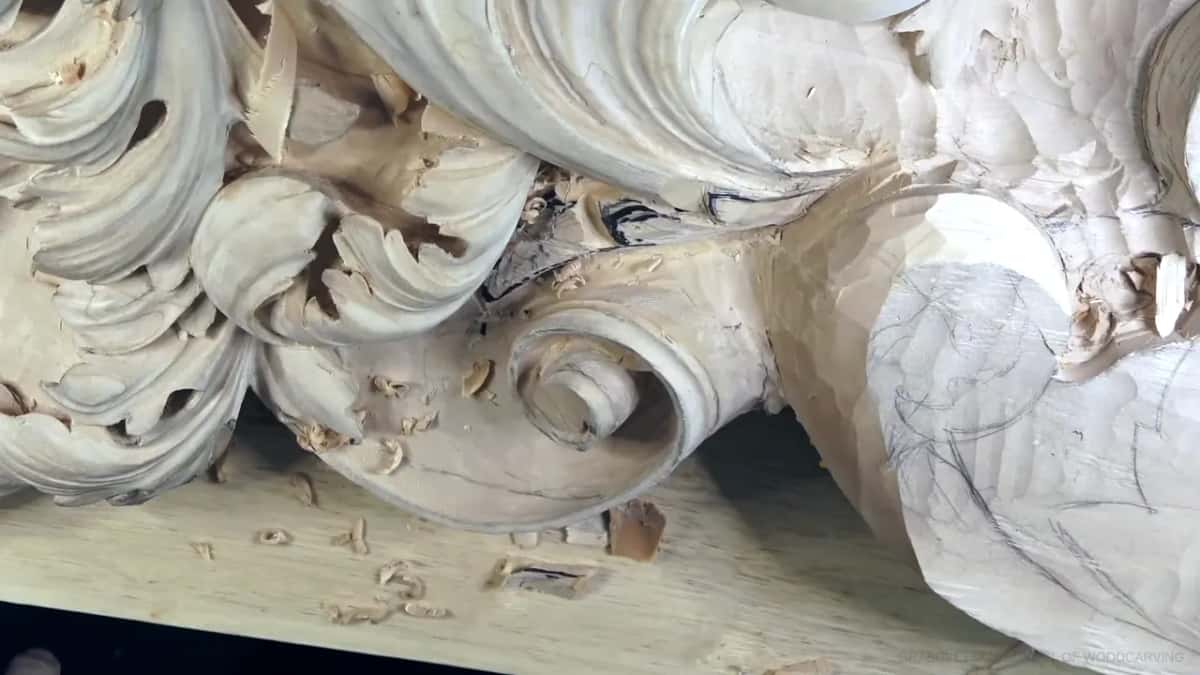
Deep enough that the shadow closes and no deeper. My own target is complete shadow, where you cannot see in no matter how you move your head, and on this panel that came to about a quarter of an inch, 6 mm, past the first pass. Kill one of the lamps and it shows immediately. Without it the leaf is not as three dimensional.
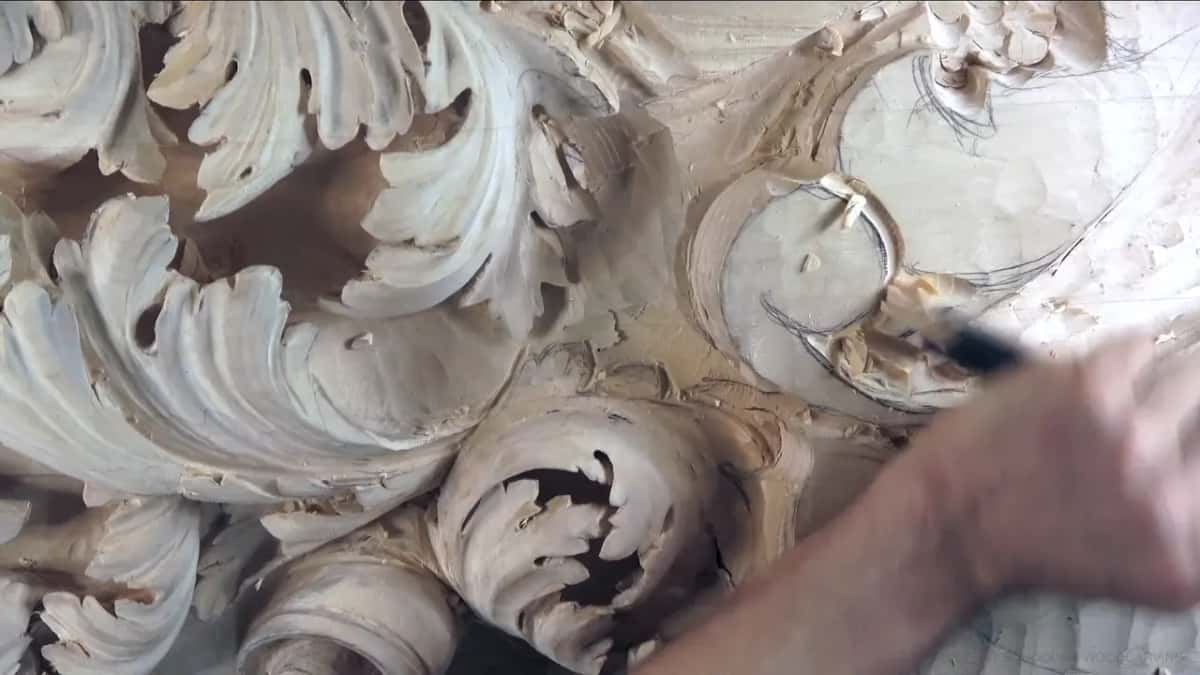
A second kind of hollow exists, though, the one I can skip. In some places I do not have to go in far, and I do not, because it serves nothing you can actually see. The look is identical either way. All it leaves behind is a weak spot, and a weak spot is not an advantage in anything. That is a design call, and my design course is where I talk about design.
| Where it goes | What the hollow is actually for | Typical depth | The risk you take on with it |
|---|---|---|---|
| Beside a tiny eye | air behind it so the rim throws a hard shadow | one millimetre | little, shallow work keeps it strong |
| Under a flipping lobe | the lobe reads as if it lifted off | a quarter inch | the tip turns fragile in a hurry |
| A bored eye | a plug cut leaves a hole no light enters | a quarter inch | the wall around it can come loose |
| Some acanthus details | nothing at all, the look does not change | just a little | a weak spot for no gain |
When in the job does the hollowing happen?
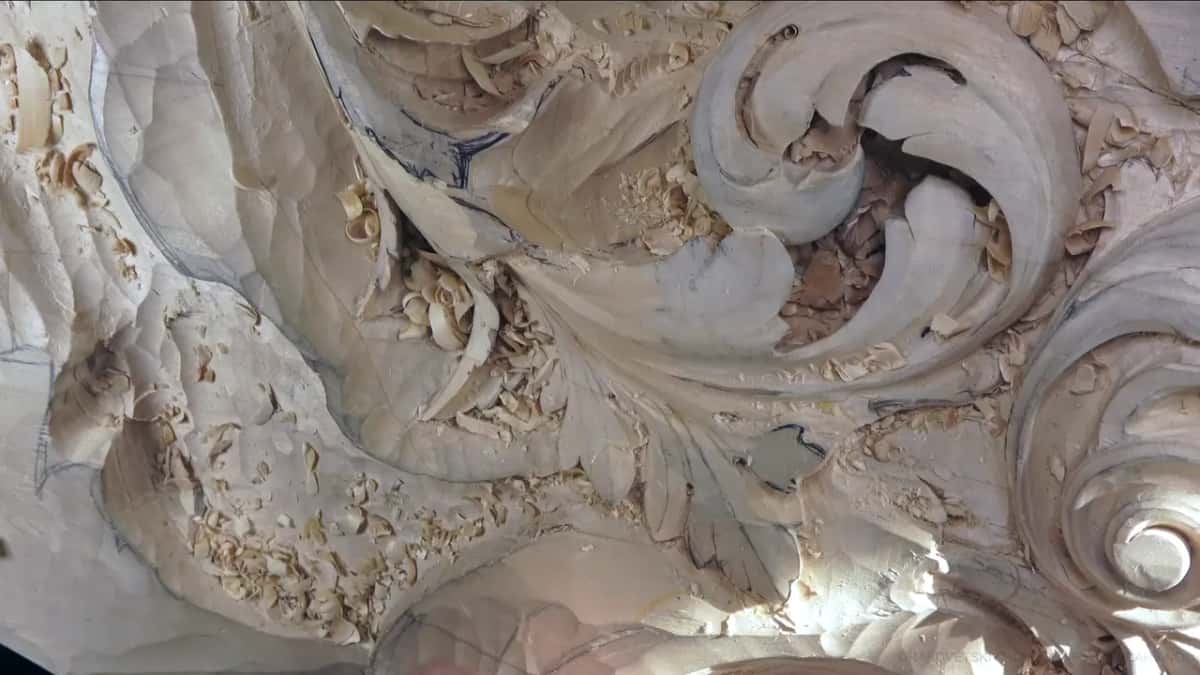
Later. That goes for the final undercut every time, and I say so more than once across these twelve workshops. Until the whole thing is developed, the shell and everything around it, no final hollows get carved, first of all because I might still change something. Semi finished is acceptable. Finished finished is too soon. And why spend the time now and then redo it?
I got tired of one area and jumped to another section.
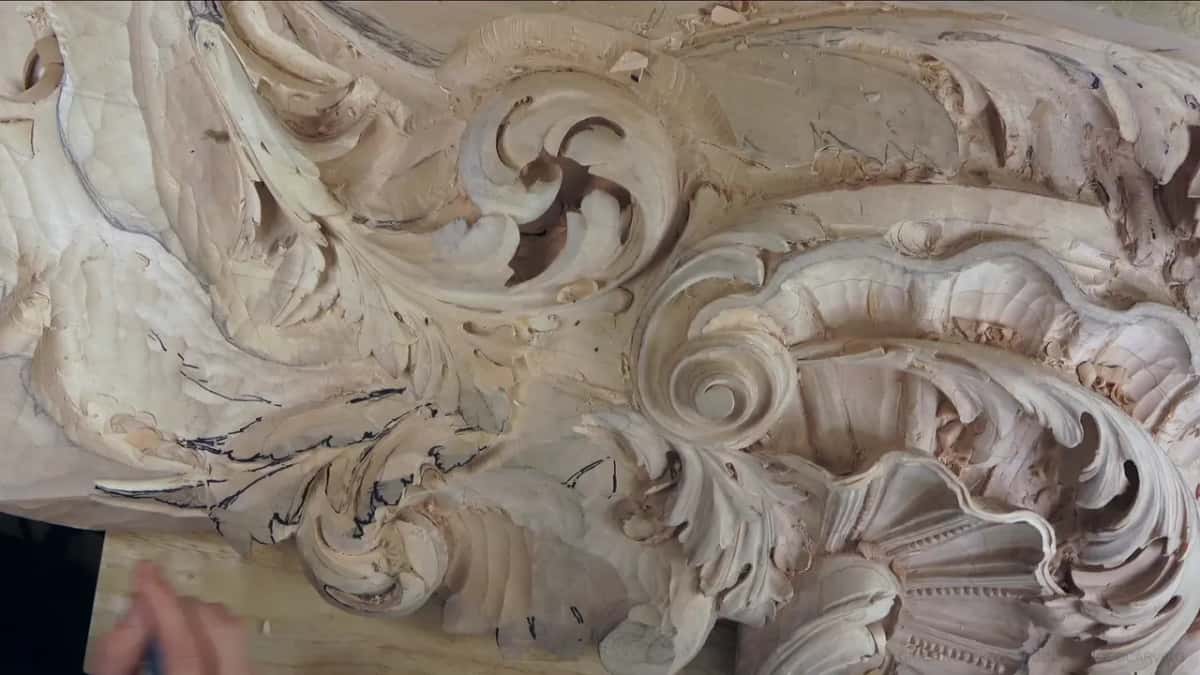
Jumping around also protects you from yourself. If I stay in one area too long I lose interest, and there is a saying in Russian for what happens then, which translates as soaping the eye. Work one detail long enough and your eye grows used to it, and you stop seeing what is going wrong. So I jump to another area and come back. The Russians named that, not me.
Which gouge reaches under an overhang?
A bent one. I lean on back bents heavily through this stretch because in some places there is absolutely no other way to clean underneath and still make the detail beautiful. No other tool fits. This is in the way and that is in the way, and yet the work still has to happen under there. A 10 mm number 1 back bent, flat as a chisel and curved along its shank, is a handy one in those spots.
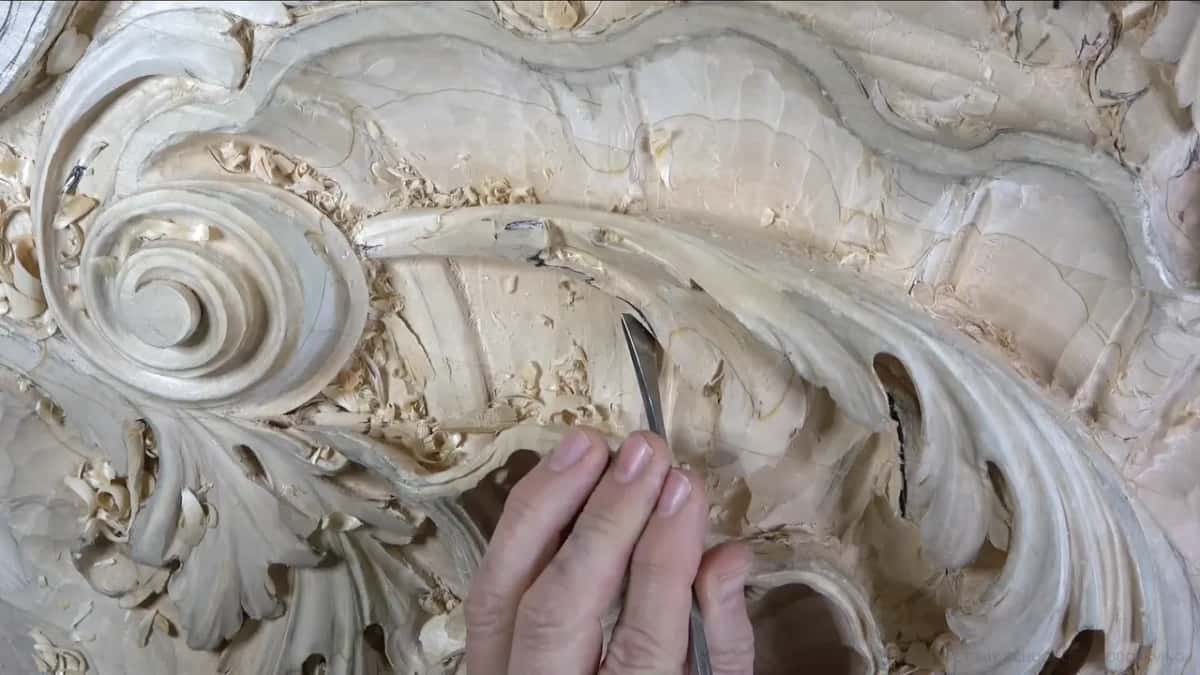
Do not oversell it to yourself, though. What a back bent gives you is access where a straight tool would be blocked, and even so there are limits. Not bingo every time. I also use a half inch medium bent spoon by Ashley Iles, and there are still corners of this board where almost no tool fits, so I leave the spot alone for now.
Why does going in behind force you against the grain?
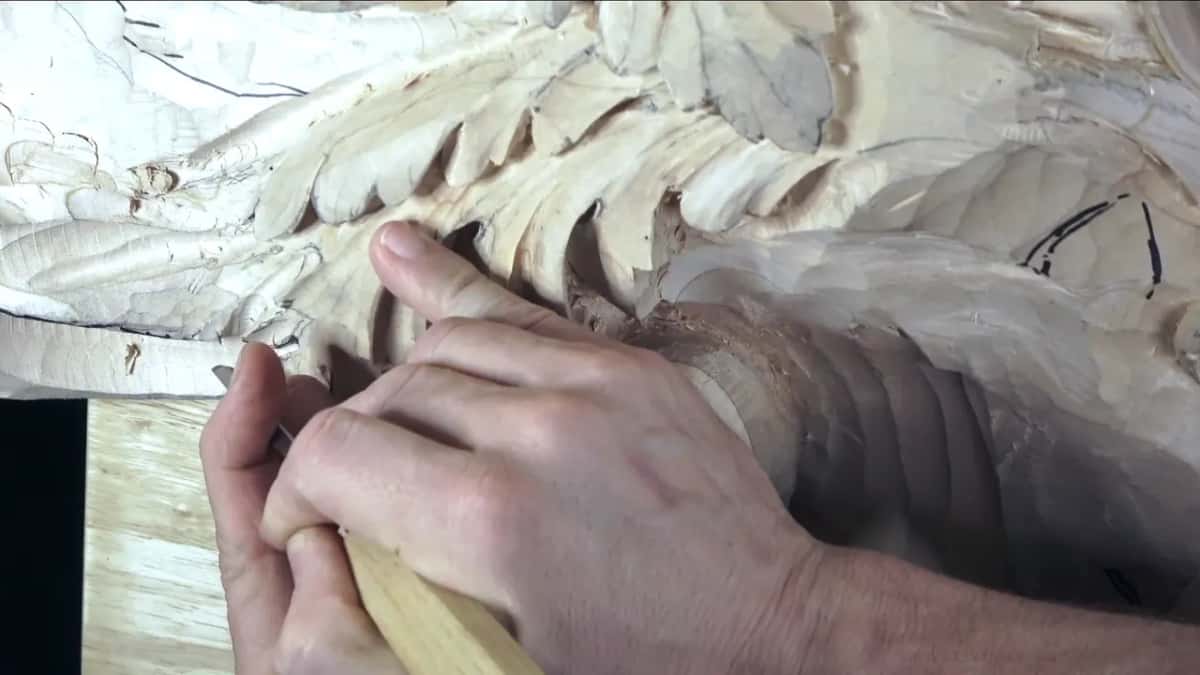
The roof you just made is what does it. Once wood arches over your cut, the tool cannot come at the fibres from the far side, so one direction is all you get, and more than once here it ran against the grain. I break that rule openly in workshop 49 and say so while I am doing it.
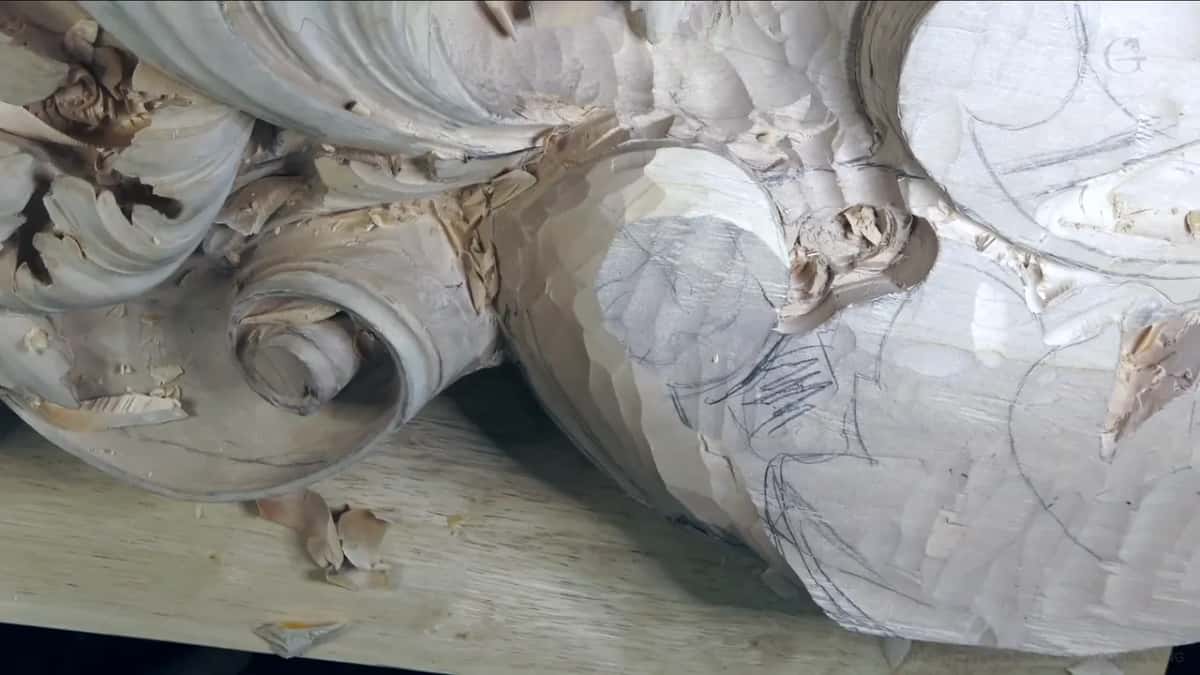
What makes it survivable is the edge. My bevel on one of these is 16 mm long, really, really long, and it slices through the fibres easily. Sharp like a surgeon's tool. You could shave with it. My sharpening course is where that edge comes from.
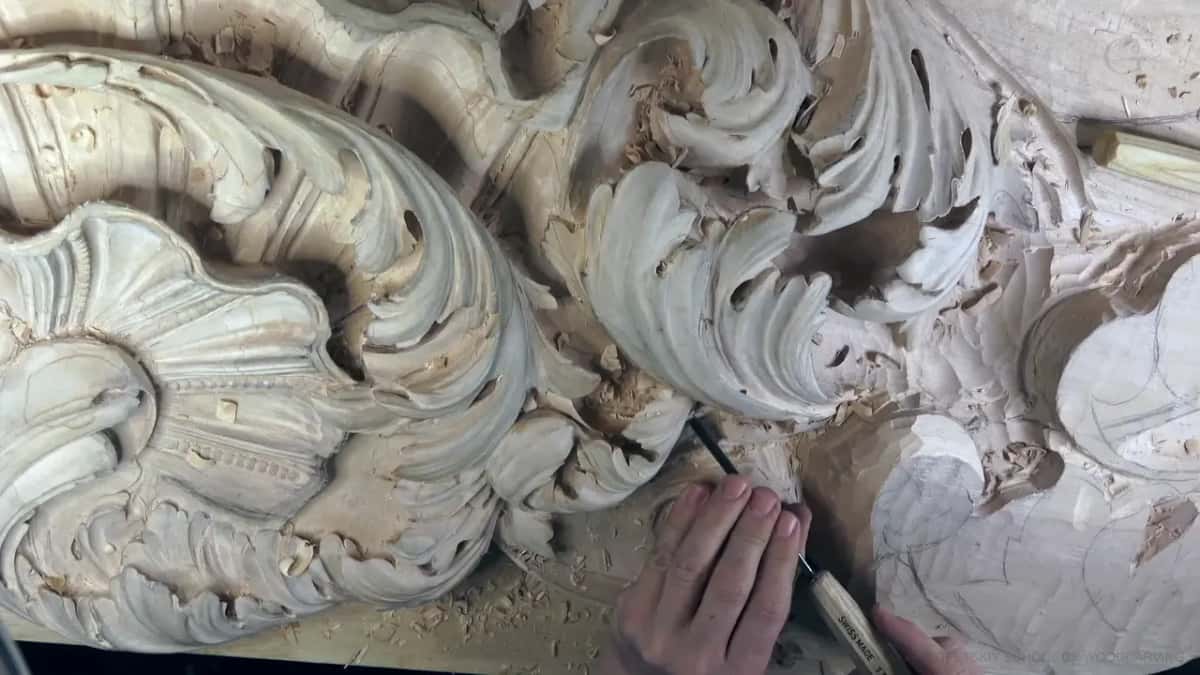
What is a plug cut, and why will a veiner not make one?
A plug cut is a hole rotated out of the wood with a gouge rather than a drill bit. Set a number 9 down, turn it through a full circle, and the cut ends exactly where it began, because a number 9 is a true half round. Lift the plug out and you have a hole, and every later cut can then run into it from all sides.
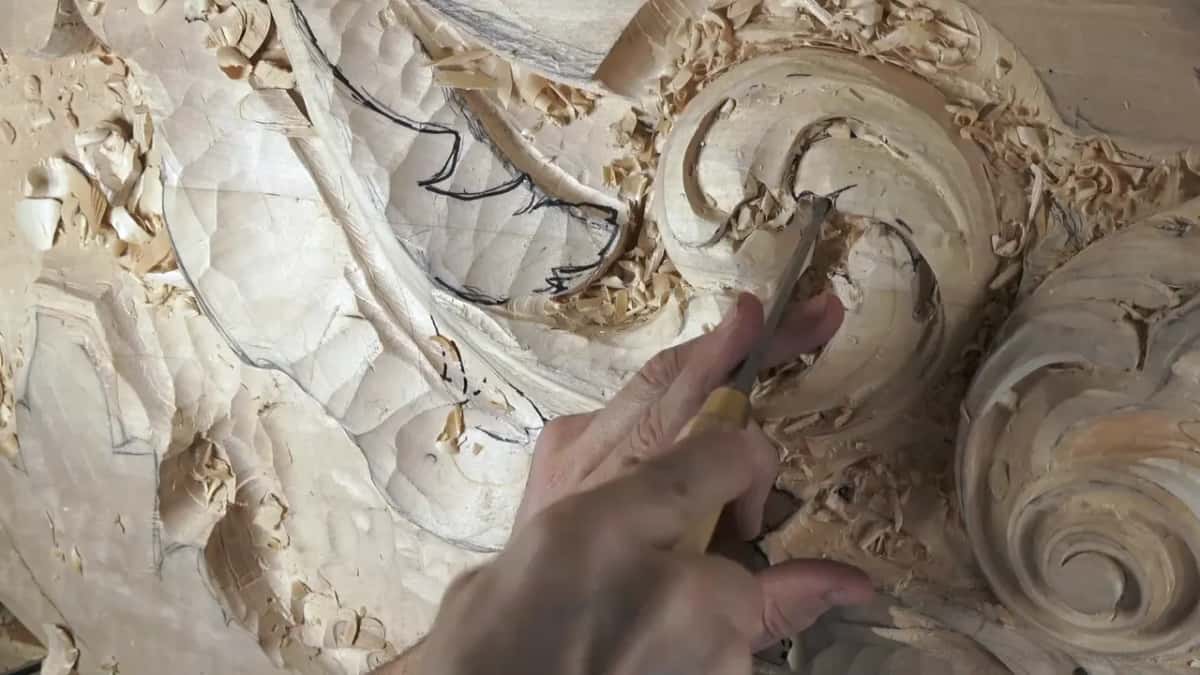
Try the same thing with a number 11 and it will not work. A veiner is a letter U, not a radius, so it cannot rotate, and if you do not know that difference the tool will simply refuse. A gouge is always the true radius; a veiner is always the U. Number 8 rotates too. In the workshops just before these the number 11 did a lot of the work, and here is one job it cannot do.
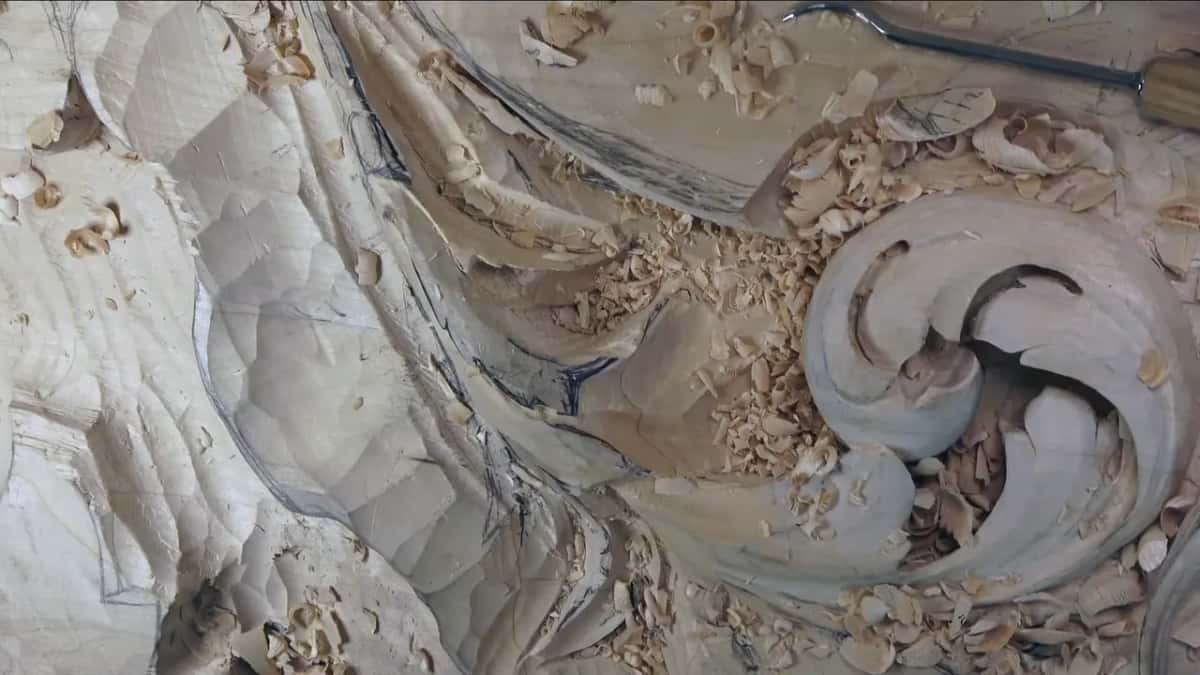
The point of the whole operation is one thing: a shadow deep enough that the eye gives up. Another quarter of an inch in and the hole is dark from every angle. Extreme shadows are exactly what I am after.
How do you carve a panel people see from below?
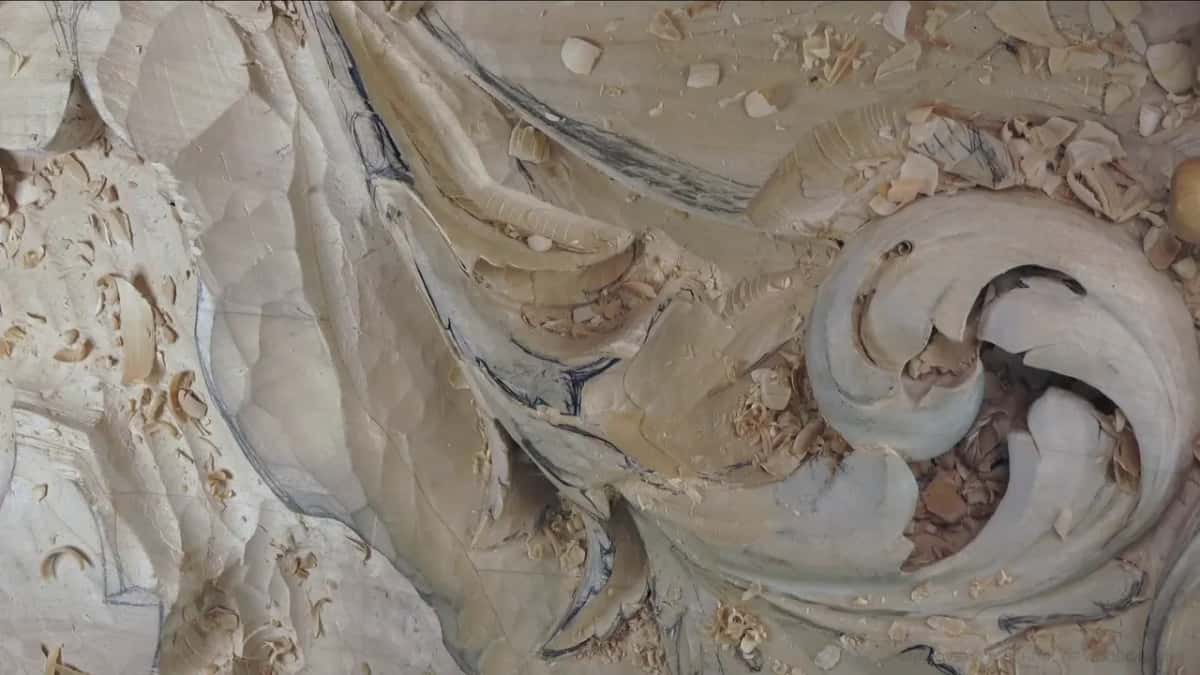
You carve it for the angle it will actually be seen from, which is underneath. Part of this board will only ever be visible if somebody stands at the far end of the room, and it still gets the work, because you are not always in a bed. Another part faces a person lying down, and that part gets checked from below constantly, since something can look perfectly right head on and be wrong from the floor.
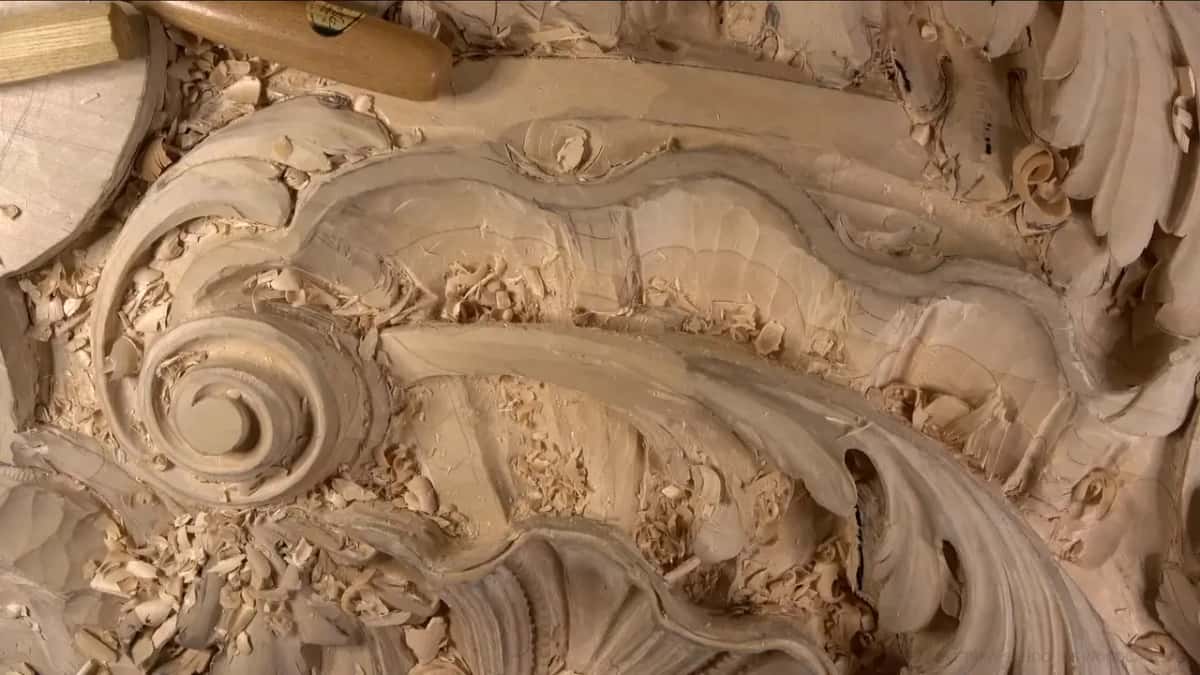
So again and again the question is not whether a shape is good. The question is whether the shape will be visible at all, and whether a tool can even get there. Distance also sets the detail budget. One acanthus head sits much farther away; the one that comes closer to the eye gets a lot more detail. On one leaf I looked from below and saw I needed to take an eighth of an inch off, maybe a little less, maybe 3/32, a couple of millimetres only.
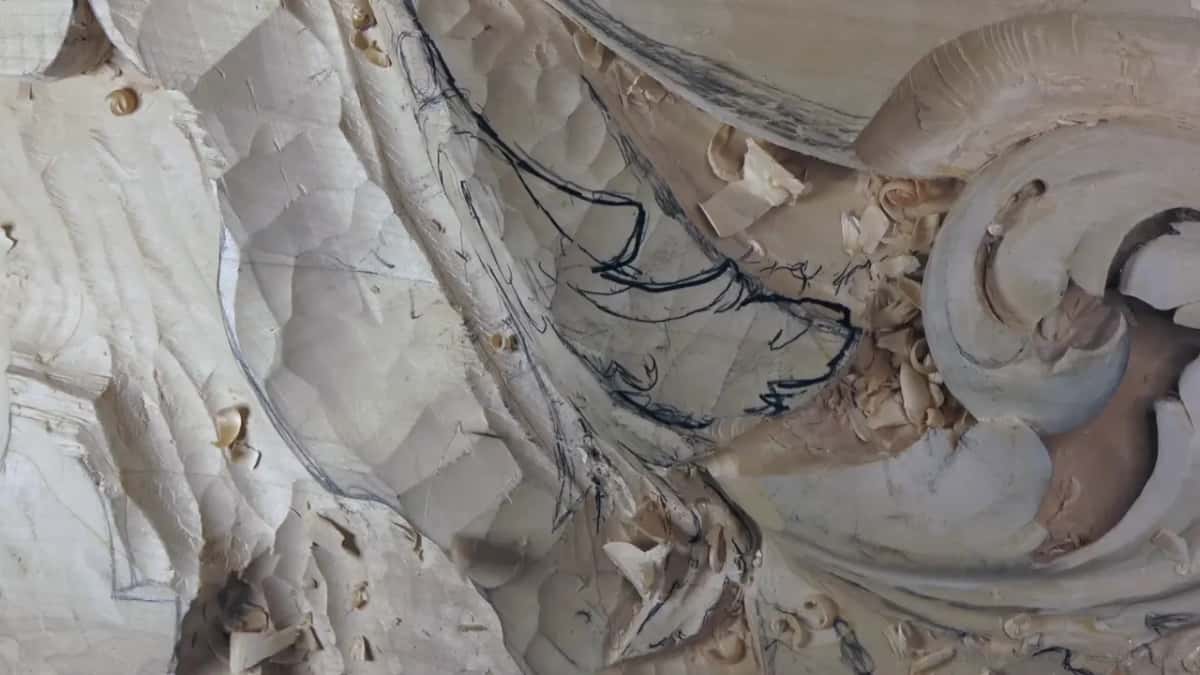
What wood is a panel like this carved from?
Lime, and a viewer called David asked me the same question mid stream. In Europe you call it lime wood, and I call it the queen of woods because it is the best wood for carving.
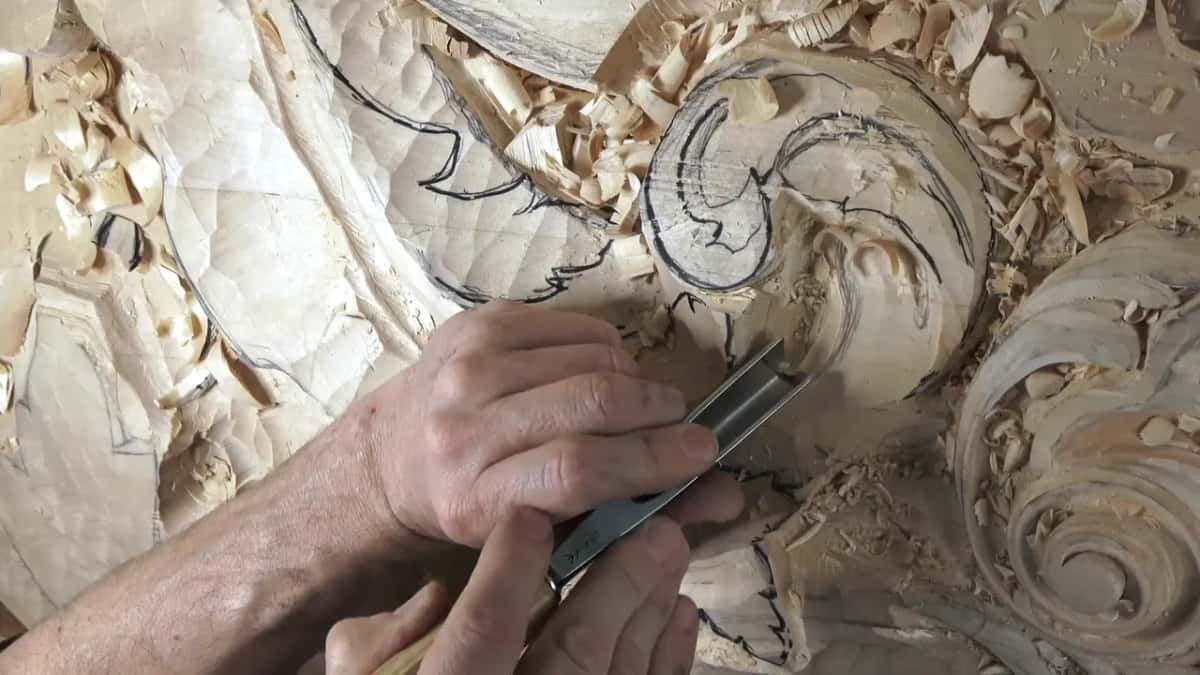
If you want to carve other species besides lime, it is a good idea to own low bevel and higher bevel tools, if you can afford it. On the harder woods a very low bevel breaks, so the tool that slices lime beautifully is the wrong tool there. I would not use a really long bevel on hardwood. It snaps, and easily.
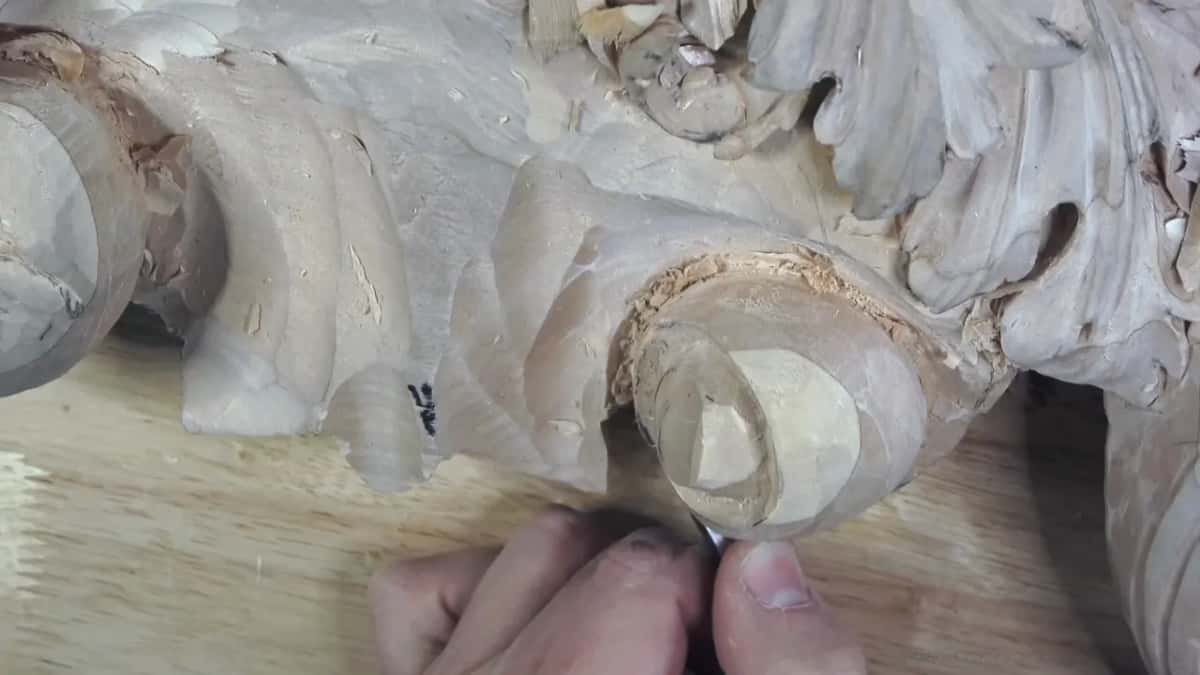
What breaks first when you go too far?
The detail you were protecting. In workshop 42 I moved into a plug again and again without clearing the waste, cranked upward, and loosened the very piece I was shaping. It did not break off. I could feel it move under the tool, and see it move. That is not so good.
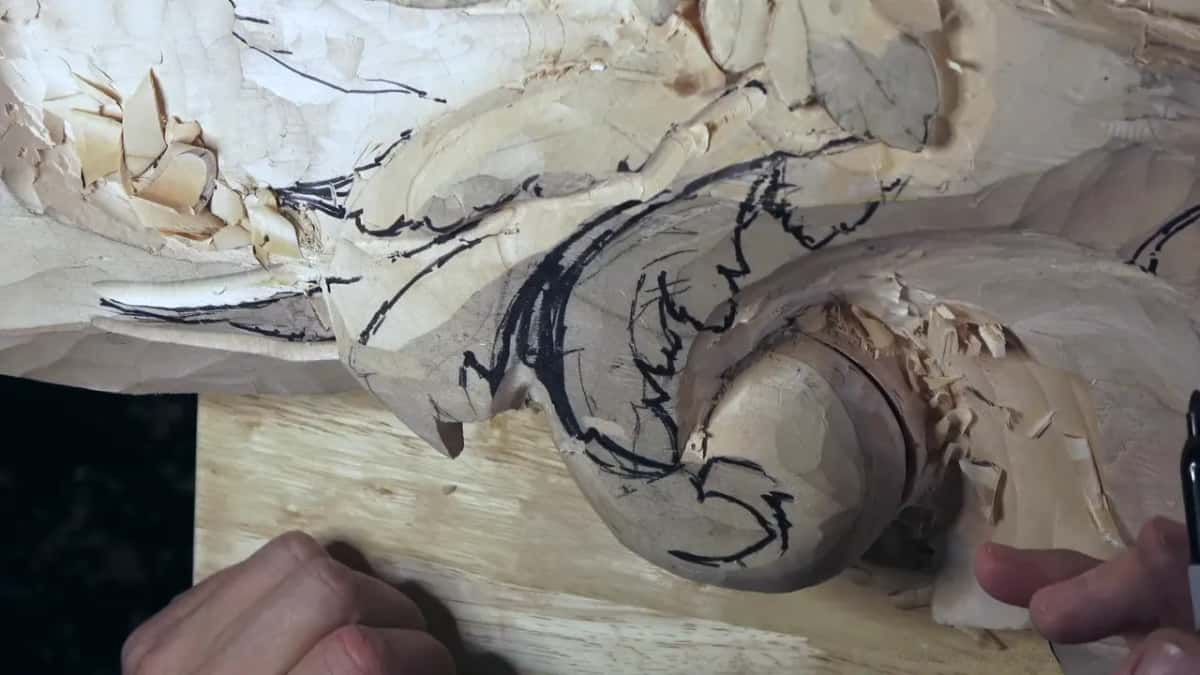
One piece I glued straight back with Titebond 2, then worked a different corner of the board while it dried. The panel is paint grade, so nothing shows. I also broke an edge in workshop 40. It is okay, I said, but I wish I did not.
On another spot that day I was not too happy, but I could live with it.
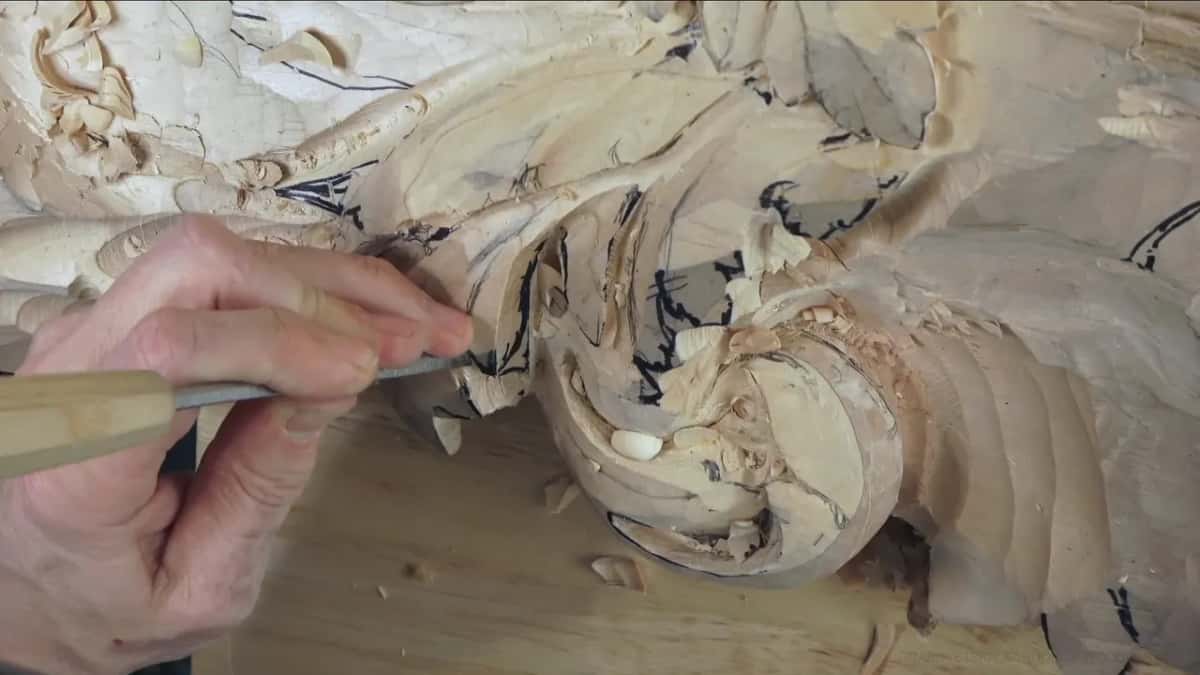
And I broke a tool. Use a mallet on a spoon gouge and watch what the blade does, because the bent shank acts like a spring, and if you hit it hard at the wrong angle it goes. Ask me how I know. One was one too many, and it gave me a really good lesson.
Does sandpaper belong on a hand carved panel?
Mostly it does not. With really sharp and nice tools you do not need to sand anything, pretty much. I do reach for a rasp on one edge in workshop 46, just to make the movement gradual, and I said it was maybe not a bad idea at all.
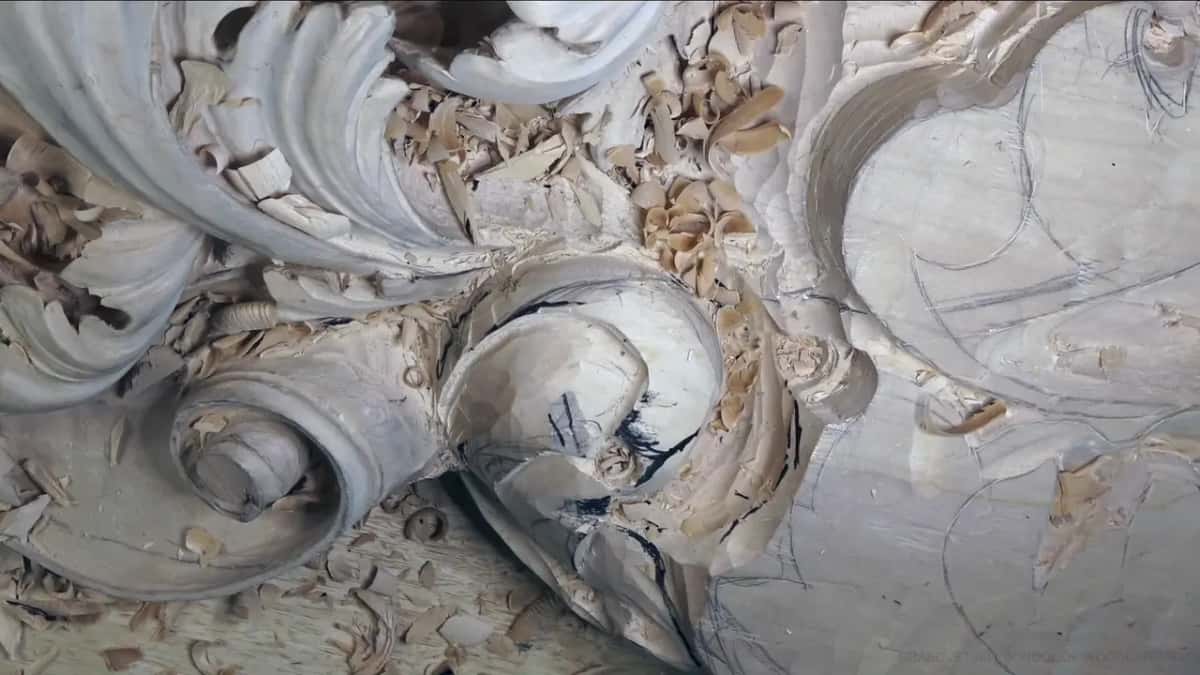
Where abrasive earns its place is the inner bevel. A strip of 3,000 grit abrasive on a piece of wood will sharpen the inside of a gouge, and 1,000 or 2,000 will do at a push. Then you strop it on leather. You do not need a bought stropping wheel for that. I keep about half a thousand tools in drawers on both sides of the bench and this panel has no clamping system at all, just bench cookies, because the board is heavy enough to hold itself.
Are there smaller pieces to carve?
There are, in other courses on the site. And if you want me standing over you, the bench classes exist for that.
One movement in workshop 46 I fixed anyway. Nobody would even know. Professional people would.
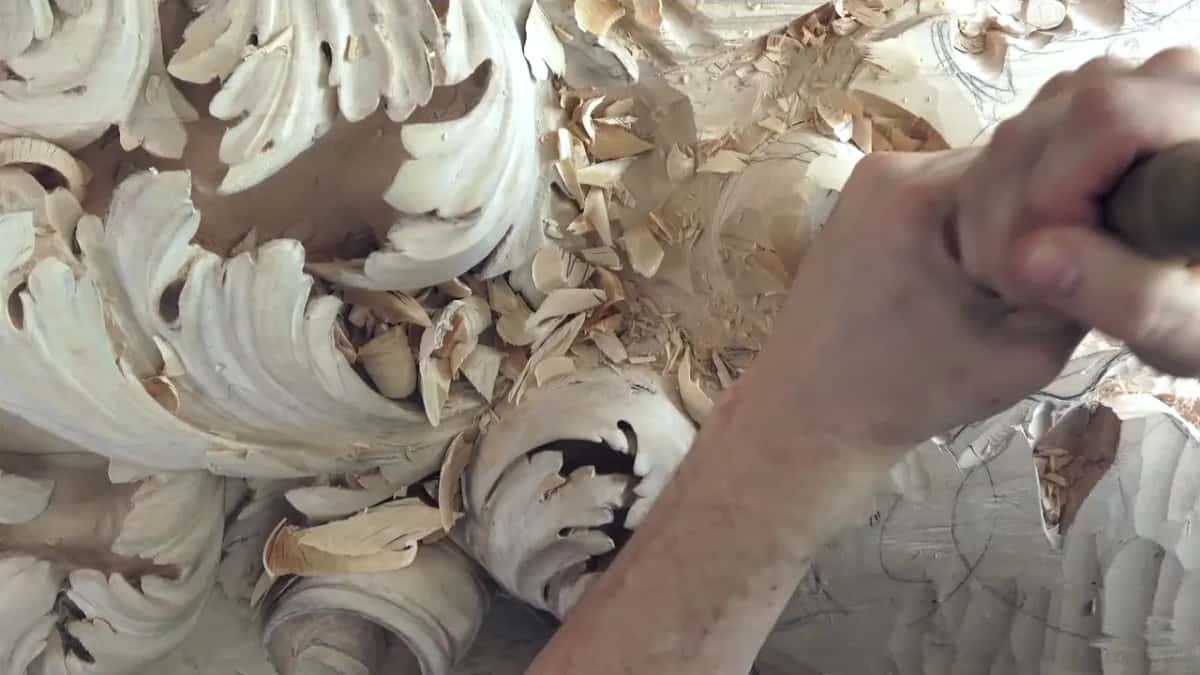
A rosette, an acanthus over a molding, or the Greek acanthus leaf are all much smaller pieces. The lessons map shows how they connect, the tools course covers the bent shanks, and the questions I get asked most sit alongside. You can also watch this board being finished workshop by workshop.
Nobody is in my shop while I work. The only people hearing me are you, on the other side of a camera, so I think out loud, and sometimes that is maybe annoying. Workshop 49 was the first time I ever streamed it live, and I could not read the chat properly because the computer sits too far from the bench. Pick something to carve. Shall we carve?
How it's done
- Settle the form before you go in behind. Leave the last hollows alone while the design can still change. A part finished surface is acceptable, and doing the final work twice is wasted time.
- Decide where the hollow earns its keep. An edge that will throw a shadow gets one. A detail where depth changes nothing does not, because the look is identical and the wood ends up weaker.
- Bore the deep spots as plug cuts. Set a number 9 down, turn it a full circle, lift the plug out. Another six millimetres in and the opening reads black whichever way you tilt your head.
- Switch to a bent shank for the rest. A 10 mm number 1 back bent gets under an overhang that blocks every straight tool. In a tighter spot, switch to a spoon or a long bent.
- Accept the one grain direction you are left. Wood arching over the cut means the fibres can only be approached from one side. One of my tools has a 16 mm bevel, and it slices the fibres easily.
- Keep the walls you cannot afford to lose. In one tight spot I had only about five millimetres left, so I could not go past that. If it gets too thin, you can break it very easily.
- Check from underneath with one lamp off. Stand where the viewer will stand. Switch a lamp off and you will know at once whether the work did anything.
Frequently asked questions
How deep should an undercut be on a relief carving?
Deep enough for the shadow to close. I took one plug down until you could not see in from any angle, about a quarter inch more. Under one leaf flipping over, a quarter inch was plenty, and beside a tiny eye a one millimetre undercut looked really nice. Where depth changes nothing, going deeper only makes a weak spot.
Can you undercut with a straight gouge?
Partly, and then the shank stops you. A straight tool works while the approach is open, but the moment wood arches over the cut it fouls. A back bent or a spoon curves along its length and slides in under the overhang.
What is the difference between a gouge and a veiner?
One is a radius, the other a letter U. A gouge follows a true radius, which lets it rotate in place and bore a plug. A veiner has walls running close to parallel before they turn, so it channels beautifully and will not rotate. Number 8 and number 9 rotate; number 11 does not.
What to carve next