

Alexander Grabovetskiy, woodcarver, School of Woodcarving · Published 2020
How do you hold a wood carving that is too big for a vise?
Quick answer: Holding a carving too big for a vise is left to its own weight. My Venice ceiling board is several pieces glued into one heavy block, and it lies on rubber bench cookies with no clamp at all. Later it gets a support underneath, and smaller work goes in a carver's vise.
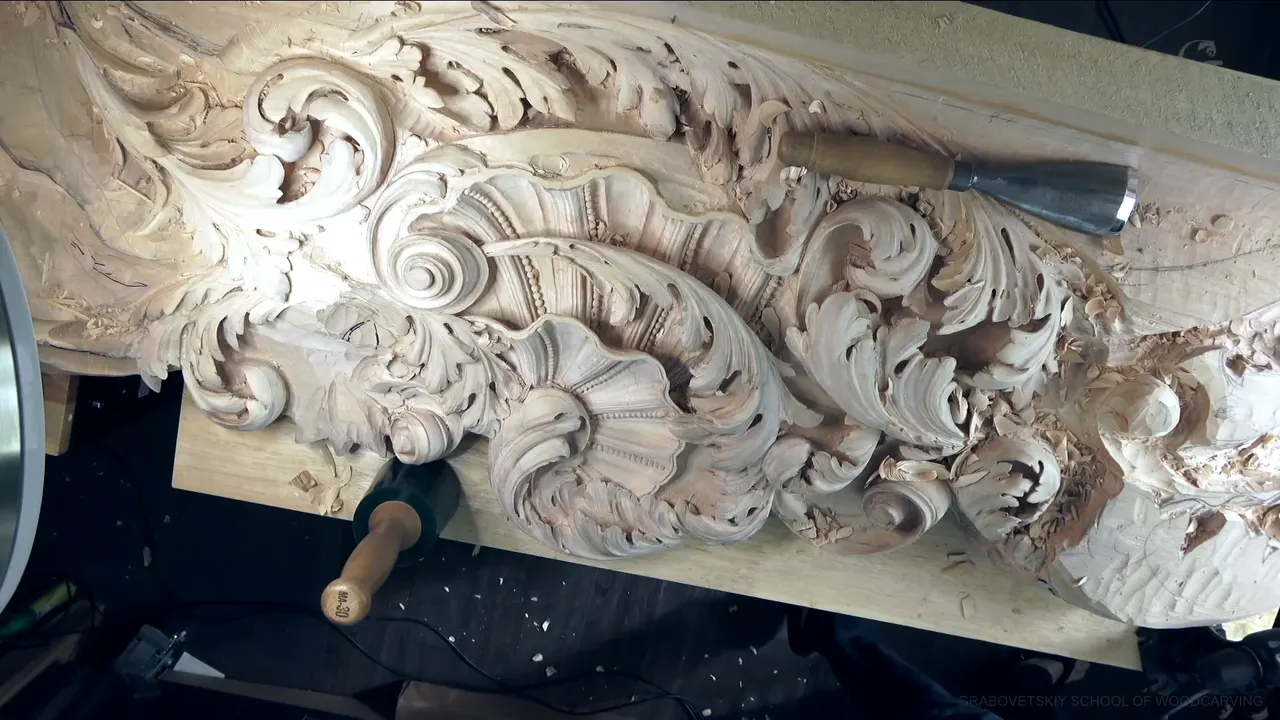
Holding a carving that no vise can take is a job for its own weight. My Venice Room ceiling board had no clamp on it. For a piece that big, how to hold wood for carving has a short answer, and in workshop 49 that answer was a solid block heavy enough to lie on the bench and stay put on rubber pads.
Do you want both hands on the gouge? Would you like the wood to stay right where you left it? Let a heavy relief hold itself, and you get both.
I carved that whole session on it, big tools included, and my bench was the thing that moved.
How to hold wood for carving when it weighs this much
The weight of the board kept it still.
Bench cookies sit under it, rubber on both sides, so the block does not slip.
The bench sits at elbow height, which saves my back while the board lies flat.
Later, a support will tilt it to 45 degrees.
Smaller work goes in a Veritas carver's vise, which flexes and still held big lion heads.
Restoration work that is already installed sometimes gets carved in place from a step ladder.

Do you need to clamp a big relief carving?
Mine has none at all. Someone asked about my clamping system during the workshop, and I told them they might laugh, because there is no clamping system on this particular piece. I showed the camera how it holds instead.
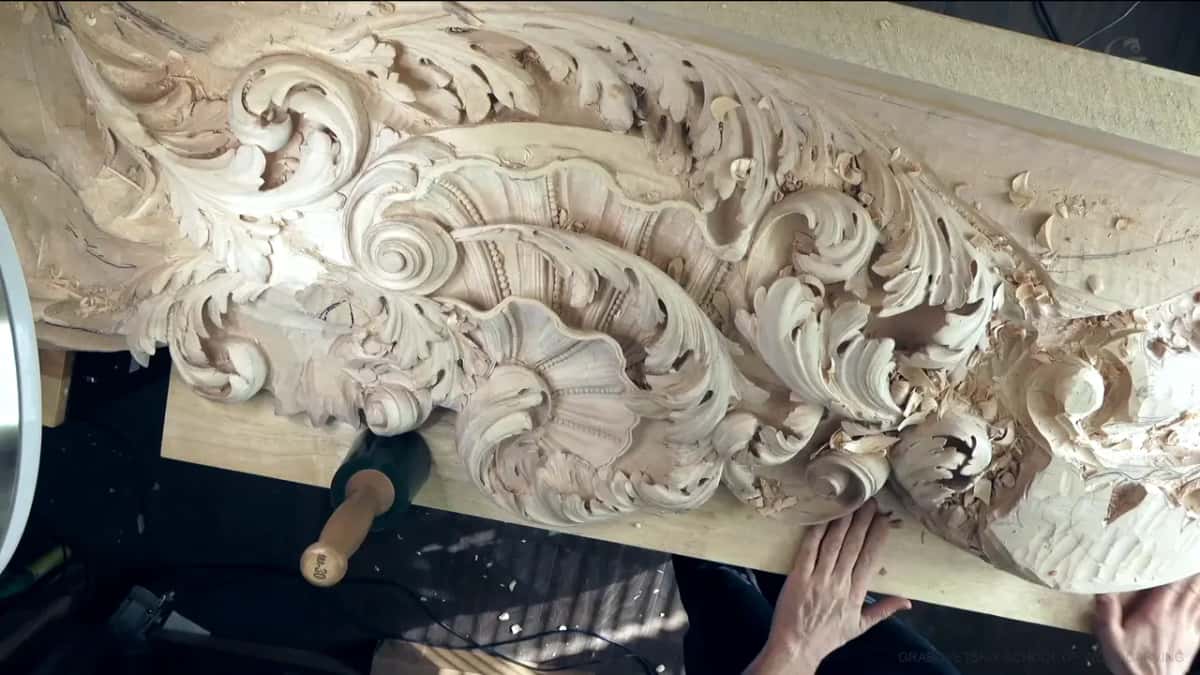
This board is so heavy. Really heavy. I glued the multiple pieces together into one solid block of wood, and it just lies on my workbench.
I'm going to be honest with you. I did not put a number on its weight in that workshop, and I won't make one up for you now. Super heavy is as far as I went.
Another question was how I hold that relief. I wasn't sure I understood the question, so I said it all depends. This is a big one.
Smaller work gets other answers, each with a lesson behind it. A blank can be held with paper and glue instead of clamps, a small carving can be glued down to plywood, and fragile work can go on a board drilled on a grid.
What are bench cookies for?
Bench cookies go under the work and keep it from slipping. Cookie is the name, just like whatever you eat, and the one I showed the camera is round.
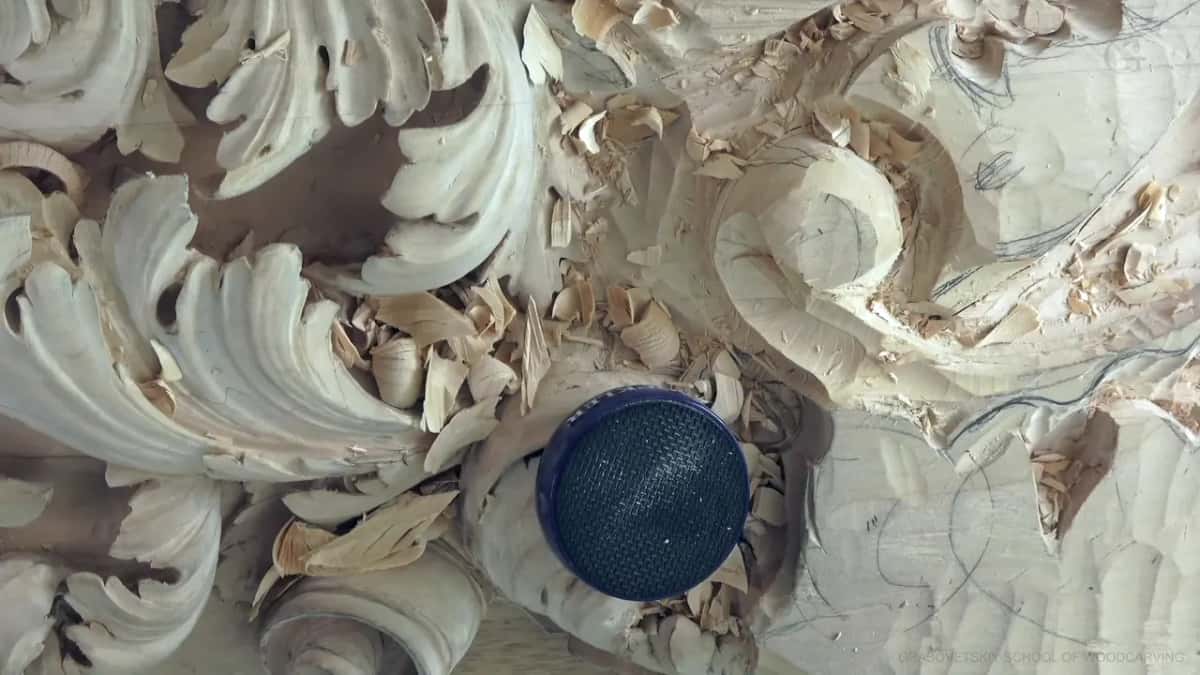
I've got different brands. The one under this piece is a bench cookie by Rockler, and it is rubber on both sides, which just keeps the piece from slipping.
Because this piece is so heavy, it is not moving anywhere. My bench is moving. The piece is not. So that is what holds my work on this job, rubber cookies under a block that weighs this much.
Why does the bench move while the carving stays put?
My bench rolls. What I carve on right now is a tool chest with drawers, sitting on wheels, and it works really well as a bench. That setup has a reason. I have so many tools, and I keep them in drawers I can open and reach on both sides.
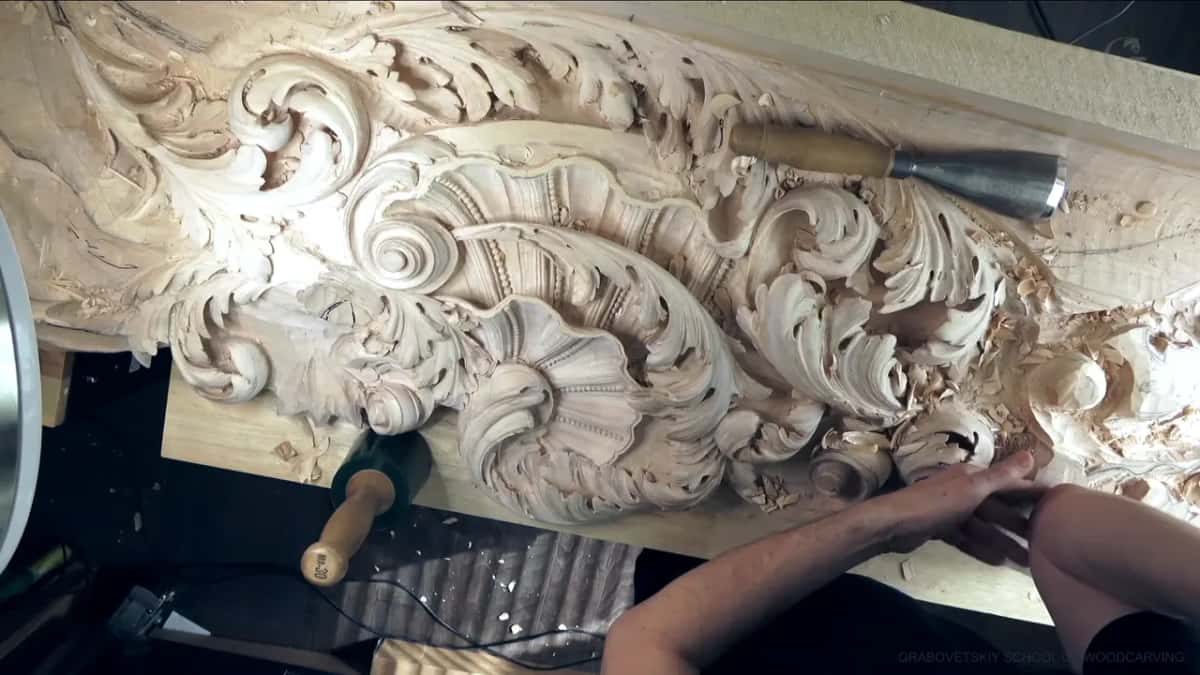
I have about half a thousand tools. This bench runs about eight feet (2.4 m) in one direction, and on the back side of me stands another bench, also about eight feet (2.4 m) long, with all my sharpening systems and more drawers.
How I lay the tools out on top of a bench is a lesson of its own.
How high should a wood carving bench be?
About at your elbow. Usually, in the wood carving world, if you want to save your back, your carving bench should be right by the elbow. Mine is. I checked it by my own elbow on camera, and it is just right there, a really good height.
So your back is not really hurt, and you can work easily on a flat piece like this one. Later on I could raise it.
The work itself can also come up to you. A lift brings it up toward your hands, and the lift lesson covers that tool. Whether a carving post or two vises suits your shop is a separate question with its own answer.
When does a big relief get tilted up?
Later, on a support that tilts it to 45 degrees. The board is big, and it is going all the way up to a ceiling. I really can't use any holding system on it besides a support underneath, and I plan to add that later. Right now, flat is good.
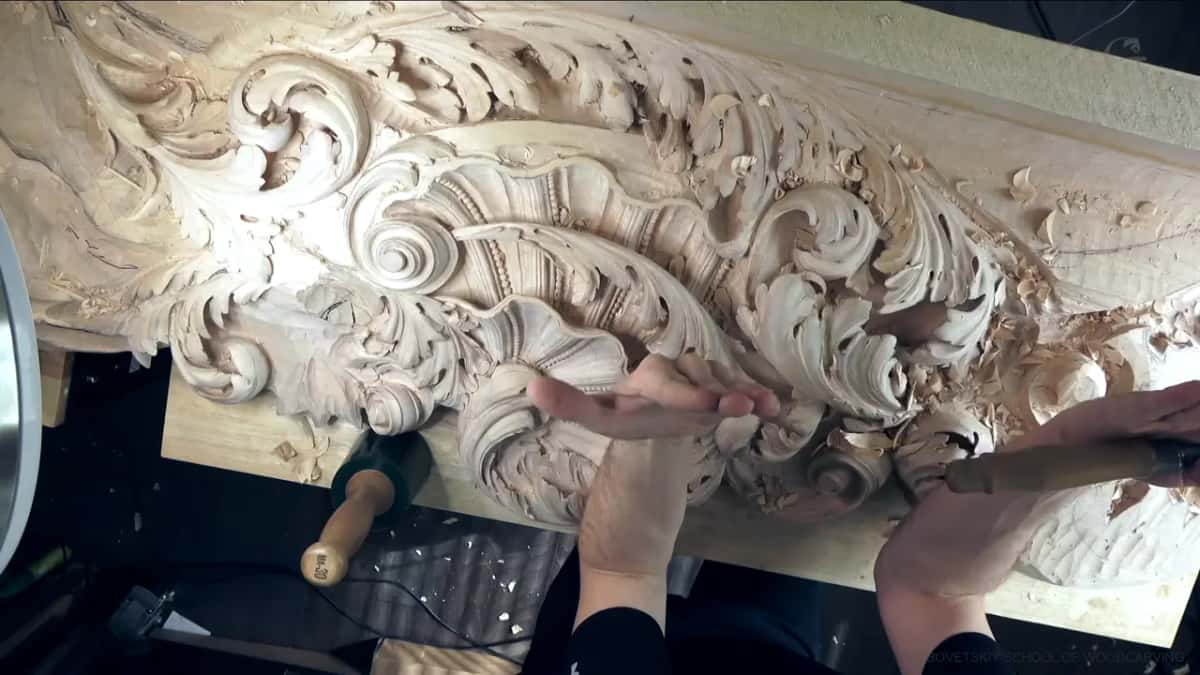
A ceiling piece has to read from the floor, and workshop 29 is about carving for that view. On this board I don't roll one part too much, because the point has to show from the bottom and from the far side of the room.
Which tools did this board take in workshop 49?
Big tools, and a lot of chopping. Before the new acanthus, the workshop starts on another leaf head on the same board. There were a couple of ways to attack one area, and I chose to chop it off completely instead of carving small detail into it, then chopped even more, almost an undercut, until it made sense.
On that head I tried a 2 mm number 11 in one eye rather than a 3 mm, because I can always make a bigger opening, and then a 1 mm excavated a little more. Deciding a cut when you are not sure is what workshop 42 is about.
A point on that head got a little too weak, and I had to be mindful of it. A number 7 there set the boundary of a movement, not finalized, just the boundary, and it cut a concave that was wider but shallower. How deep a concave should go is the subject of workshop 22.
The next job was a new acanthus. Even if it doesn't look like acanthus, it is acanthus, because there are a lot of different styles and periods, and this one is Venetian, the style Part 2 is built on.
I set in its outline with a number 11 veiner, first 7 mm, a little bigger than a quarter inch, and then 15 mm, about 5/8 of an inch. For the main form I went on up to an 18 mm, a little less than three quarters. Setting in has a lesson of its own.
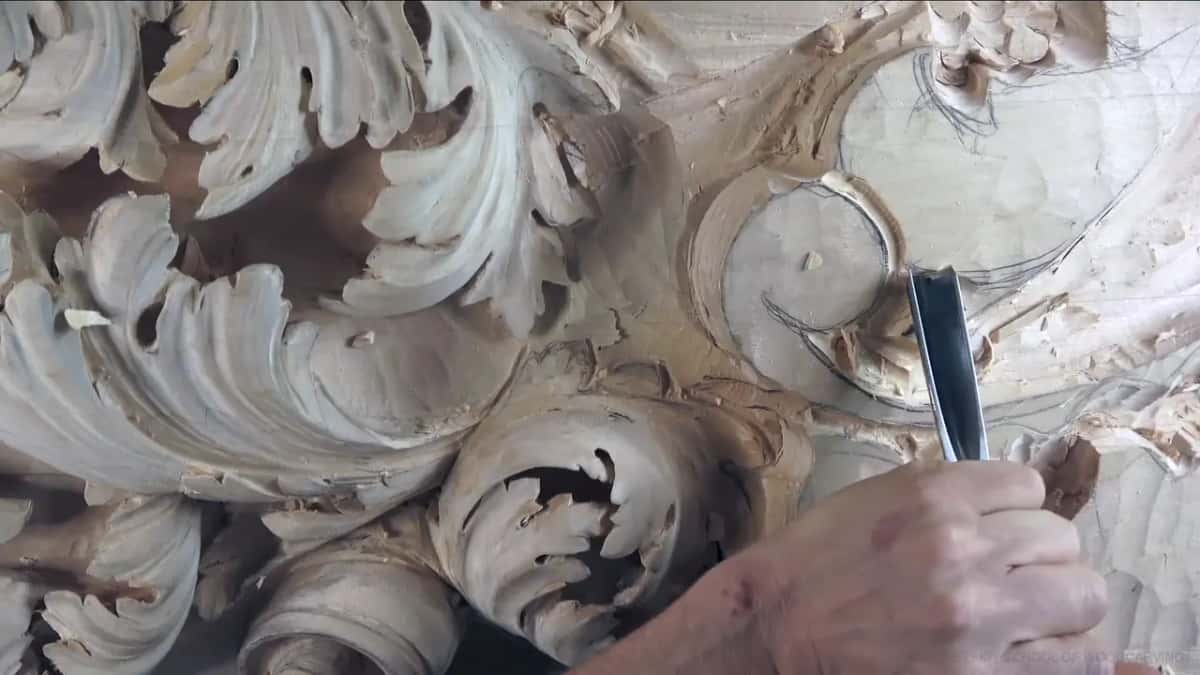
I kept most of the height the board already had, its low and high spots, because I still want to keep my overall movement, the idea workshop 38 starts from. A skew chisel, a normal double bevel chisel with a skew, came in next, and the skew is the question on the Part 5 page.
Then I took a number 7 that is huge, three inches and one eighth, 80 mm, and chopped down the main form with it.
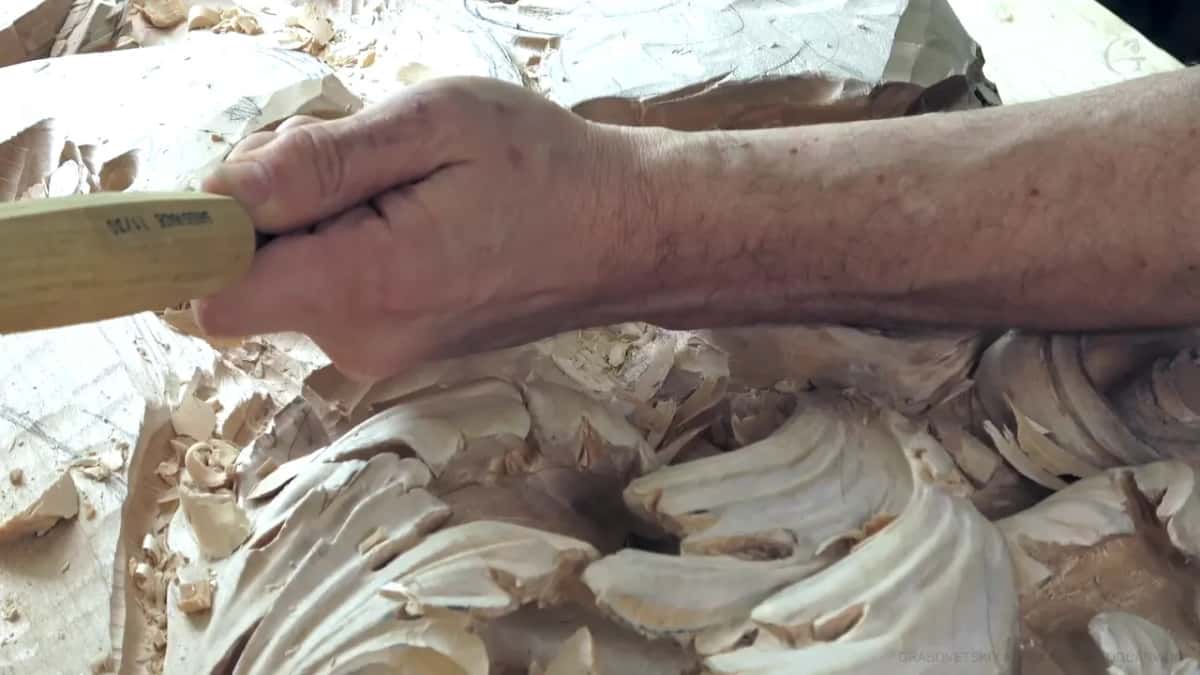
In this design I don't want to repeat too much. The law says a detail has to repeat somewhere else, maybe at a different scale, and here the detail repeats while the movement itself goes a different way. That law is the whole subject of workshop 41.
After that a number 11, 30 mm (about 1 3/16 in) wide, dug into the bowl, which is also called the head of the acanthus. A big gouge then rolled it into a dome, because that surface cannot be just flat. Rounding a leaf into one form gets a full lesson elsewhere.

For the middle line I split the span into about ten parts by eye and move from five toward six, which is the golden ratio's 0.62, and the first design principles lesson goes deeper into that. The camera sits a little away from me, so even when it looks like you see what I see, you don't.
The same block also took a number 7 at 25 mm (about one inch), a big number 5, a number 8 of a quarter inch, about 6 mm, and a number 11 as small as 1 mm (about 1/32 in).
When I had too many lines on it, they were just destructive, so I cleaned the mess away with a 7 mm number 11 until I could see the boundaries. In one spot the grain was not going in my favor, and that was okay.

Some cuts beside a pipe were just indication, not the final cut, and one movement I still didn't like until a number 6 made it more unified. Later I went back to a mistake I believe I made, a piece I really wanted under the one beside it, and I don't think it was too late to fix. When a mistake can still be fixed is the question in workshop 25.
The board stays where it lies. I look at it from above while I draw, and I show it from the right side, where the three main divisions look even.
Where does a carver's vise still earn its place?
With smaller pieces. When I work on those, I use a carver's vise by Veritas, and I can do a lot of different carving with it. It takes inserts in different sizes, and the first one I held up is a two inch (51 mm).
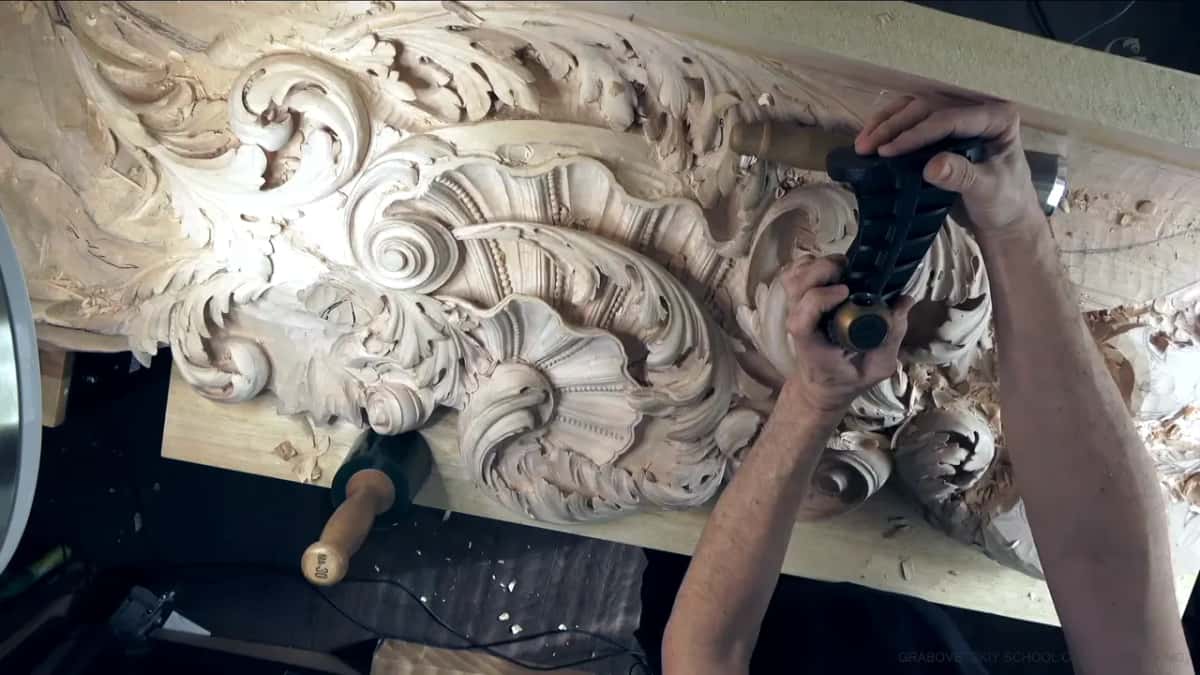
The big one came out next, also a project from the school. It mounts on a three inch (76 mm) plate on the back side, and the plate goes into the vise. I can turn it in any direction and work upright, even upside down. Really handy to have.
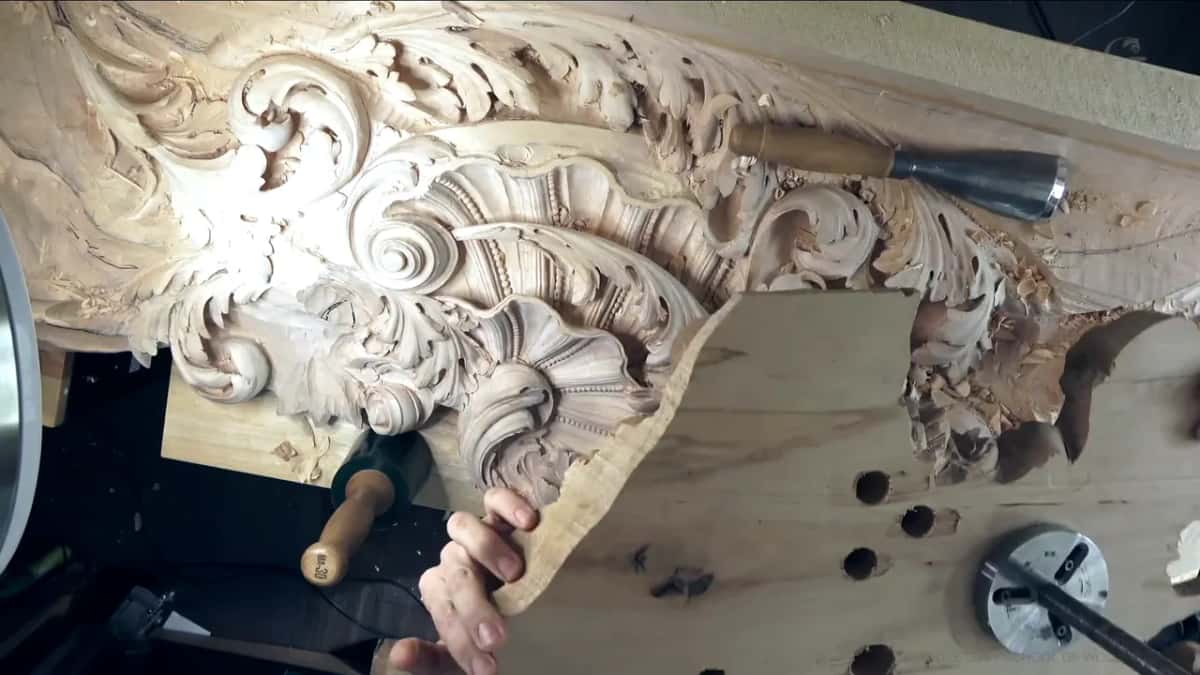
But this ceiling board is just too big. You really can't do that with it, so you have to be creative and work with the place you have.
Someone asked about that Veritas vise too. There is going to be a lot of flexing, I told them, and there is some movement, but you can hold really big pieces. I pointed people to the lion heads, on the school and on my channel, which were four foot pieces, about 1.2 m, and I still carved them in that vise.
Even the furniture work in the furniture panel course goes in that same vise.
Can you carve a piece that is already installed?
Then you go to it. Sometimes I have a project I have to carve right in place. A restoration project can have everything already installed, so I use a step ladder, go right up there and carve it.
It all depends on the piece, as I said. Here is how each kind of work gets held.
| Piece | Holding | Catch |
|---|---|---|
| My ceiling board | Lies on rubber cookies with nothing clamped | Bench rolls |
| That board, later | A support underneath will tilt it up | Not yet |
| Smaller carving work | Veritas vise, with inserts of different sizes | It flexes |
| Lion heads, 1.2 m | Four foot pieces carved in that vise | Some movement |
| Installed restoration pieces | Carved in place from a step ladder | On site |
What else happens on this board in workshop 49?
Most of the session is carving, and most of that carving has its own page somewhere. The head gets three main divisions first, and most acanthus leaves have five; workshop 34 is about spacing them.

Every division has an eye, and a pipe runs from each eye to the center line, which is what the eye and the pipe lesson explains. Which lobe goes under which, I decide as I go, and workshop 26 is about that choice.
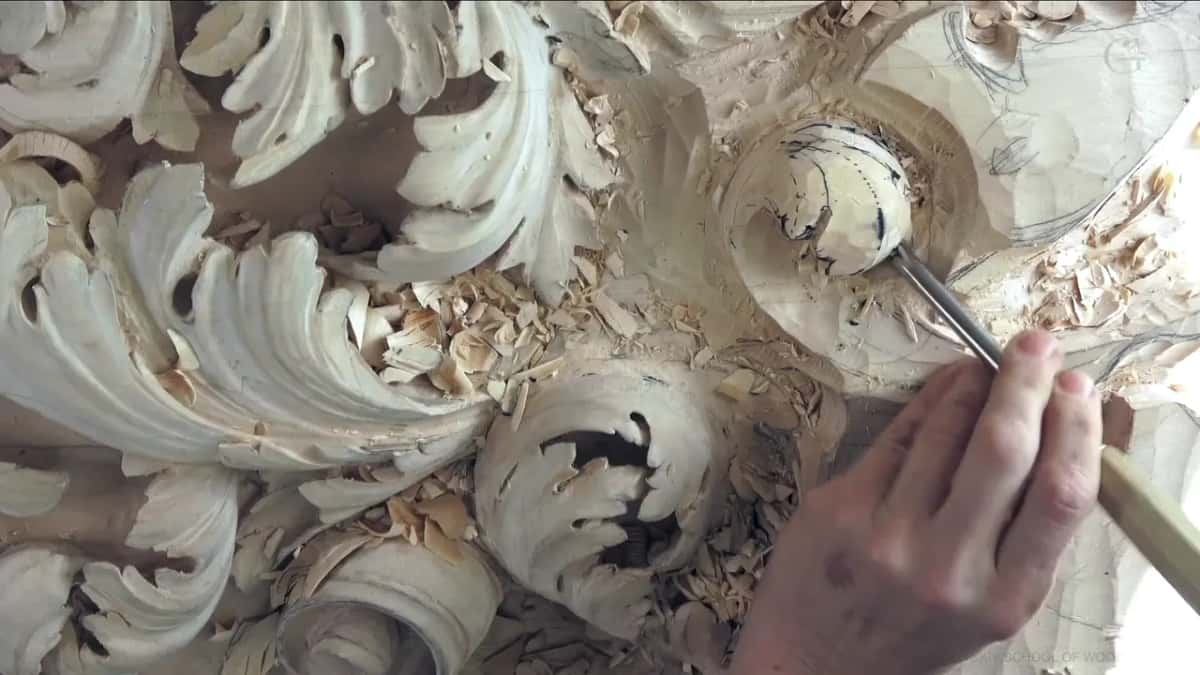
Before I chop the subdivisions, I make relief cuts with a number 11, because a lot of people make big mistakes when they chop without one. The relief cut is explained in the grape onlay course.
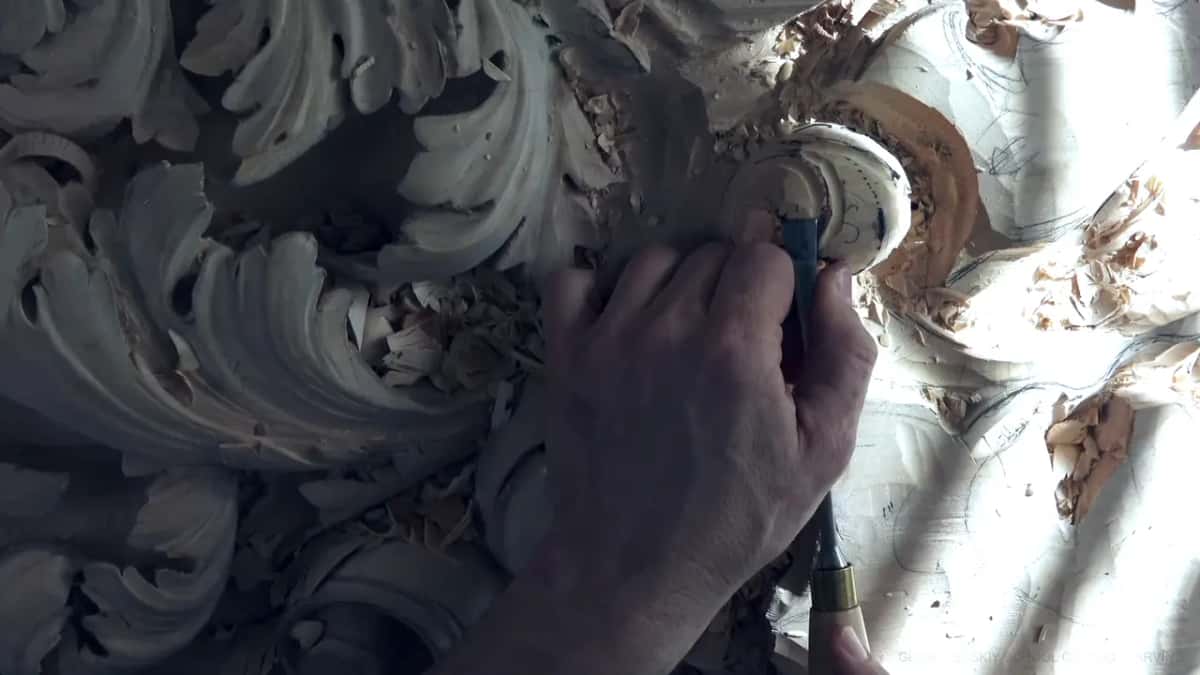
A middle ridge gets a number 3 on each side that makes almost no concave, so the light shows the ridge, the same idea as a micro pipe. Ridges left along the way do not look good, and it's always like that if you're doing a lot of acanthus work; workshop 45 is about why a half carved form looks confusing.
Early on I was careful not to go underneath one side. Late in the session I go right into the undercut, and I break the rule of working with the grain, because a ceiling of wood on the other side leaves me one direction. The course page tells that part in full.
What comes after workshop 49?
Into Part 5, starting with workshop 50. Workshop 48 comes right before this one, and workshop 47 before that. The whole thing is a huge project, so it takes a long time.

A small detail from that day. There was so much Florida sun on the work that I closed my shades, and the camera had to readjust its color when I did.
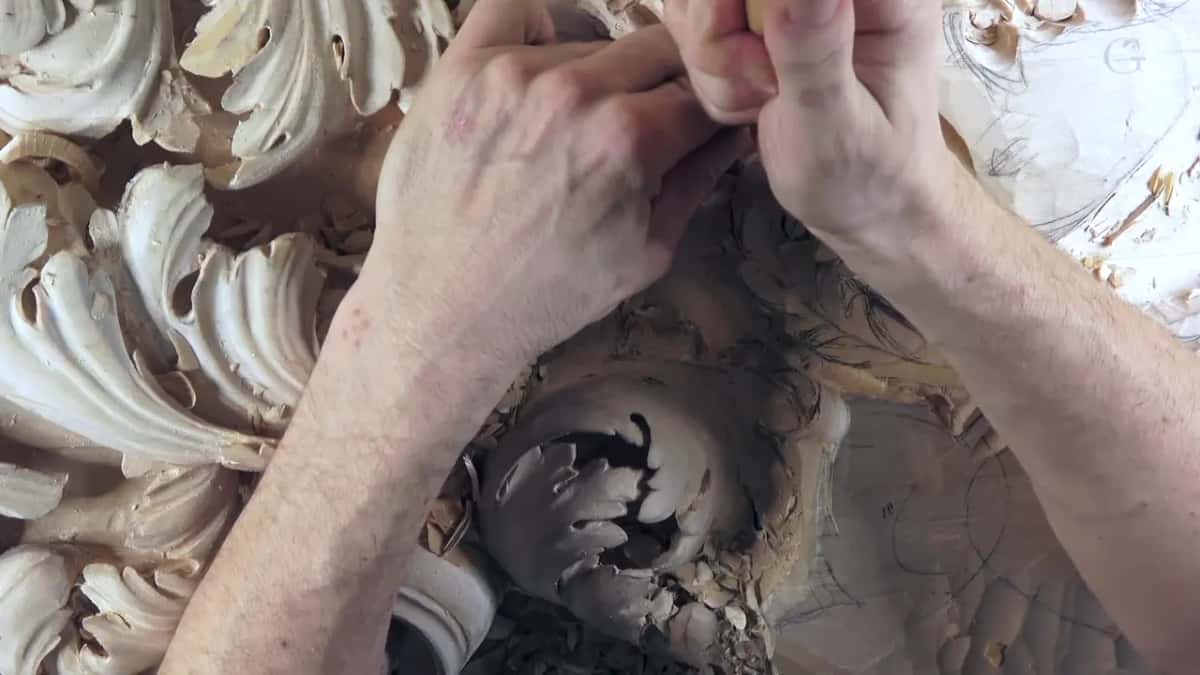
Every workshop in this room, this one included, opens with the tuition, and you can carve along at your own bench.
How it's done
- Set the bench at your elbow. That height saves your back, and a flat piece is easy to work there.
- Put bench cookies under the work. Their rubber faces keep the piece from sliding on the bench top.
- Let a heavy piece lie free. The ceiling board carries no clamp at all, and its weight holds it while the bench is what moves.
- Work it flat, then tilt it. Flat is fine for now. A support underneath will hold this board at 45 degrees later.
- Give smaller work a carver's vise. Mine is a Veritas. It flexes, and it still held the big lion heads.
- Carve installed pieces in place. A step ladder puts you at the work on restoration jobs.
Frequently asked questions
What can I use to hold wood while I carve it?
A heavy piece can hold itself on bench cookies, the rubber pads I keep under my Venice ceiling board. For smaller work, mine is a Veritas carver's vise; it takes inserts of several sizes and rotates to any angle, so you can work upright or upside down.
Does a carver's vise flex?
Mine does. When someone asked me, I warned them about a lot of flexing and some movement, and then I pointed to the lion heads, pieces of about four feet, 120 cm, that I still carved in that holding device. Big pieces still work in it.
Why keep a carving bench at elbow height?
Your back is the reason. With the bench that high you can work easily on a flat piece; mine sits right there, which I checked against my own elbow on camera during this workshop. A big board can be raised later on a support.
What to carve next